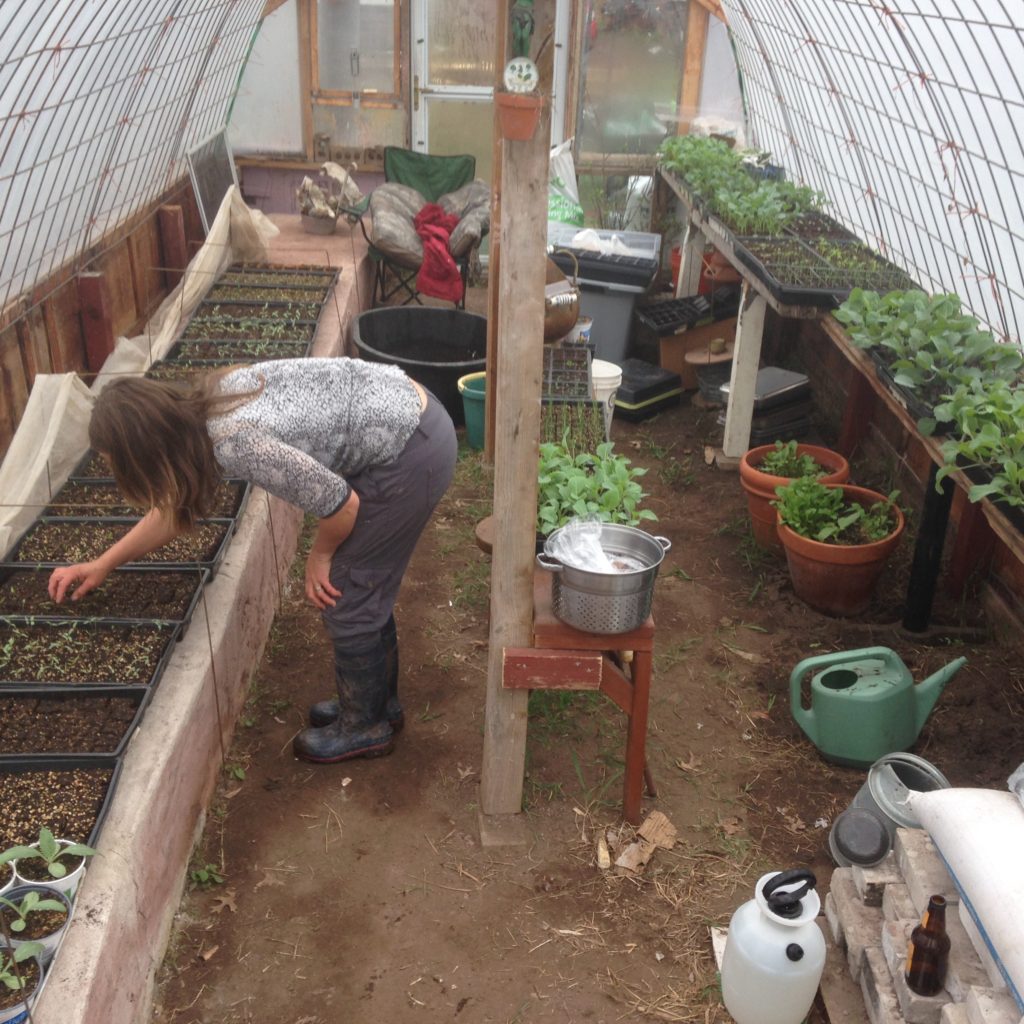
Being off grid (without utility hookups to water, gas, and electricity) is challenging even just for a dwelling – but even more so for a farm, especially in this climate. In the spring, we have to start our plants indoors, so they will be developed enough to produce before it gets too hot for the cool weather plants in summer, and before the killing frosts of fall take out the heat lovers. They all need to be kept warm day and night, especially when germinating from seeds – but they also need to be under good bright sunlight. The sunlight is great in the greenhouse, which also gets plenty warm most days if it’s not totally cloudy – but greenhouses lose heat quickly after sundown. We solved for this in previous years by nightly driving all the baby plants up to the trailer, where they slept toastily on floor-to-ceiling shelving next to the wood stove.

Then every morning just after dawn, we drove them all back down to the greenhouse for their daily sunshine. We worked out a good two-person method to get it done as efficiently as possible, but it was a time-consuming process – and we couldn’t have the lights on near the plants when they were inside (or they’d get leggy trying to get fed by the artificial lighting). Yeah, it worked … but we needed to come up with something better.
Heating the greenhouse at night was the obvious solution, but it seemed impossible – the plastic covering lost heat so quickly that it would cost us a fortune in propane … and we’d always be fearful that the tank was going to run out in the night, leaving all our crops to freeze to death. And of course our little solar power system was not capable of generating enough electric heat (which is inherently inefficient) to do the job. A wood stove like the one we use in the trailer would require repeated fueling throughout the night, and again, the heat would mostly be going to the roof and then out through the plastic film.
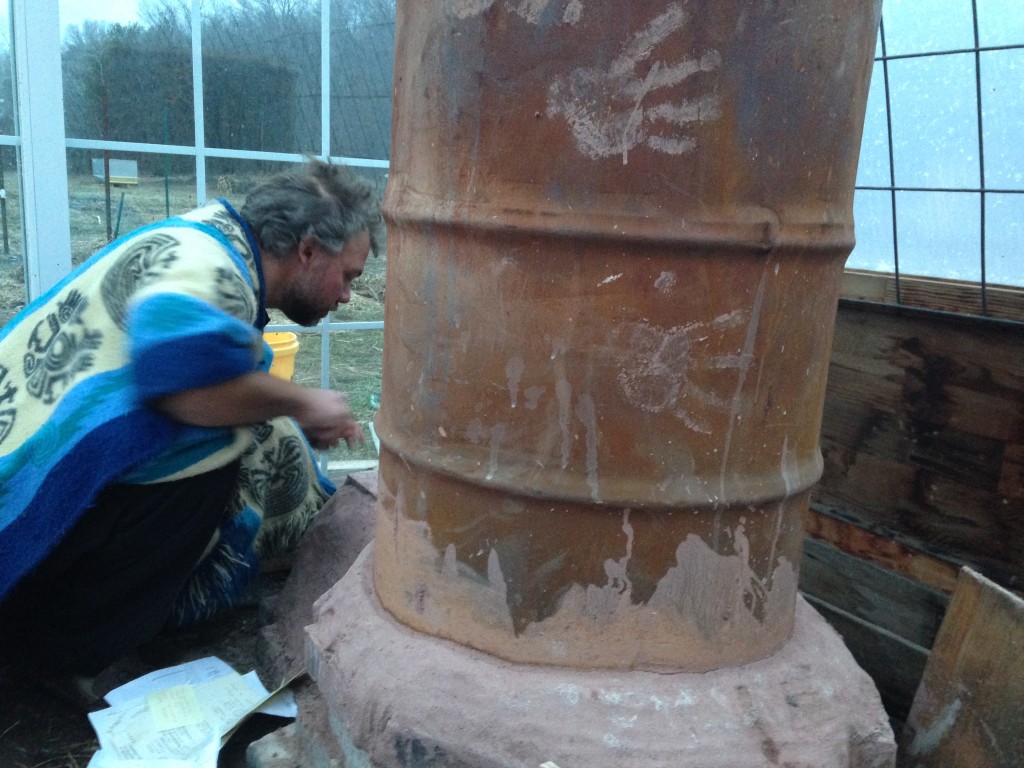
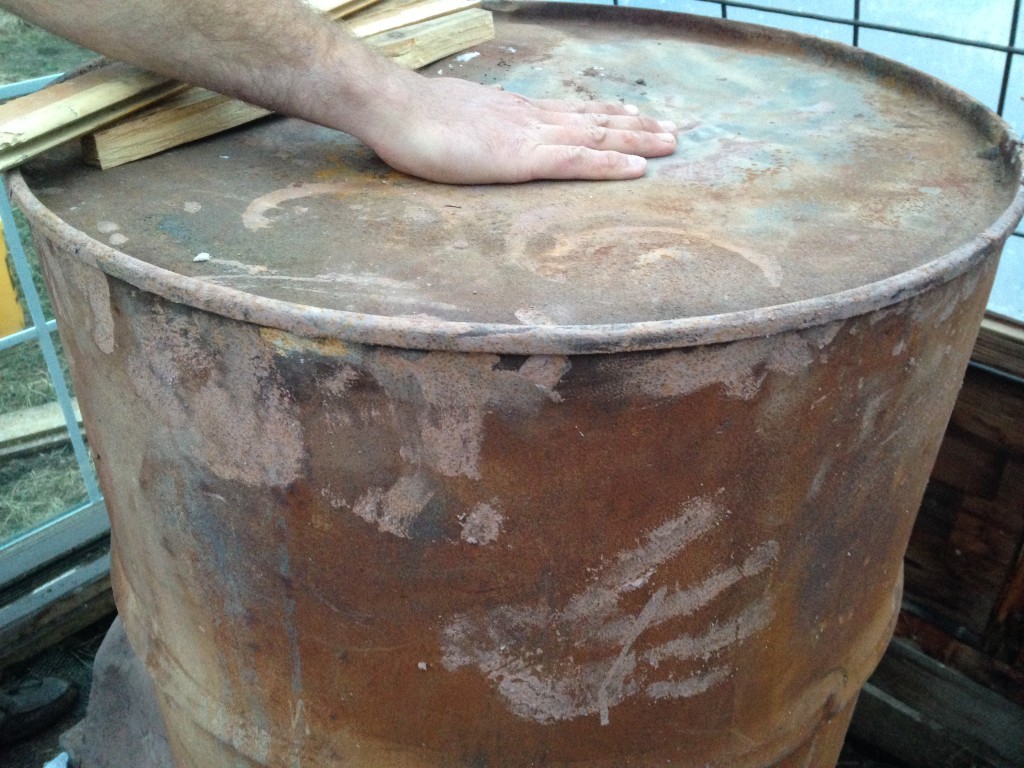
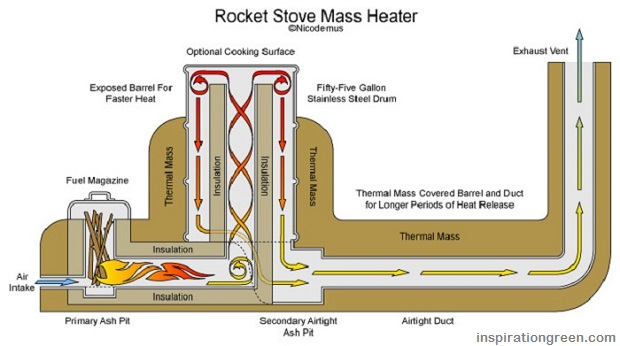
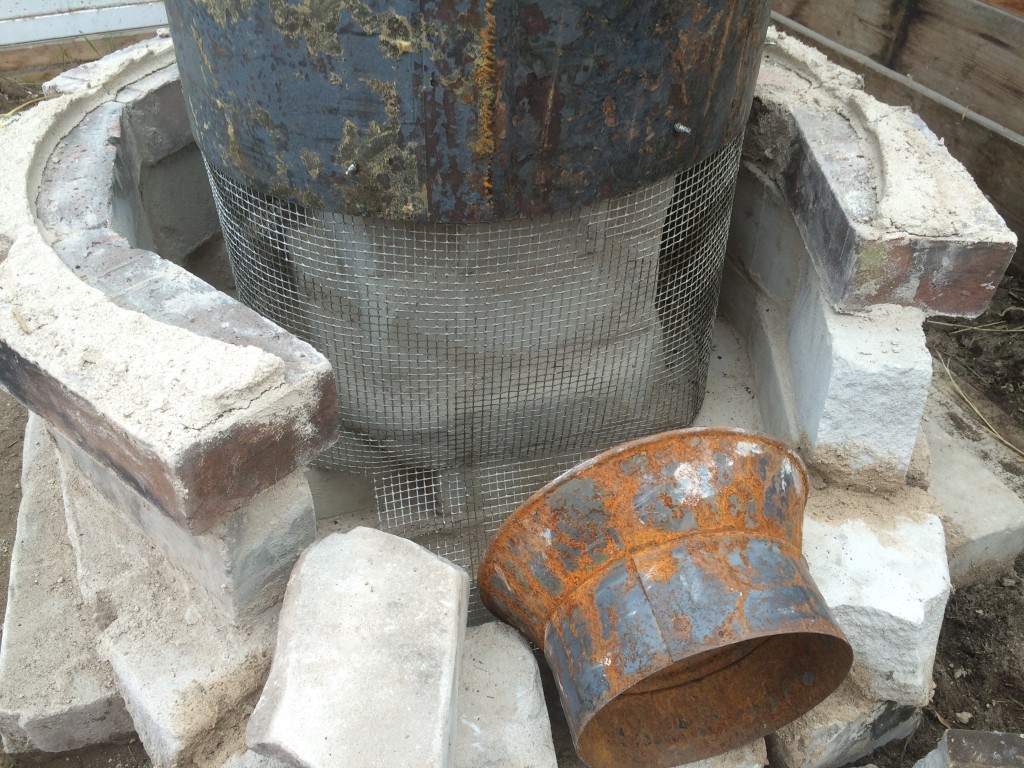
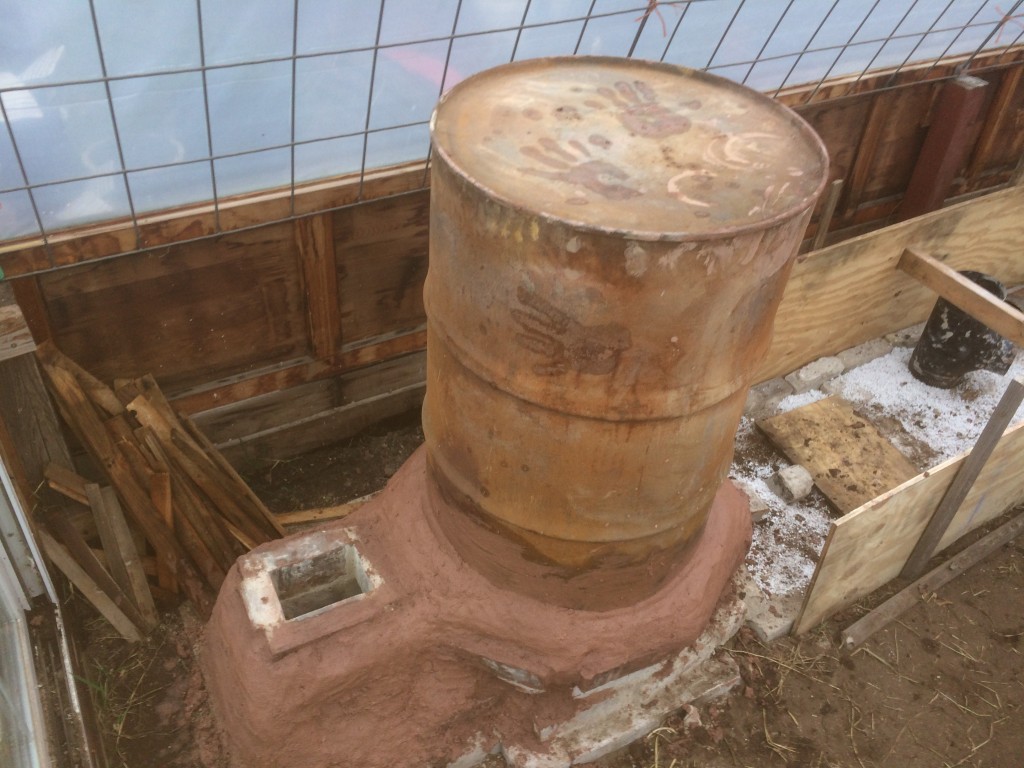
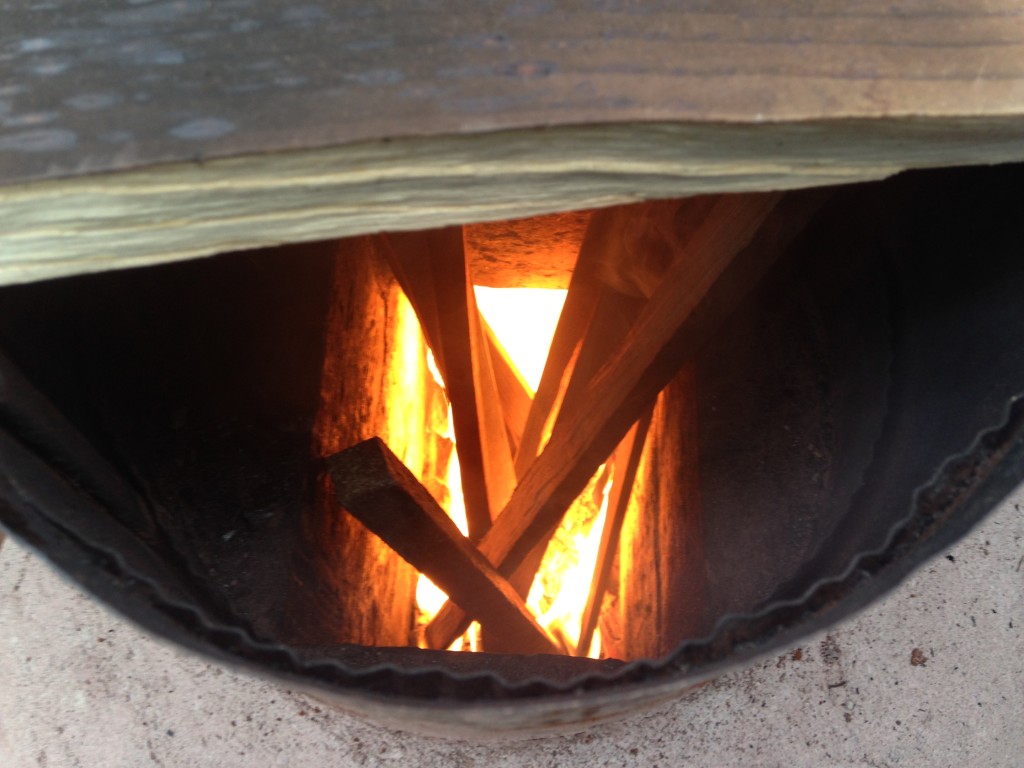
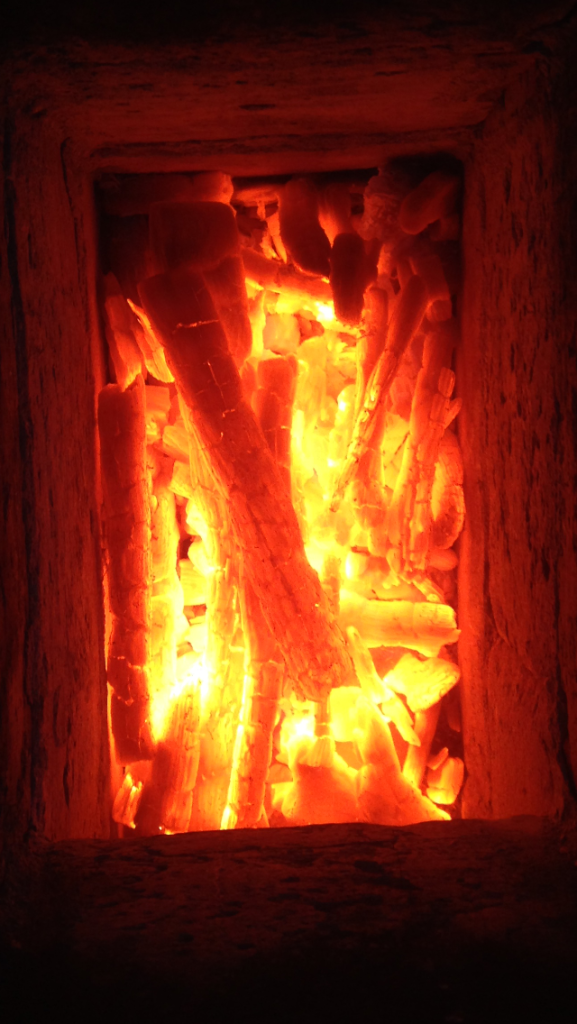
Research led us toward a possible solution – “rocket mass heaters,” which use small amounts of wood burned efficiently at high temperatures to heat up a thermal mass, which then slowly radiates the heat outward for many hours after the fire has gone out.
It would still be a challenge to heat the whole greenhouse with this method unless we built a prohibitively large heater, however. Hmmm.
Well, we’d already been experimenting with a technique that Elliot Coleman promotes, using row cover fabric to create a greenhouse-within-a-greenhouse – just putting the plants on the ground and covering them inside a low tunnel of fabric kept them warmer than the surrounding air, thanks to the day’s heat in the soil. That only got us a few degrees, but it was a crucial difference when temps might be just barely dipping below freezing.
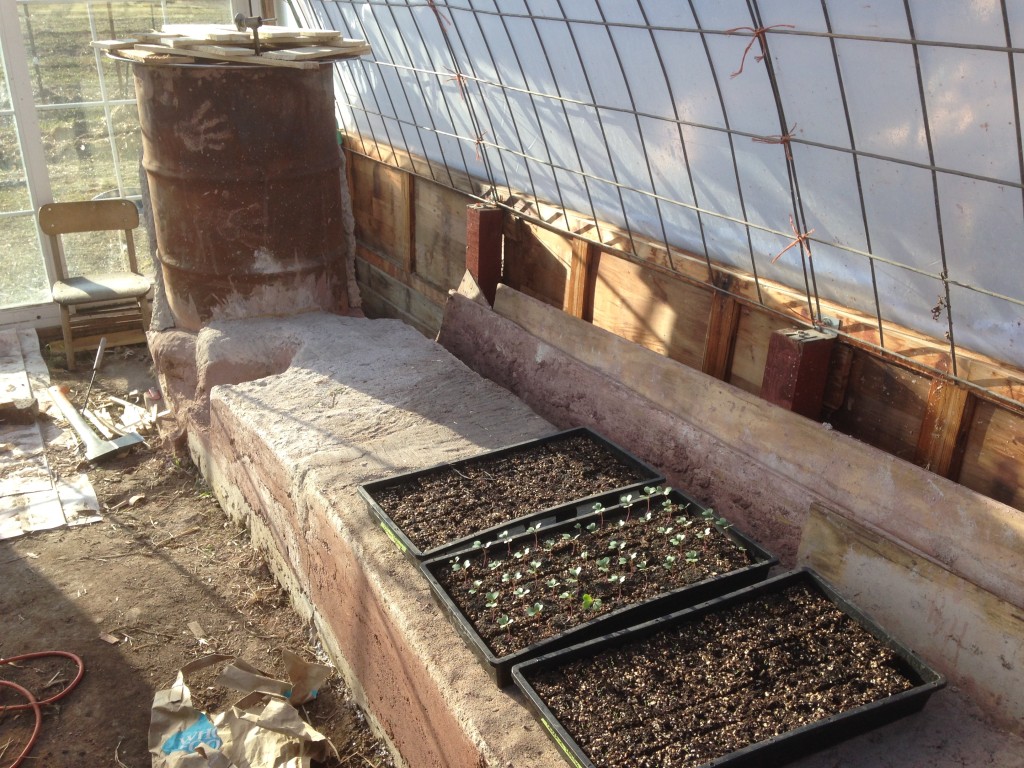
What if we did the same thing atop a thermal mass? It seemed like a winning idea – so we decided to build a heated bench sized for seed trays, and put a cover over them at night to hold heat in.
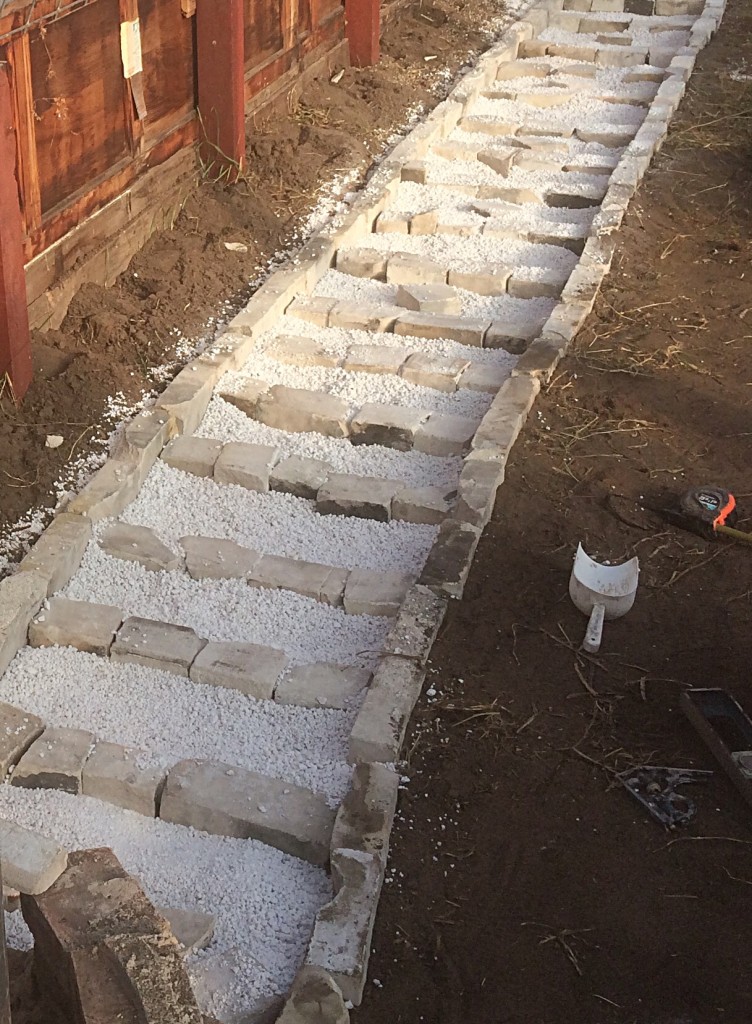
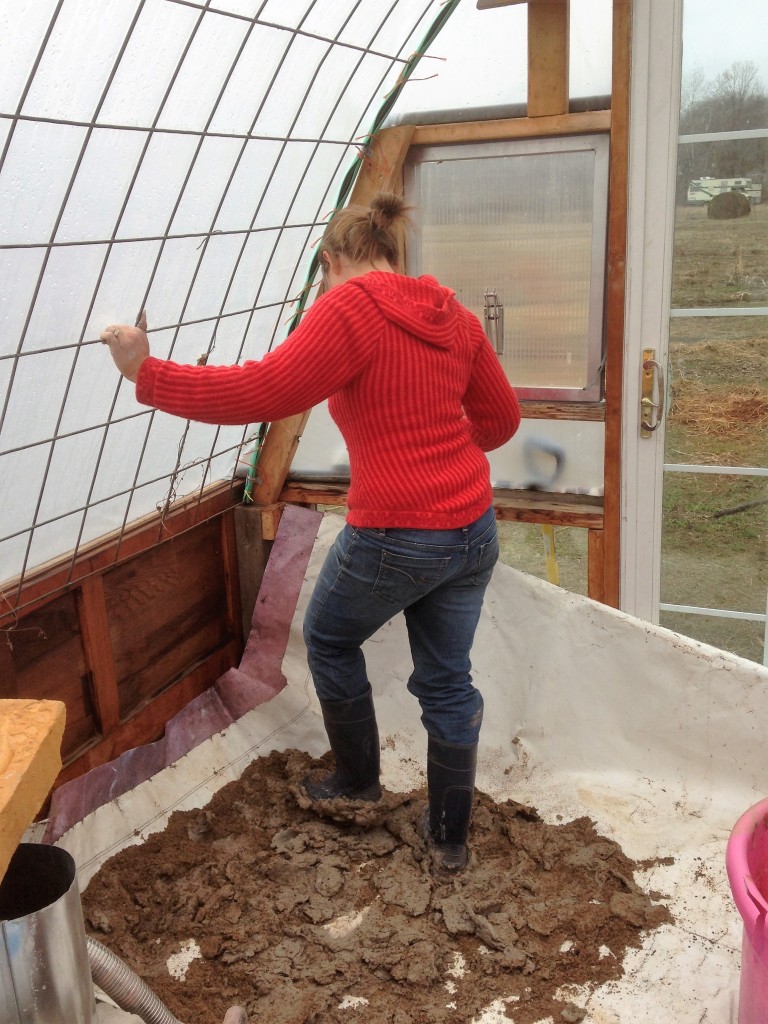
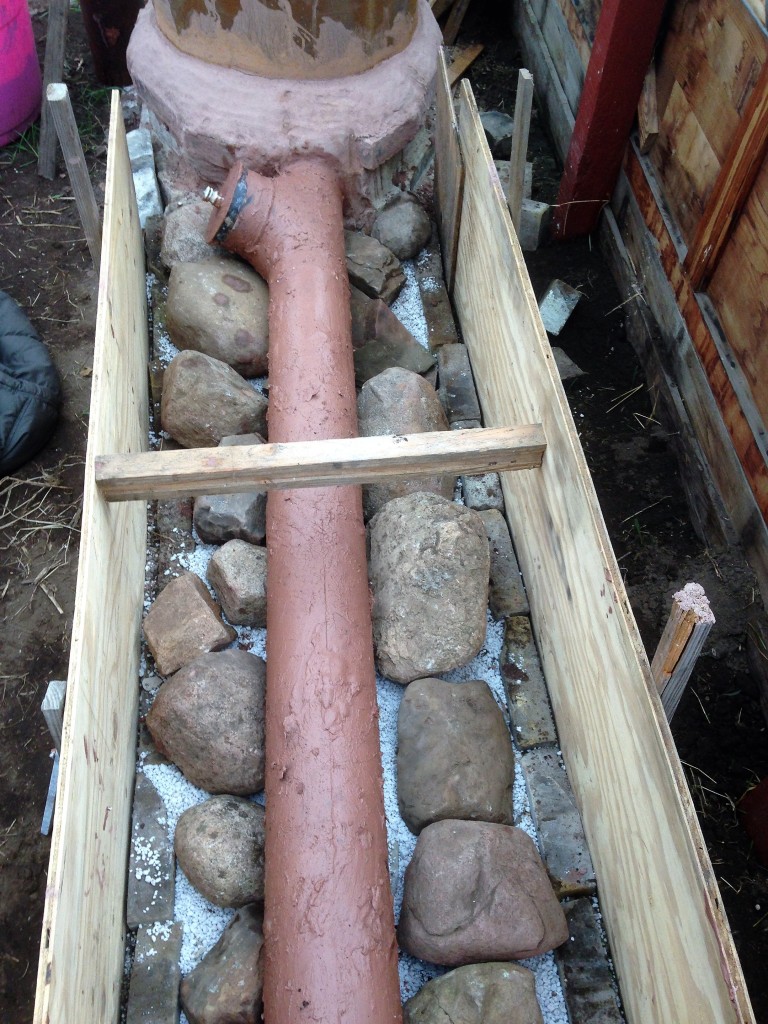
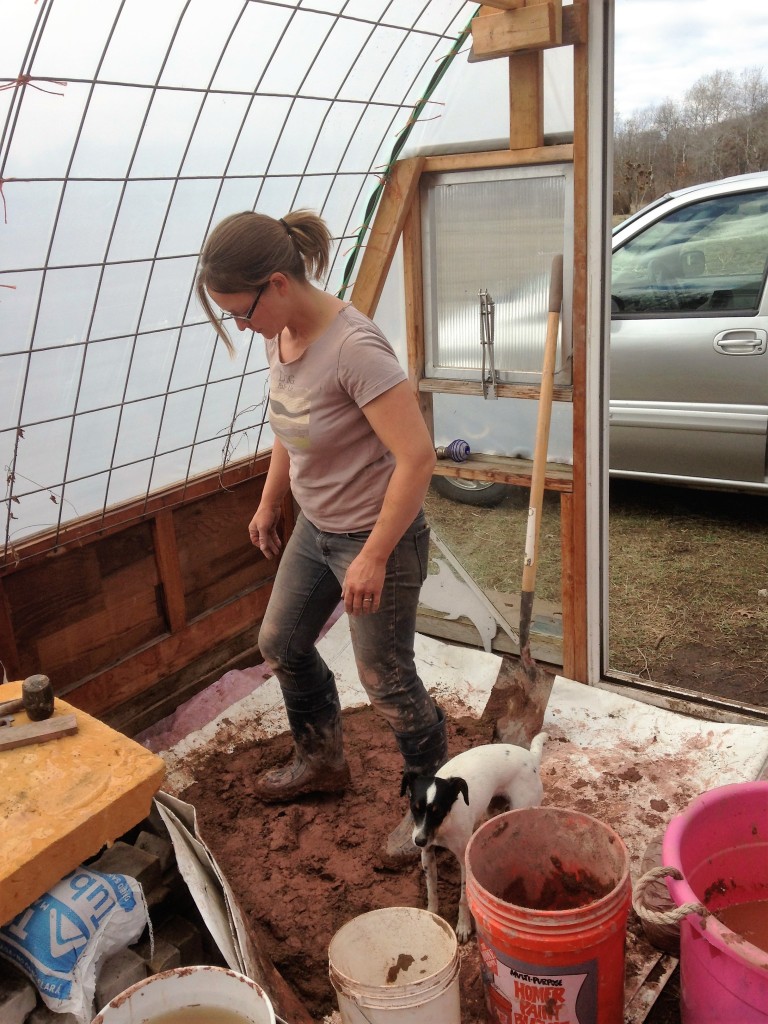
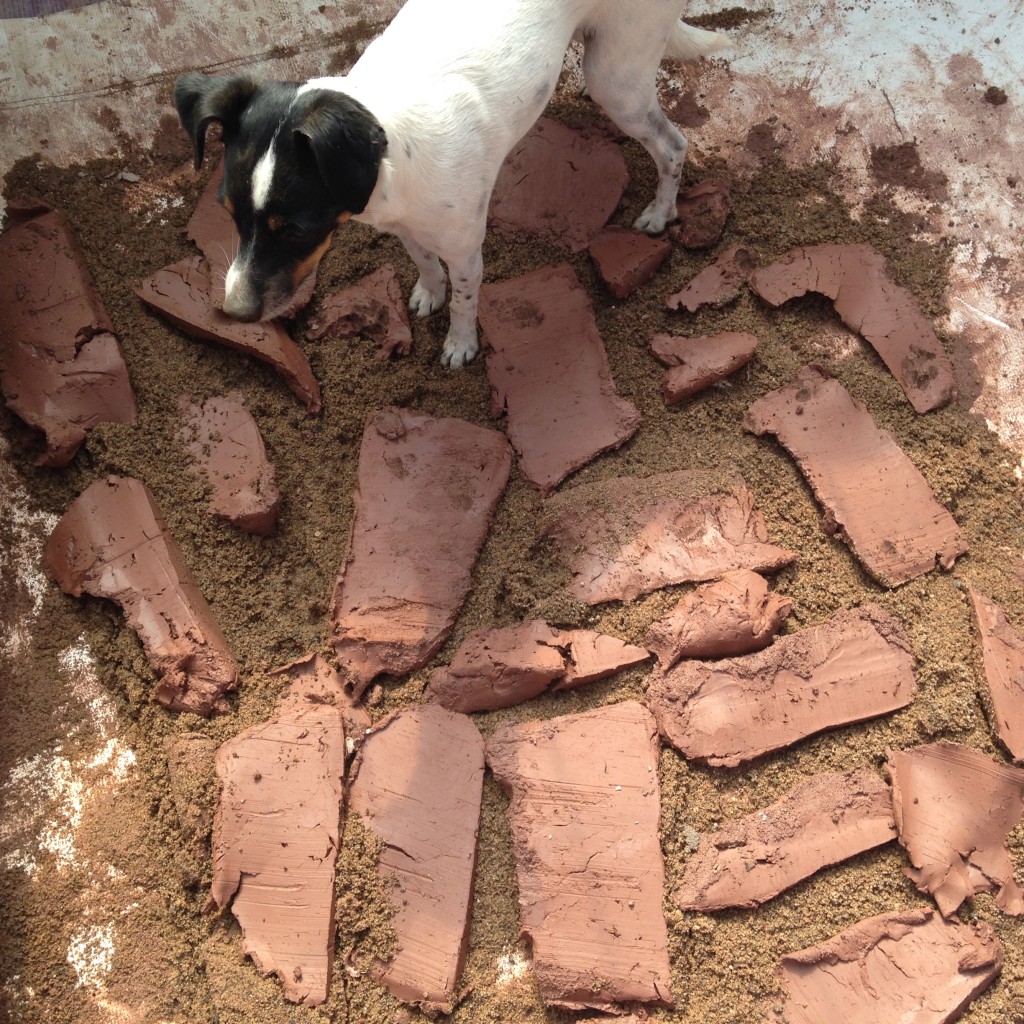
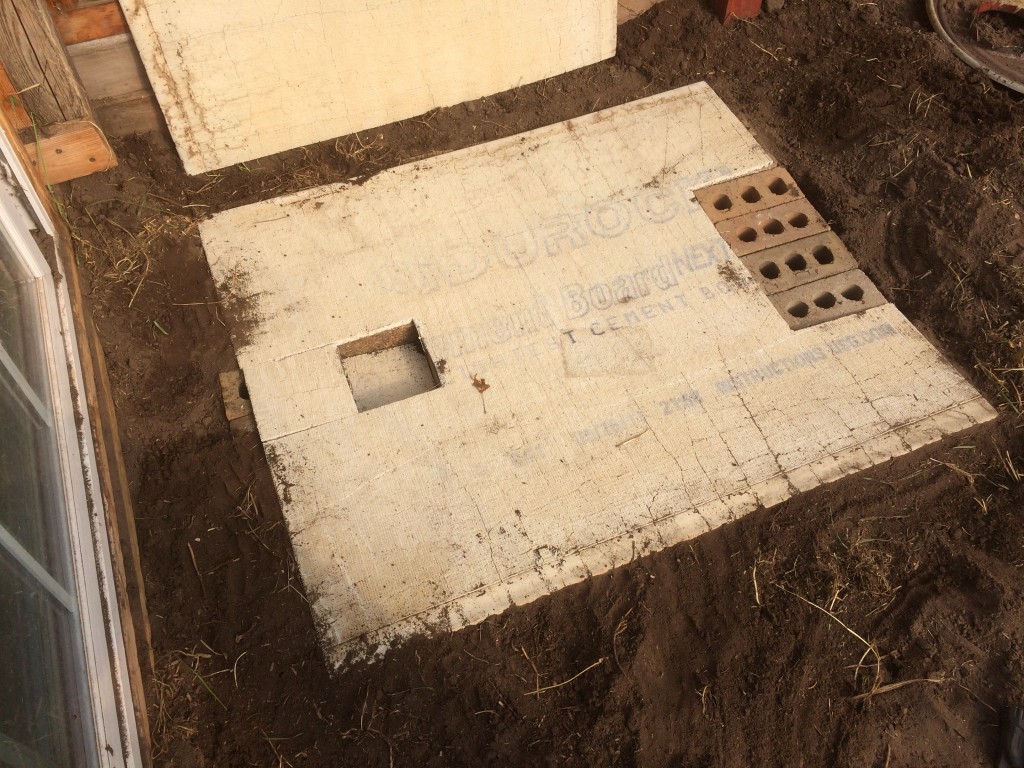
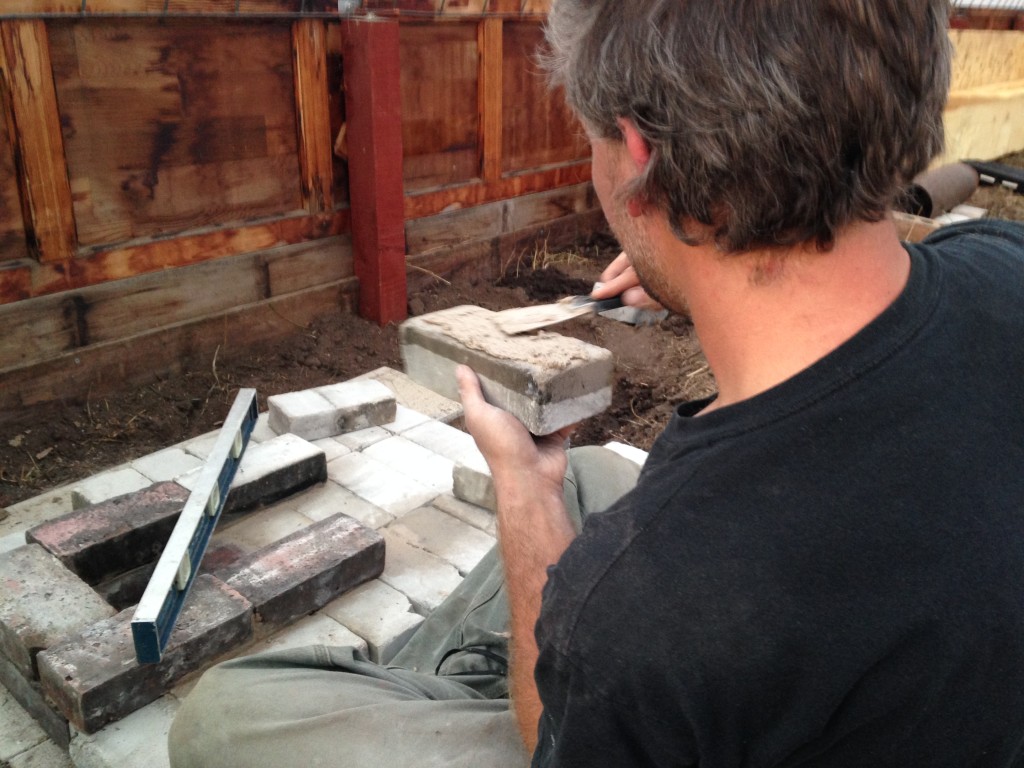
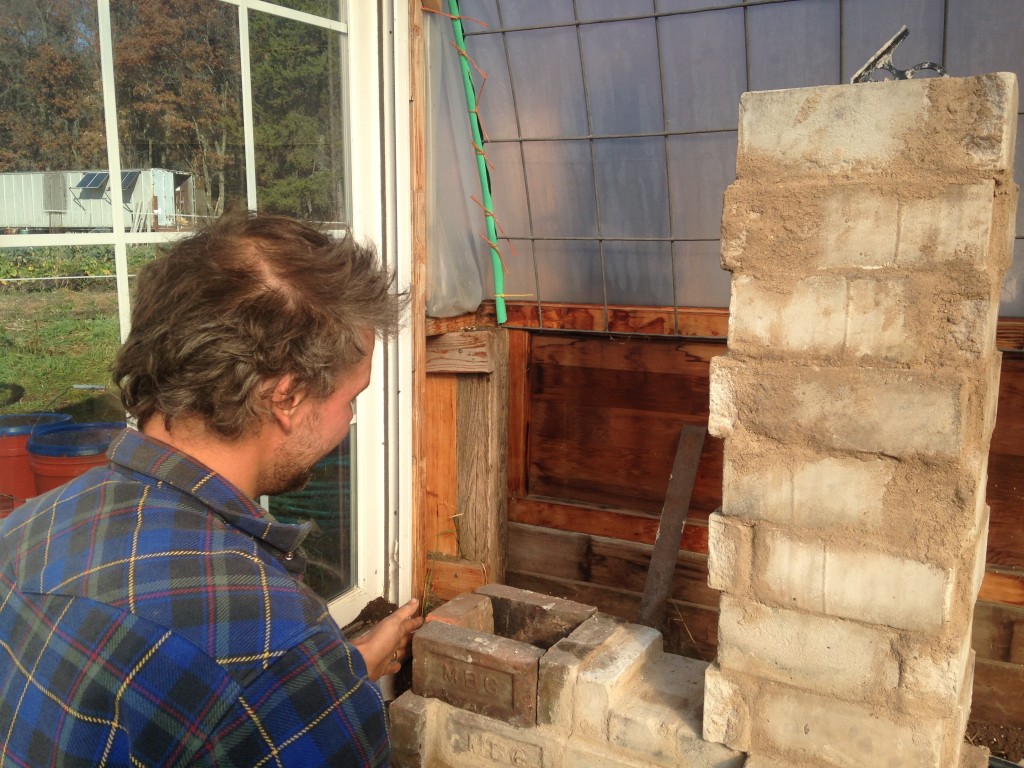
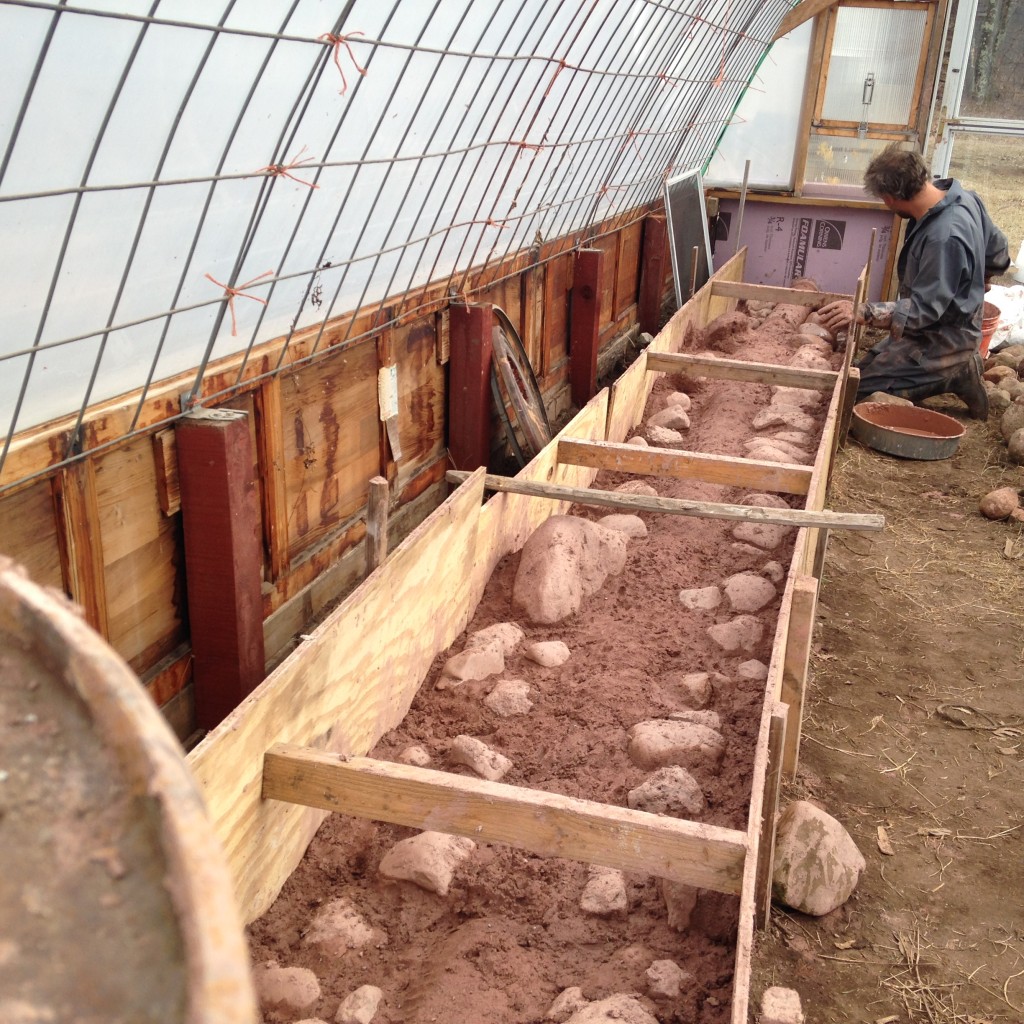
For a year, we researched and gathered materials for the build – scavenged from garbage and the Free section of Craigslist; two trailer loads of clay from a retired sculptor, stove pipe of various diameters, a 55 gallon drum, river rocks from the neighbor’s pile they’d unearthed when building their house, cement board, and bricks – the best score of all was a huge free load of white “insulative firebricks,” which withstand high heat without heating up much themselves – ideal for our purposes.
Last fall, after the killing frost had come and the 2015 CSA was over, we got to work, starting to test combustion chamber designs the day after our CSA potluck.
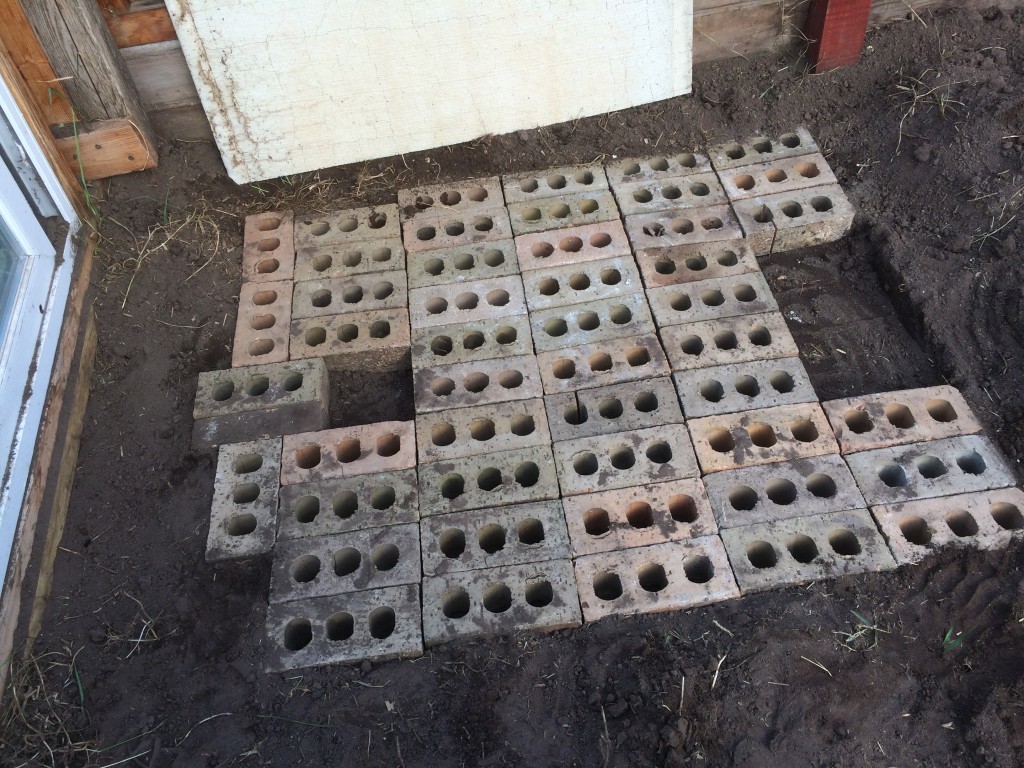
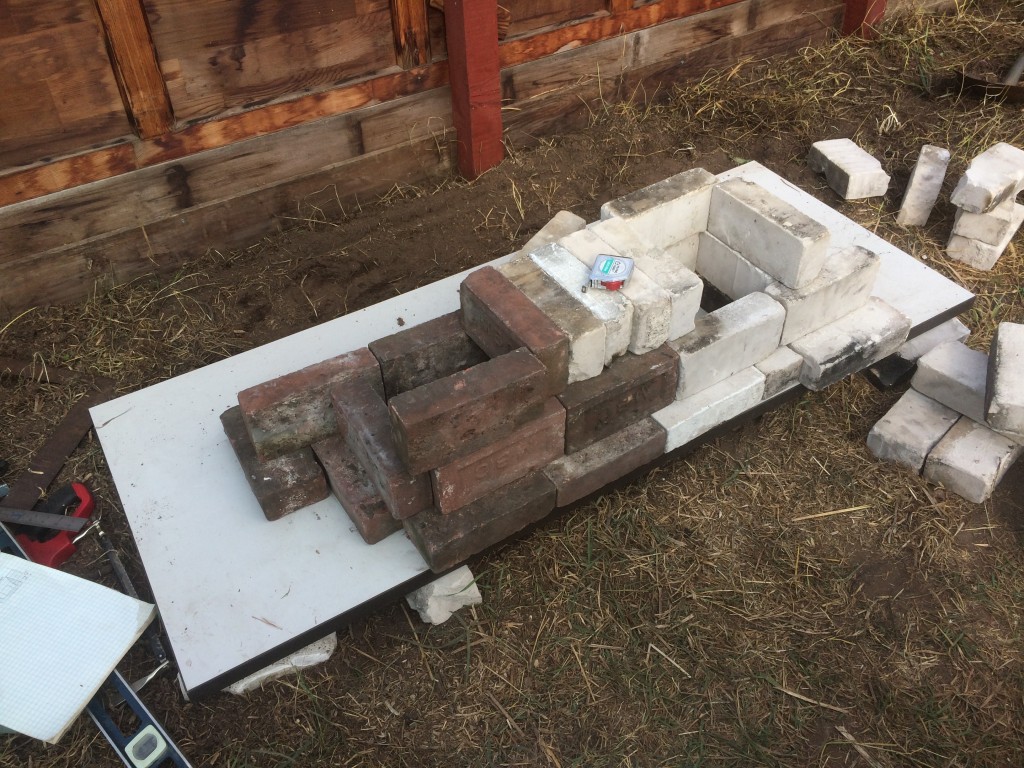
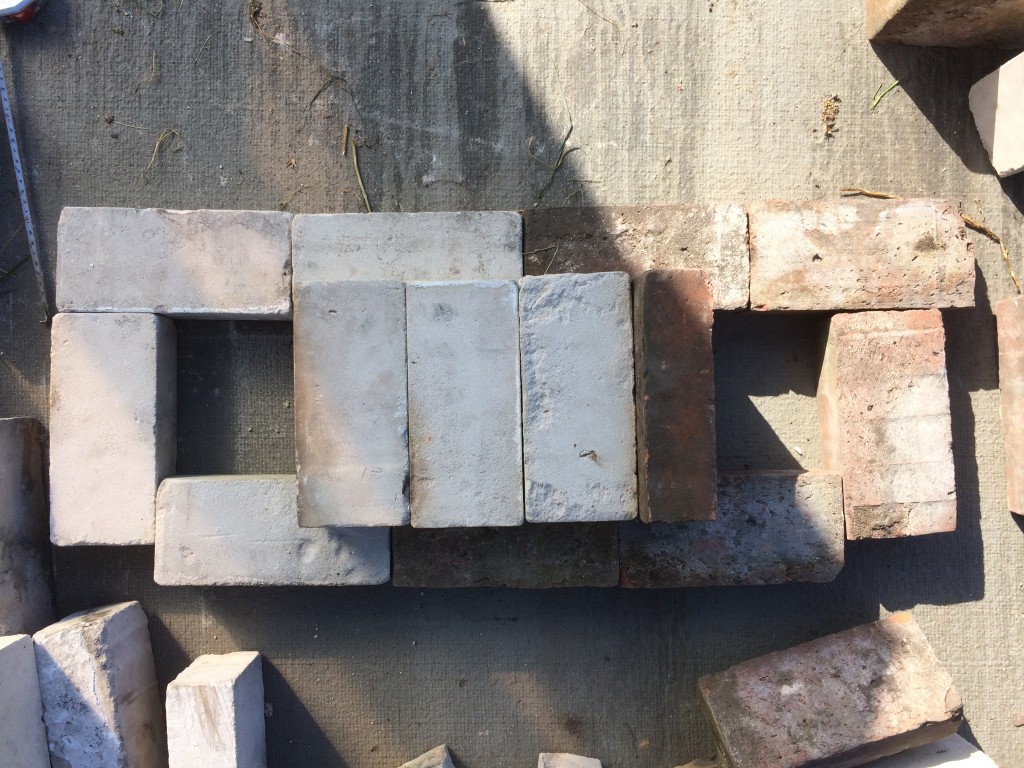
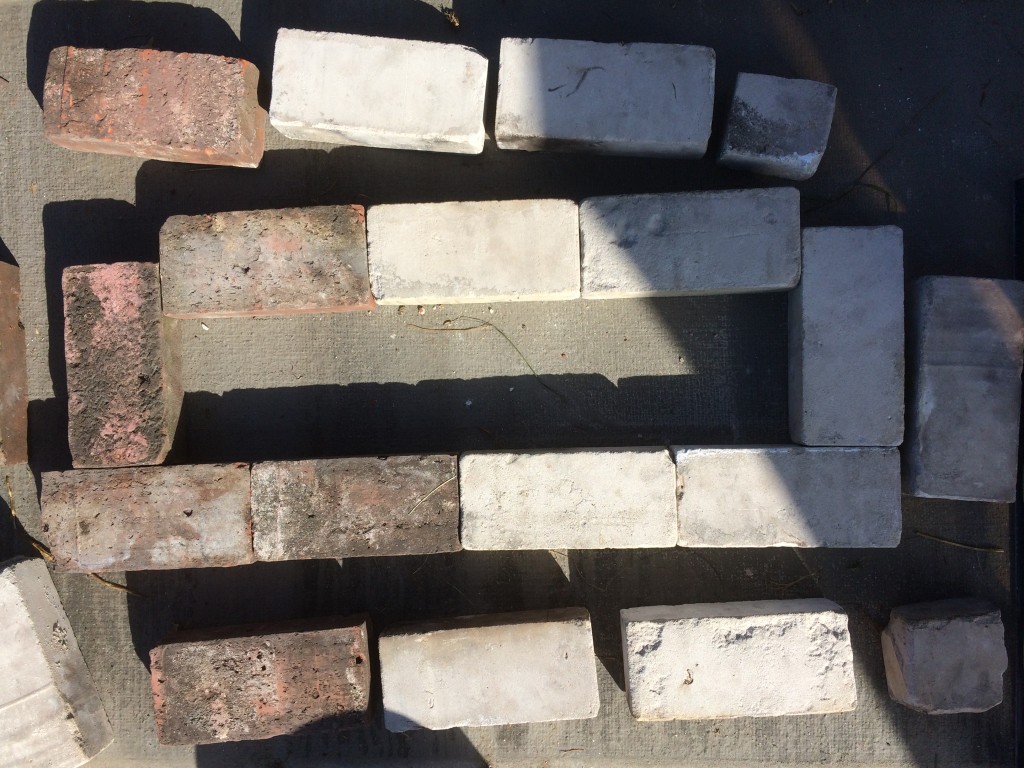
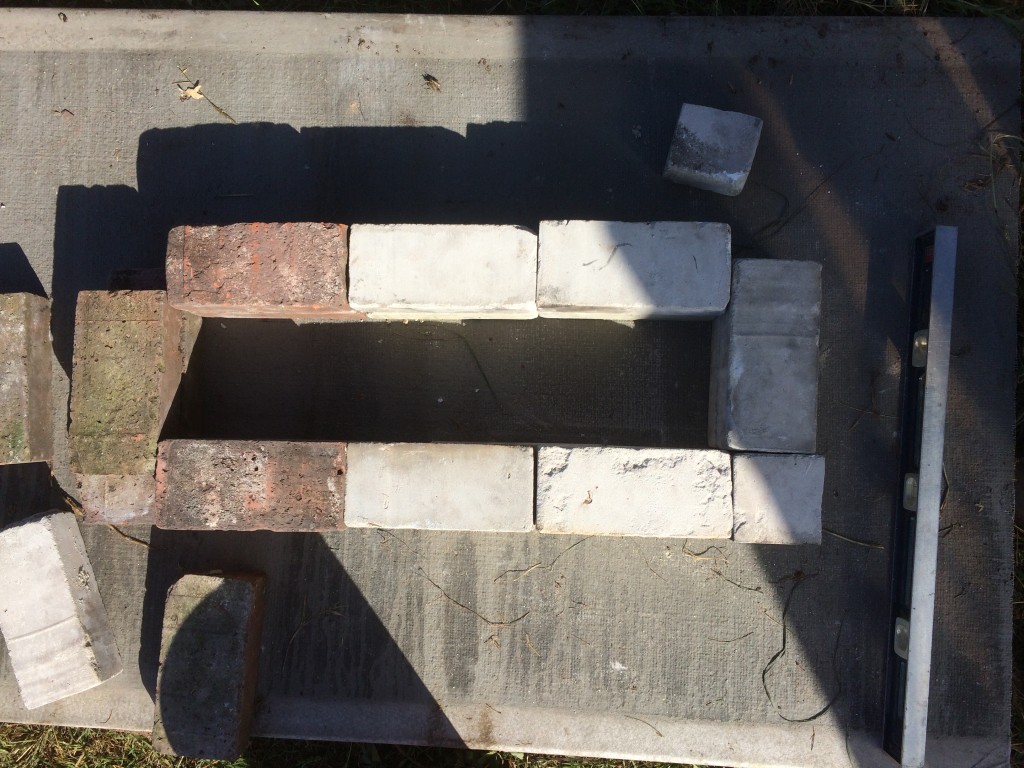
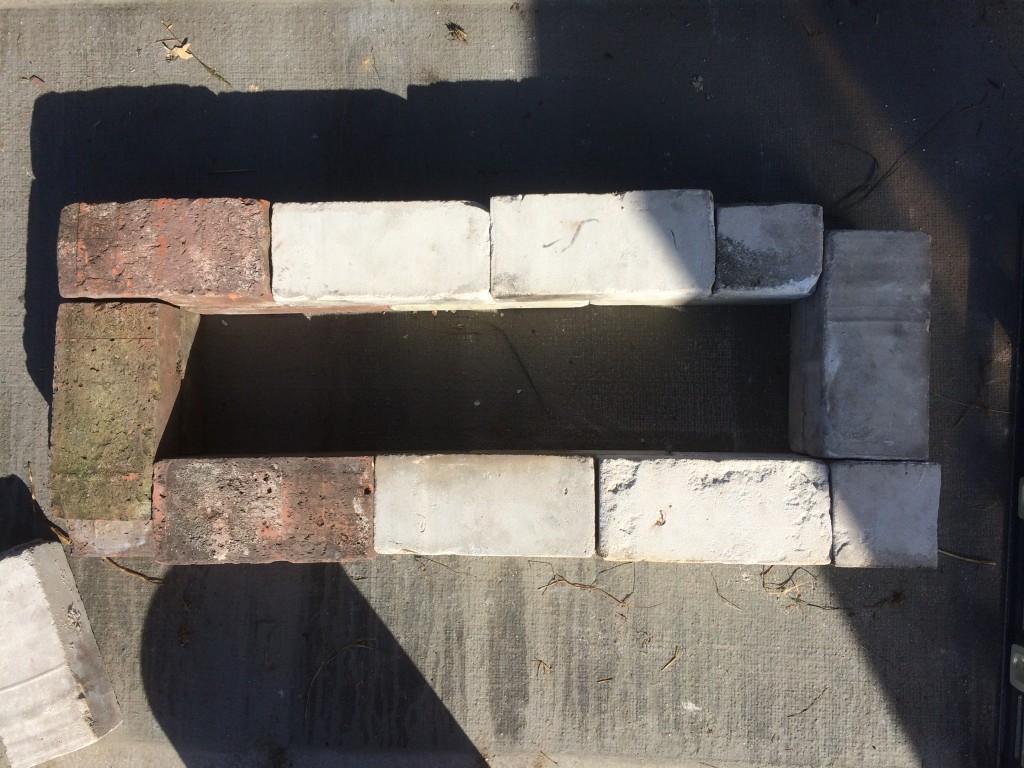
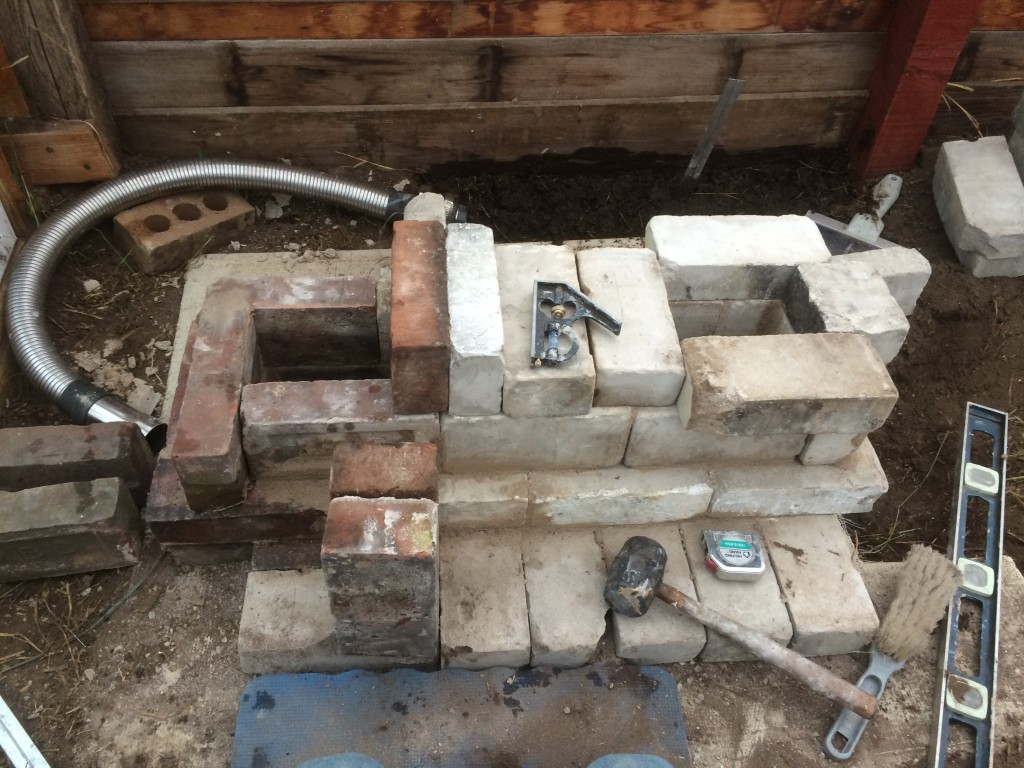
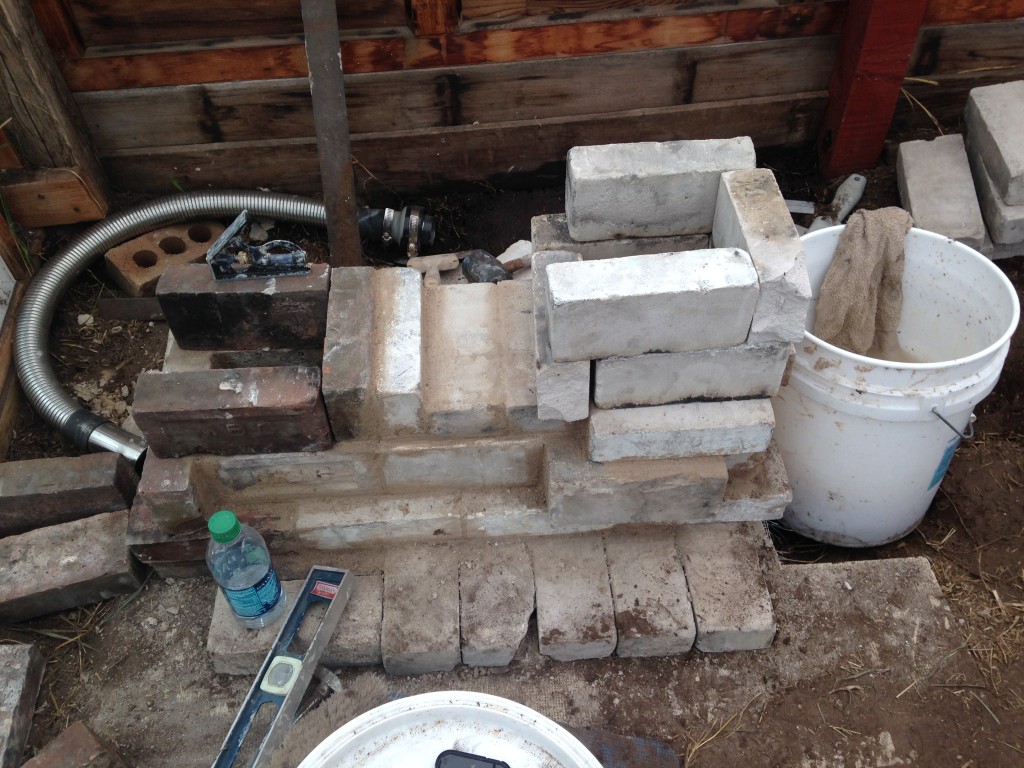
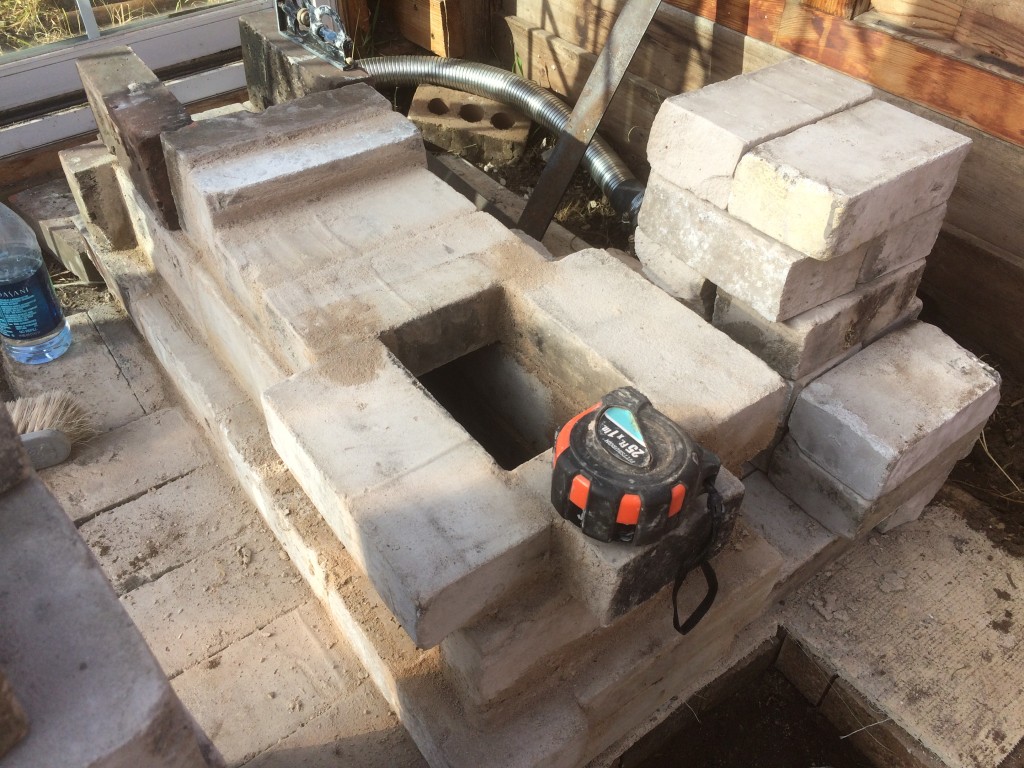
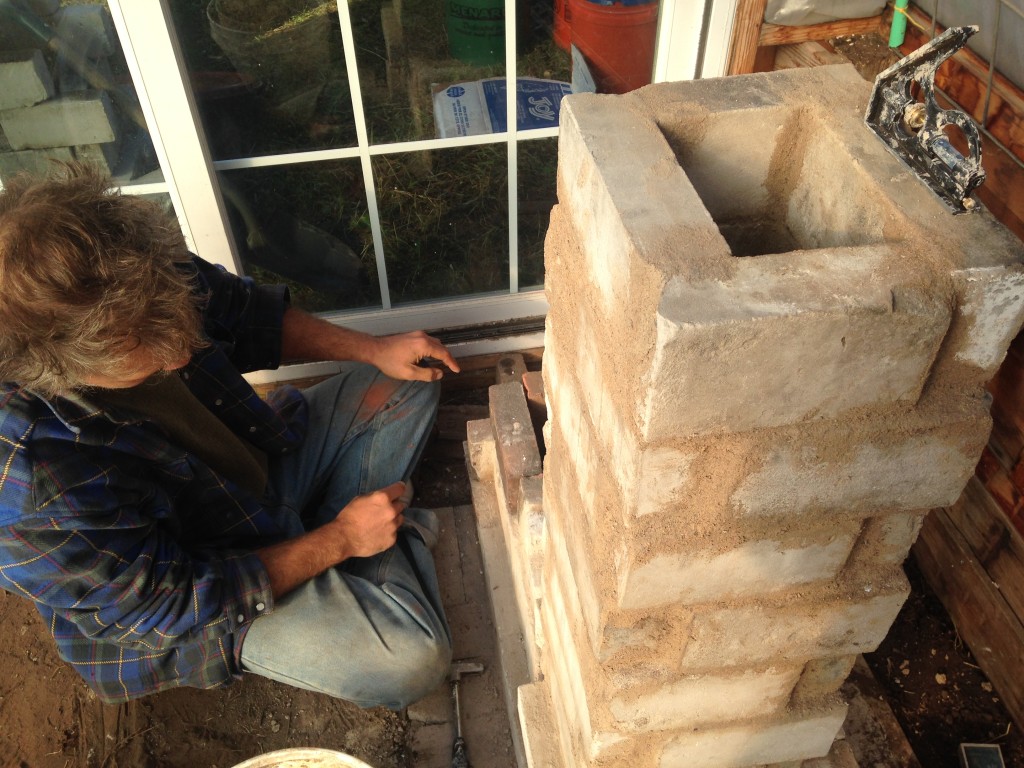
There was a long period of trying out different brick layouts – the proportions of the combustion chamber are crucial to get right – for the rest of the fall, “CSA” ceased to mean “Community Supported Agriculture,” and became ‘Cross Sectional Area” – the entire system had to maintain the same CSA throughout the system, from fuel feed to exhaust, from rectangular tunnels to round pipes. I won’t bore you with all of the proportional rules that had to be followed, but know there was a lot of subtle and annoying math at this stage.
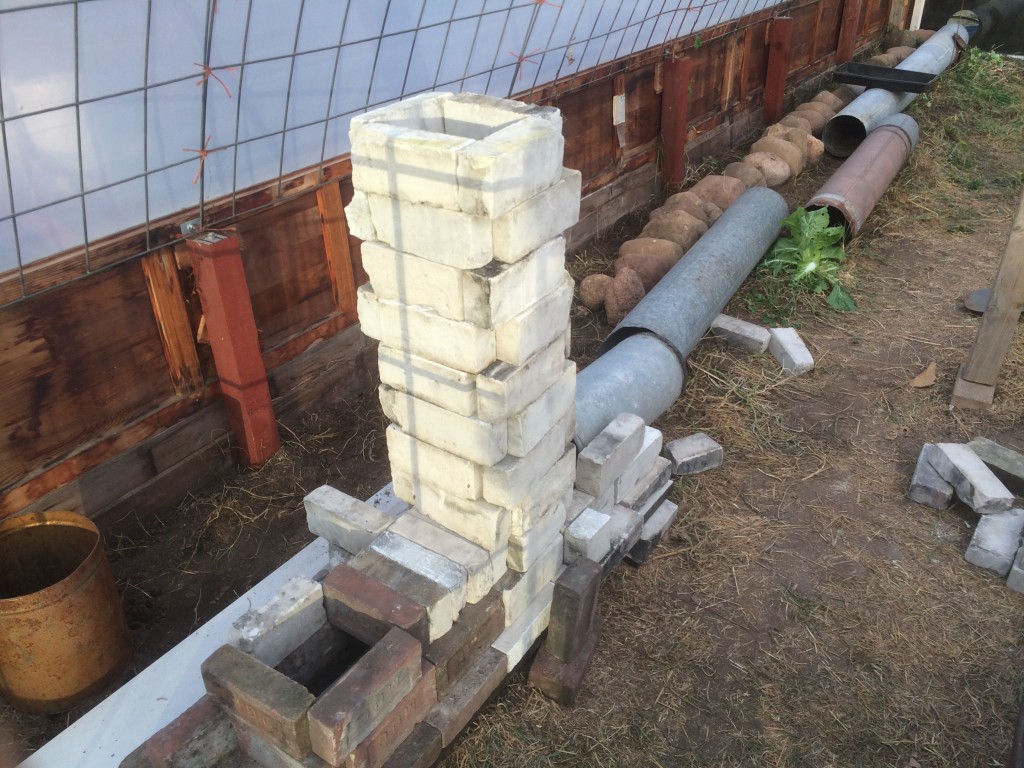
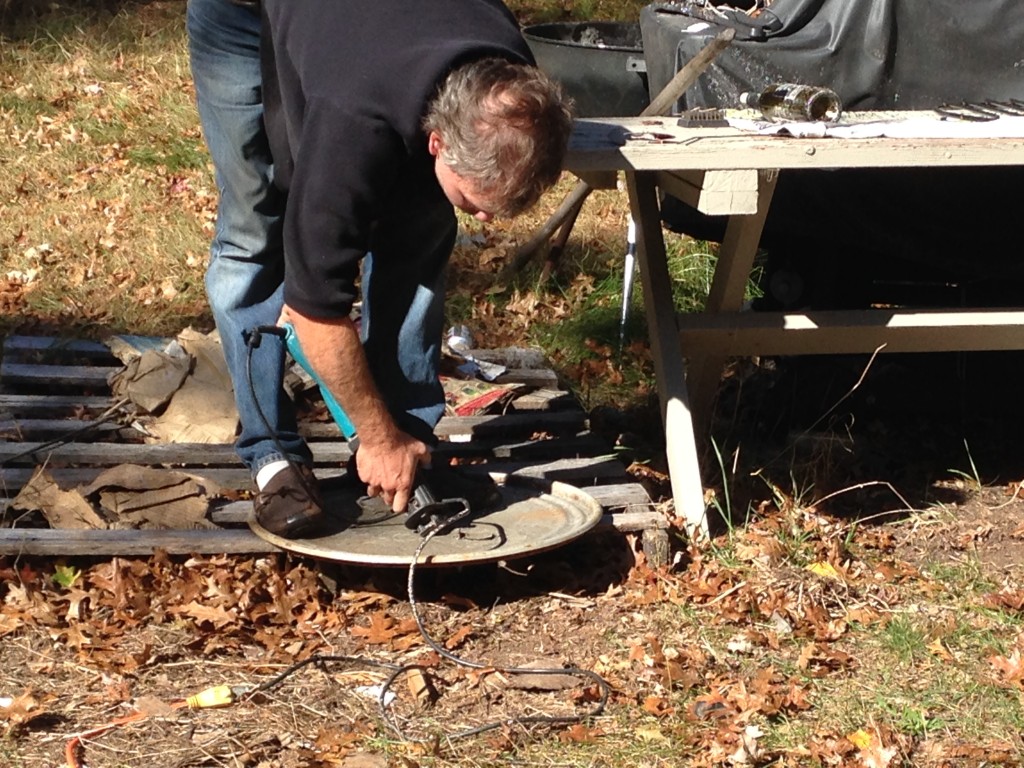
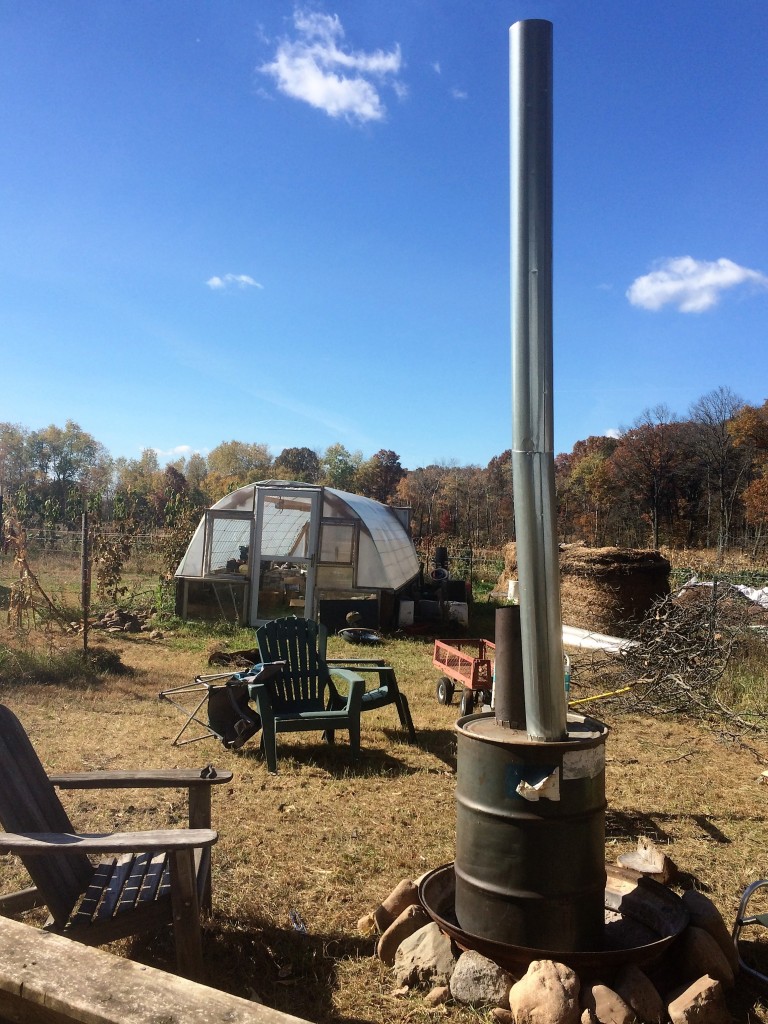
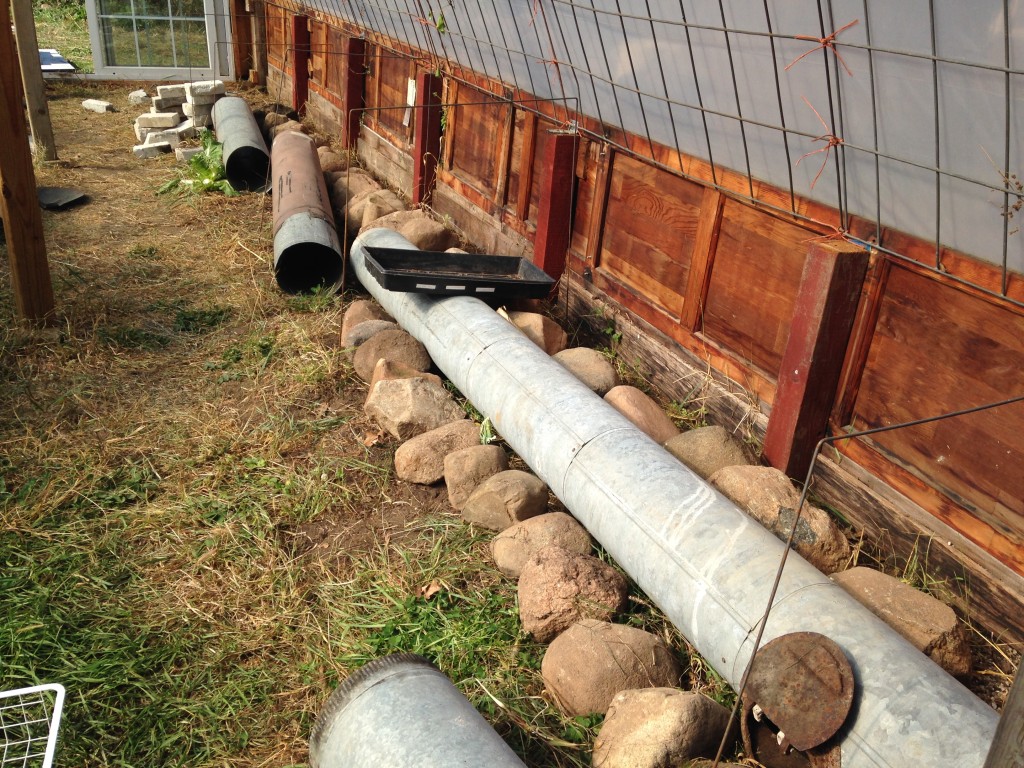
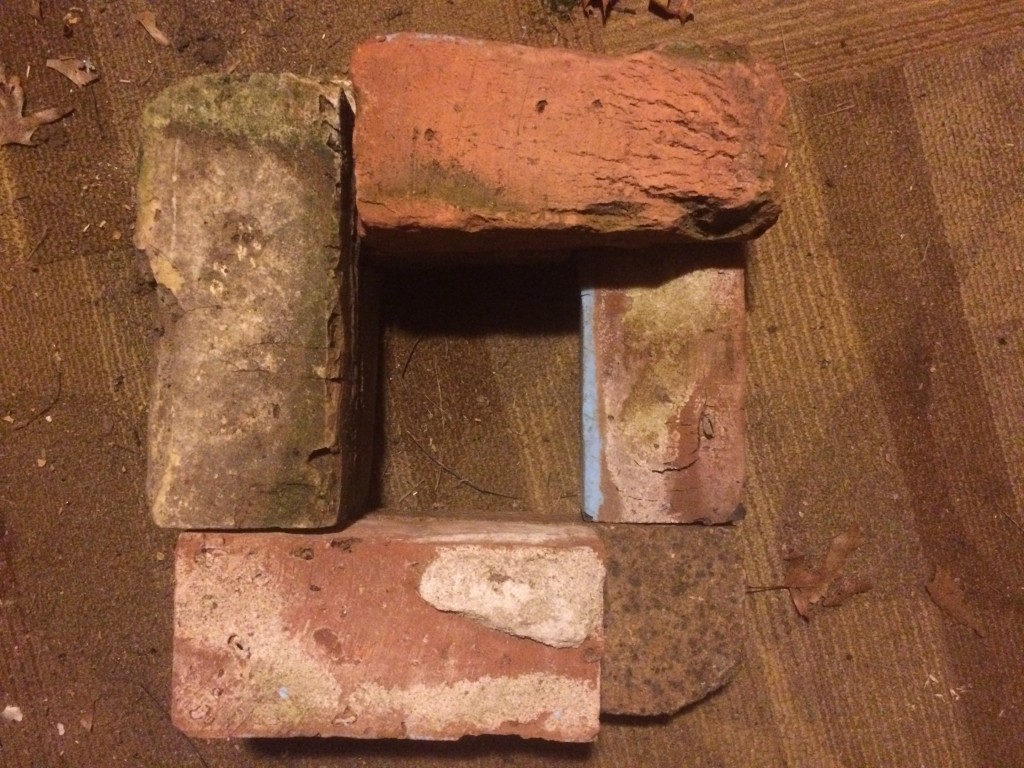
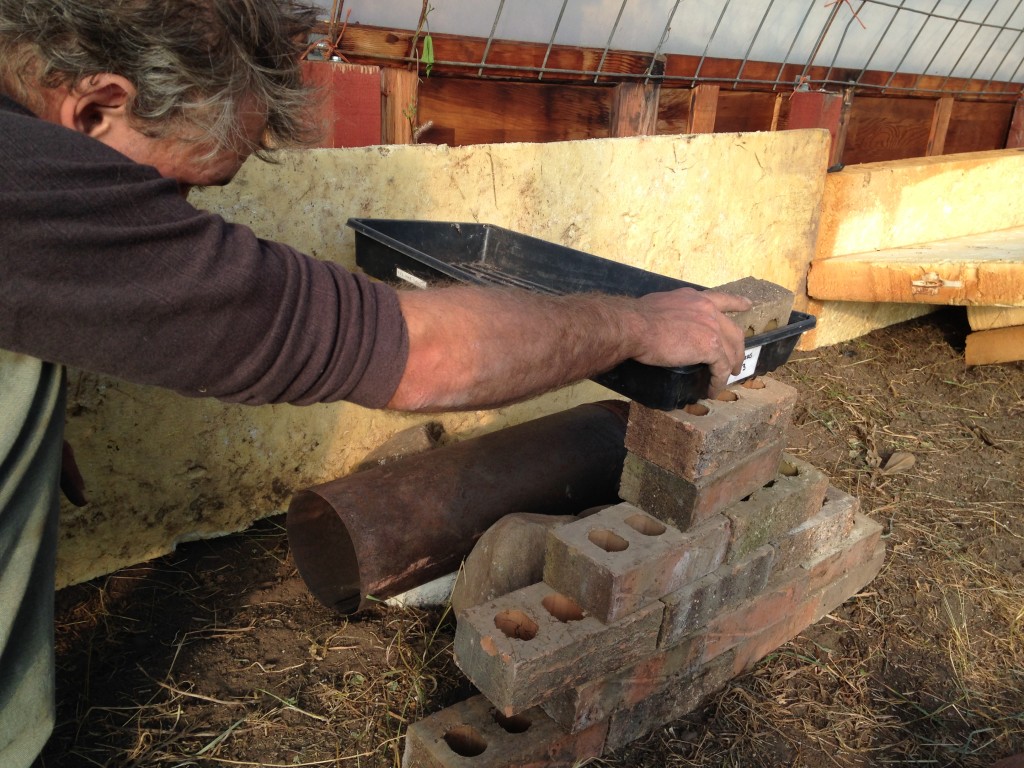
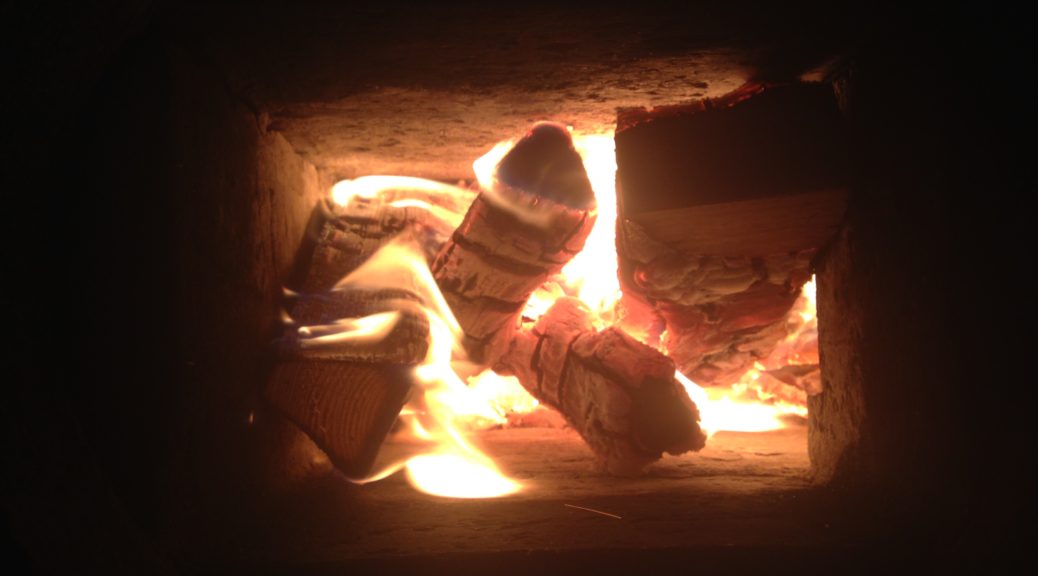
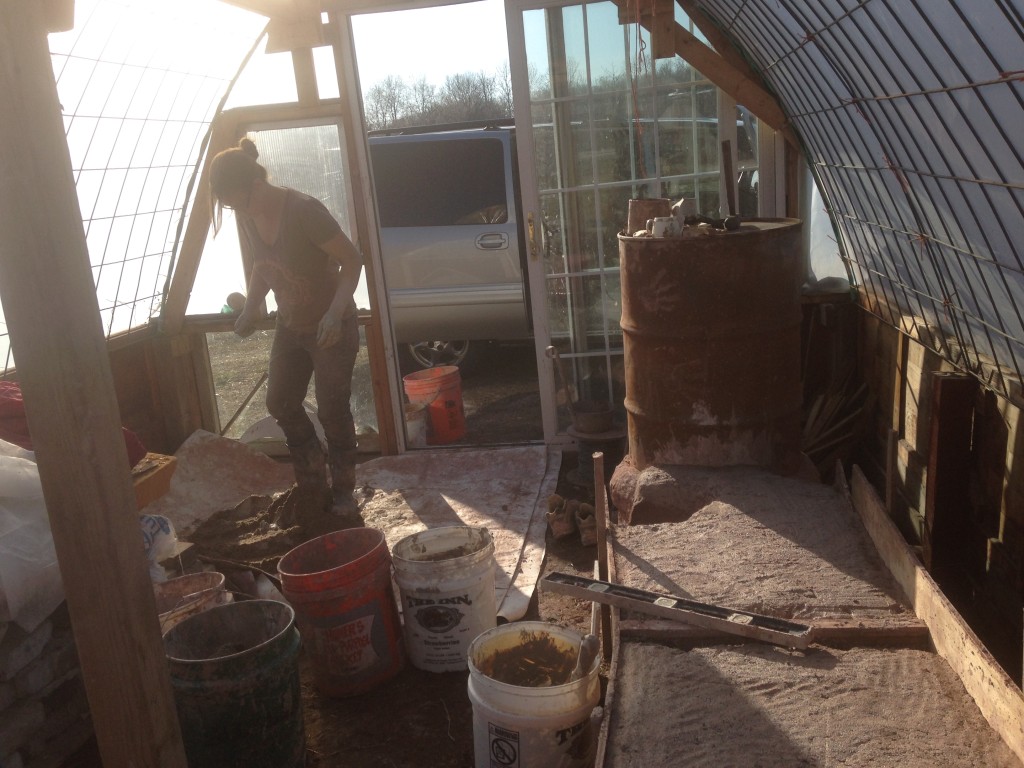
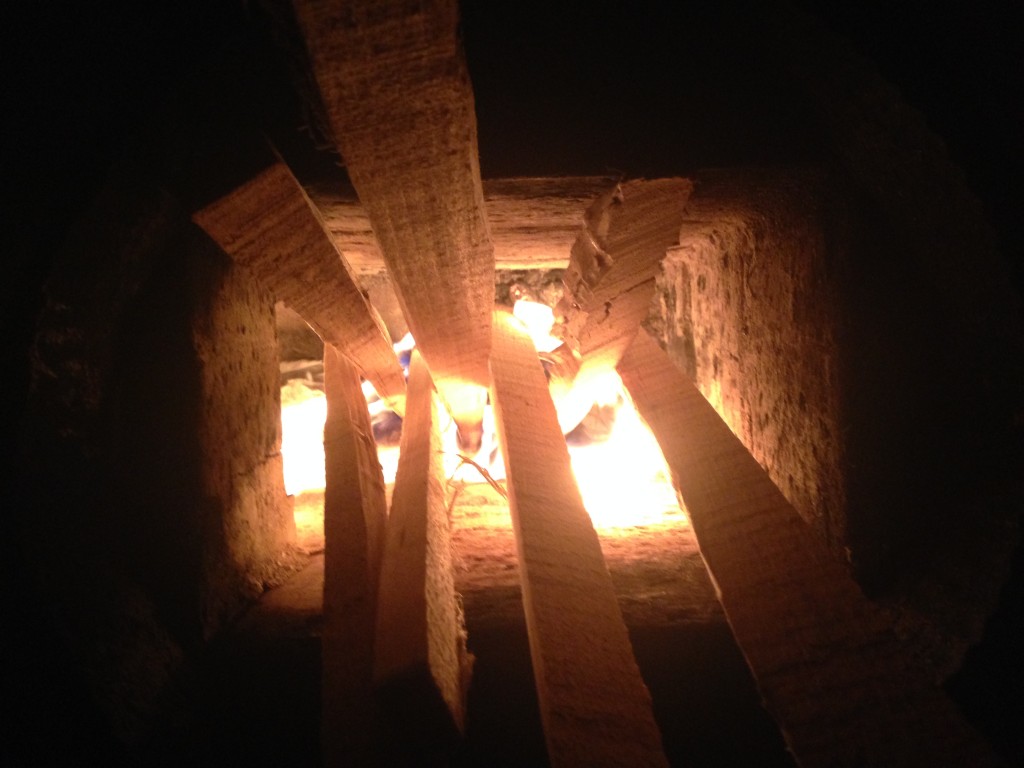
Many variations were tried out and discarded in the design process. The red bricks are used in the fuel feed for their durability, while the softer insulative bricks were used throughout the rest of the combustion system.
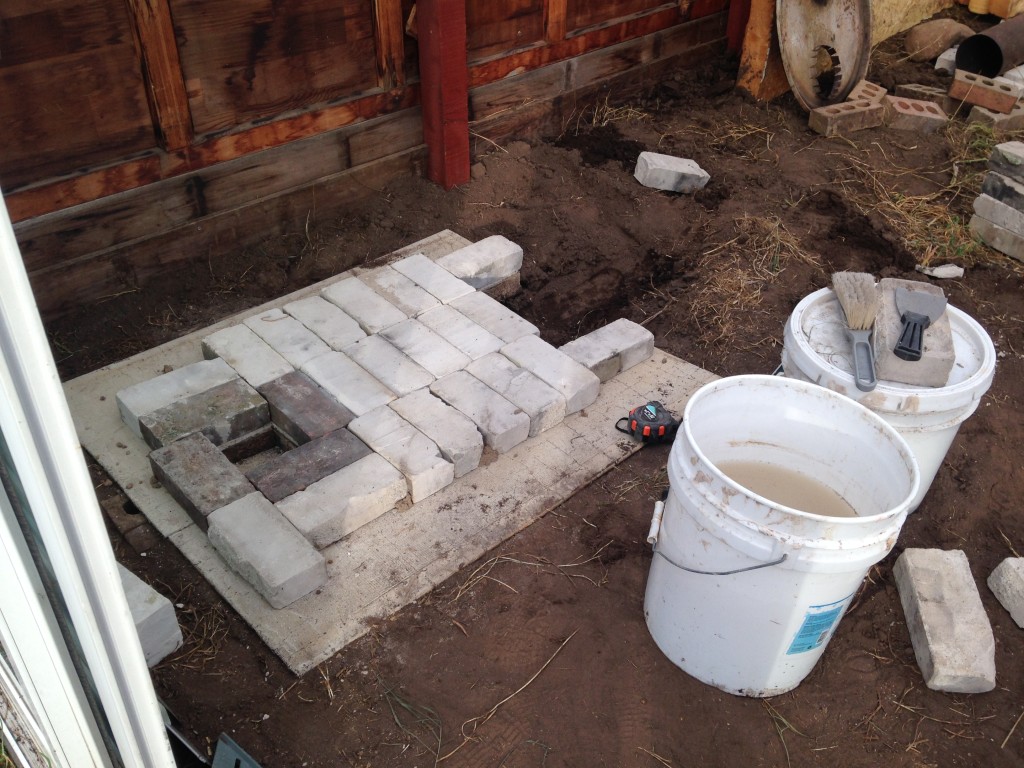
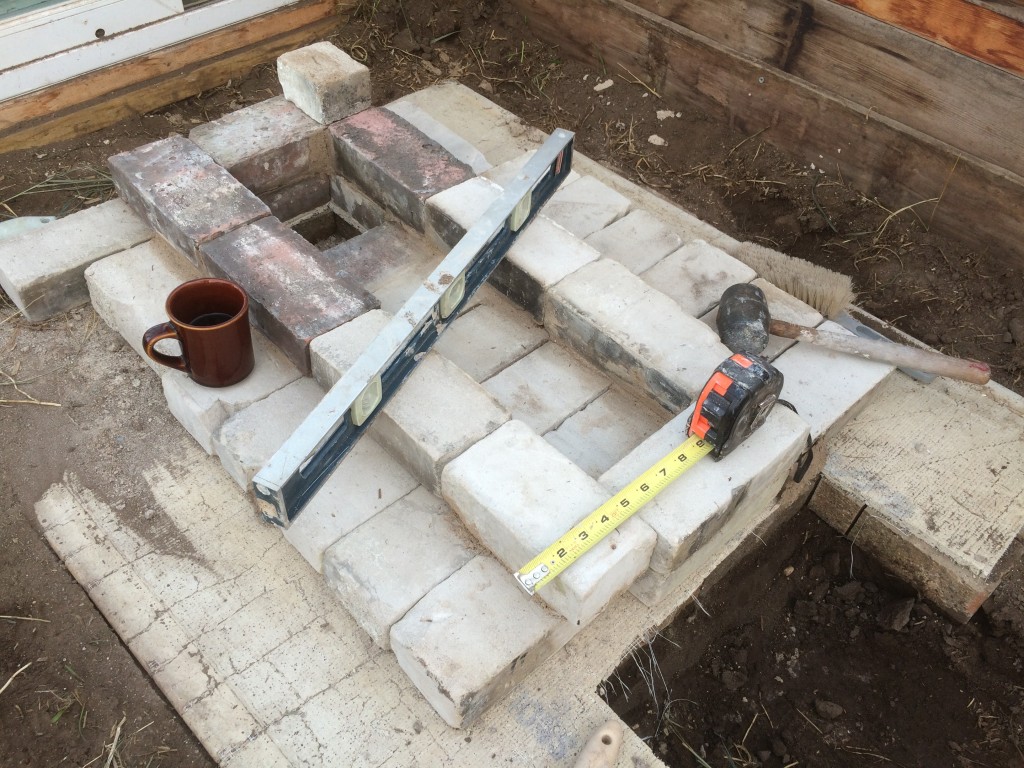
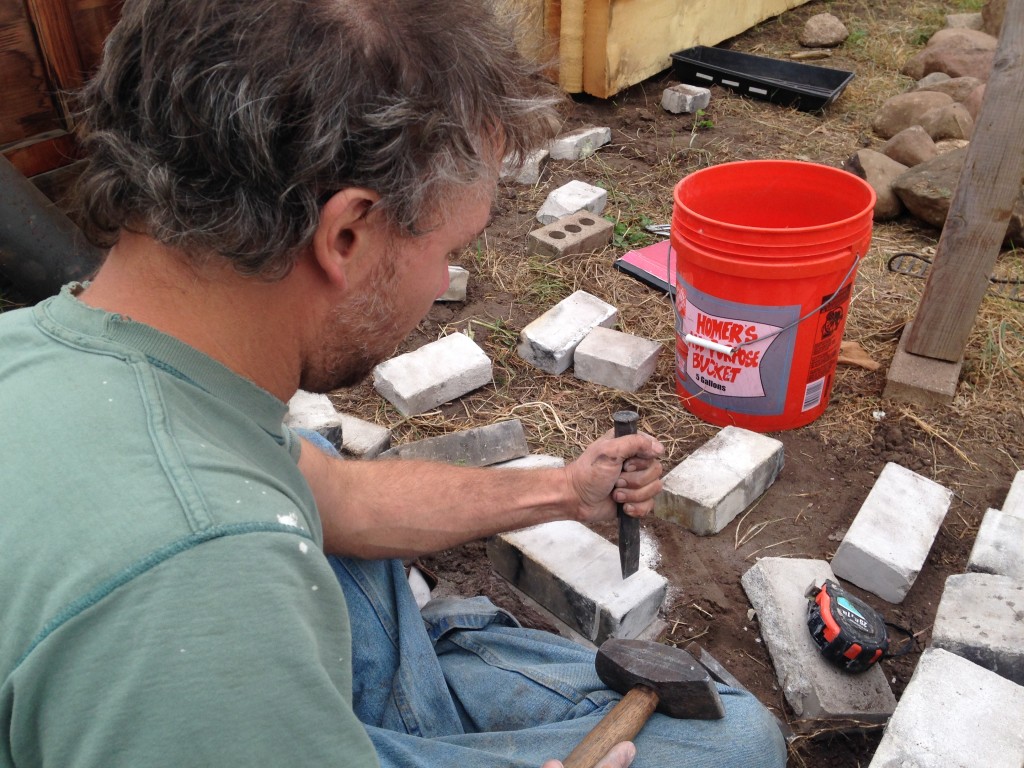
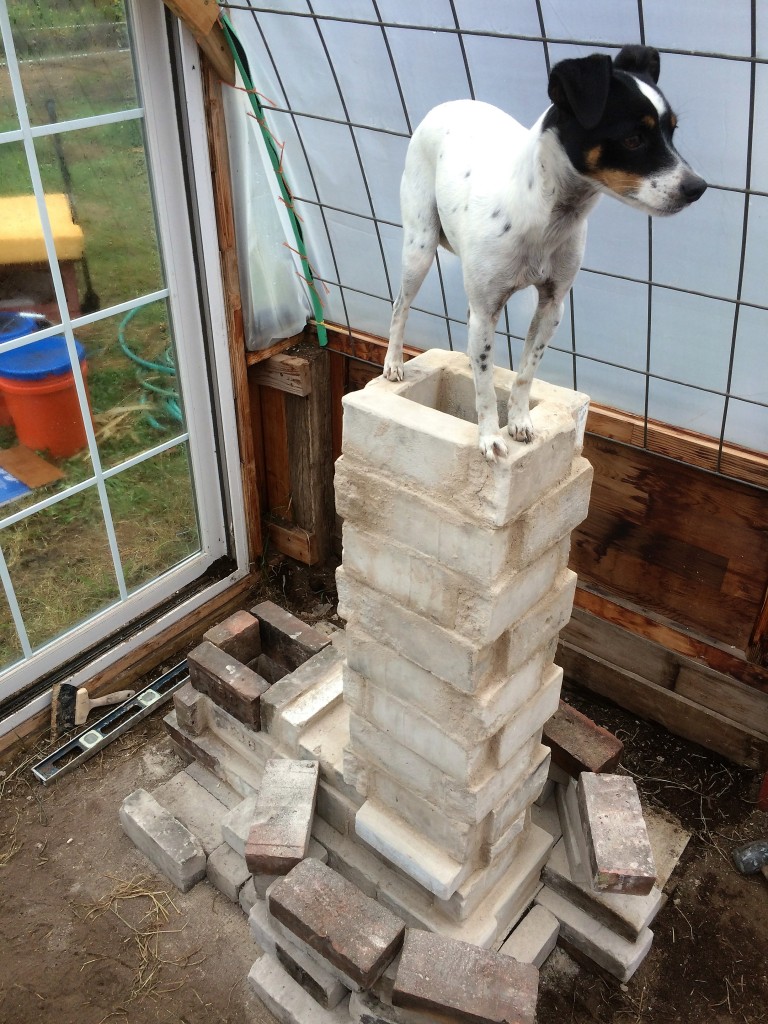
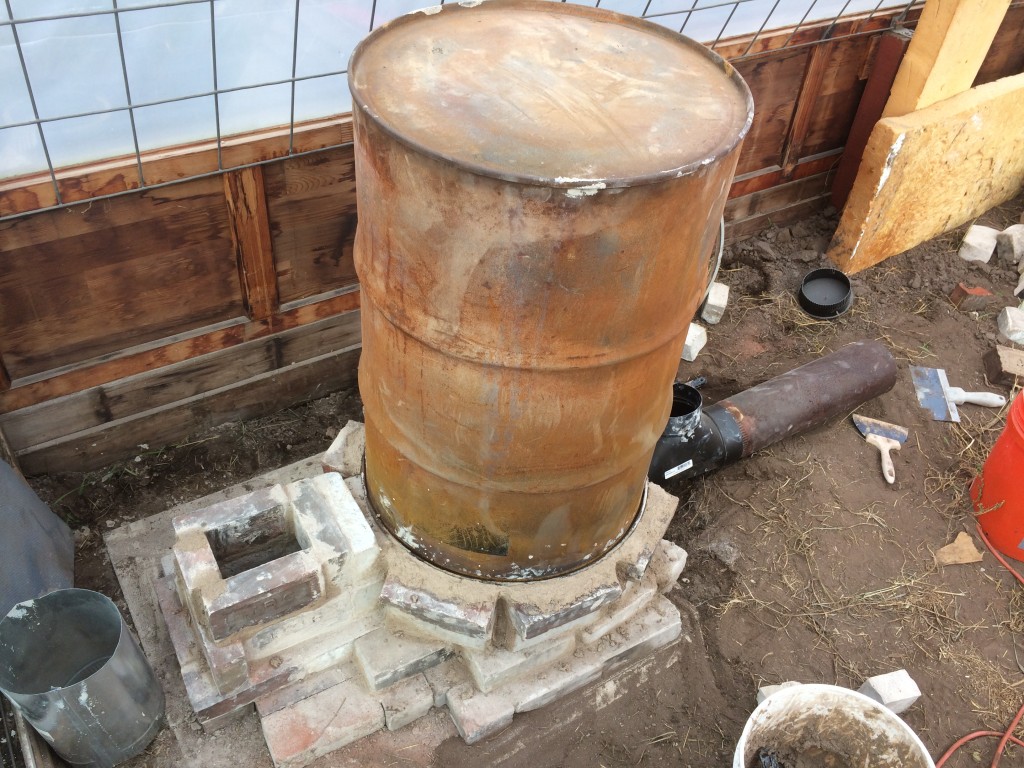
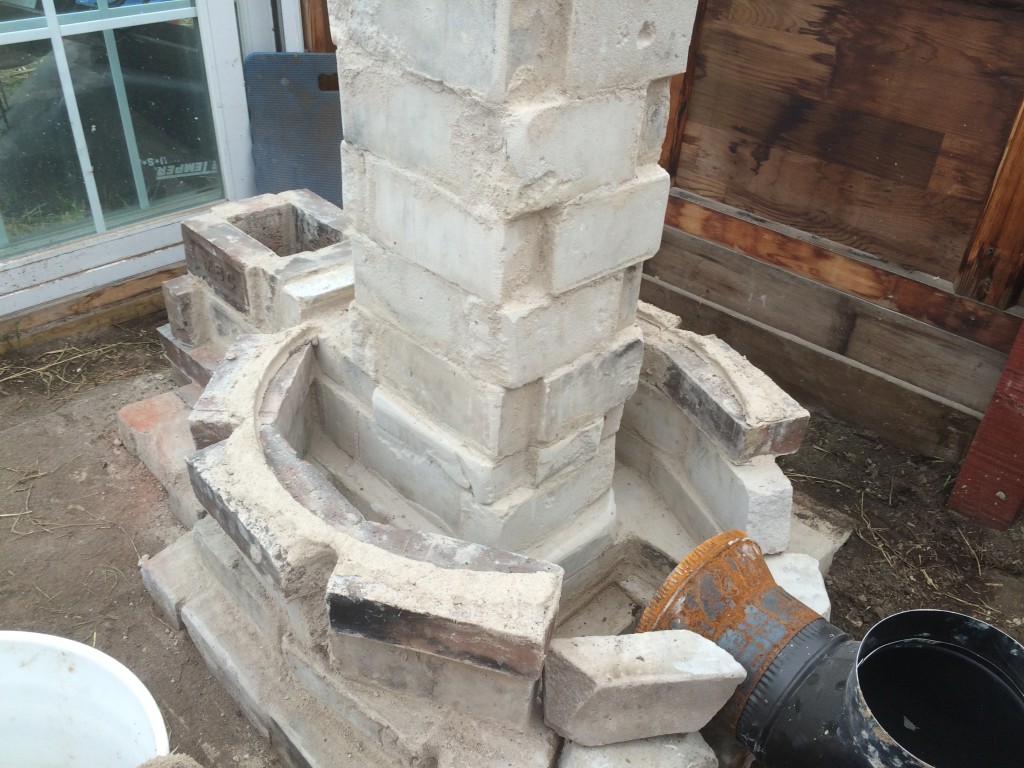
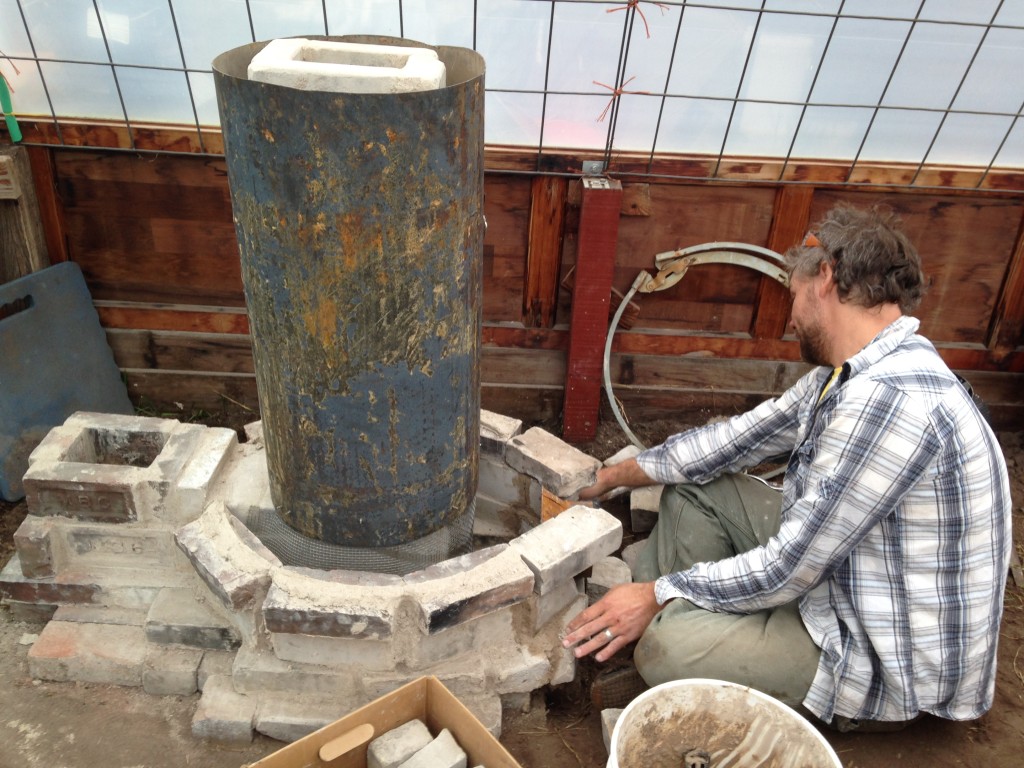
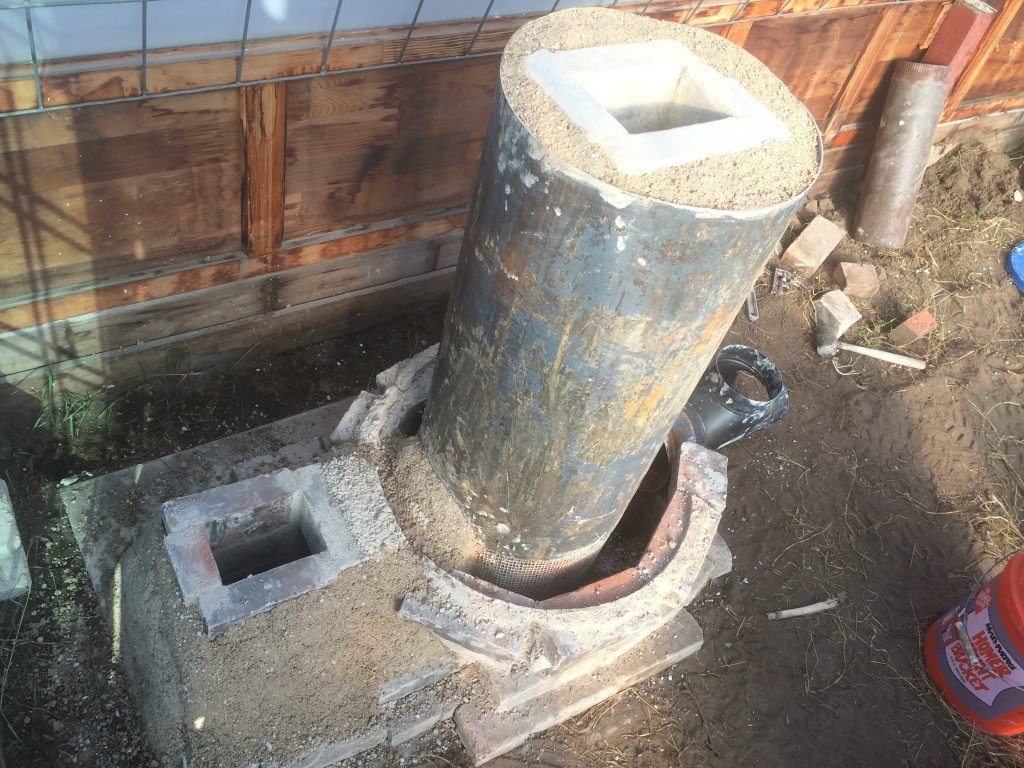
And then winter came, and we hit the road, leaving the wet clay of the combustion chamber to slowly dry out over the wintertime.
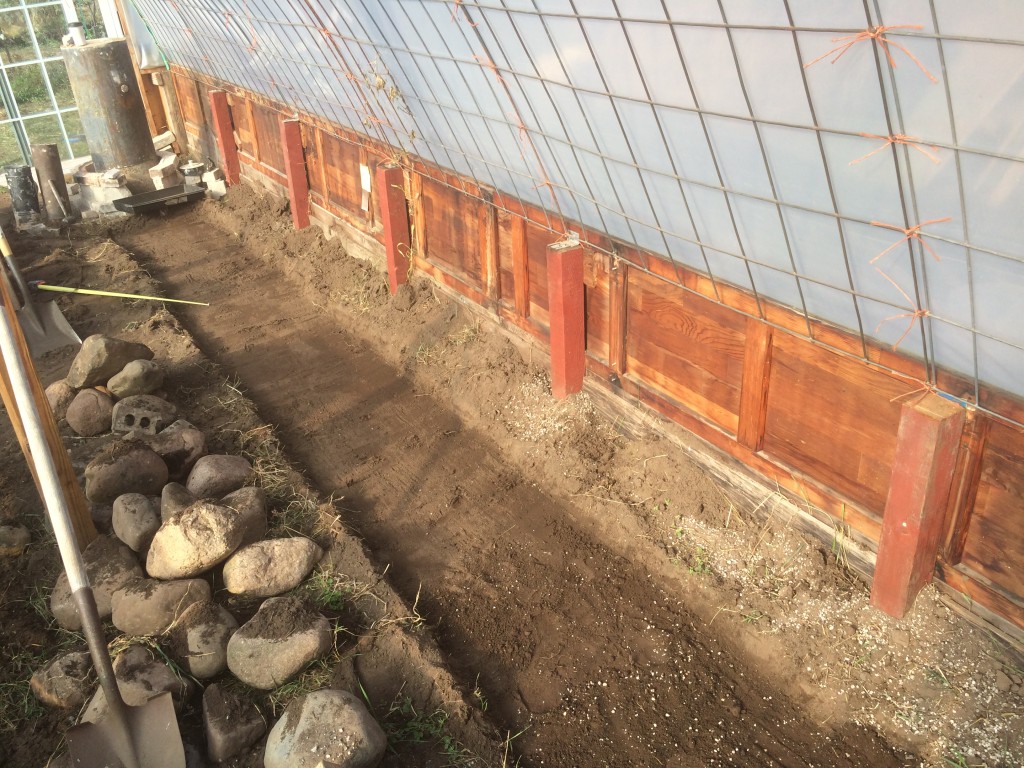
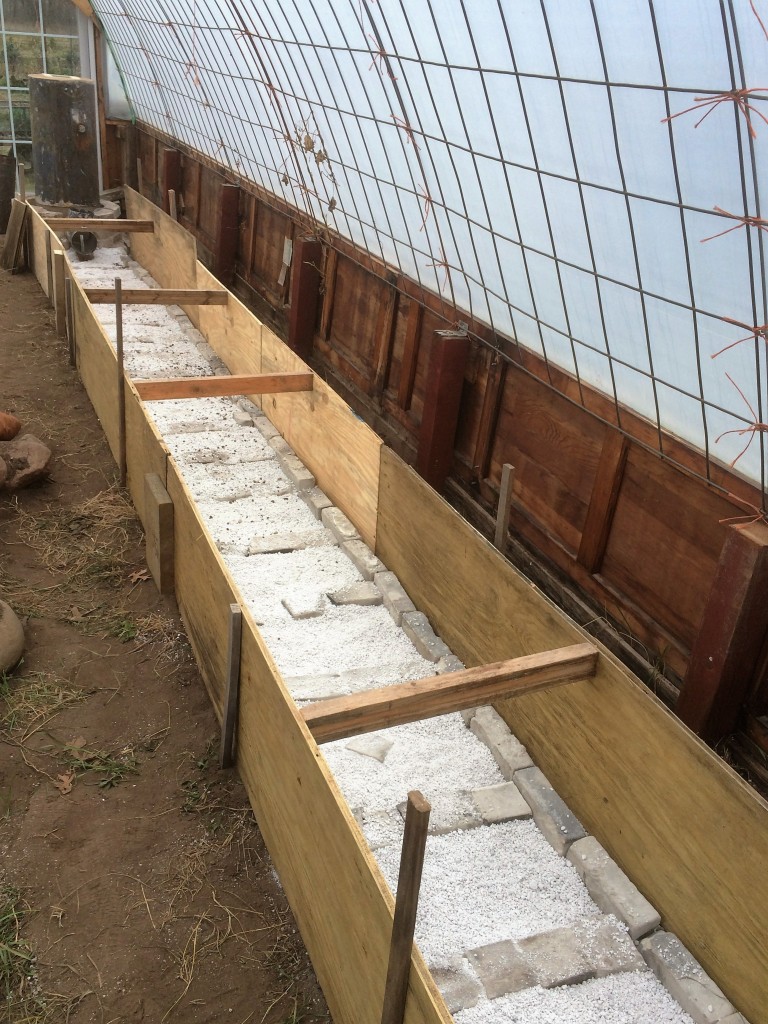
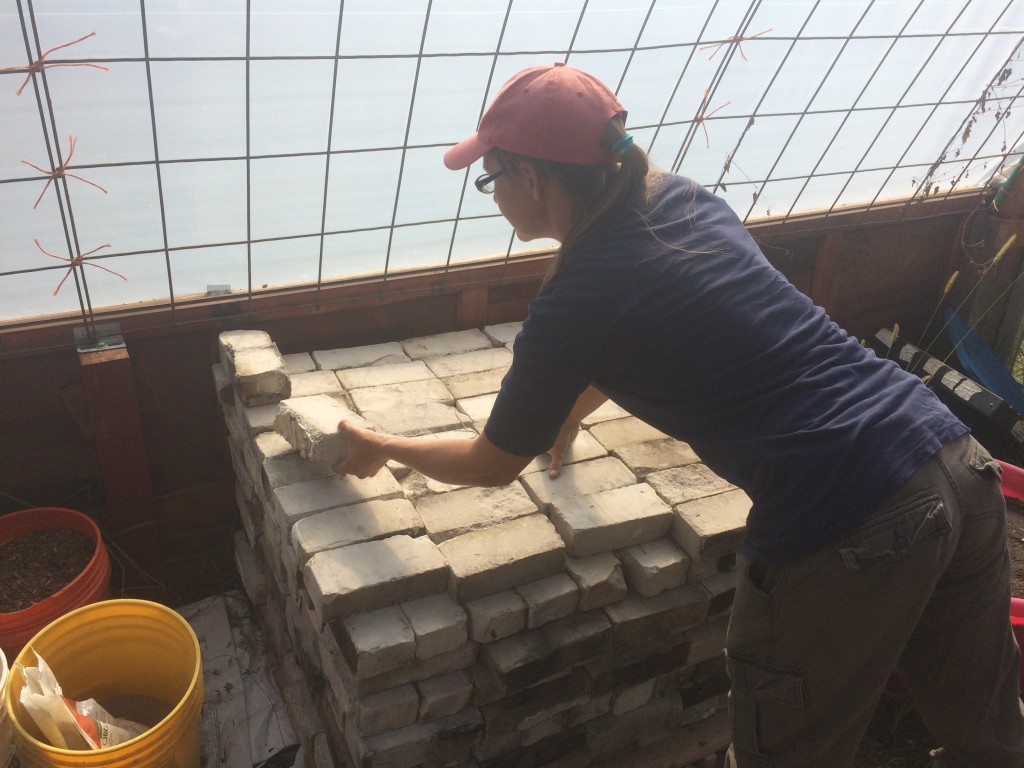
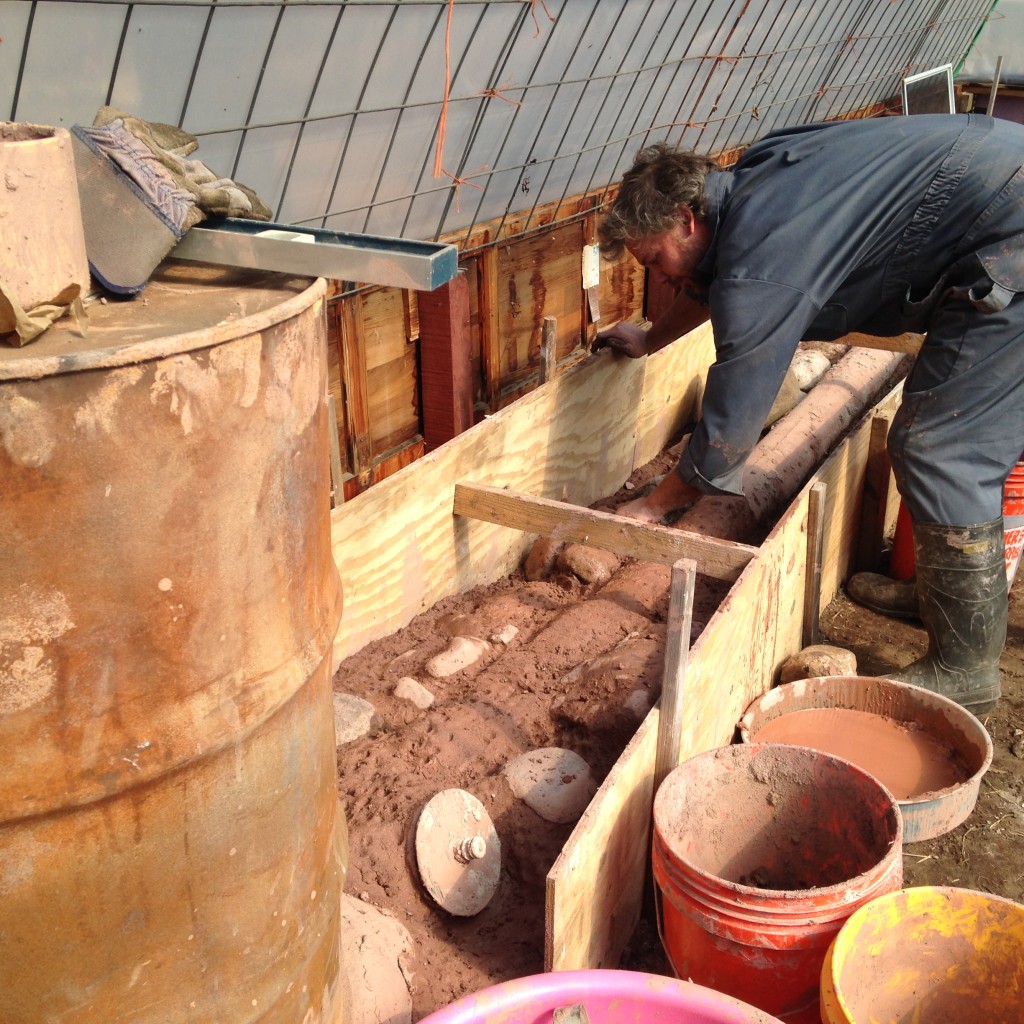
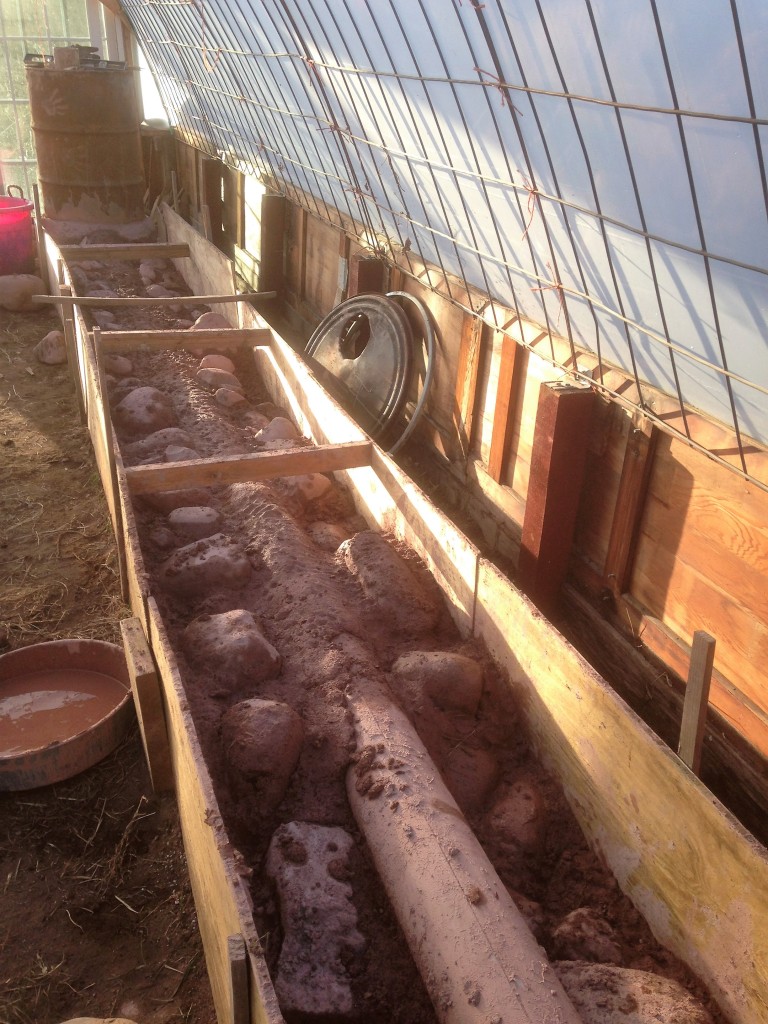
When we returned in March, we got to work on the thermal mass bench … which turned out to be a lot more work than we’d bargained for.
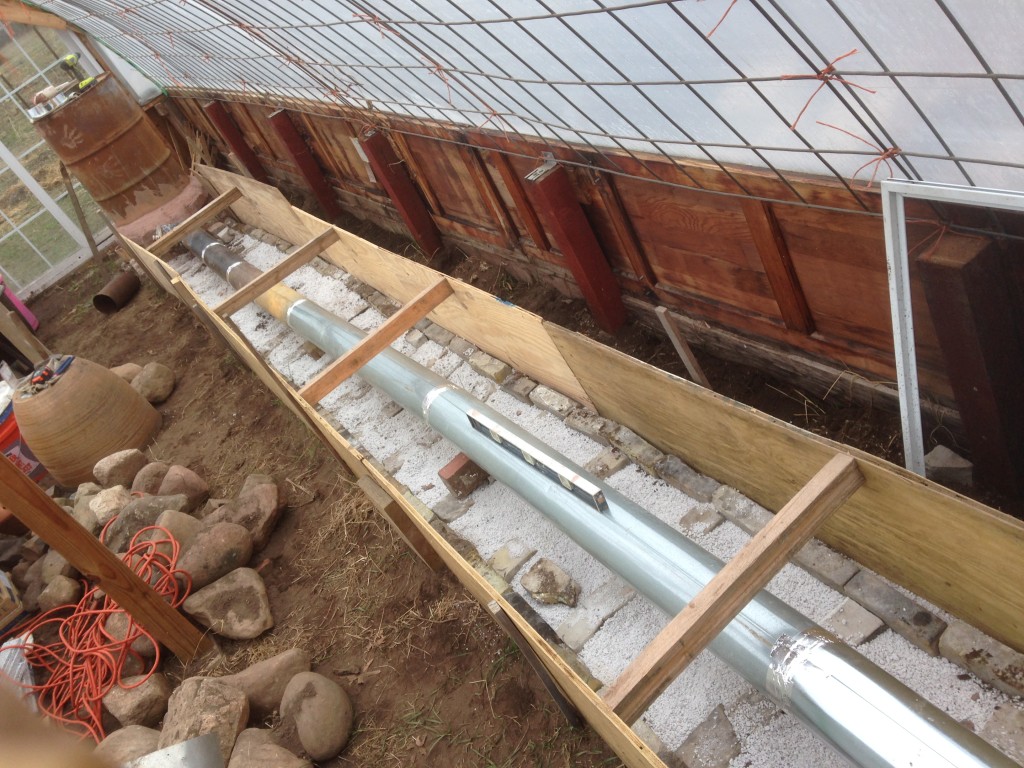
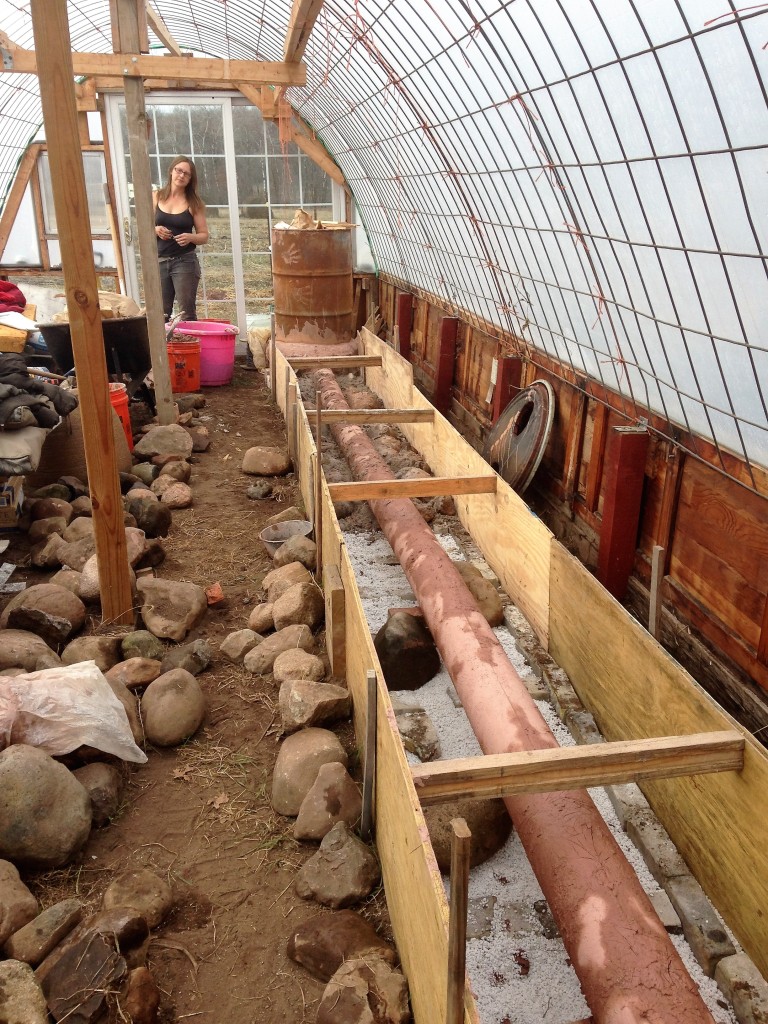
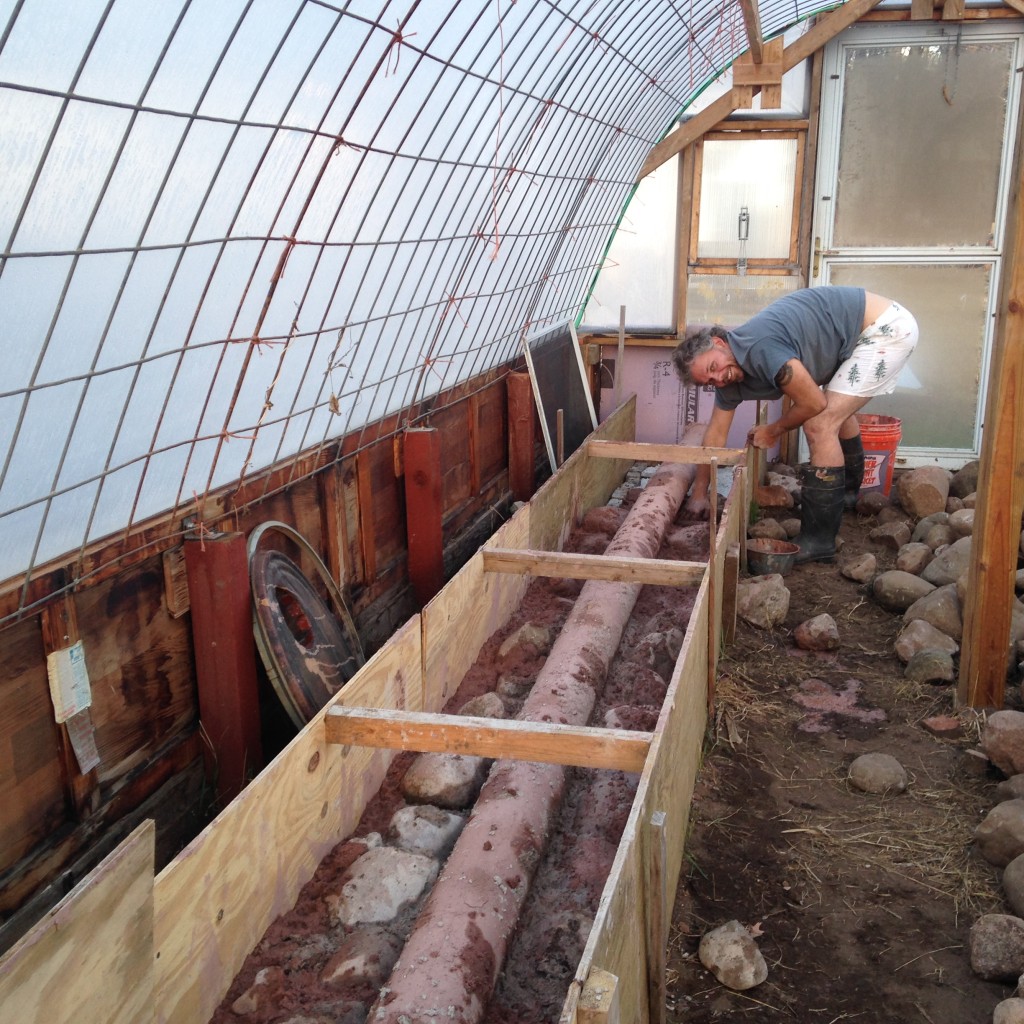
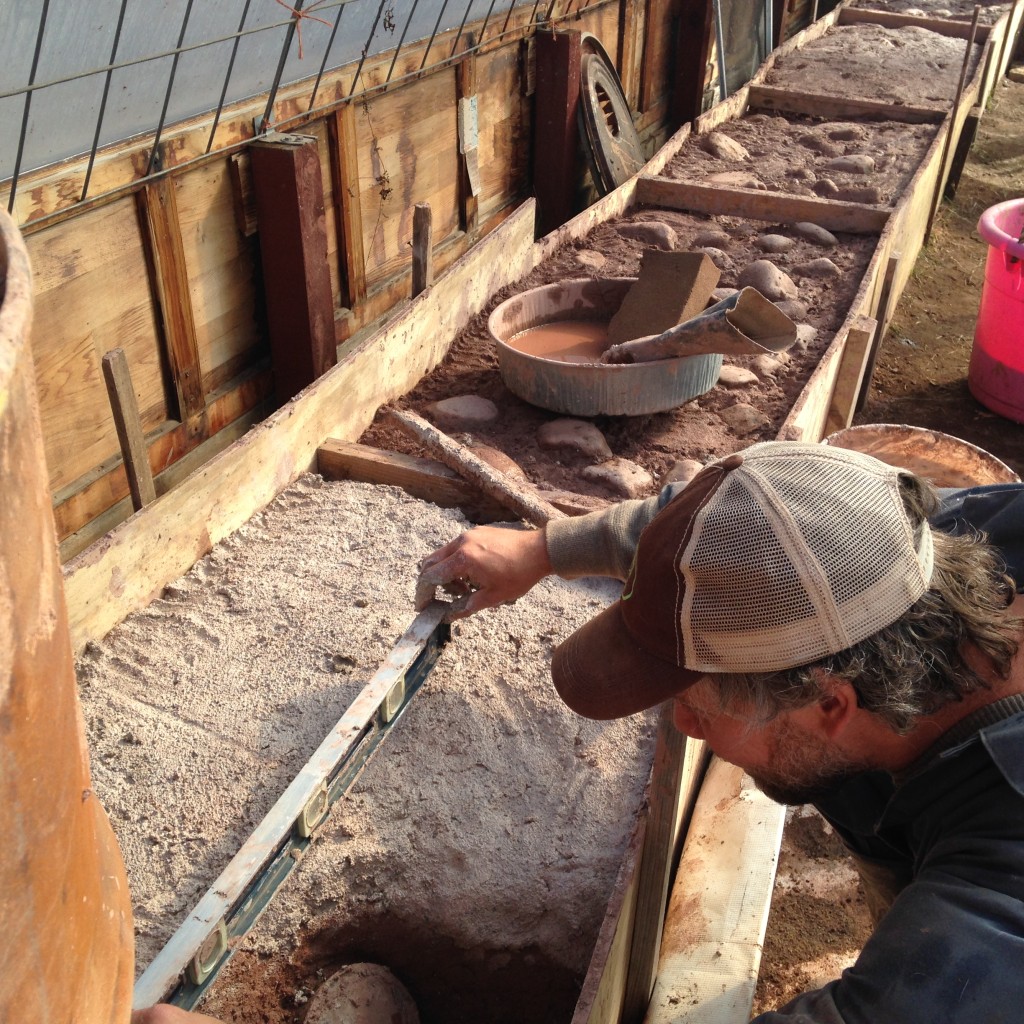
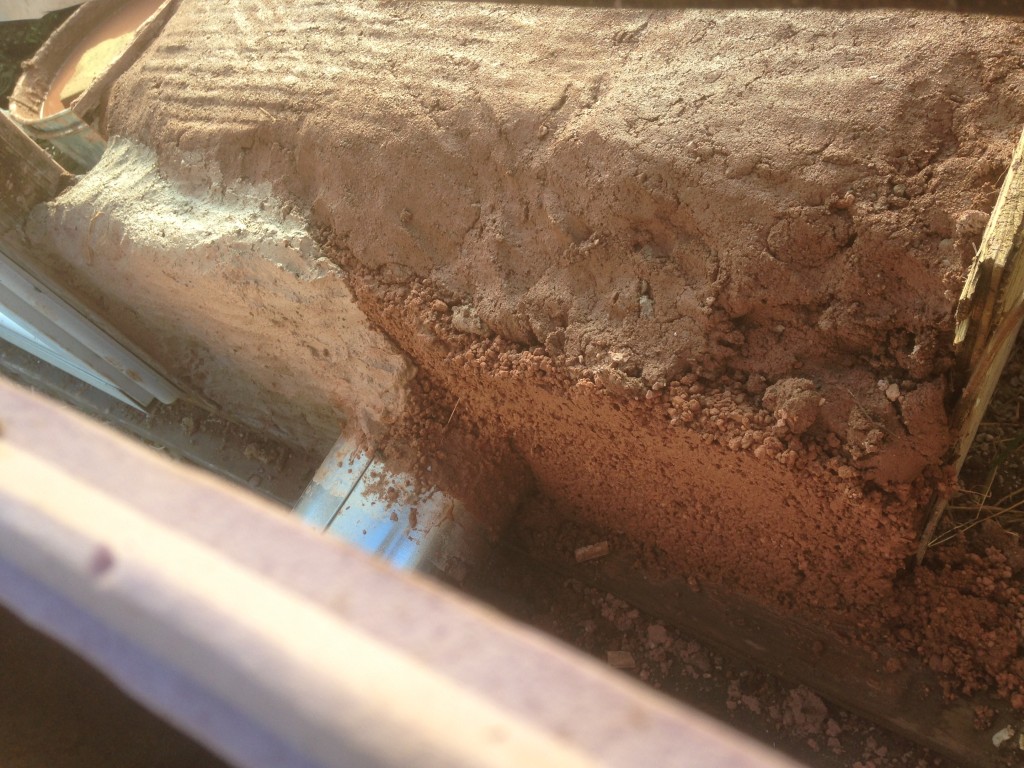
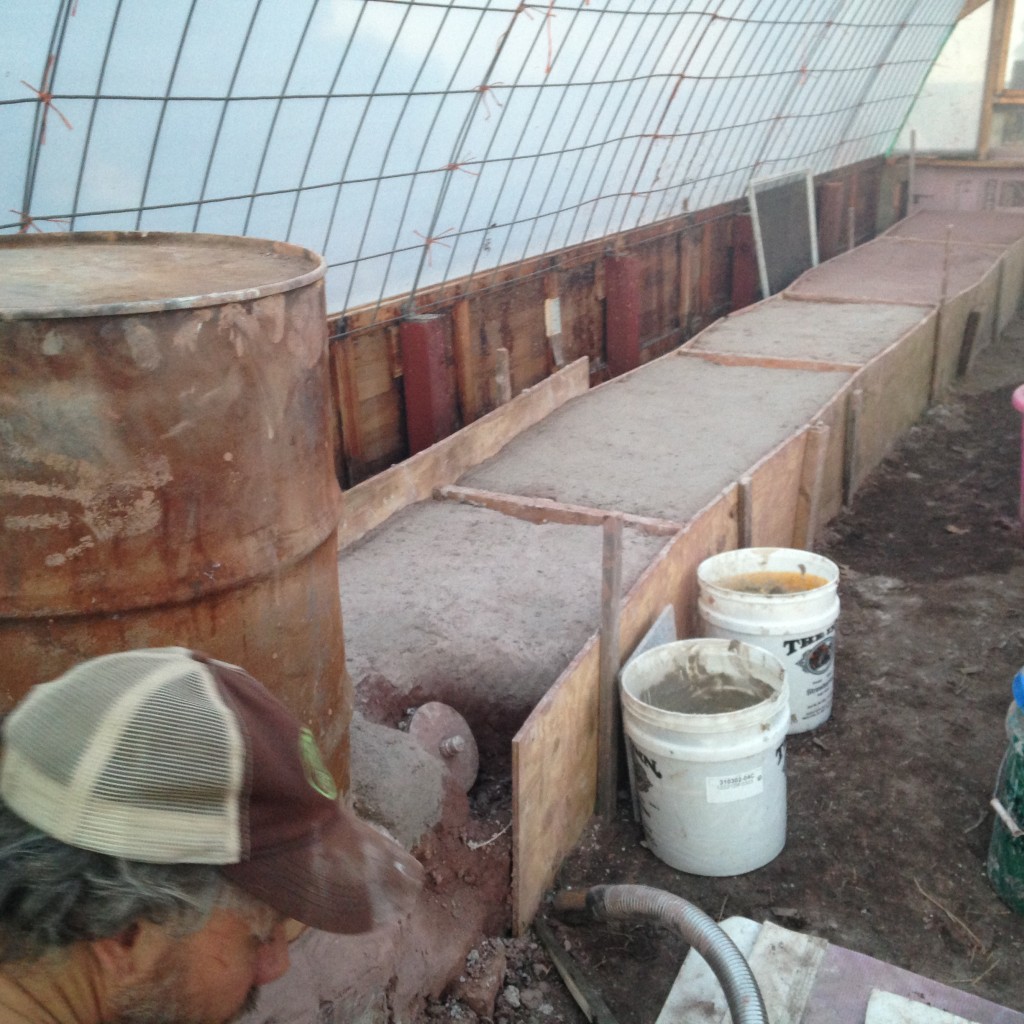
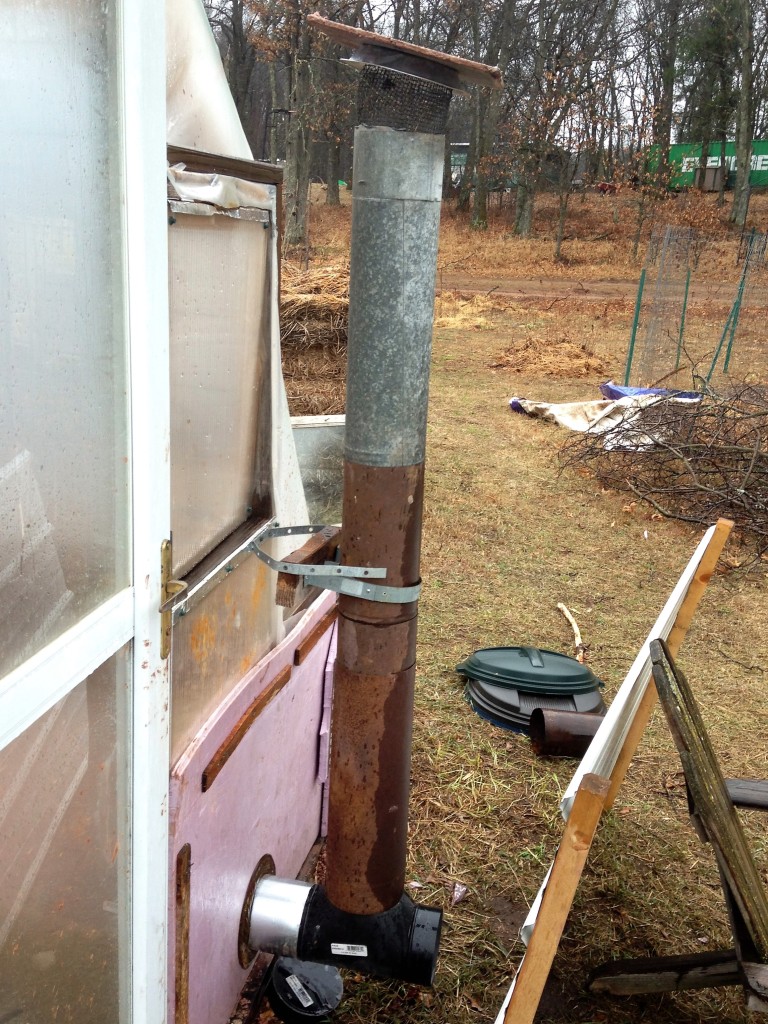
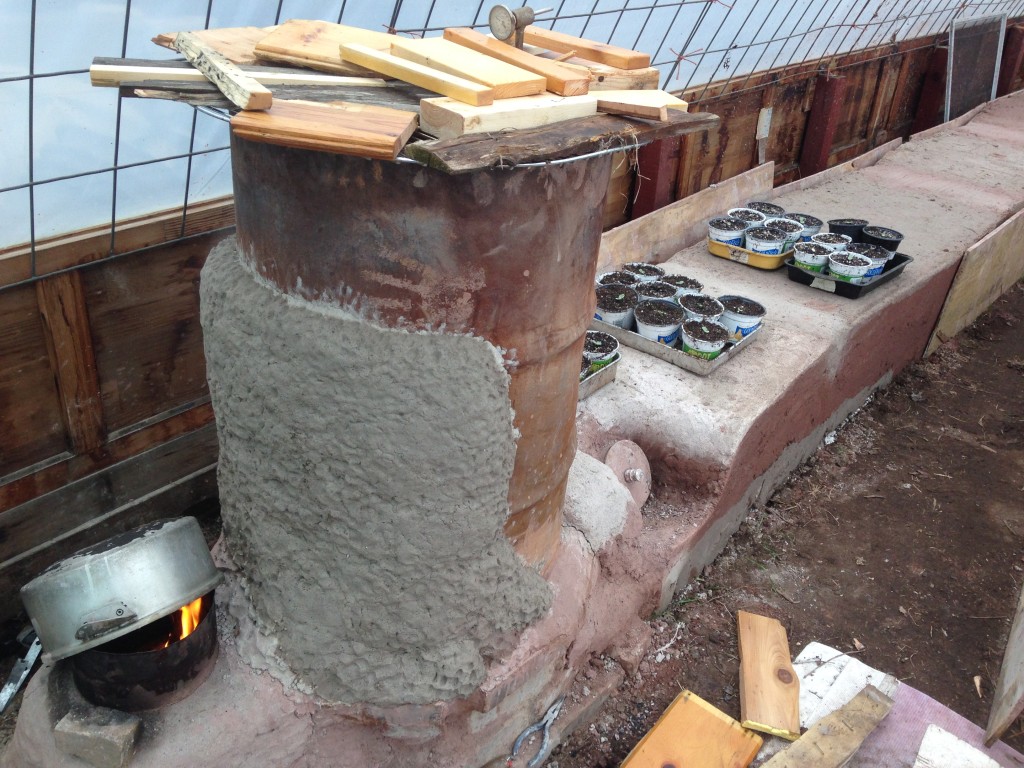
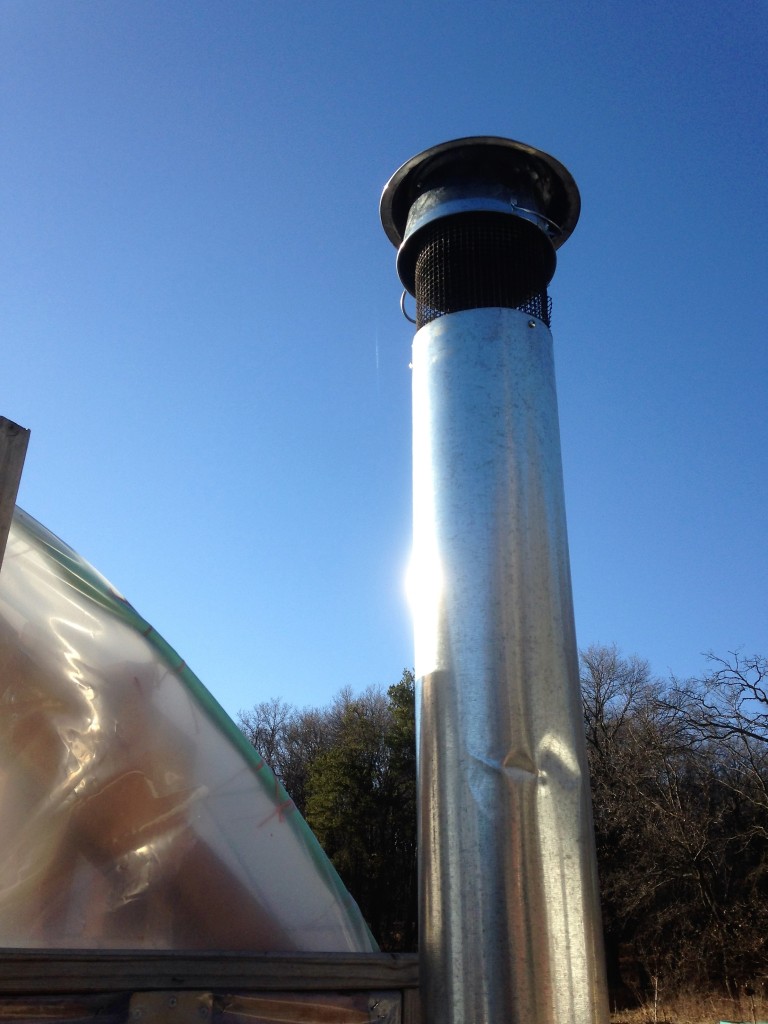
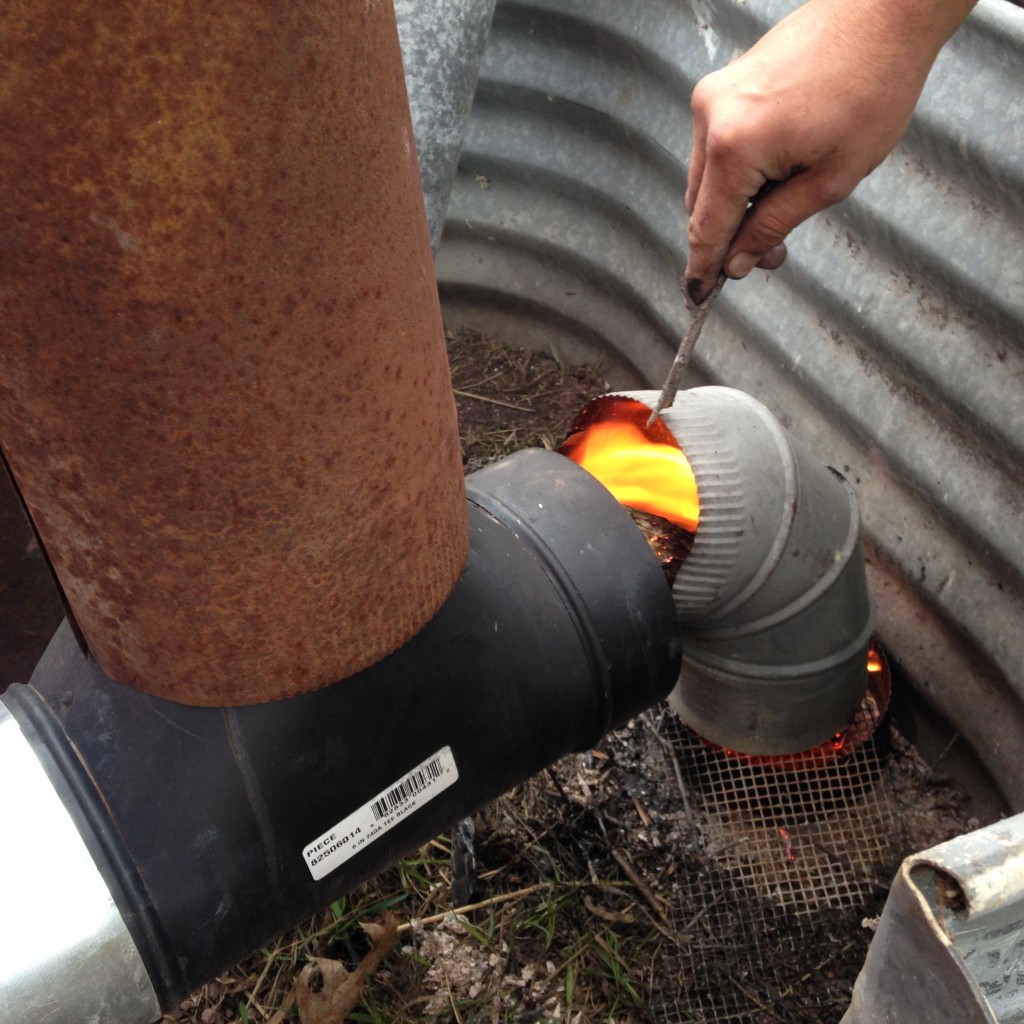
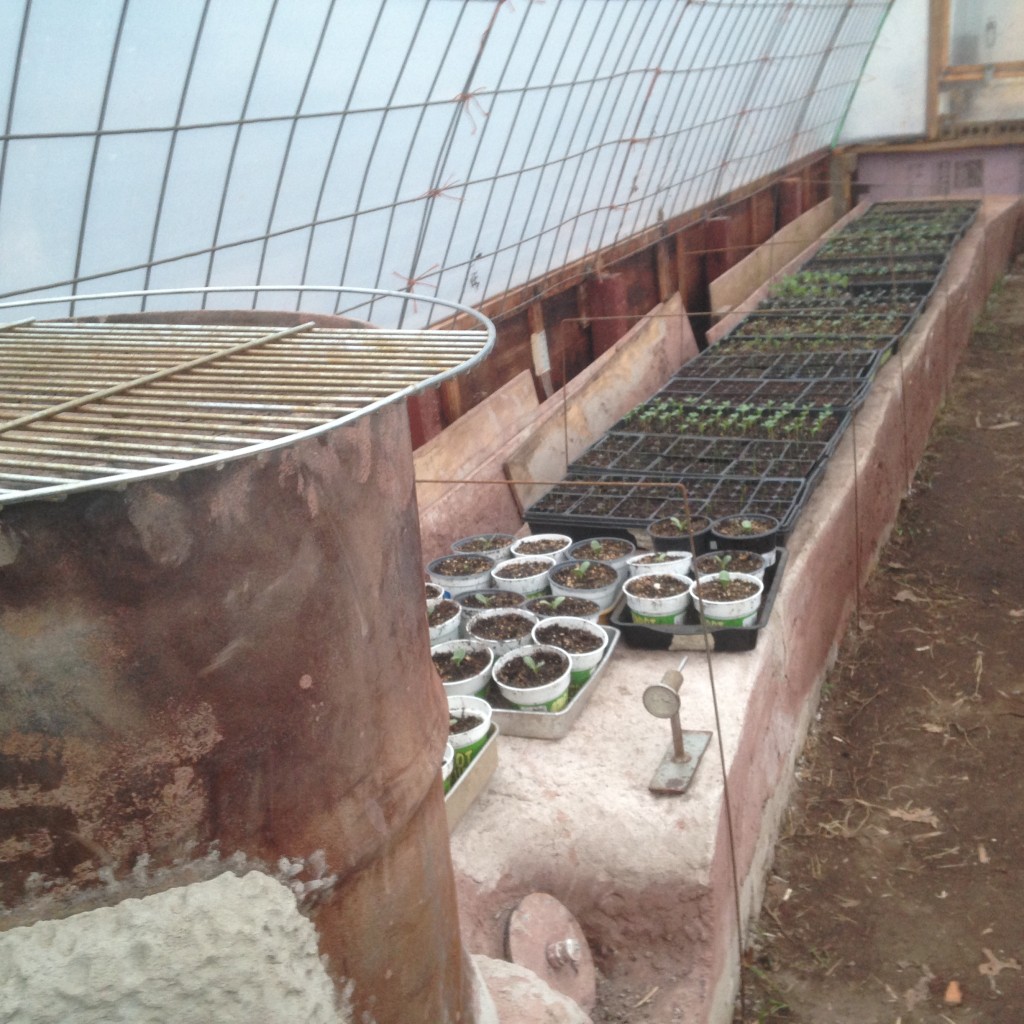
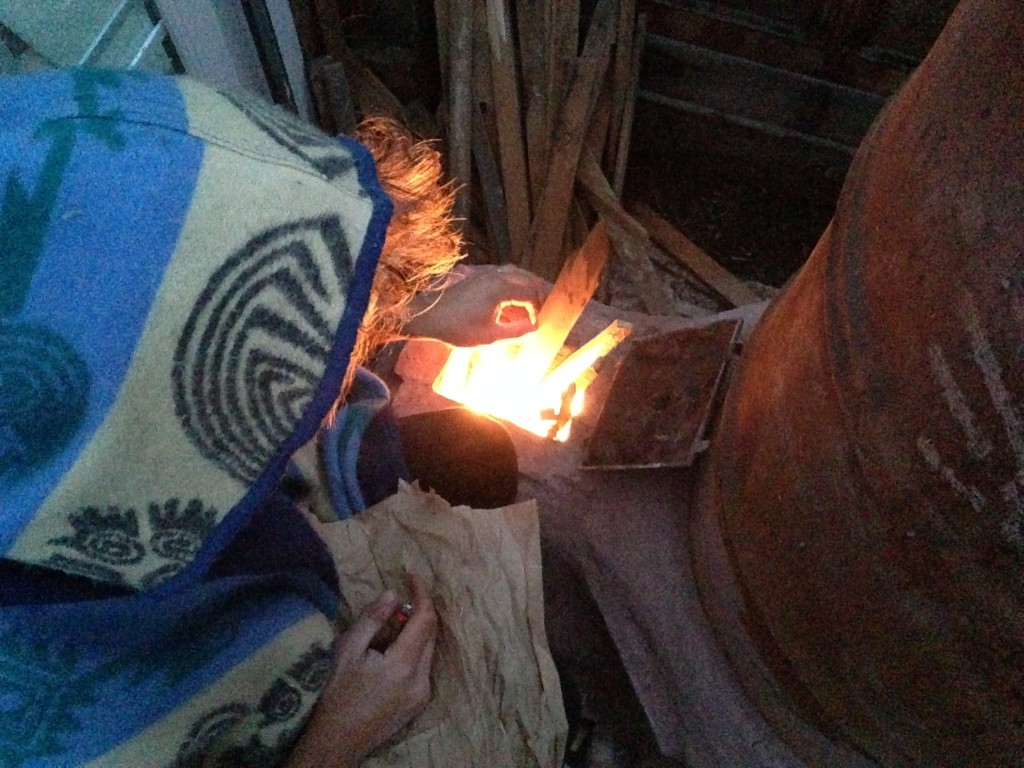
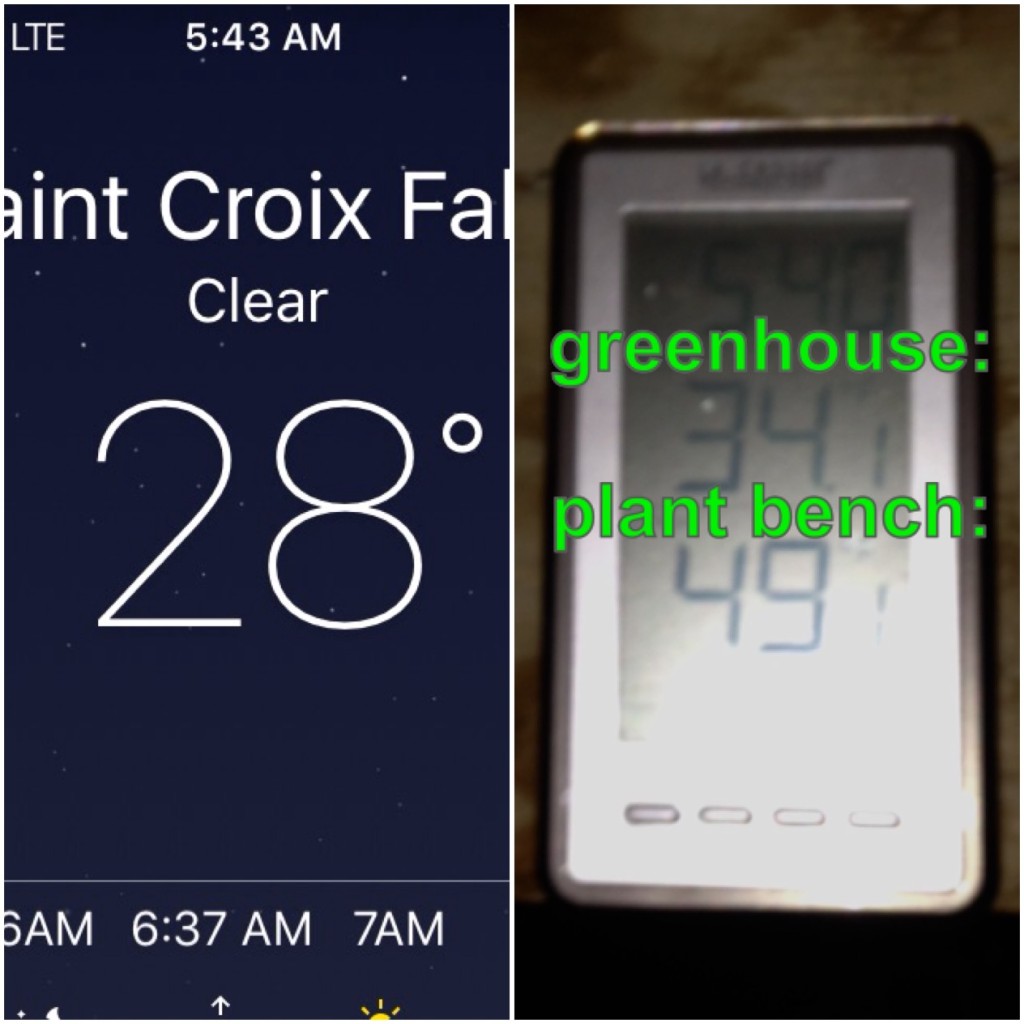
Before the chimney was upgraded further and before the thermal mass was fully dry – it was already working! Temperatures on the plant try bench stayed over 20 degrees warmer than outside, night after night – with no need to tend the fire after bedtime, and zero risk of the heat going out in the night – you can’t stop a warm giant rock from radiating! Plus it was warming the soil itself, and not just the air around the plants – great for happy, healthy root development.
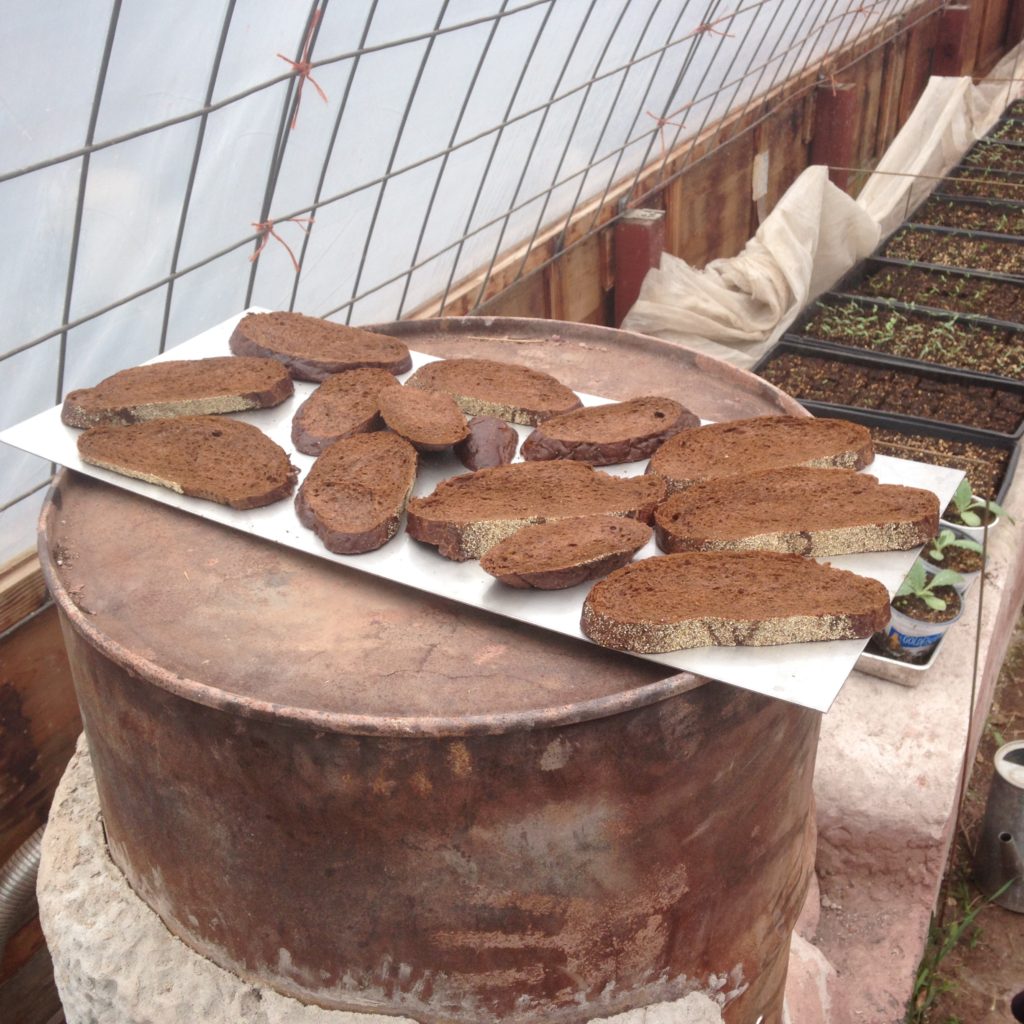
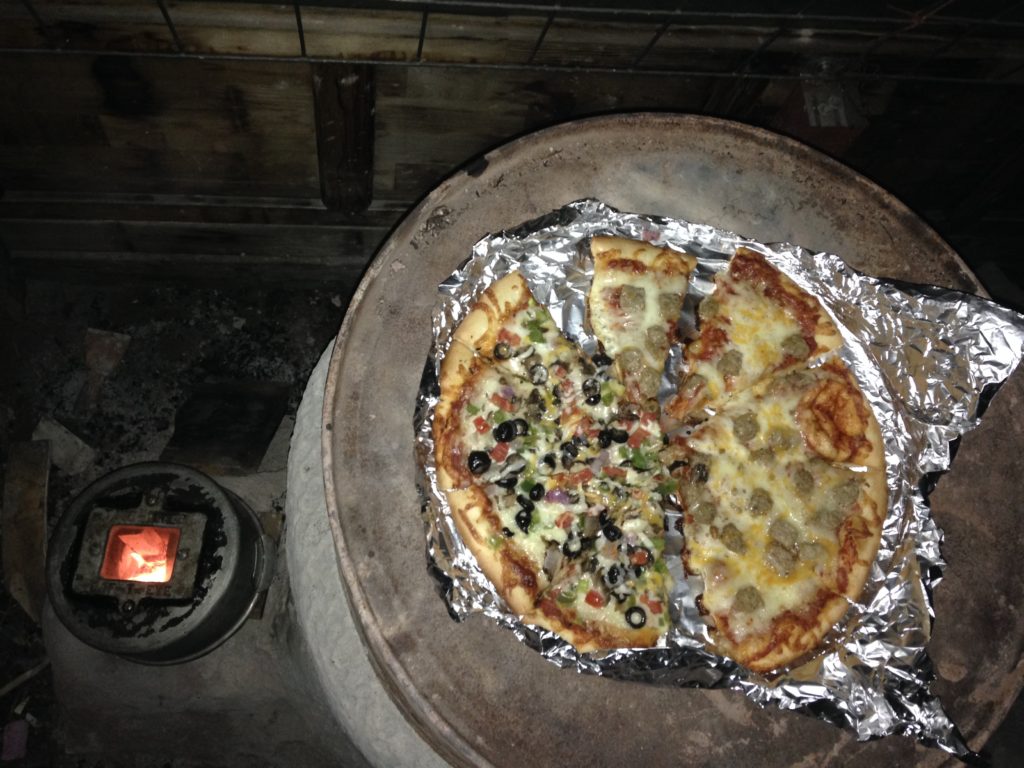
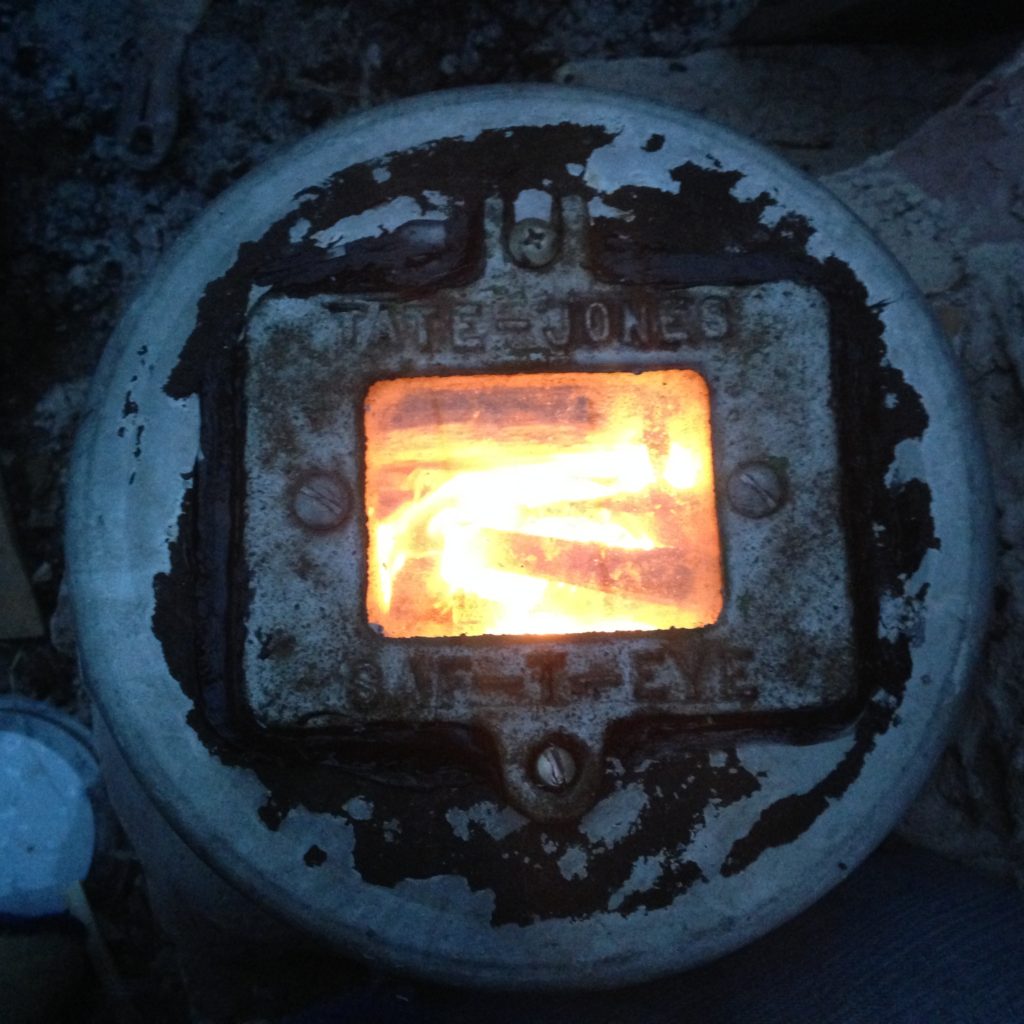
It’s been a success. In recent nights just below 40 degrees, it kept the hot weather plants happily over 60 all night – maintaining the same 20+ degree heat increase seen at lower temps. It feels great to have it finally done, and really working wonderfully for our needs. It was a lot of work, but it was absolutely worth it. Plus, now we have experience in mass heater construction, so a mass heater in a future home is definitely a possibility …

I’m not scientific, and not living off the grid, but this is an amazing story and process. Impressive! The two of you worked so hard and seem to be a great team…thanks for sharing . Will you patent this?
thanks! I don’t think we can get a patent on it – it’s not a common implementation, but I’m sure there are many others who have come to similar conclusions – in fact, someone from Japan posted a similar system when I shared the video with a Rocket Mass Heaters group on Facebook. It sure was a lot of firsts for us, though!
Hooray. Thanks for sharing. Our rockets help us heat our house for $75 per year. Building one right now for my daughter’s live-in treehouse. Also terrakote.com works great for adding water resistance to the cob bench –Uncle Mud
Rocket Mass Heater FB Group!?
I am in awe of you two, LOVE IT!!
I am living in Ontario Canada and am looking for someone who will help me build a rocket mass furnace for my greenhouse. If you know of anyone I would be very grateful.
Thank you
Hi did you have rocket stove in your greenhouse?
Hi Grace, I am also from Ontario and looking at building a hoop house with a mass rocket stove as the heat source. Did you ever follow through with your project?
Andrew,
Did you build your mass heater?
I’m in Ontario as well, where in Ontario are you?
Ken
Very impressive indeed!
What type of maintenance does it require?
Are there some things you would have done differently now that you’ve gone through the process?
Thanks,
Stephen
For maintenance I just have to scoop ash out of the burn chamber between uses. If I did it over I would probably use stronger forms for building the bench; mine bowed out quite a bit, requiring considerable extra clay to fill (and creating a larger mass). I’d also have bett r insulat d beneath the combustion tunnel, and likely under the bench as well, rather than trying to save money on perlite.
This adventure was documented really well and sharing it is really appreciated. We will be building at least one rocket mass heater this year and will be using either hempcrete or kenafcrete for insulation. I will share our adventure as well on Kenaf Partners USA our Facebook page. Keep up the good work and thanks again for sharing.
Thank you very much for this information!
This is amazing. I’m daydreaming of a future heated greenhouse and this is encouraging. I plan to live in a Zone 4-6 climate so I certainly don’t plan on growing tomatoes in January, but getting brassicas and root vegetables to be more productive would be amazing. (This would be just one of a couple methods to help achieve that.)
Question: What temperatures do you use this in? i.e. just in the 40’s (Fahrenheit) when you’re starting seeds or do/can you use it when things are still consistently frozen outside?
Thank you!
Exelente , tengo un sombreaculo en mi huerta ,pero siempre que llegan los fríos se pierde todo hasta la próxima primavera . Pienso en cerrarlo con polietileno y que no me lo rompa el viento y además como calefaccionarlo de manera económica también es un tema . Esta es una buena opción , yo cuento con madera , pero el rendimiento que se necesita para que no sea antieconomico es el tema . Trataré de seguir el análisis del mismo . Felicitaciones y gracias por compartir la experiencia .
Siete stati davvero bravi soprattutto nel non arrendervi ma nel trovare una soluzione e andare avanti. Bravissimi
Thanks so much for your detailed documentation! You both did TONS of work! Literally! What’s the coldest it gets at your place?
I can get 40 below in the winter here but we don’t have anything going on in the greenhouse then. We have found the bench generally will keep things on it about 20° warmer than the outside temperature, so for the cold hardy seedlings it’s fine down in the teens, and then when we do the hot weather starts such as tomatoes they are fine when it is down to the low 20s at night. The timing works out well for when we want to be starting seeds and what the nighttime lows tend to be here. I could put more heat into the bench if we covered more of the barrel with Clay but have not needed to do so.
If I did the whole thing again I would’ve spent some money and not skimped on insulation between the bench and the ground I guess, but it works pretty well. We have used it every spring since we built it, and as I have gotten better at managing the wood we use for fuel it is become easier and easier to run.
Consider that heat doesn’t know direction- it just radiates from hot to cold. If you dug a trench down both sides of the bench, maybe 2-3’ deep and 6” wide, and filled that with perlite or rigid foam, the earth below the bench would hold a lot of heat. Plus that warmed earth zone creates a buffer between the bench and the frozen ground below IT.
I am very interested in heating like this
Thank you so much for posting your adventure building this rocket stove to heat your greenhouse! Very helpful!
Do you have issues with creosote build up at all? I know with traditional chimneys that this can cause a house fire. Is this an issue or concern for you guys?
It’s never been a problem. I assume it’s getting largely burned up by the high heat, and I also have a pit for Ash to collect where the barrel transitions into the bench with a clean out. Hardly ever scoop it out though