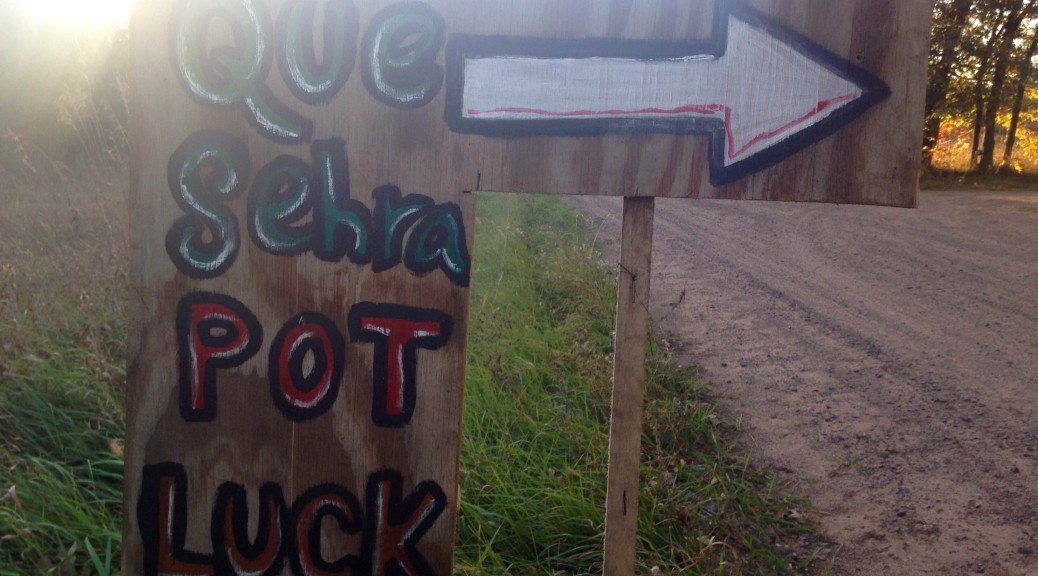
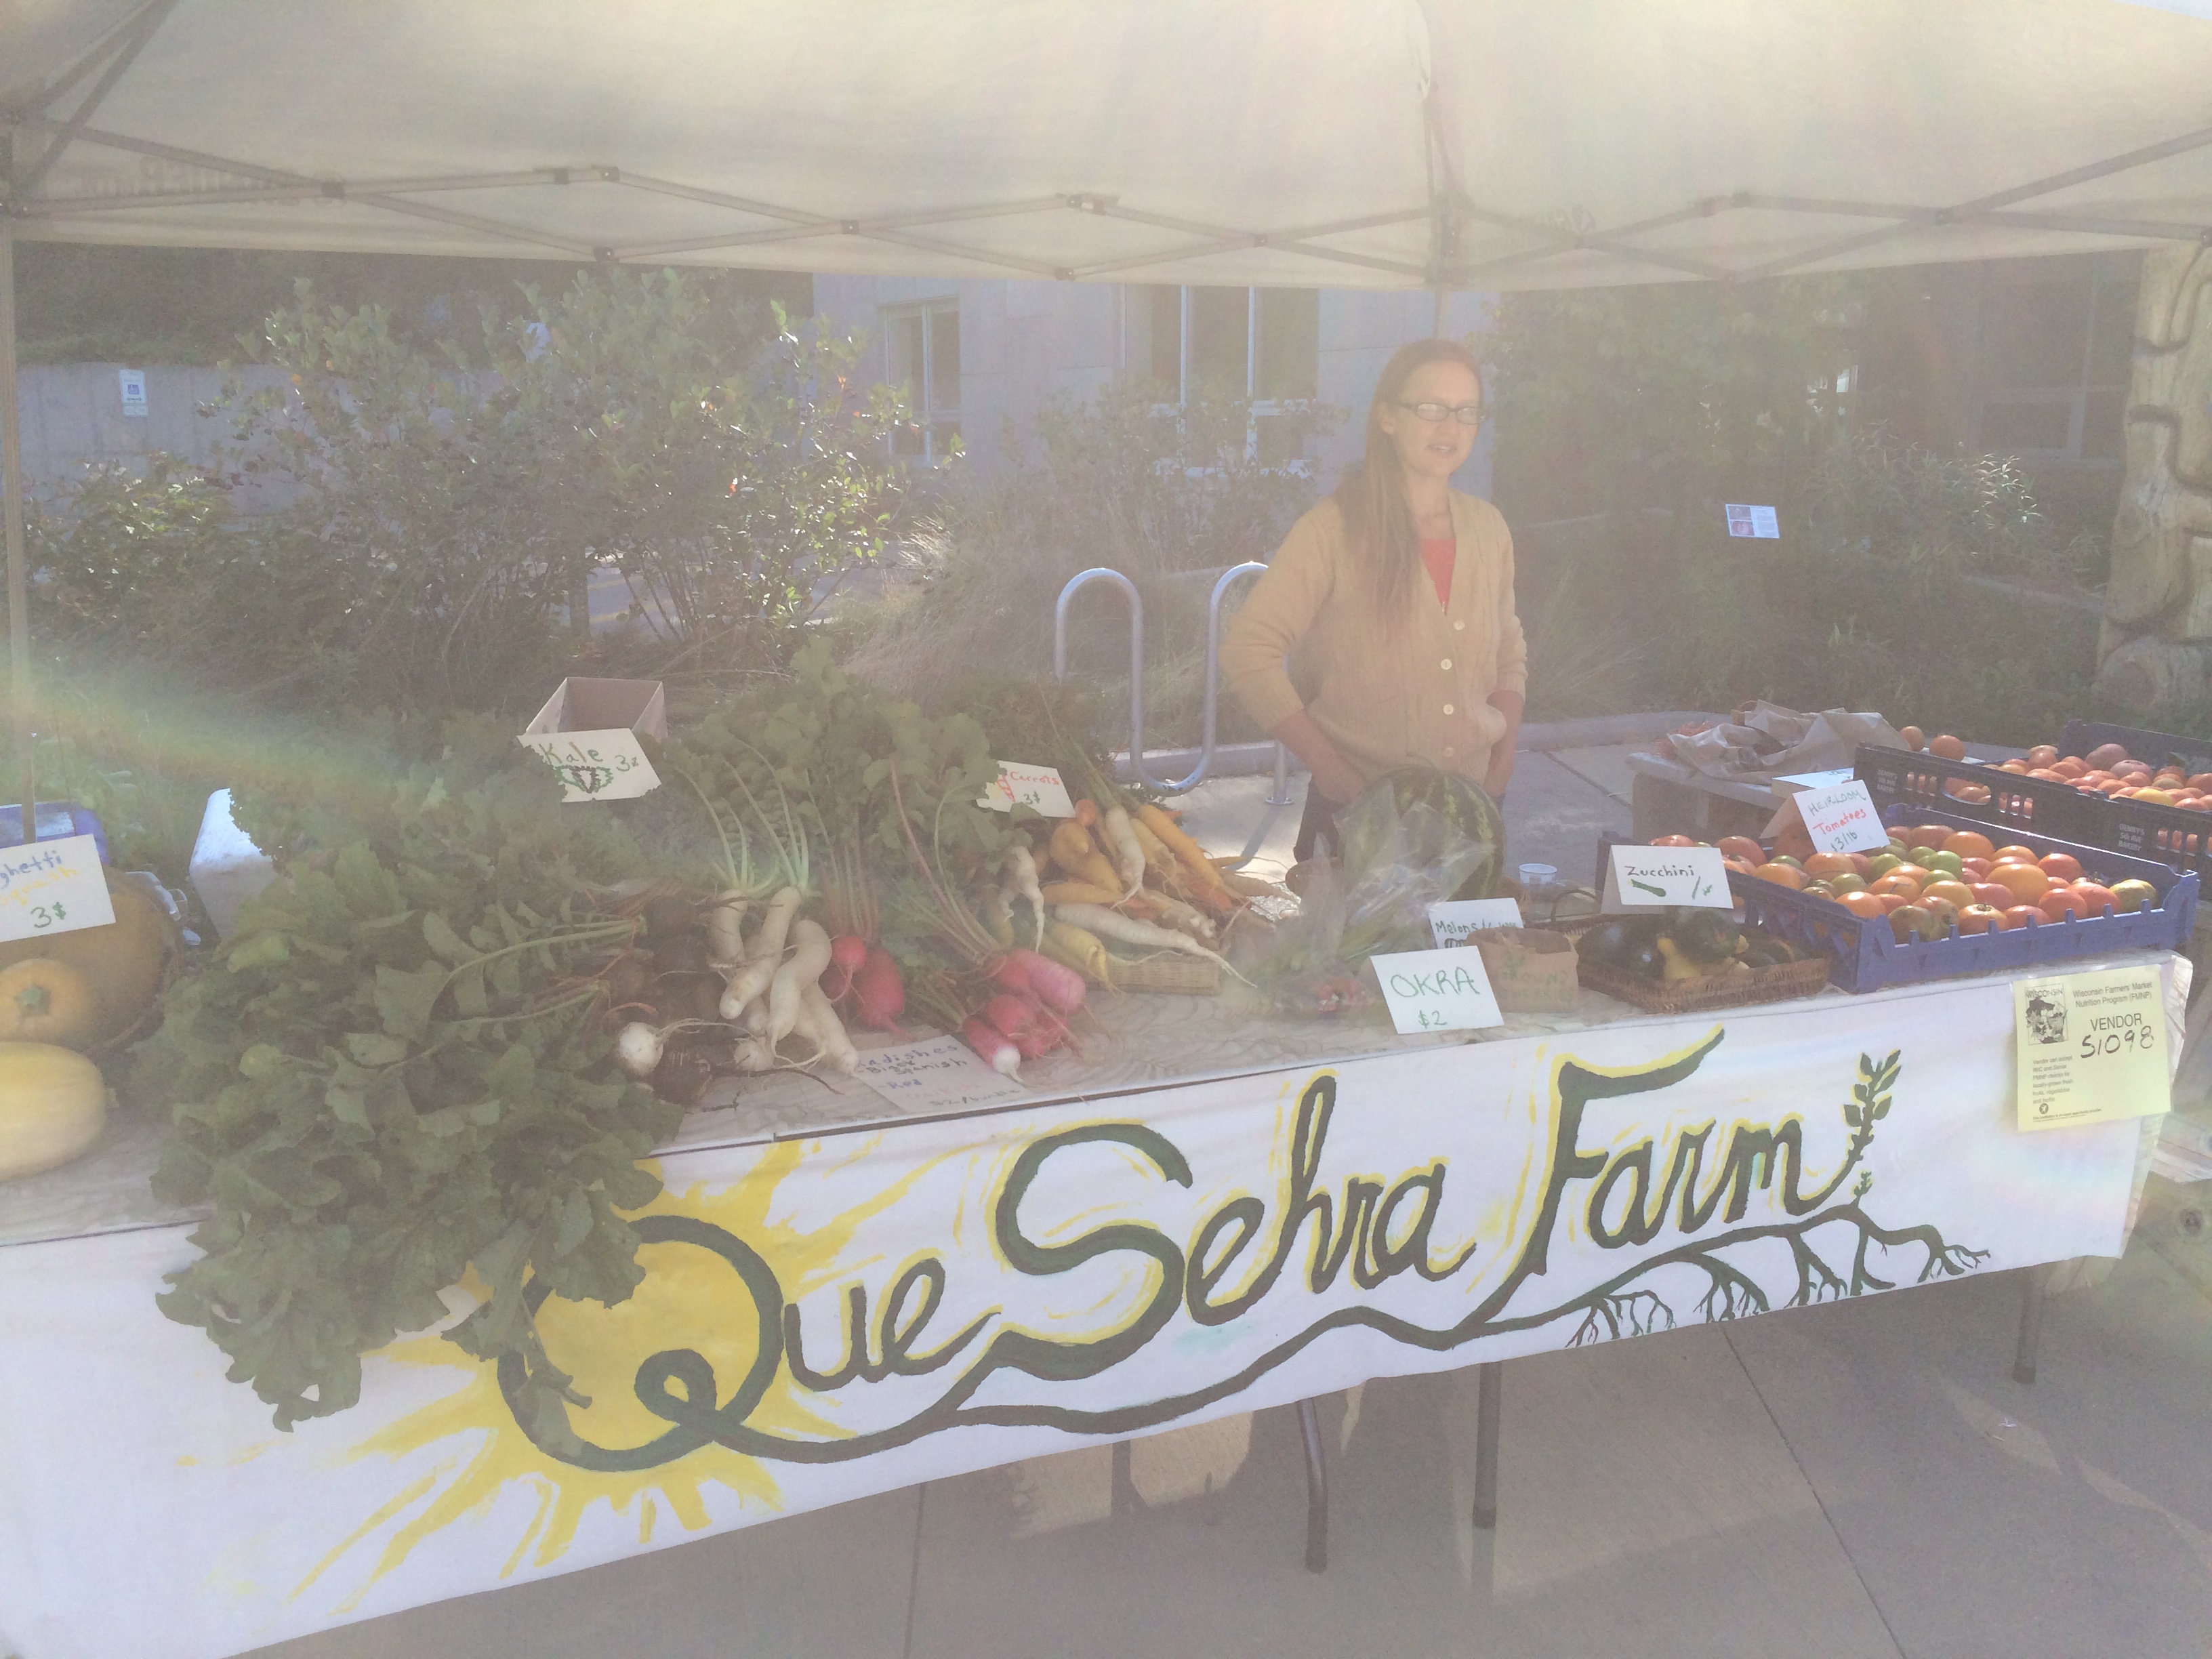
Wow, what a ride 2015 has been. It started off hard, to be honest – as I recall the first CSA newsletter was titled “Farming is War,” and it didn’t feel like any exaggeration to say so. Our early plantings were devoured by cutworms and voles so thoroughly that I sometimes wondered if our field had somehow been rendered infertile. The weeds were ferocious, and nothing seemed to work out as planned … we rolled with the punches and practiced the zen of saying – and really meaning – “que sera, sera (what will be, will be),” and finding the beauty in our efforts and the absurd humor in our struggles.
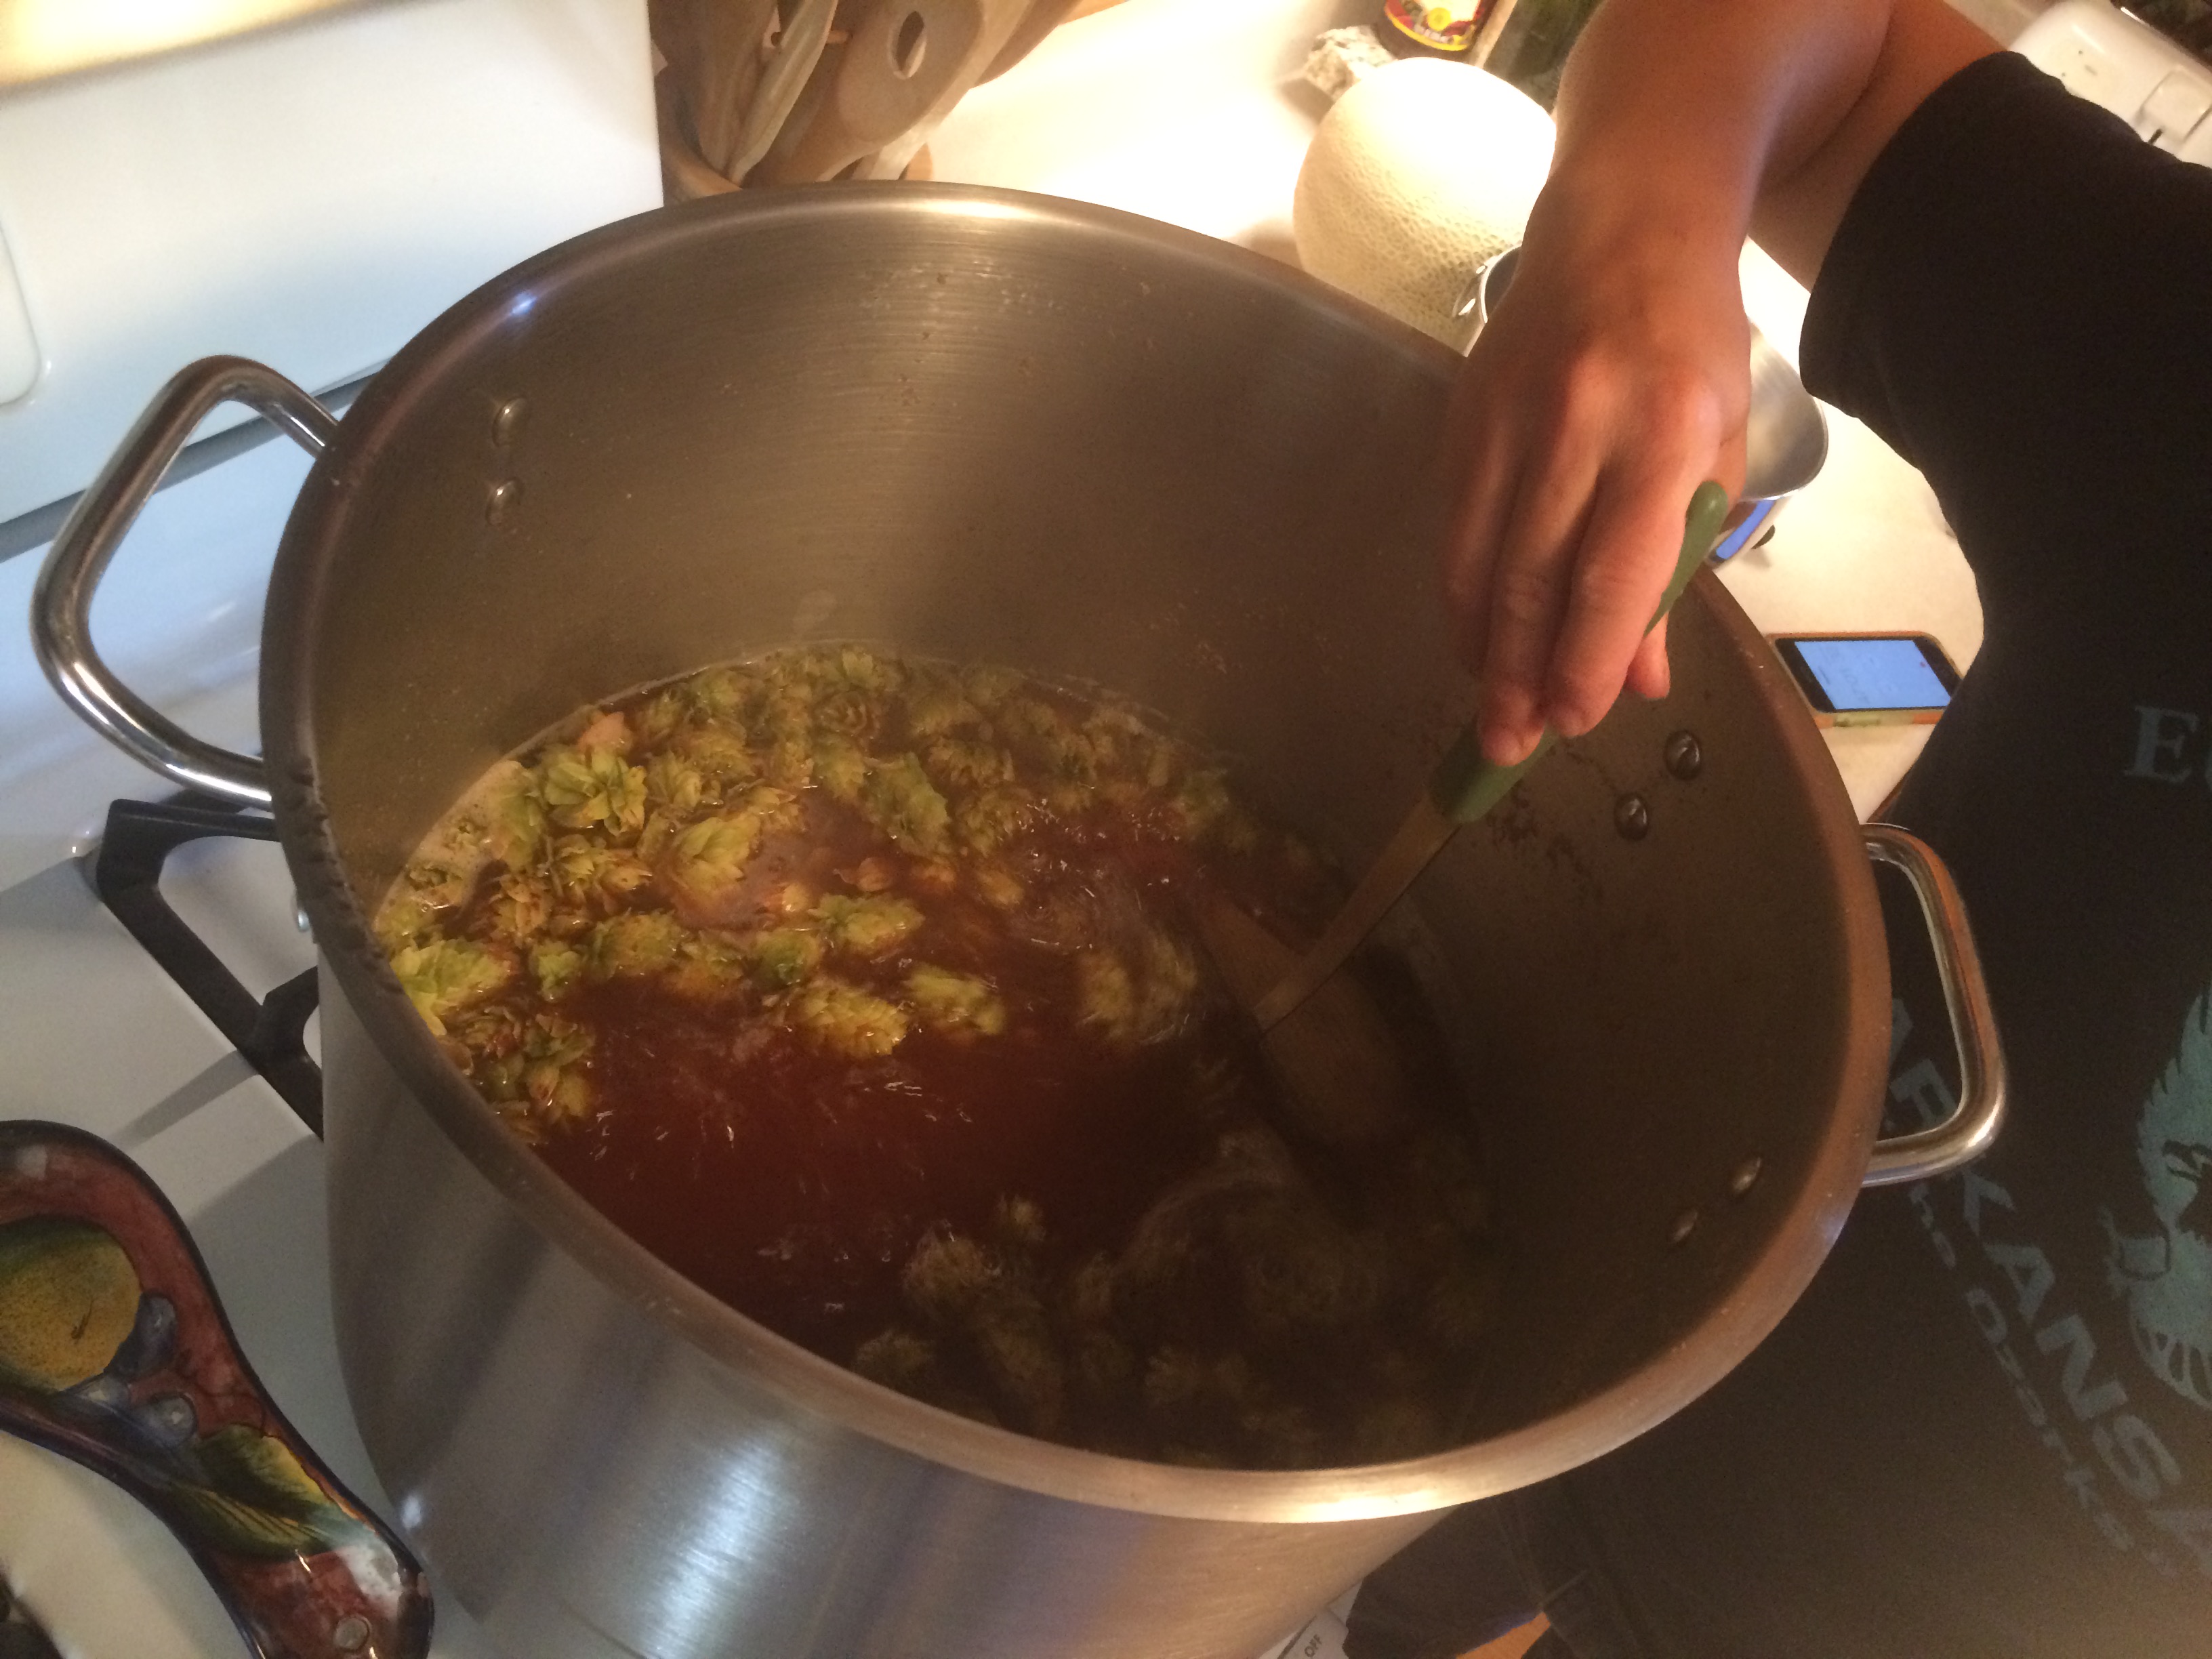
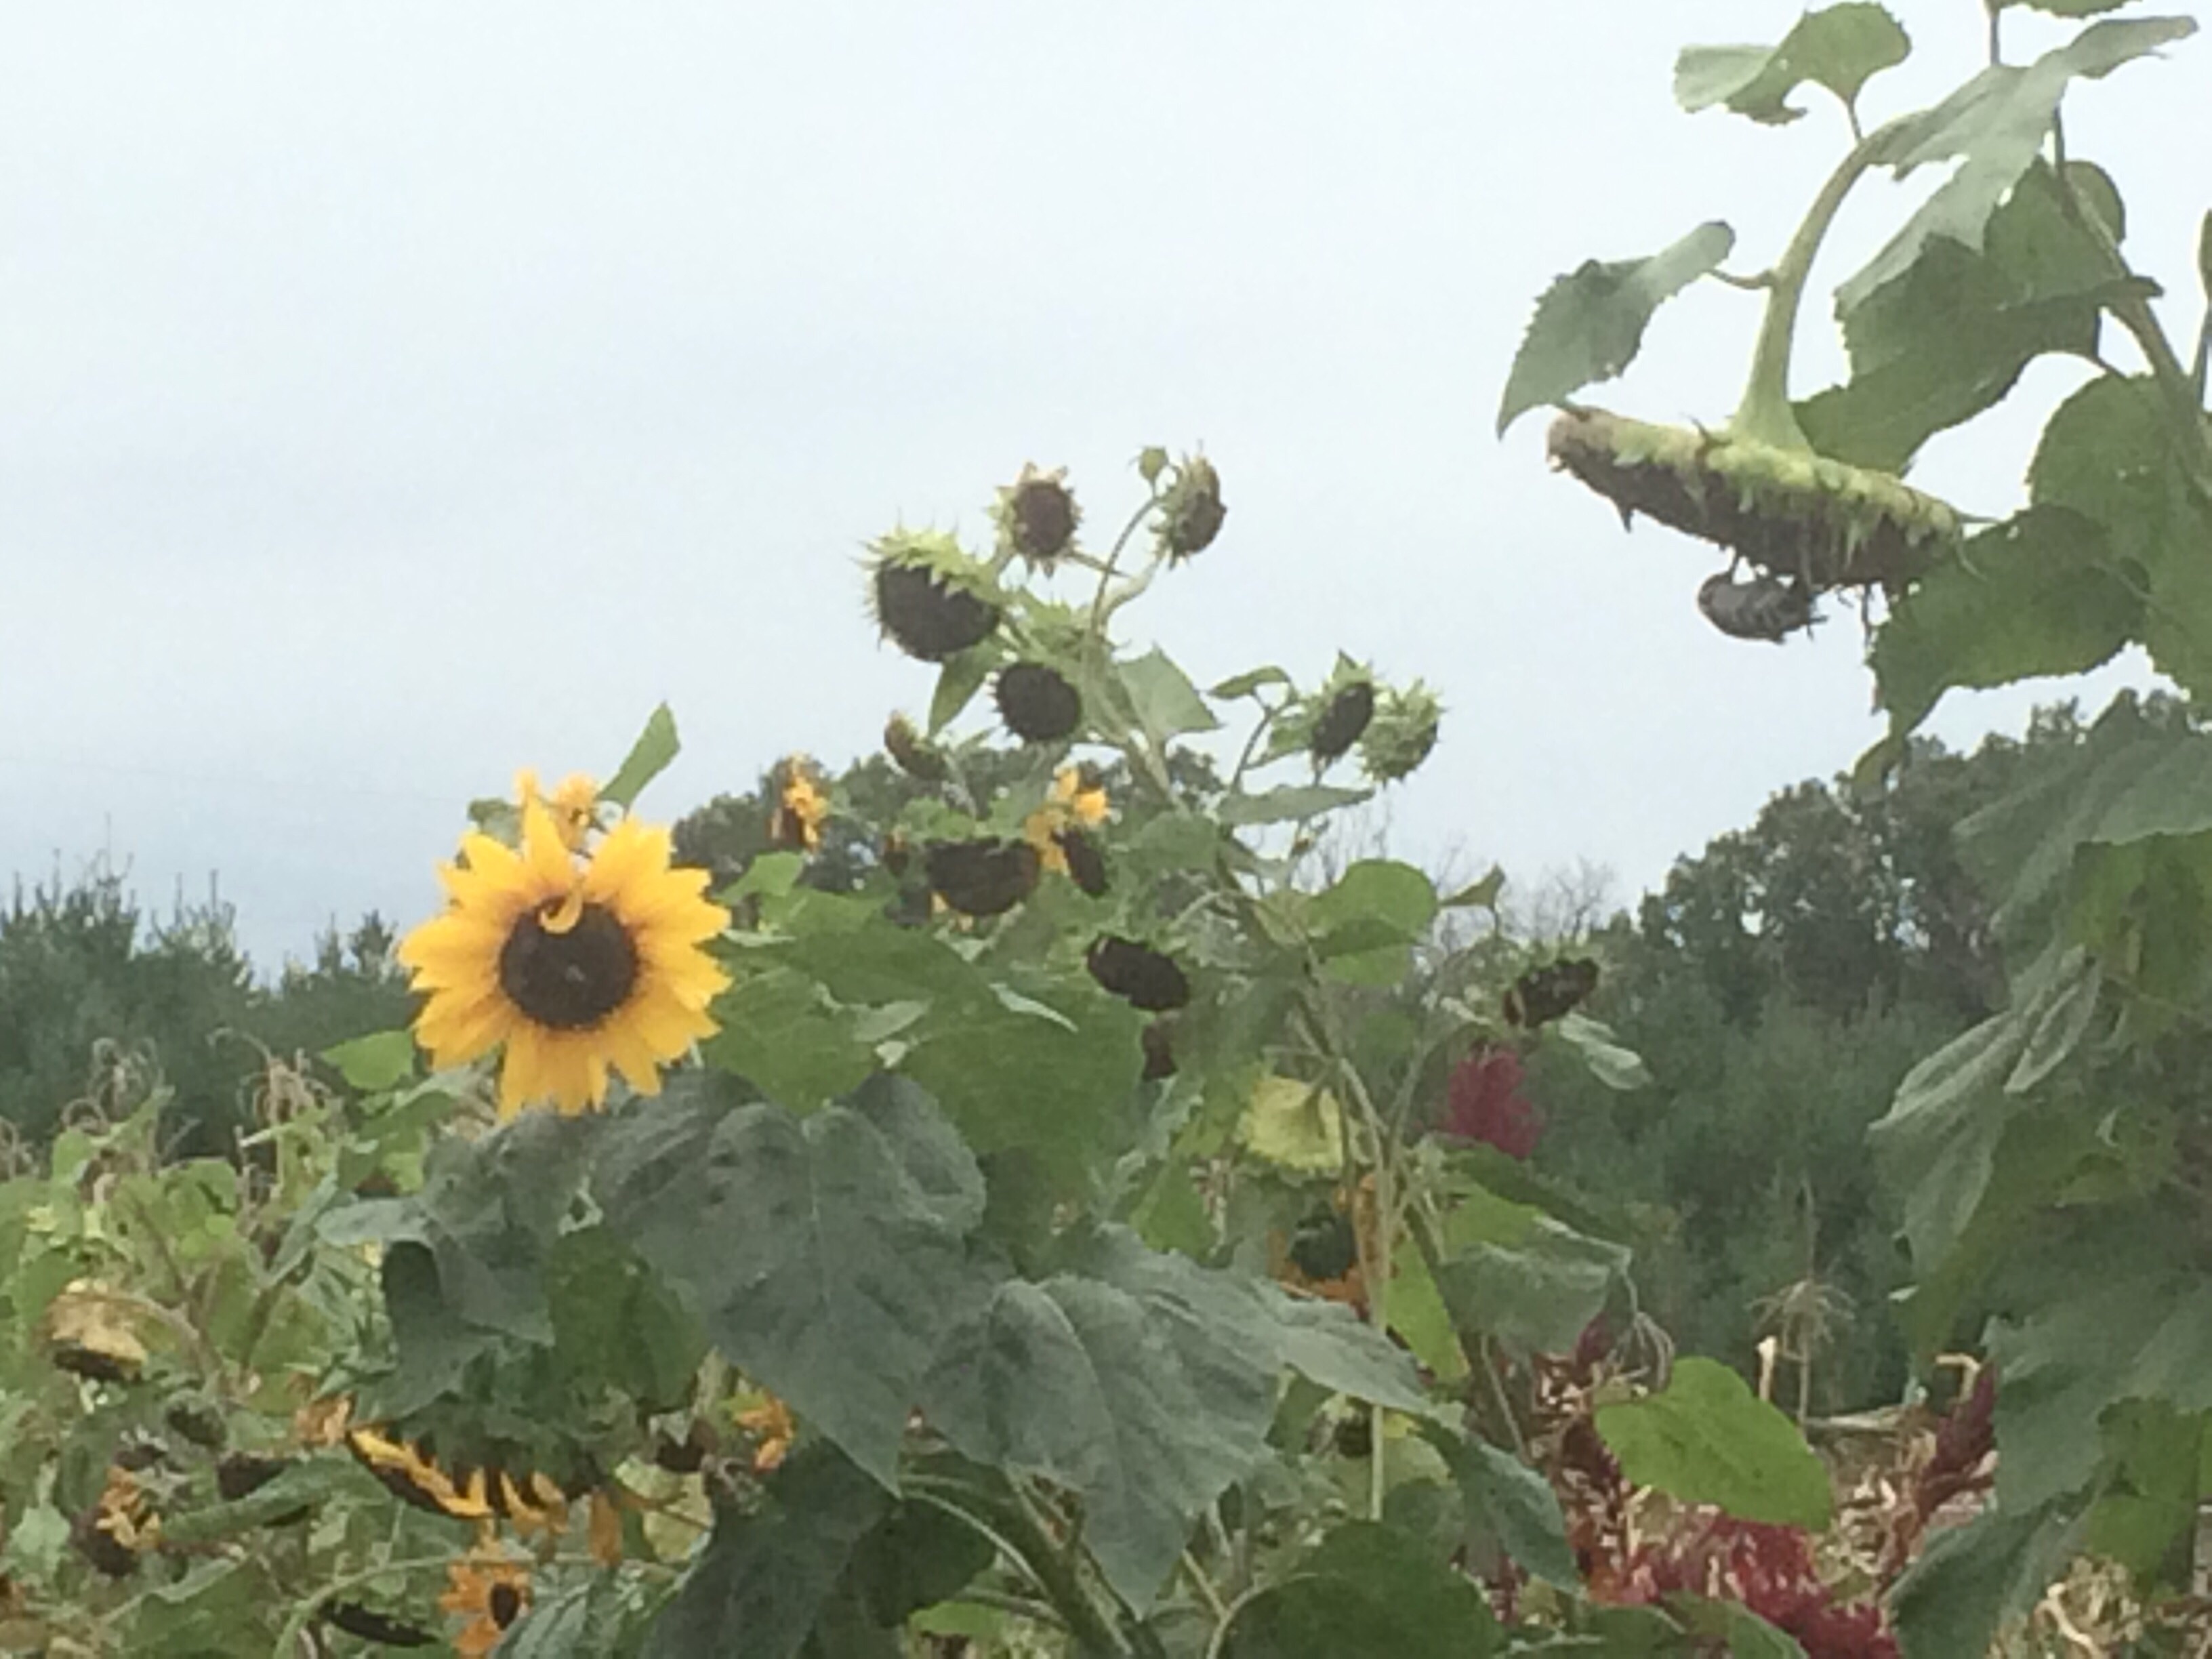
Then summer came on, and things got better – and stayed that way right up through the end. The weather was gorgeous, rain was generous, tomatoes and squash did better than ever before. The high tunnel rose up, our WWOOFers were wonderful, and today we’re brewing our first batch of beer with the hops we grew.
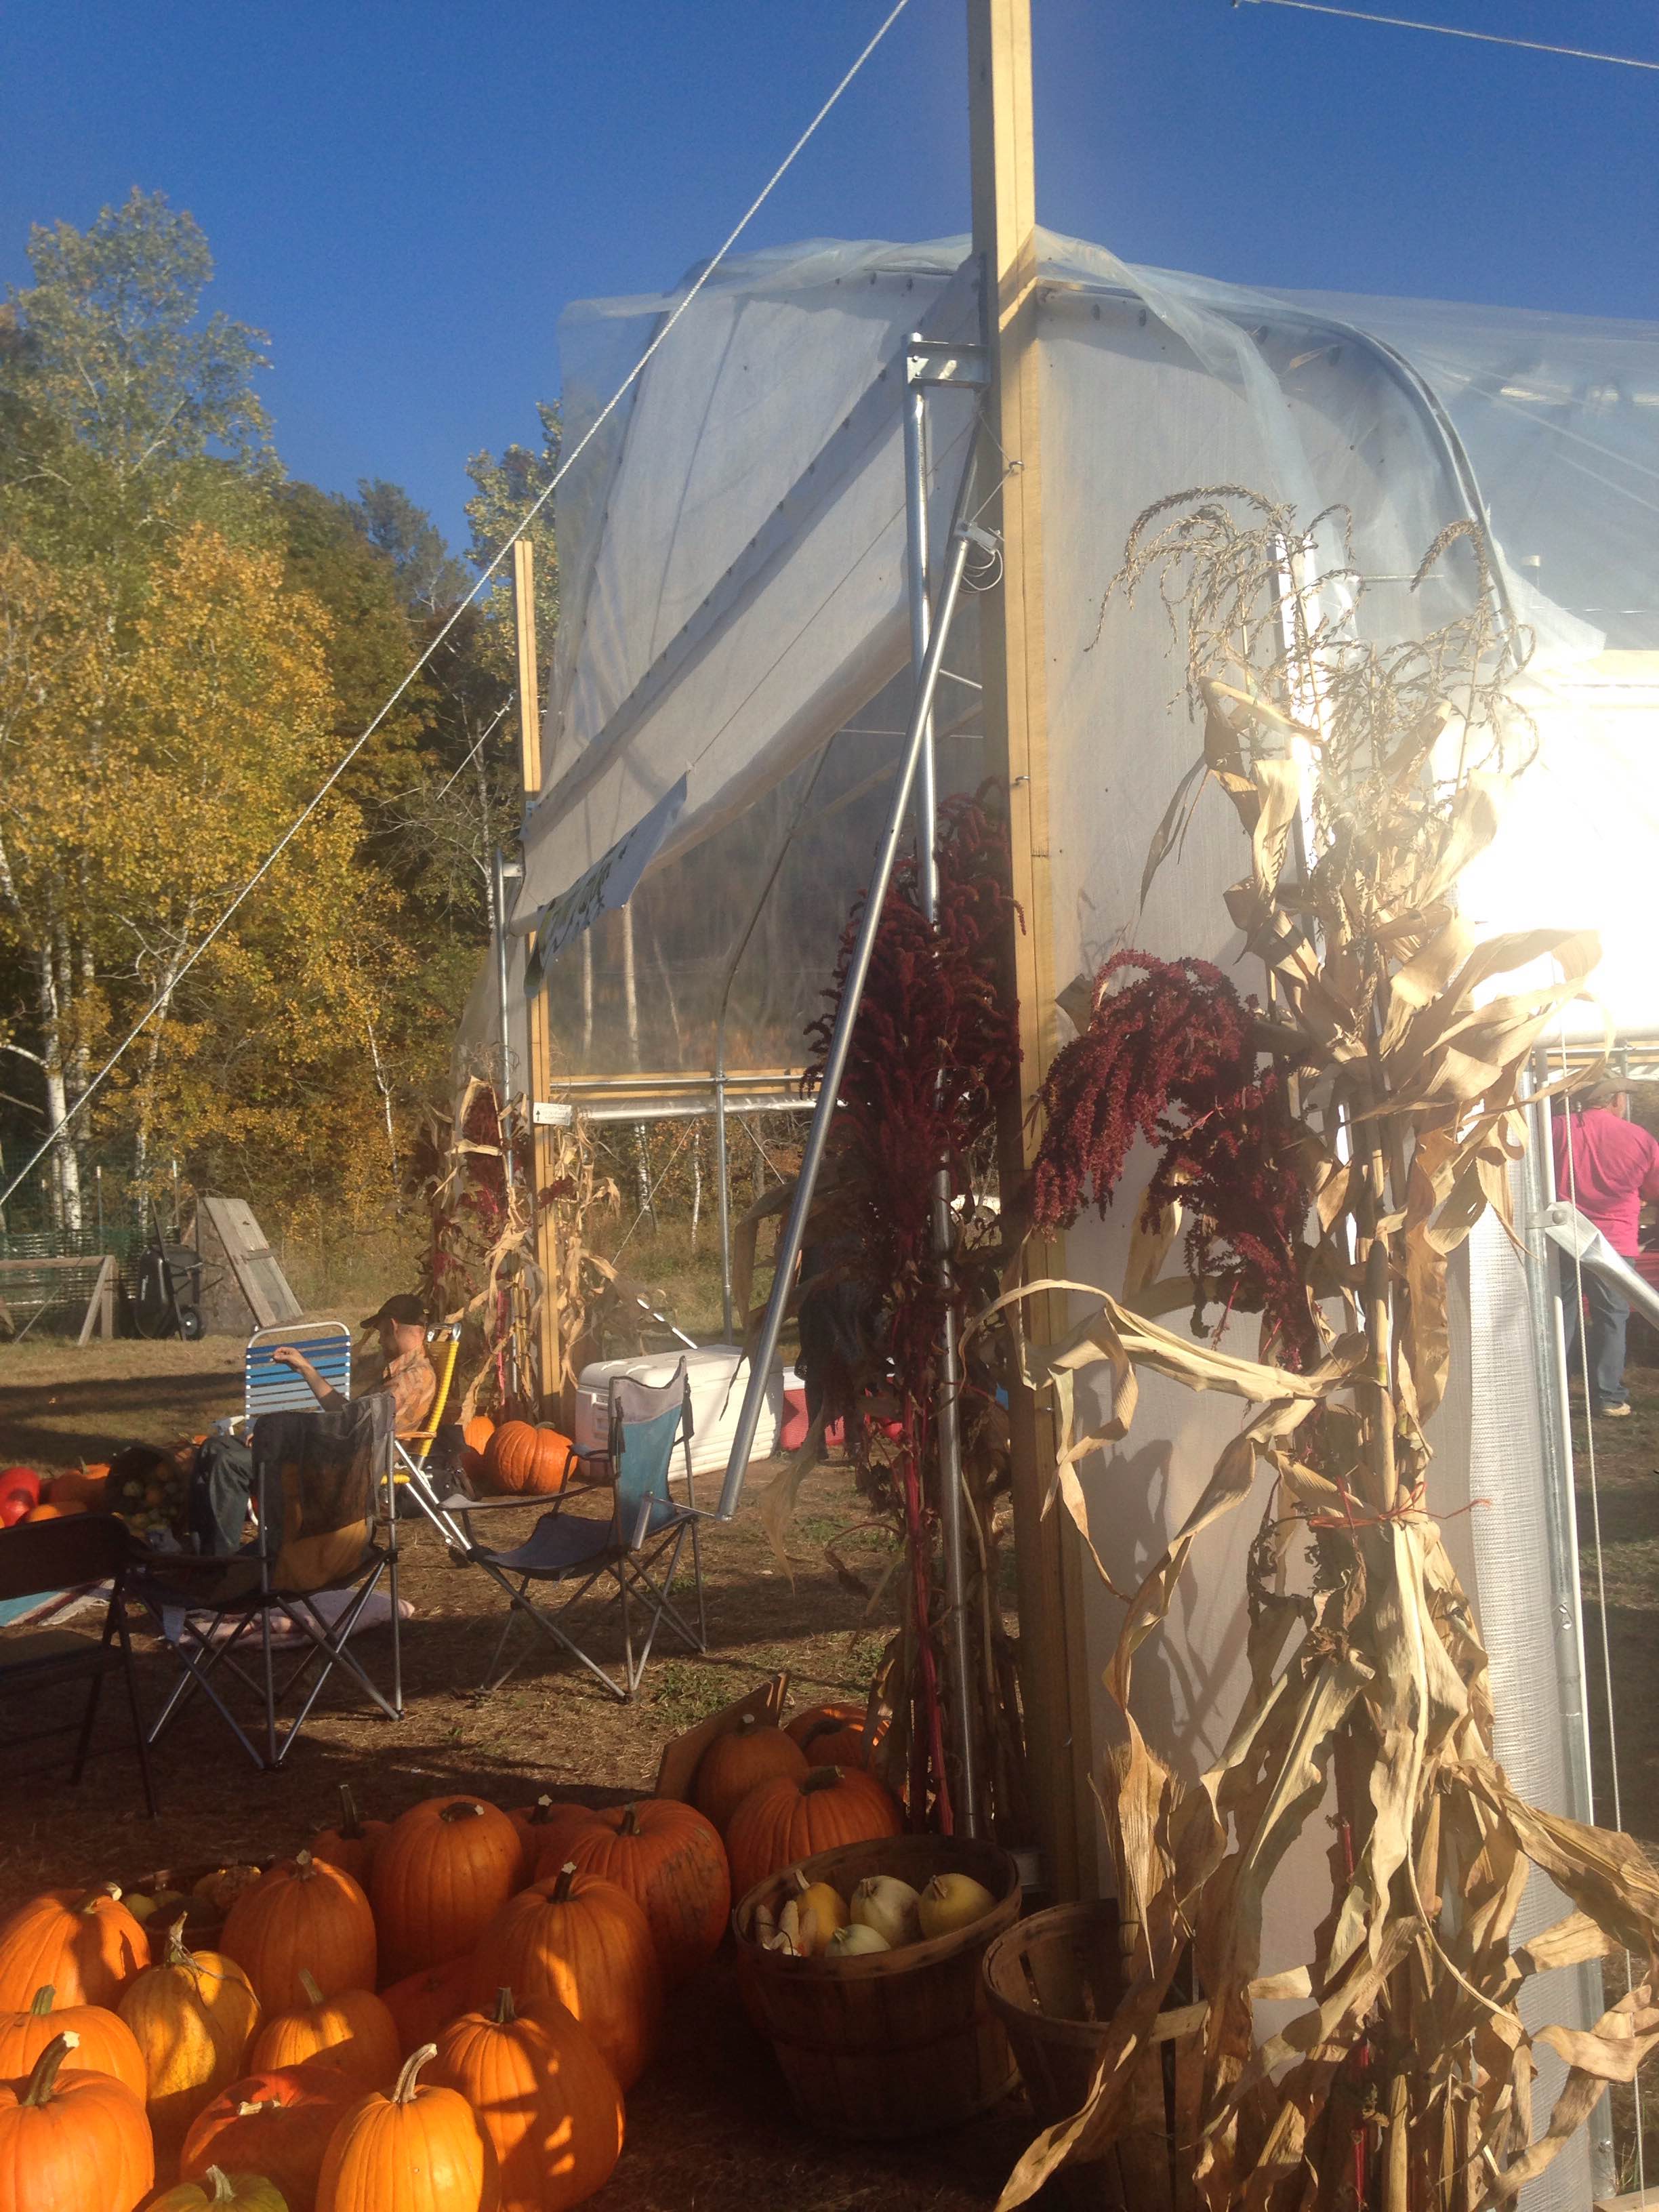
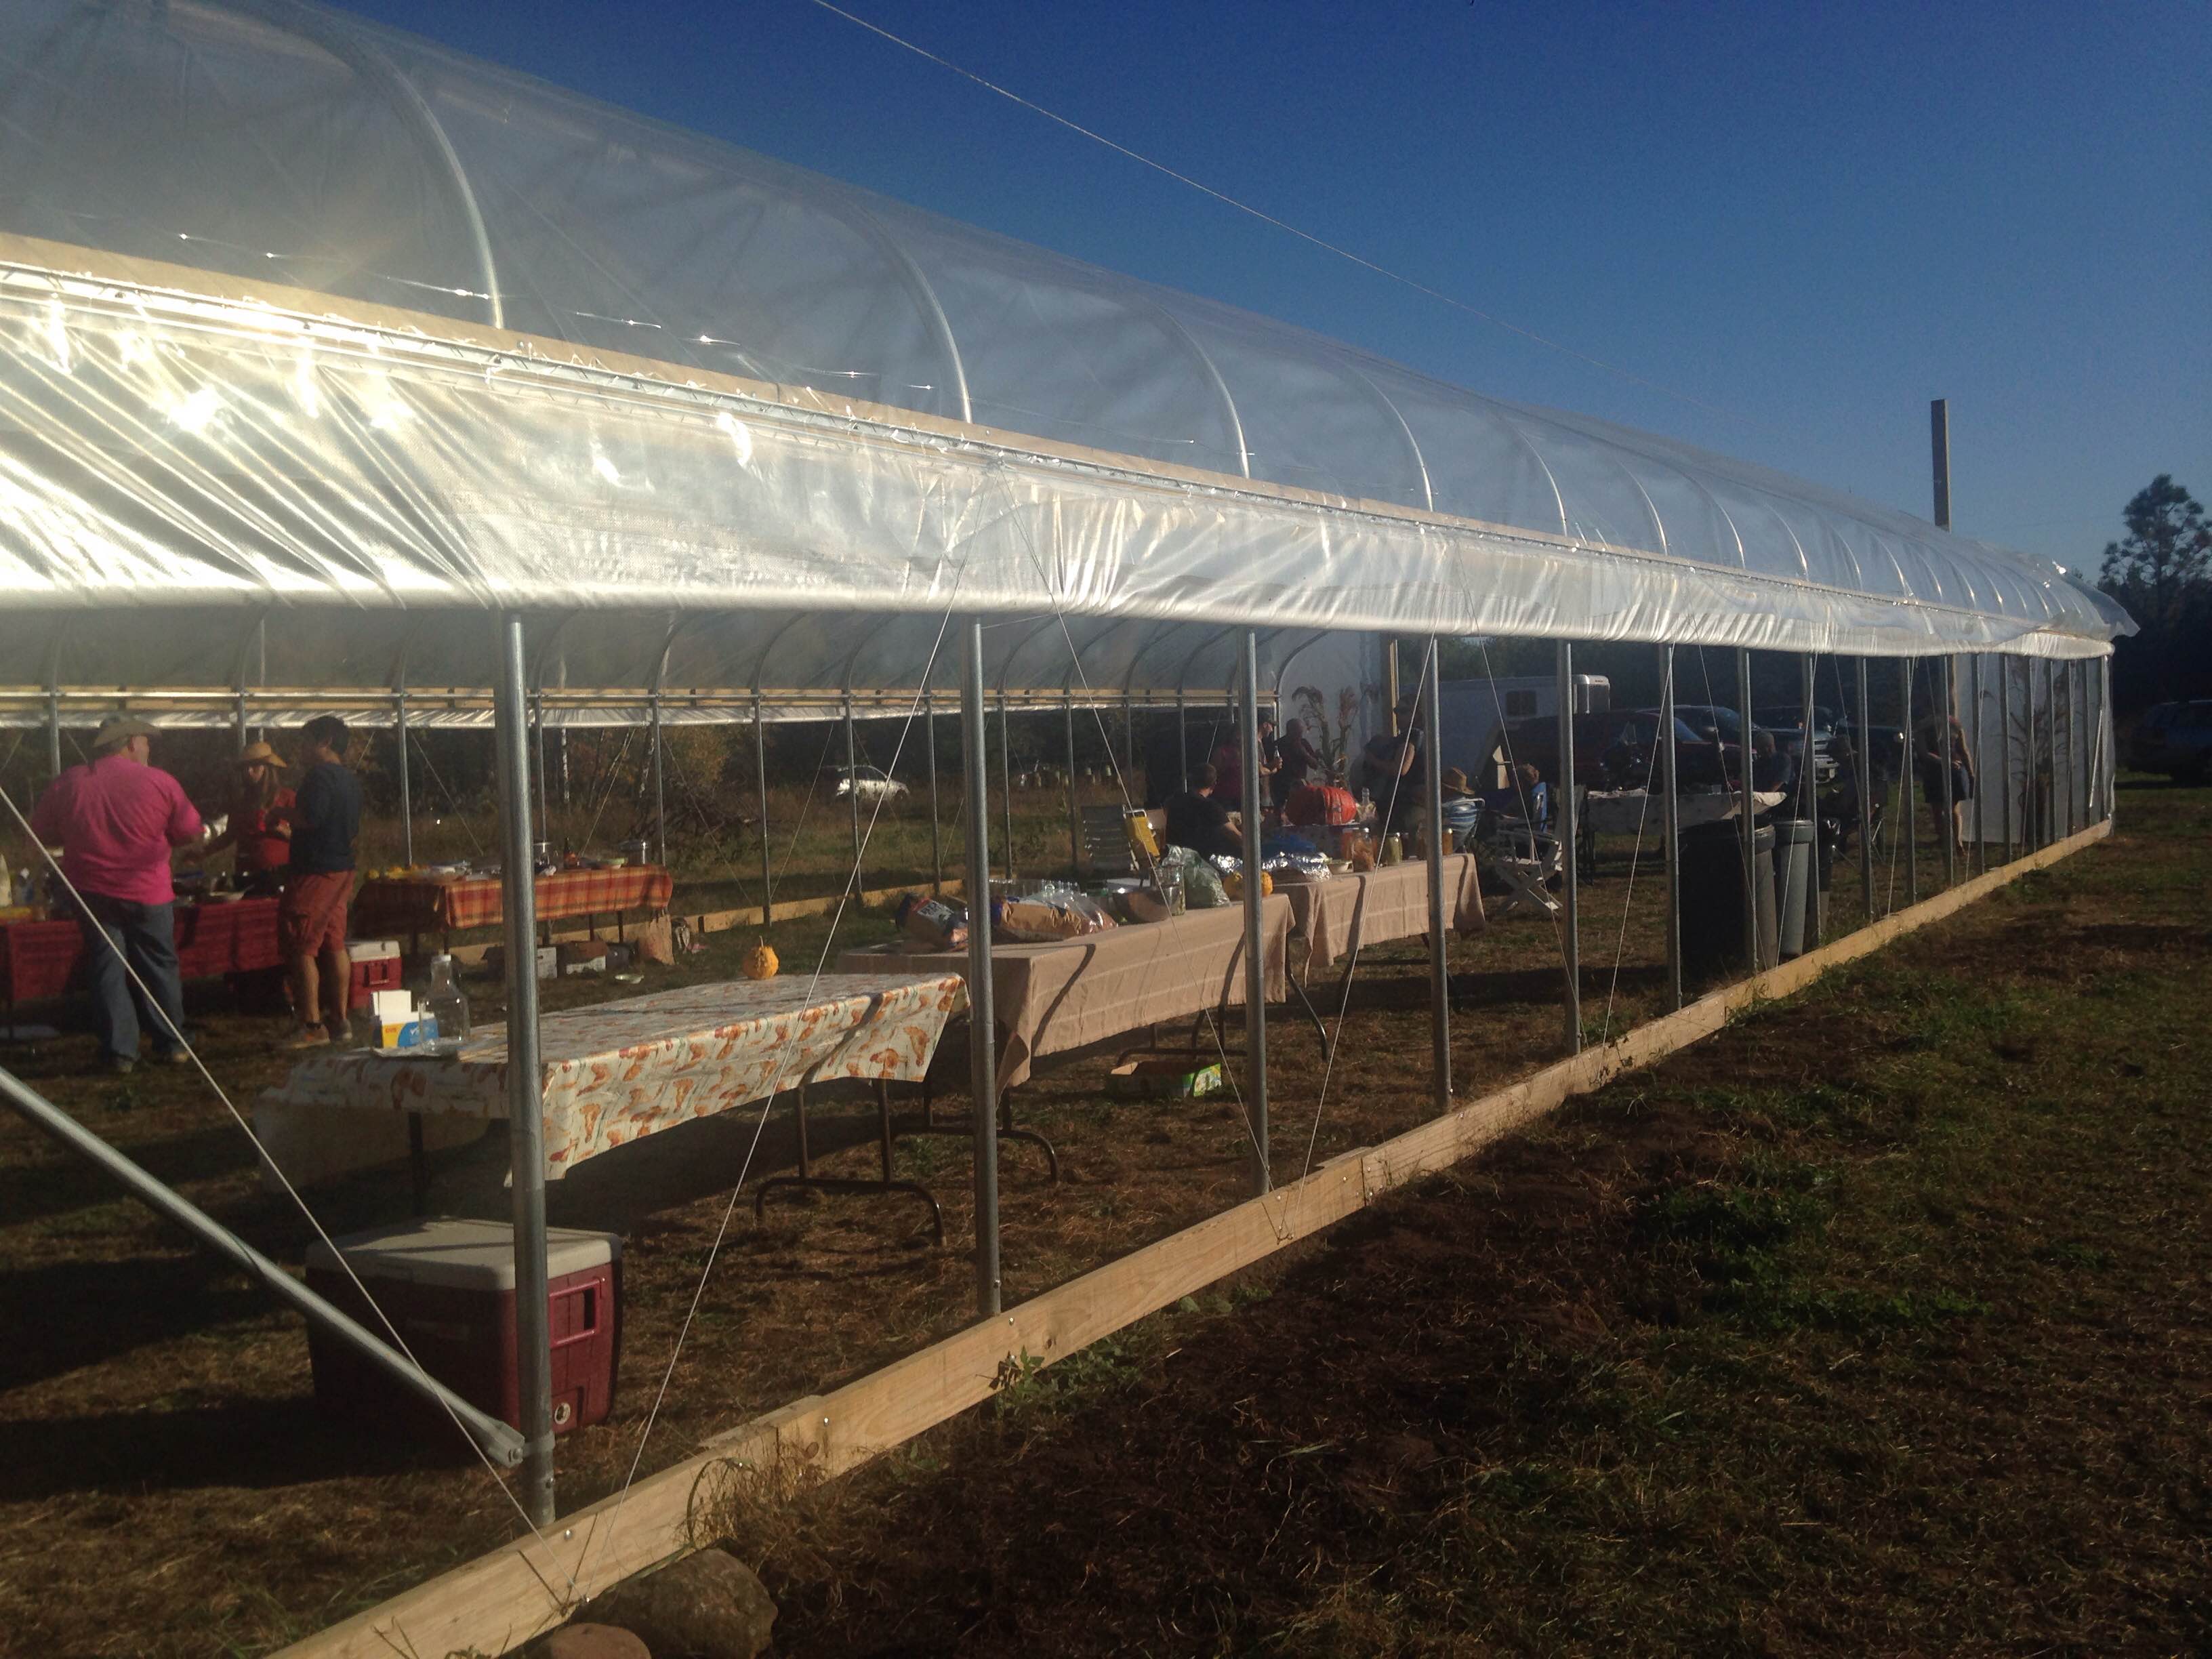
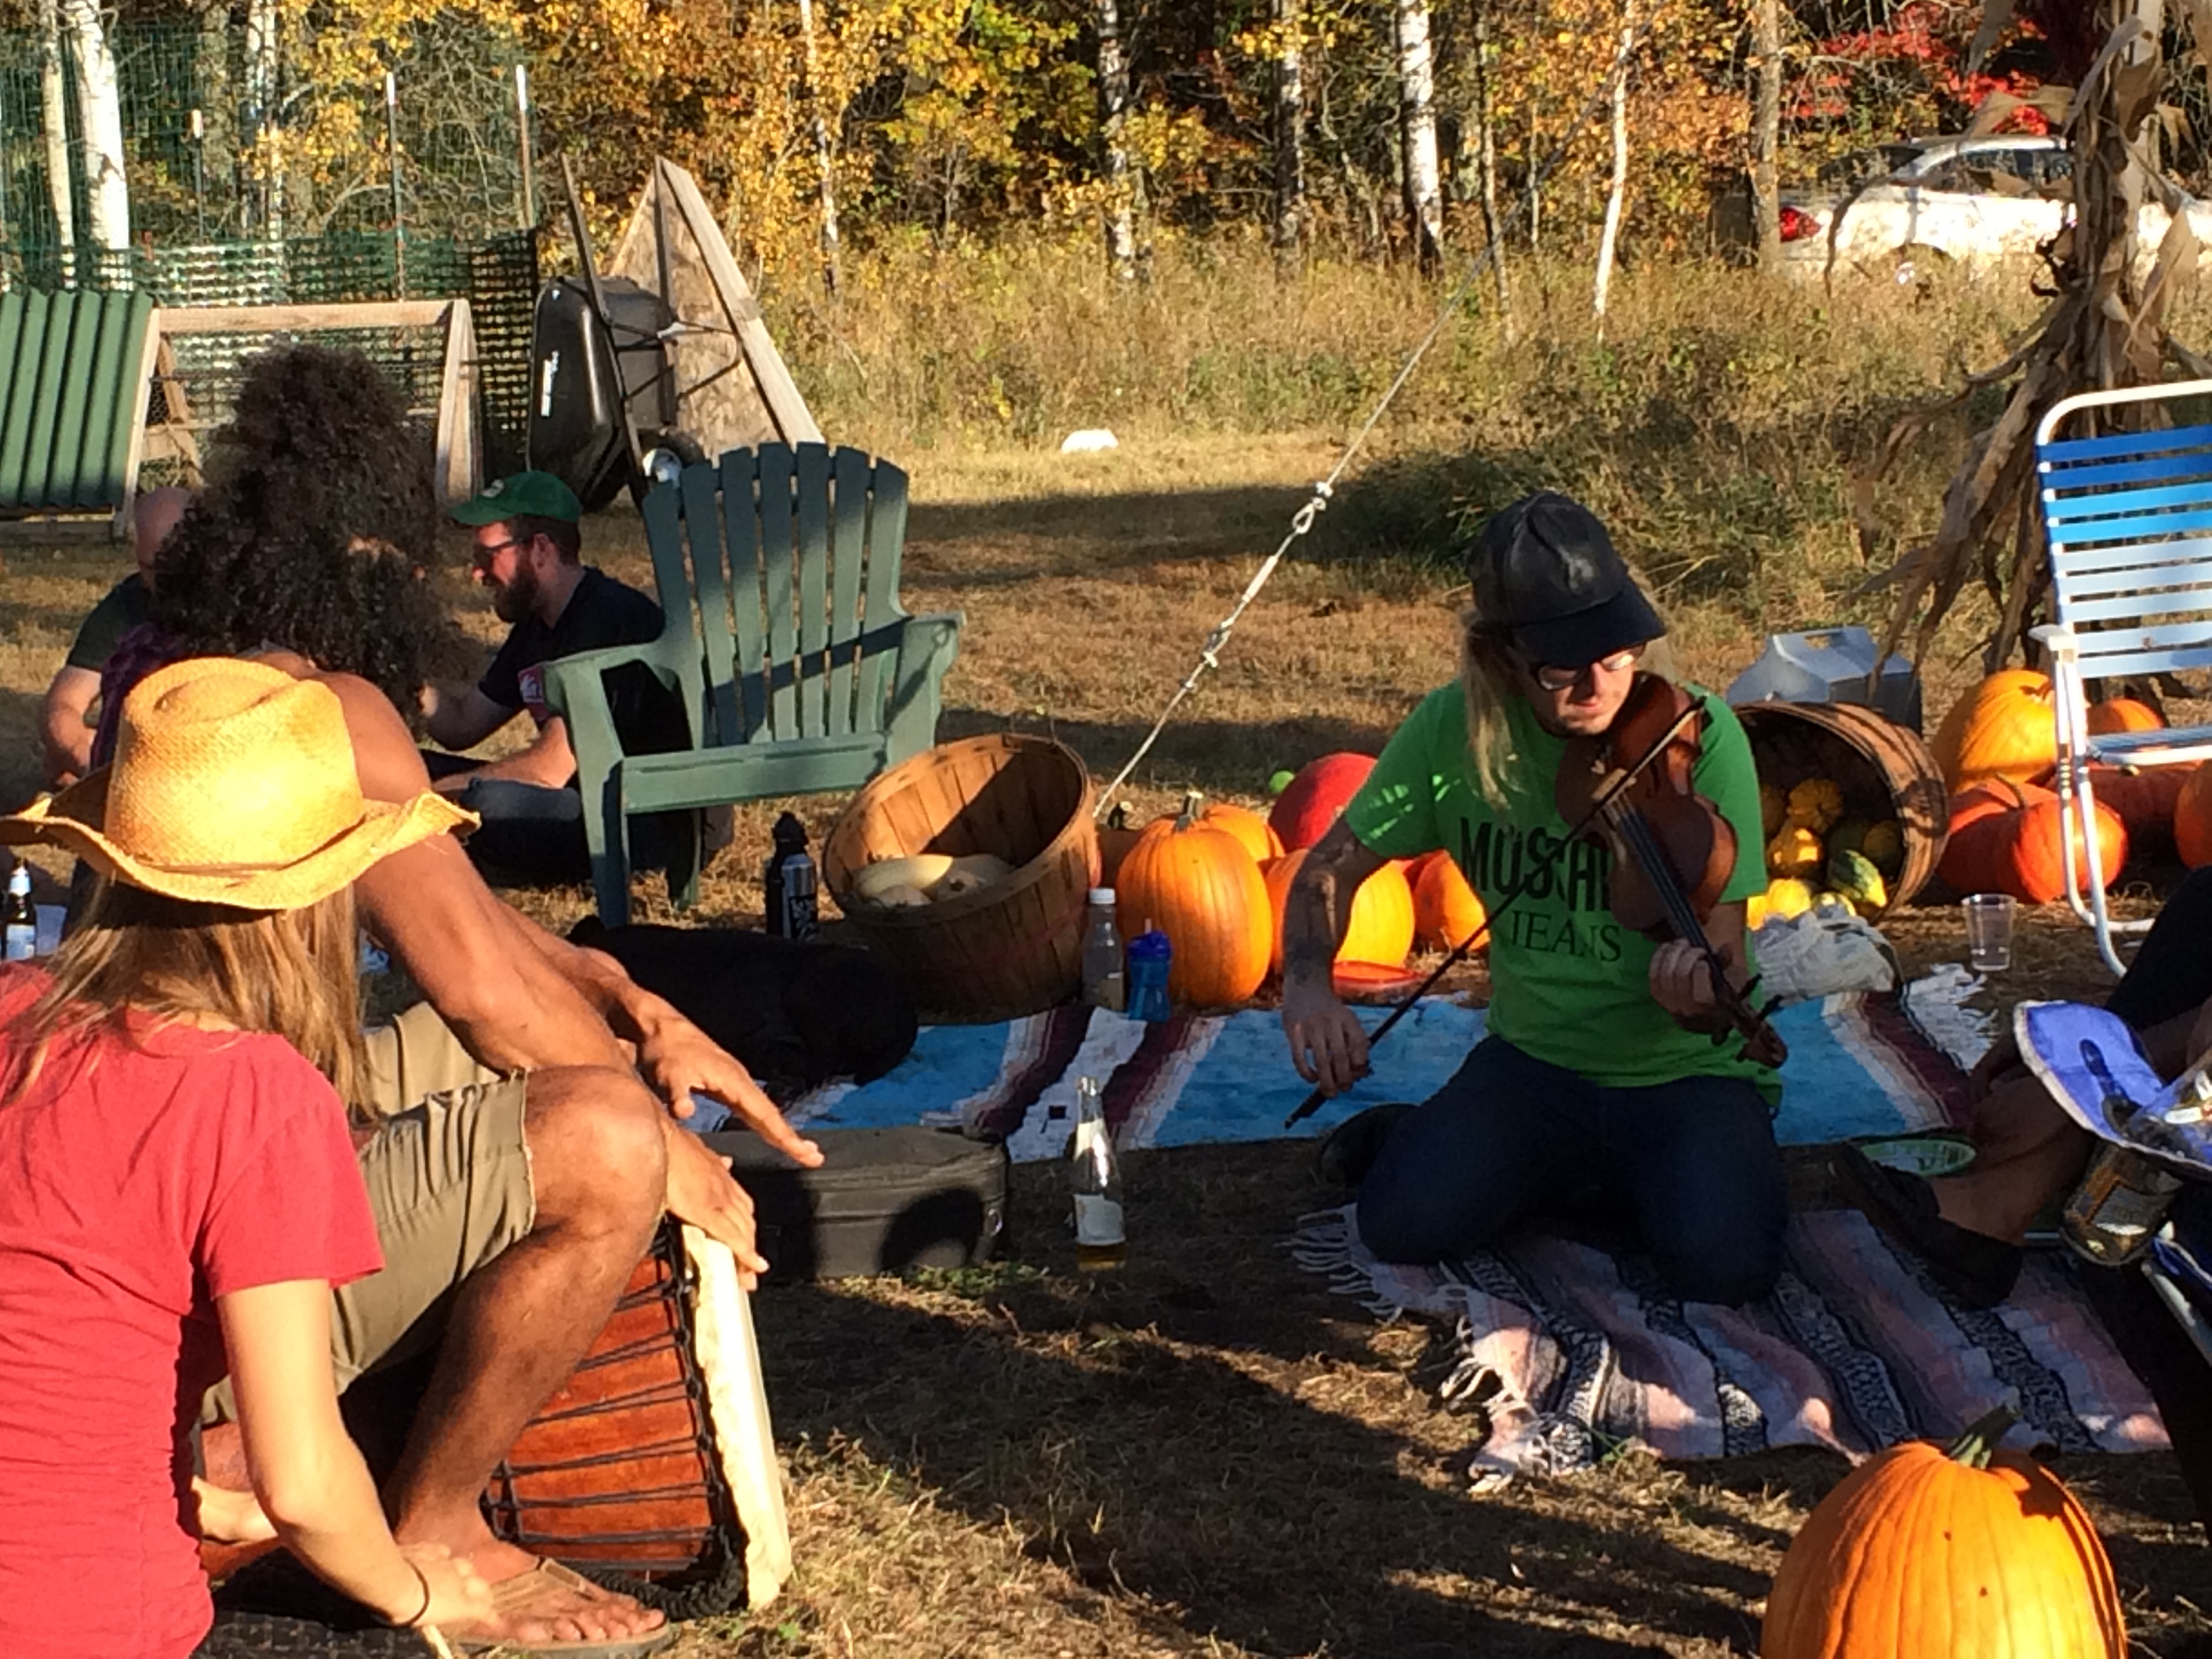
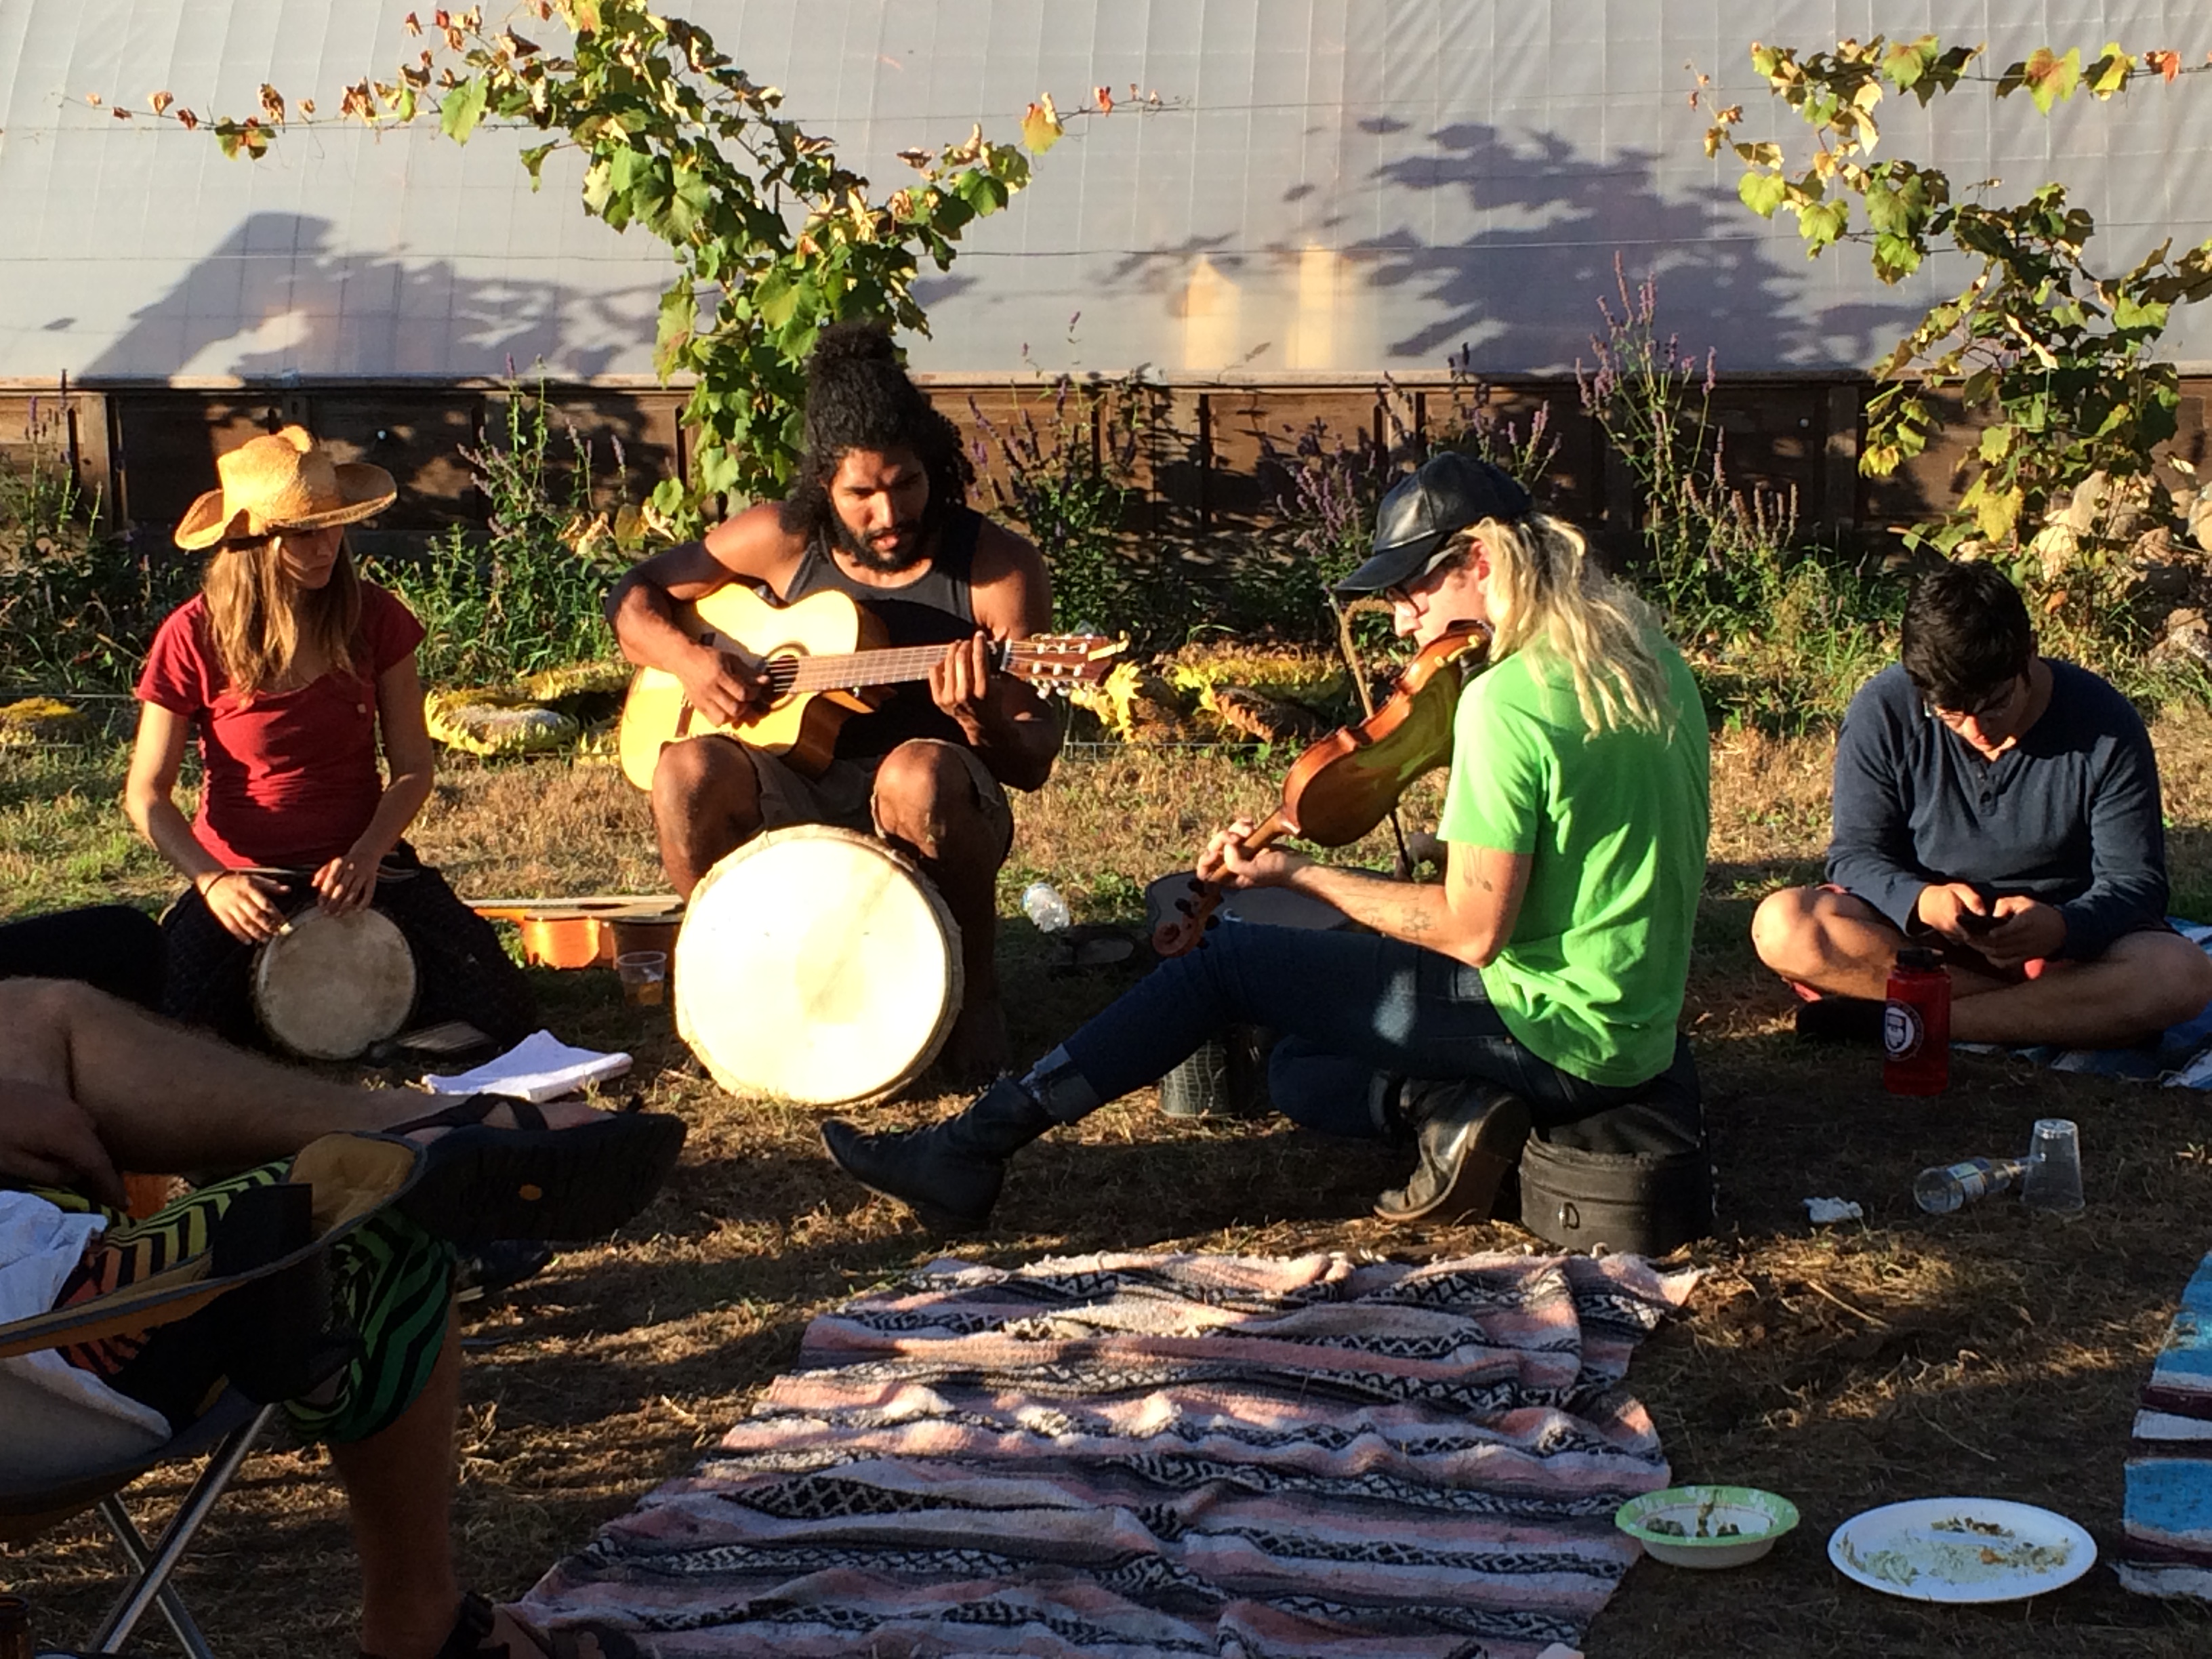
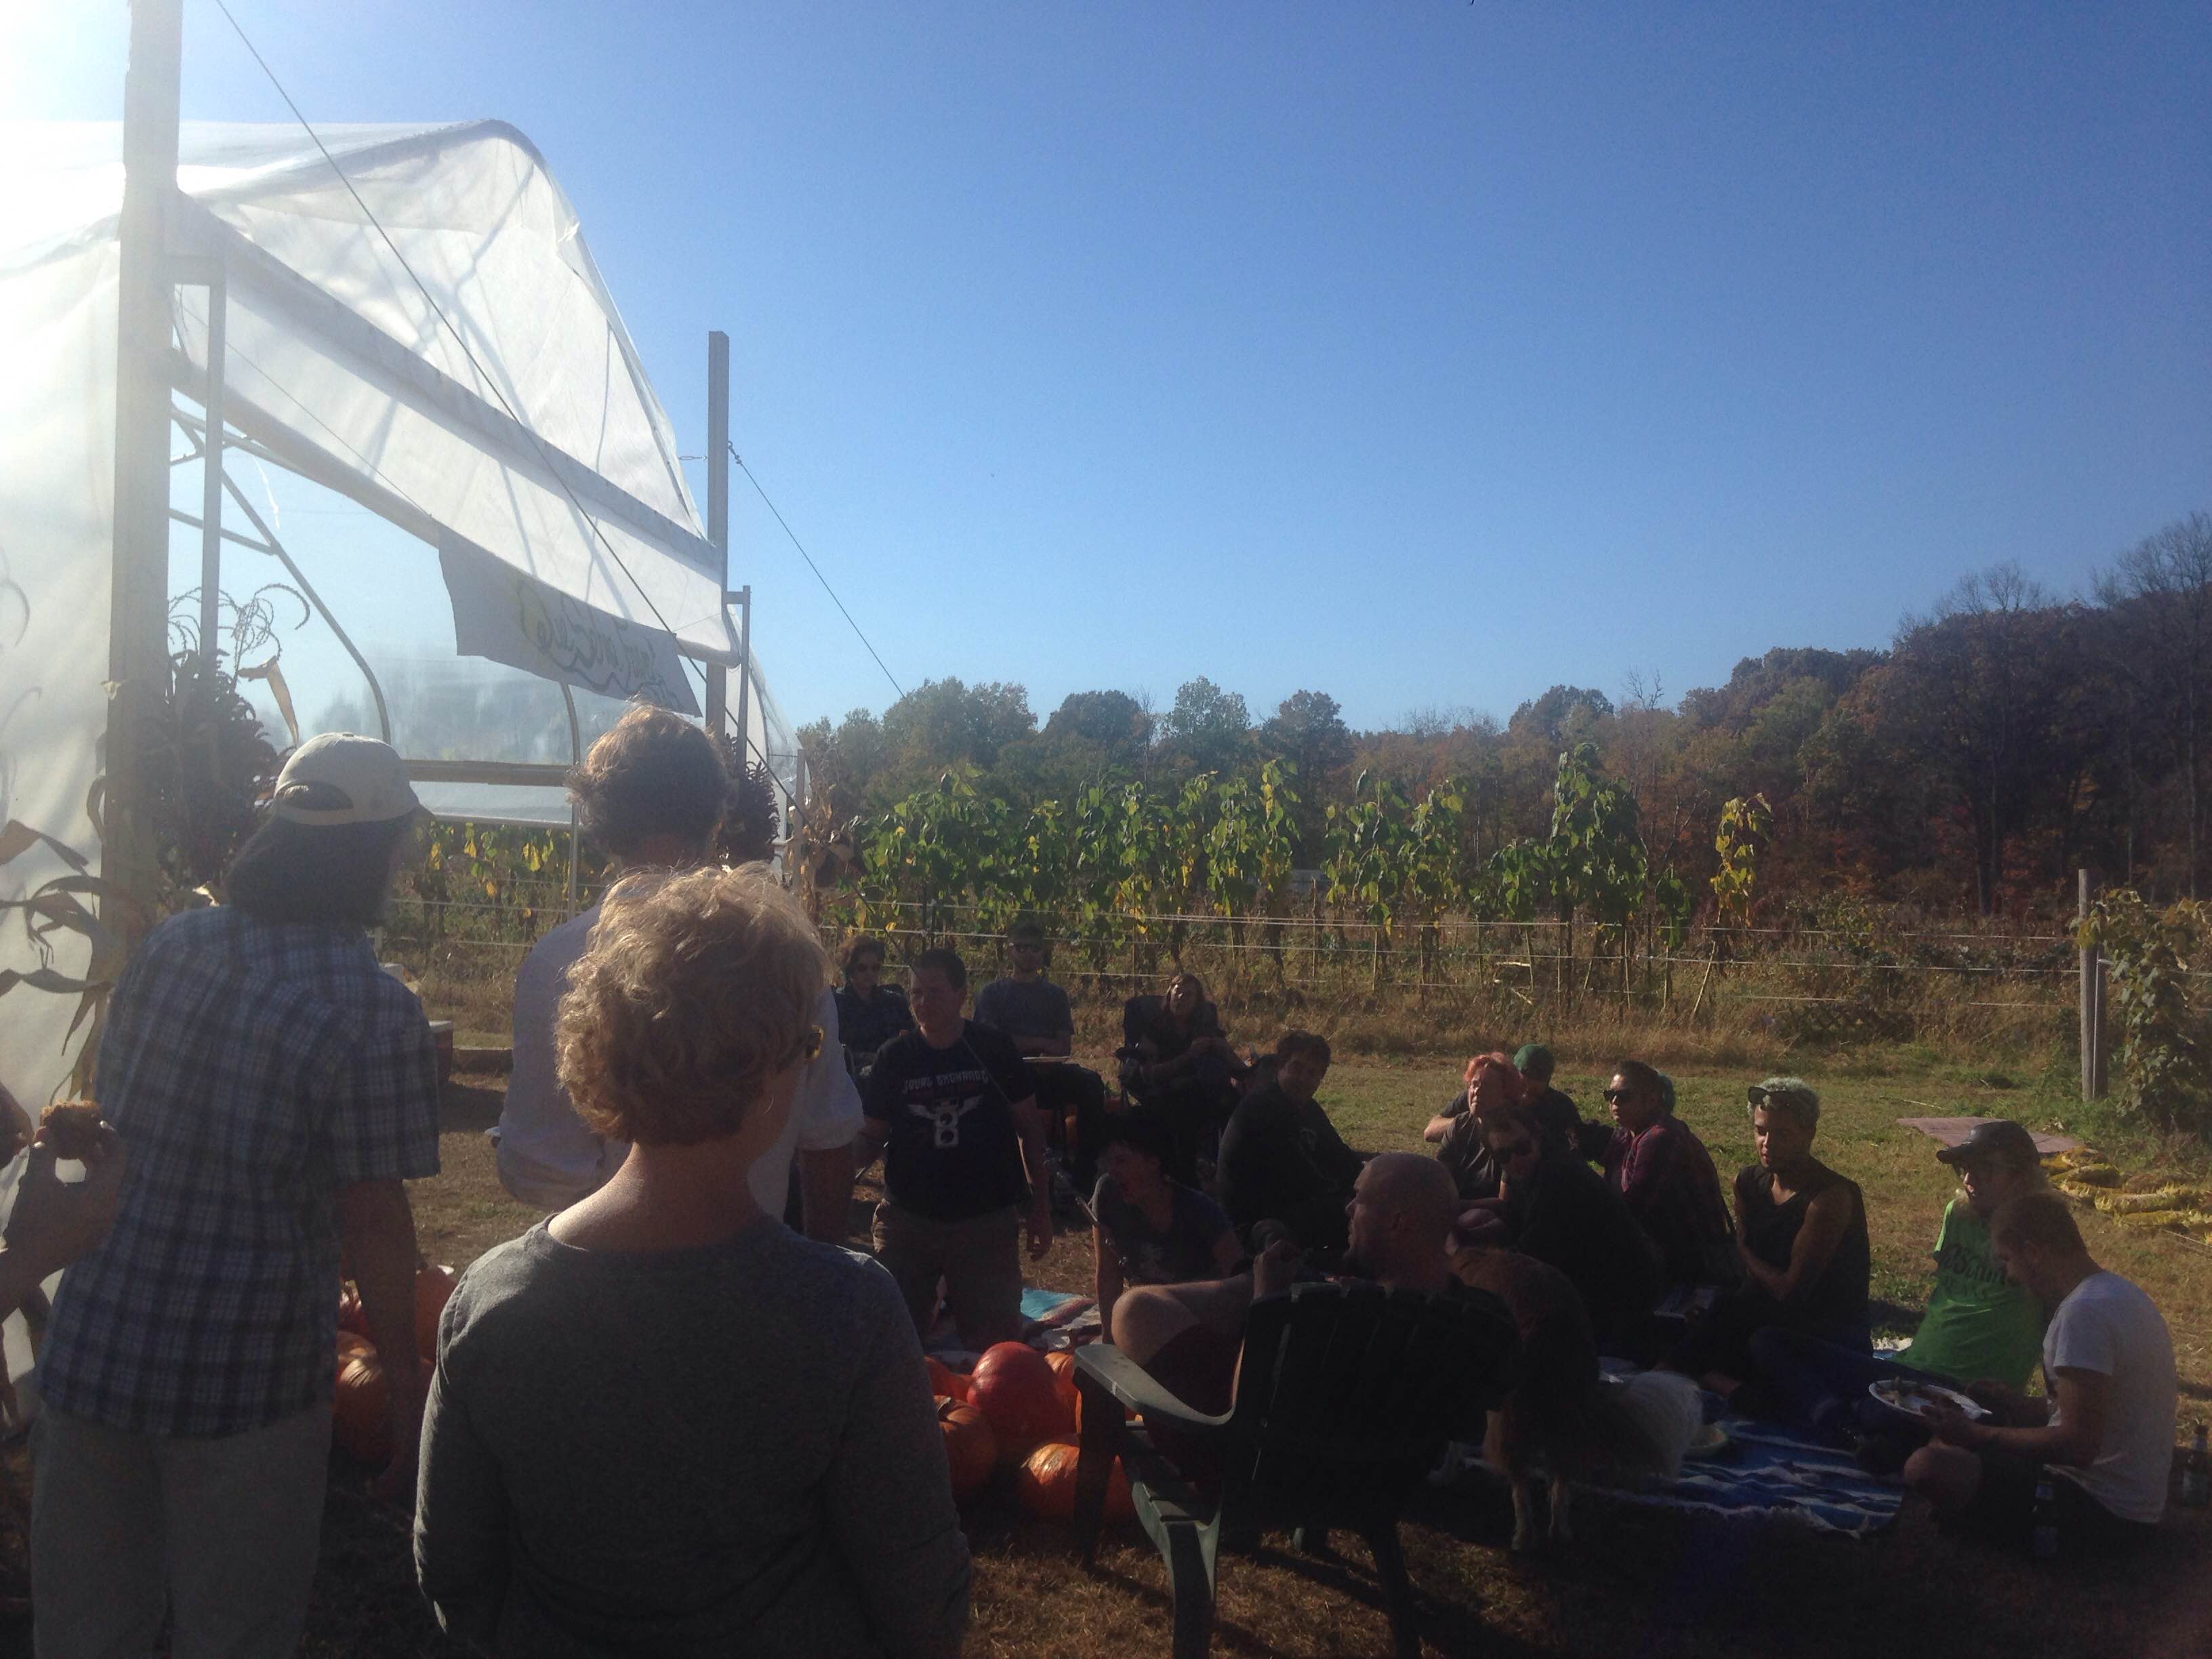
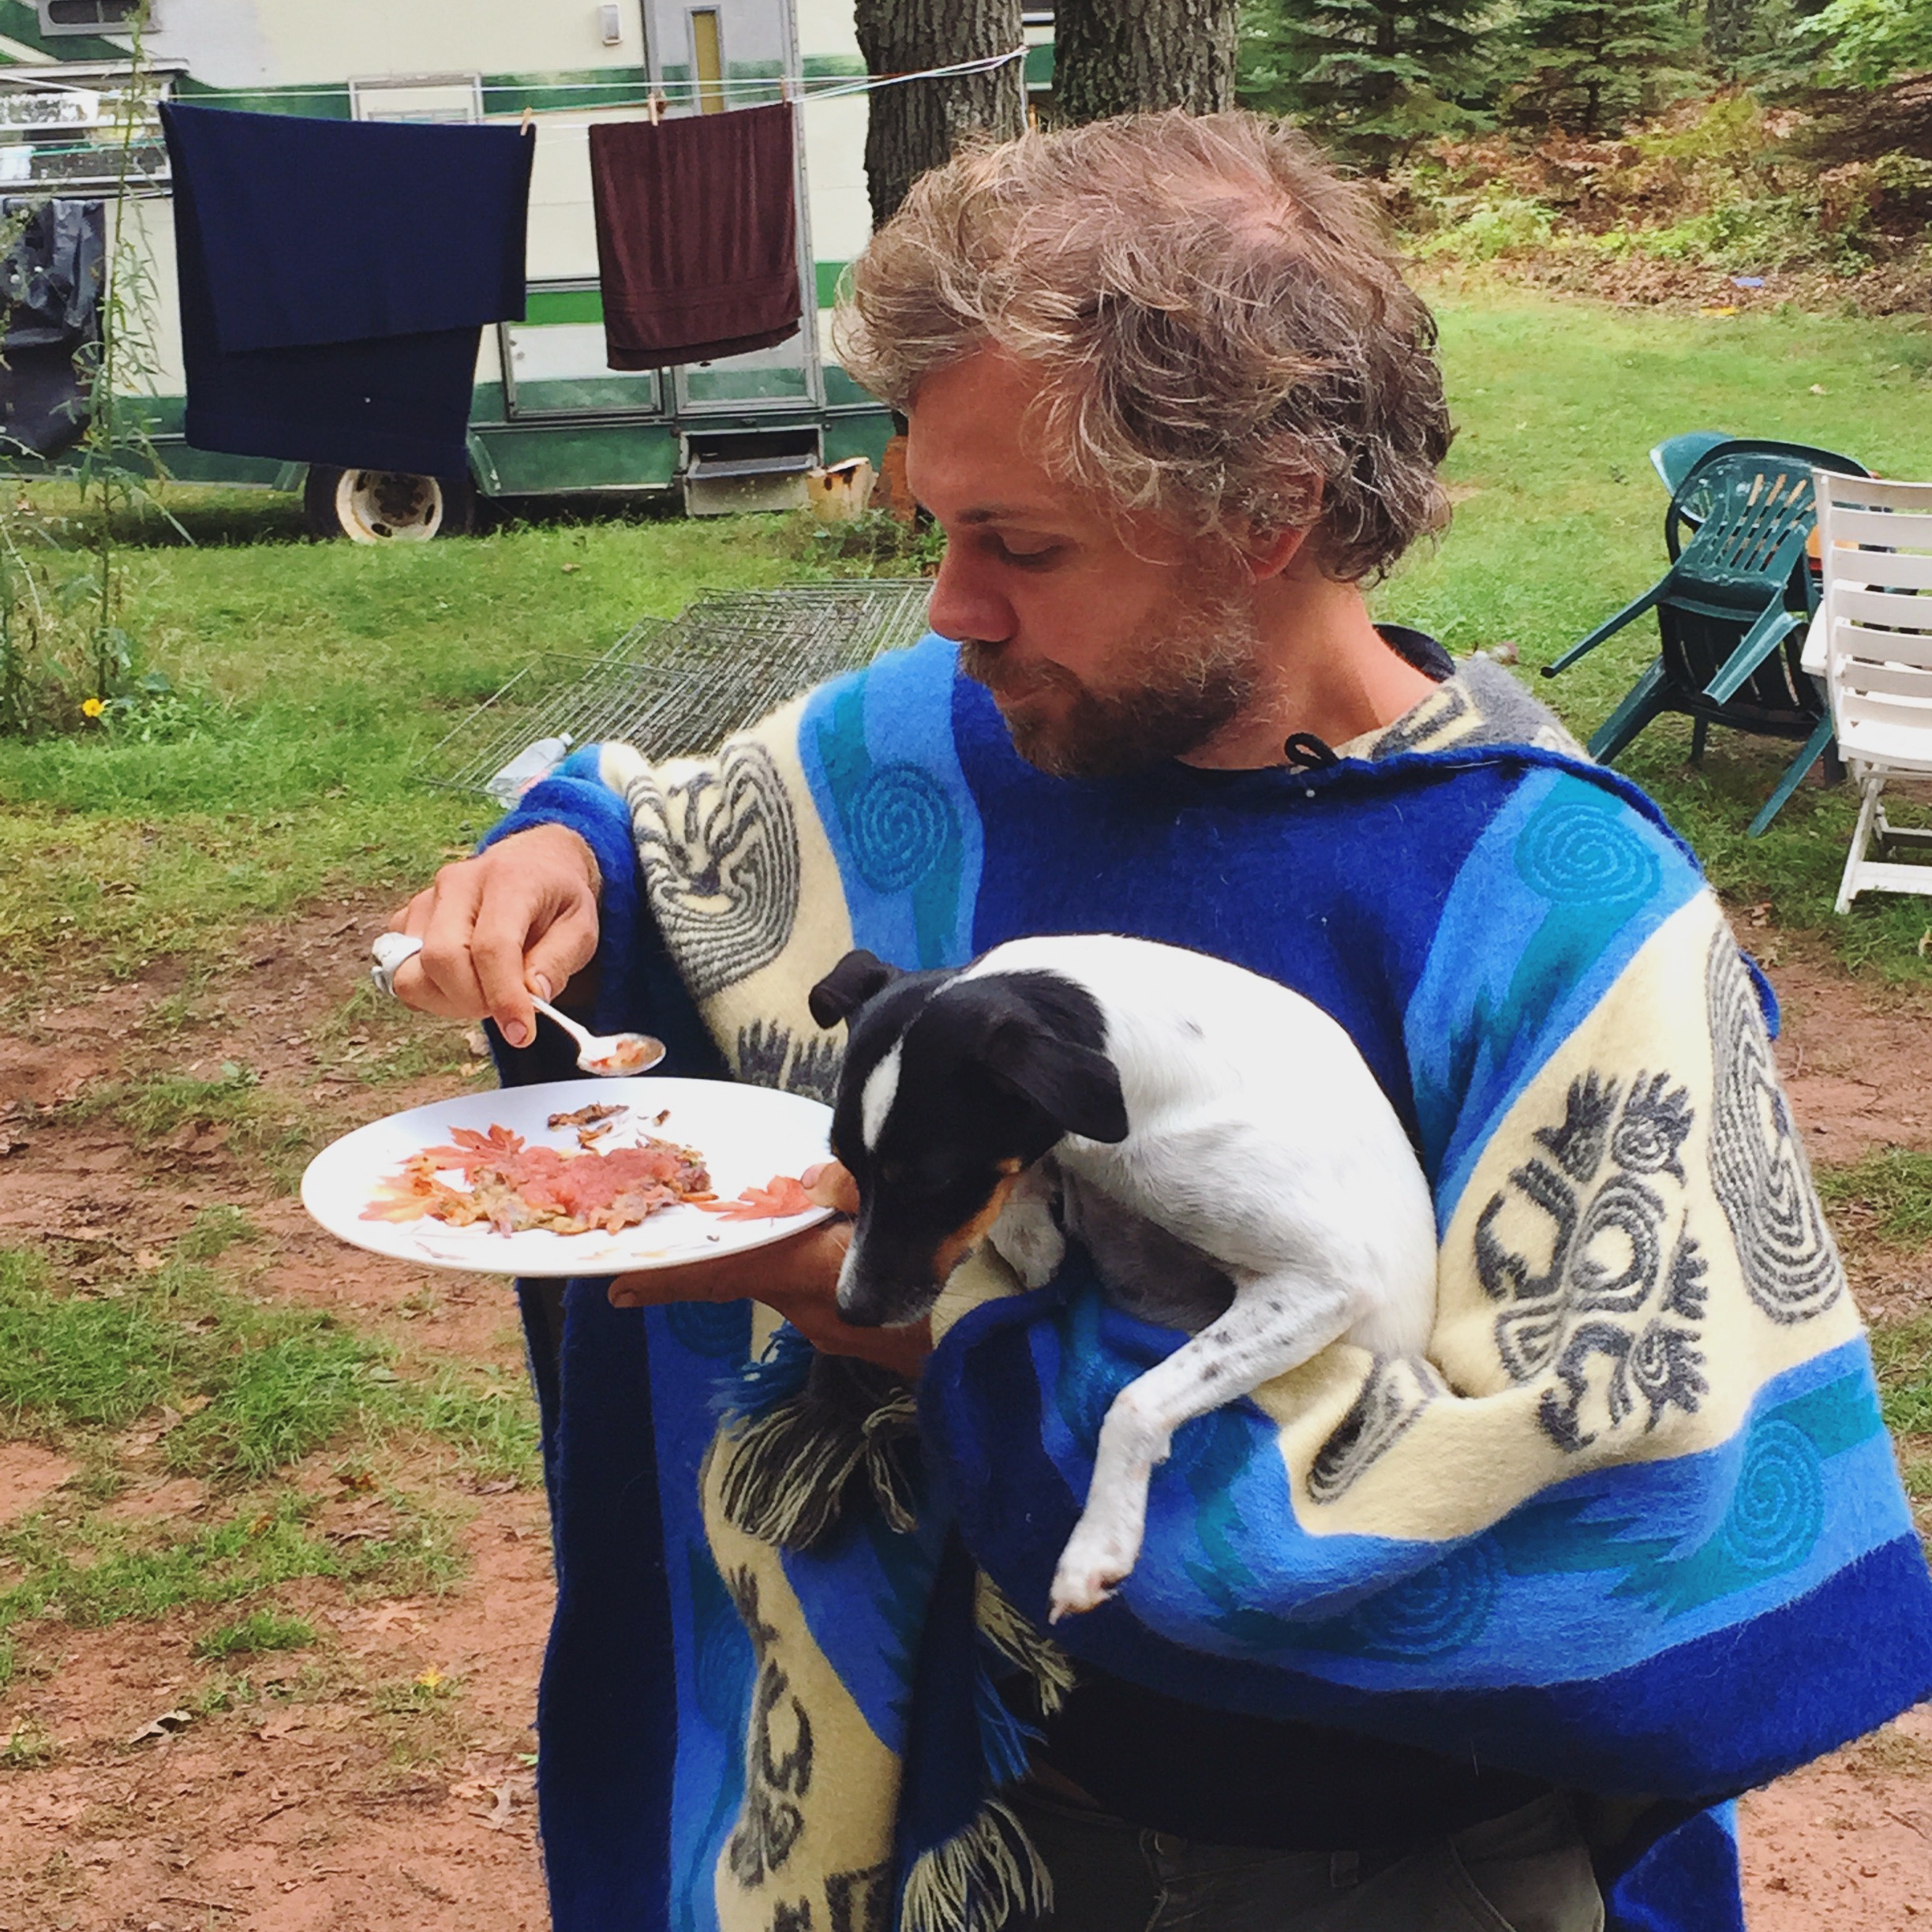
Best of all, we had our first event at the Farm – the potluck – and it was a truly lovely finale to the season – capping off the long lingering summer with an amazing last hurrah of 80 degree sunshine, perfectly timed for the celebration of all that was grown and accomplished throughout the year.
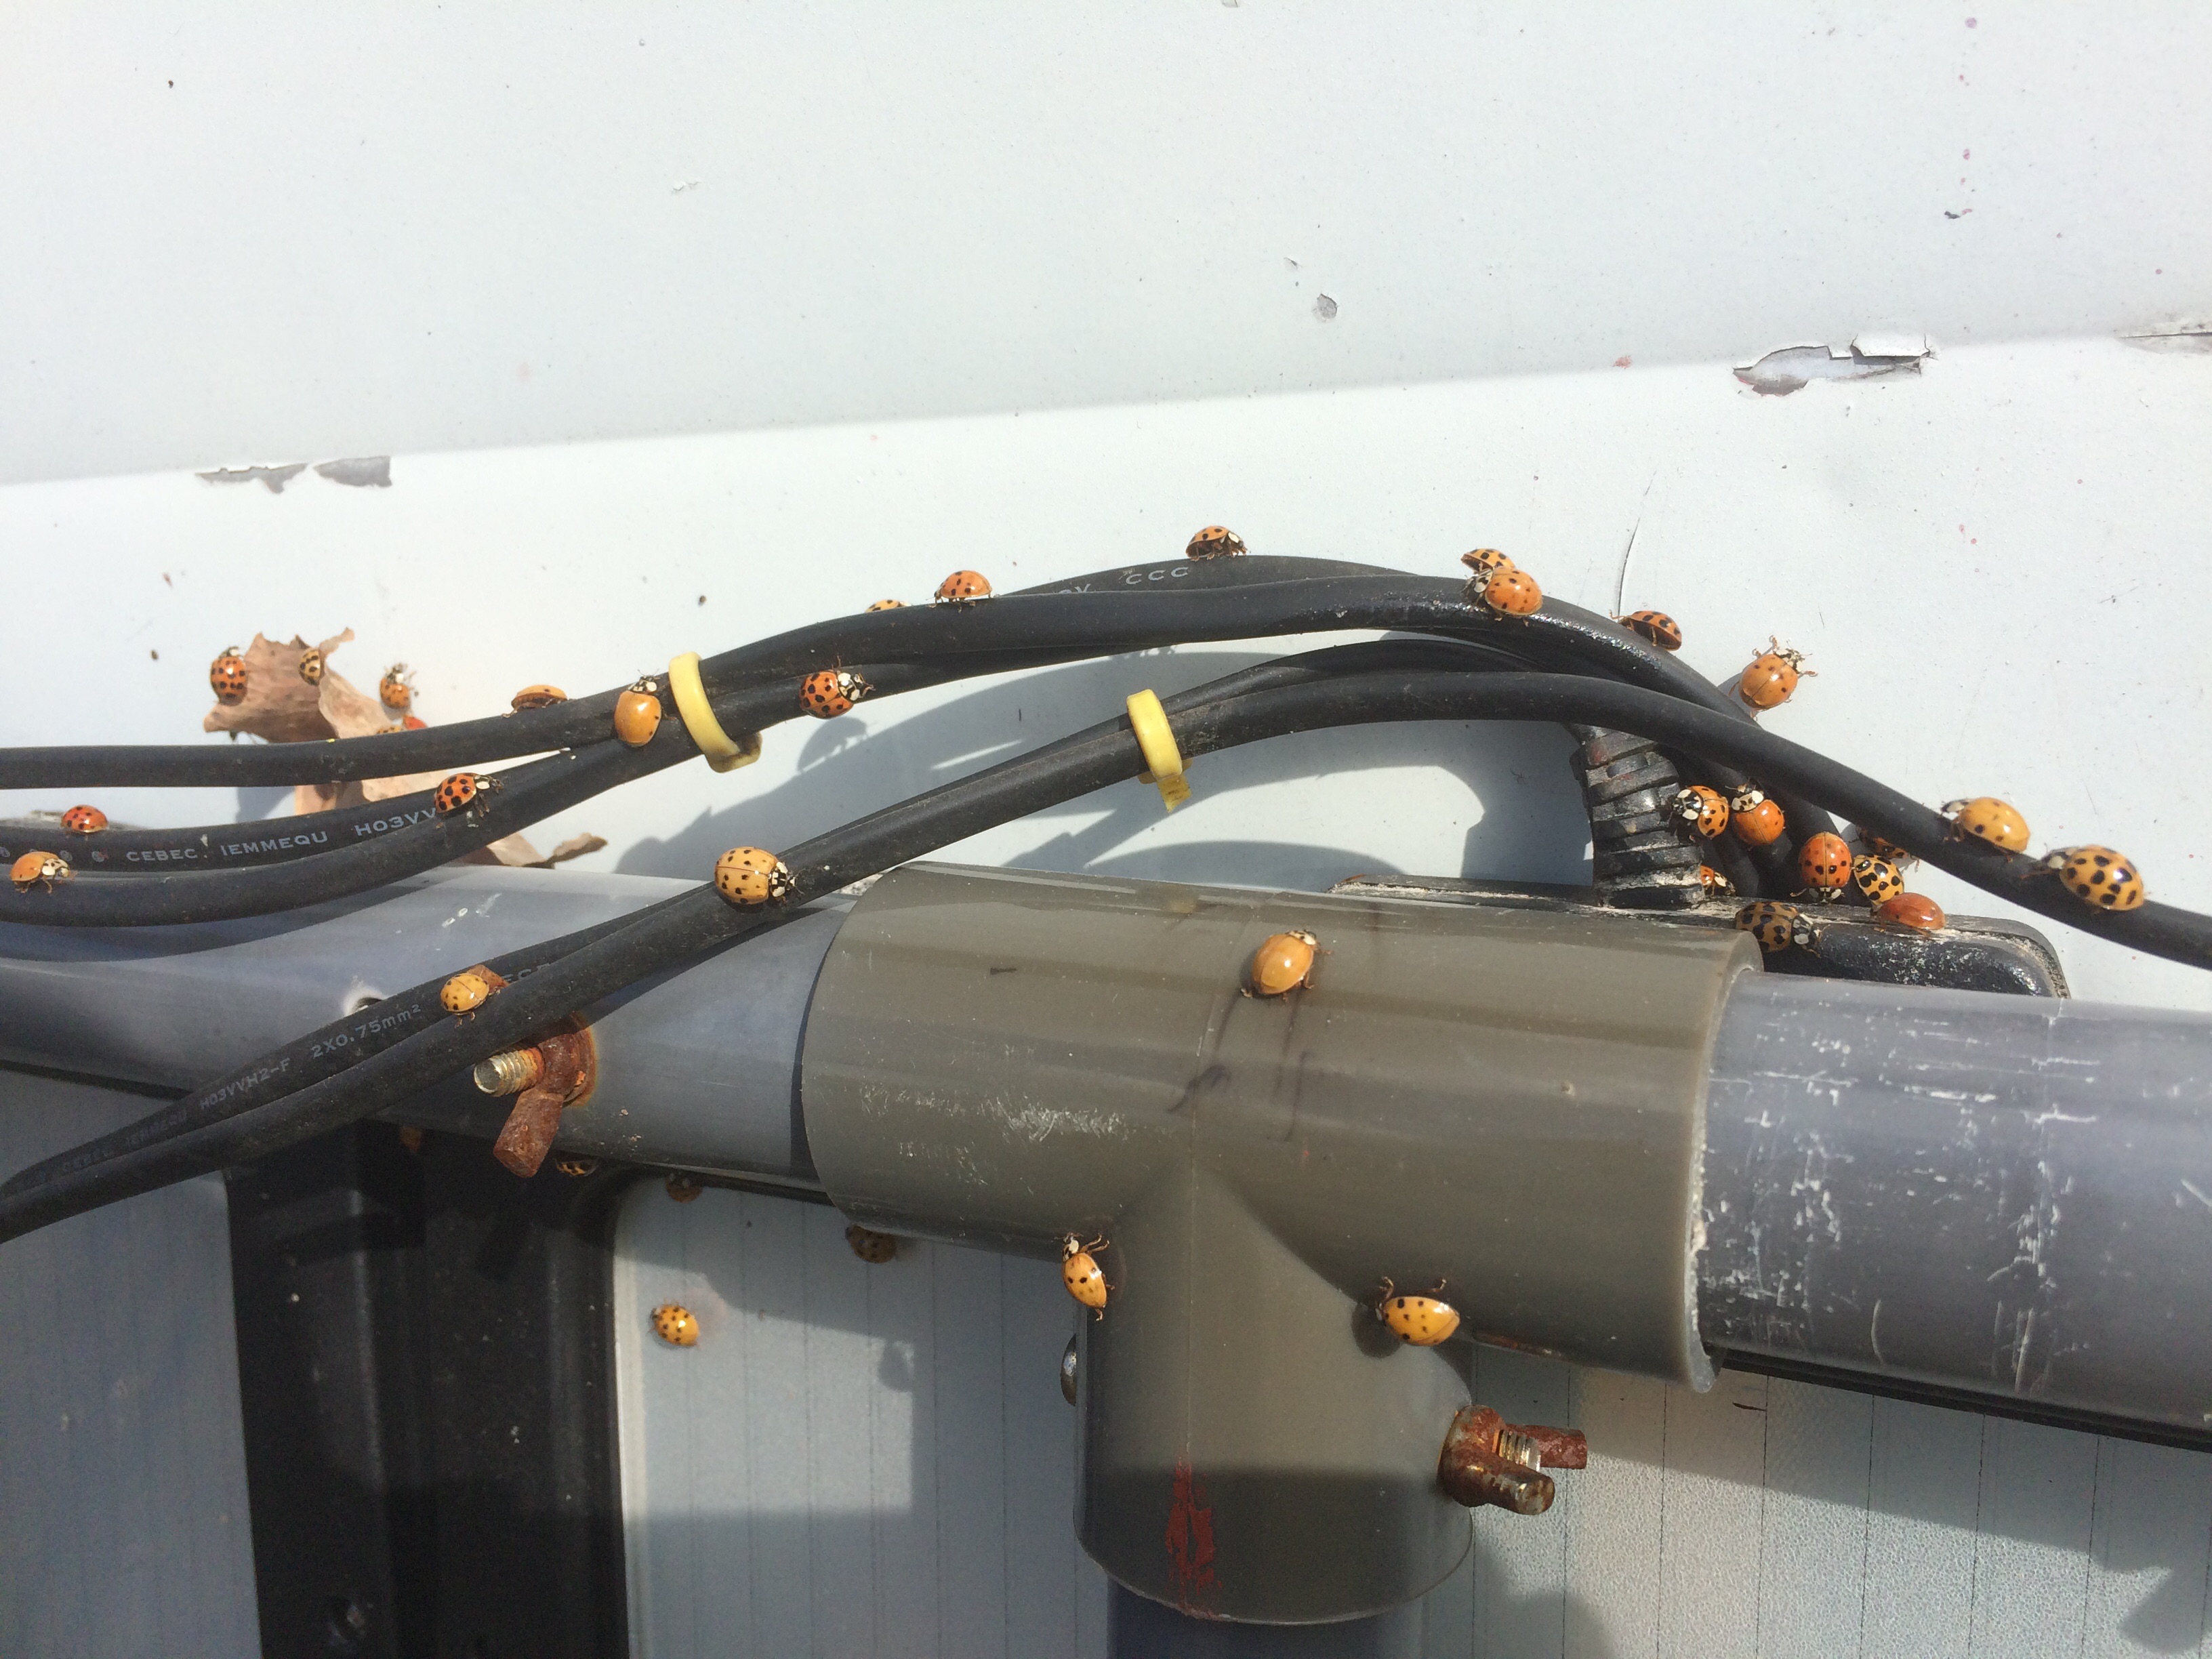
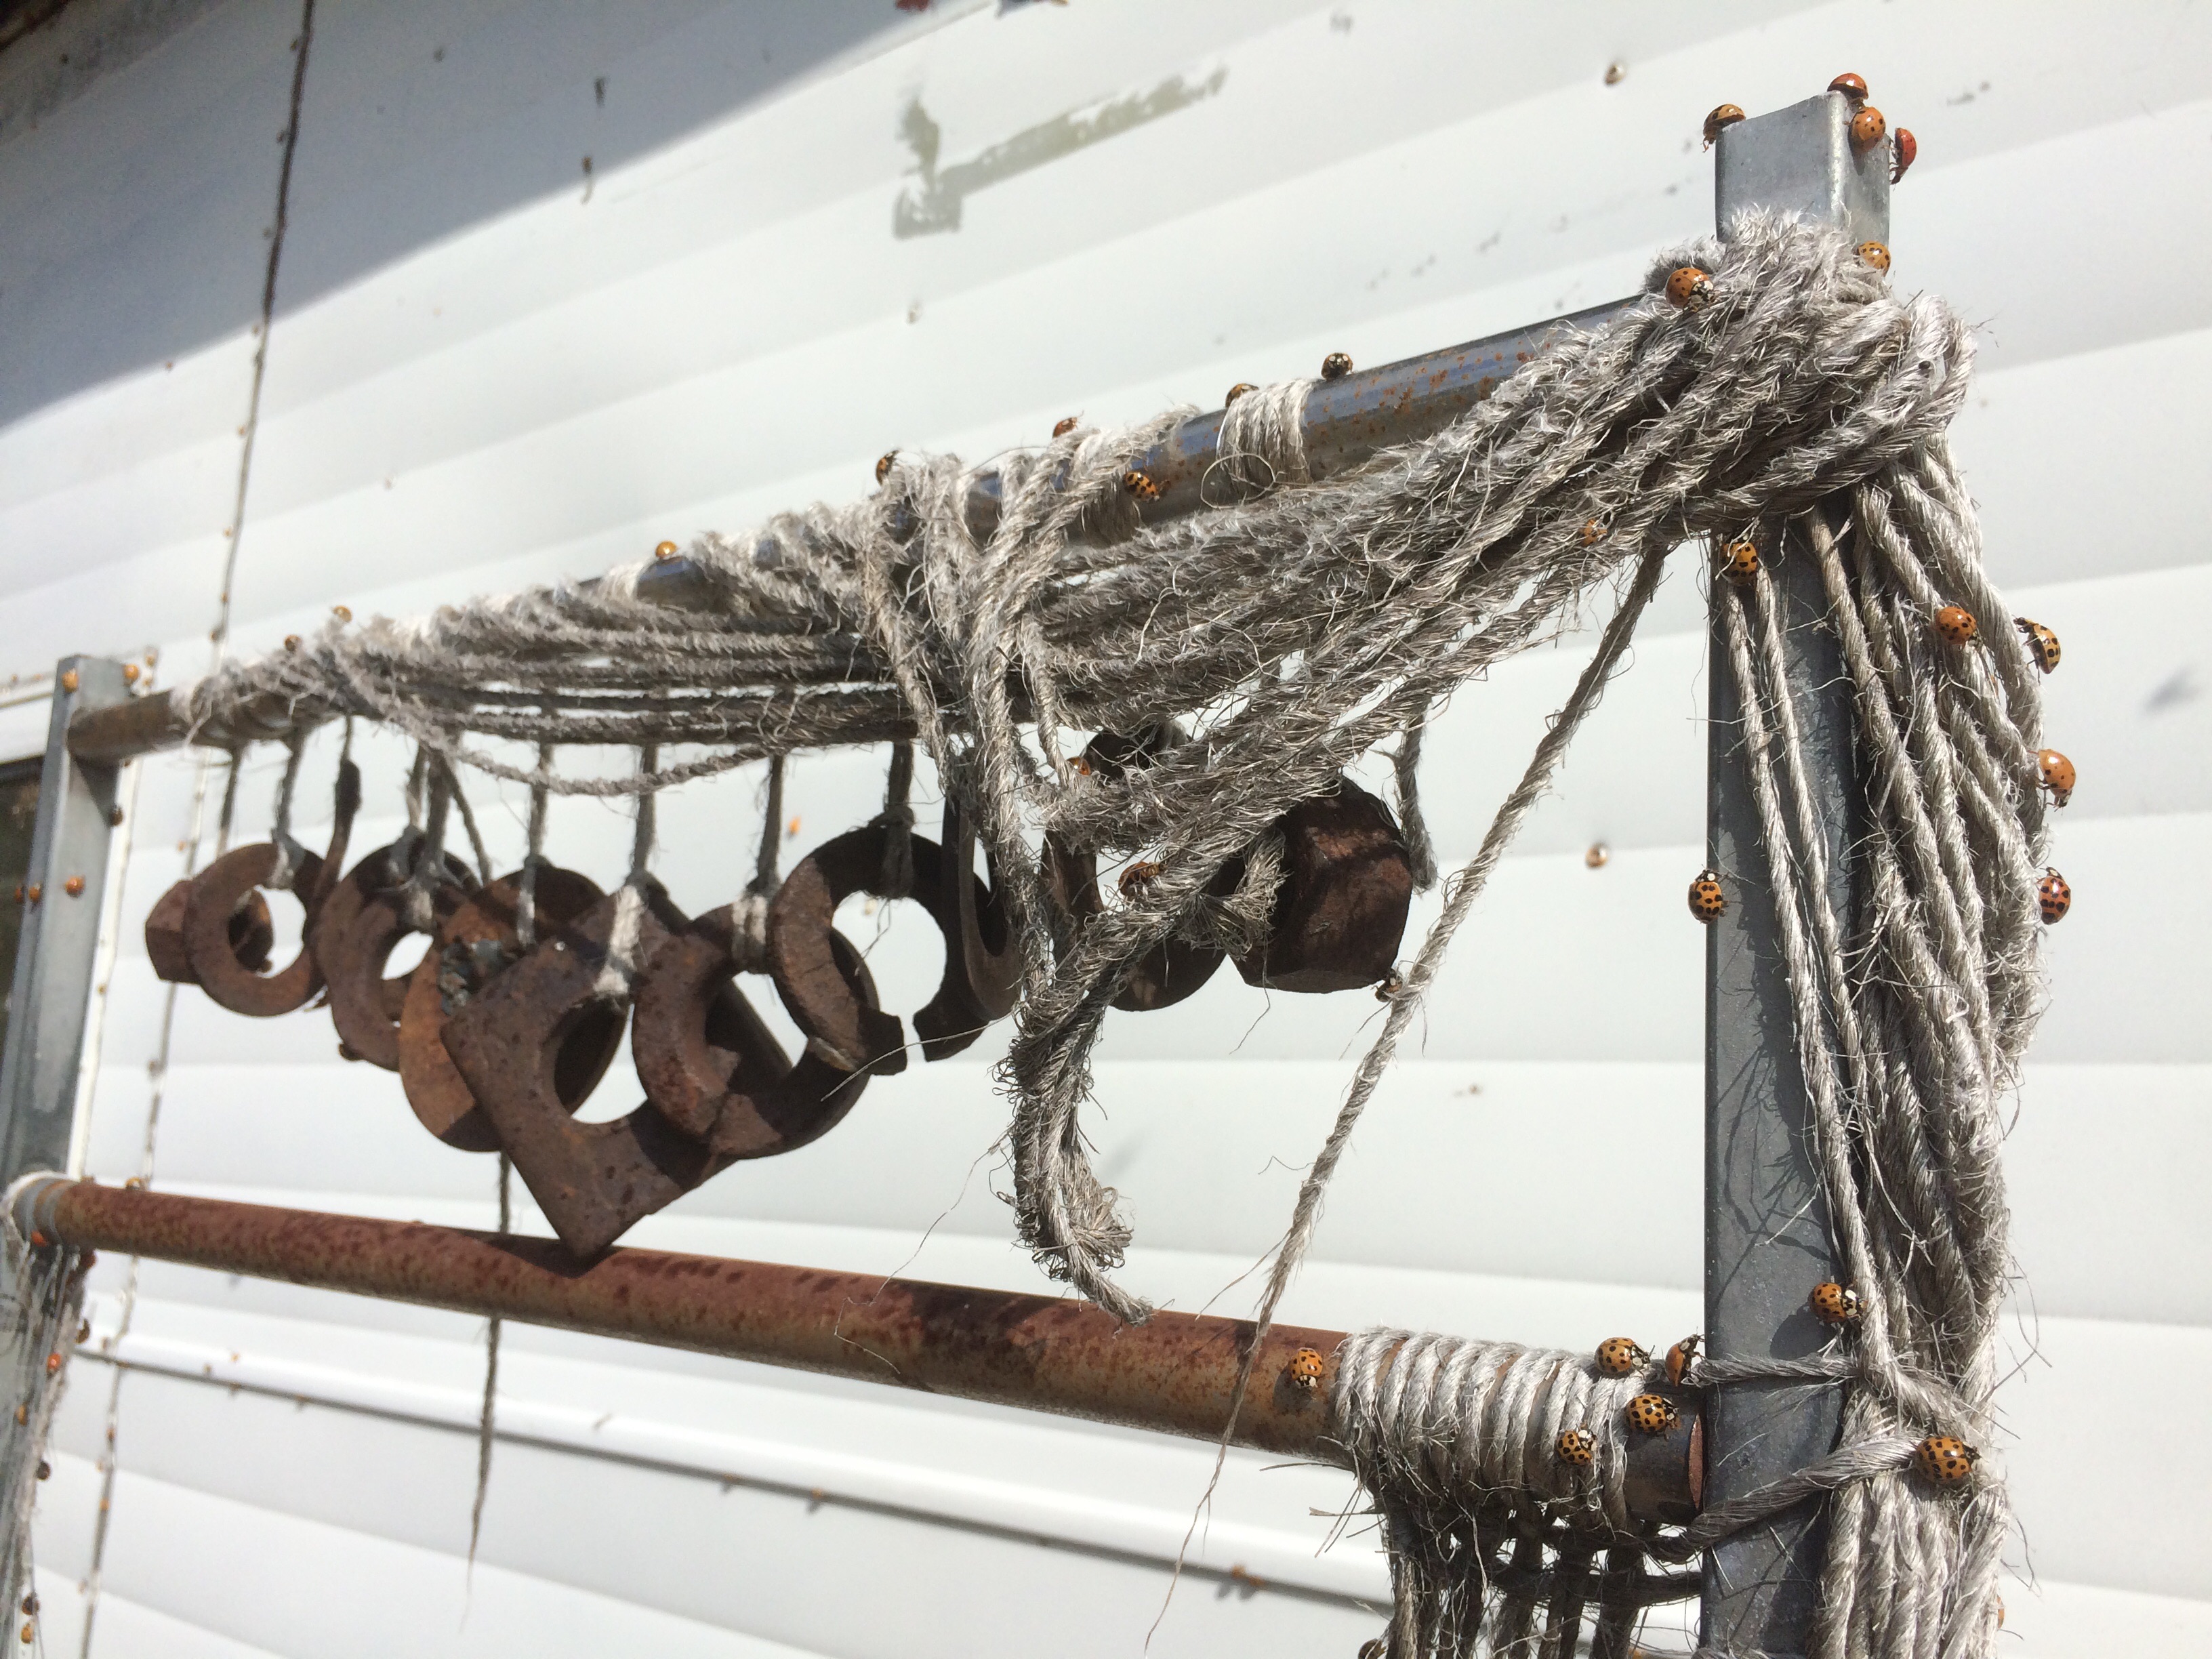
(Only downsides to the insanely warm October Sunday weather being swarming lady beetles and tourist traffic … que sera sera.)
I can hardly believe it’s time to start tearing down the field and preparing to head south – where we’ll be planning next year’s field, ordering seeds, and getting ready for another year of growing … hope you can join us again!
Stay tuned to the Facebook page and this website for updates from the field over the final weeks here, and from the road throughout the winter!
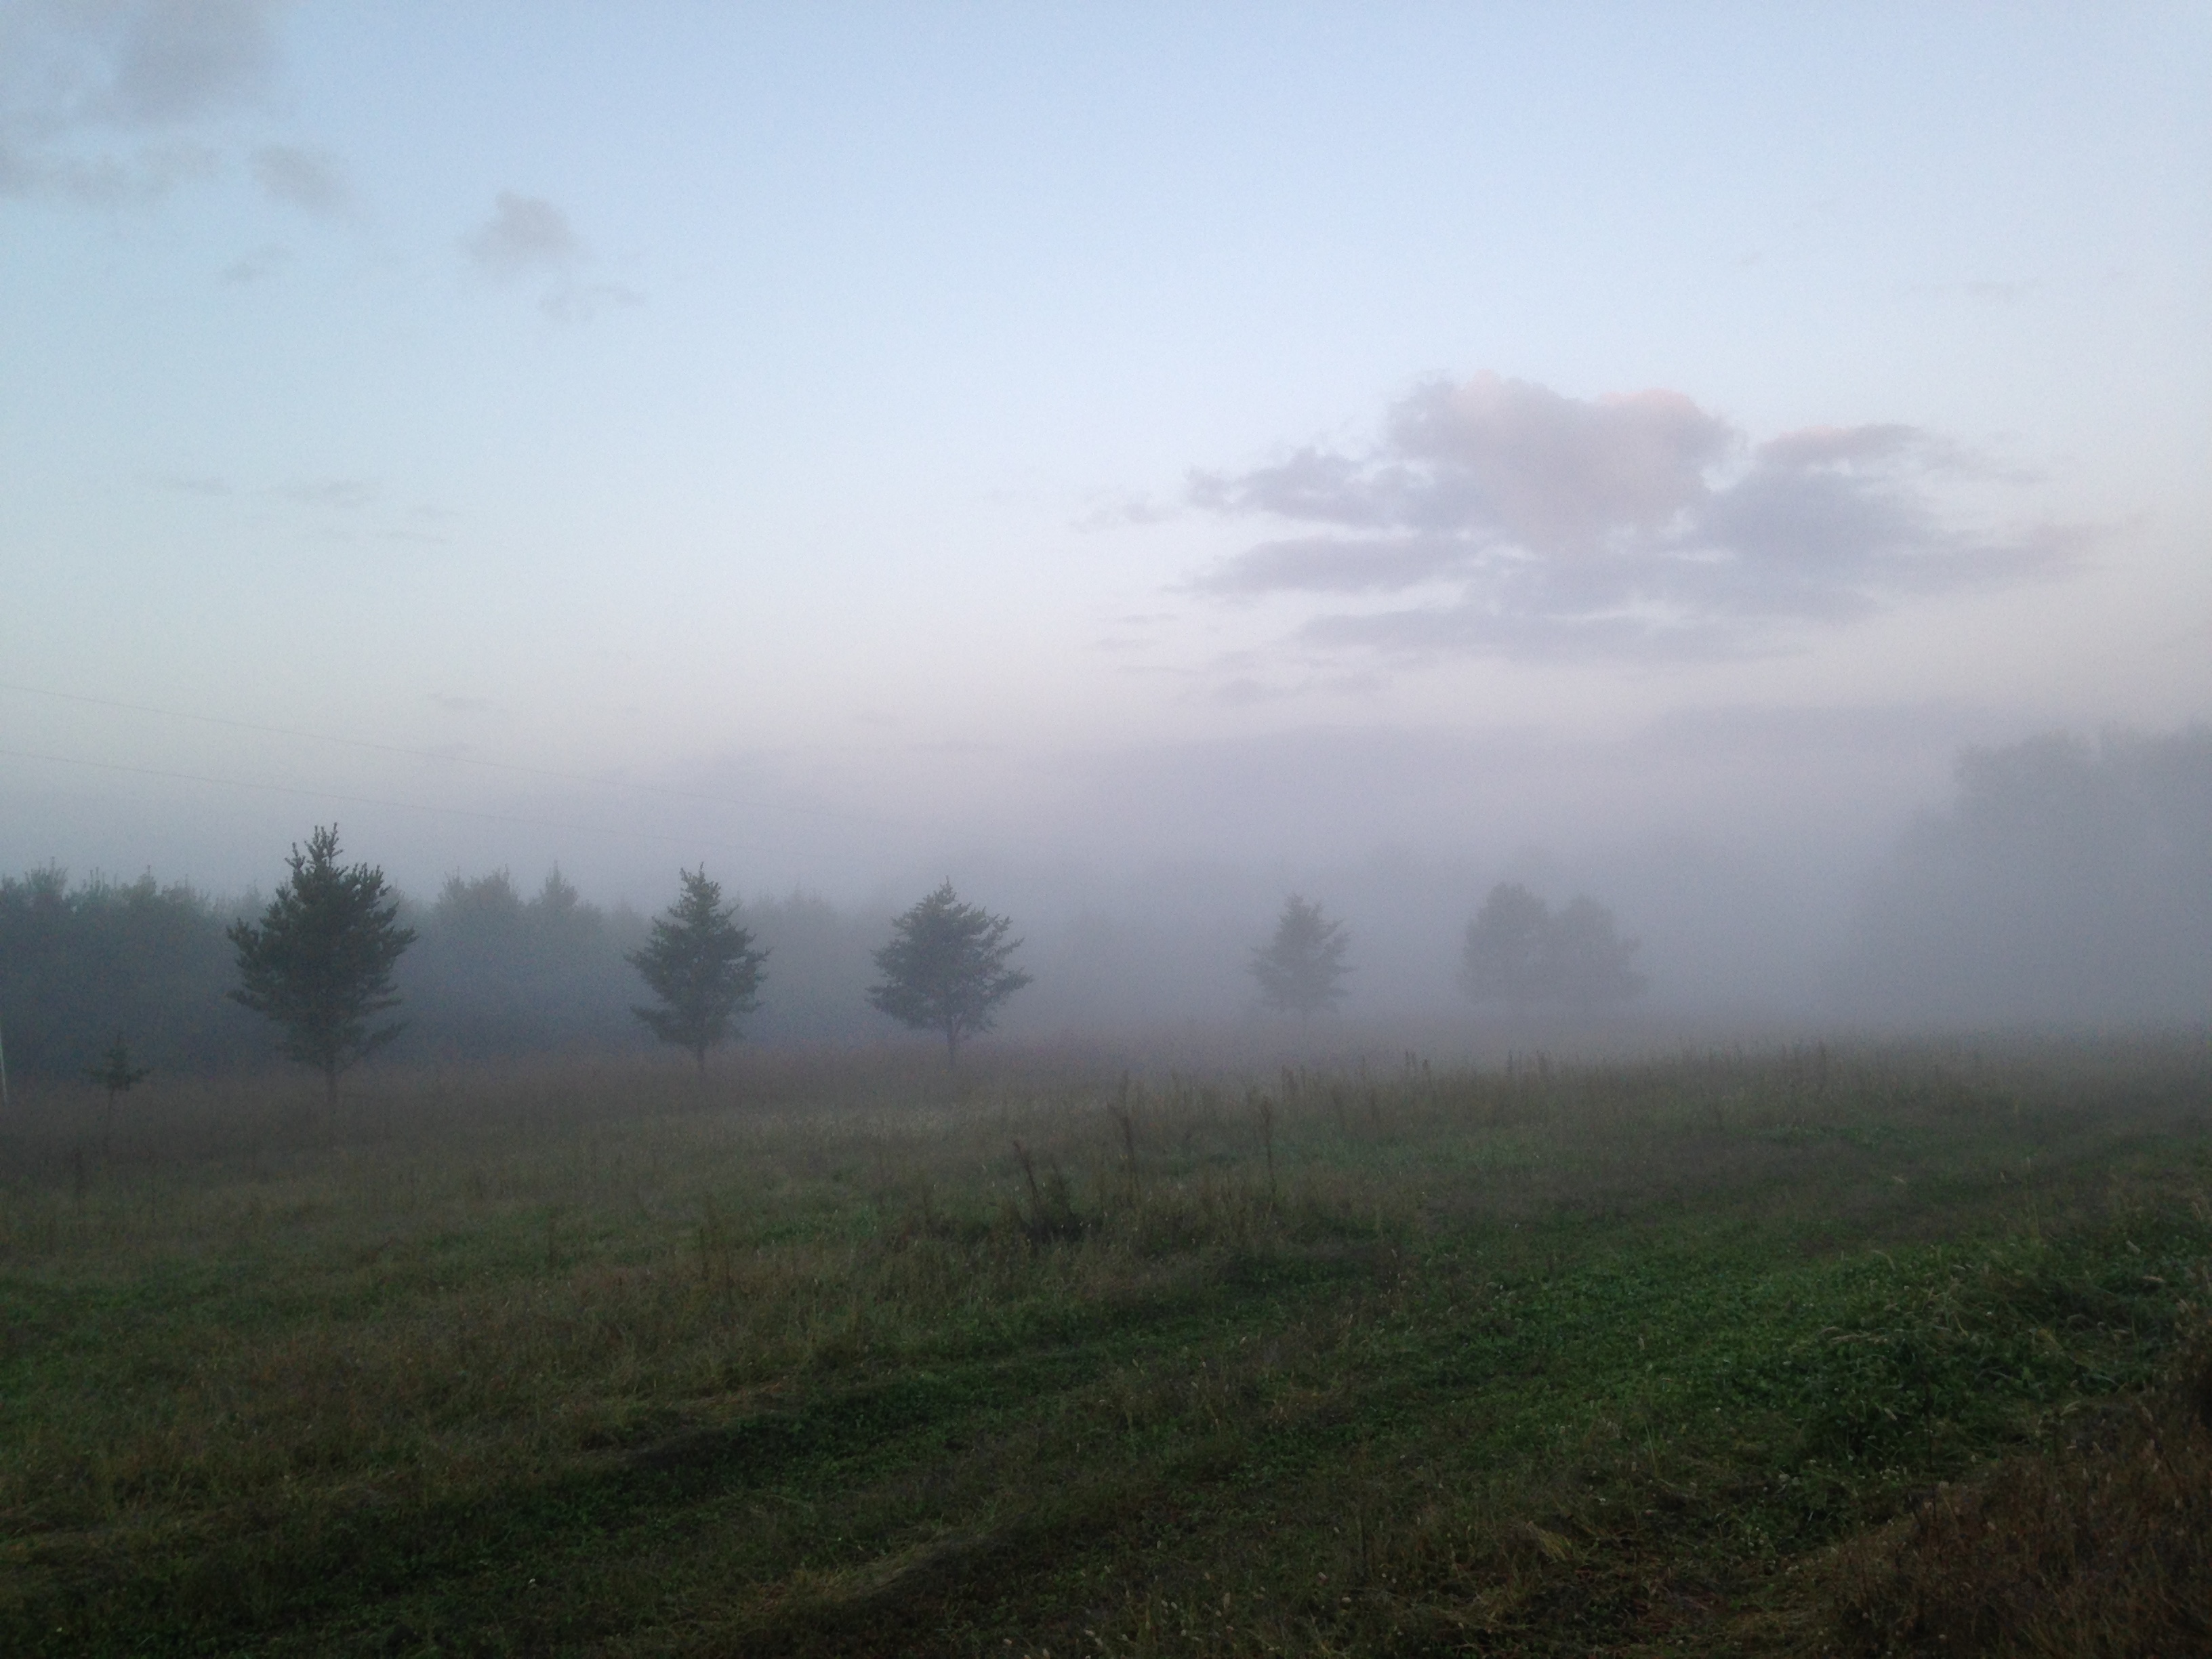
The first frost at the end of last week was followed by several more of the same.
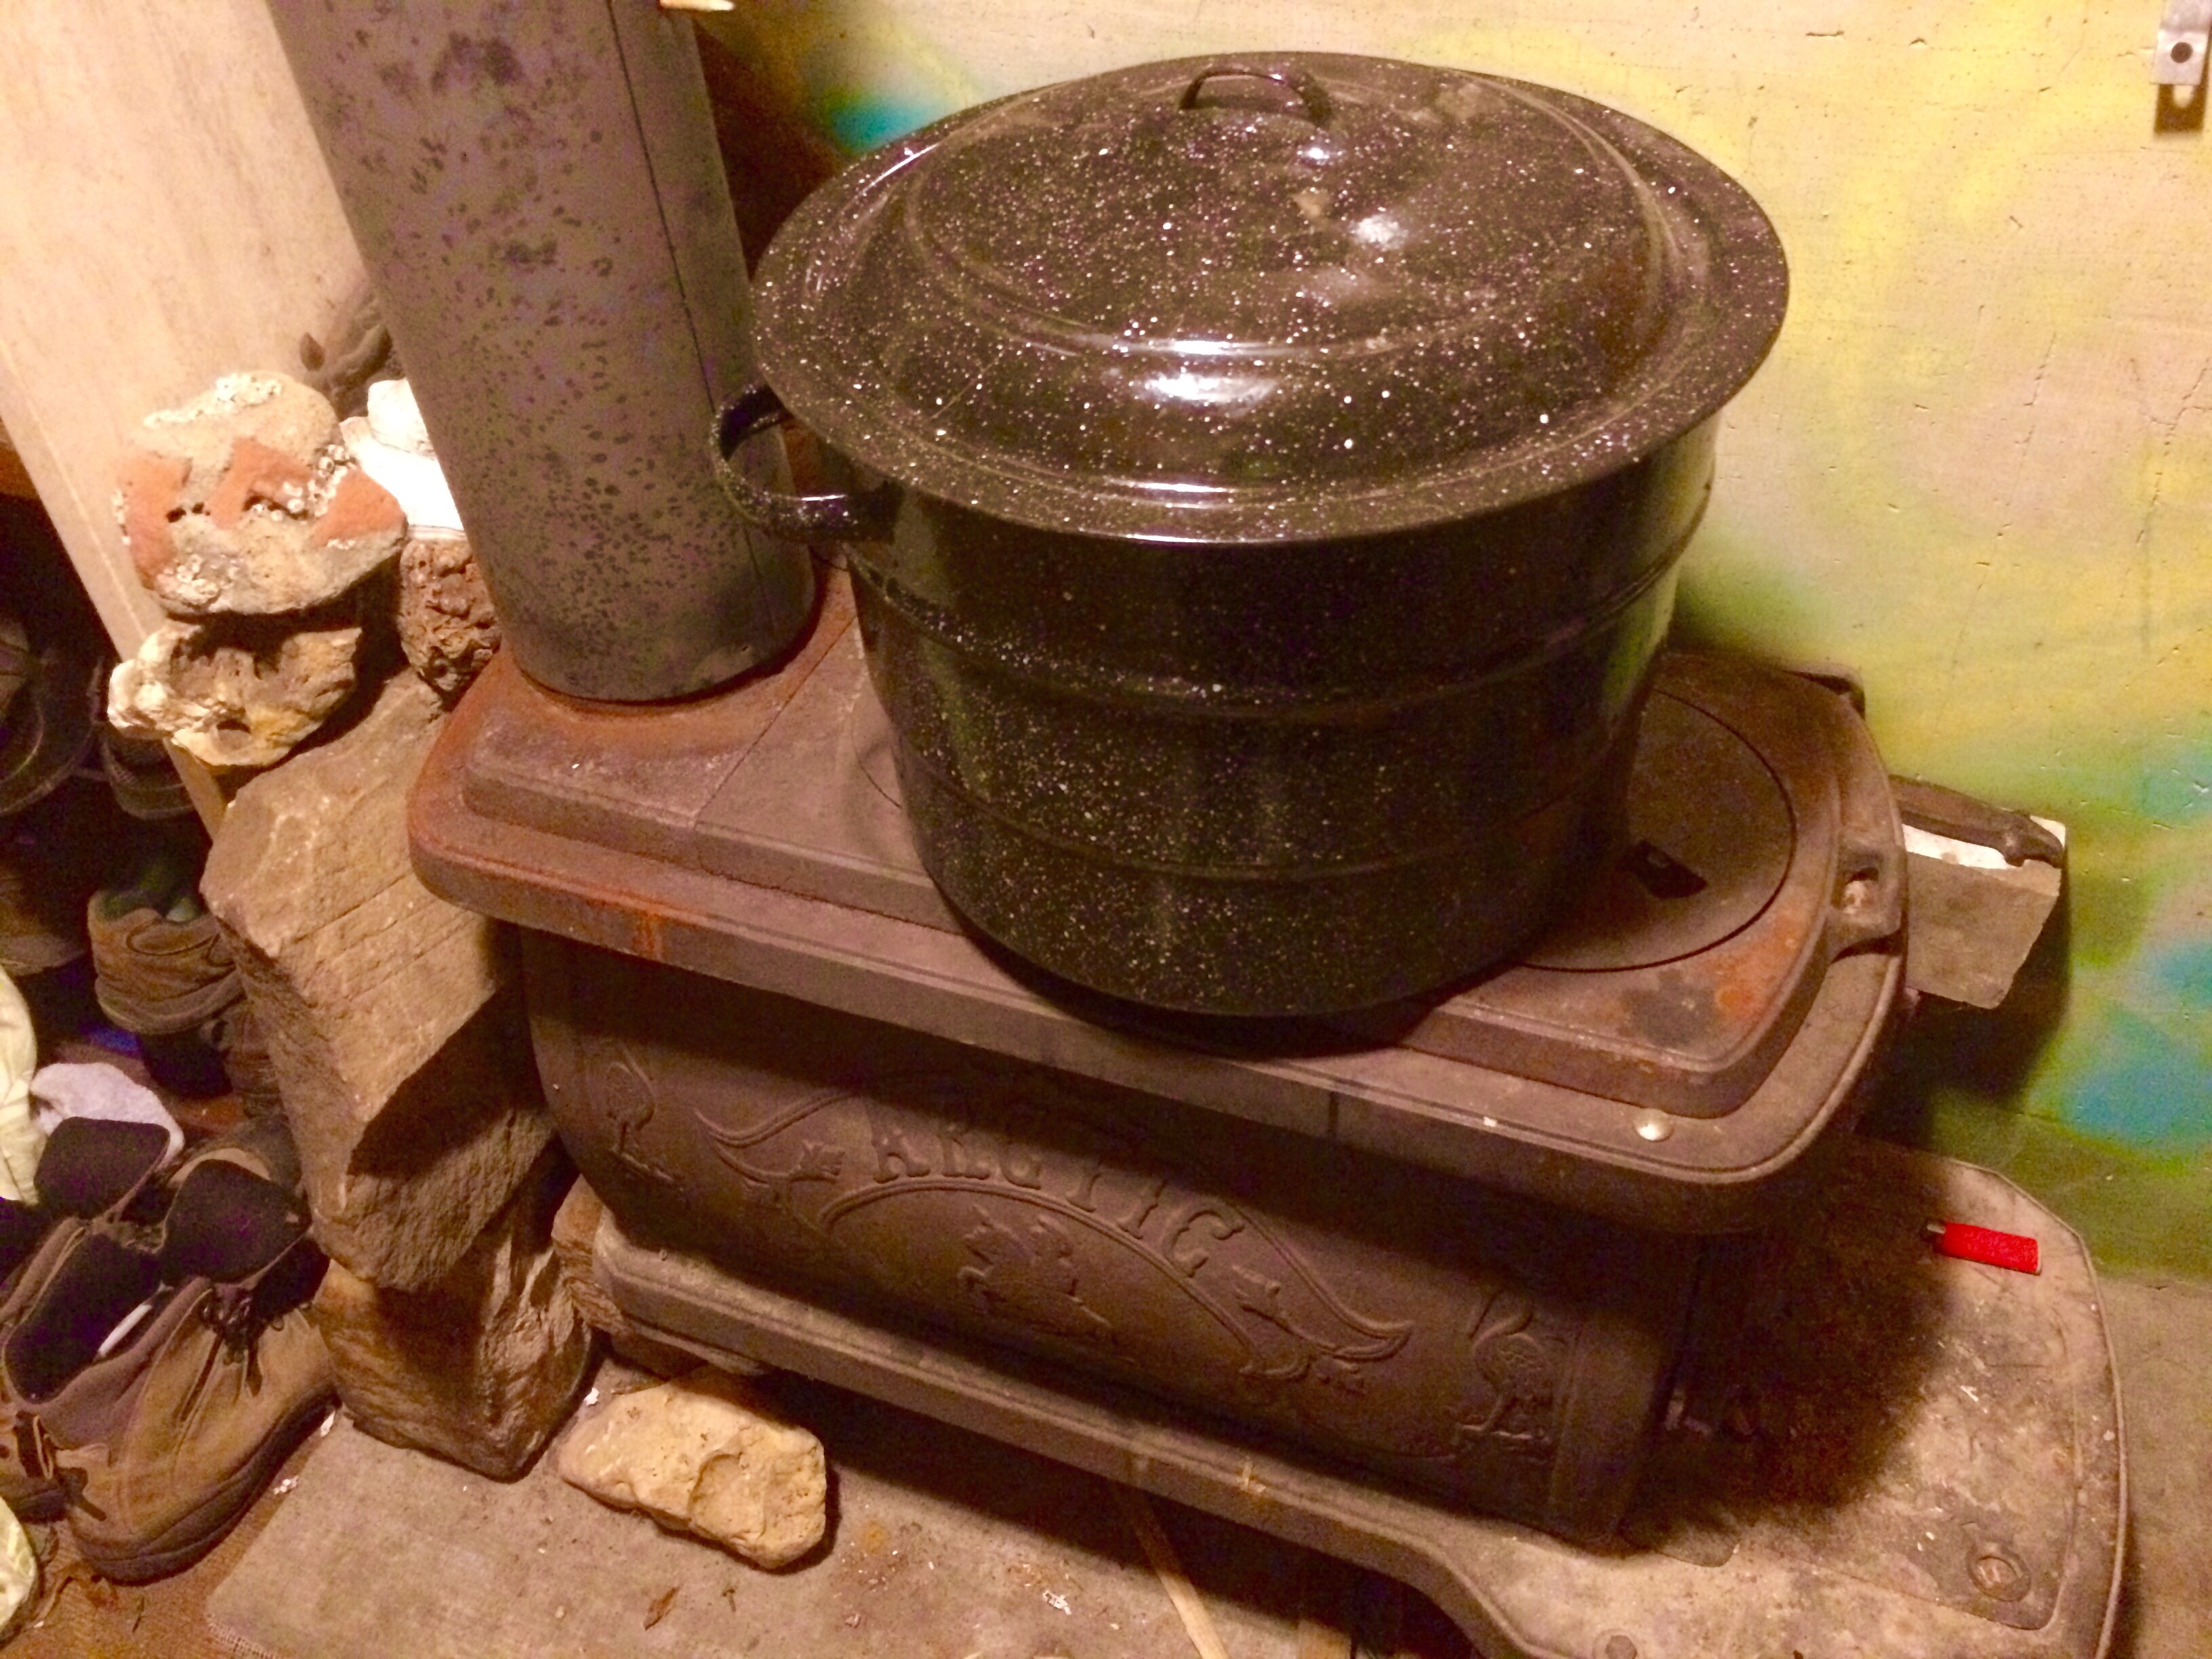
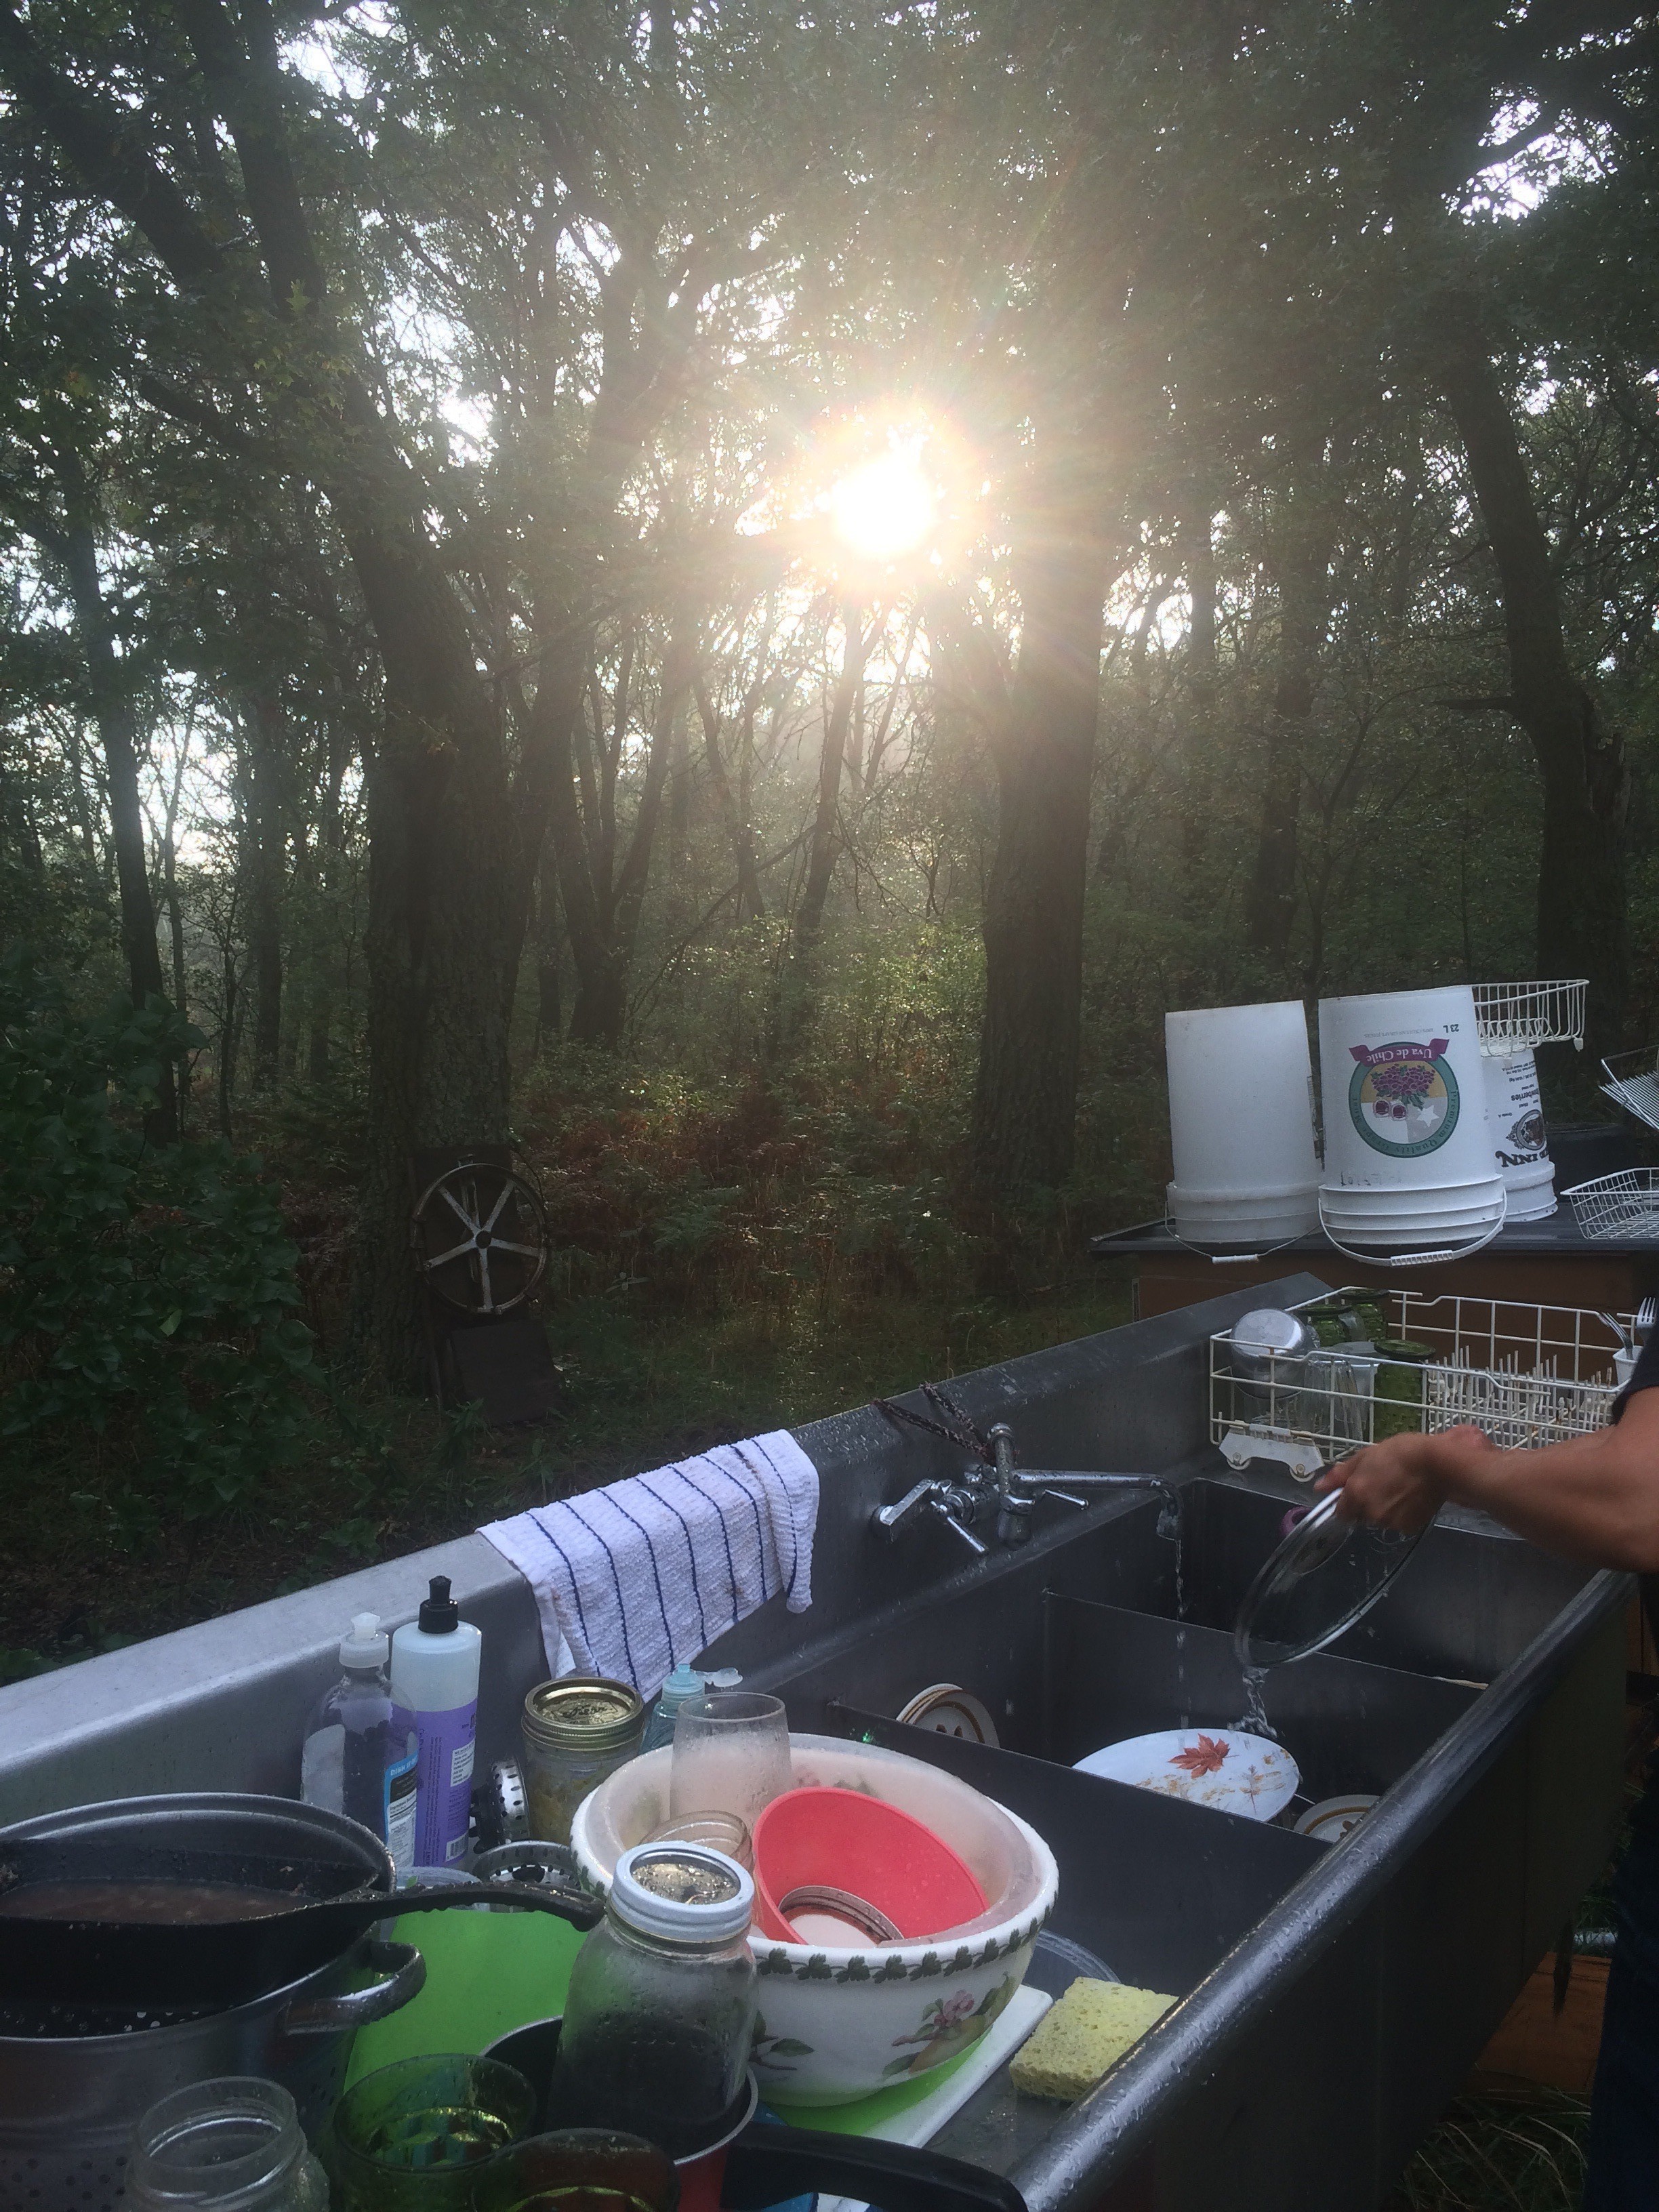
farmer’s market prep when mornings are frosty includes getting a pot of water heated on the woodstove overnight – this can be added to a big bucket of icy well water (for cleaning veggies) to bring the temp to merely “cool” from “painfully freezing”
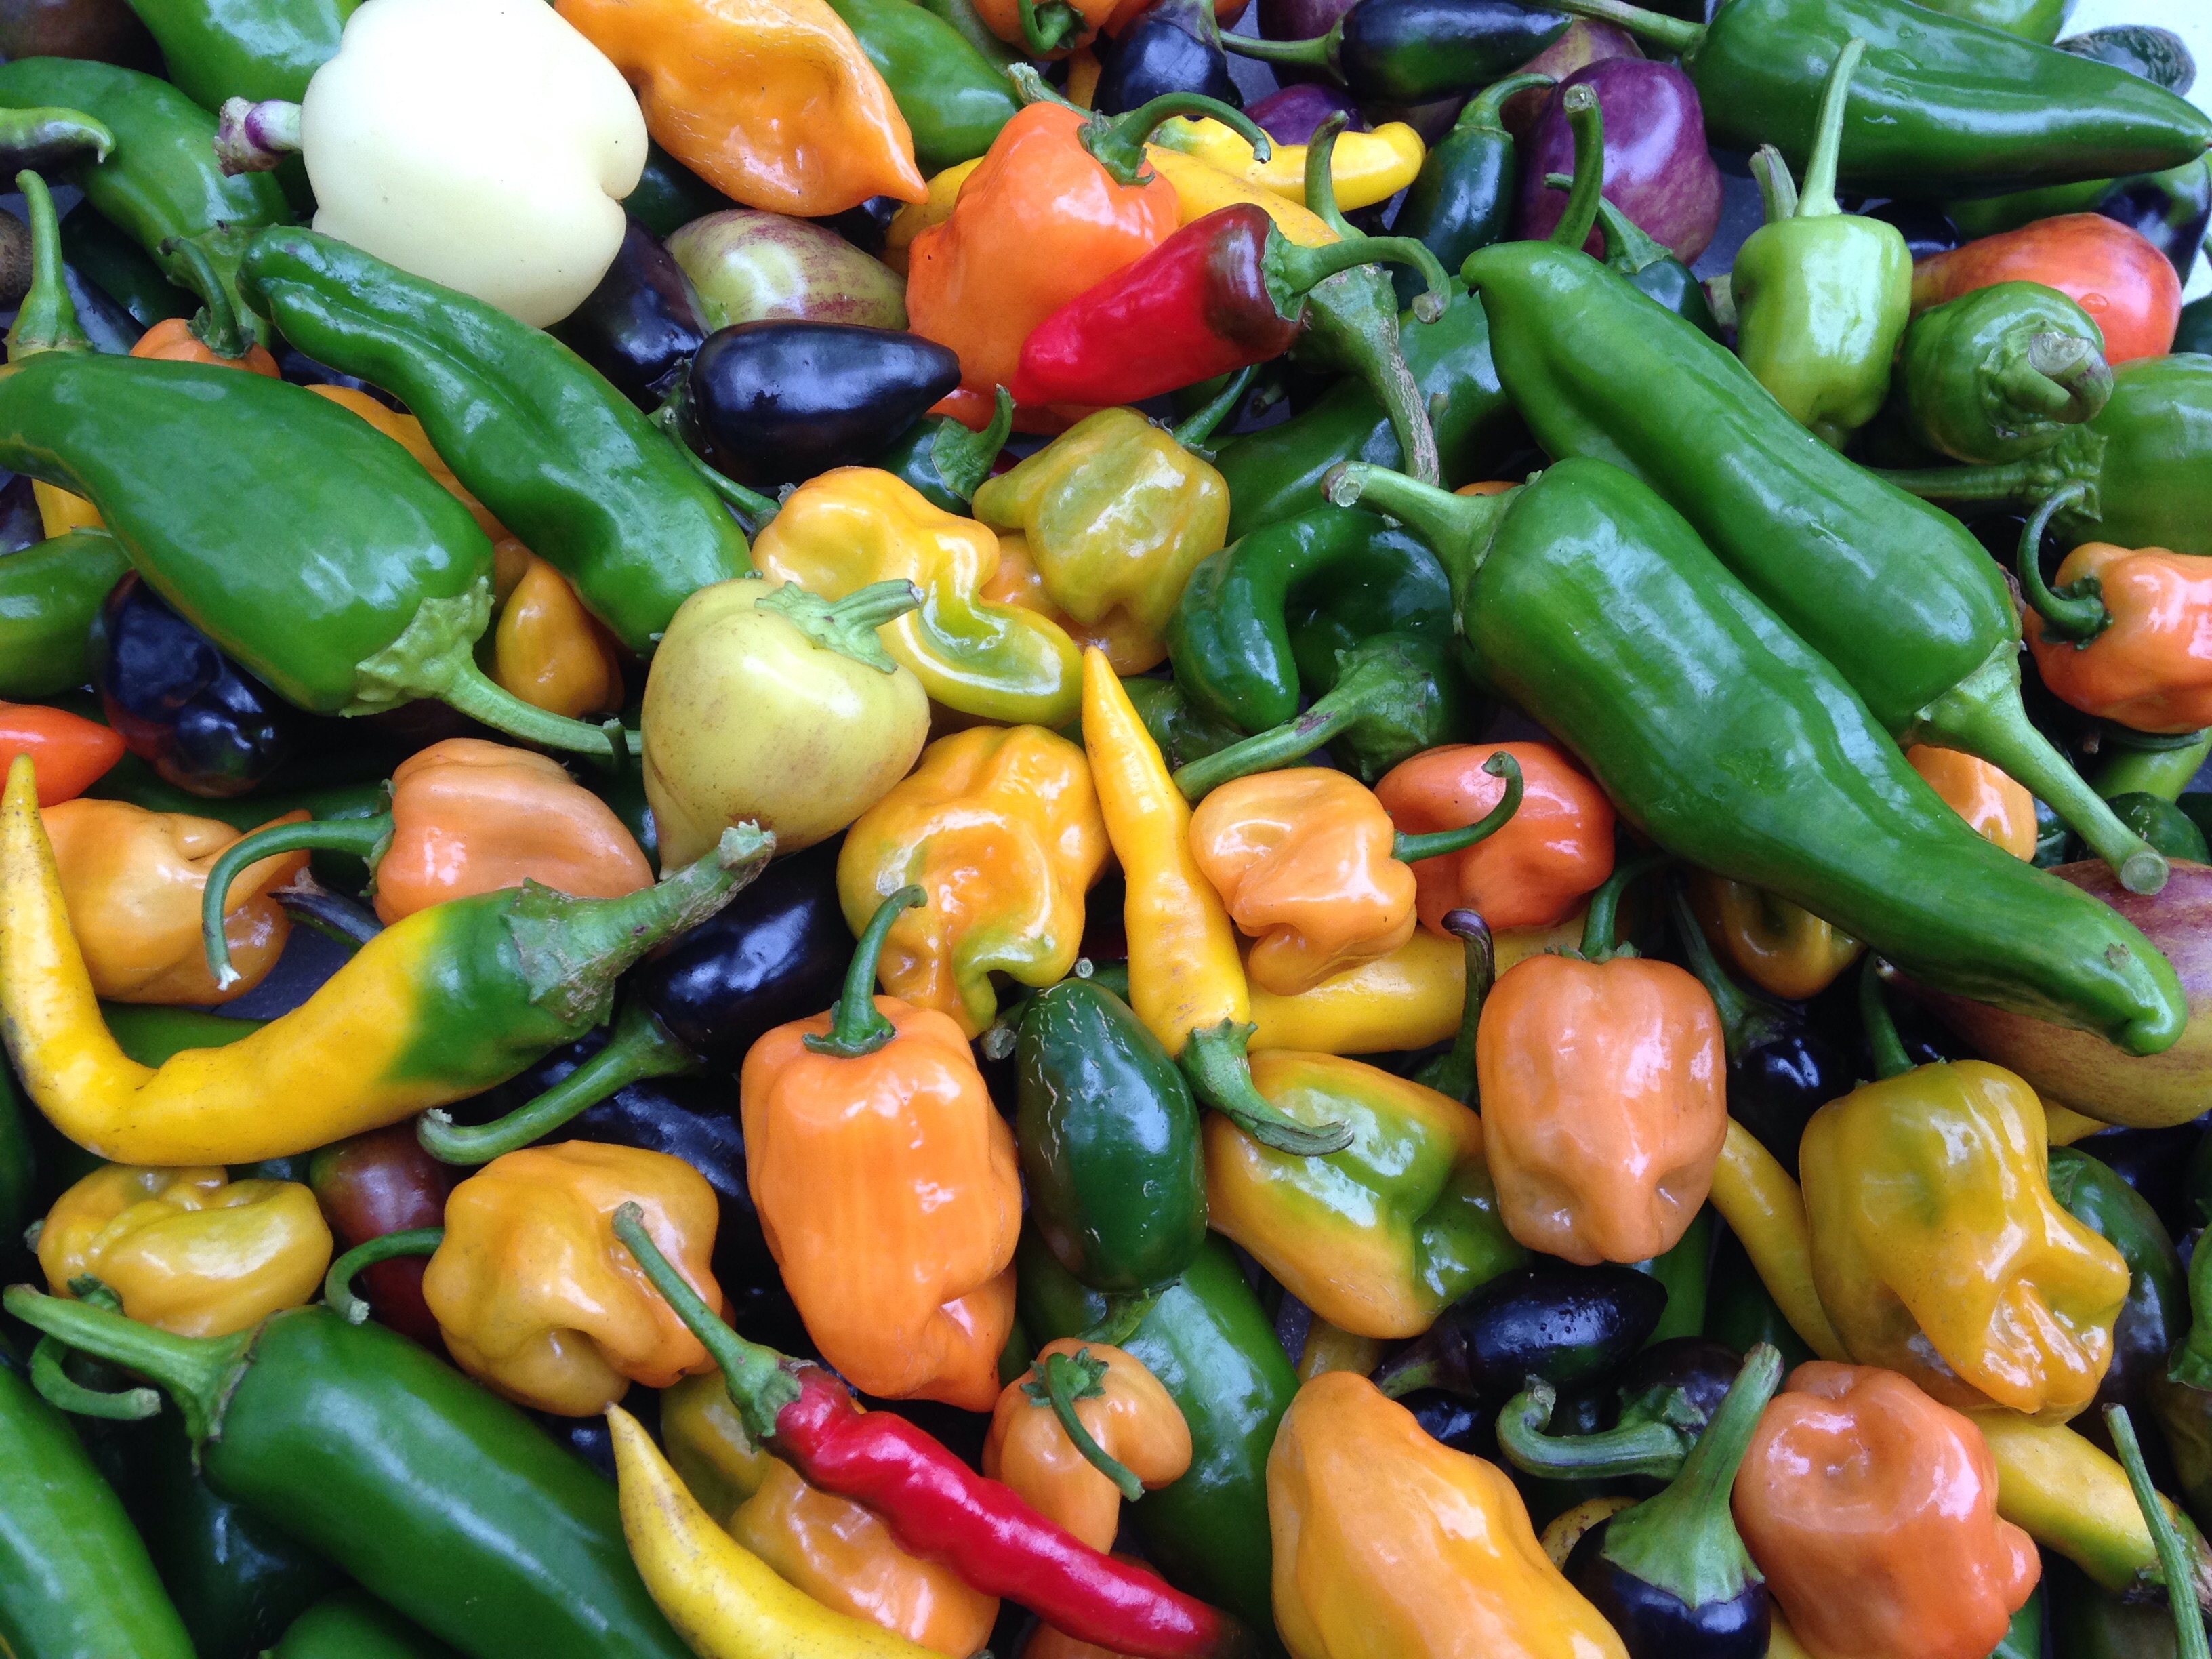
We gave up on the pepper-plant-covering regimen and just harvested them all instead. There were a lot more than we thought, late bloomers that somehow correctly predicted the long summer that made their ripening possible, Indiana-Jones-eeking-beneath-a-closing-stone-door style.
It was a surprise treat for me, after being irked all summer by the lush plants’ stubborn refusal to flower when I thought they should do so.
We had buckets of peppers, little market demand for them, and a pepper-saturated CSA membership – so our tiny kitchen transformed into a pepper preservation laboratory.
While the rest of us worked in the field and on the high tunnel, Kristin transformed pails of peppers into Singapore Chili Sauce, Habanero Gold, Jalepeno Jelly, Jalepeno Pepper Salsa, and Tomatillo Salsa with a bunch of peppers, while teaching Nora how to can (Ground Cherry preserves).
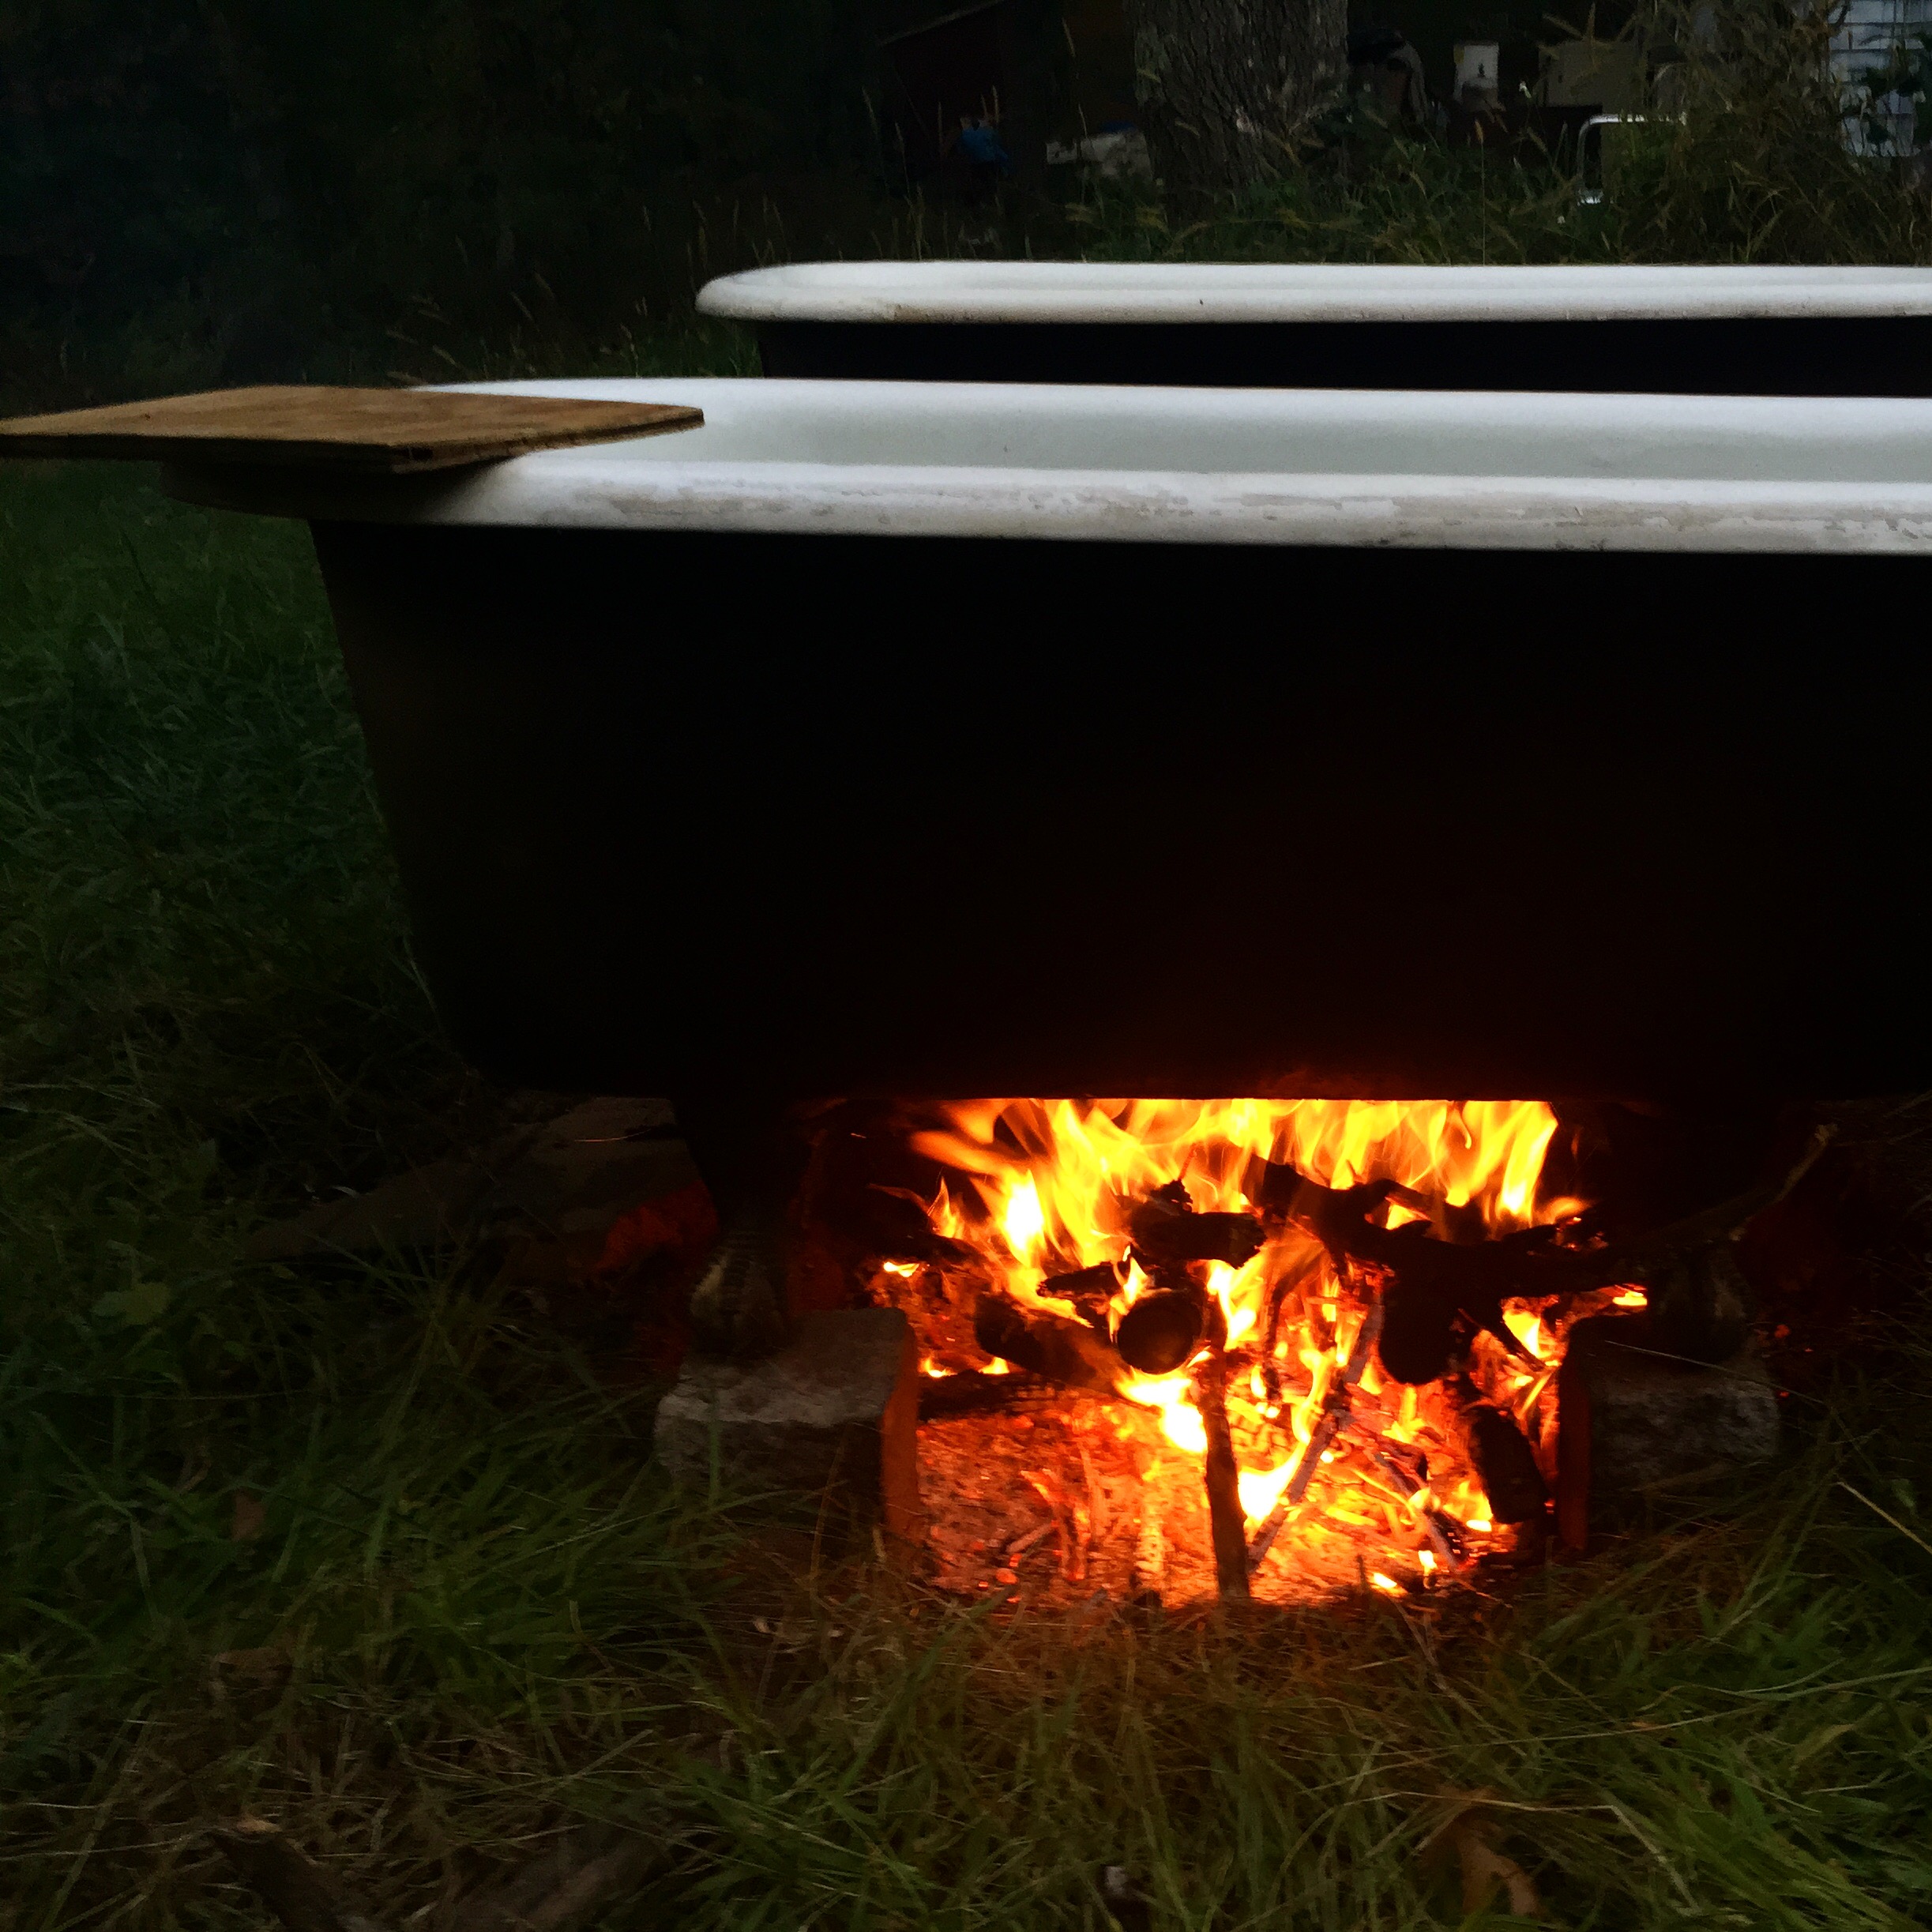
The WWOOFers took a hillbilly hottub bath while we were away from the farm, which was less relaxing than it should have been because I’d forgot to include the use of protective plywood “butt boards” in my rushed tutorial before we headed on an unexpected trip into the Cities. (They mistook the buttboard for a shelf – useful, not not nearly as necessary …)
(Since I’d also zapped the hell out of B when he was helping me carry a long metal piece of fencing out of the field and over the electric fence, barefoot and in the rain, they started to suspect something sinister and kept the brush hook (aka “Machete Axe”) that Shareholder Paul and gifted us close to hand in the Albatross at night.)
Bucket the Cat warmed up to us, and the early adopters of the fall colors trend began to show themselves. And so did the lady beetles, unfortunately – hundreds of thousands of lady beetles (not nice lady bugs, but their jerk look-alikes), imported from Asian to munch the aphids that flourish in monocultural conventional soybean fields had been rendered aimless and adrift by the mechanized harvest of soybean fields somewhere nearby.
This afternoon, the swarms reached Que Sehra Farm as we worked to box up your shares – it’s likely that most of you have a lady beetle or three in your box, as a living commemorative keepsake. Wooo!
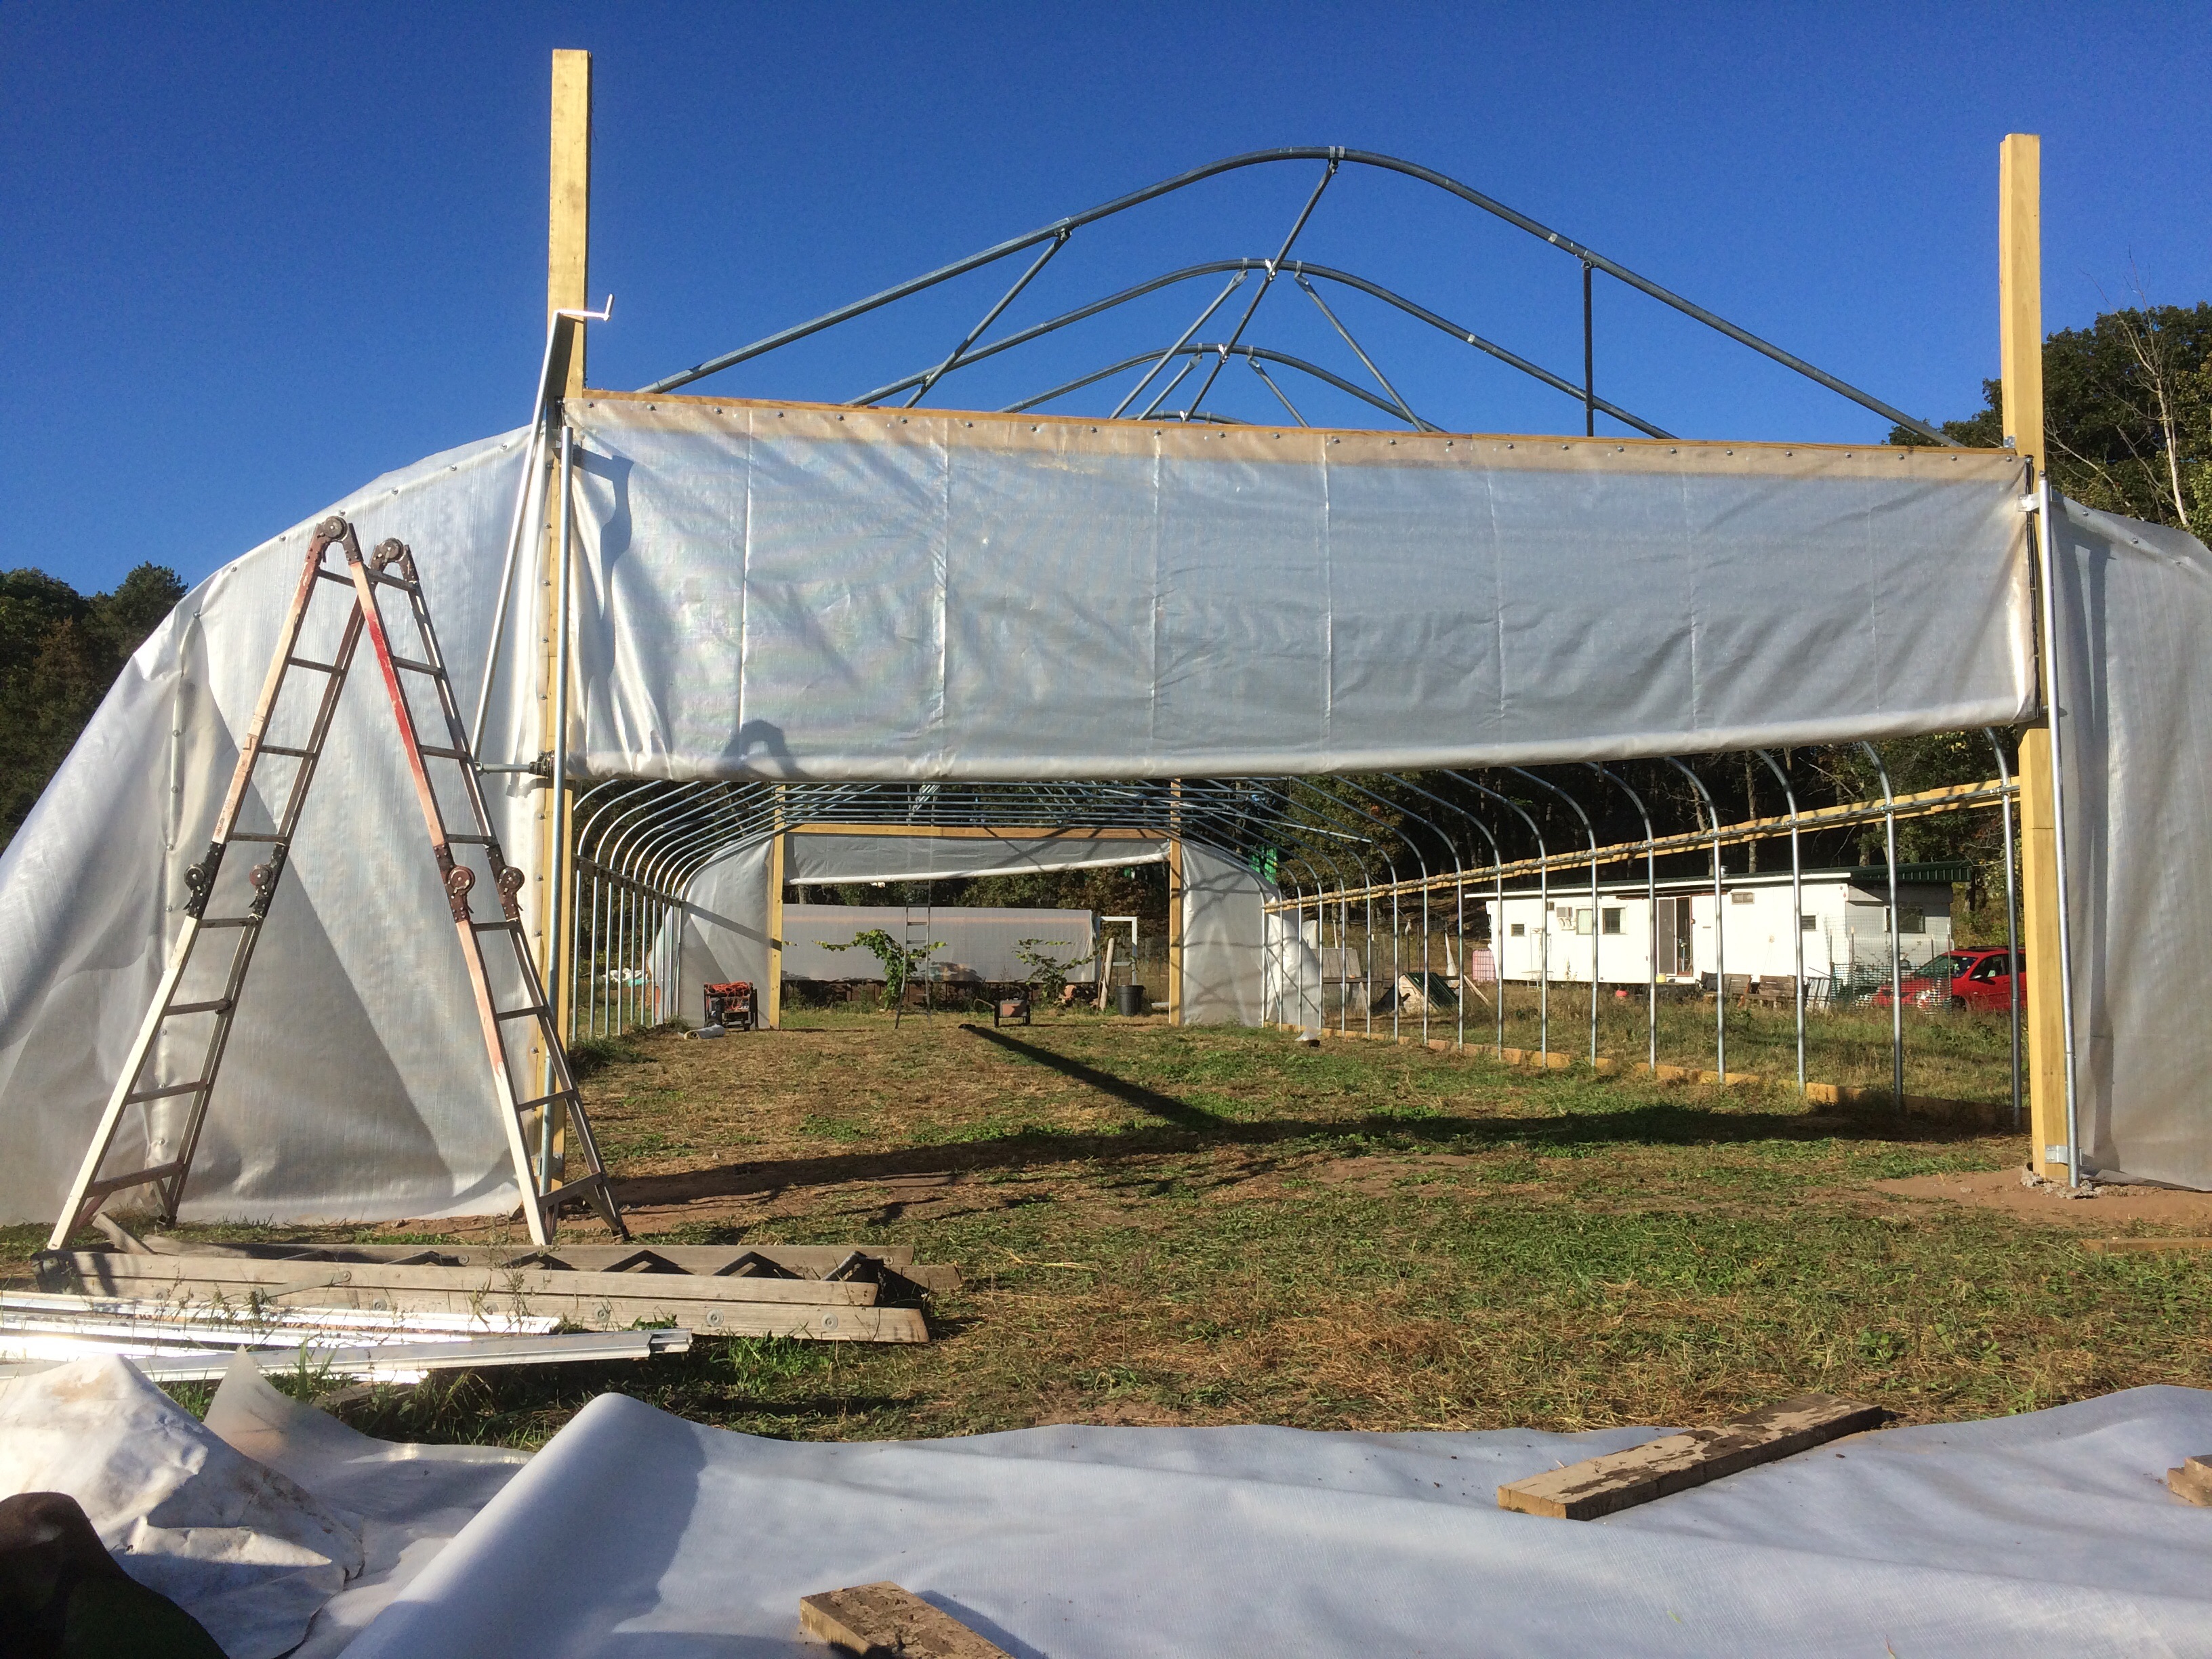
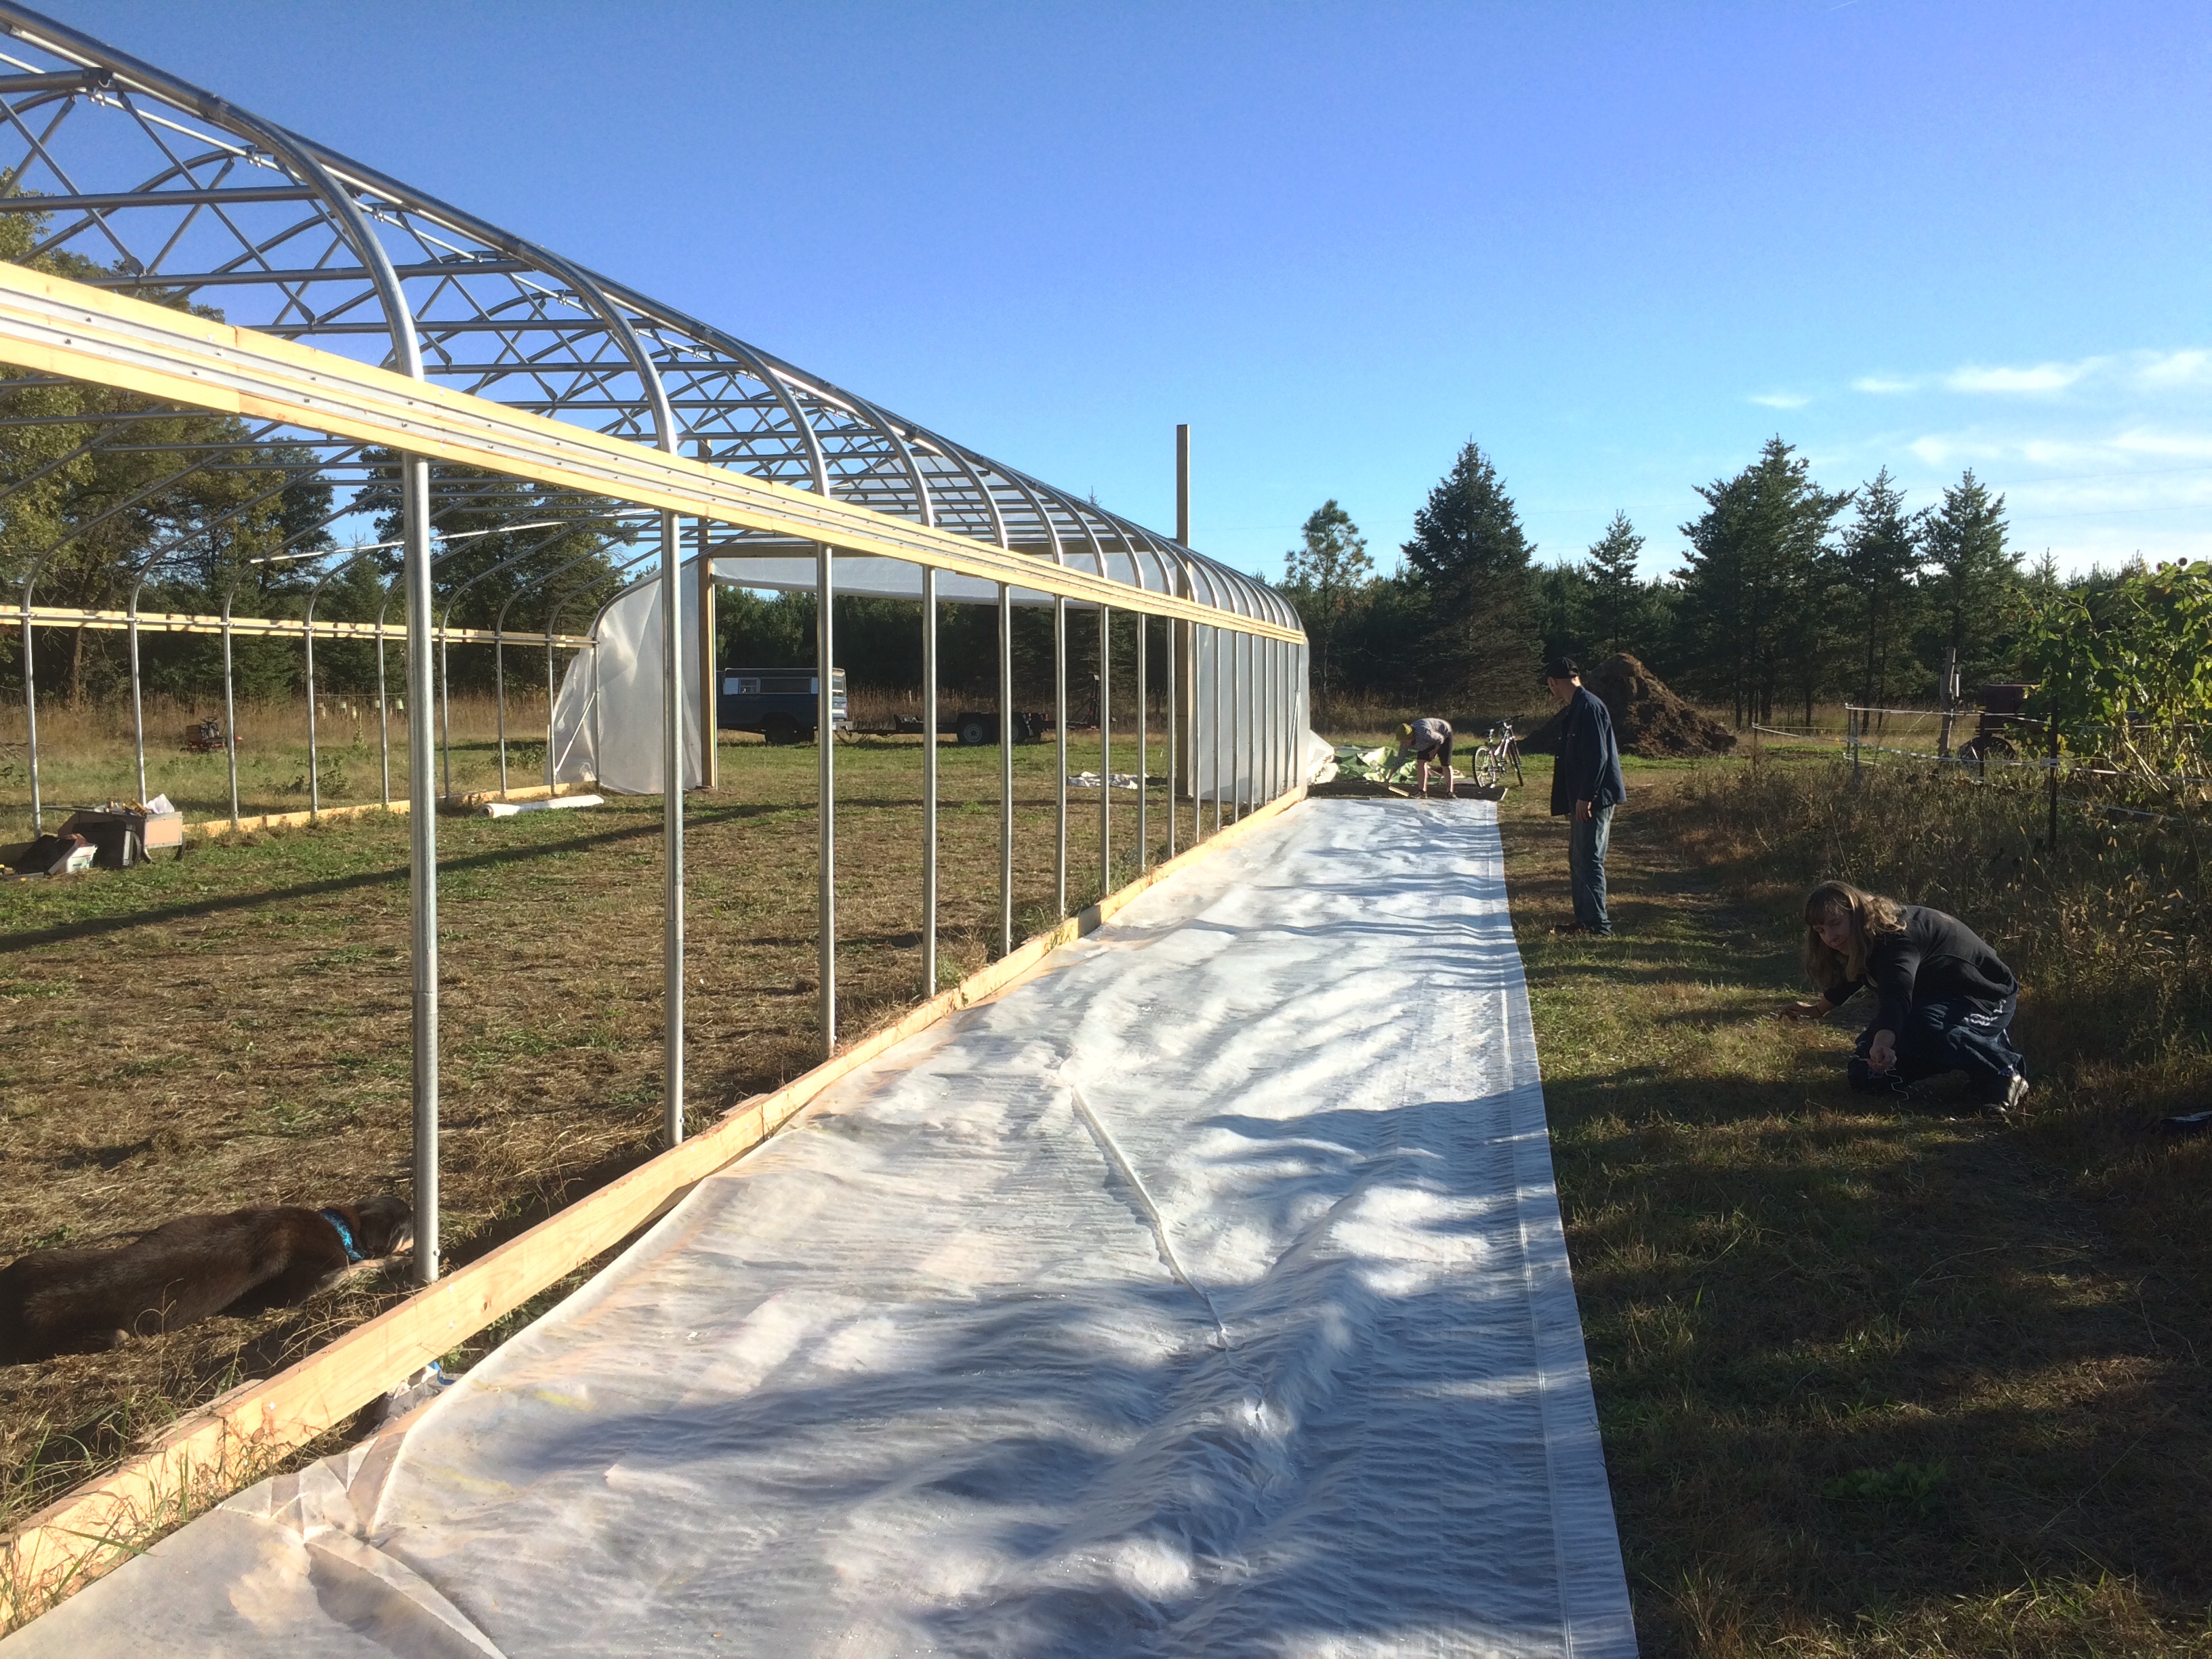
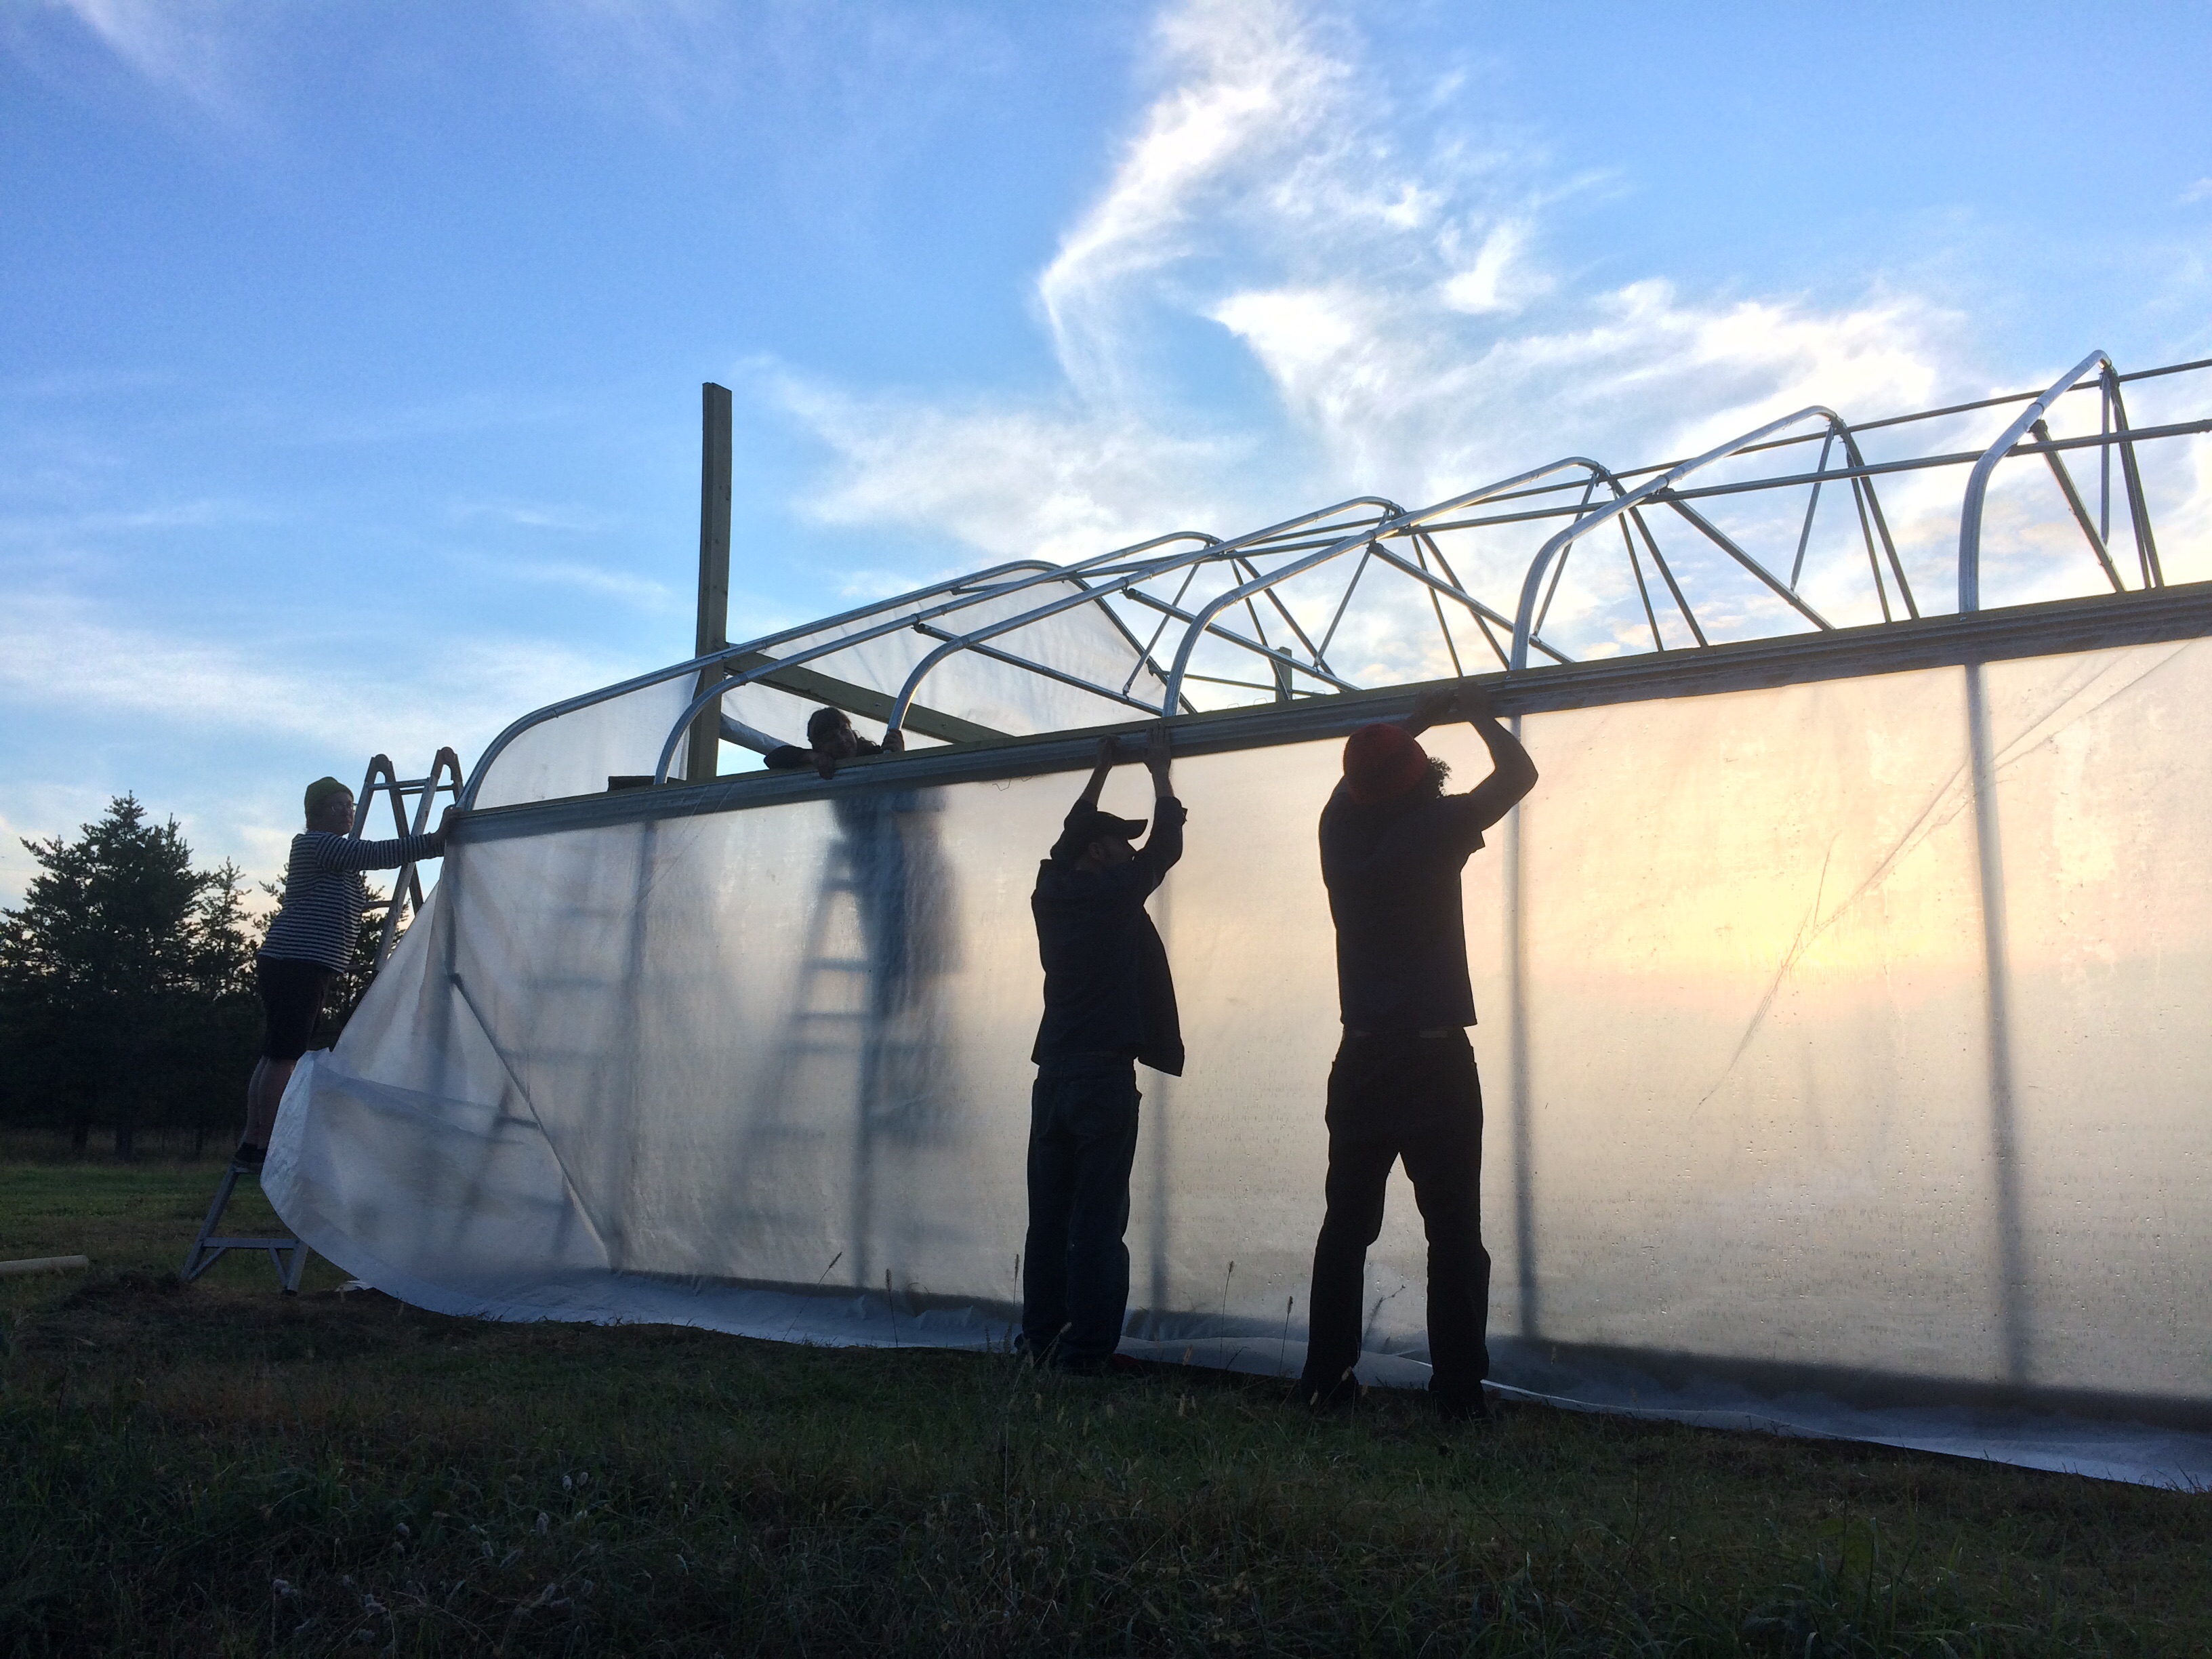
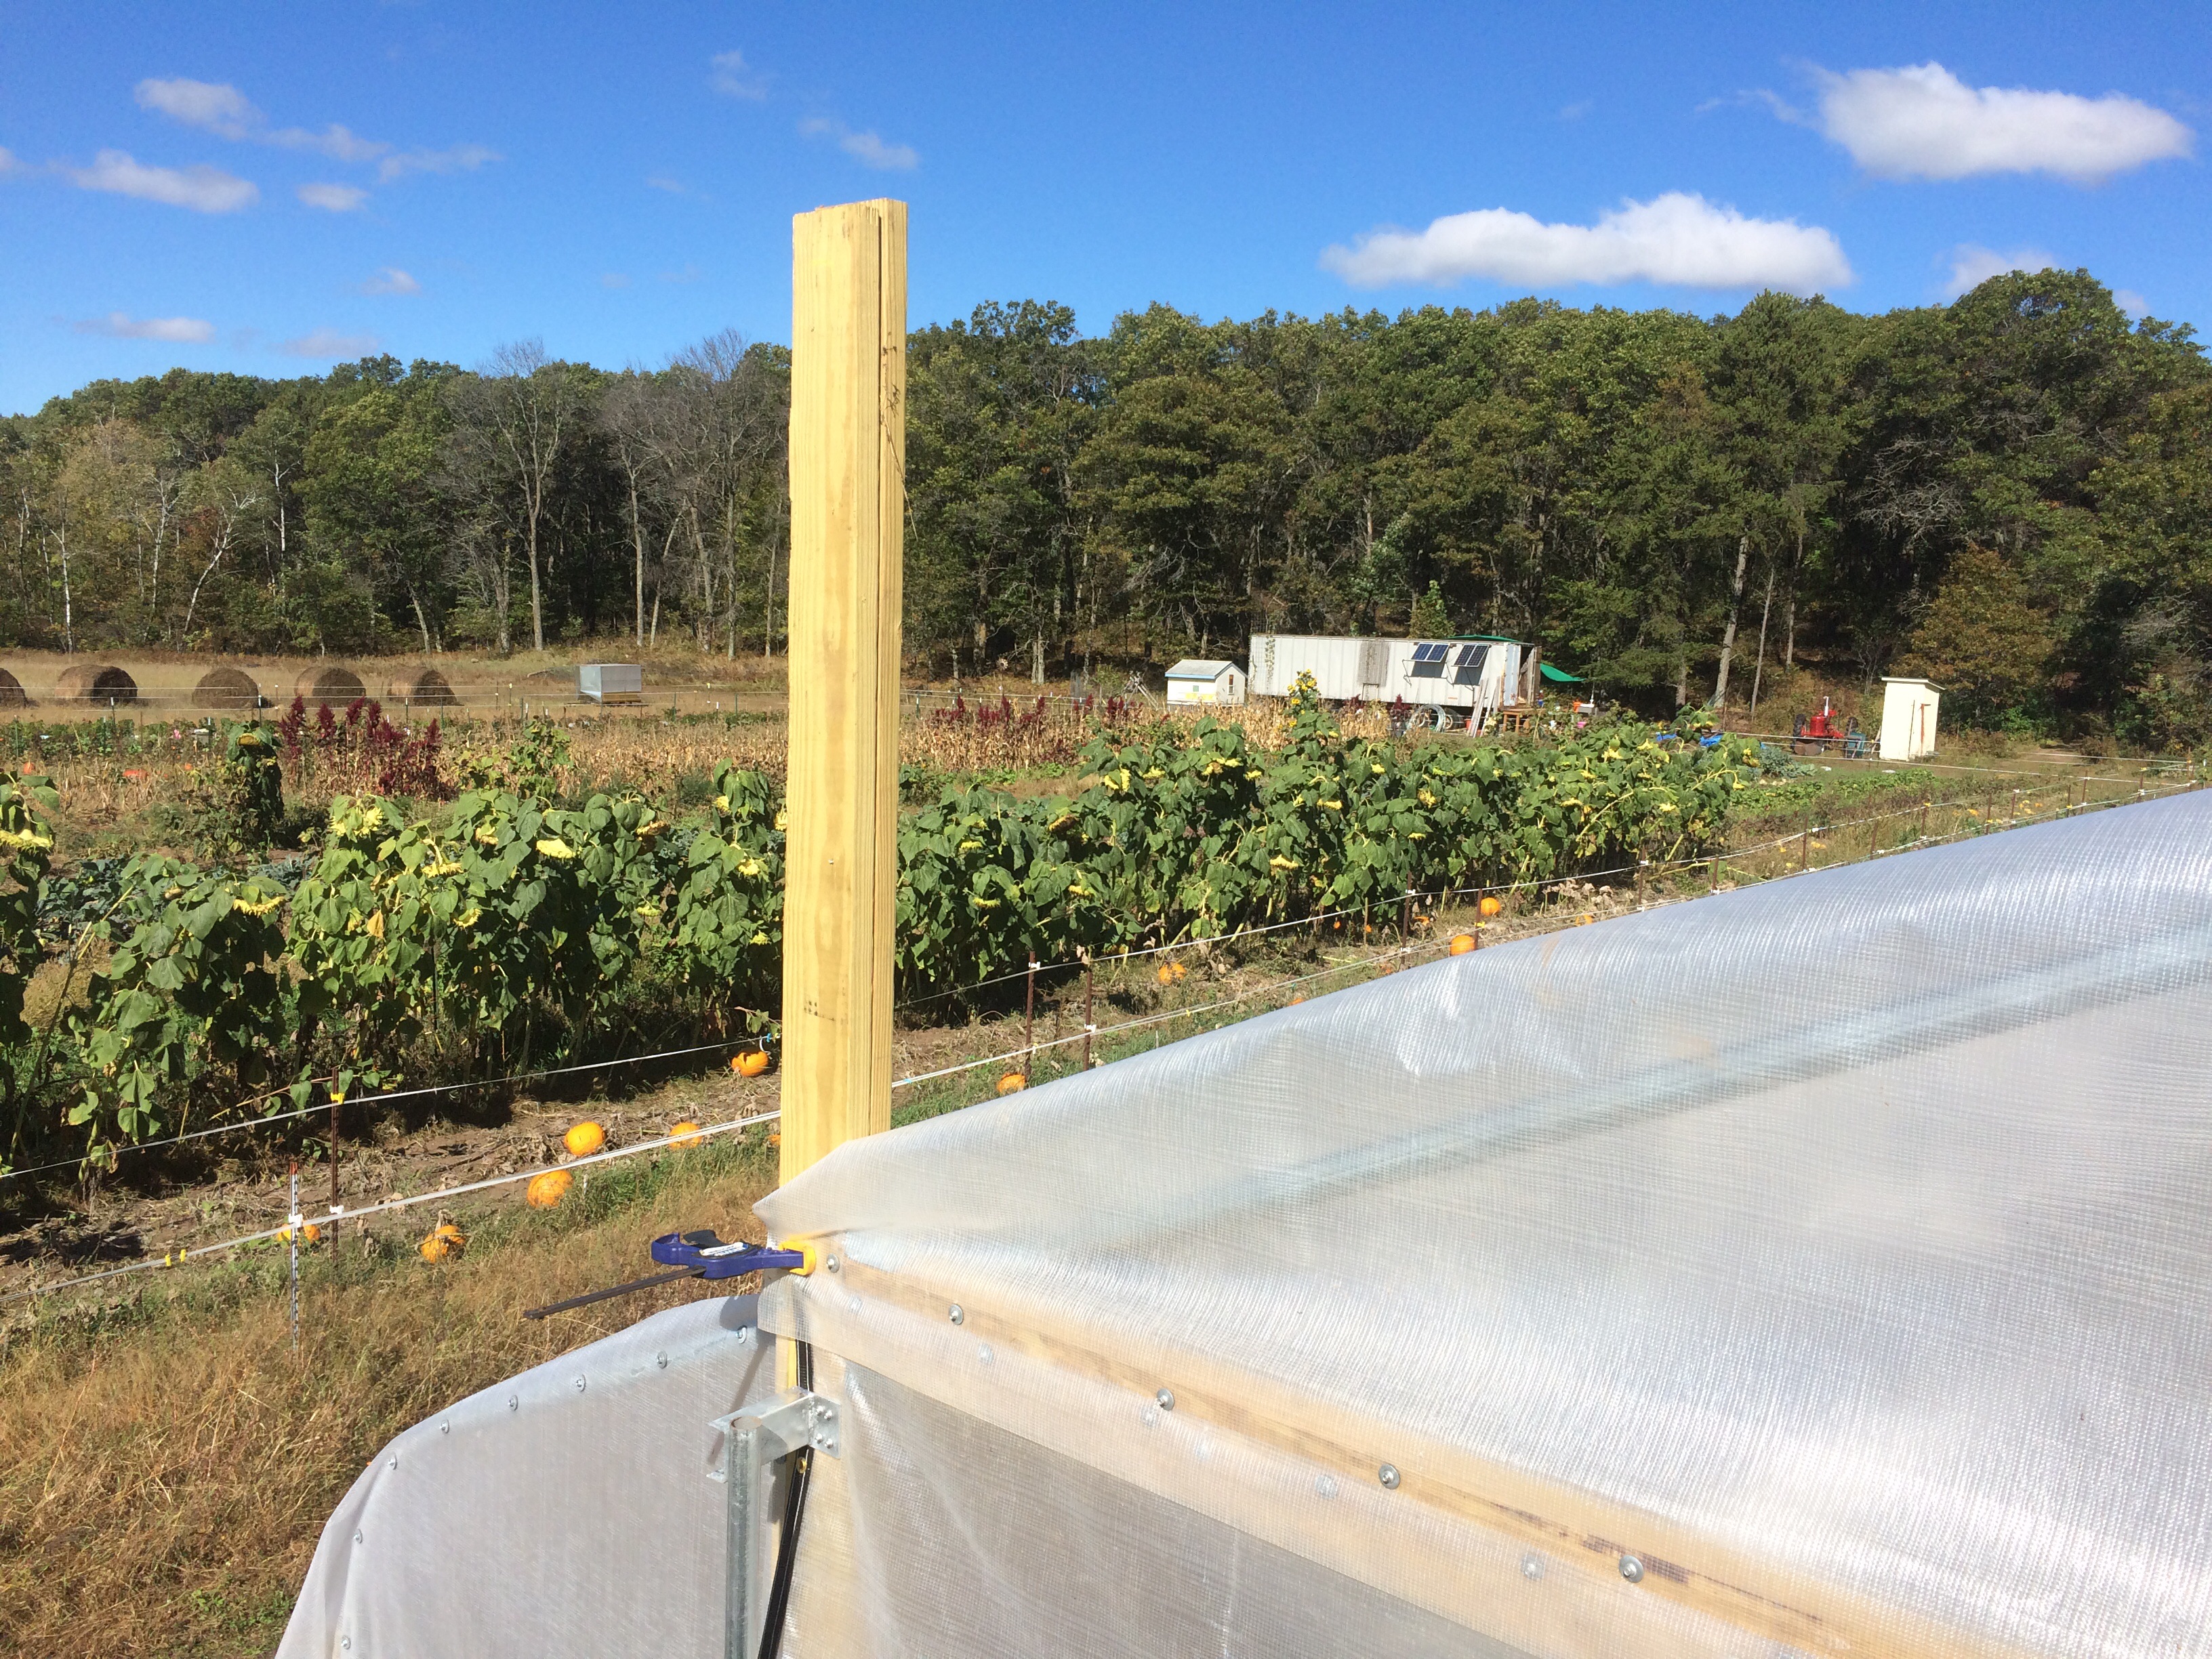
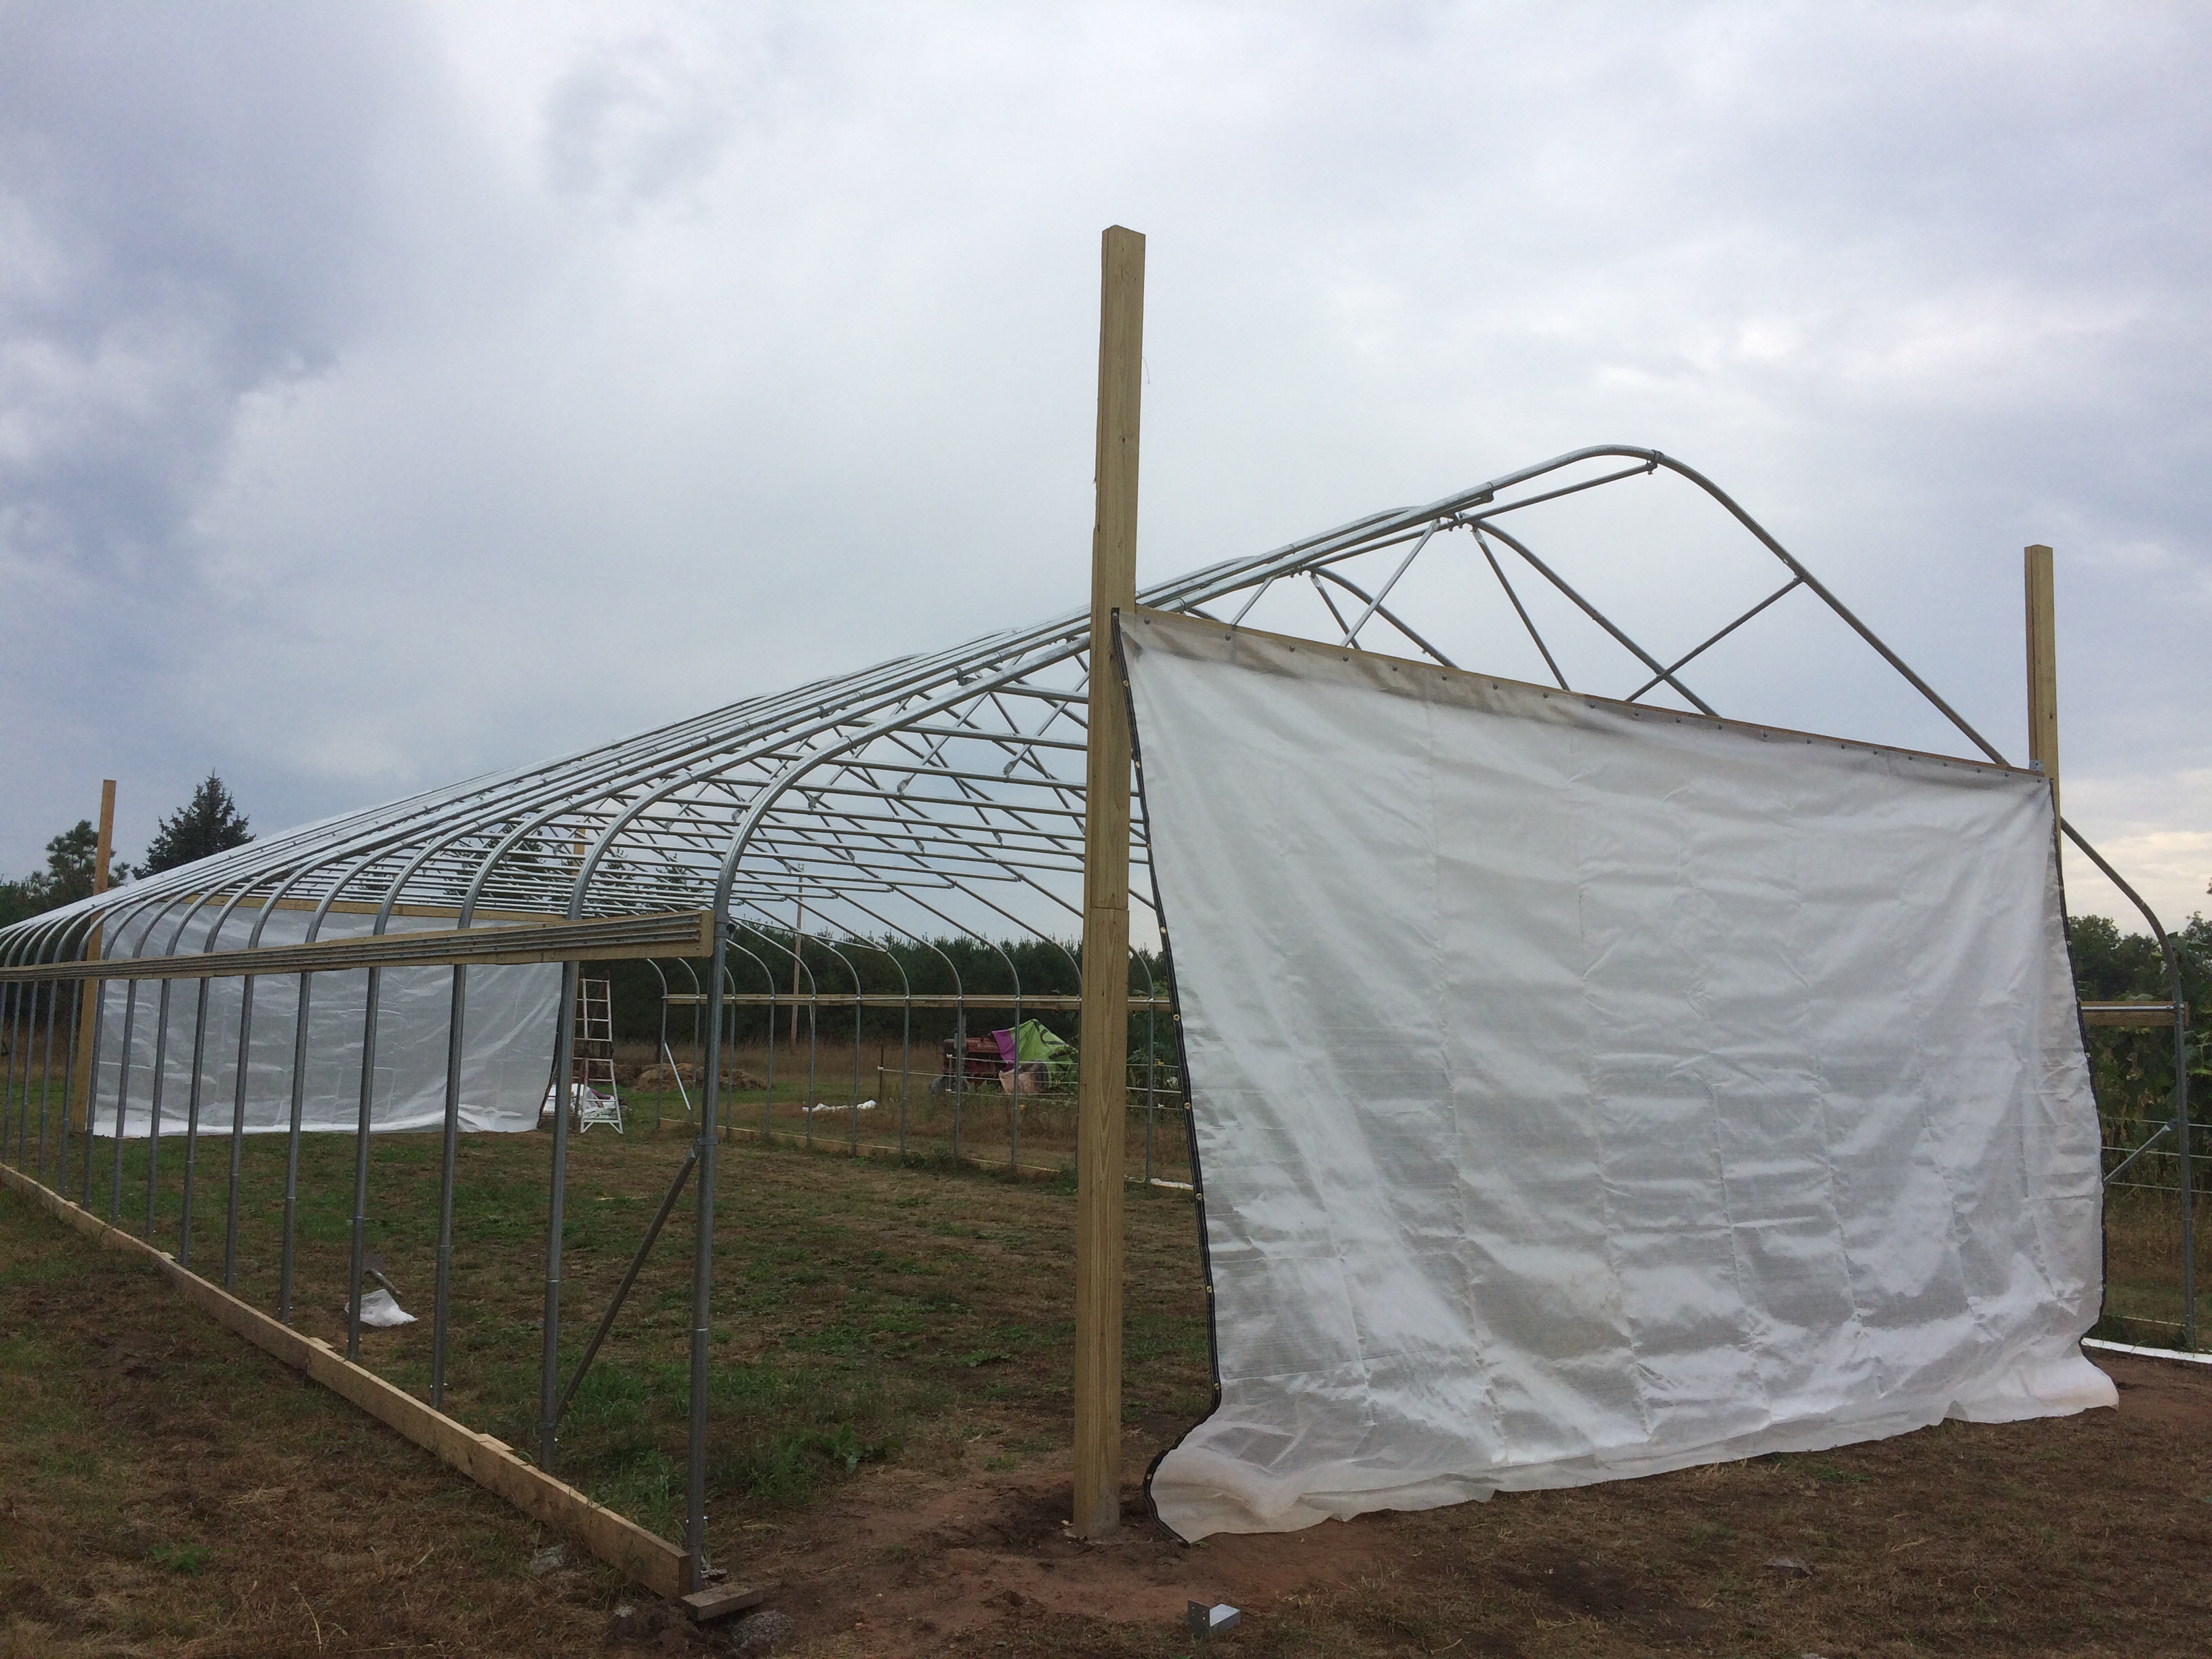
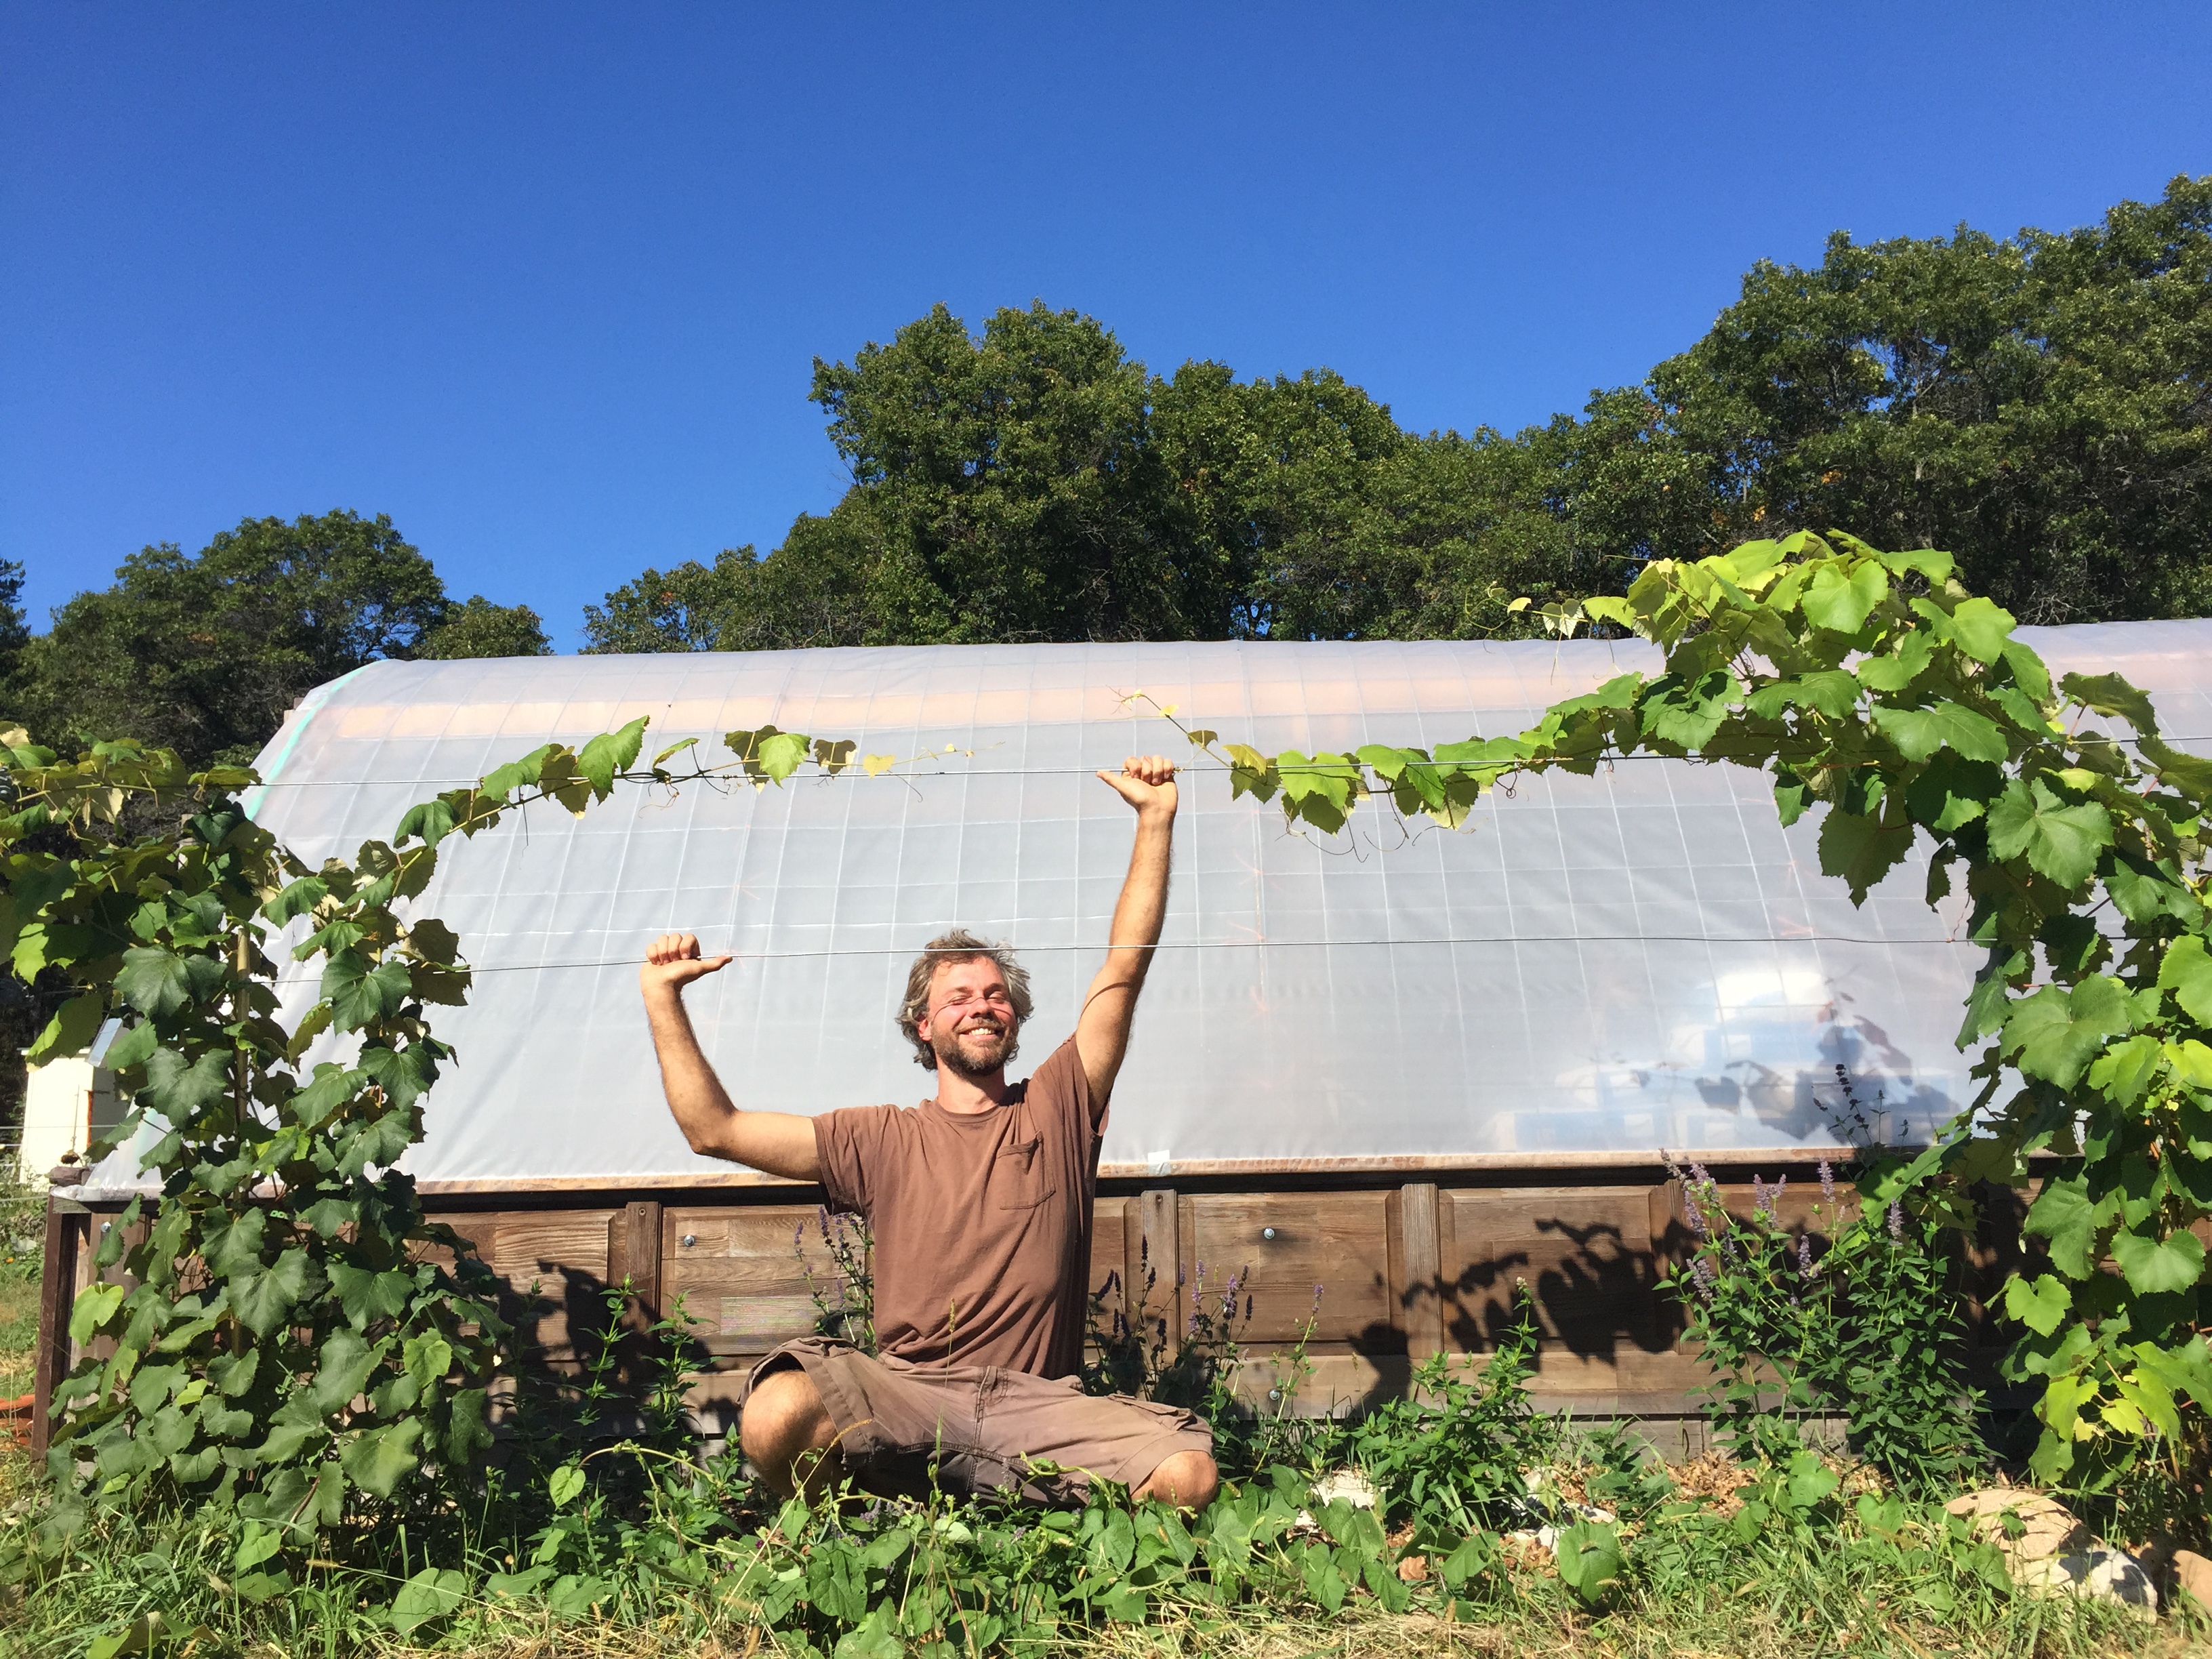
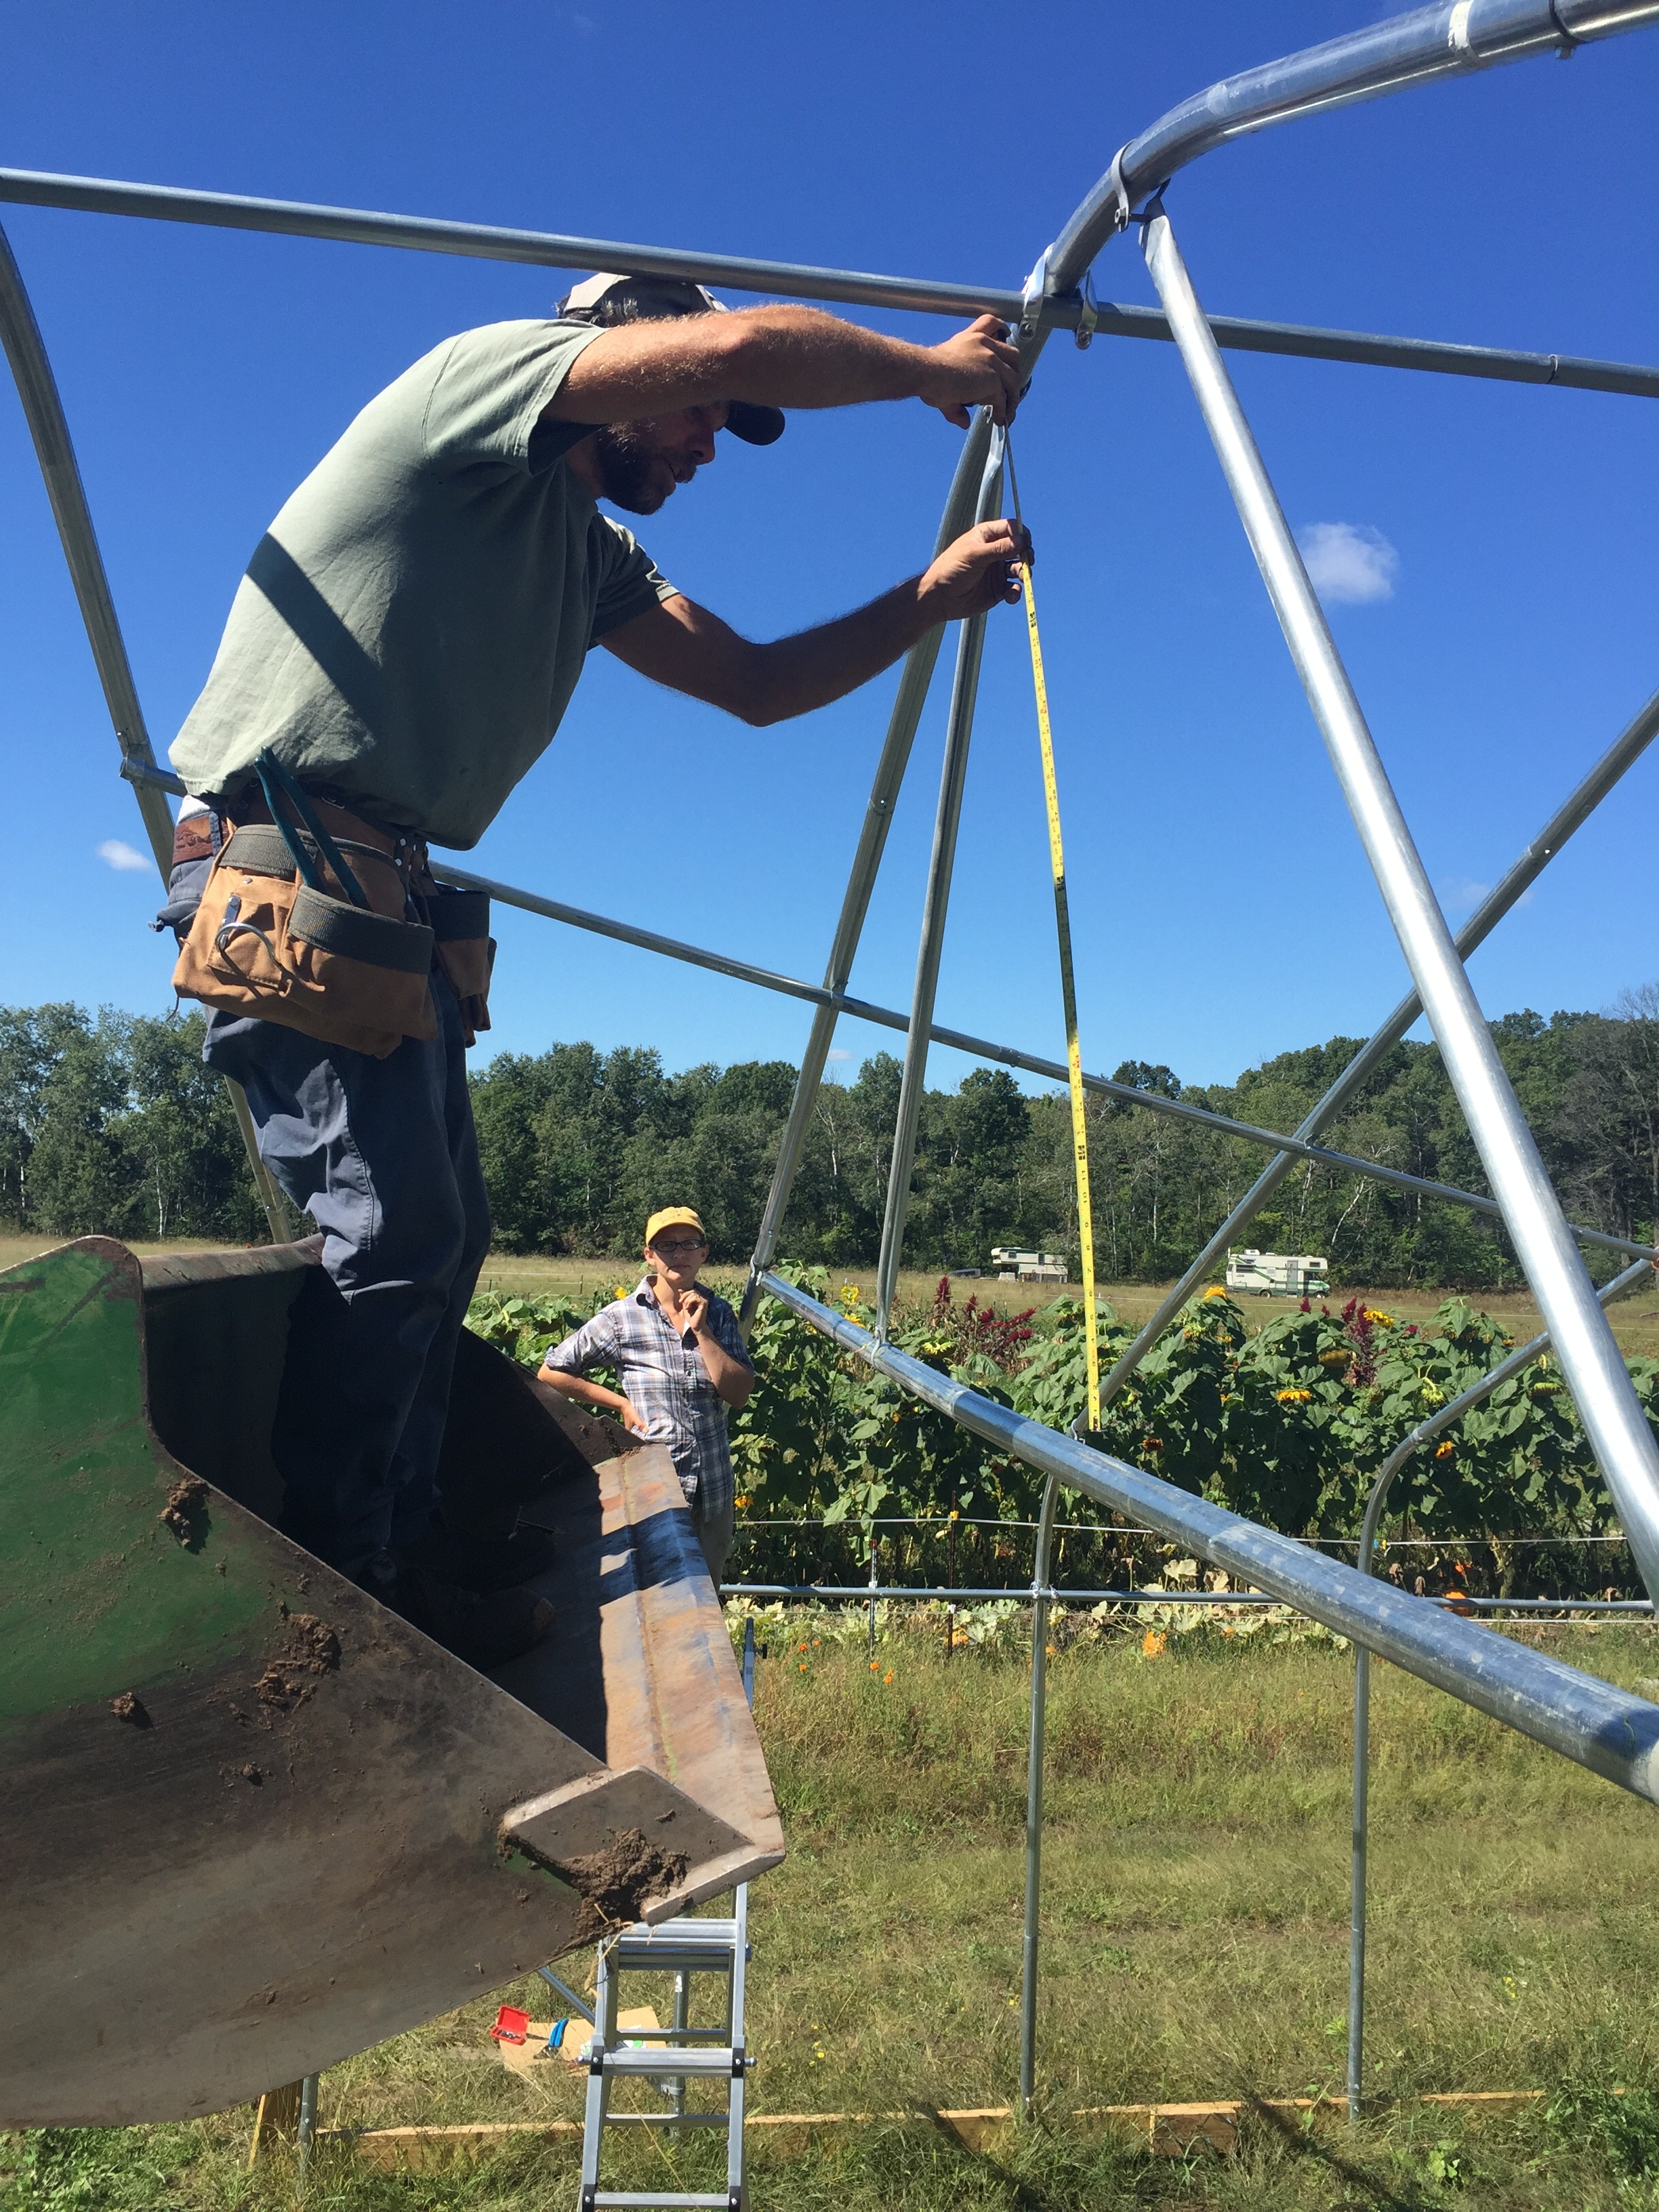
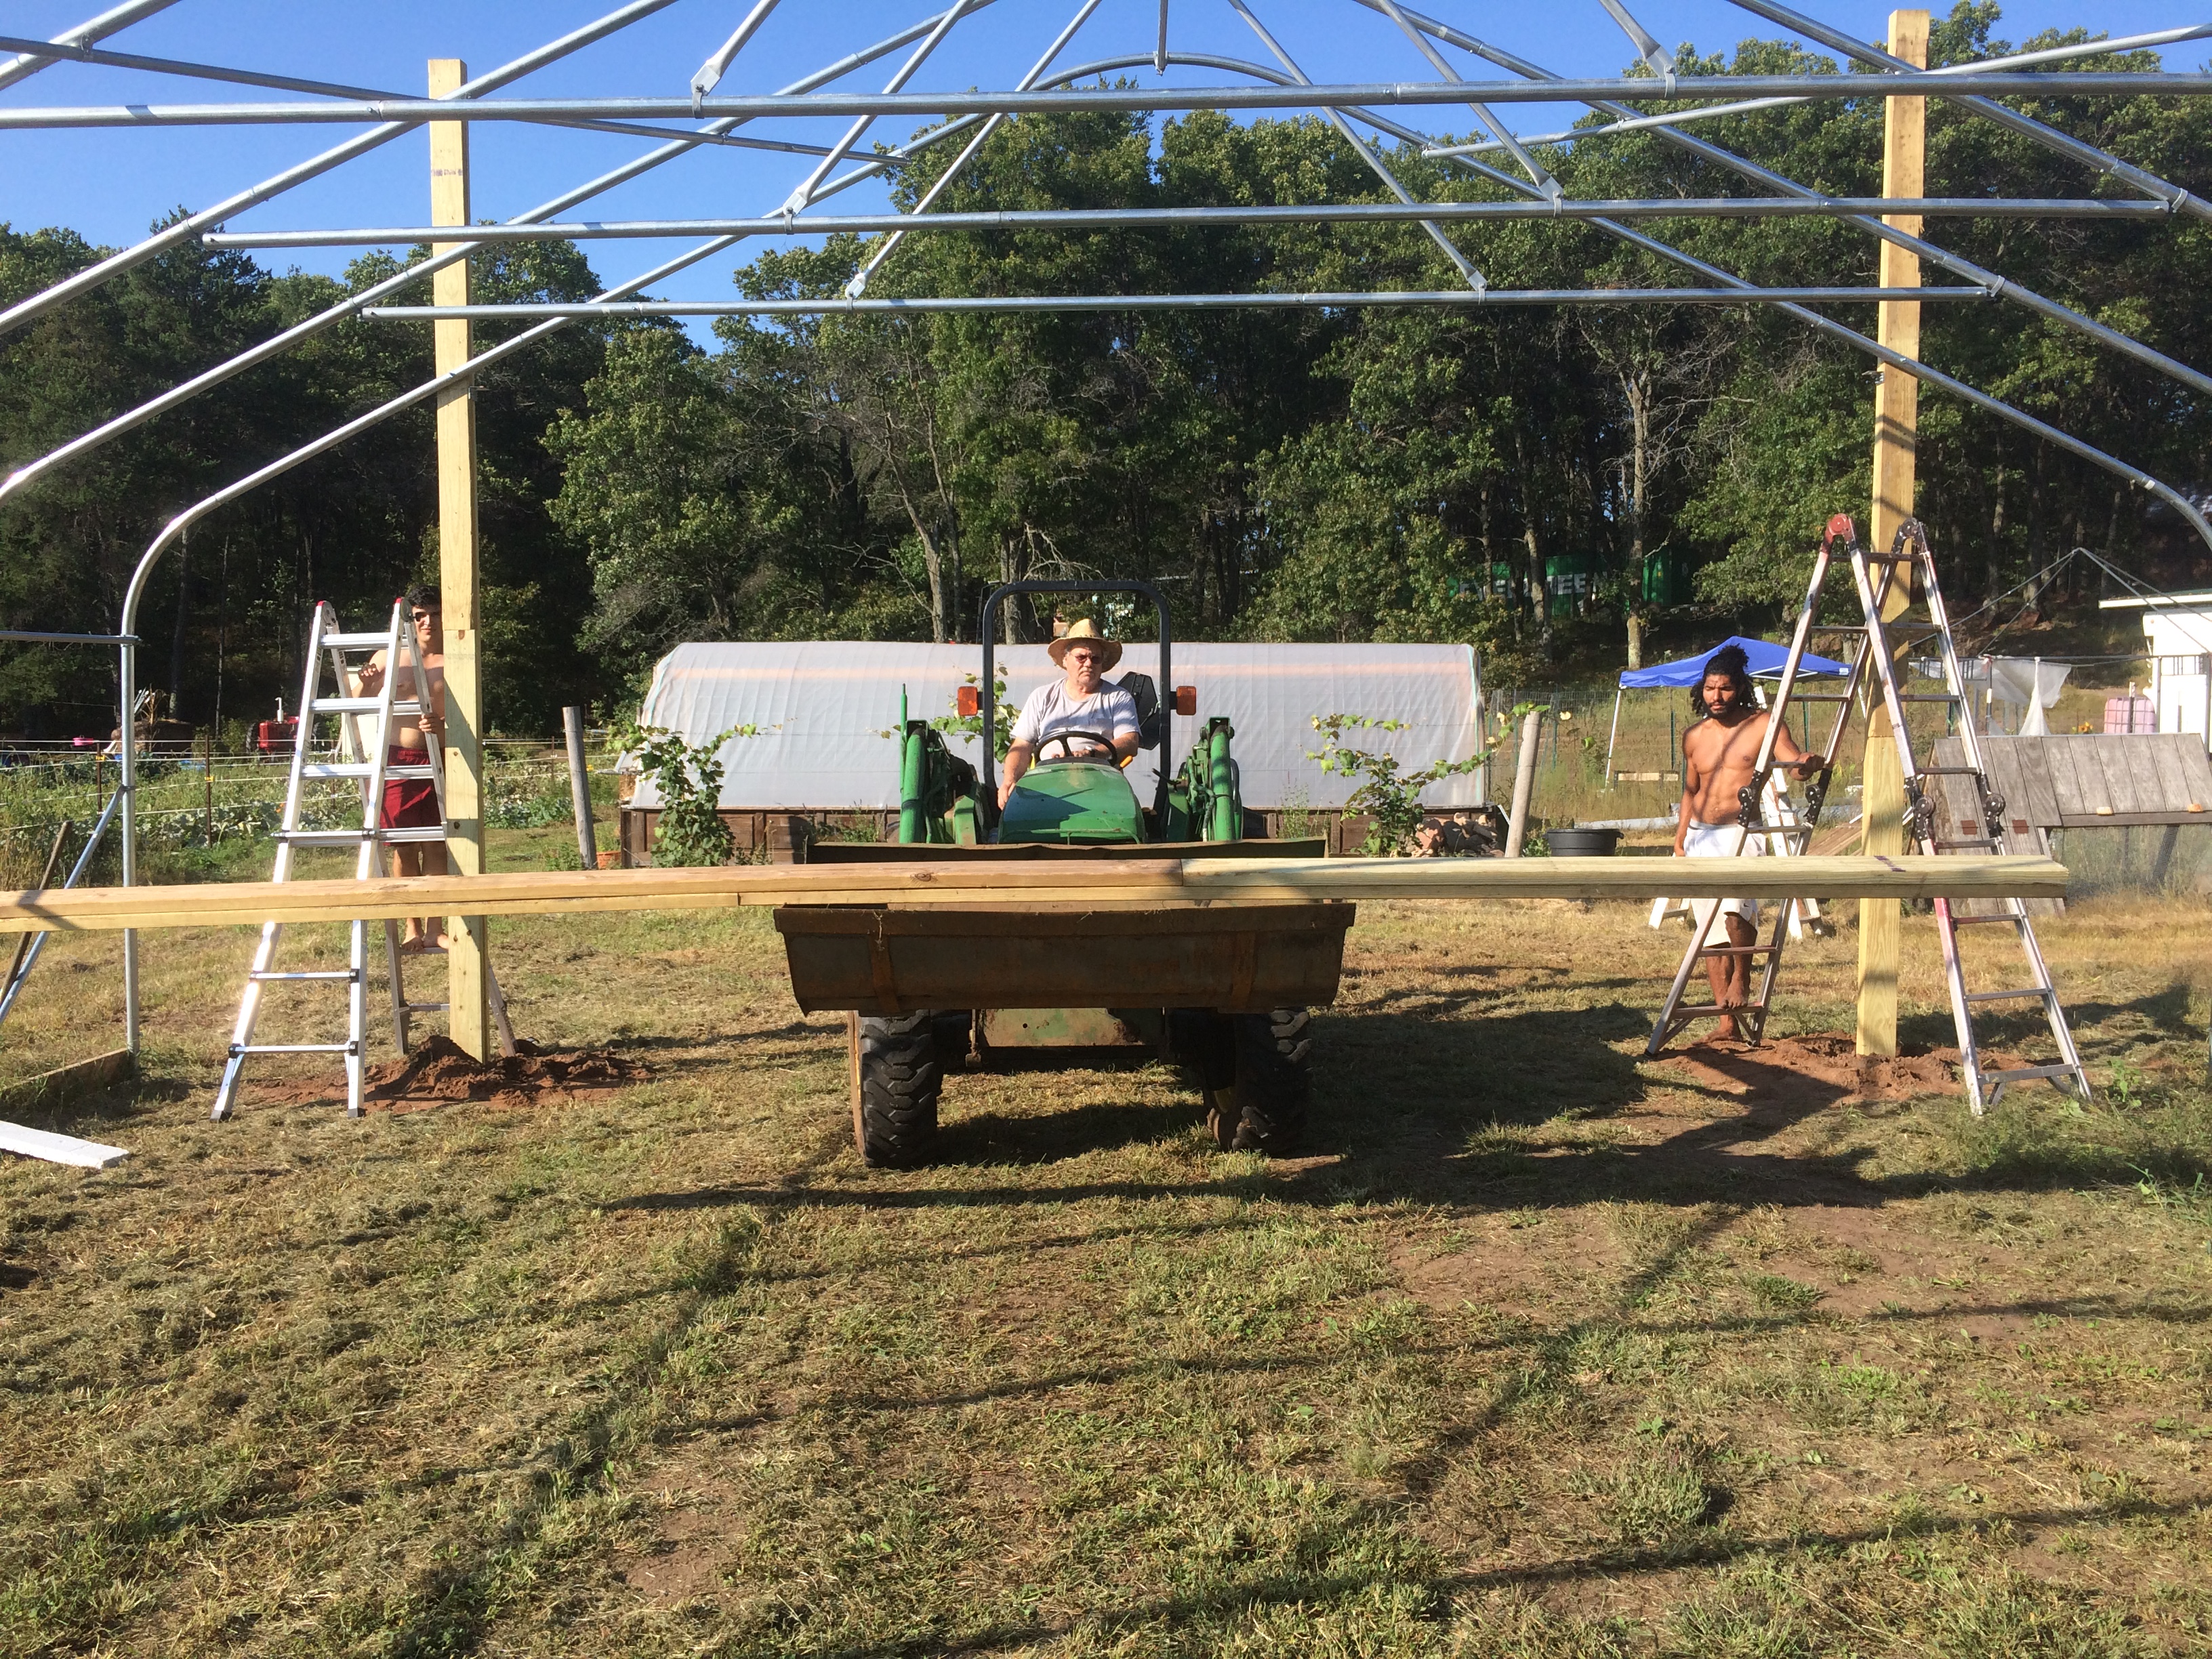
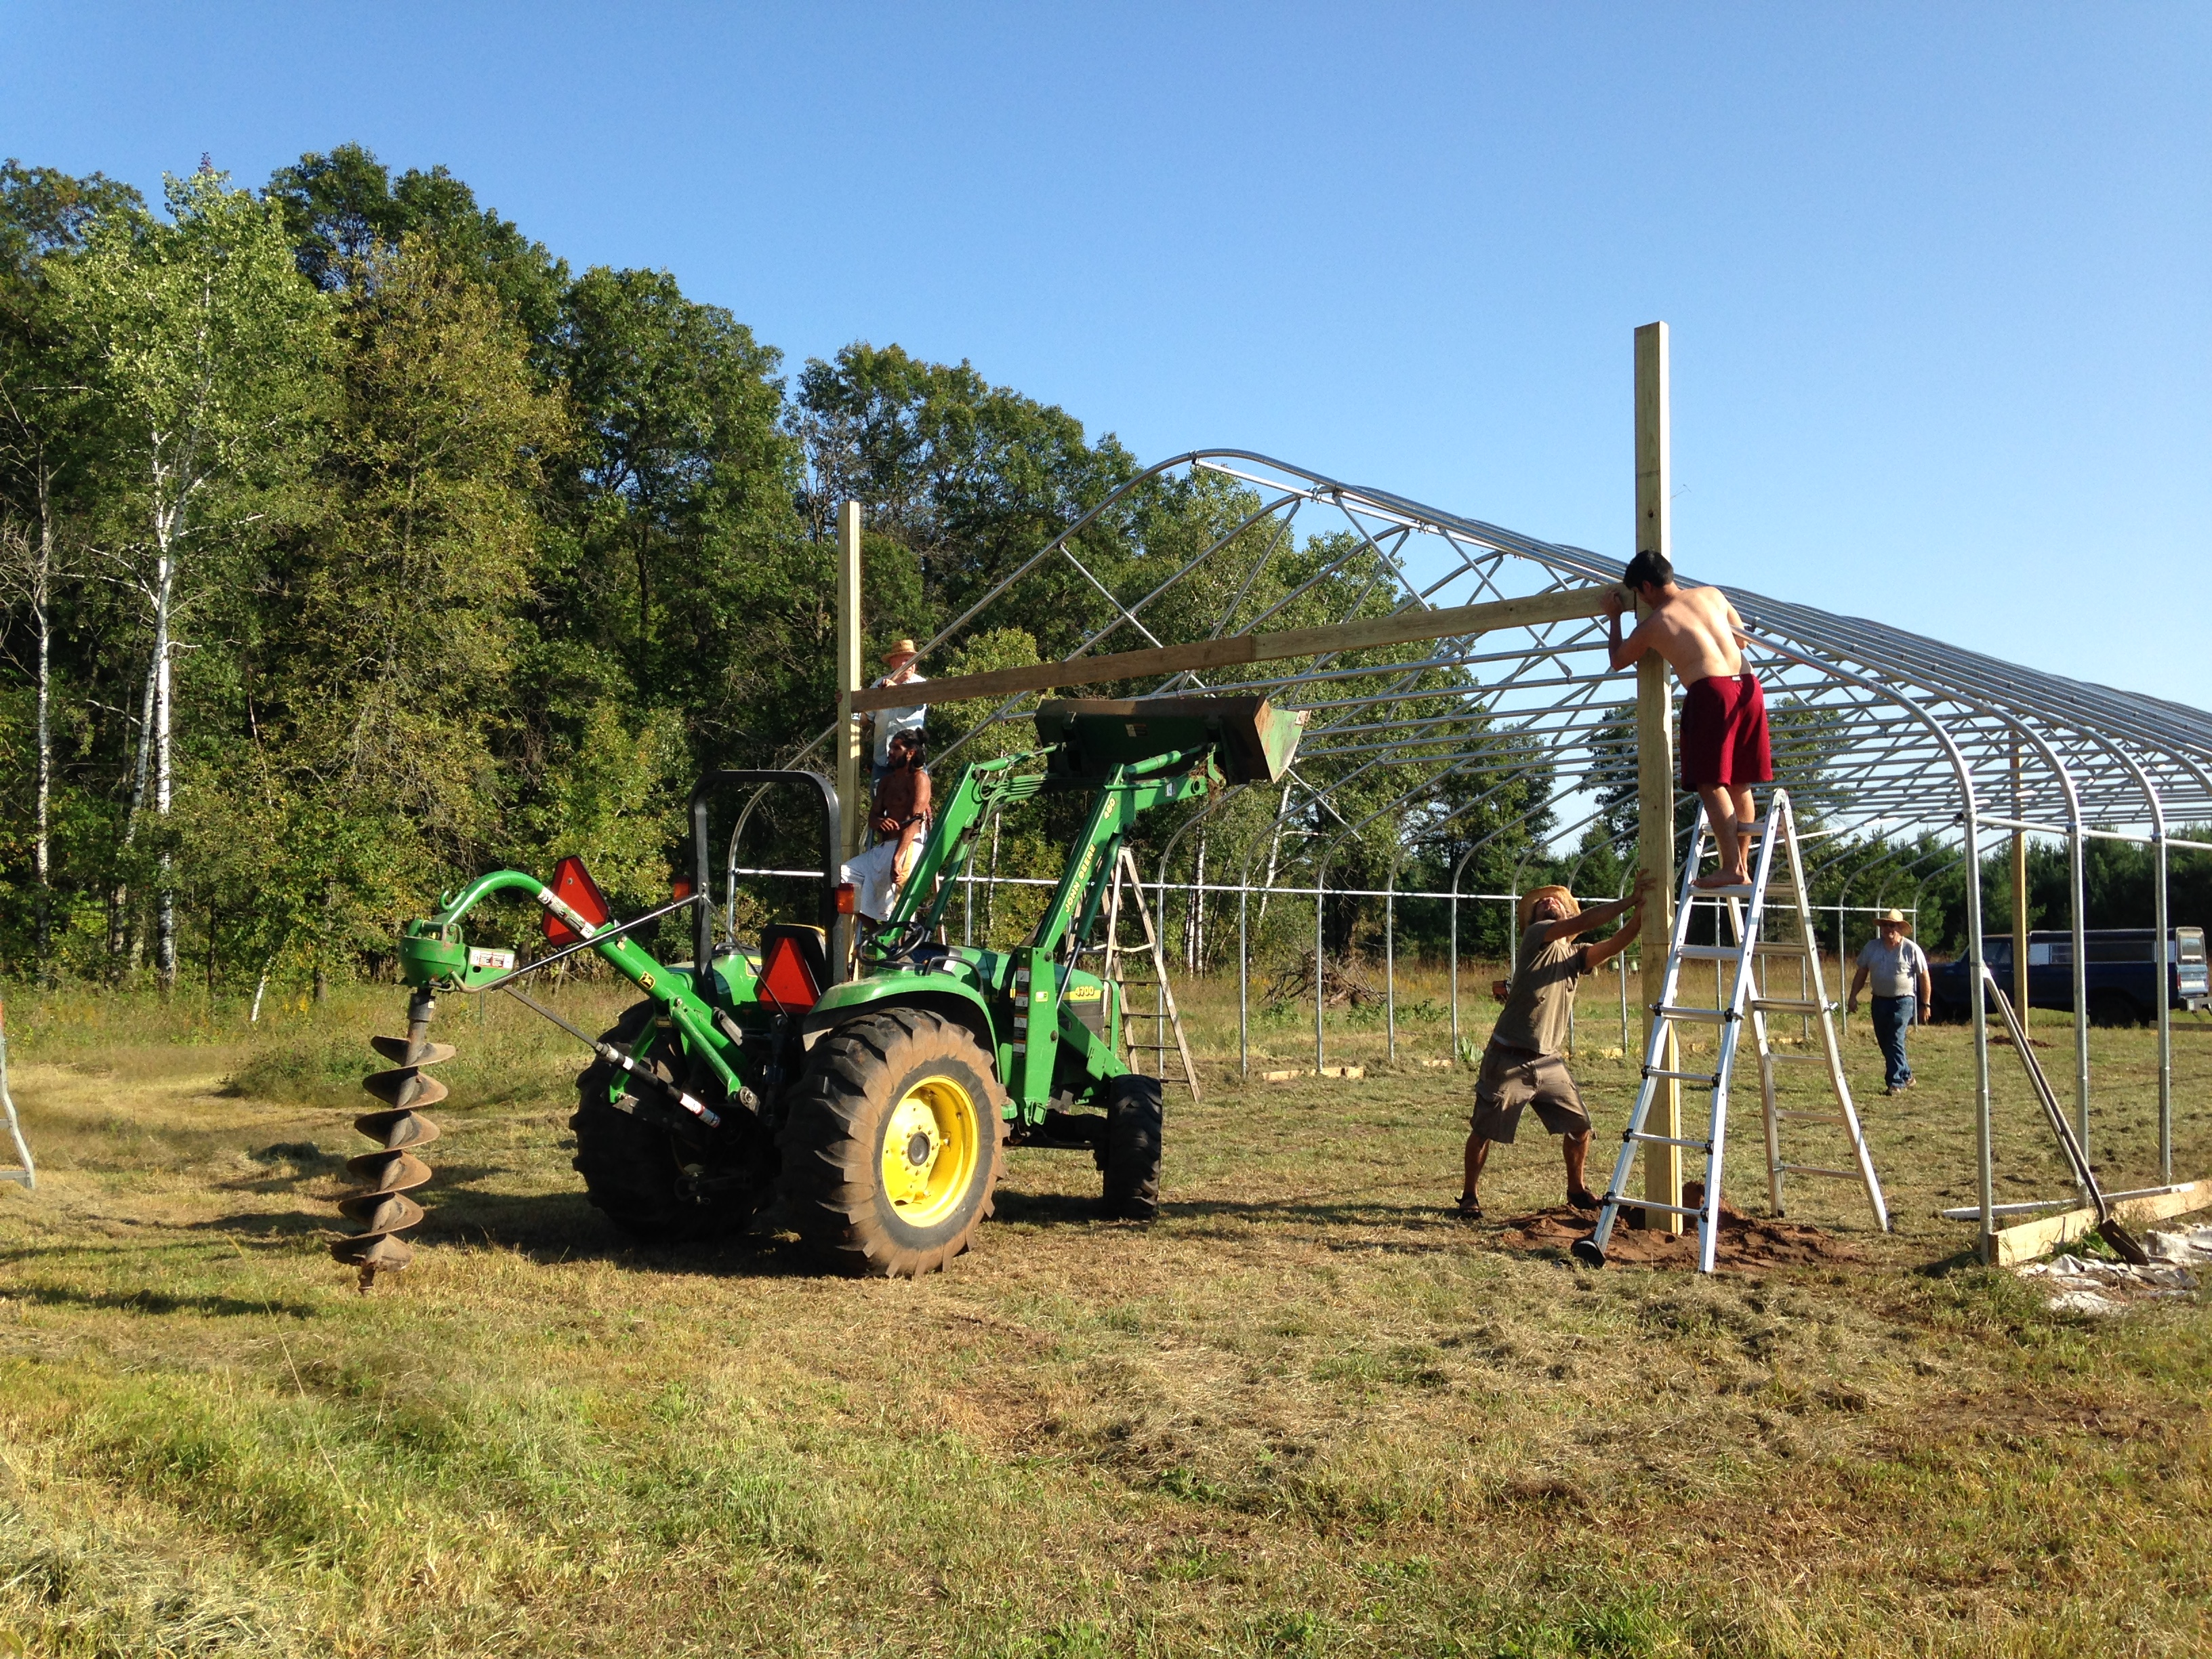
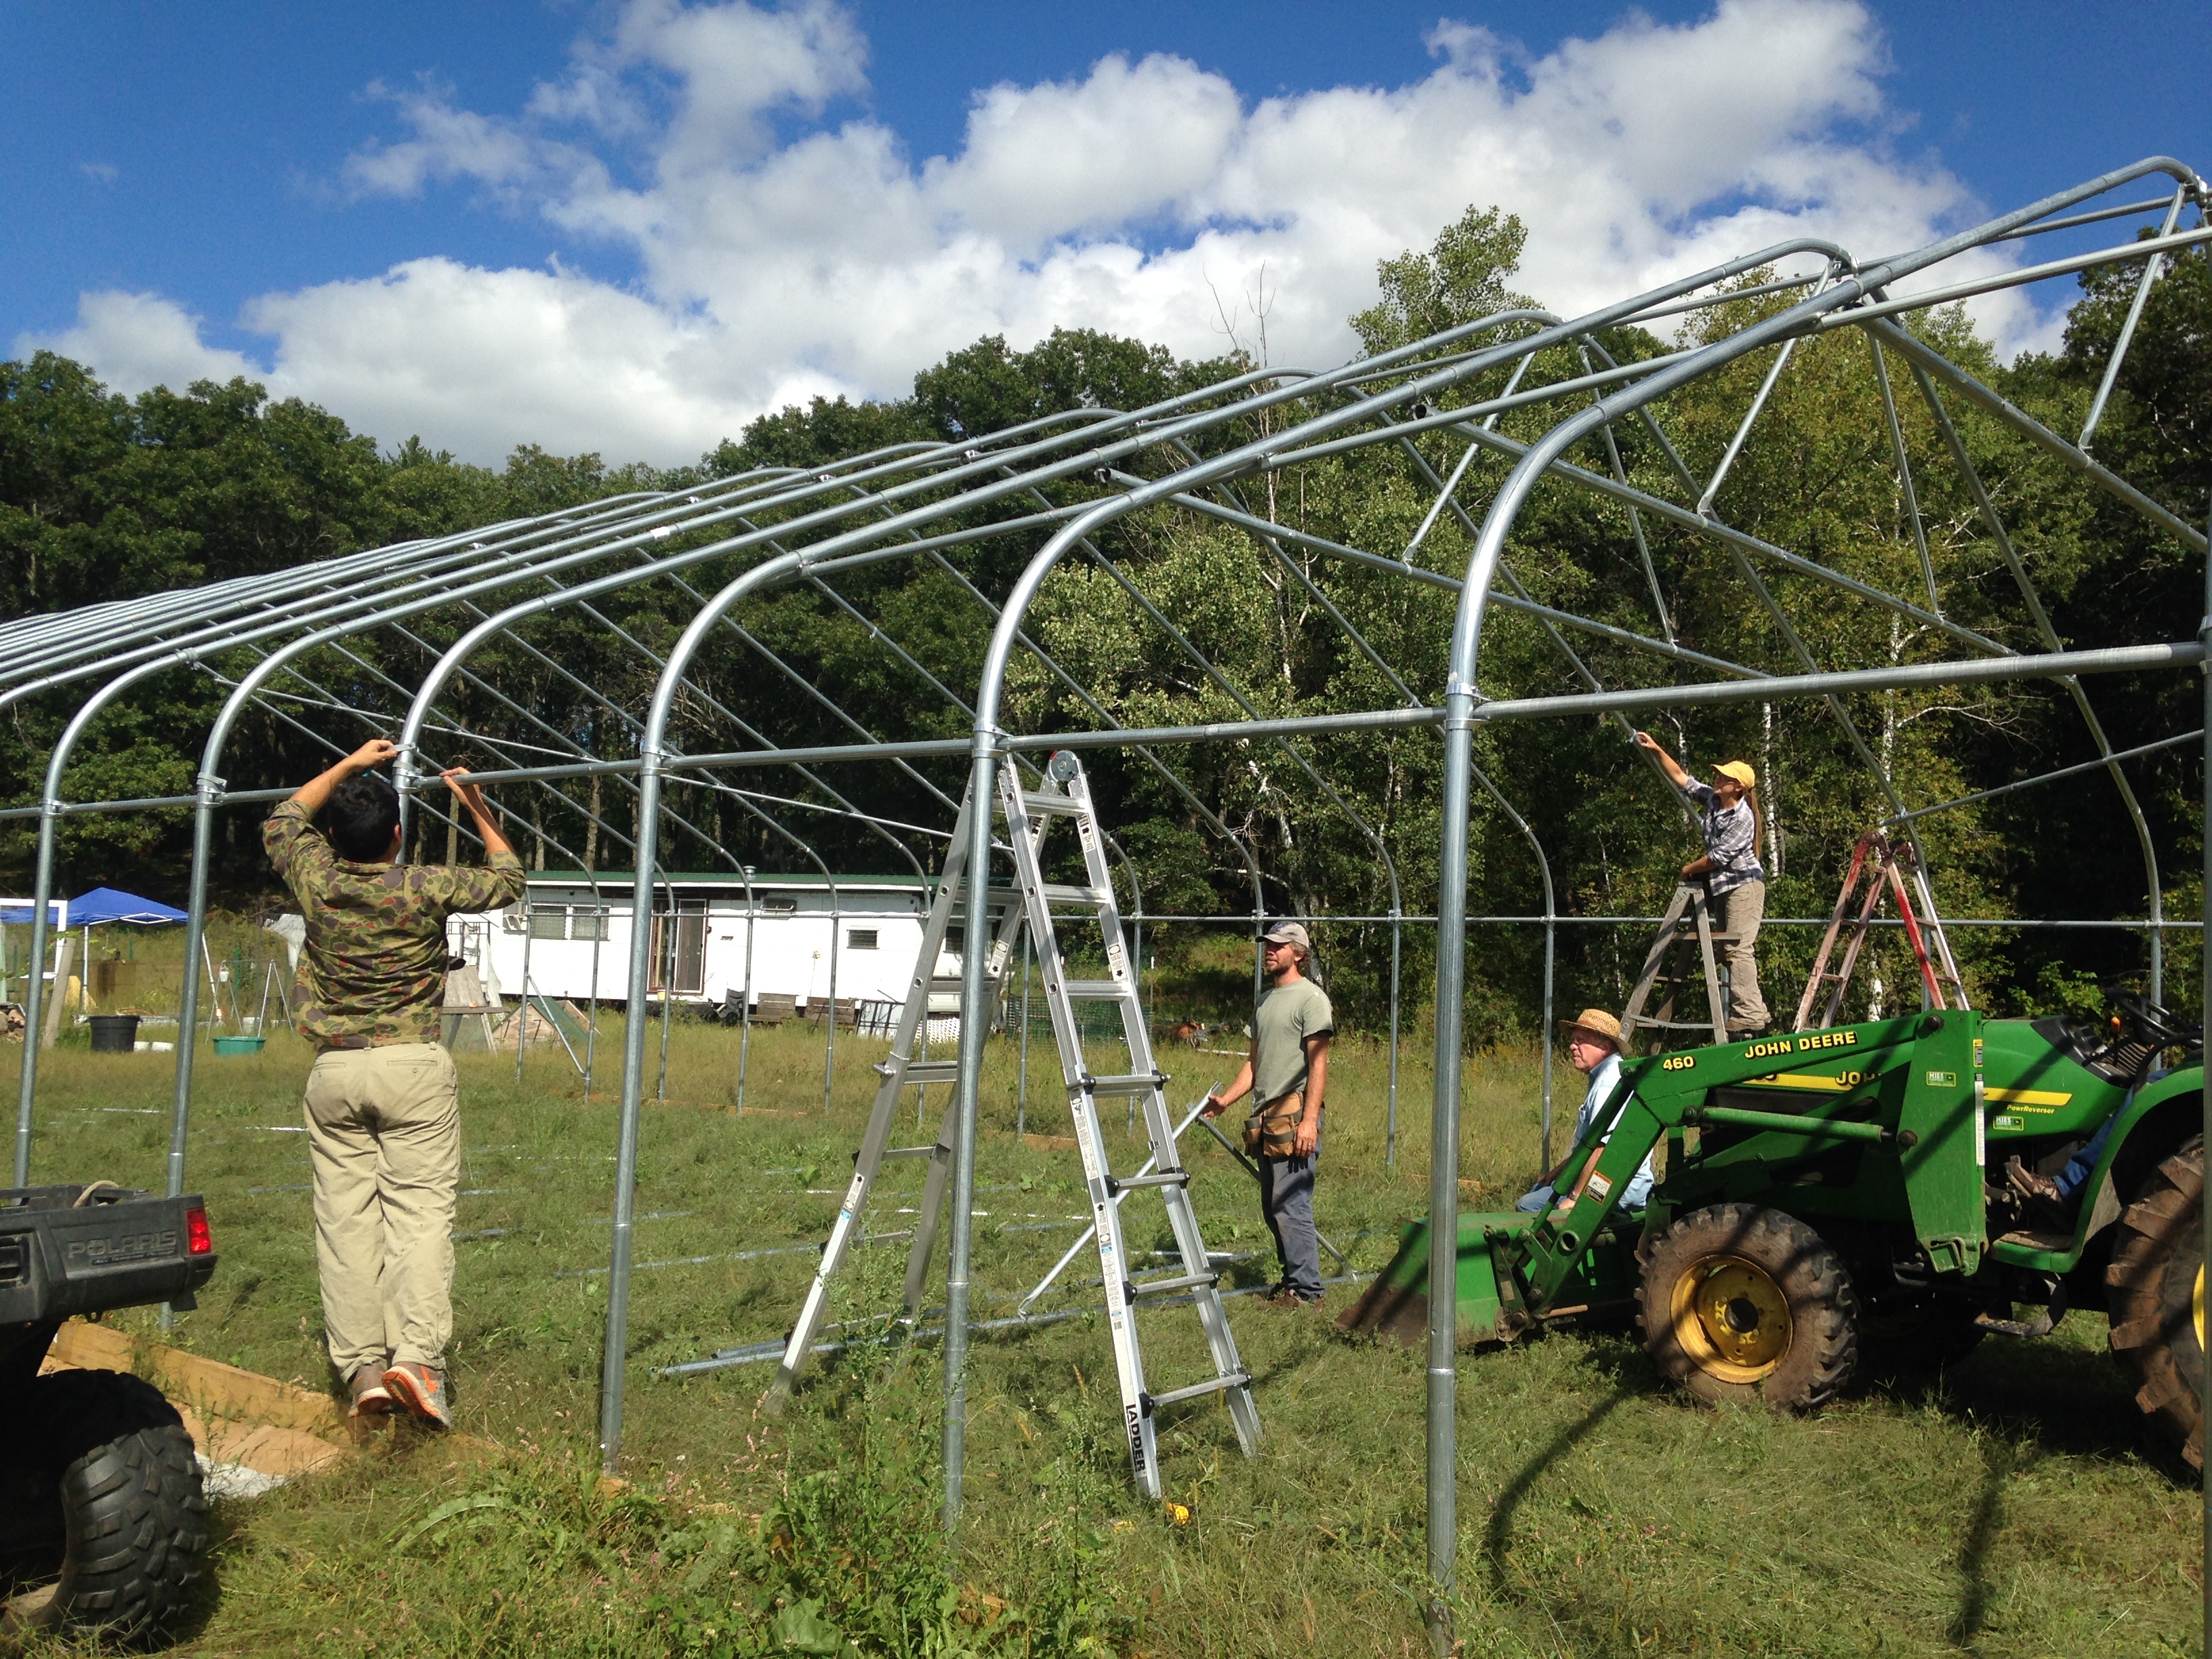
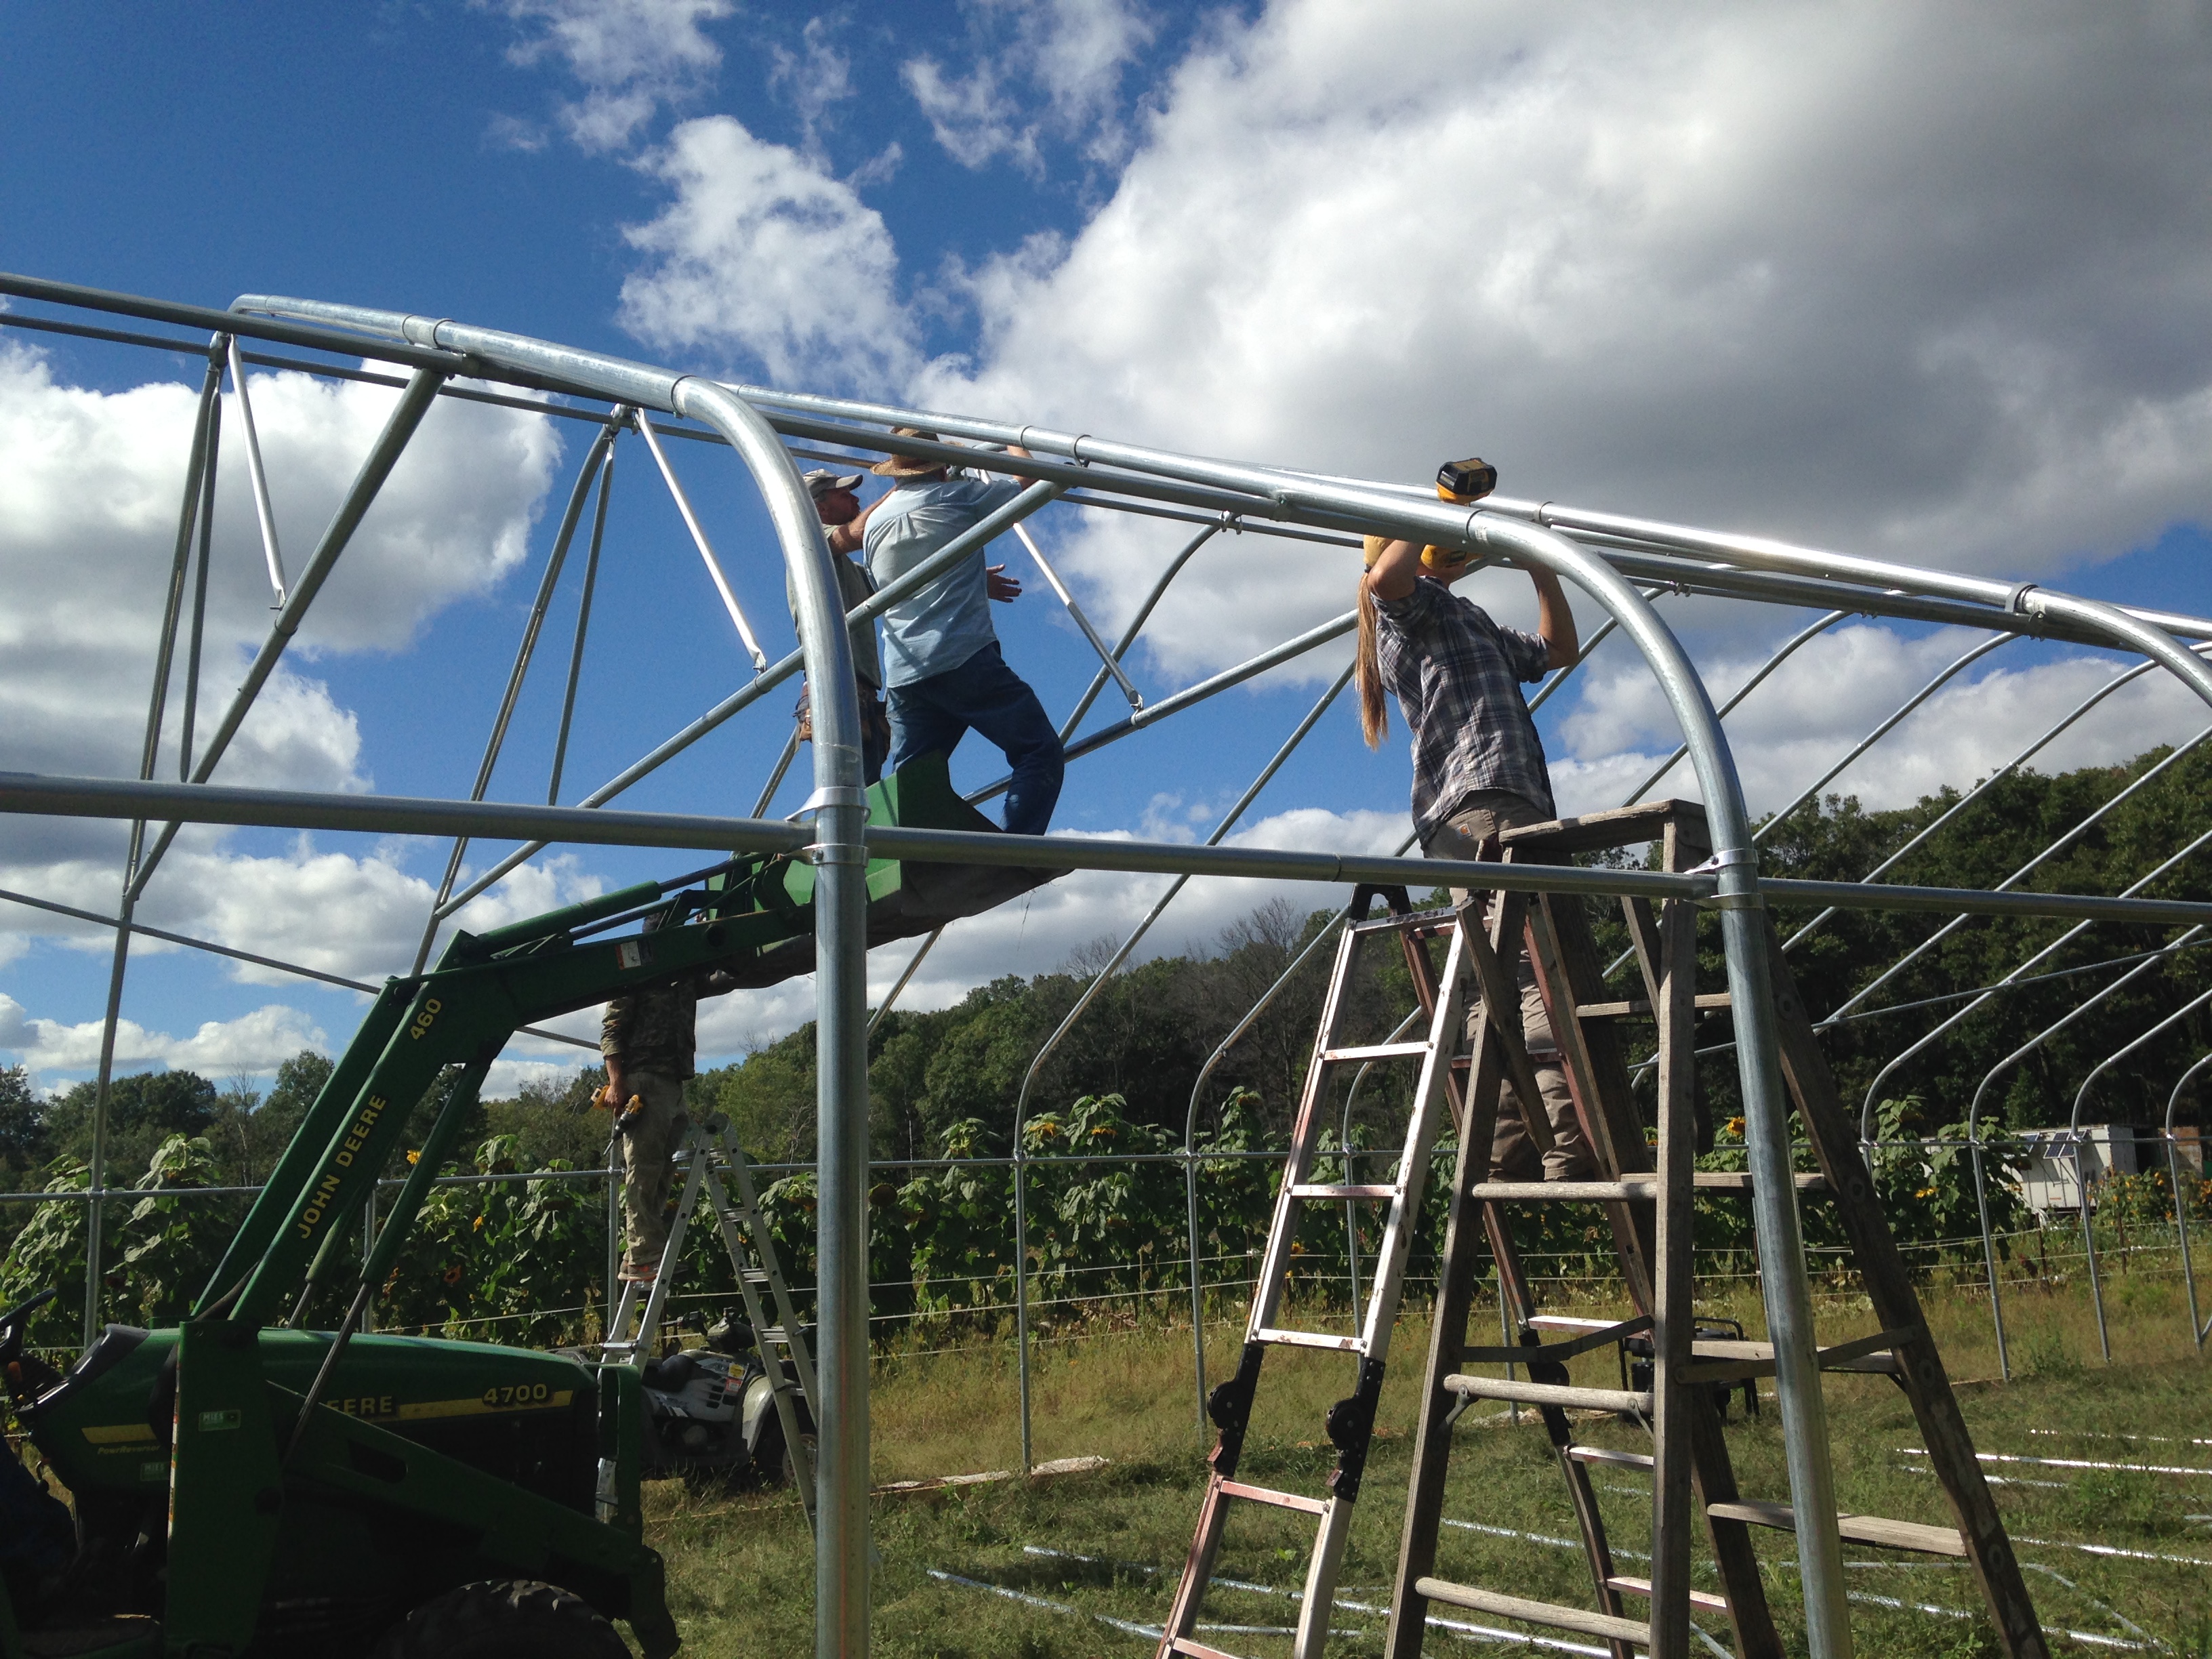
We made big progress on the High Tunnel project, with help from friends and family of the farm – everything is done now except the main roof plastic and the anchor cables … so if we get a day without wind between now and Sunday, it will be completed in time for the potluck!
Hopefully there will also be time to get ready for it … lots to do and little time … but it’s an interesting, exciting kind of busy. Transformation is in the air, with the weekly CSA harvests ending, and our southern migration on the horizon.
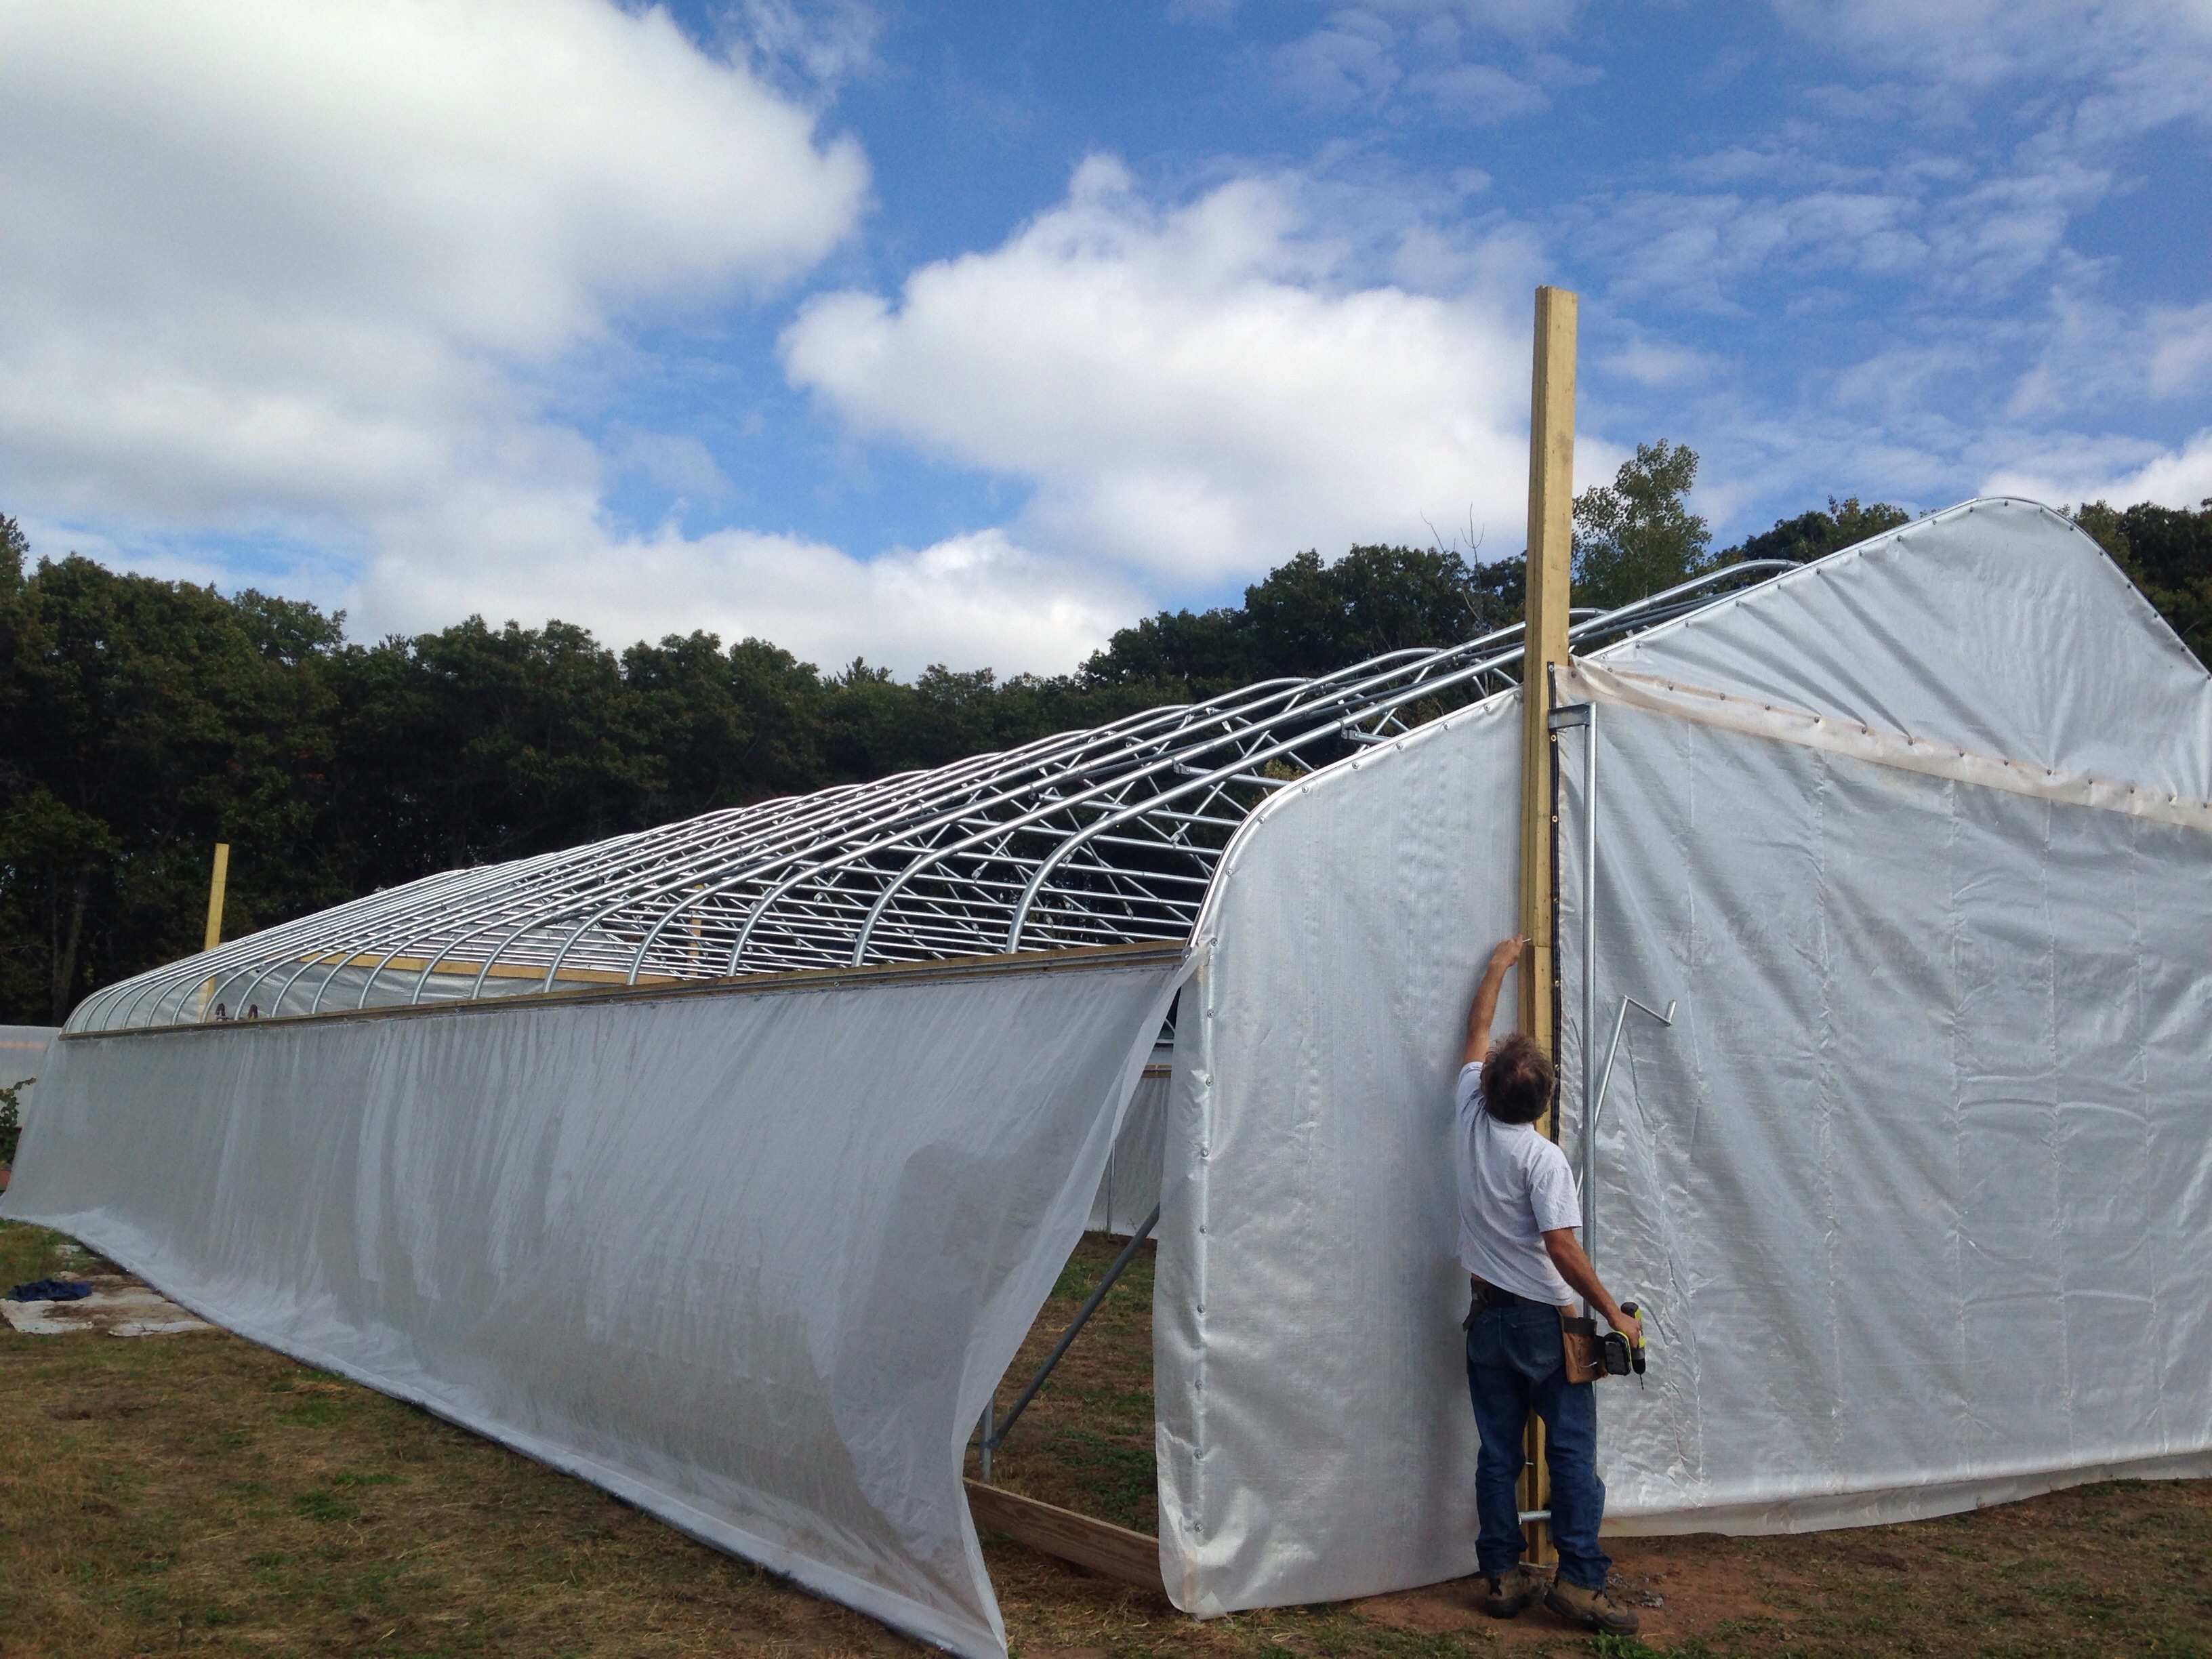
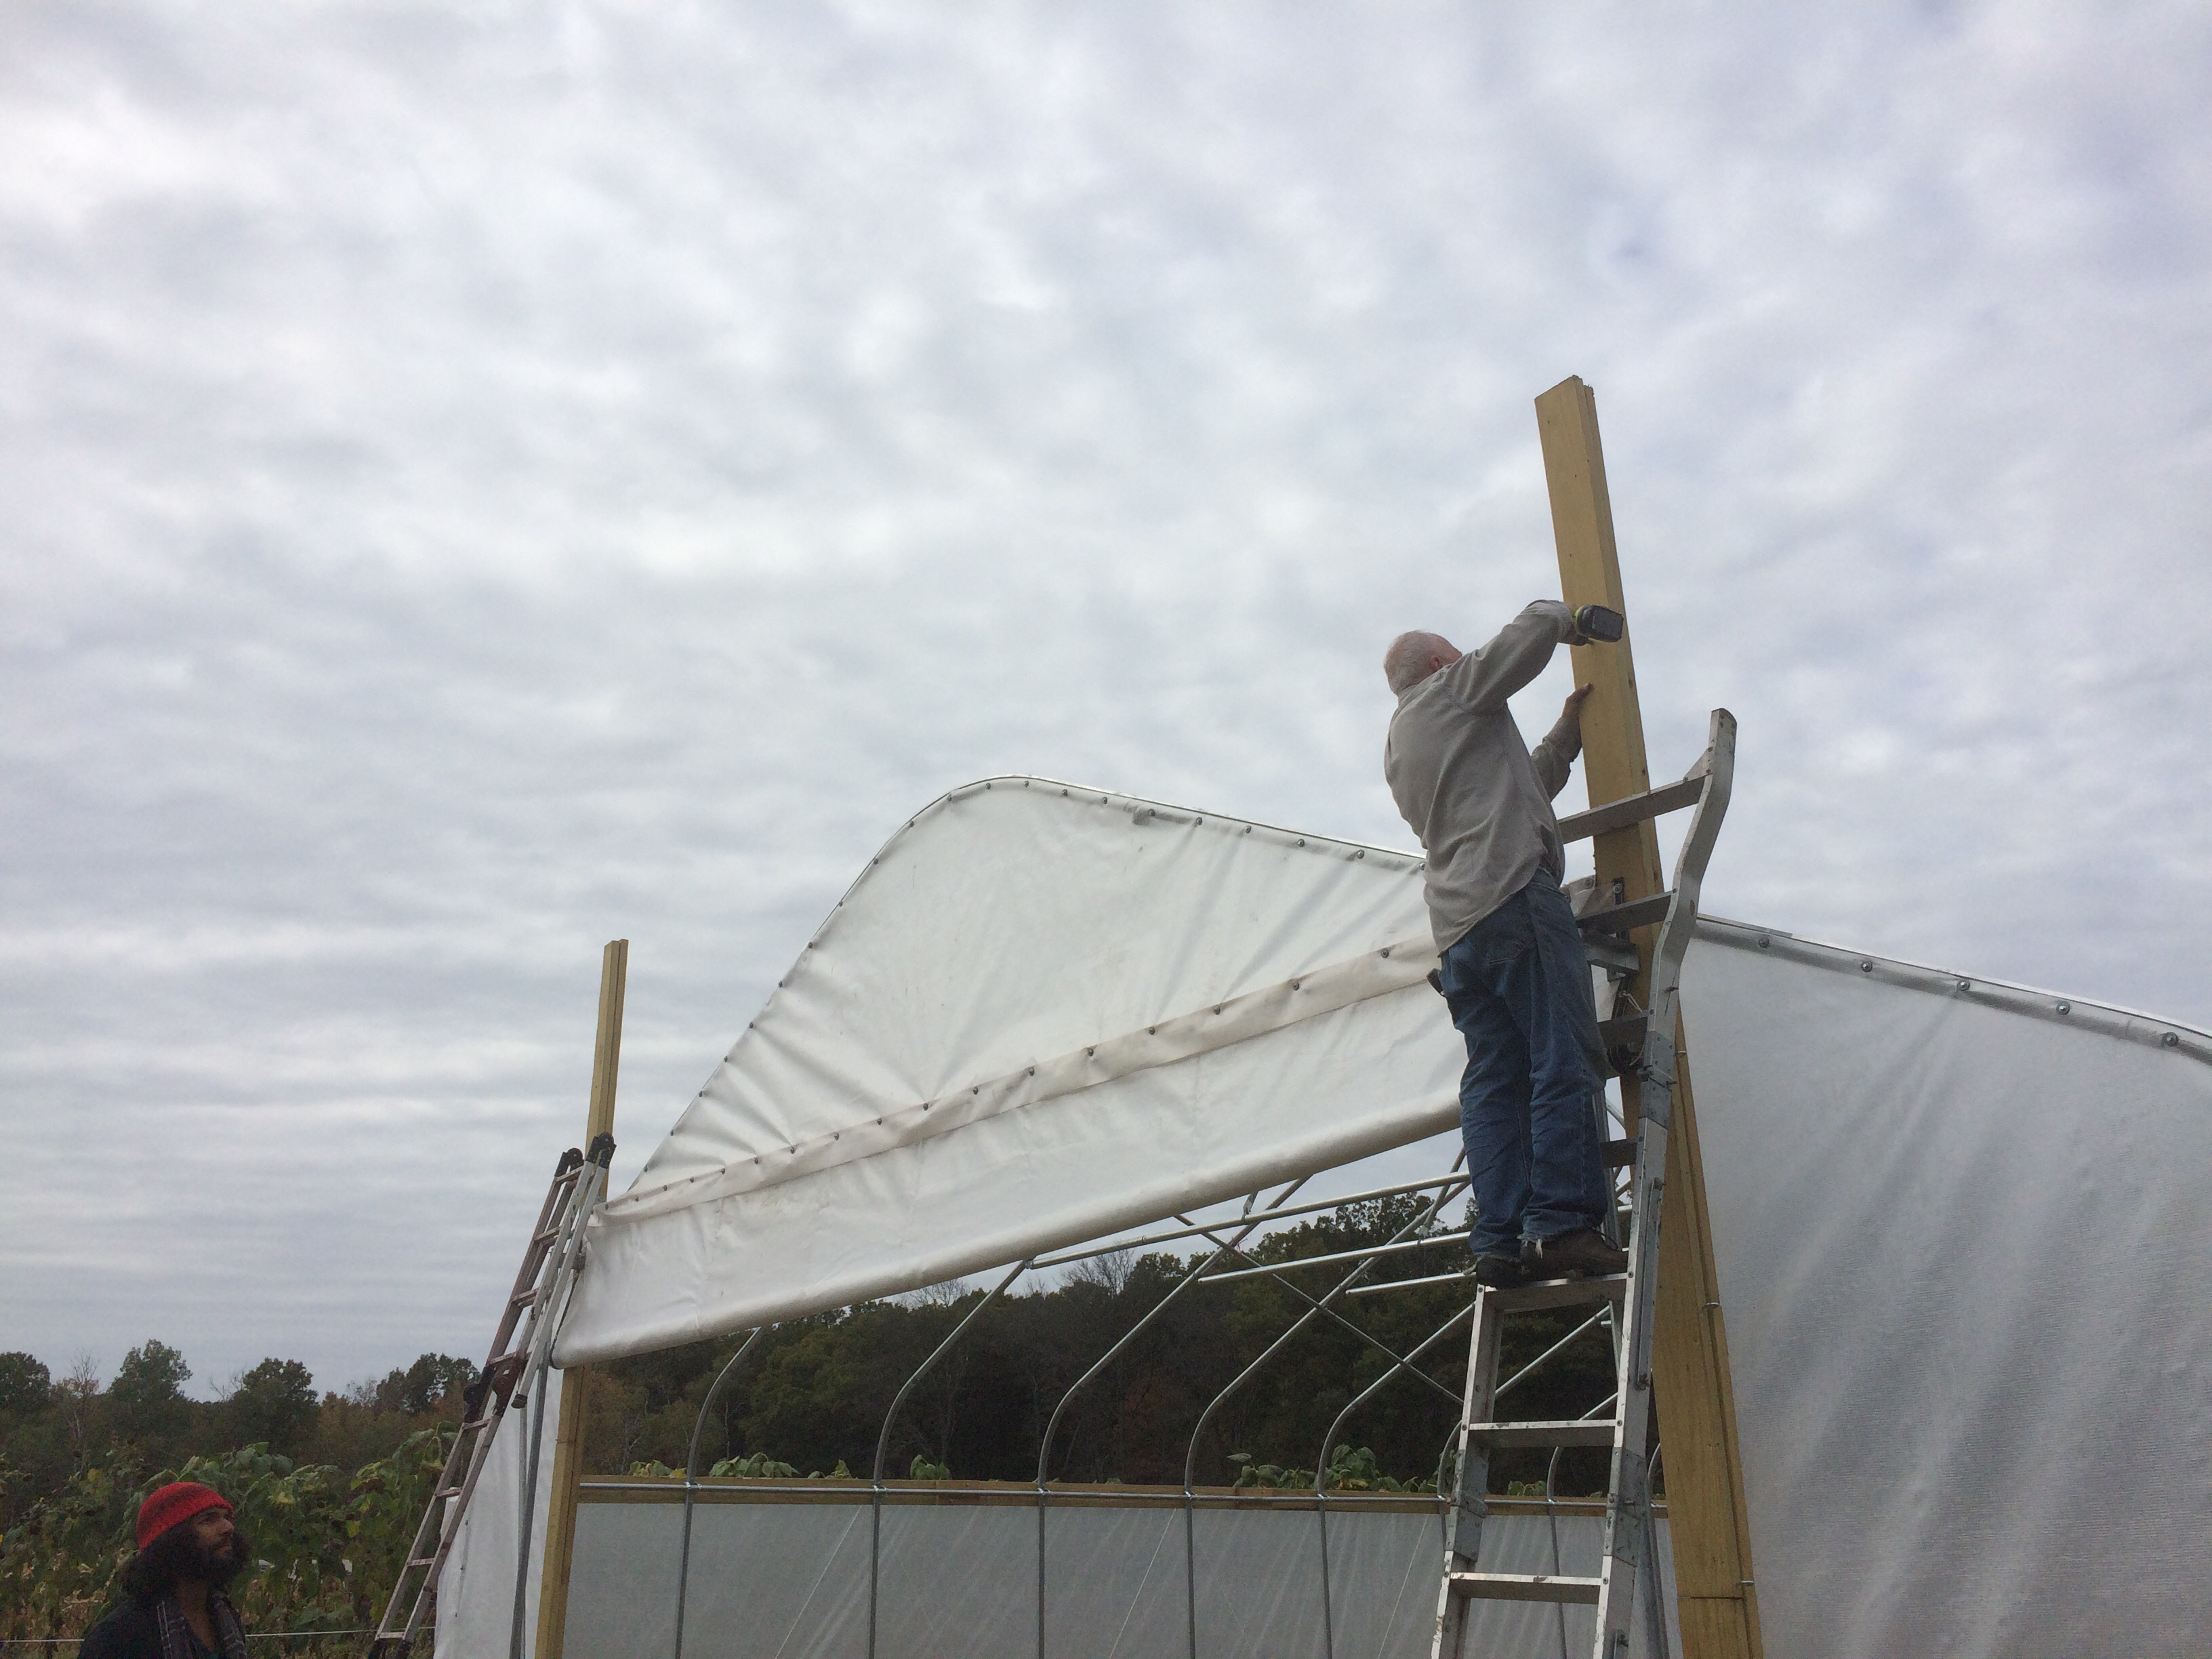
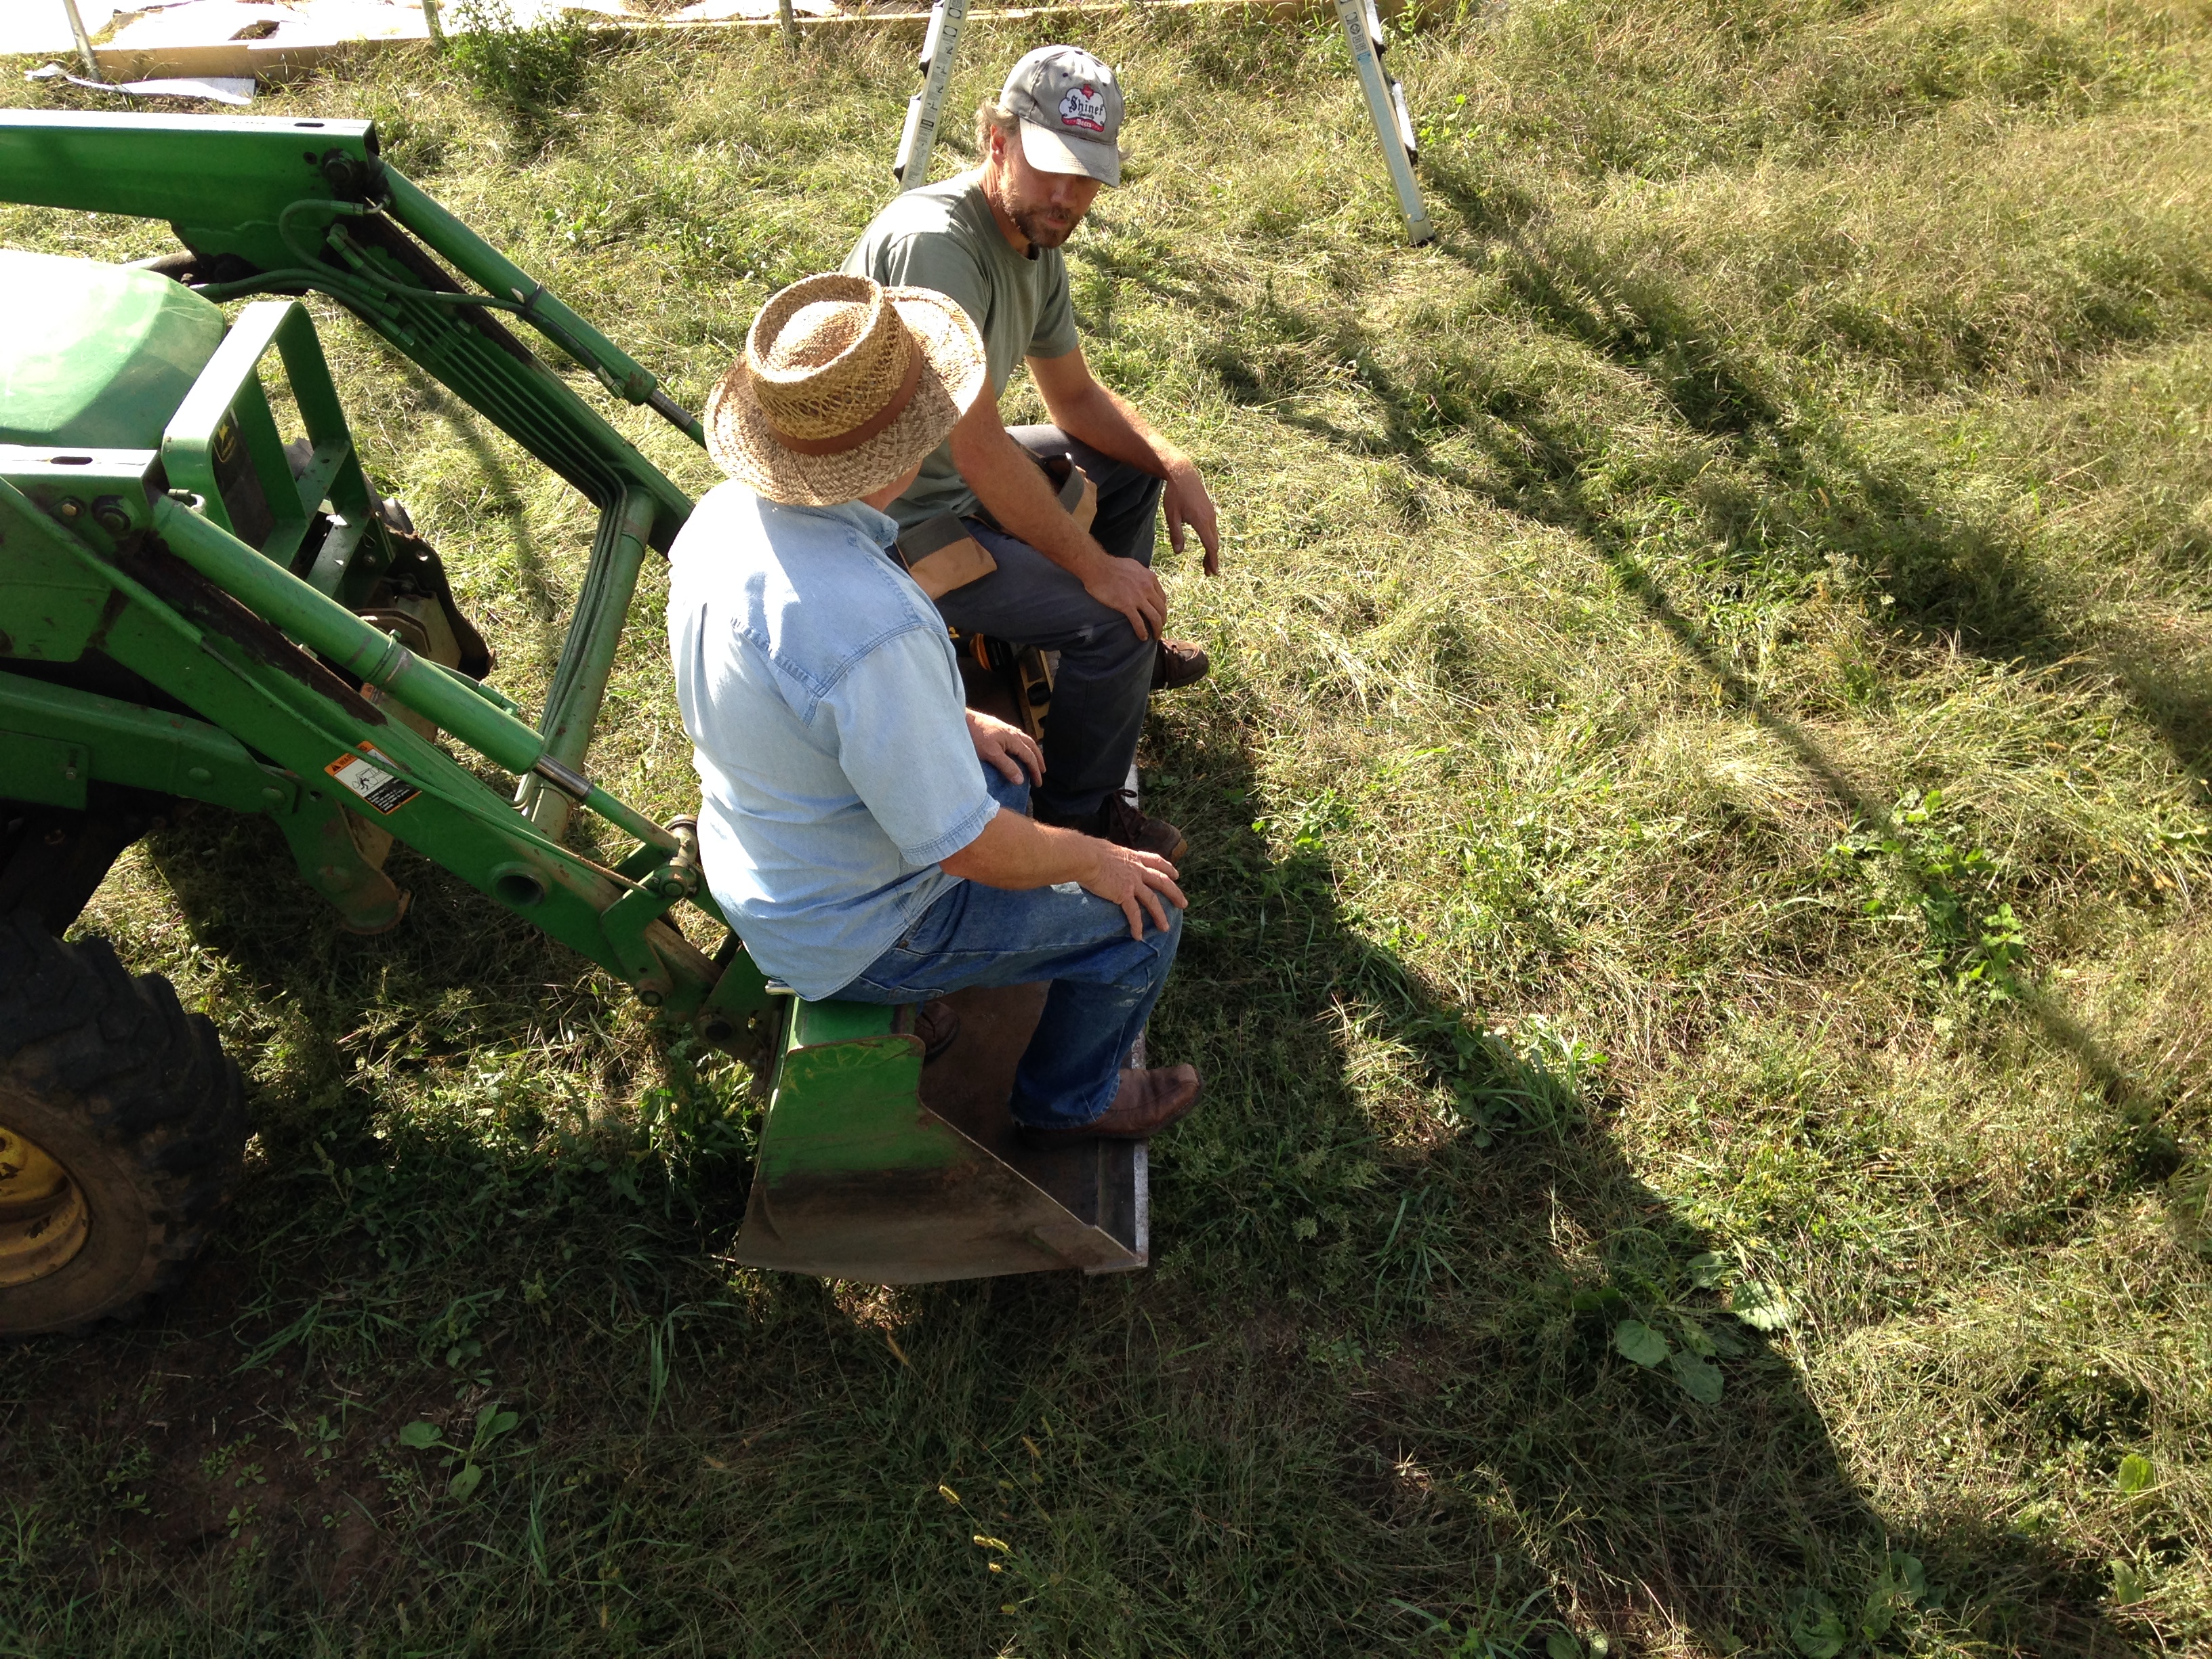
B & Jim prepare to attach the anchor cables
And the first annual potluck is coming … the weather’s predicted to be beautiful (70-something and sunny!), and it looks like many good people will be coming together to celebrate the completion of a wonderful season.
We’re truly excited to see you there!
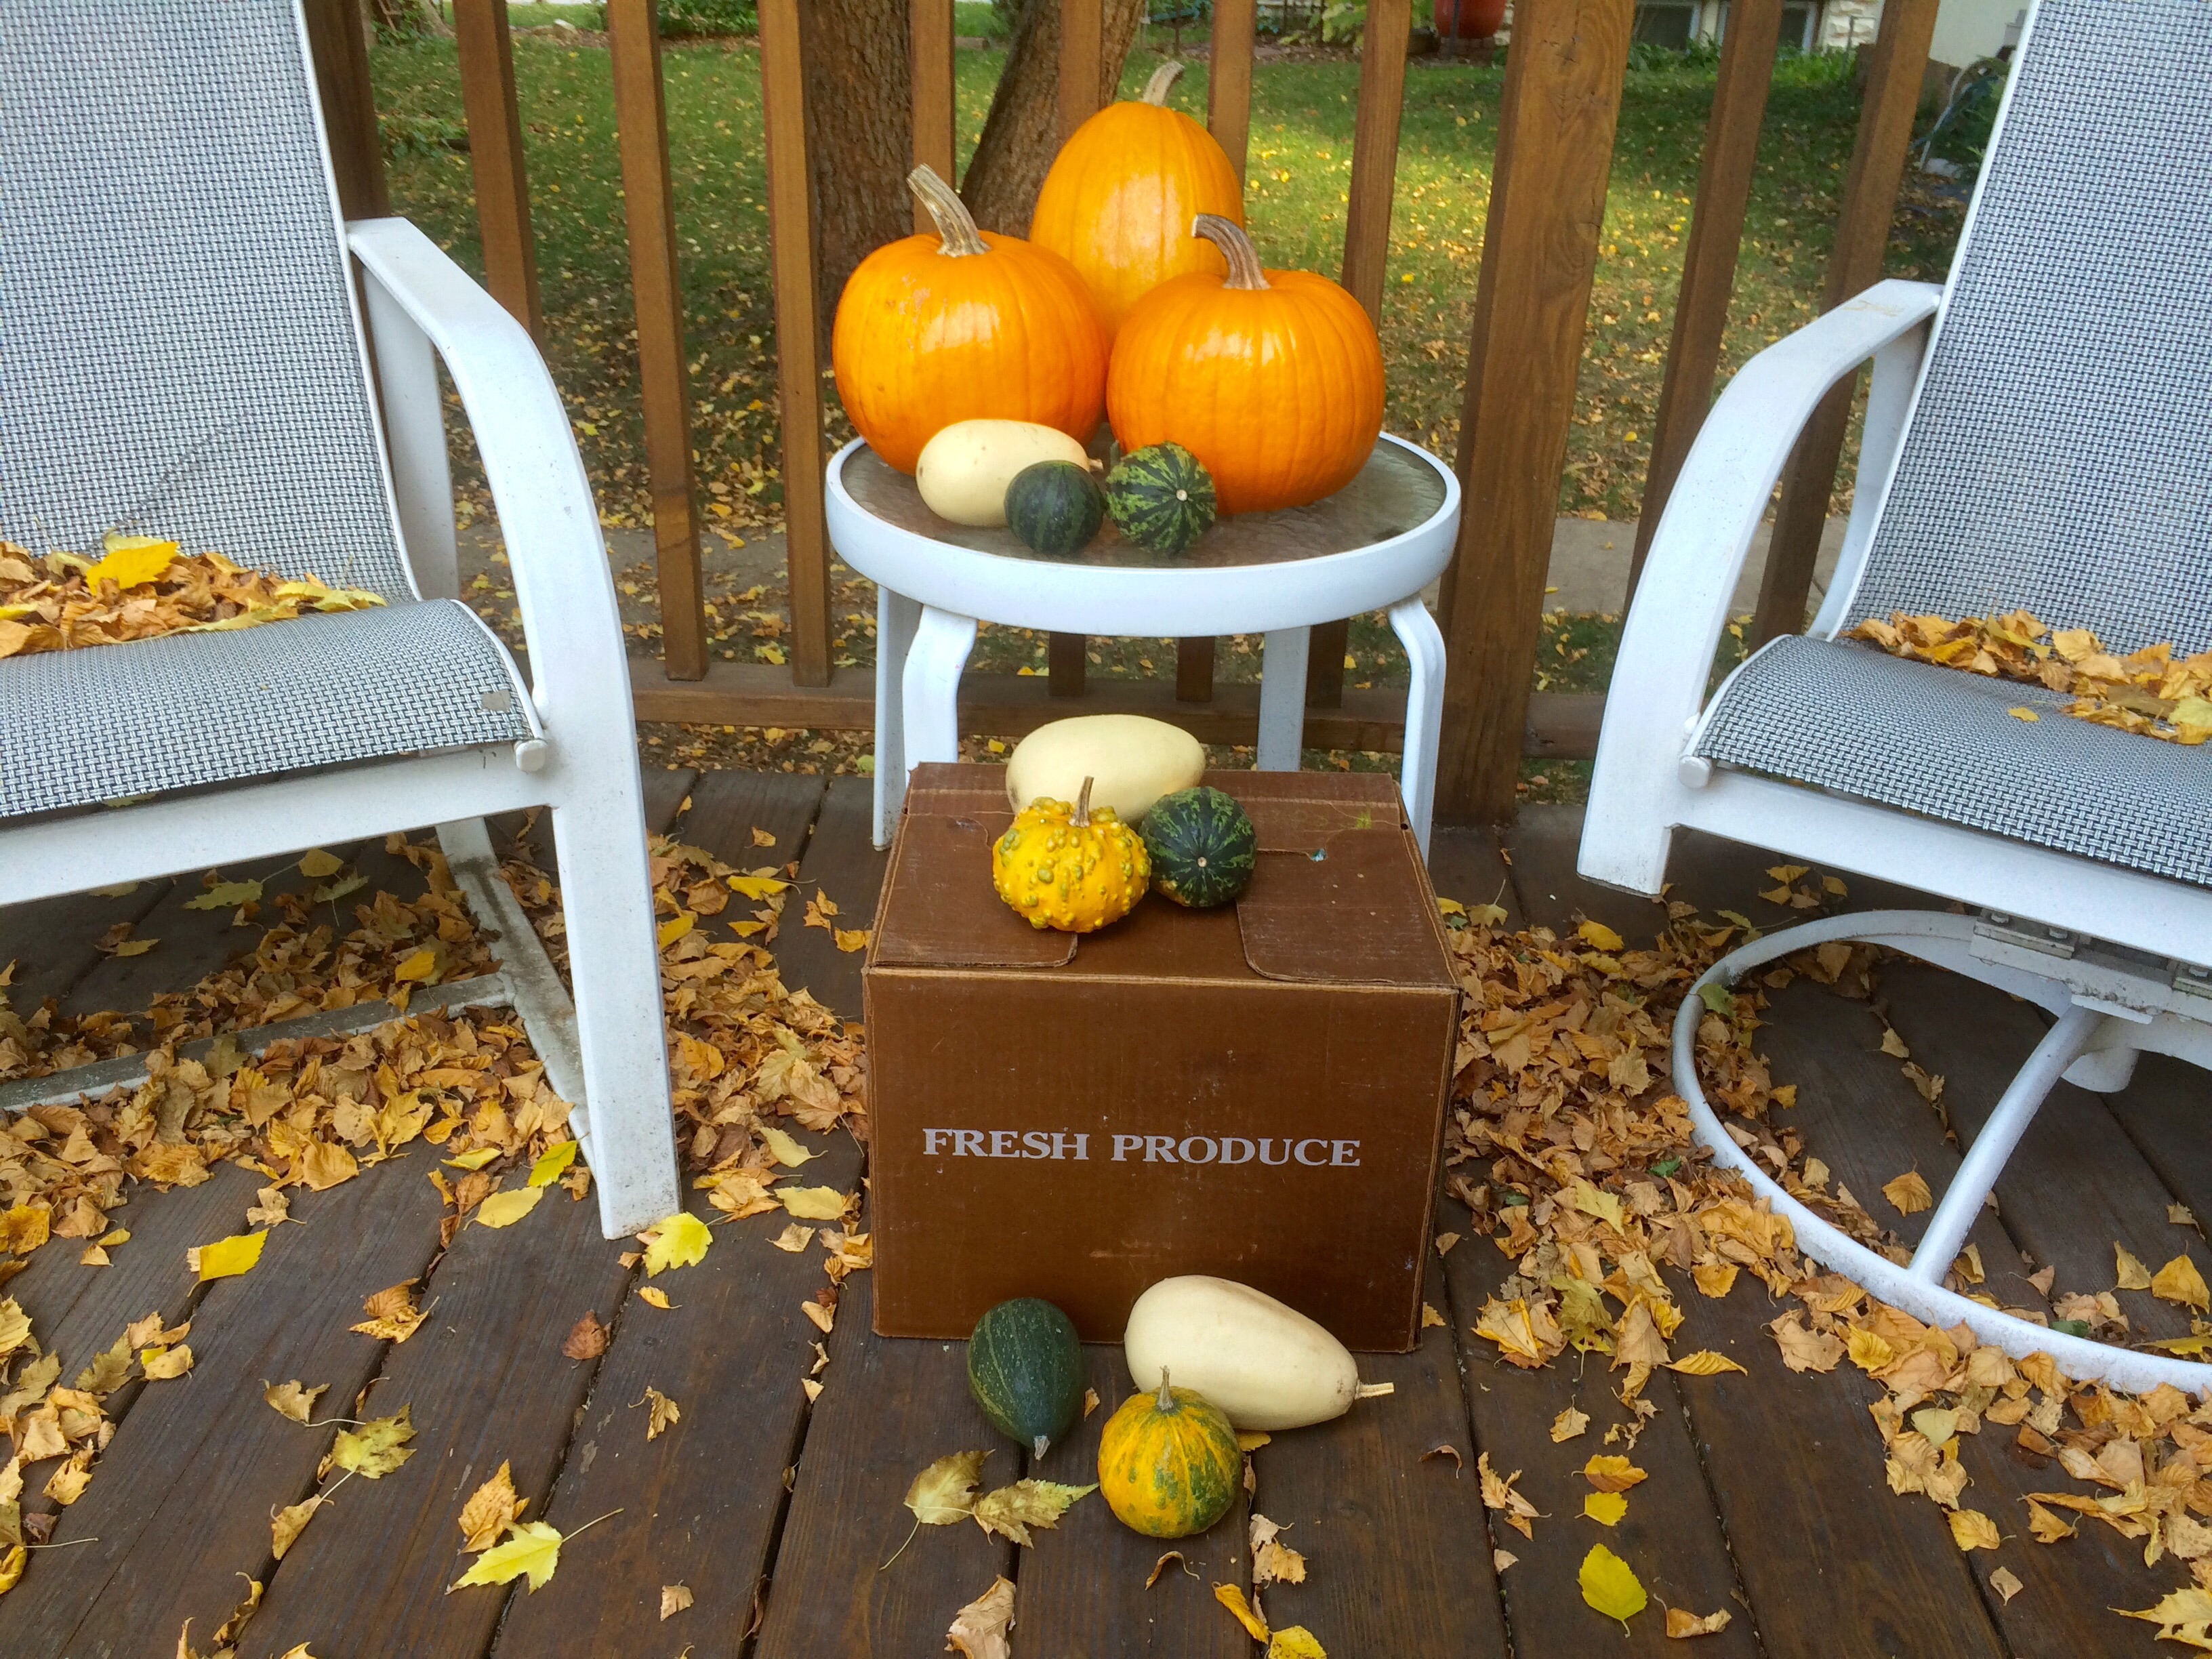
Box 18 – 2015’s Last Hurrah
delivery!
Kristin says:
Popcorn
The secret to popcorn popping is the moisture content of the kernels. The white popcorn is drier and will be ready for popping sooner (I think in a couple weeks) than the yellow variety. You can test if it’s ready by heating a pot with a lid and adding a few kernels to the pot. Cover and wait to see if it pops. Sometimes it just splits open and becomes crunchy which is actually pretty awesome. If you want to enjoy your popcorn now, you can “oven-dry your shelled popcorn, just preheat the stove to 300 degrees Fahrenheit and put a large pan (a turkey roaster will do) of kernels on the rack. Then, turn the oven down to its lowest setting immediately, and dry the corn — stirring it occasionally — for five hours. After that time you can turn the heat off and leave the kernels in the oven to cool overnight.” – this according to Mother Earth News.
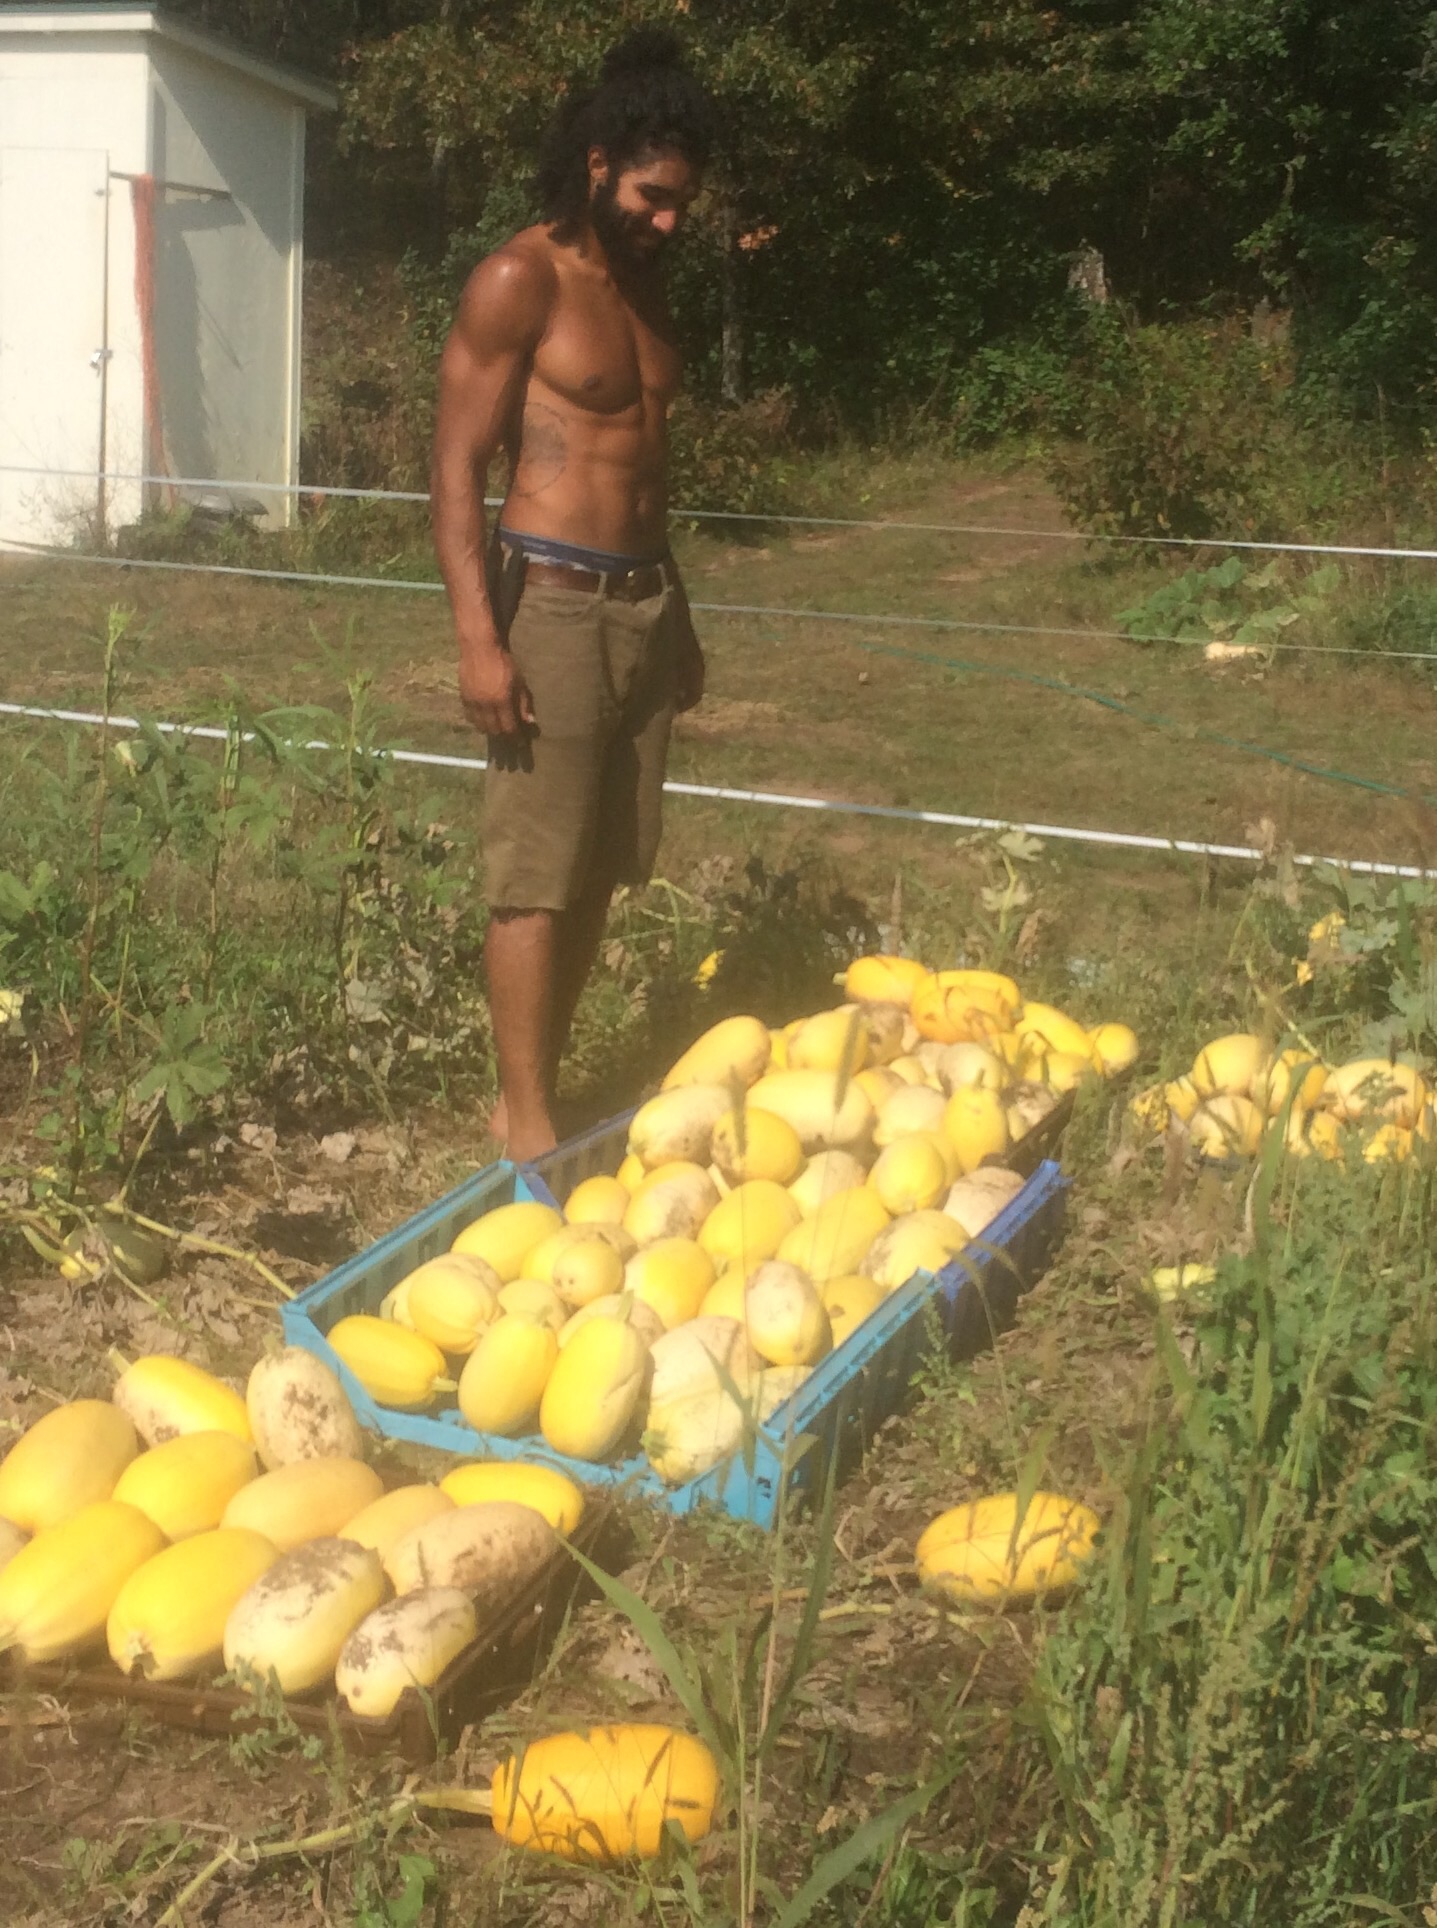
Spaghetti Squash
We have lots this year! It’s versatile – here’s some ideas if you’re feeling stumped:
Butternut Squash
I love winter squash soup, butternut squash ravioli and lasagna, cubed and roasted squash, and squash in smoothies. So many options!
Acorn squash in big shares for variety sake.
Carrots
Good in soup and salads. We included some of the greens too, since they are great for making broth.
Celeriac
Grown for the root primarily instead of the stems. Unfortunately, our roots didn’t bulb up much probably because we were in Arizona when we should have been starting celeriac seeds. Eat the bulb and use the leaves for making vegetable broth. You can eat the stems too, but I recommend dicing it up so it’s not too fibrous.
Salad mix Last CSA salad of the year! Lettuce, spinach, arugula, pea tips, mizuna, and tat soi.
Dill
Dried dill is an excellent popcorn topping. I like dill with eggs, potatoes, beets, and chopped up in mayonnaise.
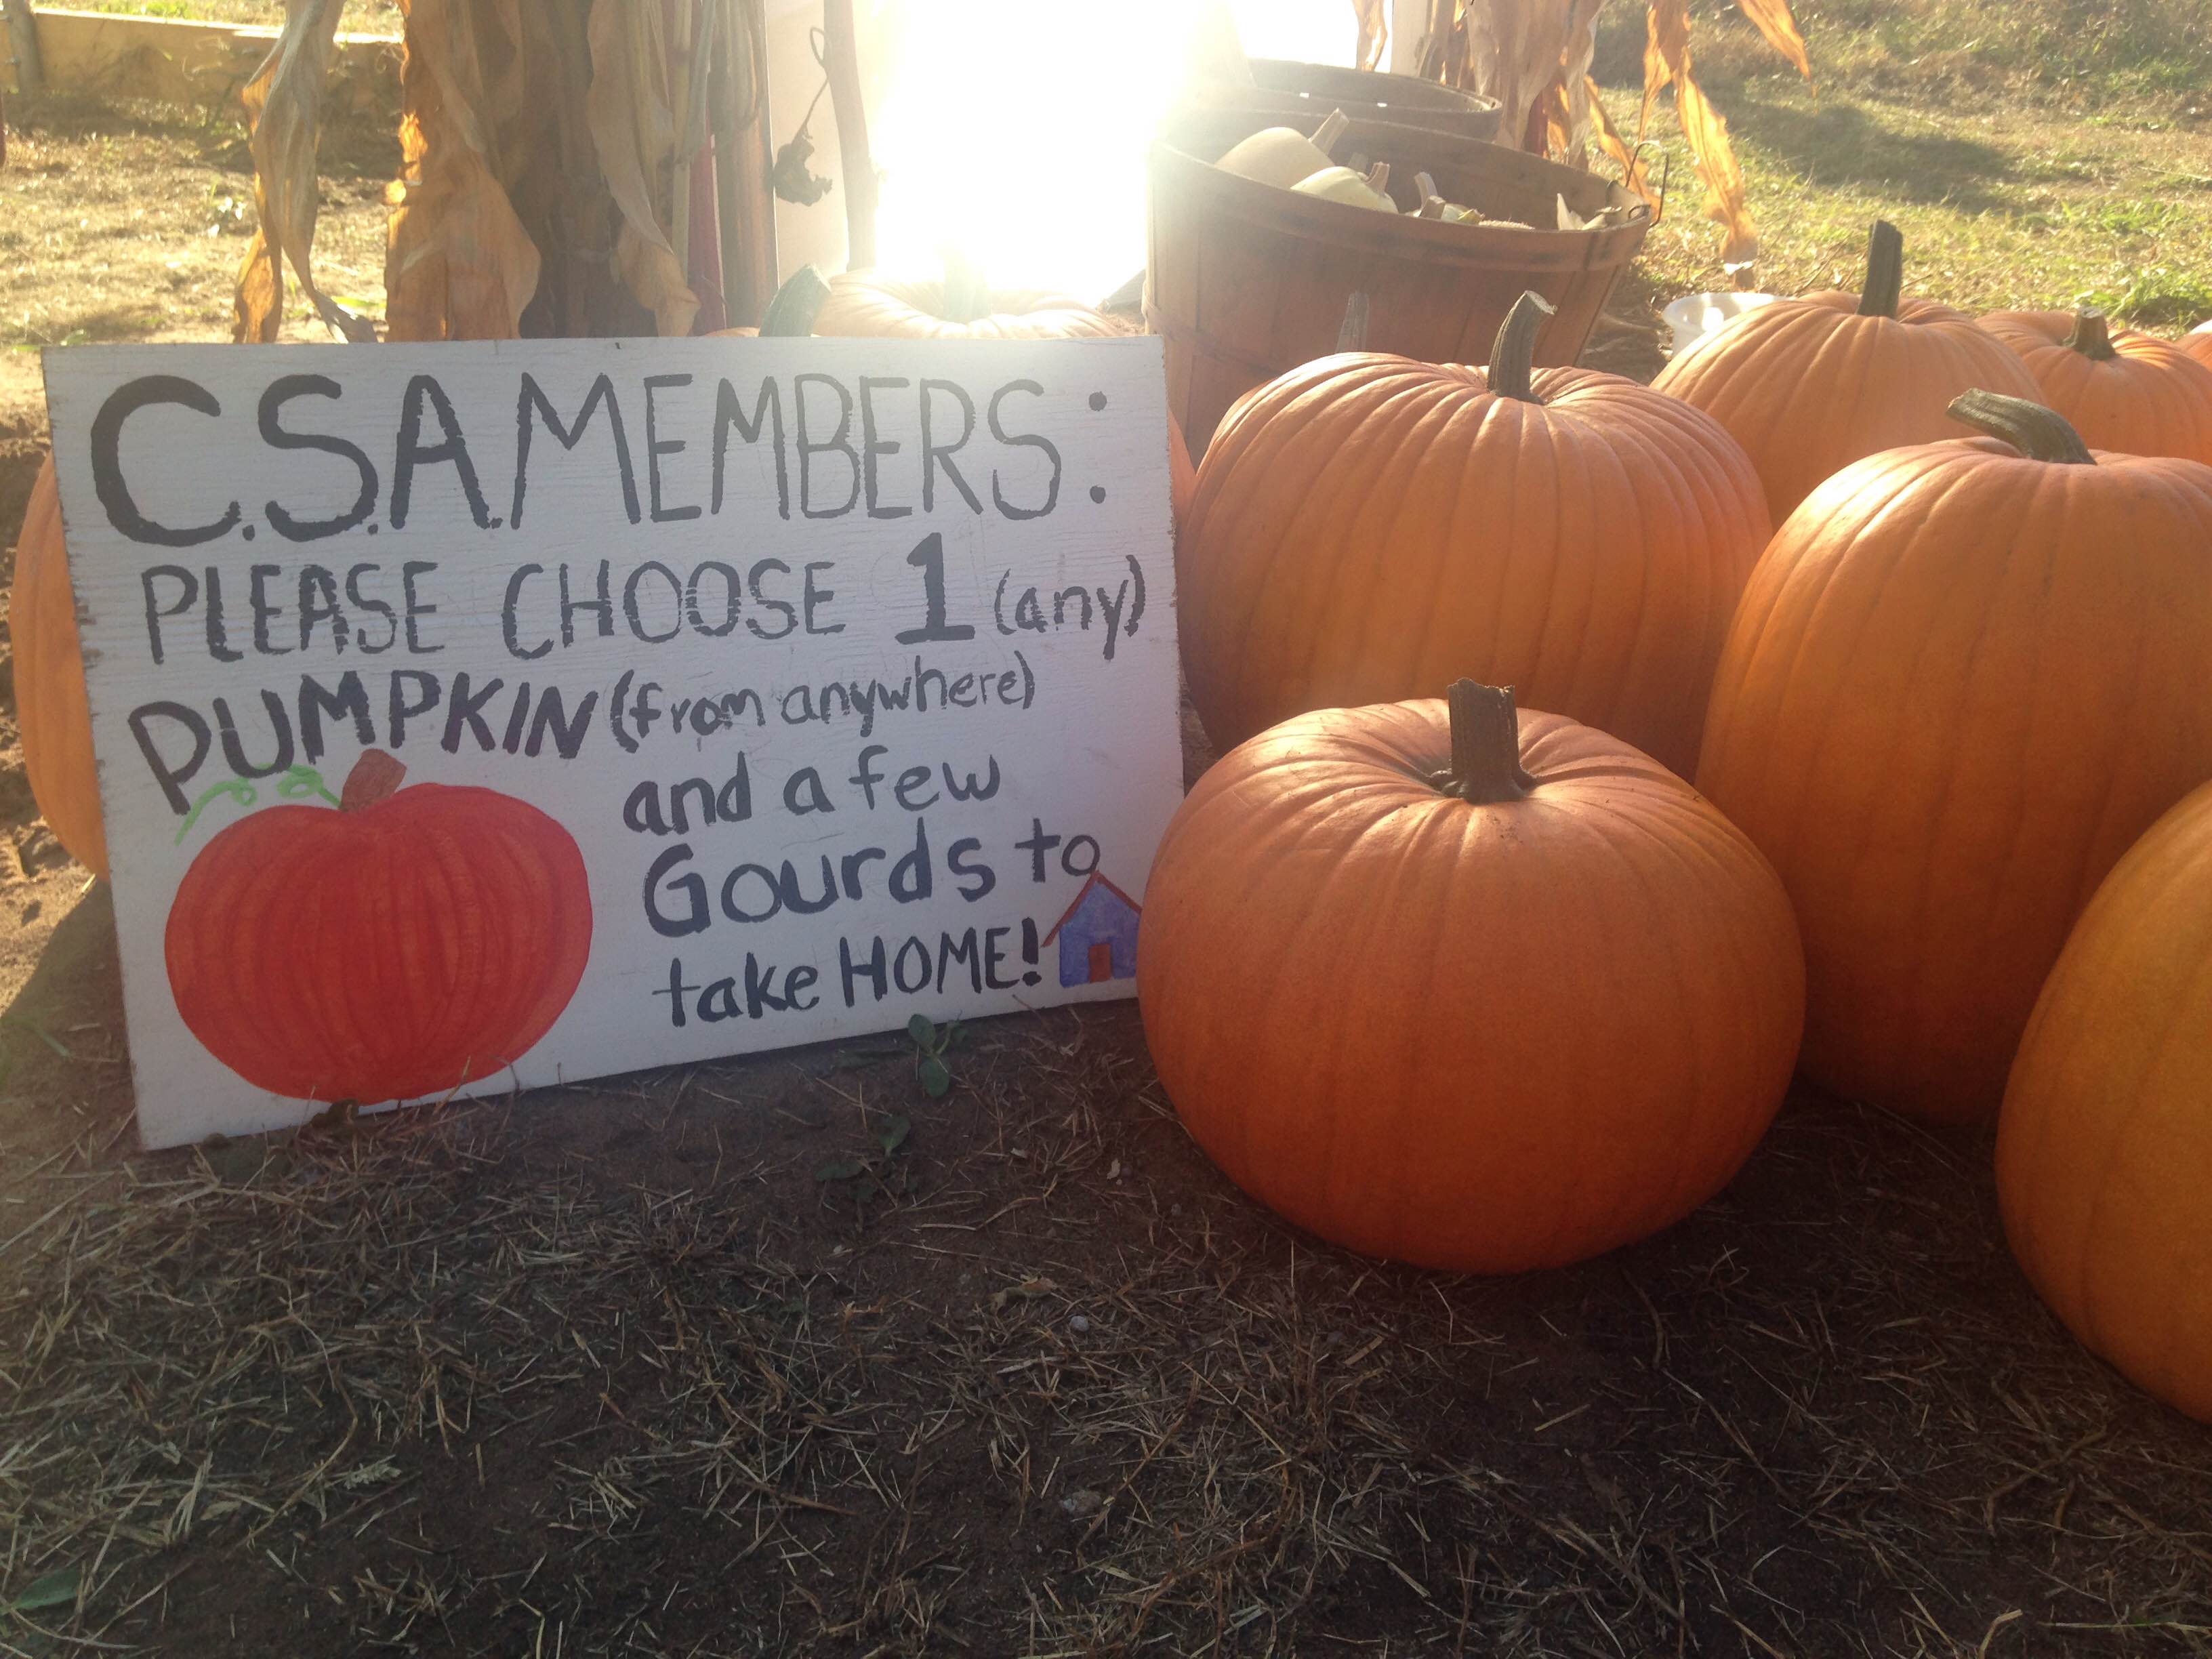
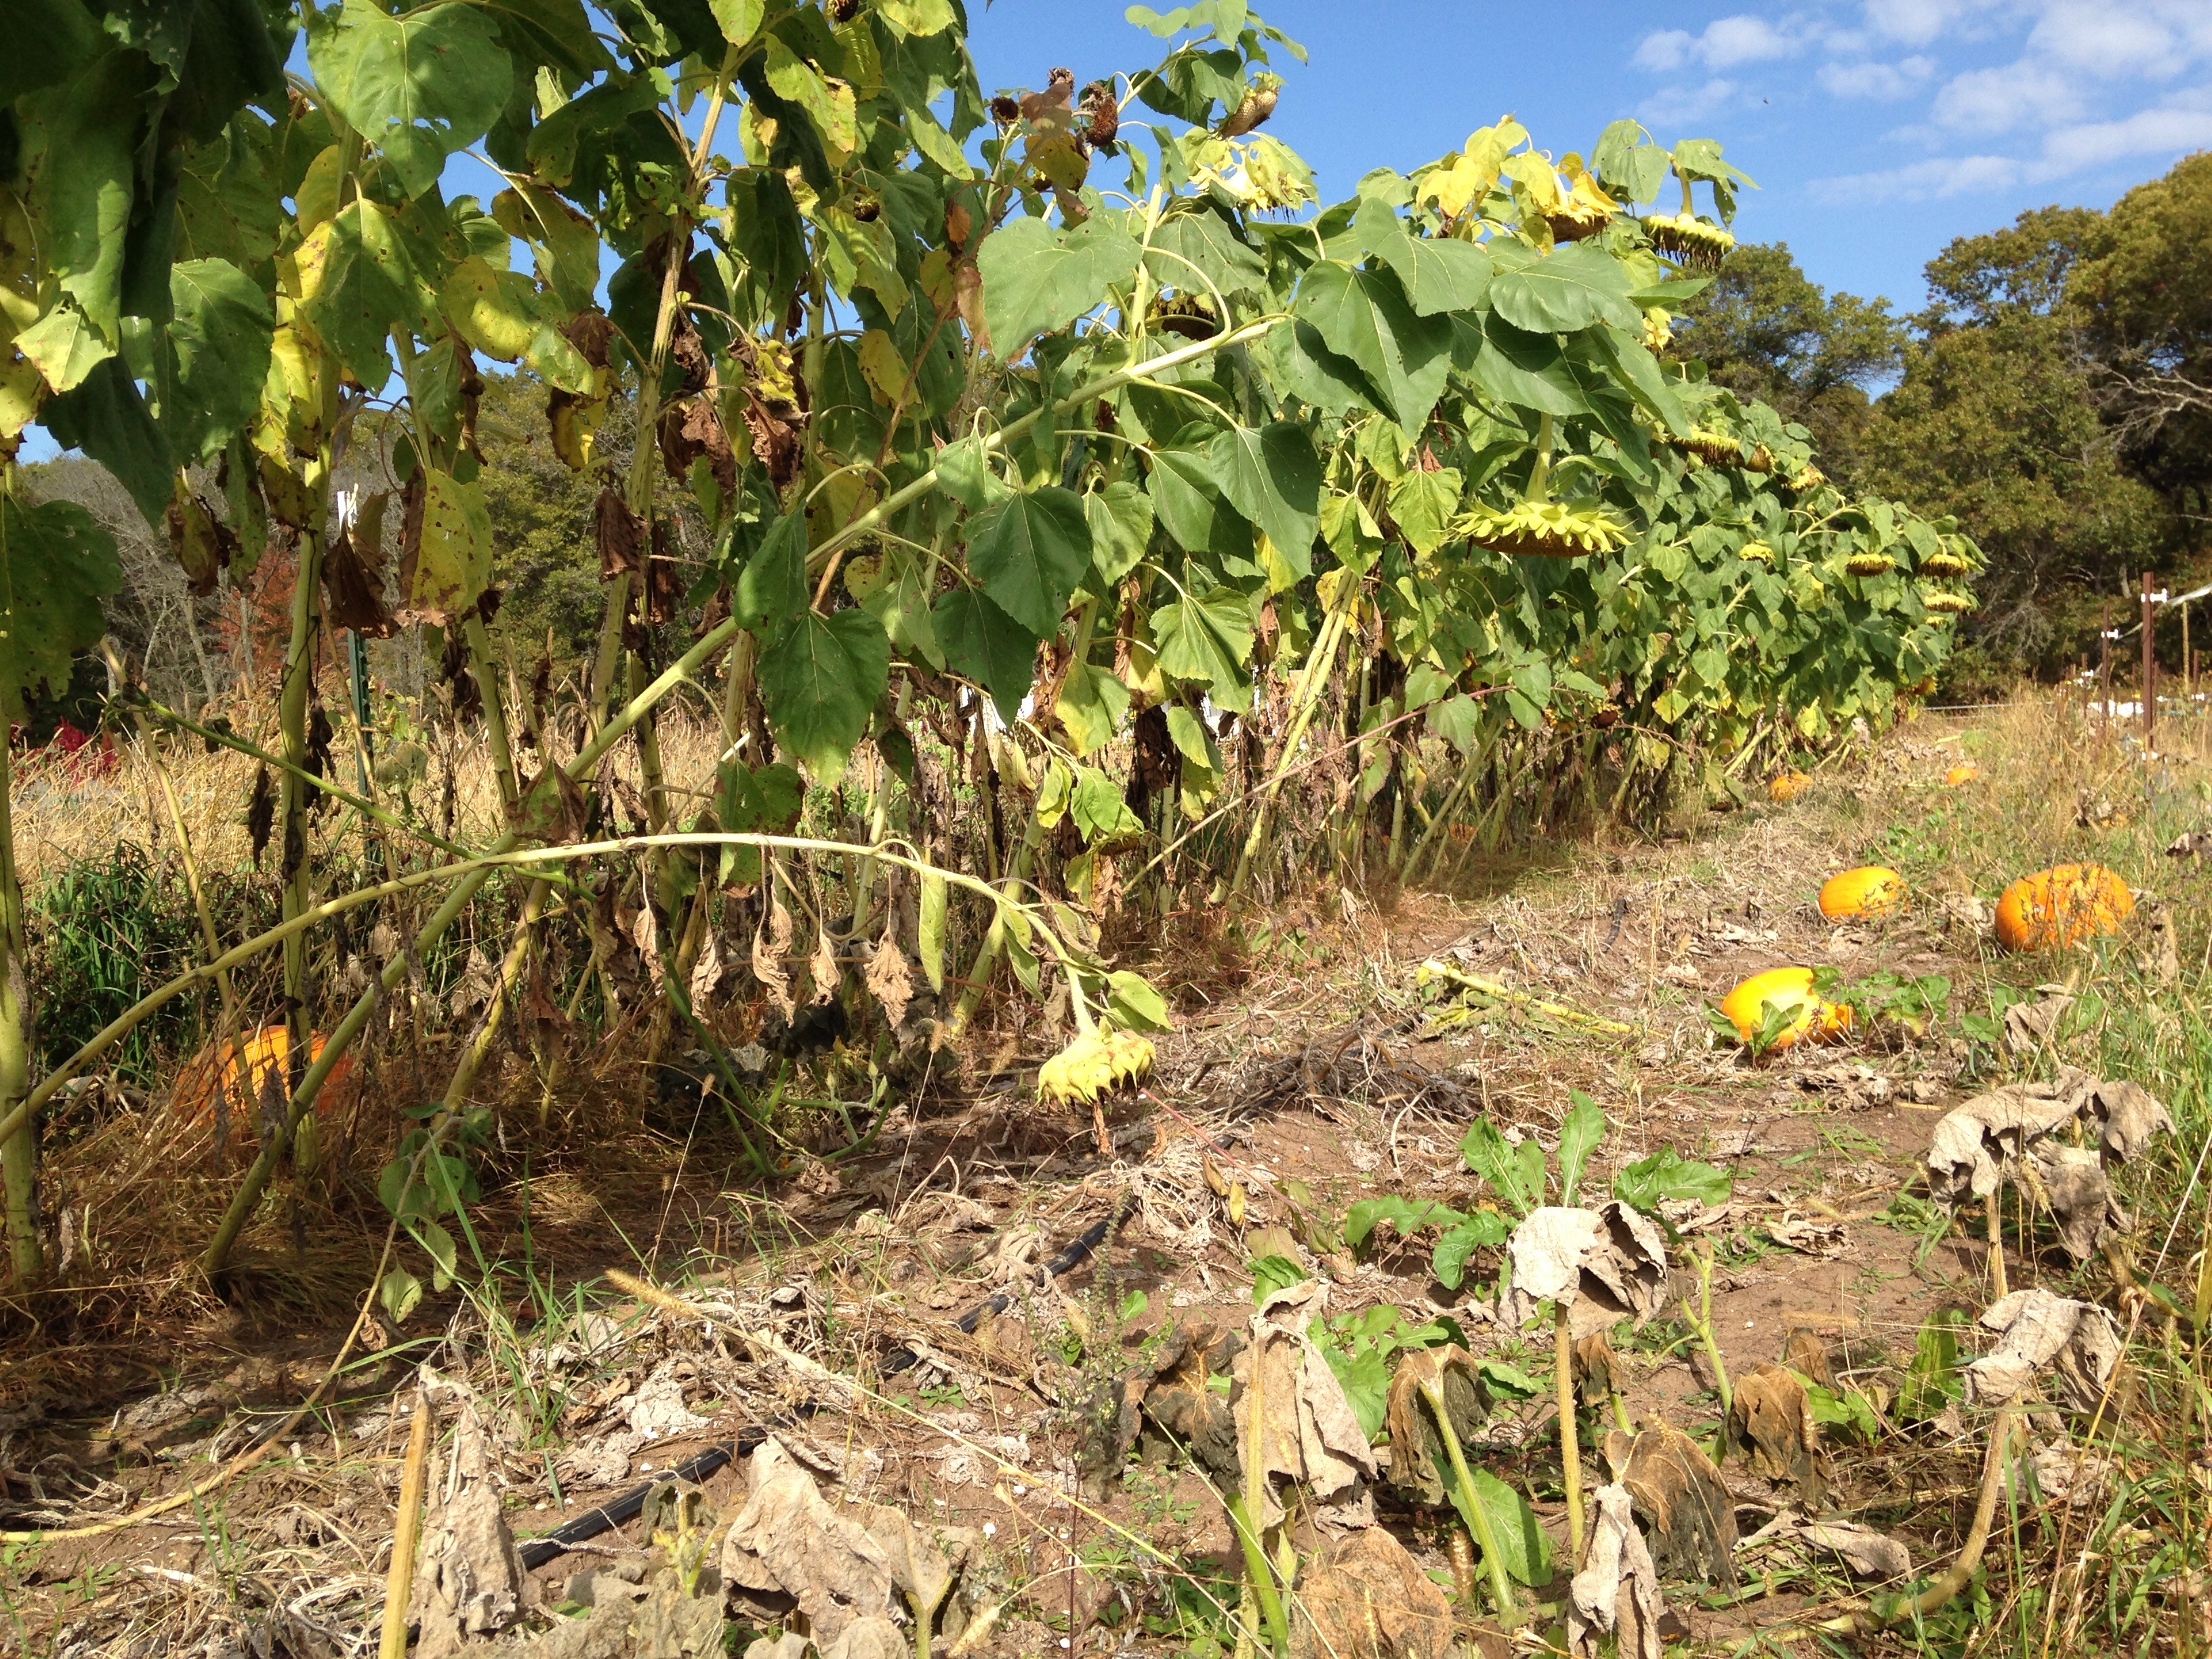
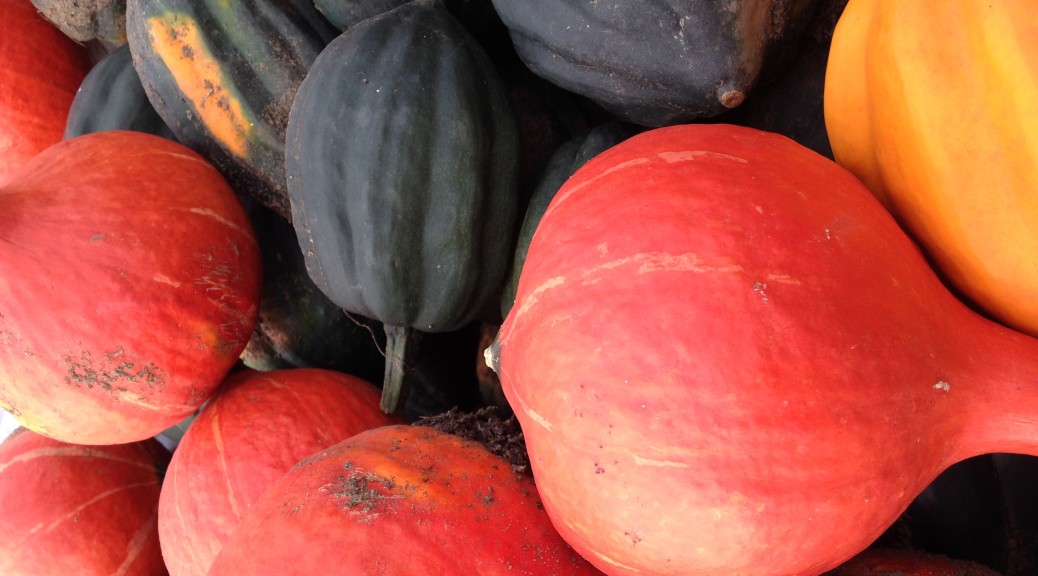
Pumpkins
Connecticut Field and Rouge Vif D’Etampes are both edible and used for making pies and other winter squash dishes. I made pickles with the Connecticut Field pumpkins last year. Some say these varieties have a lot of liquid, so I recommend roasting them, scooping out the flesh and allowing it to drain before using. Check out these recipes: http://whistlingtrainfarm.com/pumpkin-soups-from-simple-to-dramatic/
Decorative gourds
Should you eat these? No.
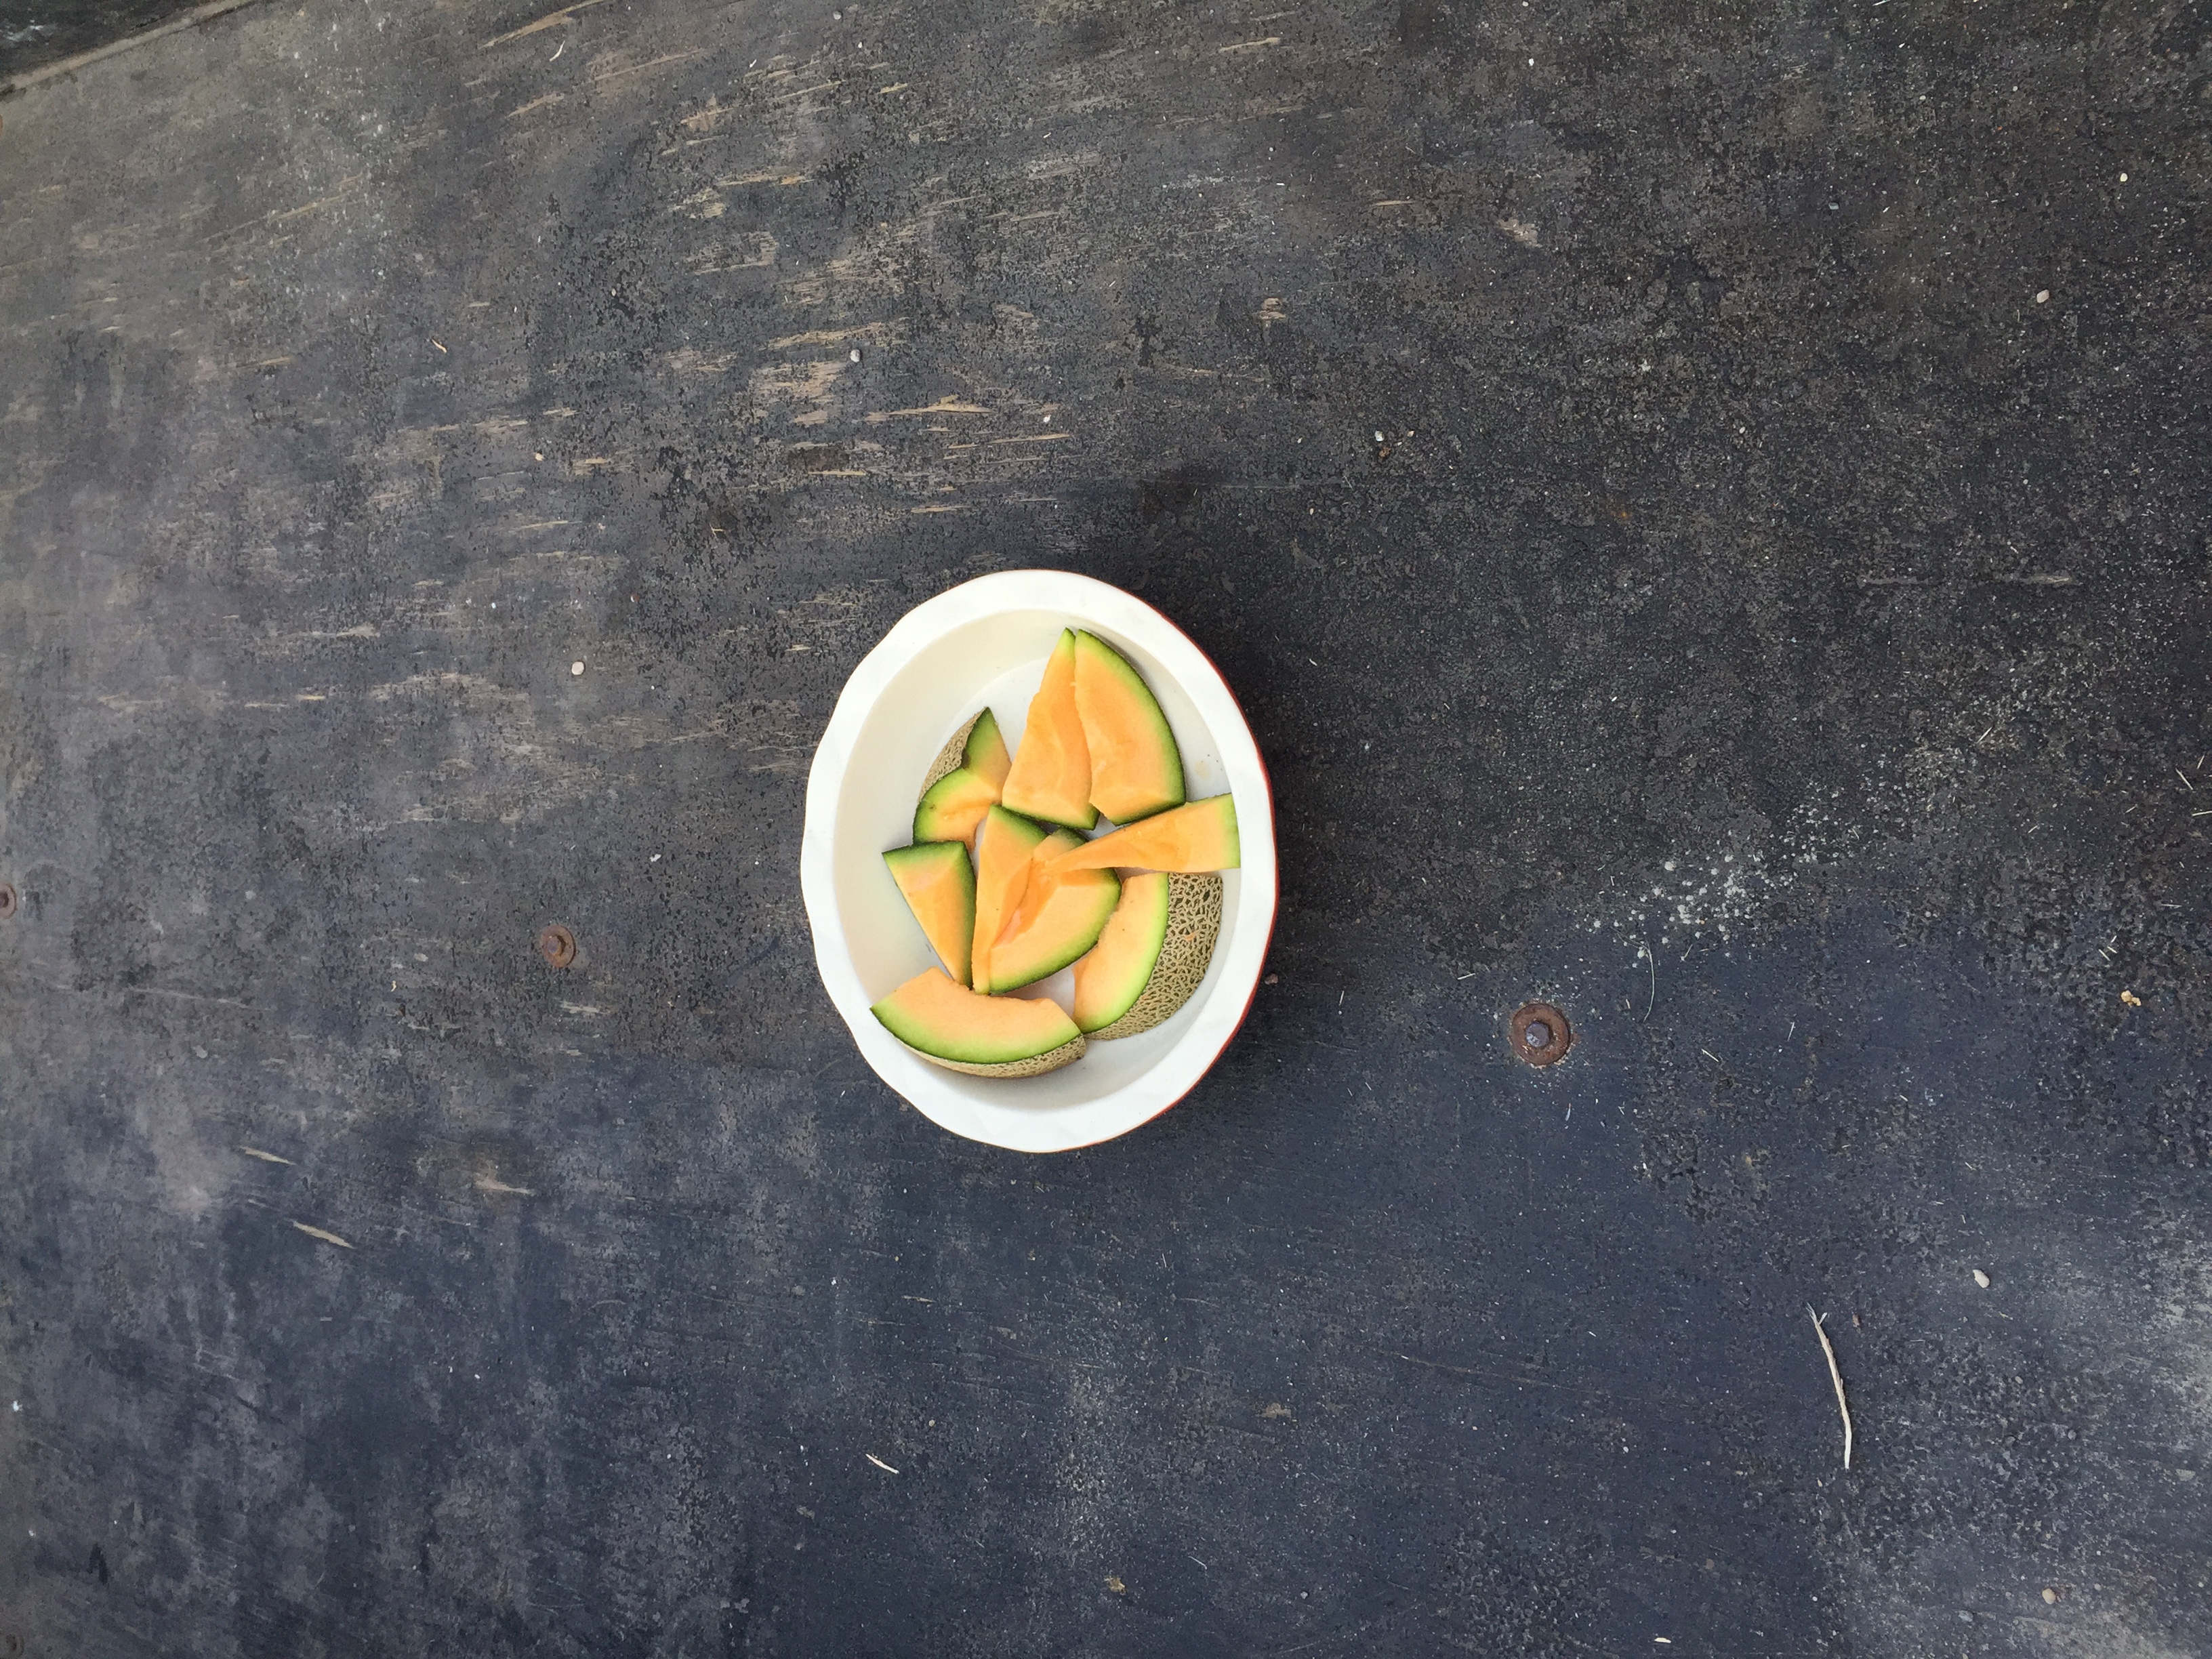
Random pics of the week:
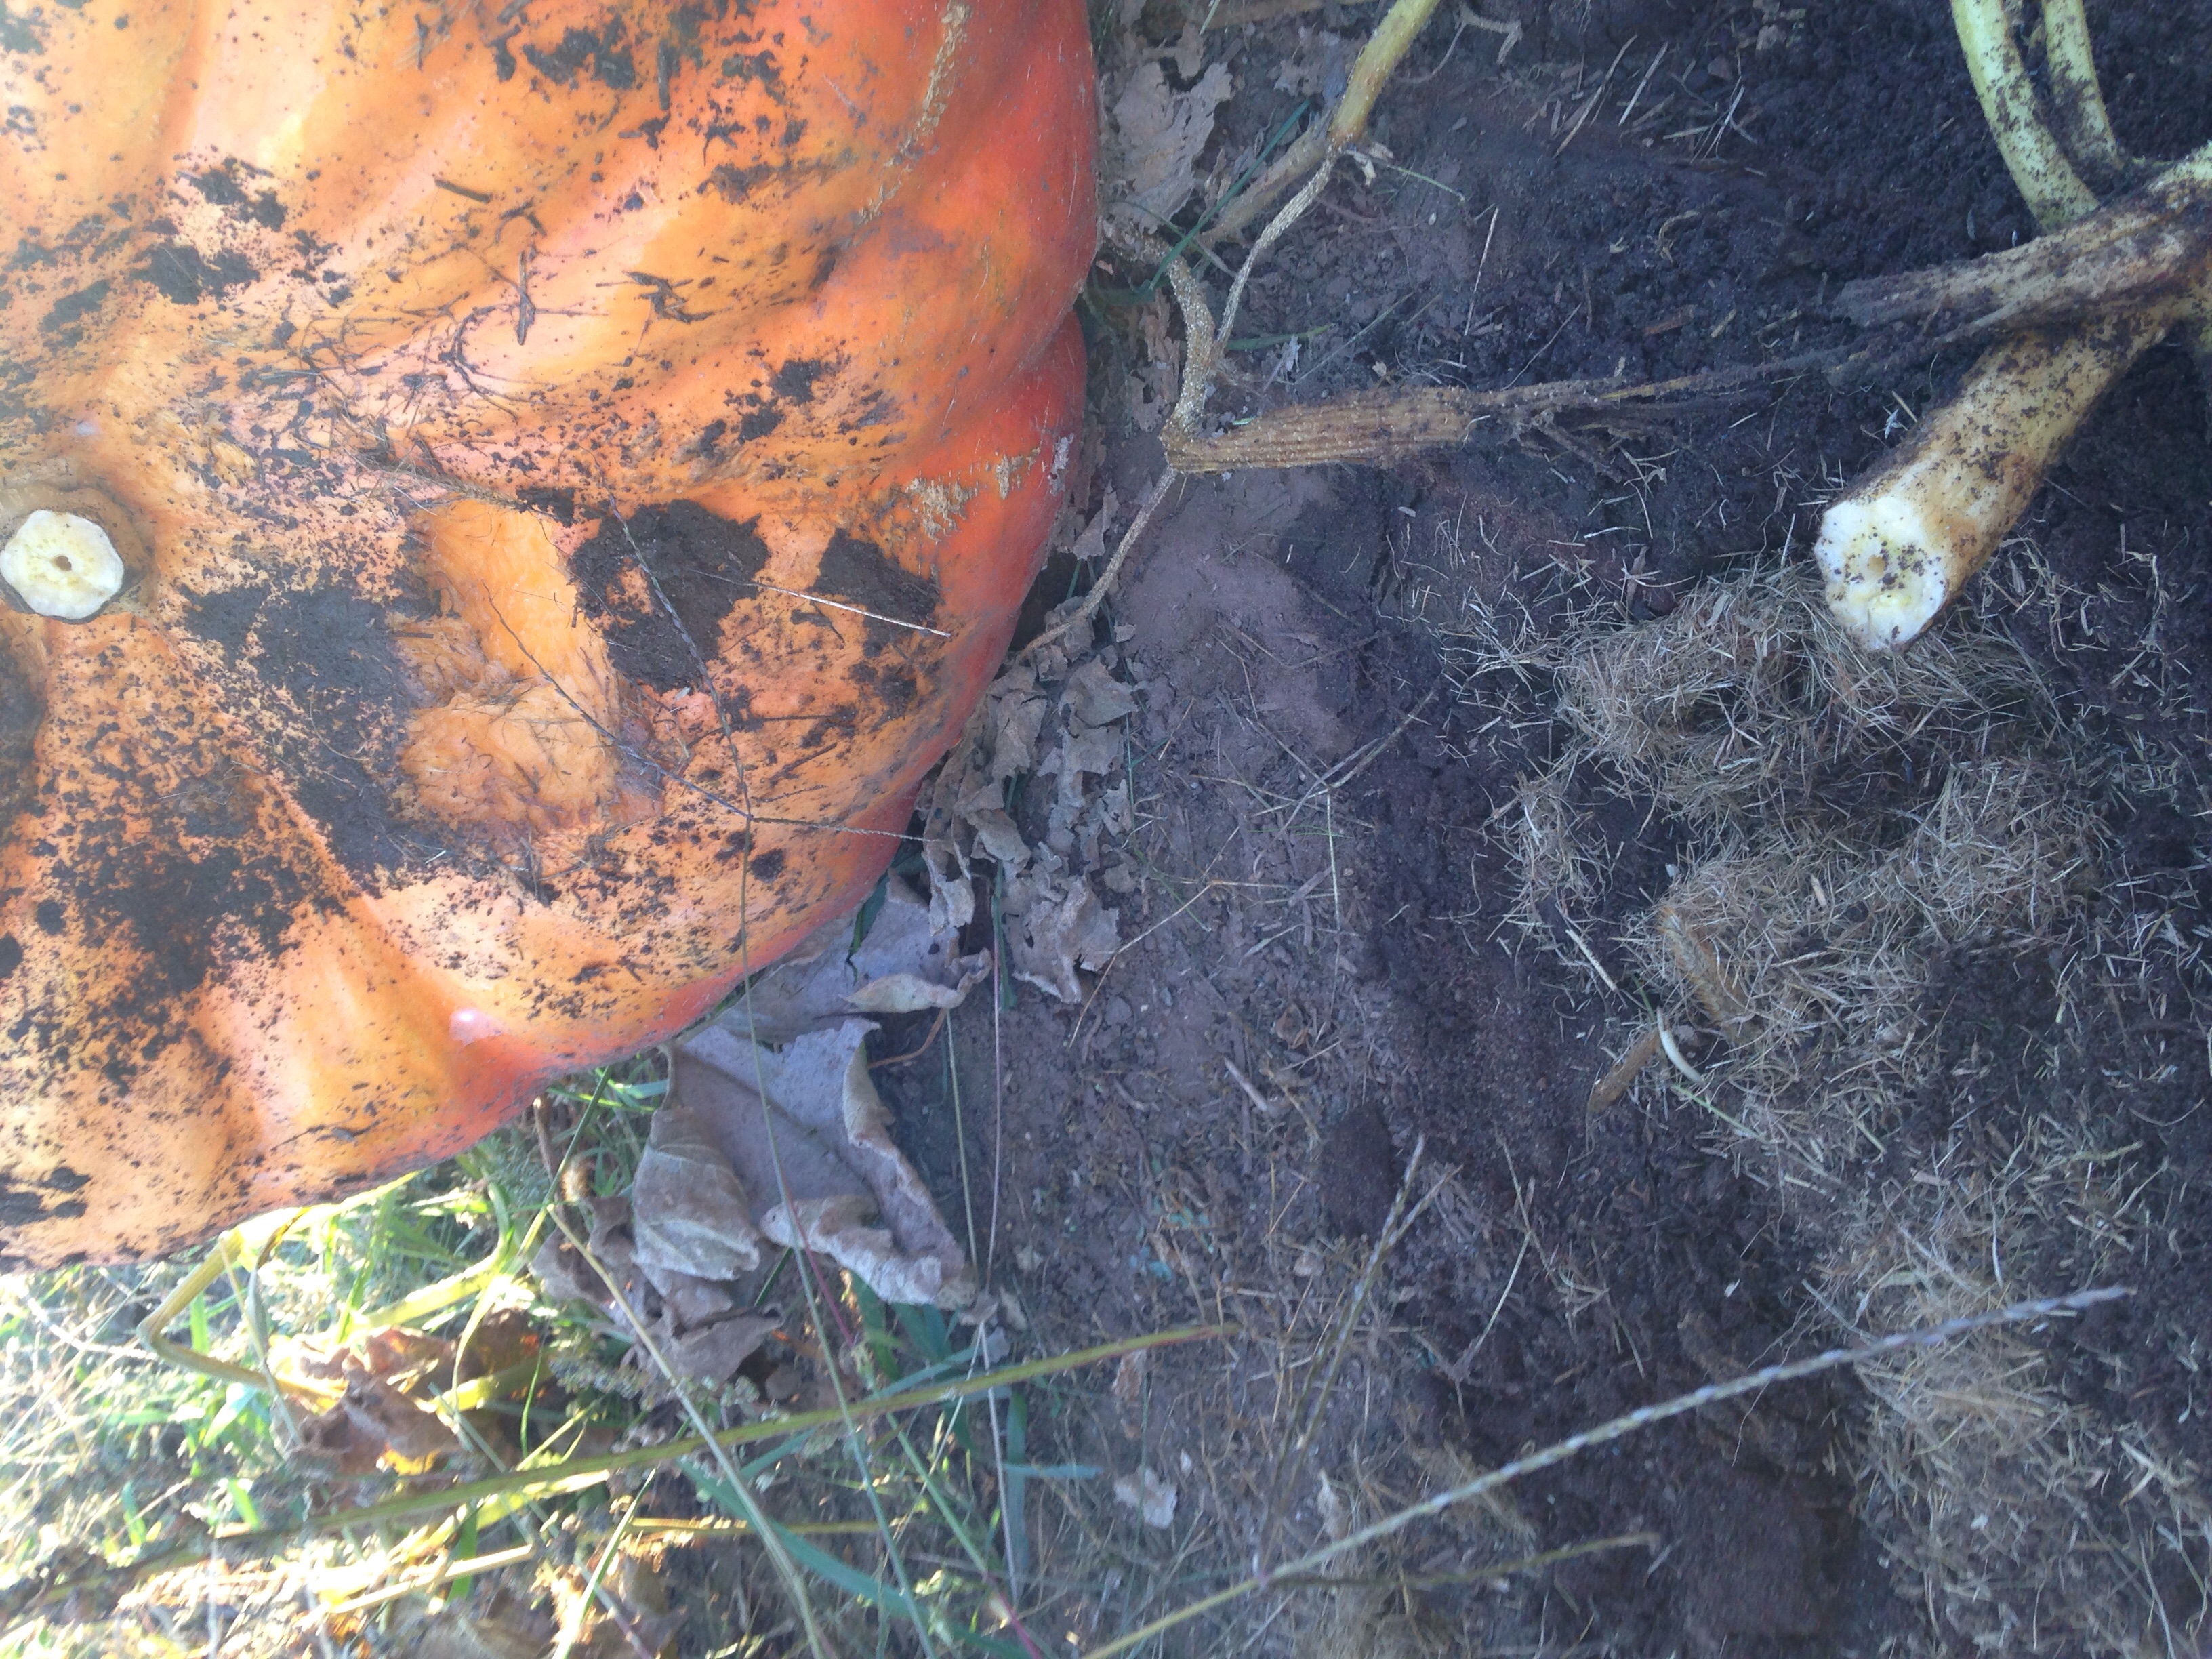
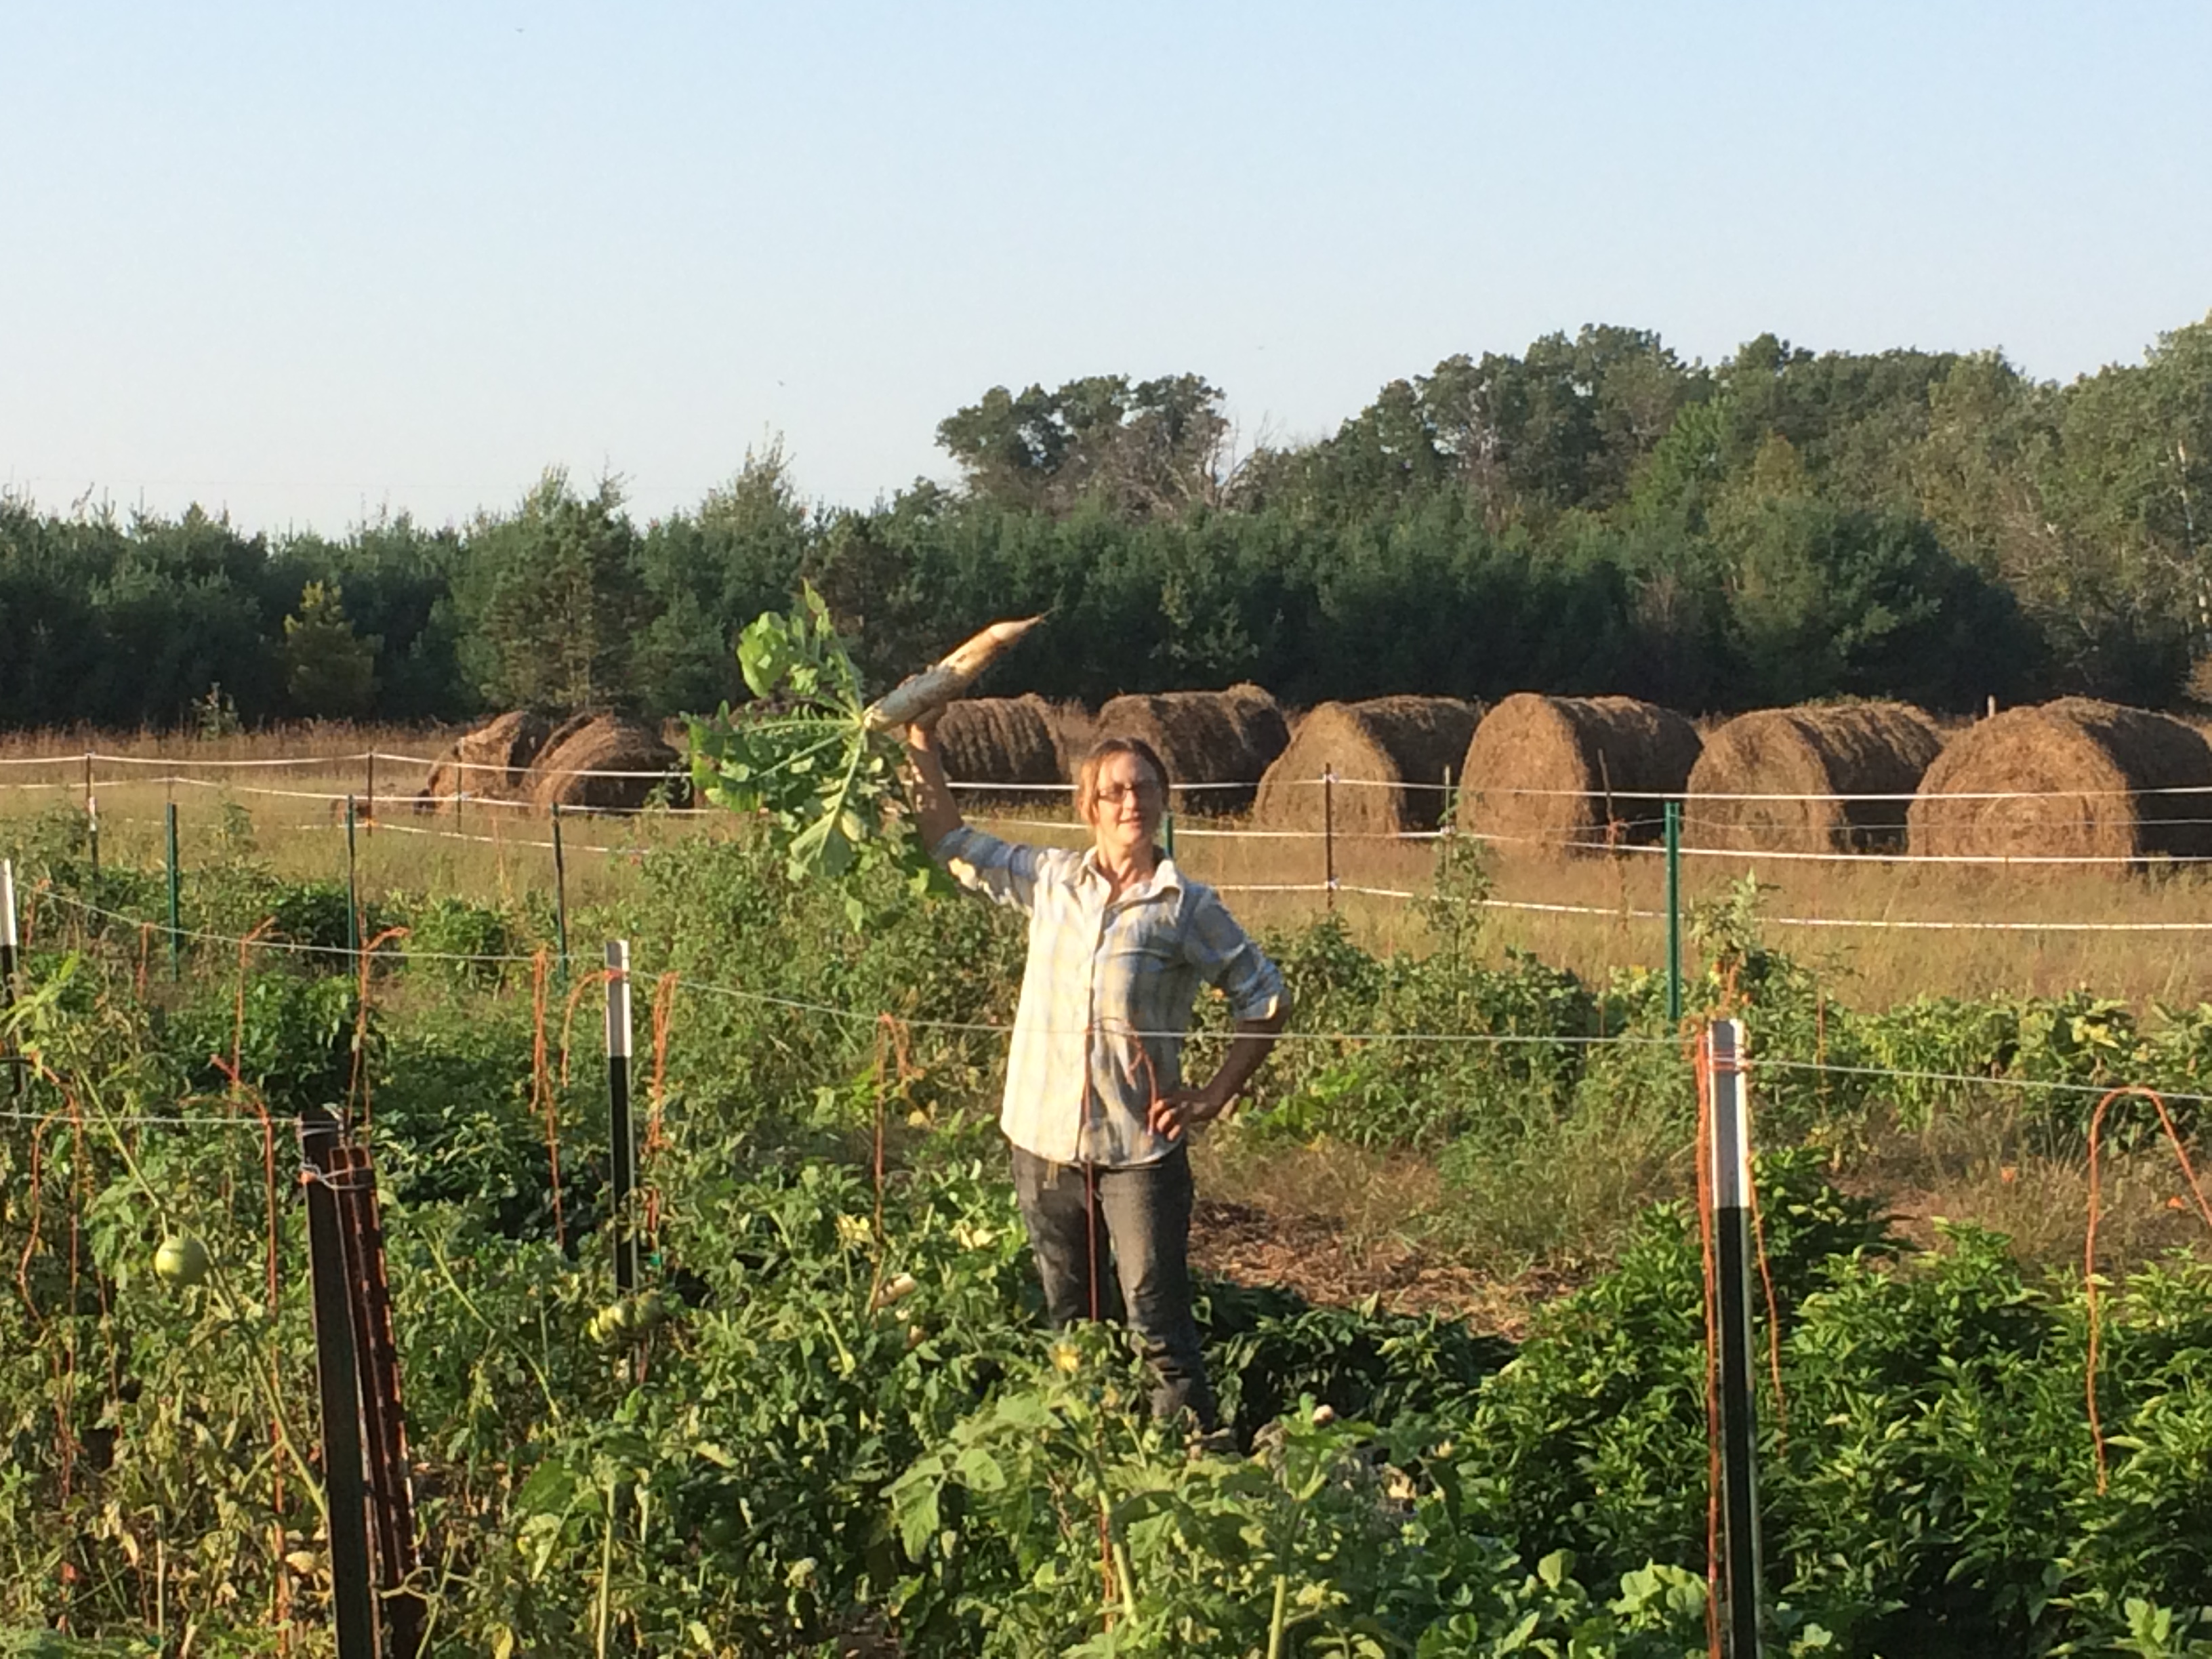
the biggest pumpkin in the patch ….… had a vole nest tunneled beneath it – where they’d lived safely beneath edible protection.
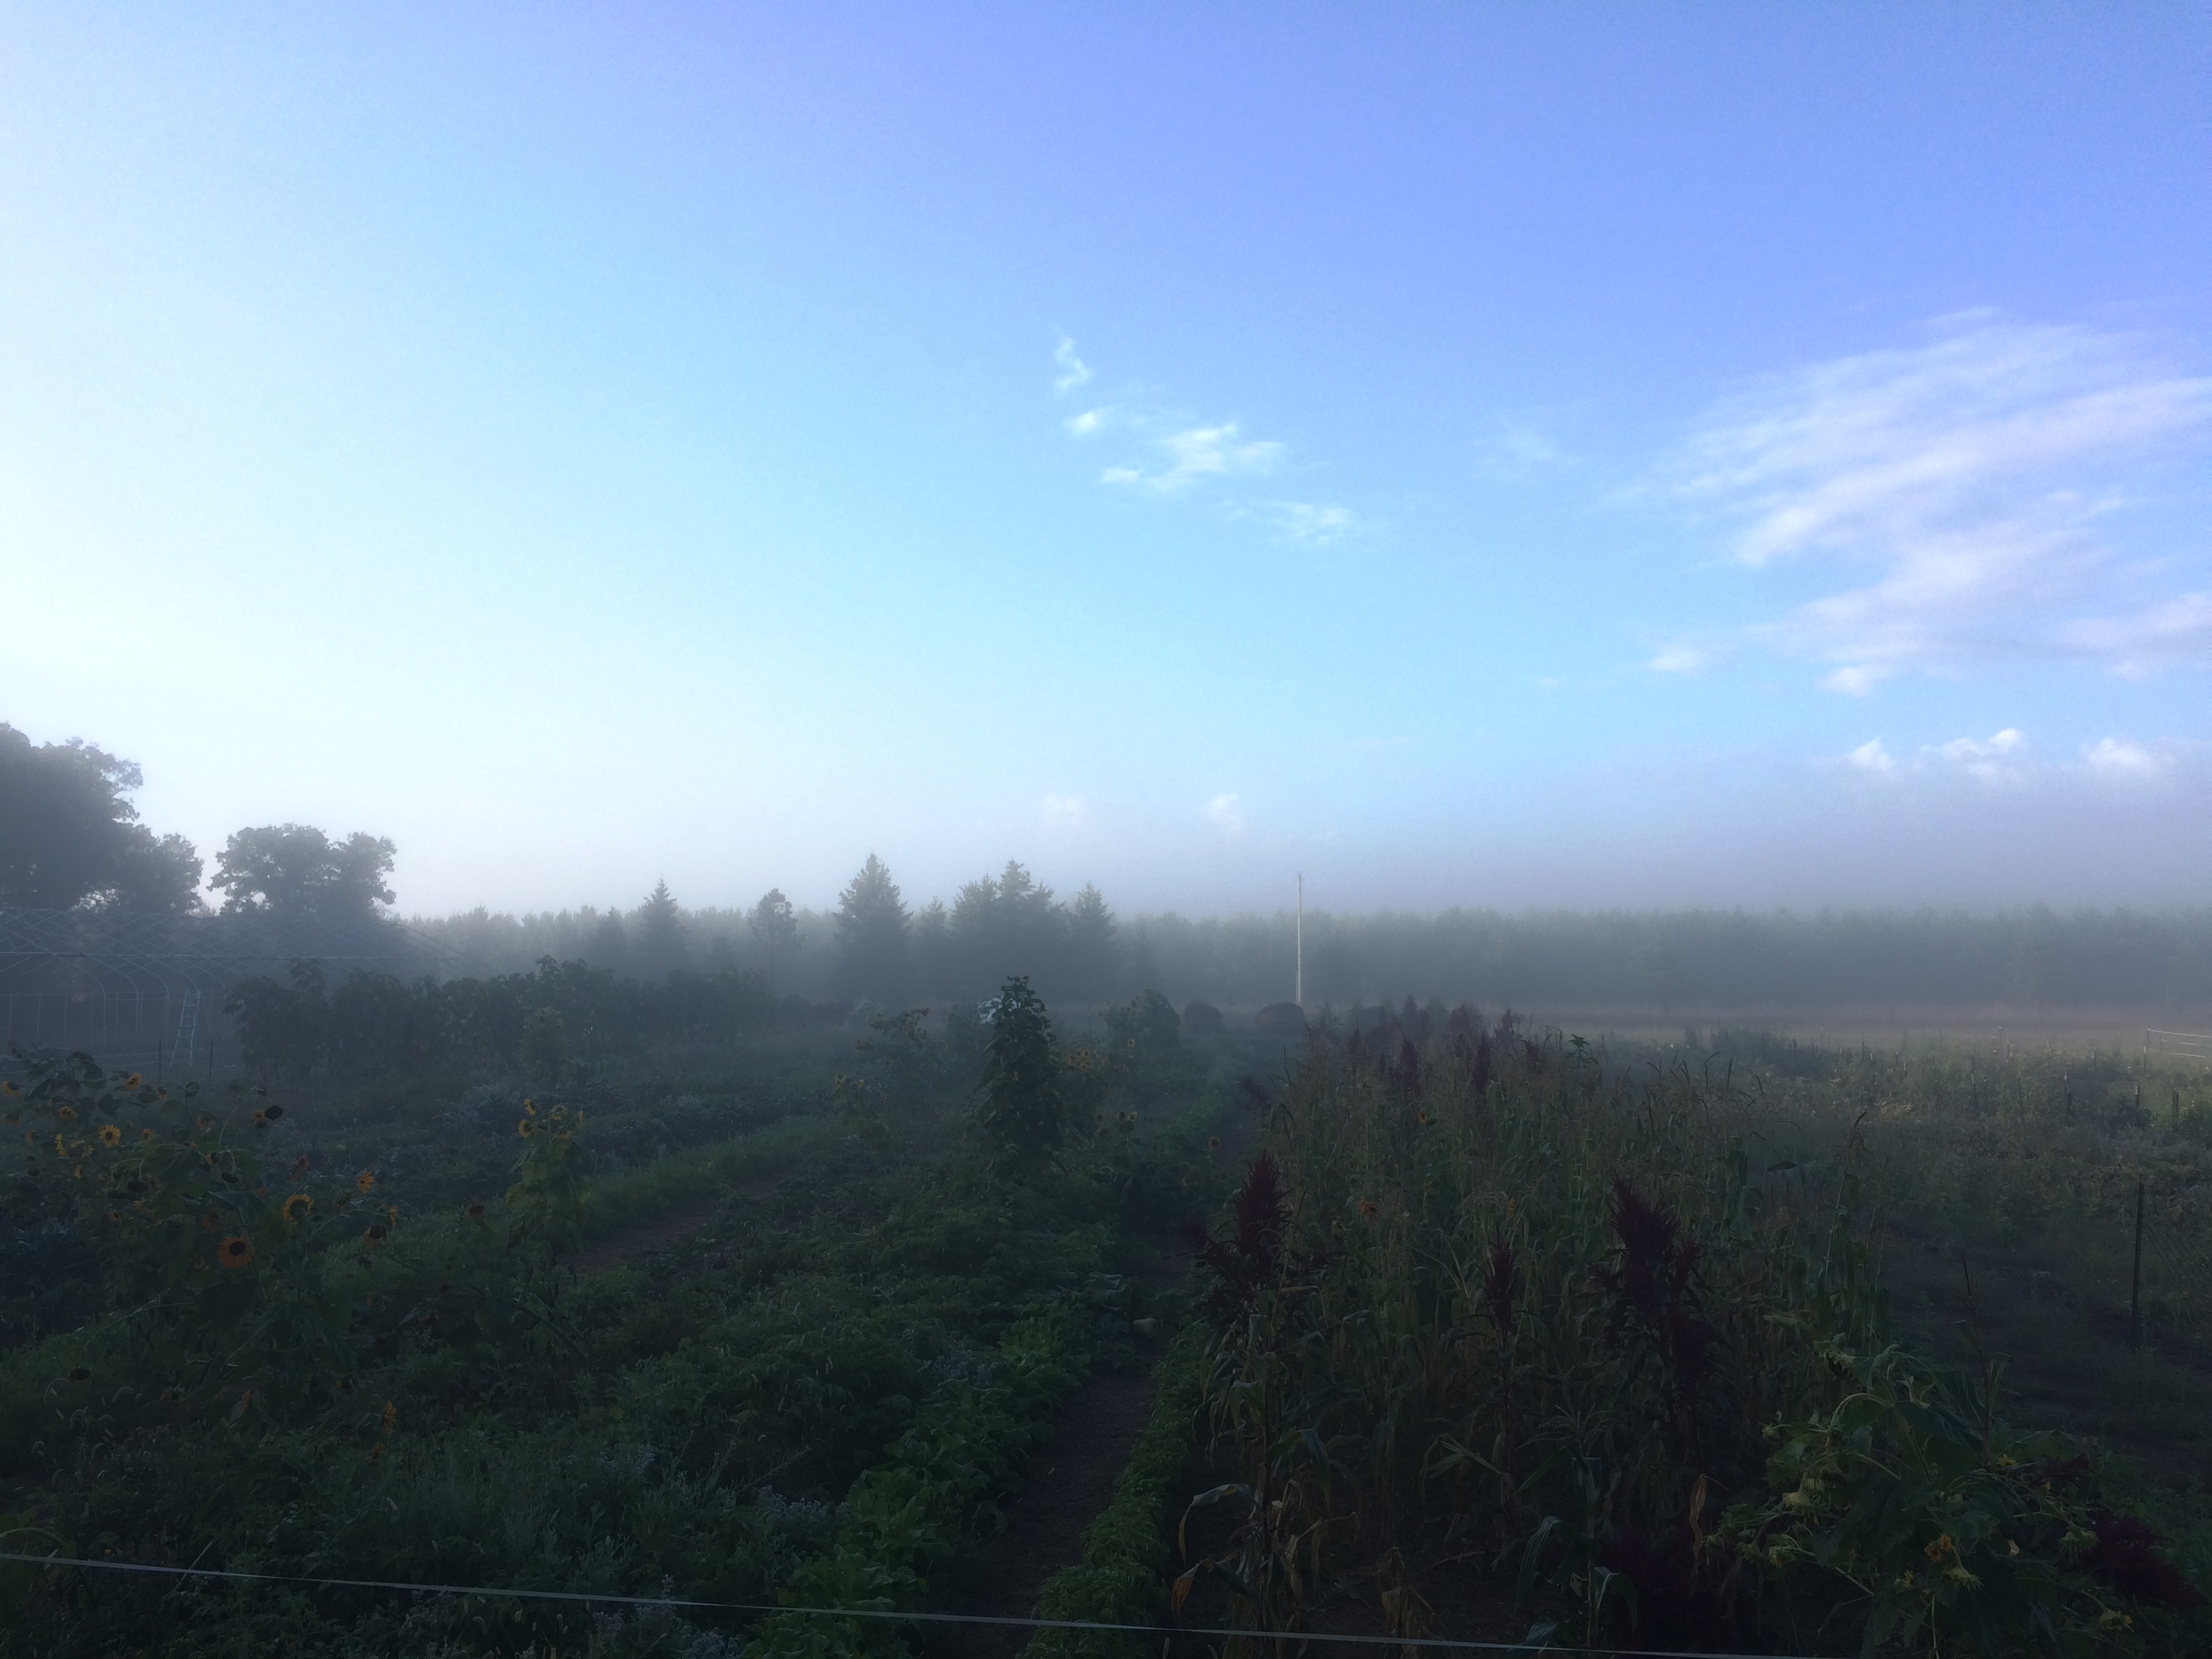
The week began warmly, with the first official day of Fall reaching almost 80 degrees – and it ended frostily, with a freeze last night, after the CSA harvest.
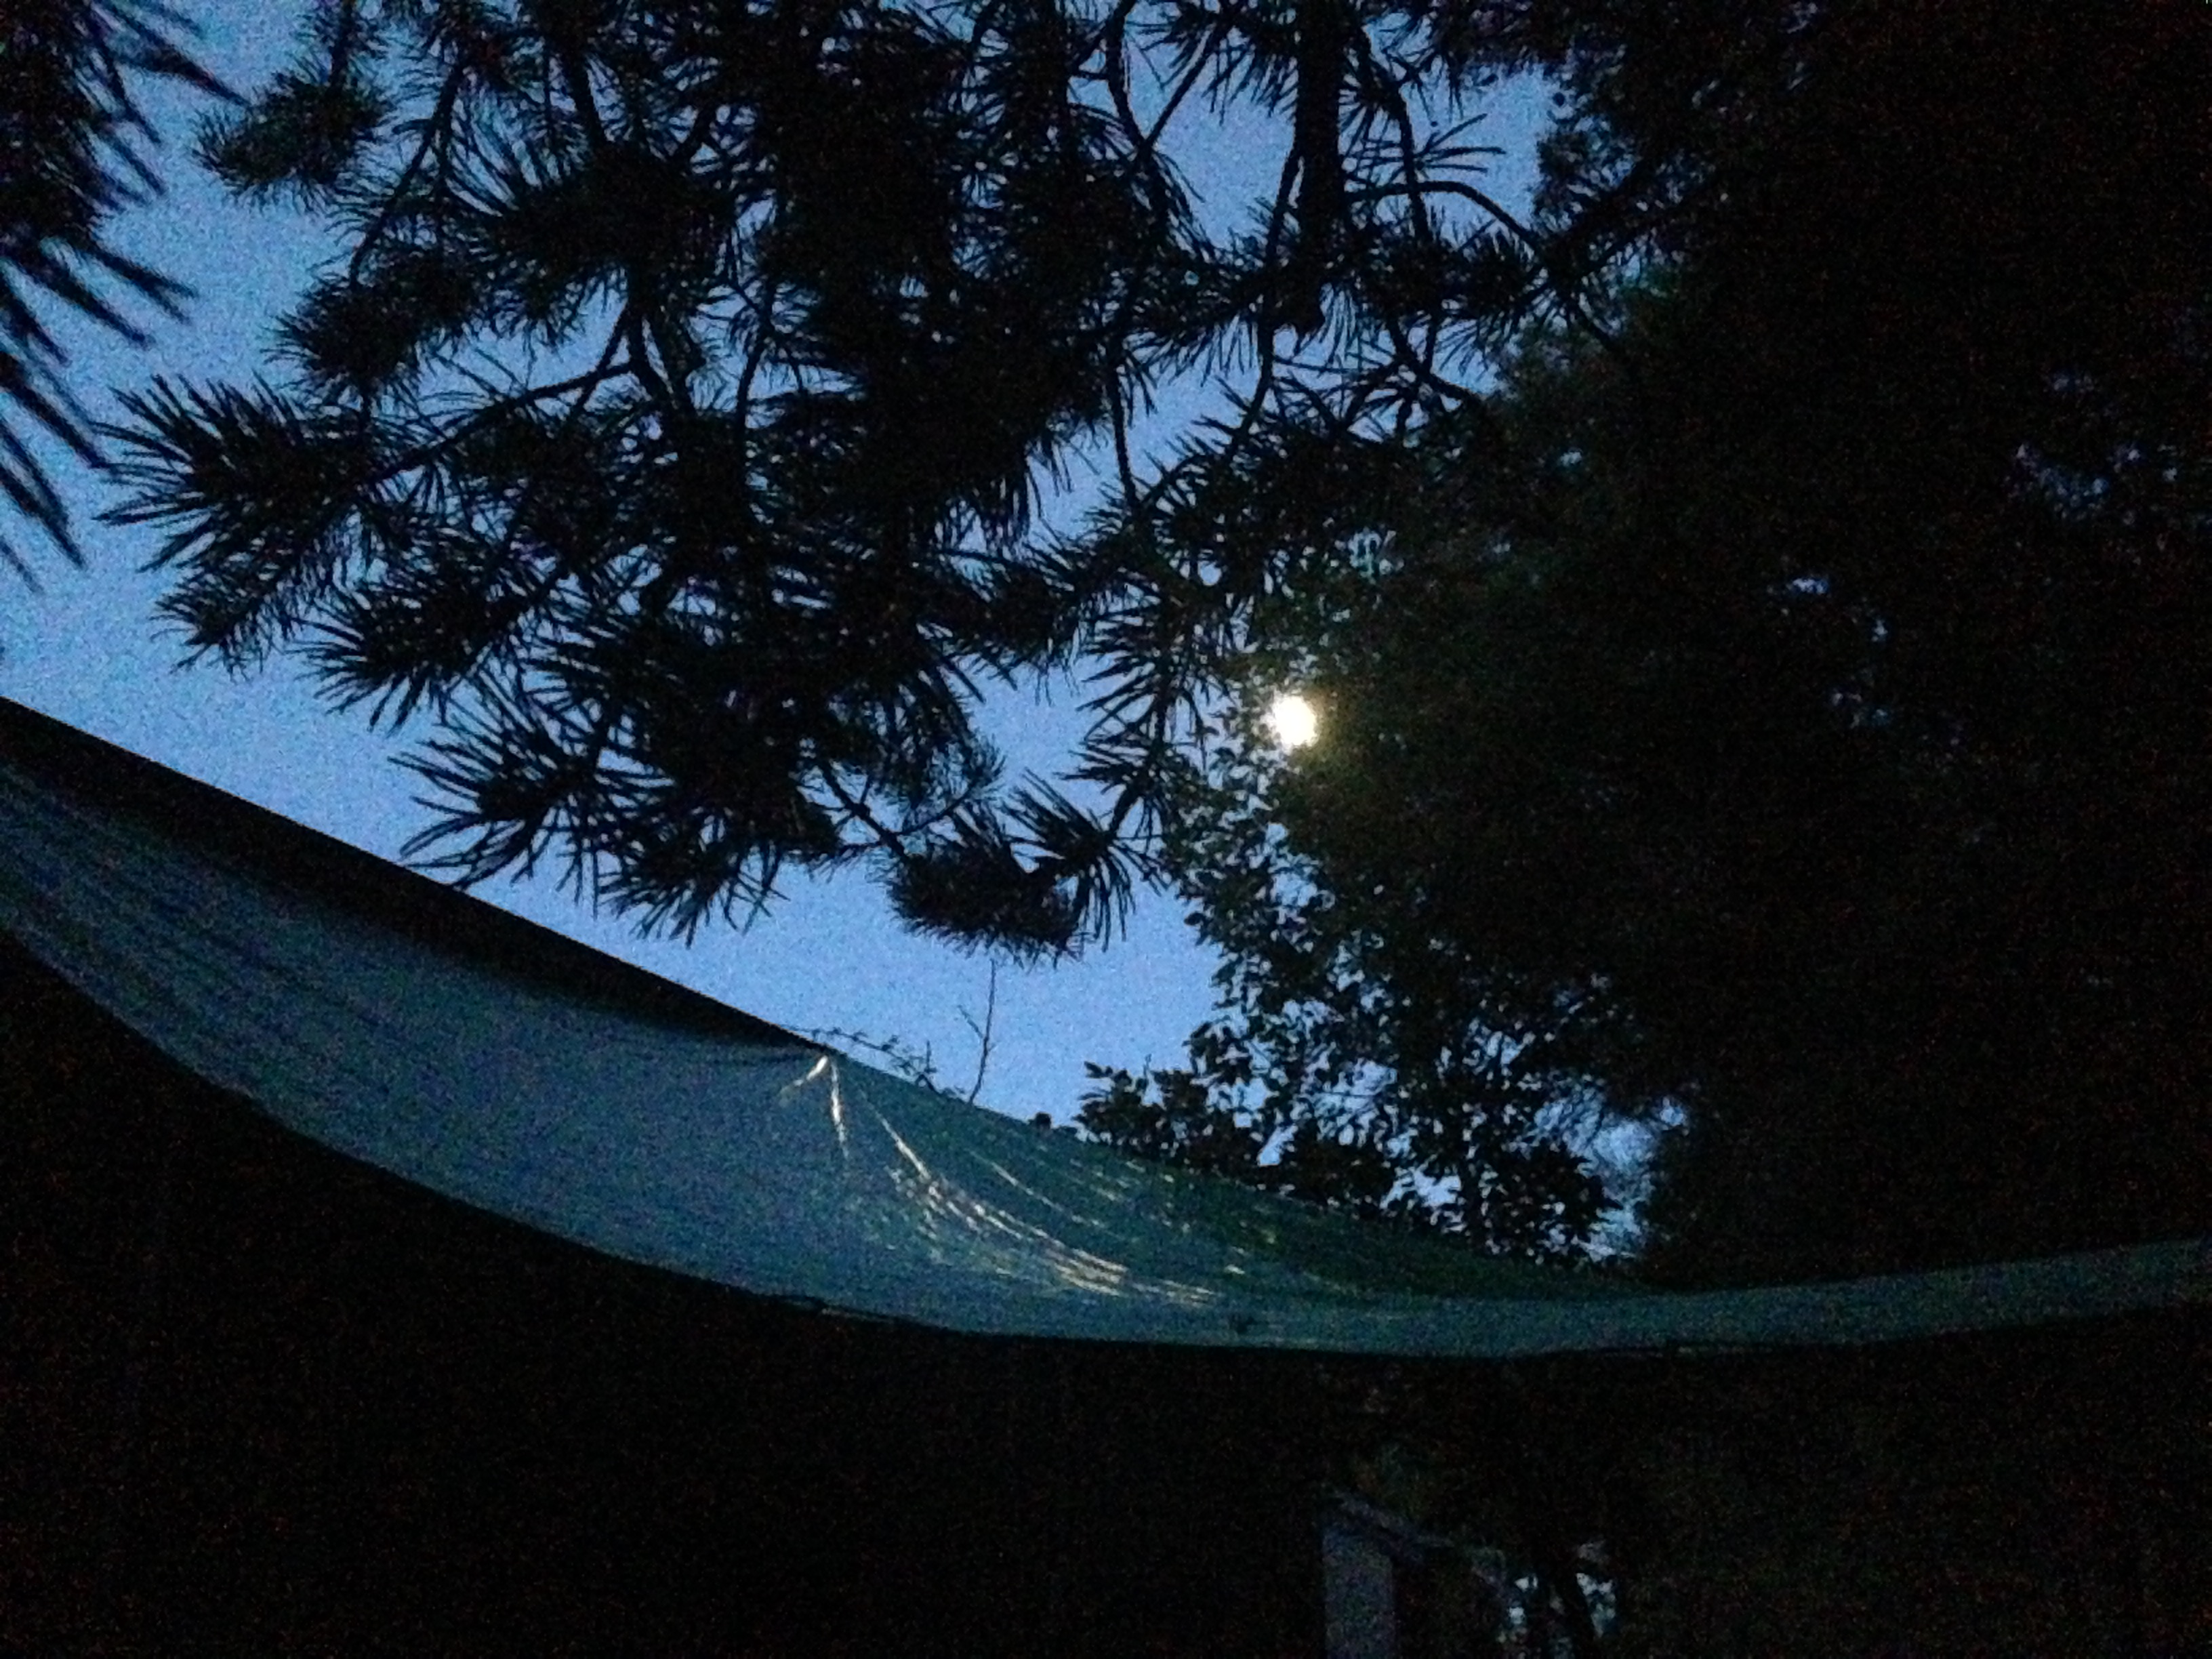
full moon over the processing area
We haven’t been back to the Farm to take stock of the impact (and I’m sad we missed getting the traditional beautifully-melancholy photos of the first frost crystals on the field), but it sounds like we probably dropped down to at least 30 degrees, so many of the plants will be done for the year.
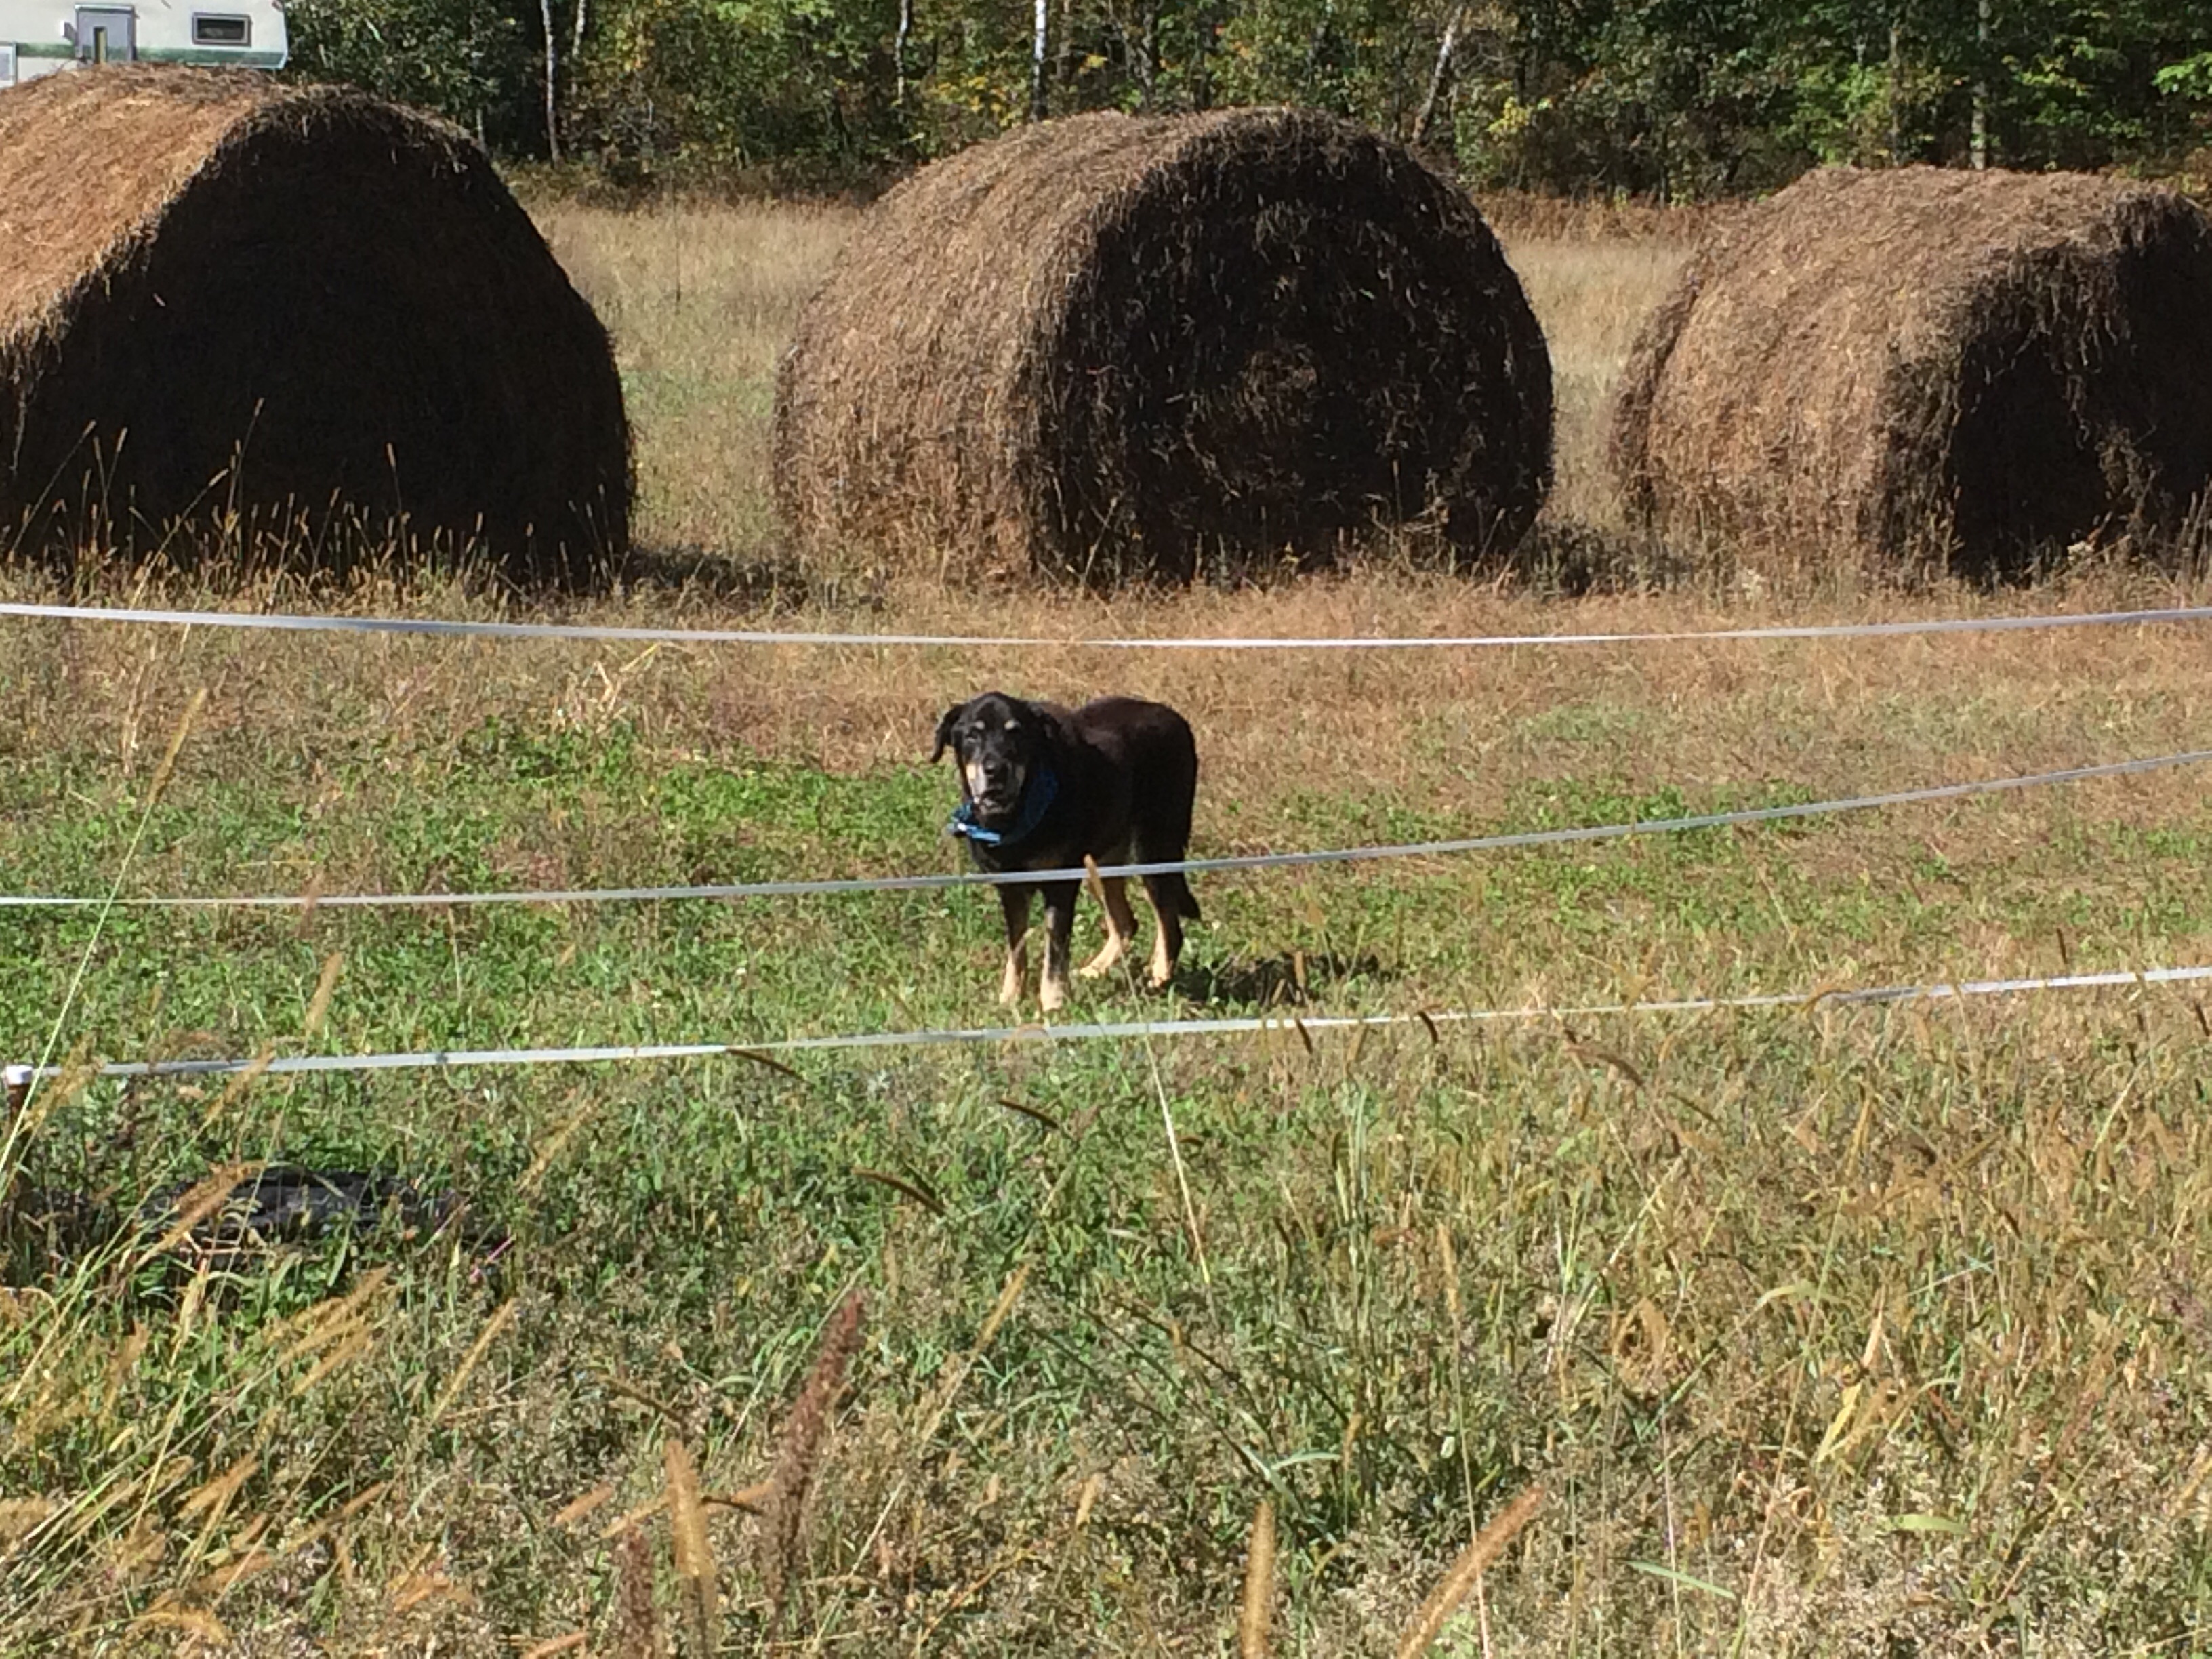
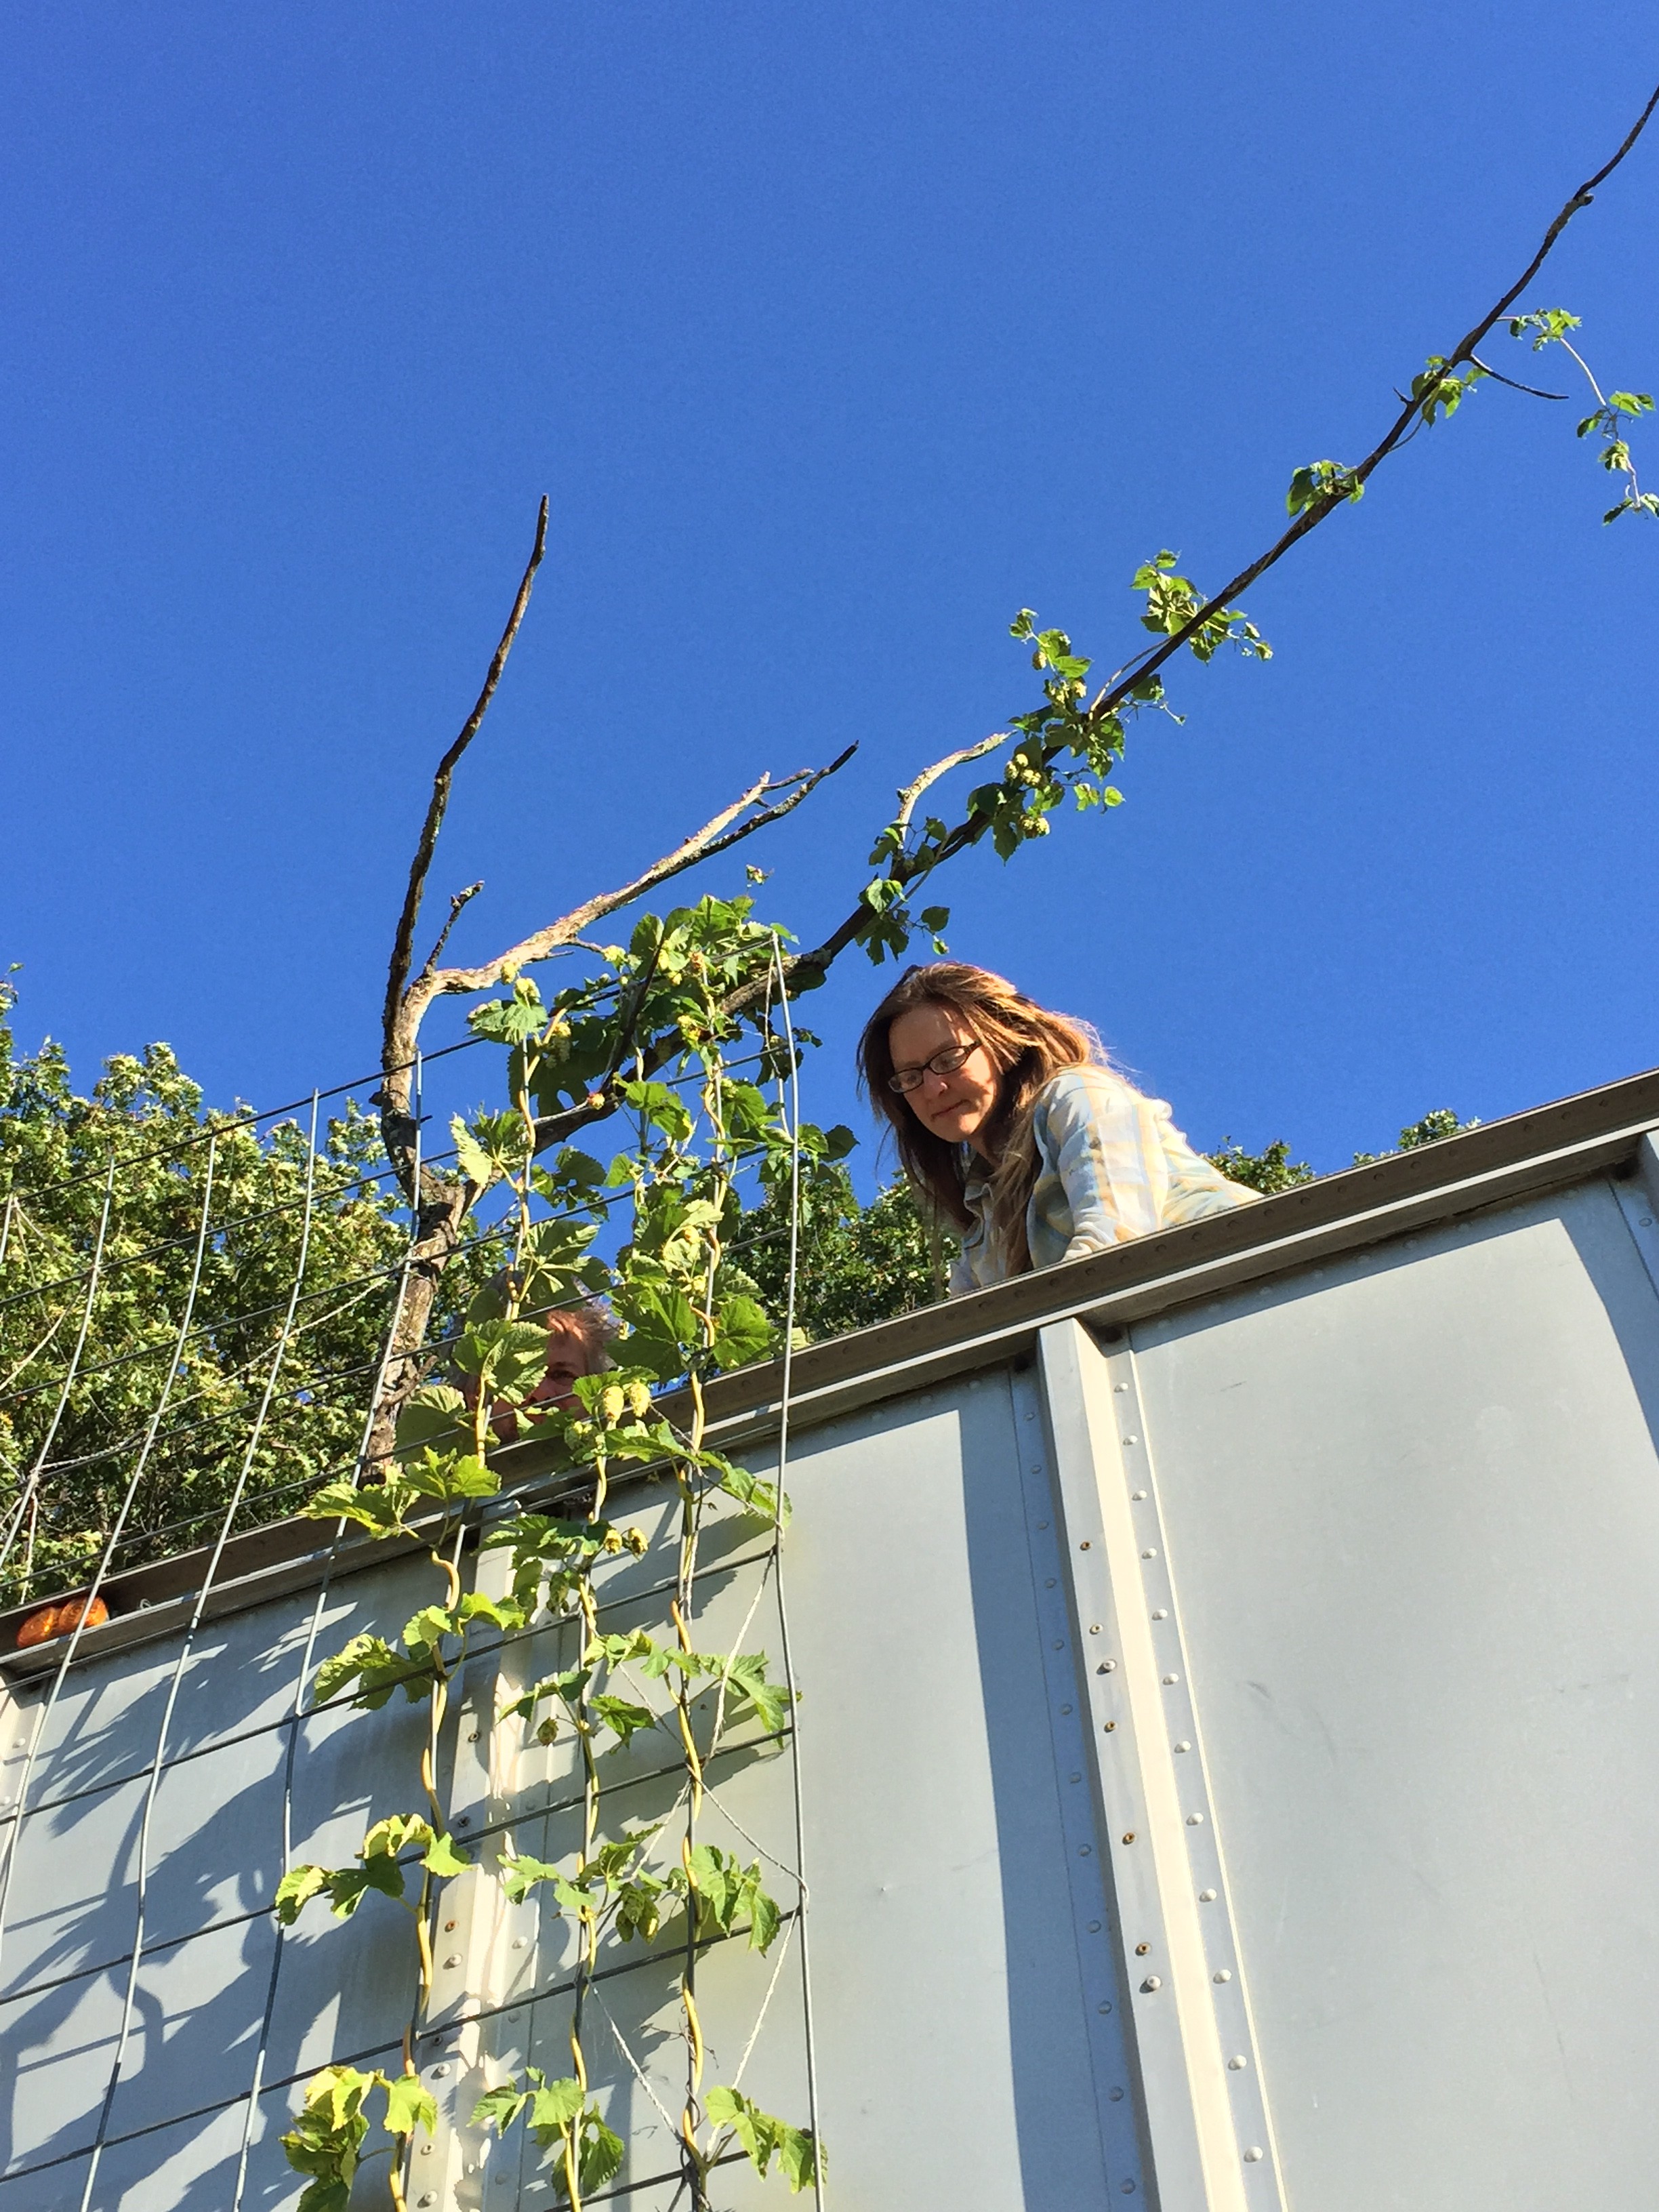
old Cleo can’t get around easily at 15, but she still follows us around the outside of the field and keeps an eye on us – here, watching us cover up pepper plants
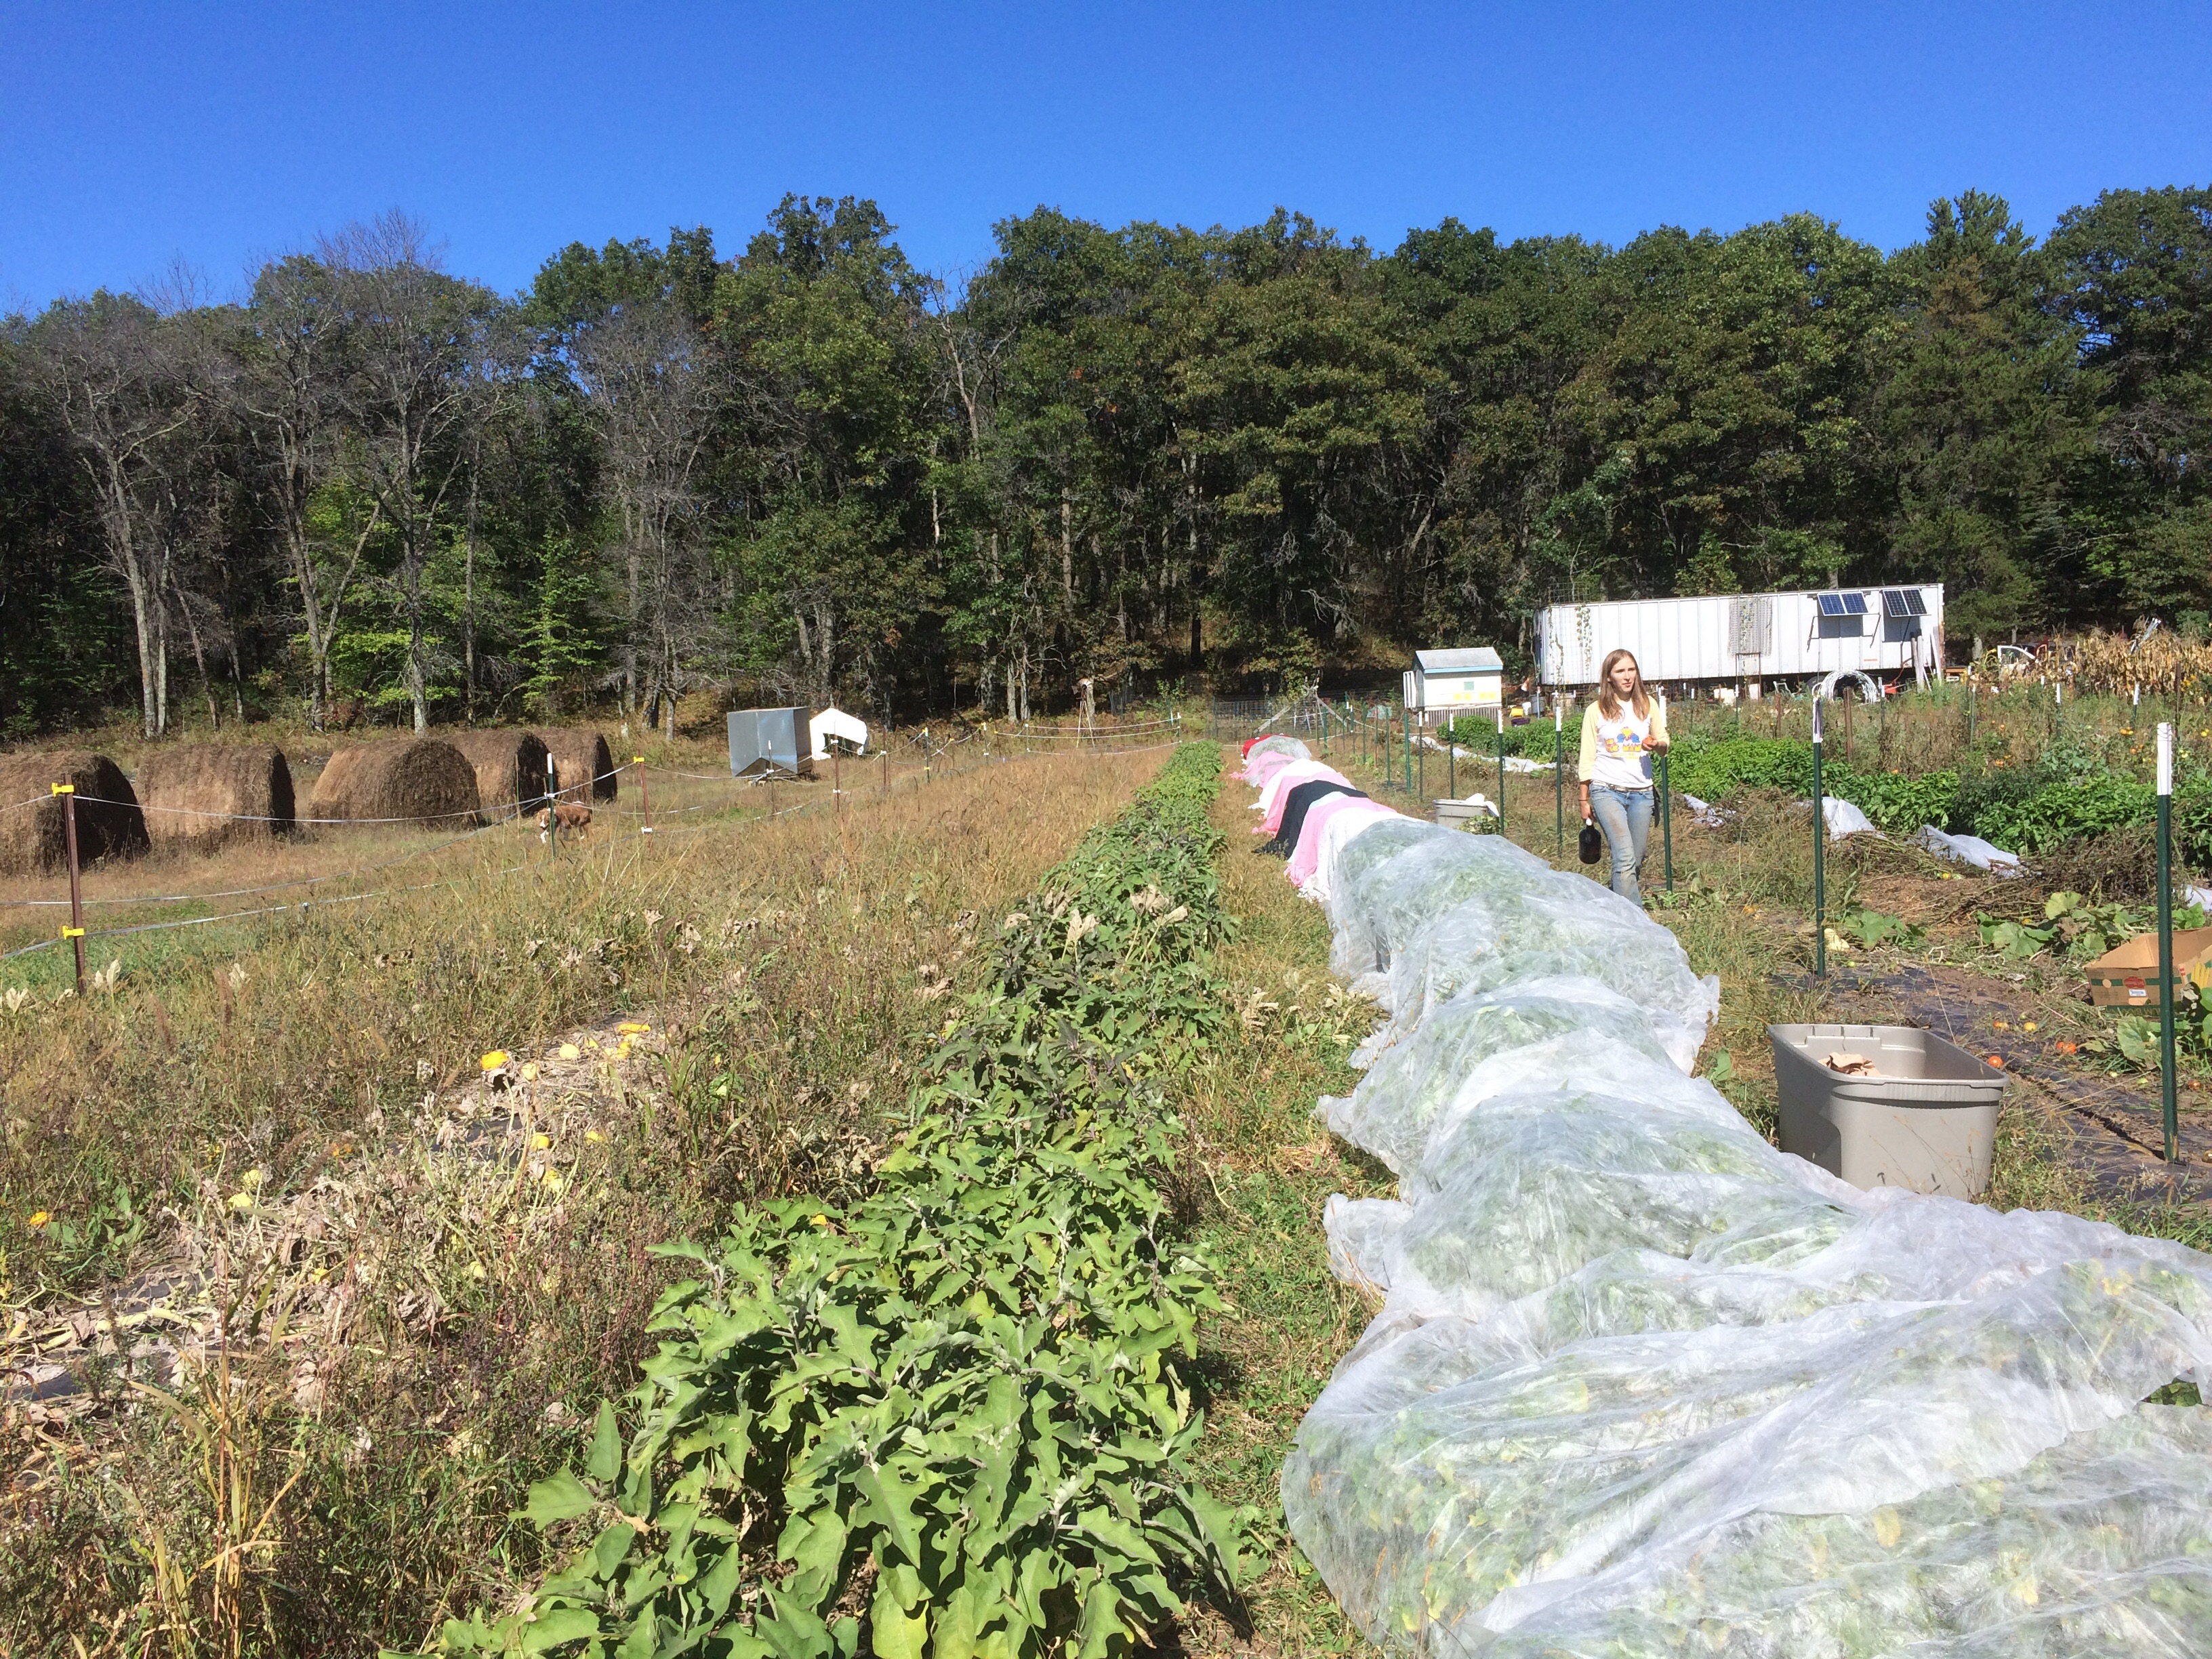
Thankfully, the cold-sensitive tomatoes and basil were already kaput, we’d just harvested the last of the eggplant, and before we left to deliver boxes we covered up 400 feet of late-bloomer pepper plants with a gypsy assortment of bedsheets and used row cover material.
As the plants slowed down, the workload didn’t – although last week was a pleasantly relaxing lull as the seasonal gears shifted, this week brought the reality of new work crashing home.
All week I’ve awakened (usually around 4am, and then again when the sun came up) with anxious awareness of just how much work there is to do before we head south for Winter – and how little time there is before that happens …
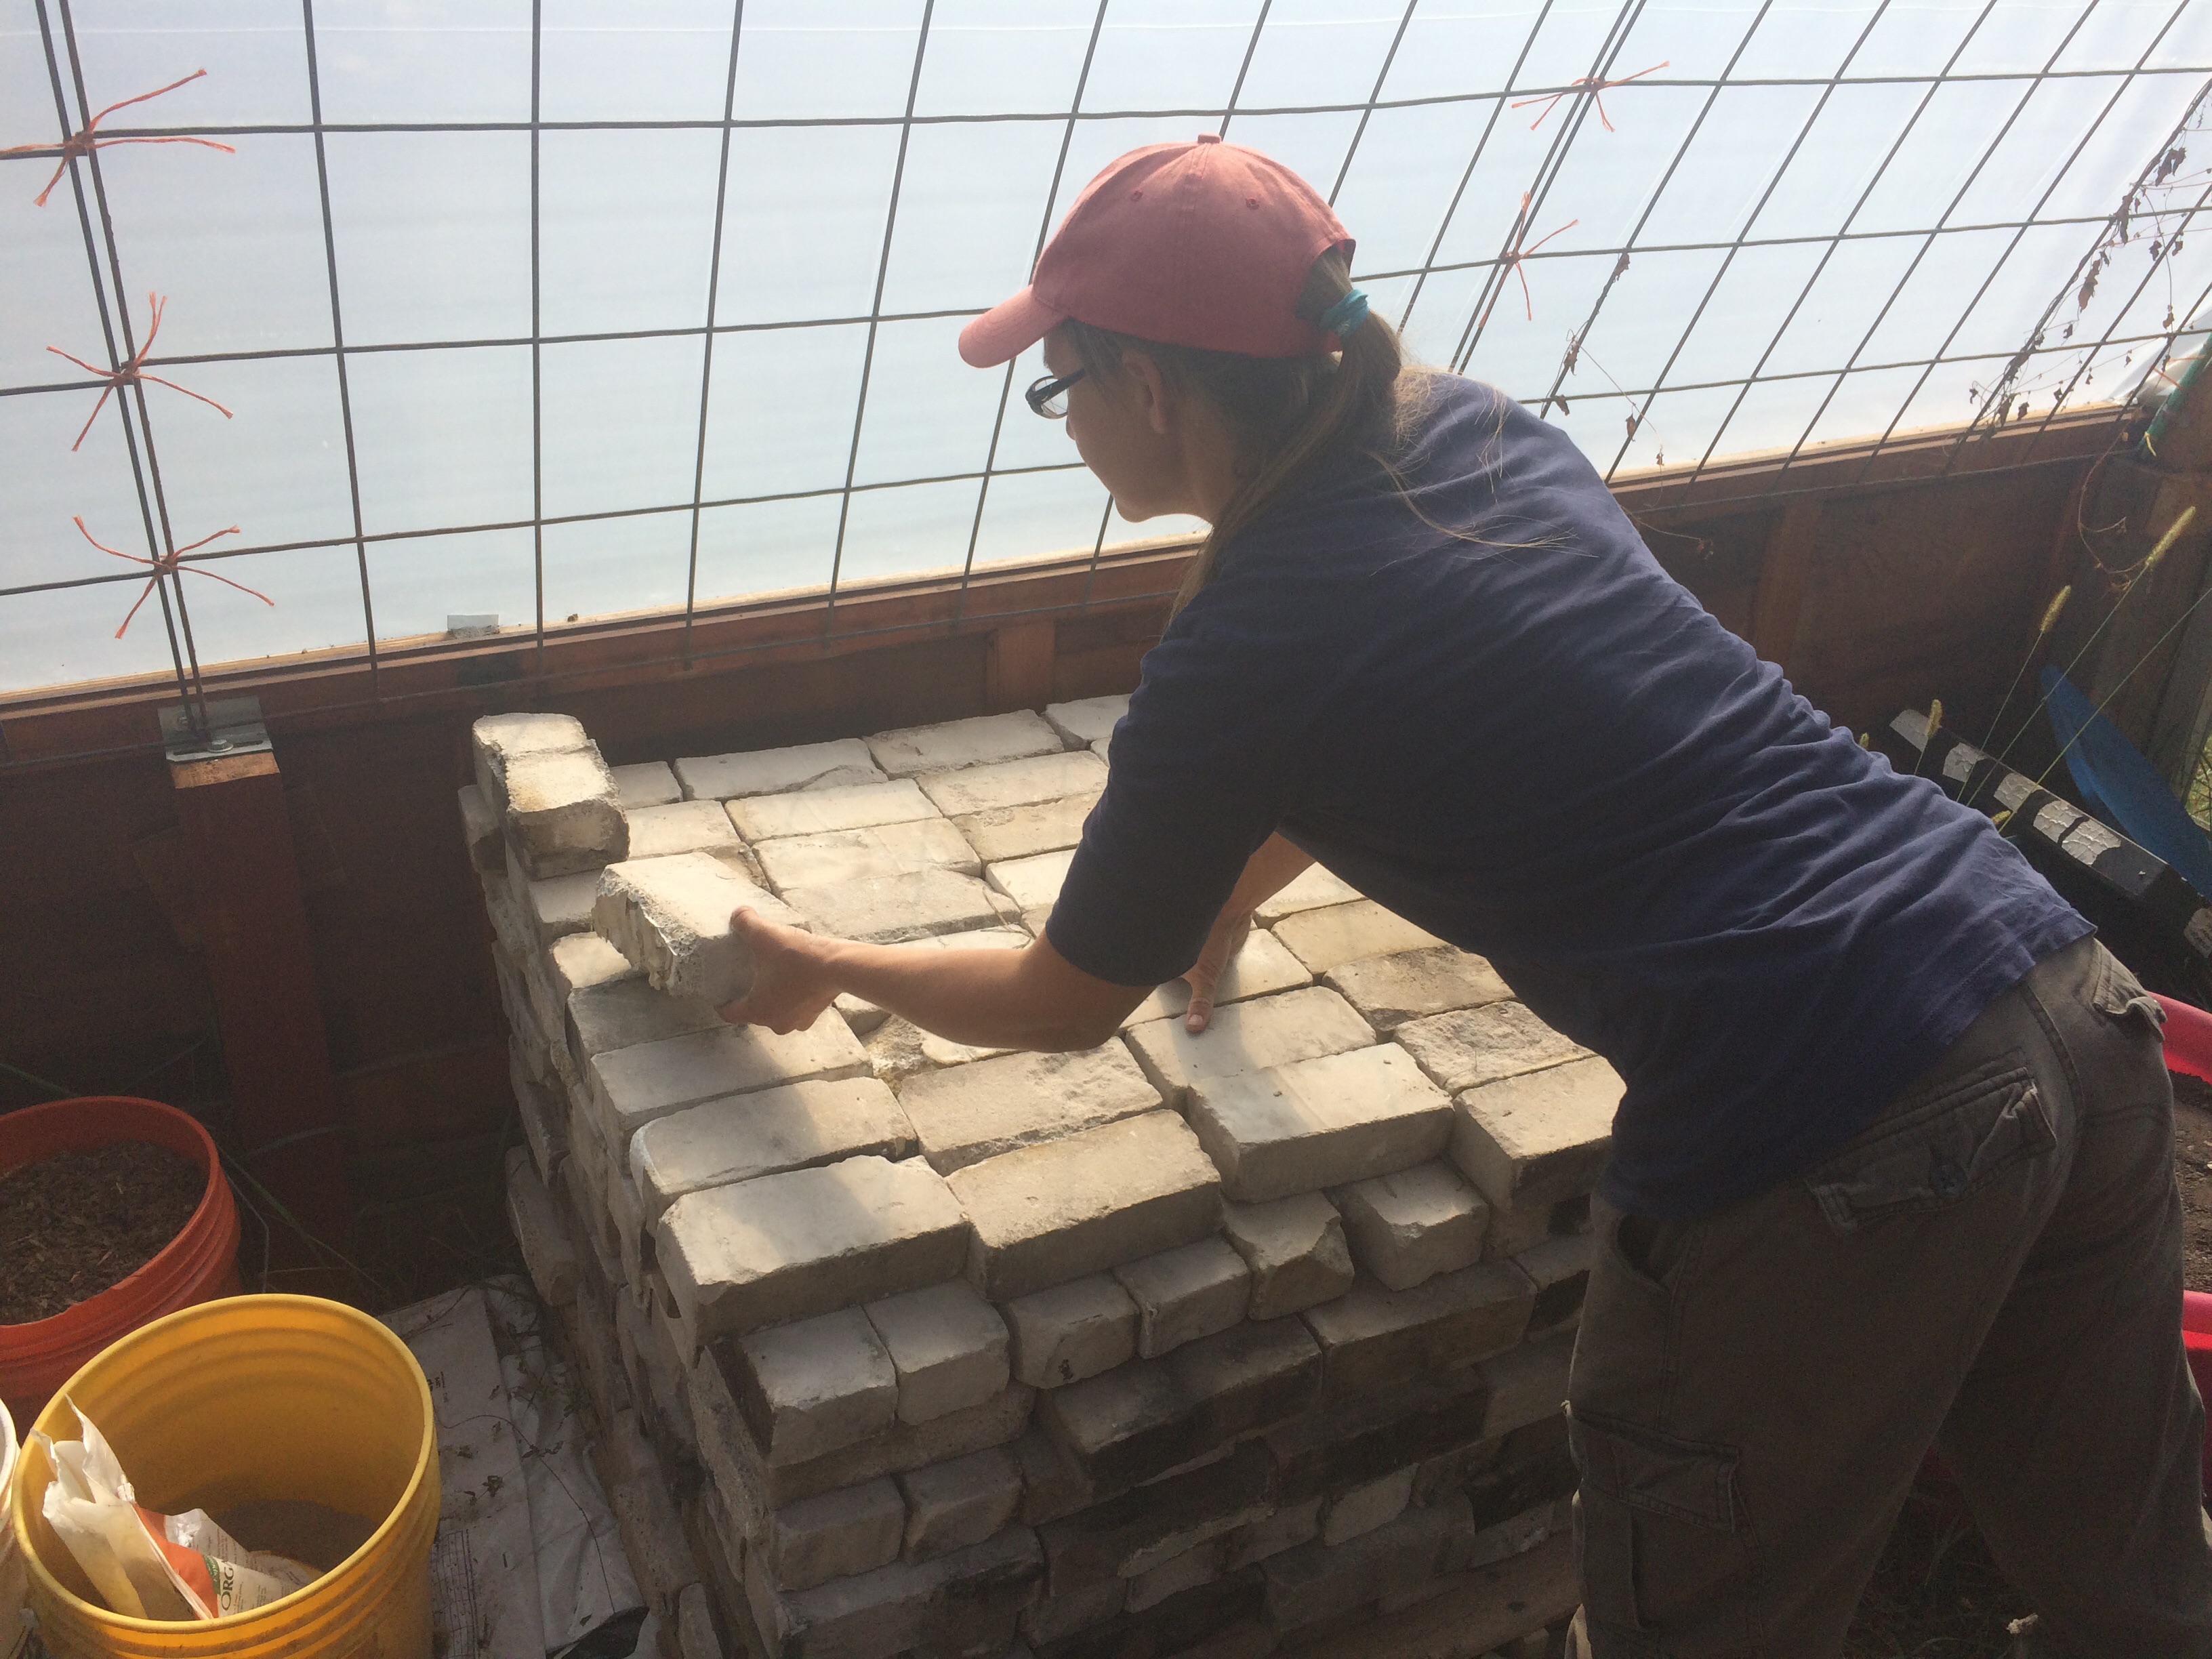
The high tunnel project is moving along, but there is still much to do – and if it is not completed and inspected before we go, we lose the grant – and will have to spend ten thousand dollars. And I hope to design and build a rocket mass heater in the little greenhouse that will be ready to rock when we return in March, to keep next year’s seedling alive through the frigid nights of the winter/spring transition.
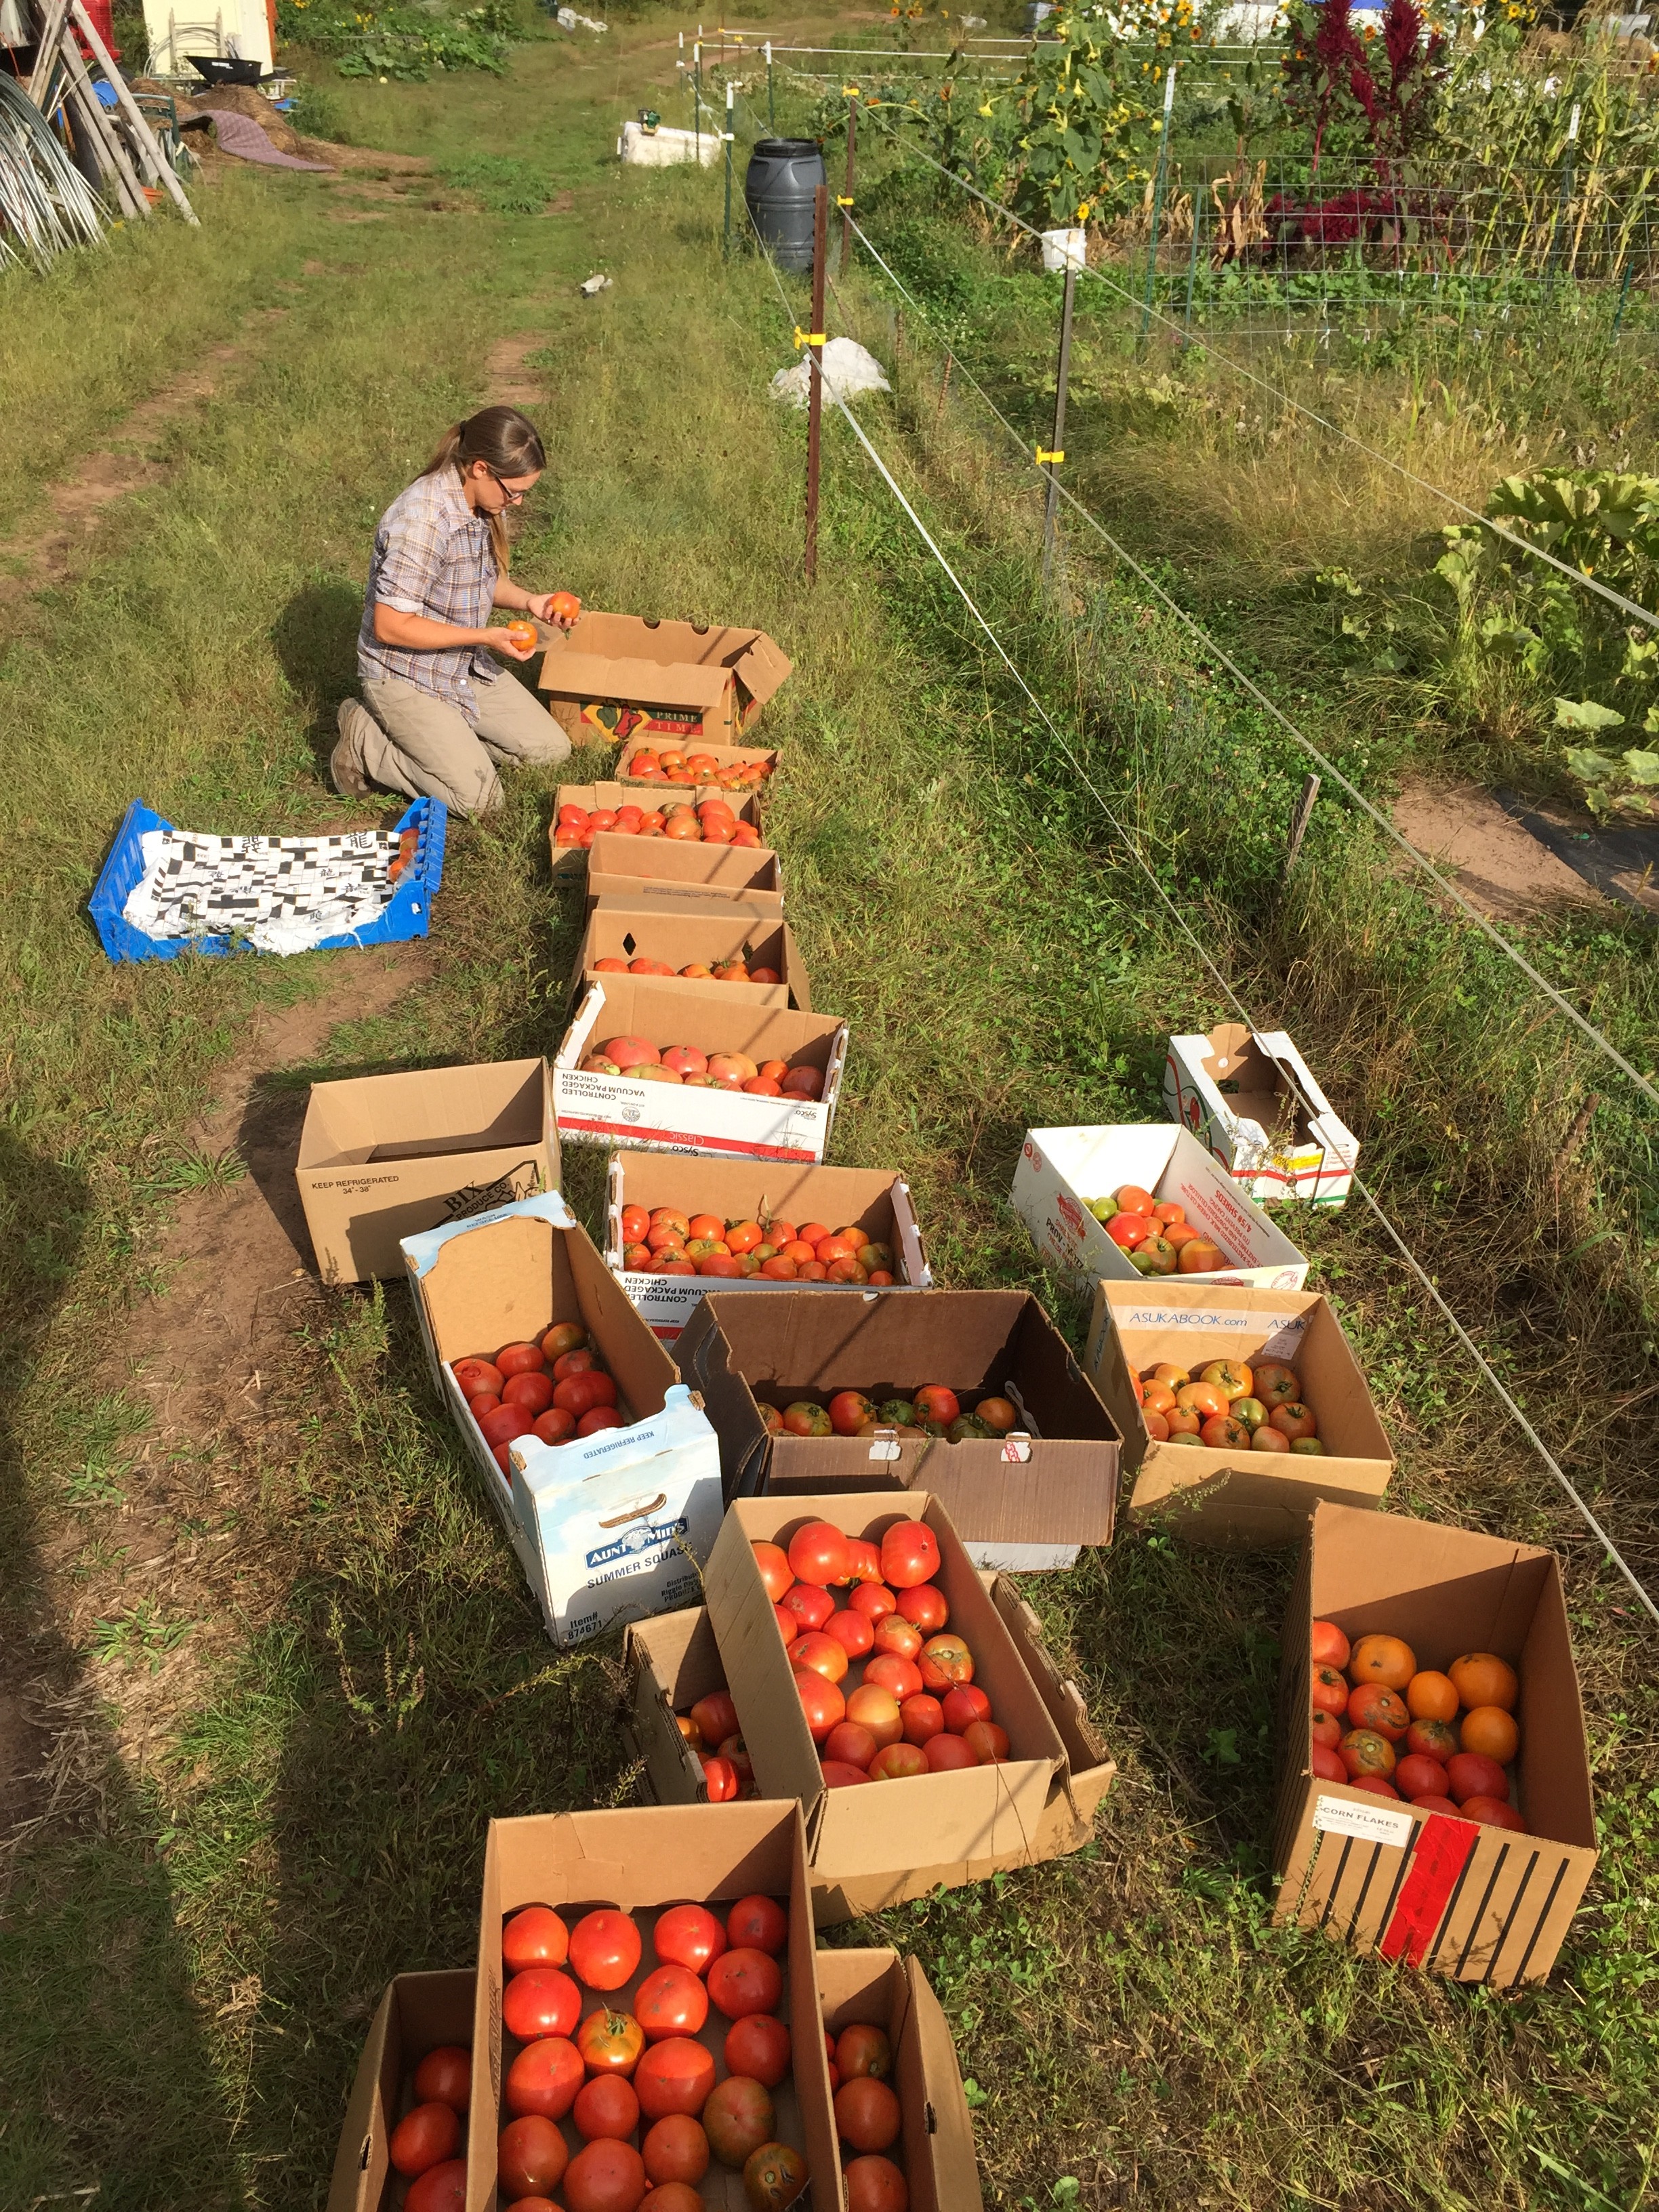
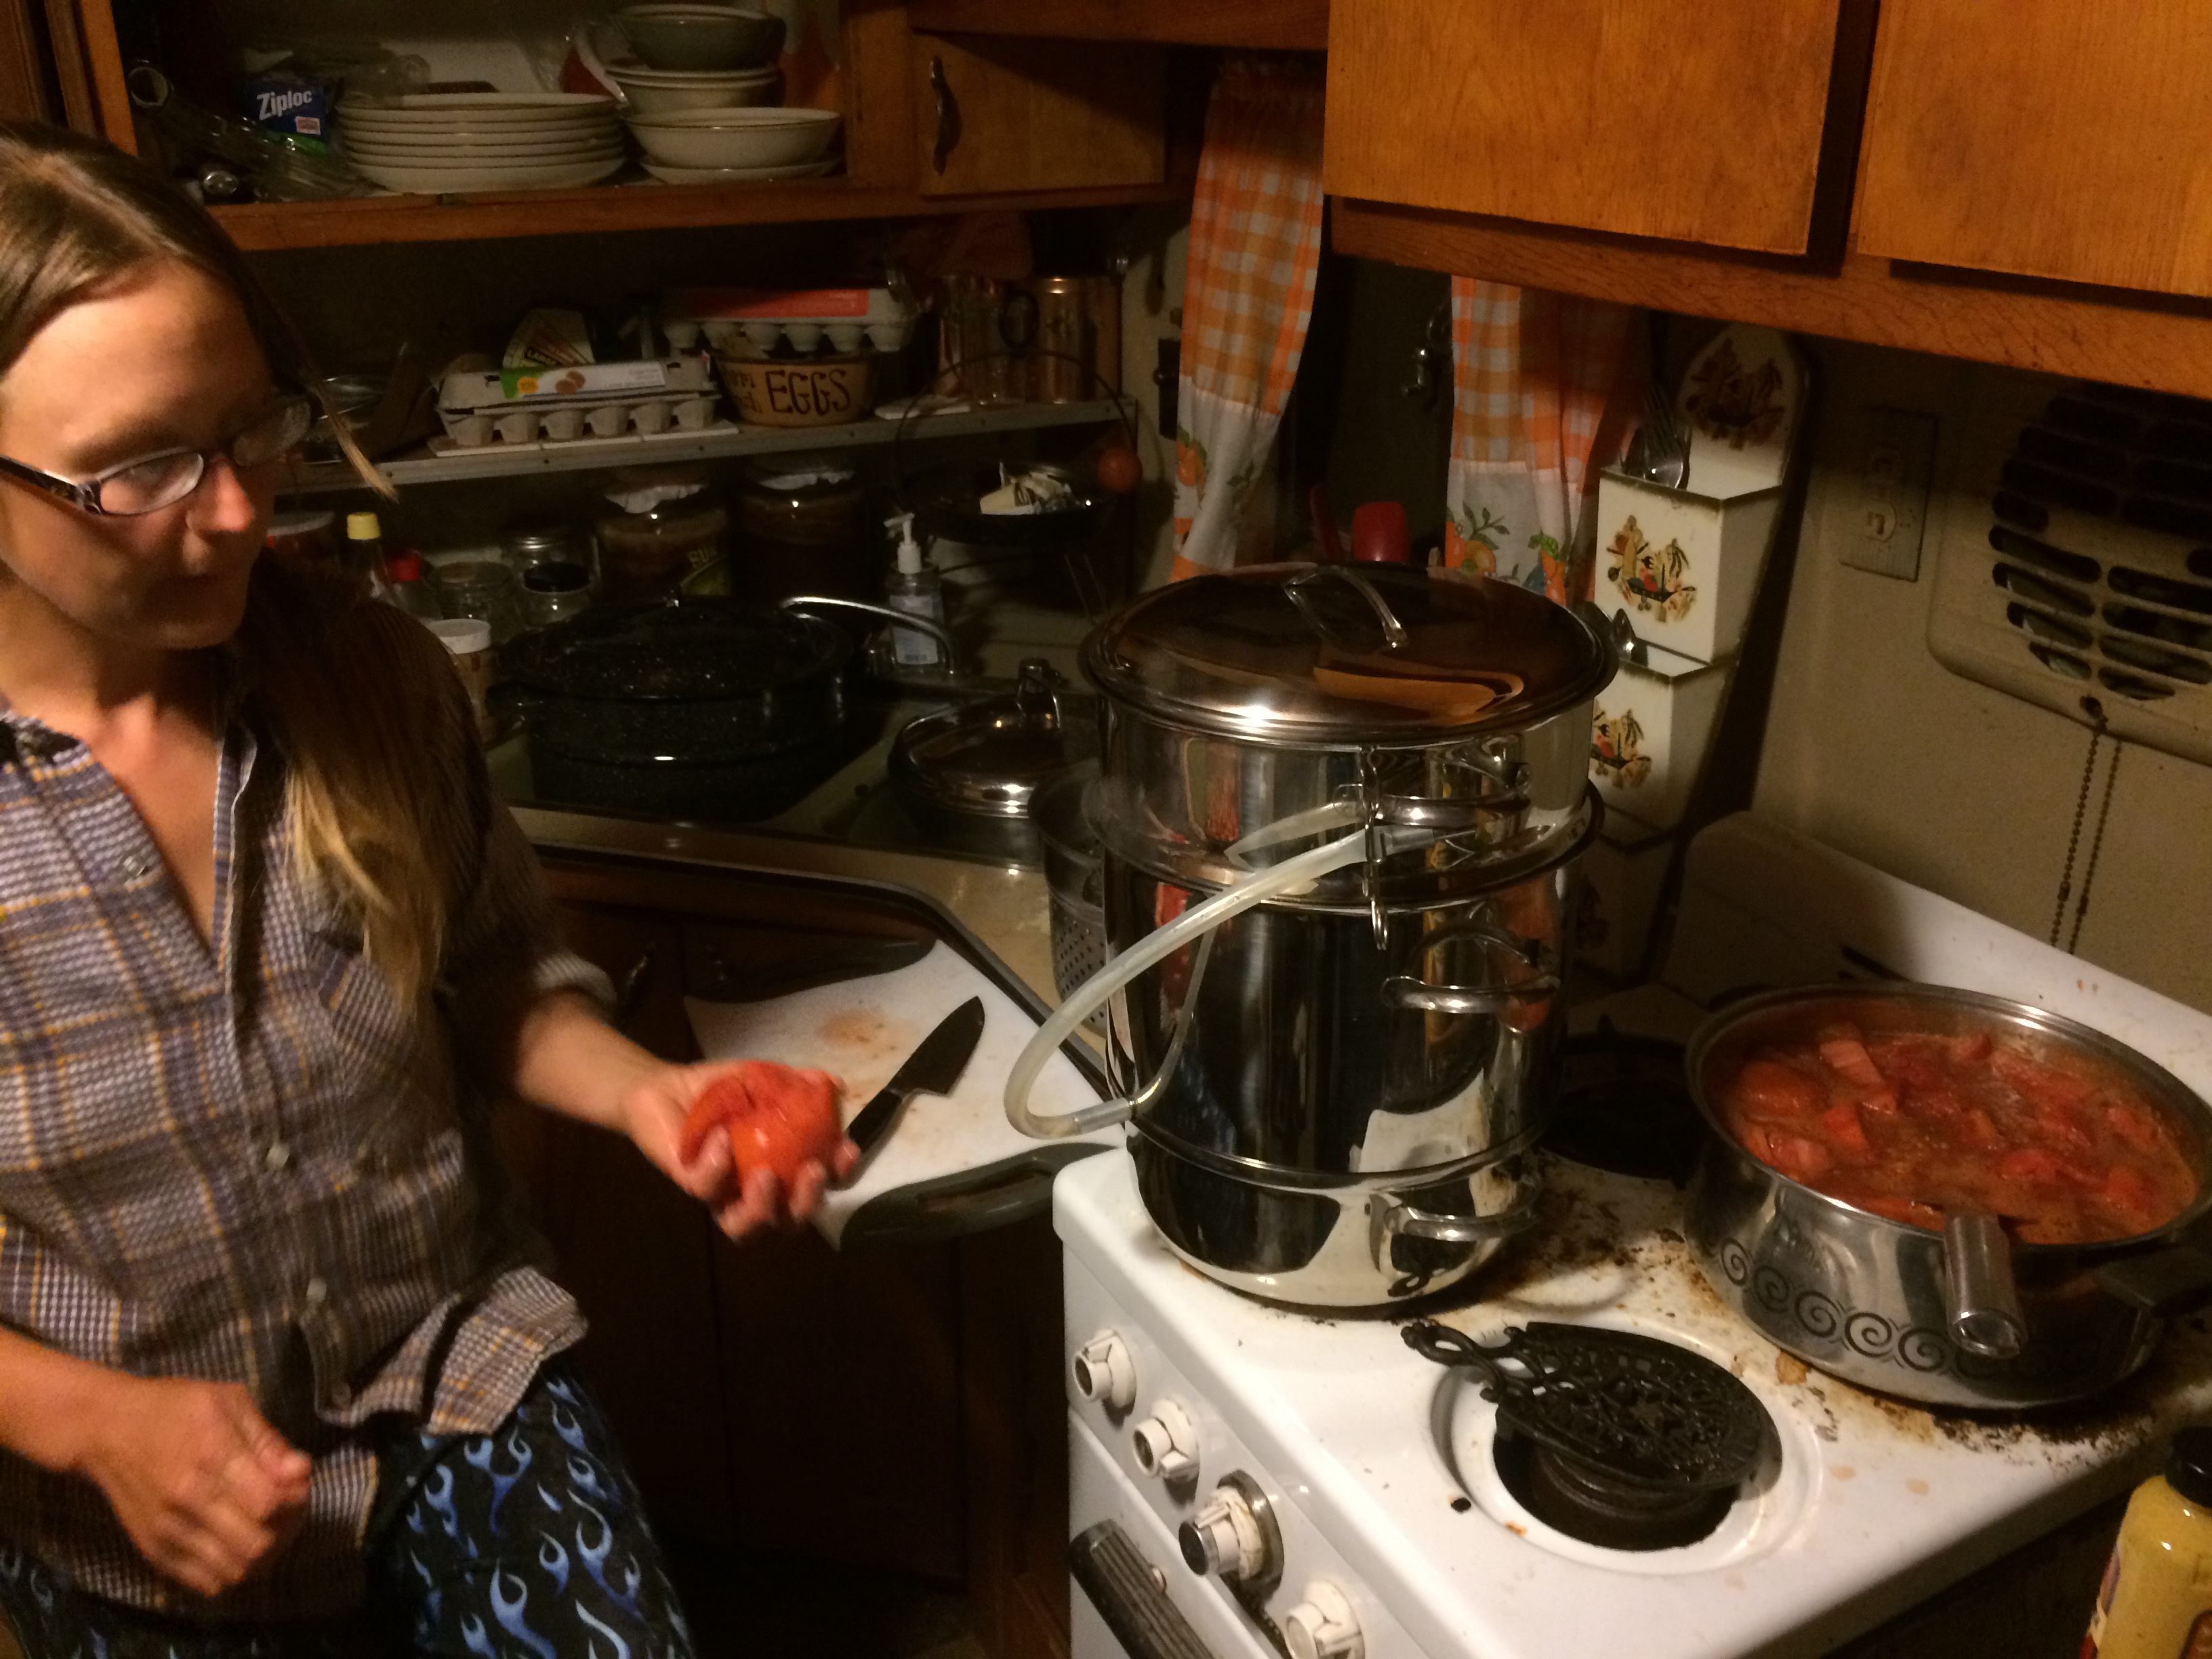
This week Kristin canned the last of the flawed tomatoes (so much BBQ sauce and ketchup!), and our intrepid musical WWOOFers B & Nora started tearing down and removing the tomato plants from the field.
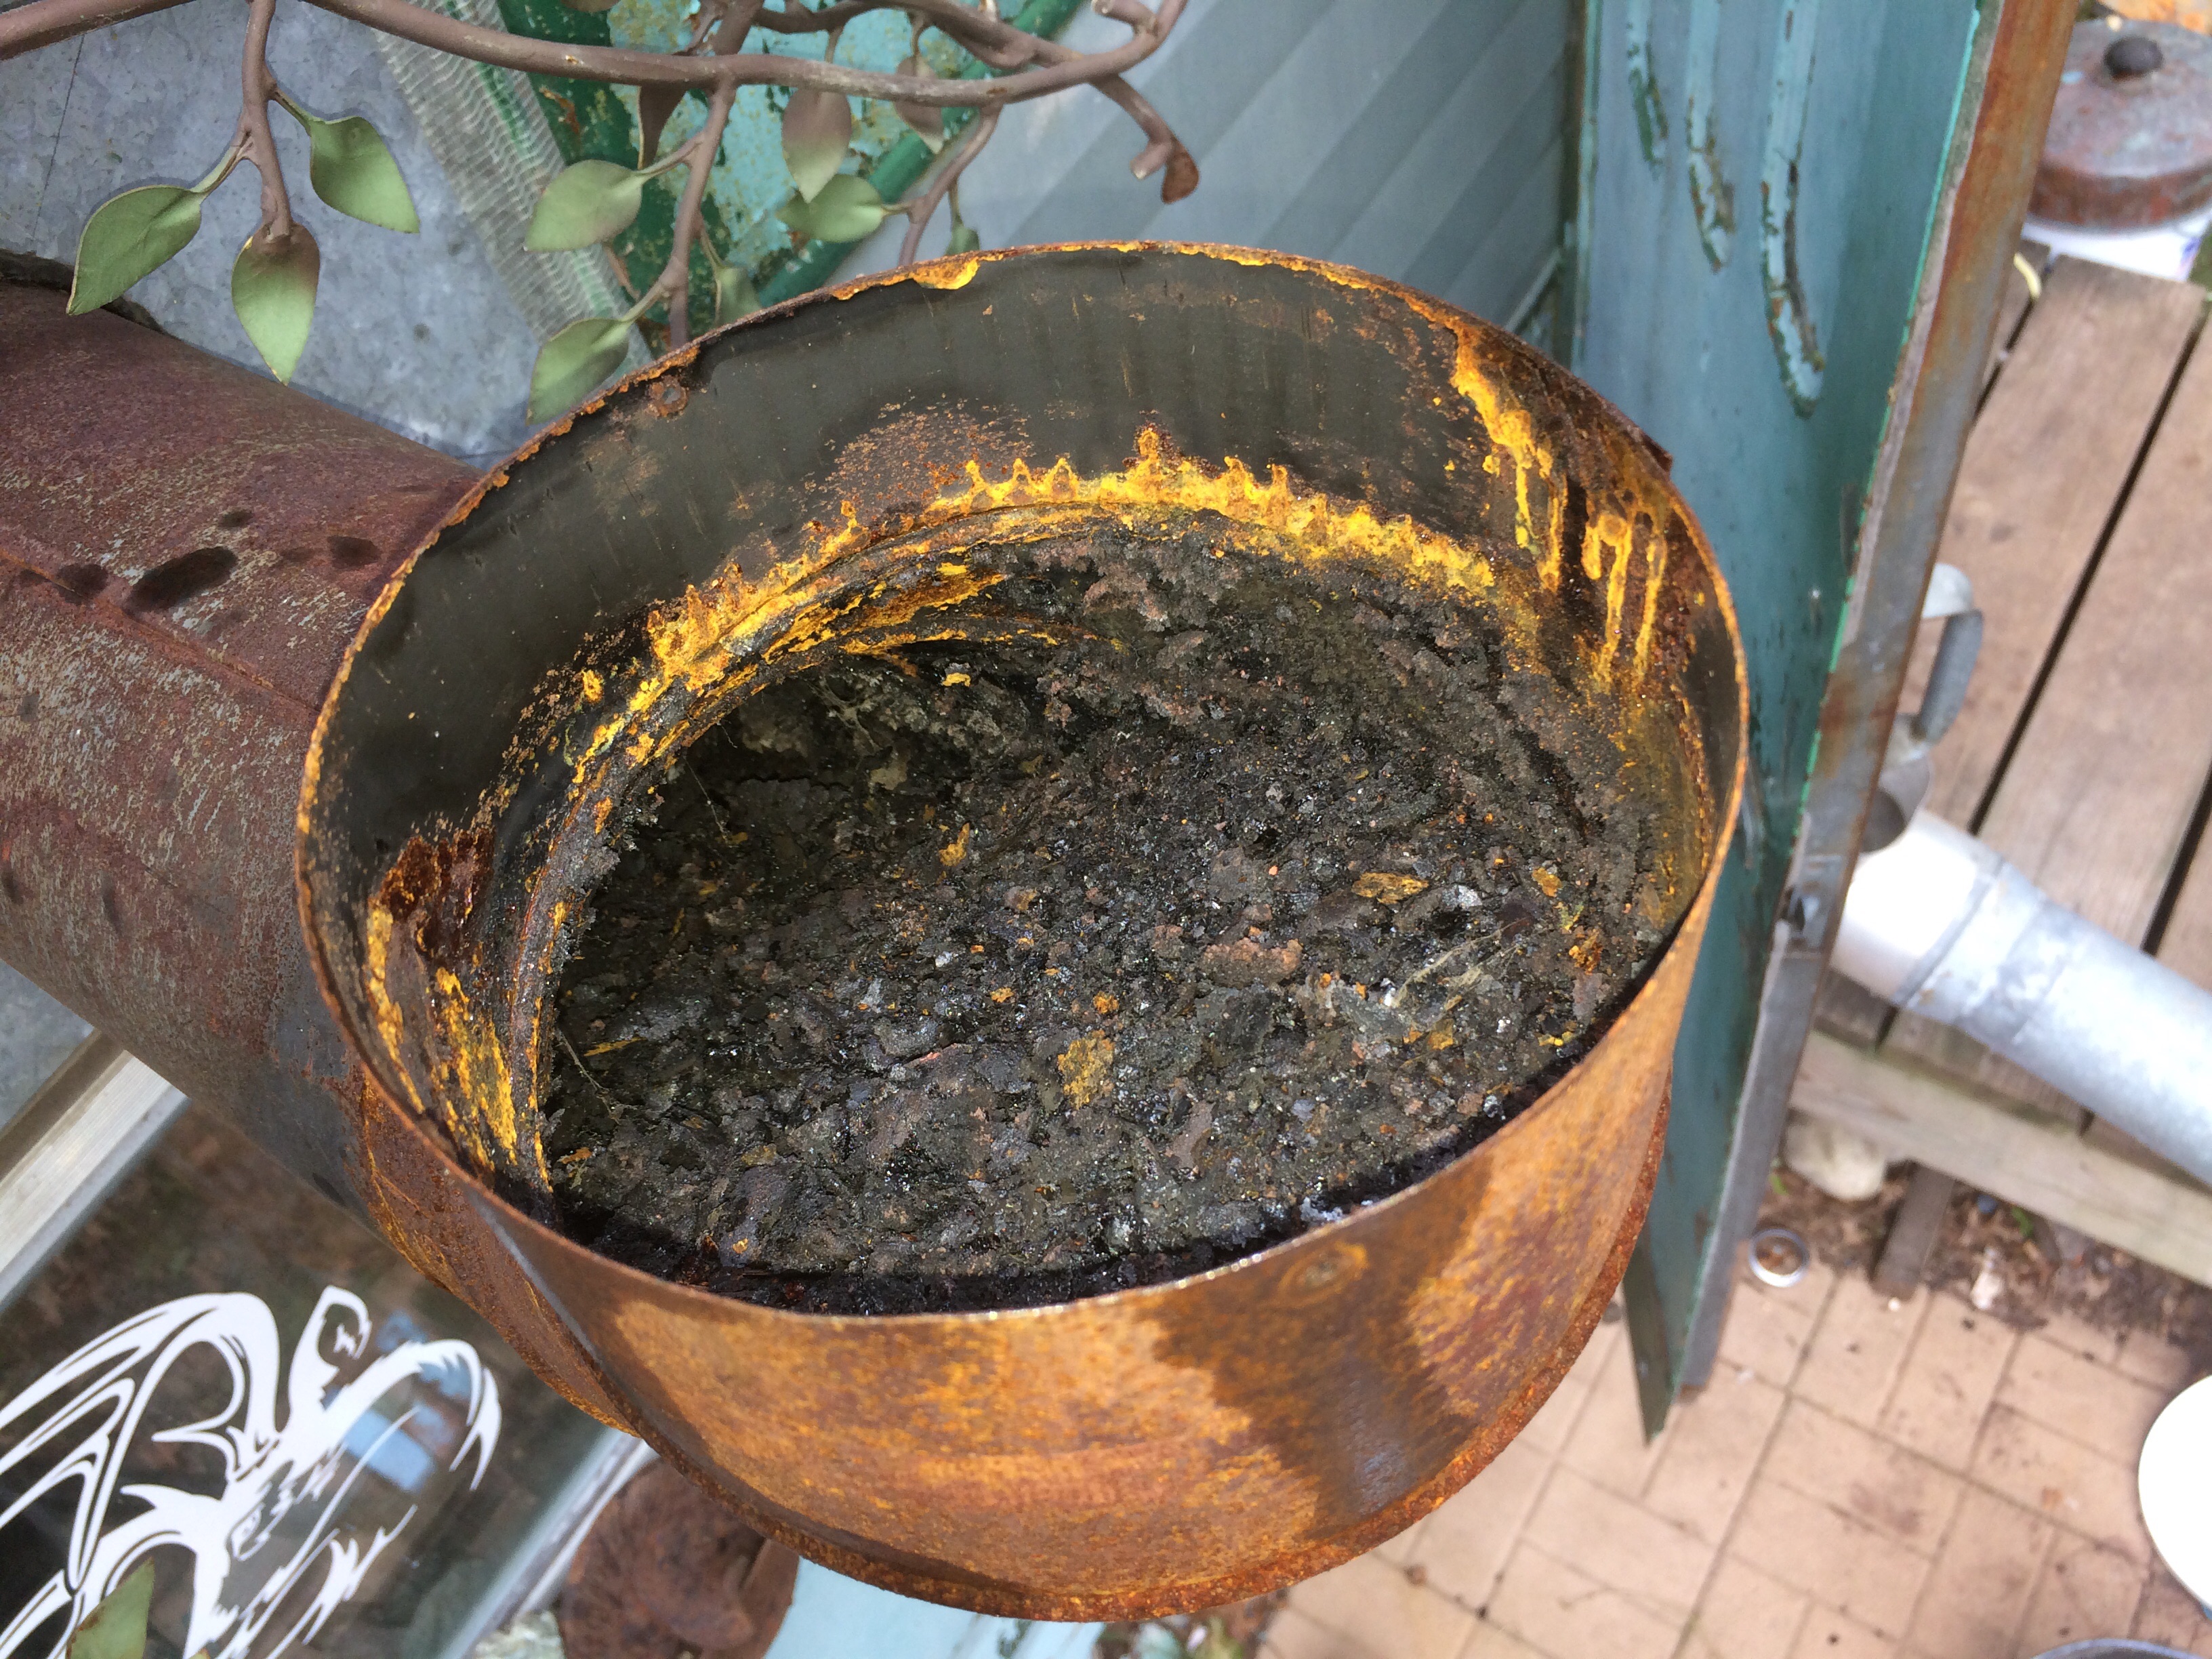
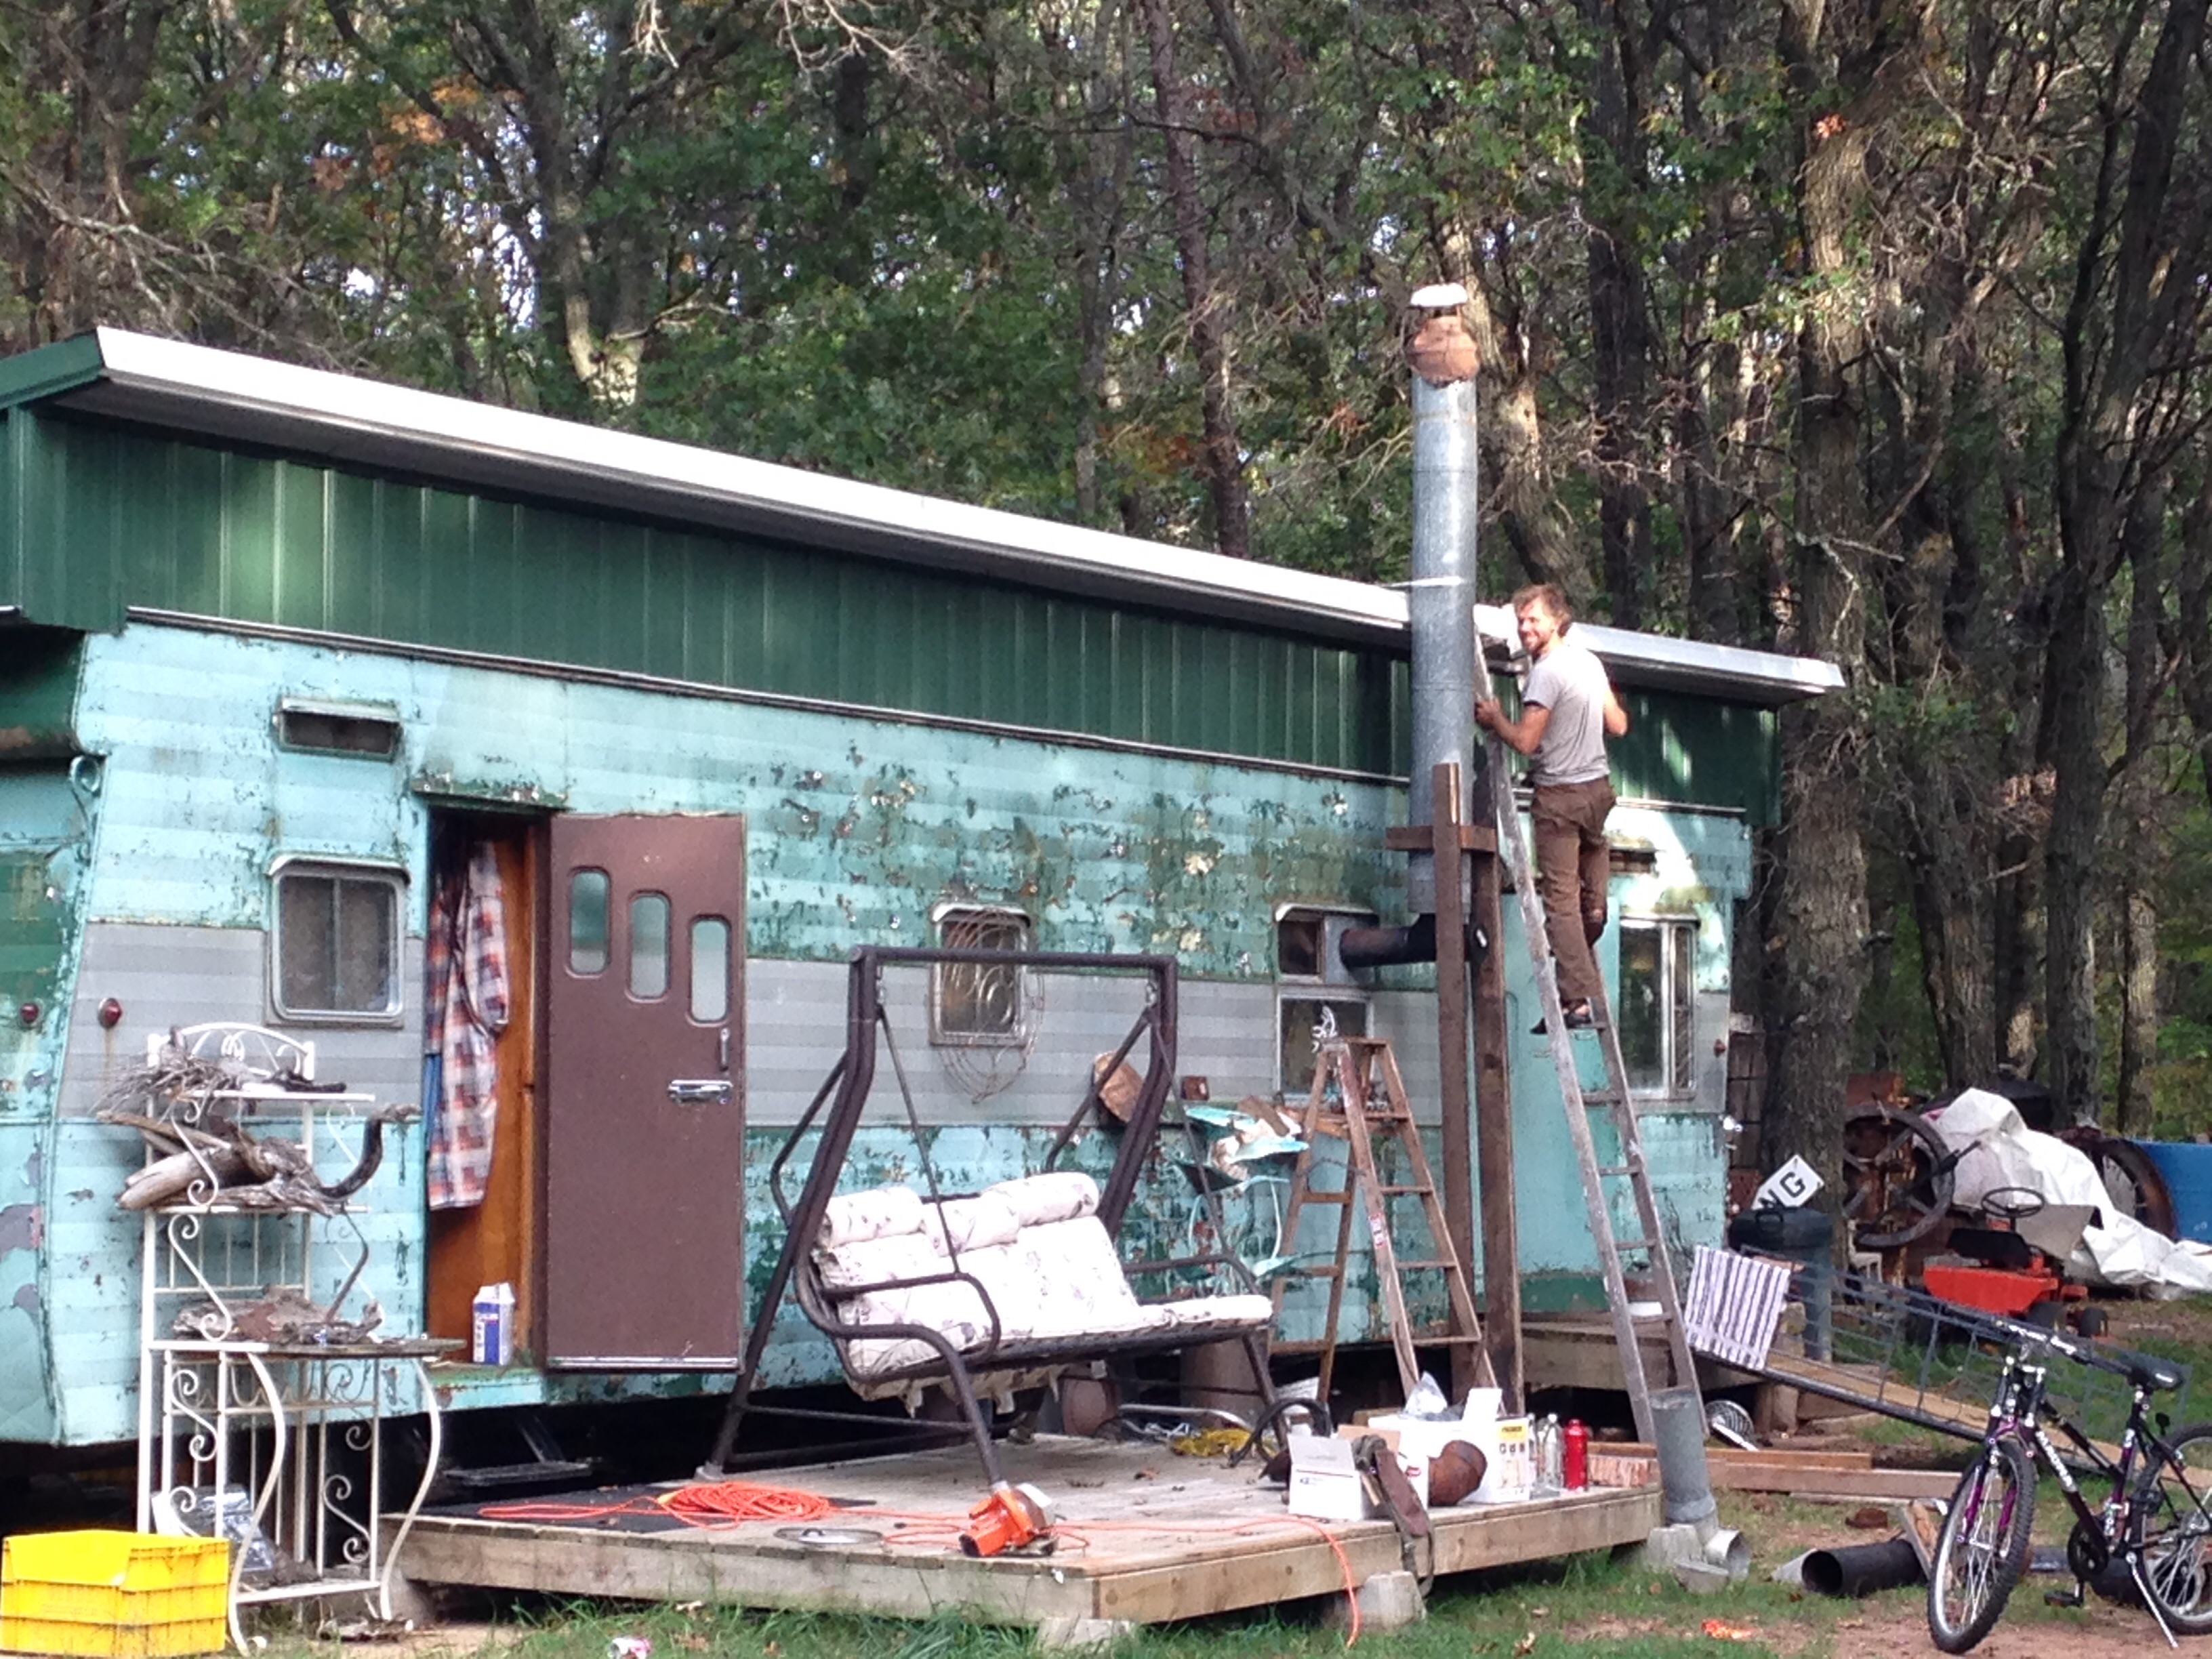
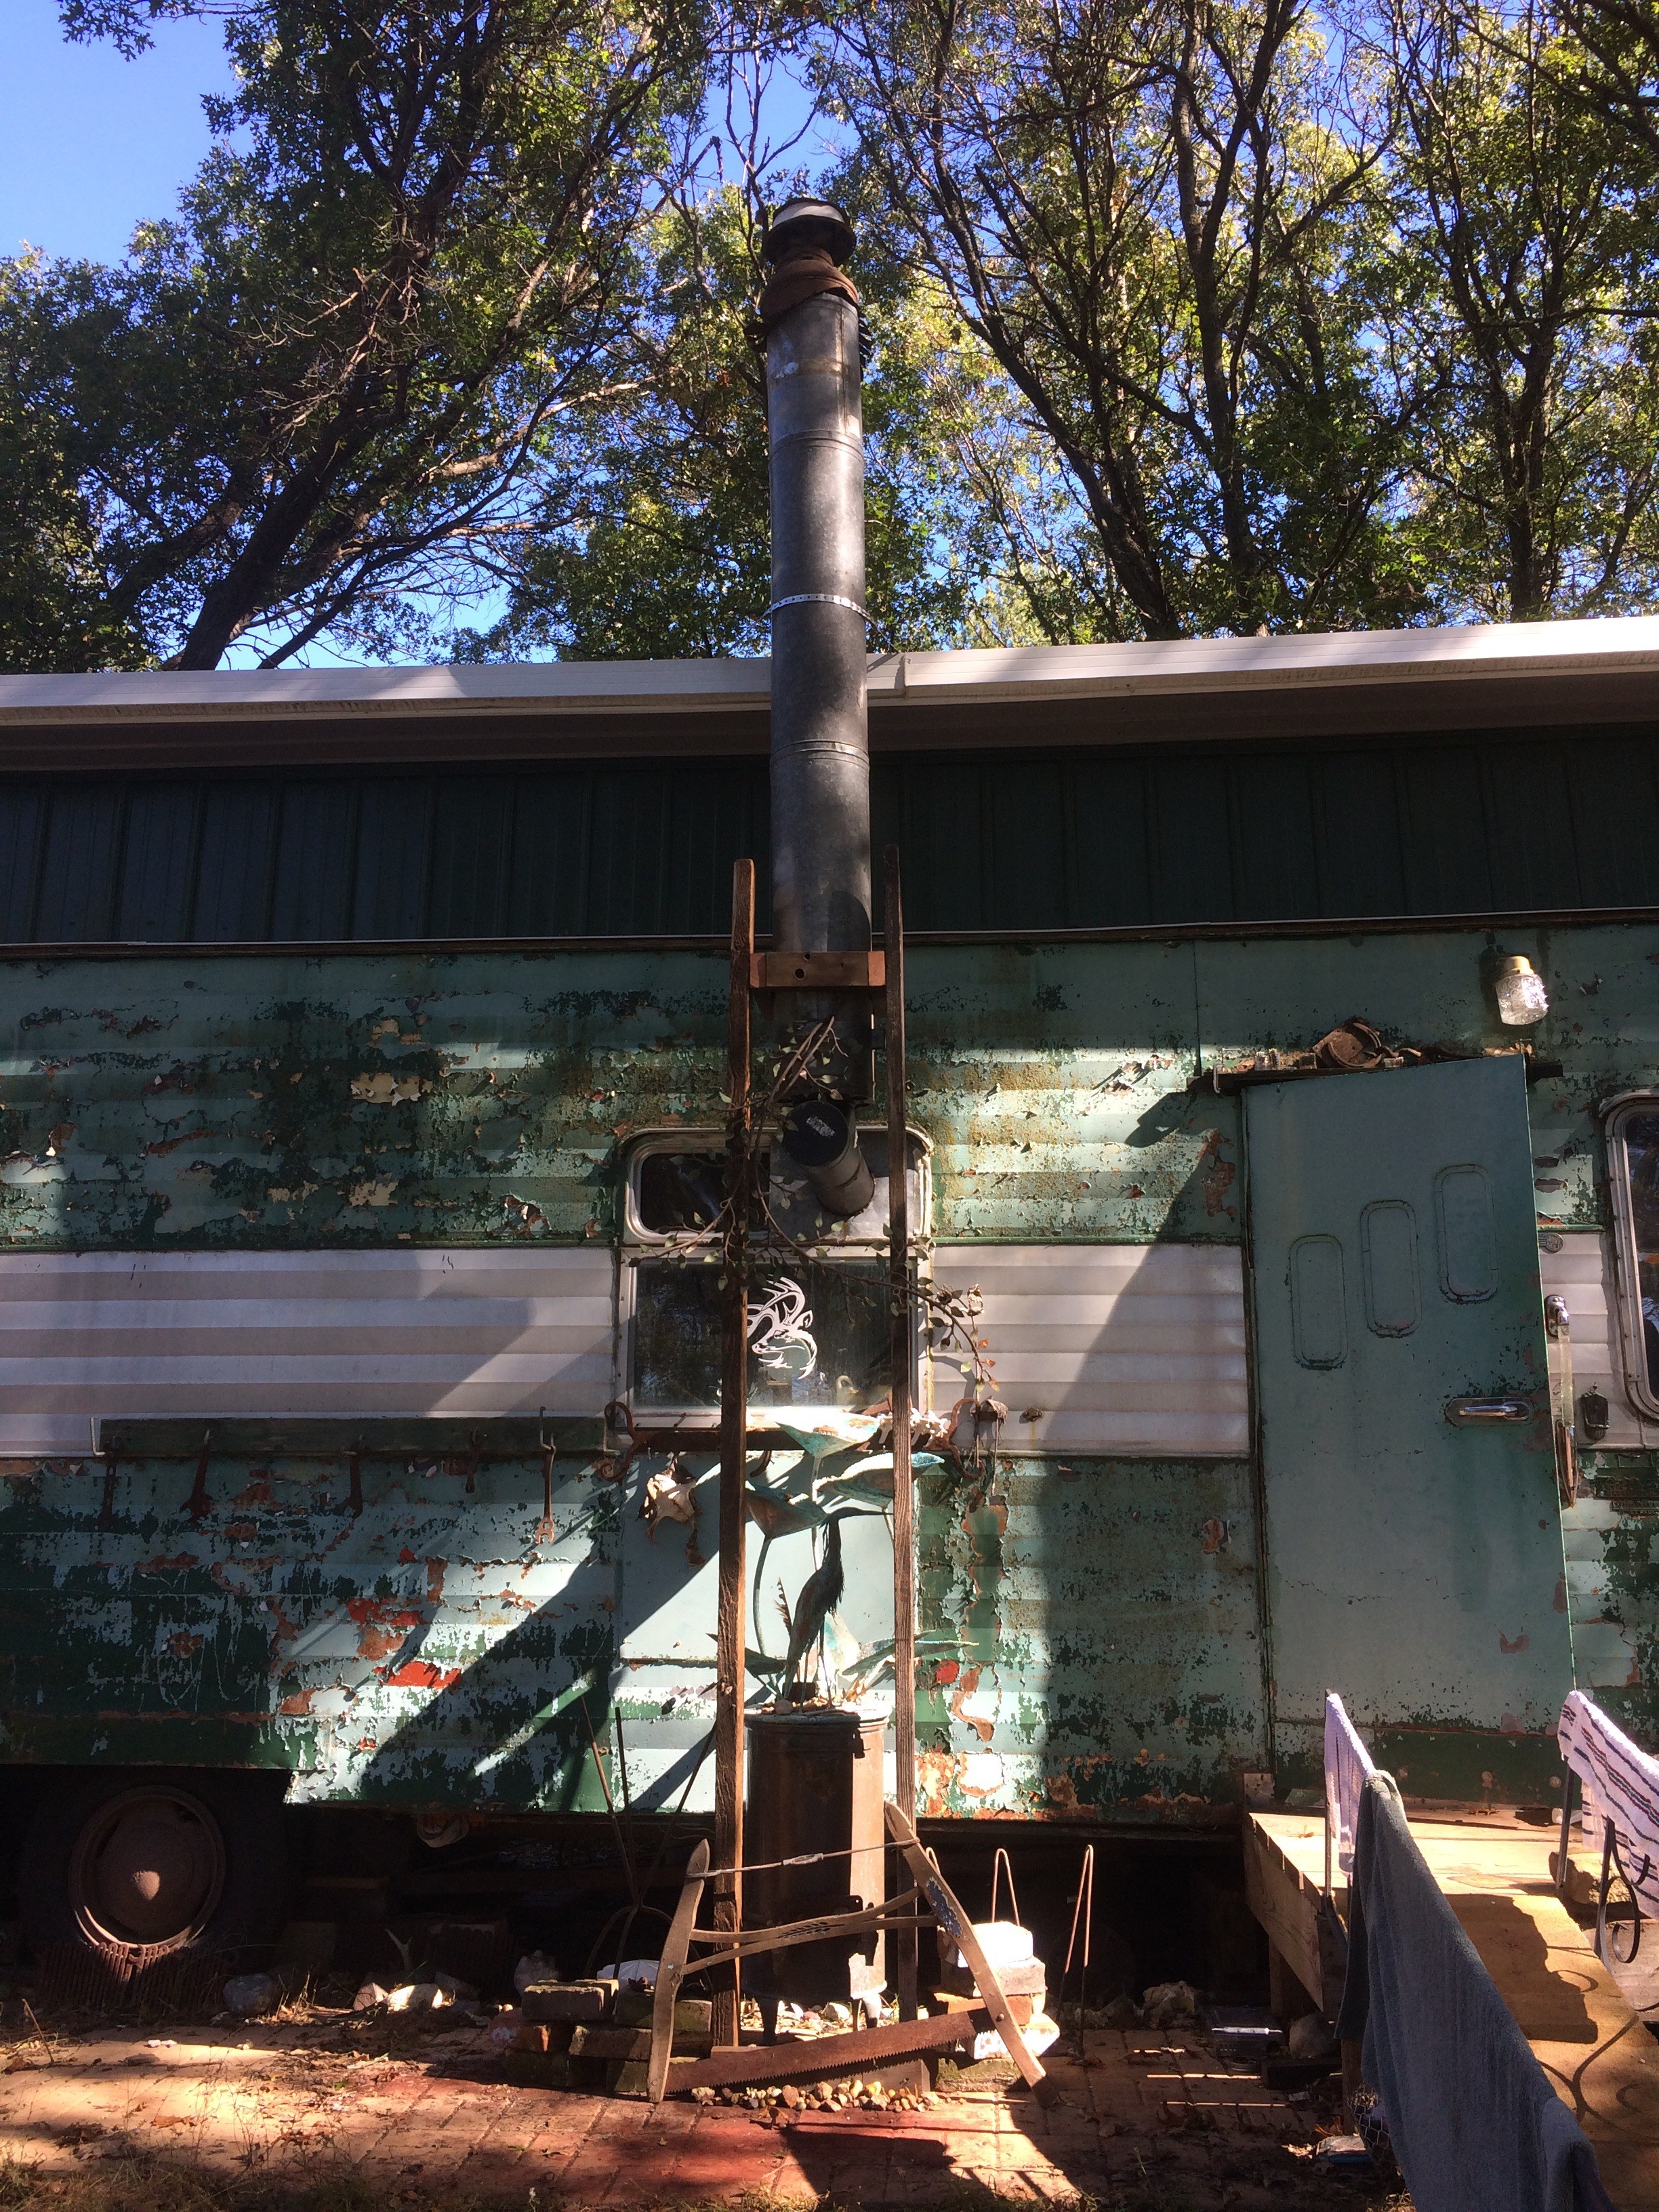
In preparation for the oncoming cold, I decided to do a little chimey maintenance on the woodstove, thinking I’d replace the rusty external elbow pipe with a new clean-out “T” …
the exterior elbow was almost blocked with creosote flakes
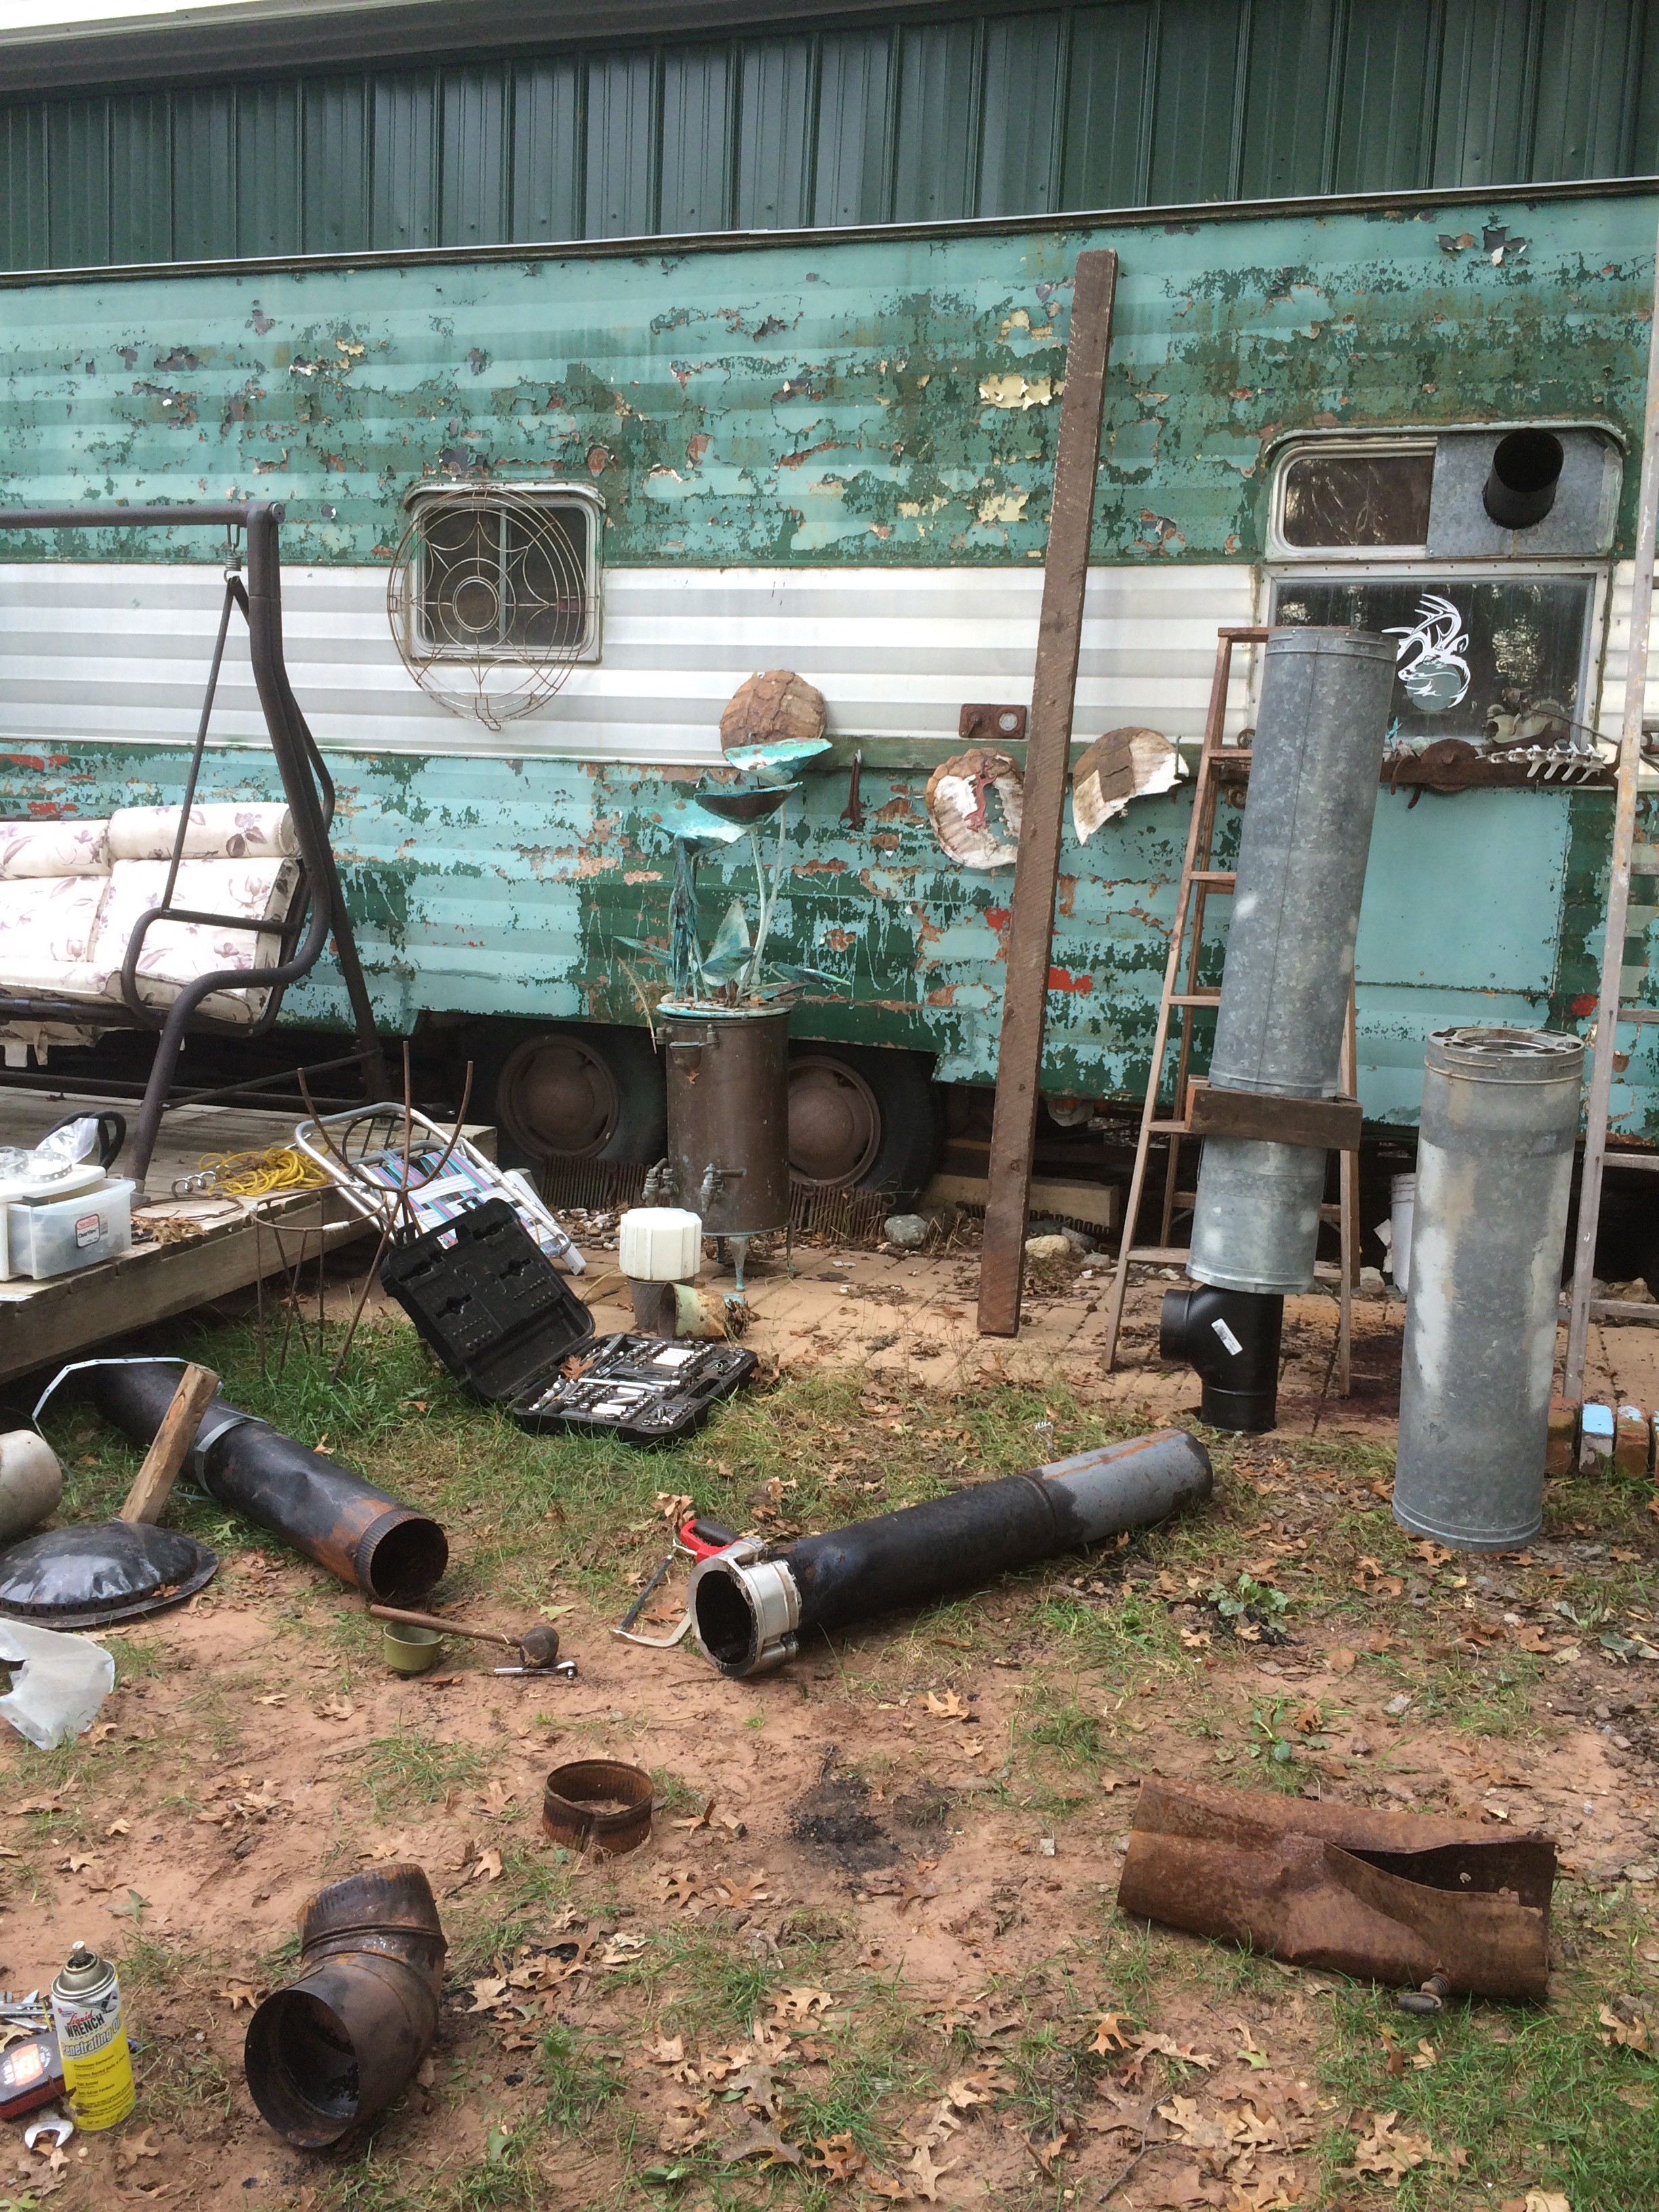
… however, once I pulled it apart and saw just how much creosote had built up in there (no WONDER the draft had been so fickle and weak this spring!), the “quick fix” project became an all-day affair of replacing the old entire single-wall pipe we’d been fortunate to have as a short-term solution with scavenged and donated triple-wall insulated pipe.
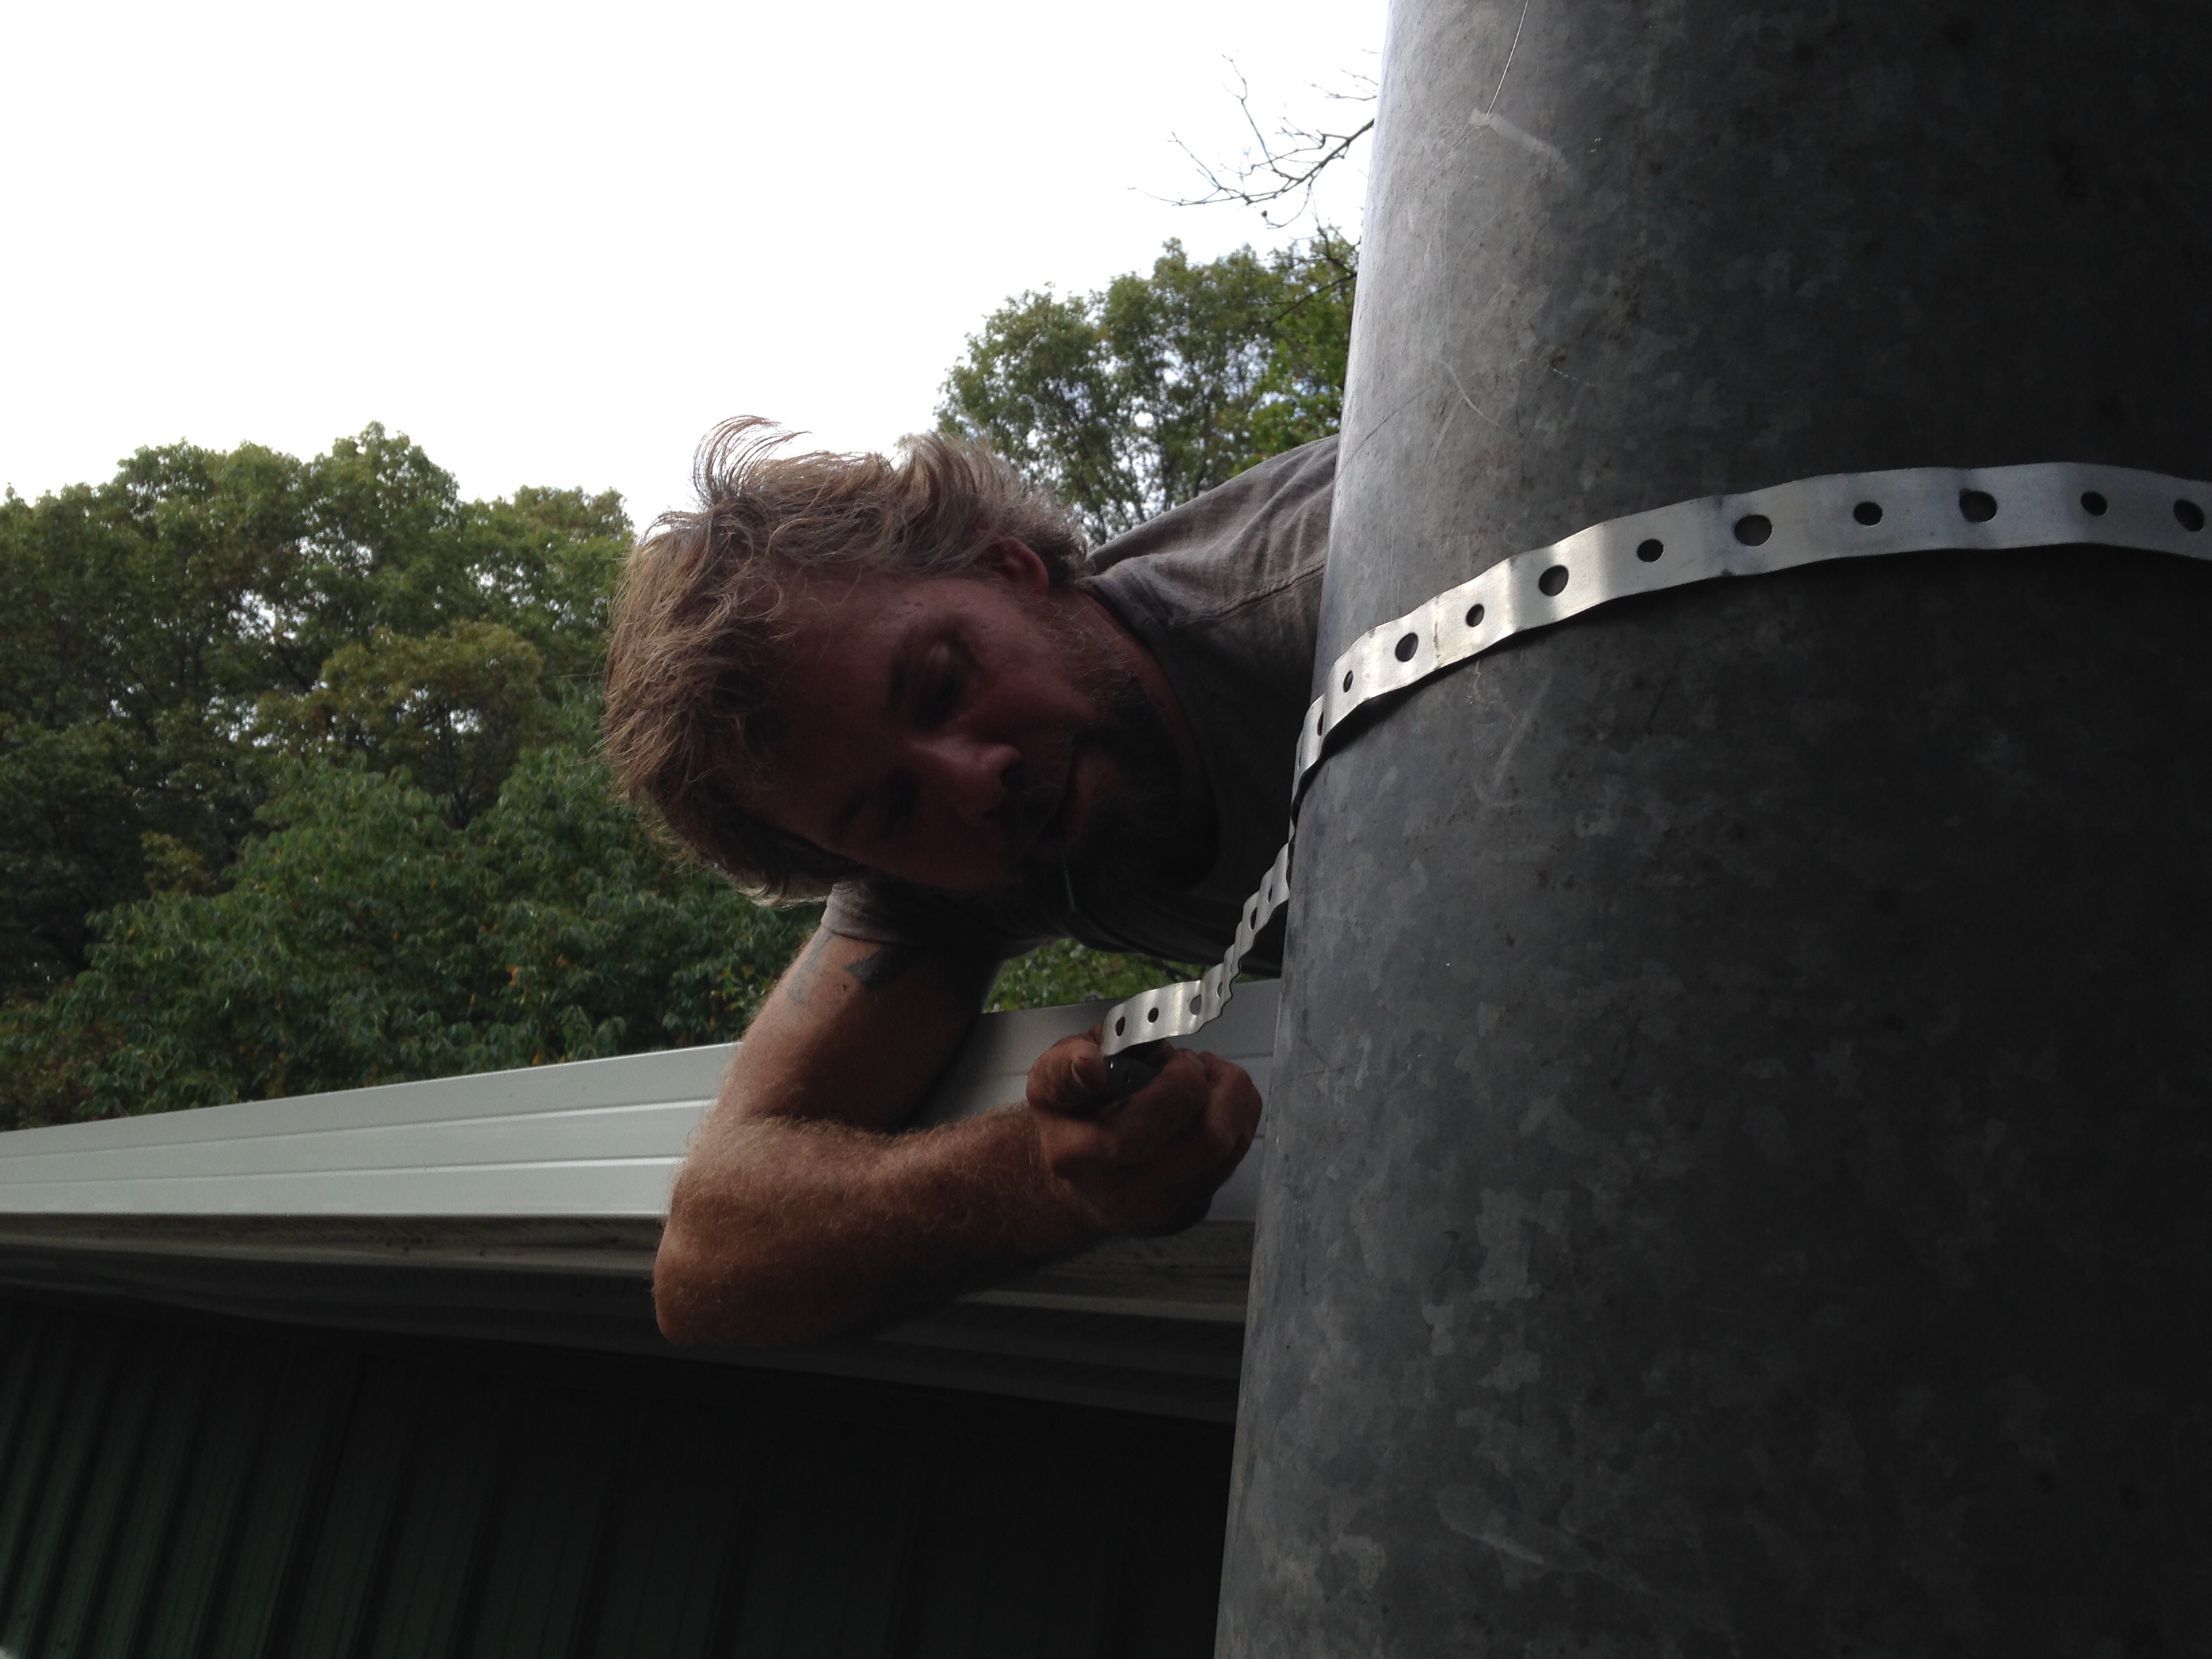
The new chimney will not only have a much more effective draft, but will have a lot less condensation and creosote build-up … and now I’m excited to start using it, my previous firewood-hoarding drive be damned.
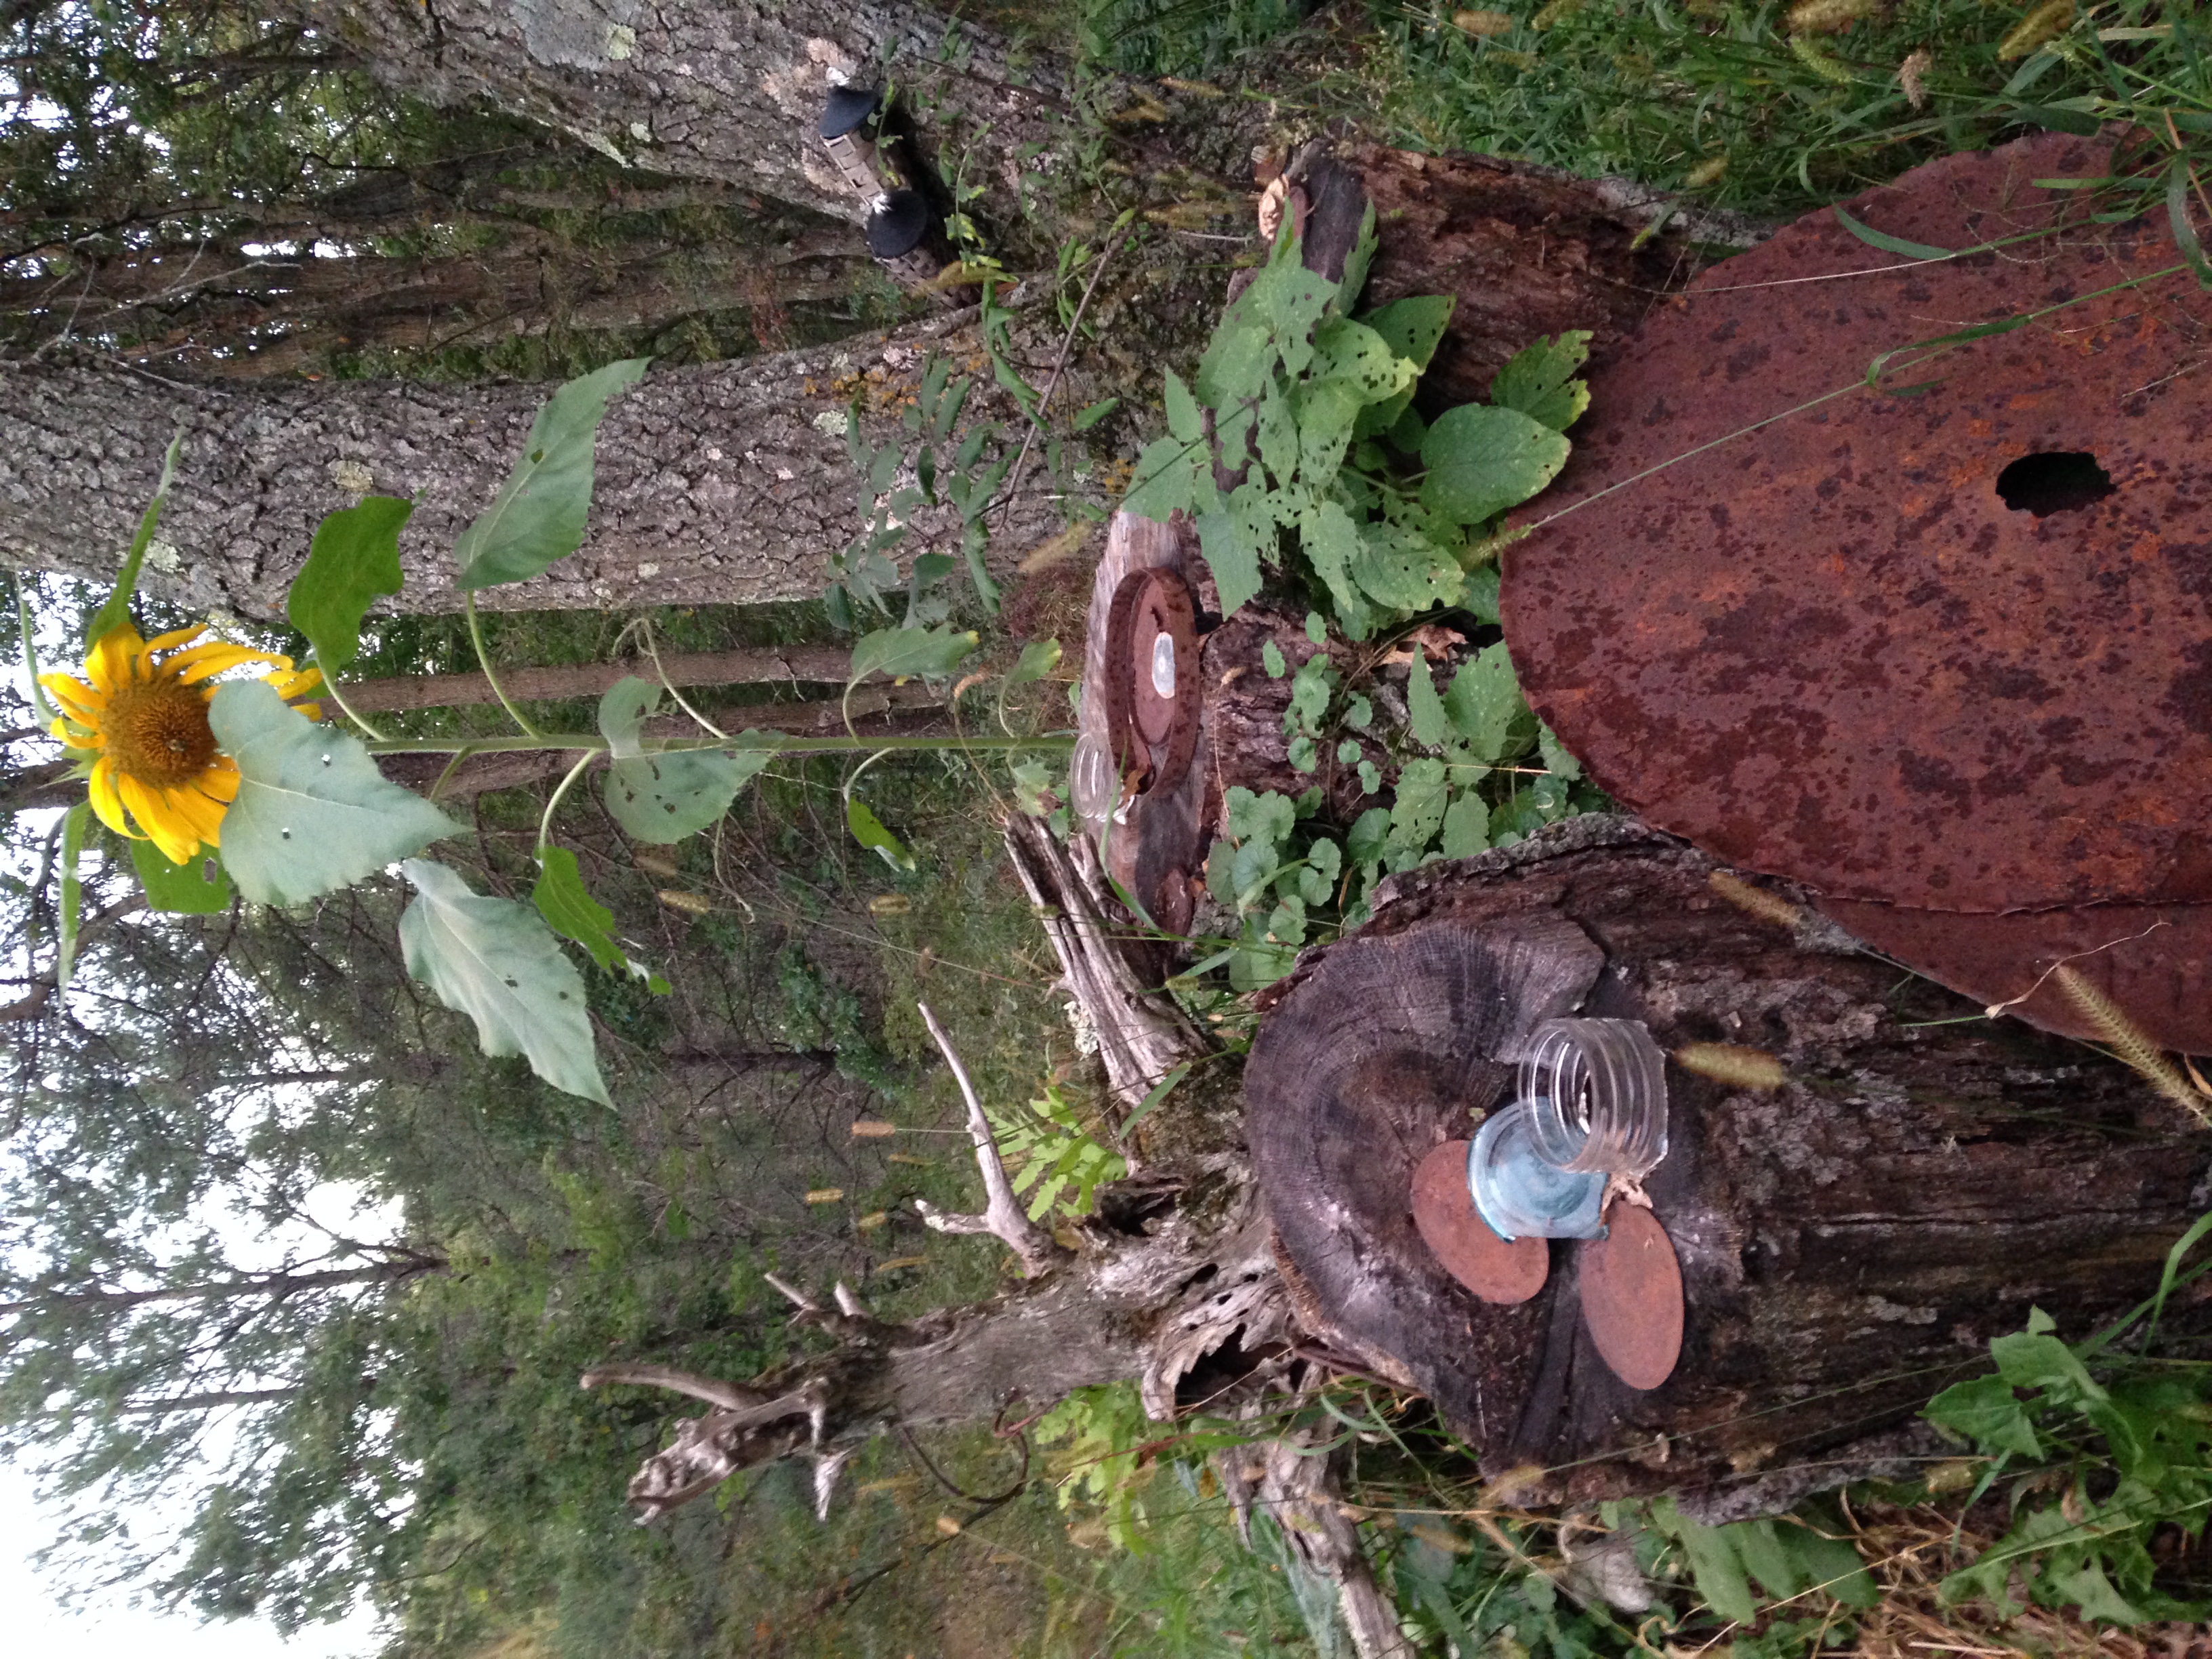
all done – topped off with the amazing milk can chimney cap from the ruins of Old Henry’s place (where we got the car panel siding to build the Rust Shack)
Just ONE more box left after this! Ahh! It has been a simply gorgeous season – the most perfect summer I can recall … we feel so lucky that we’ve been able to spend it outdoors growing food for ourselves and you.
Box 17
Kristin sez:
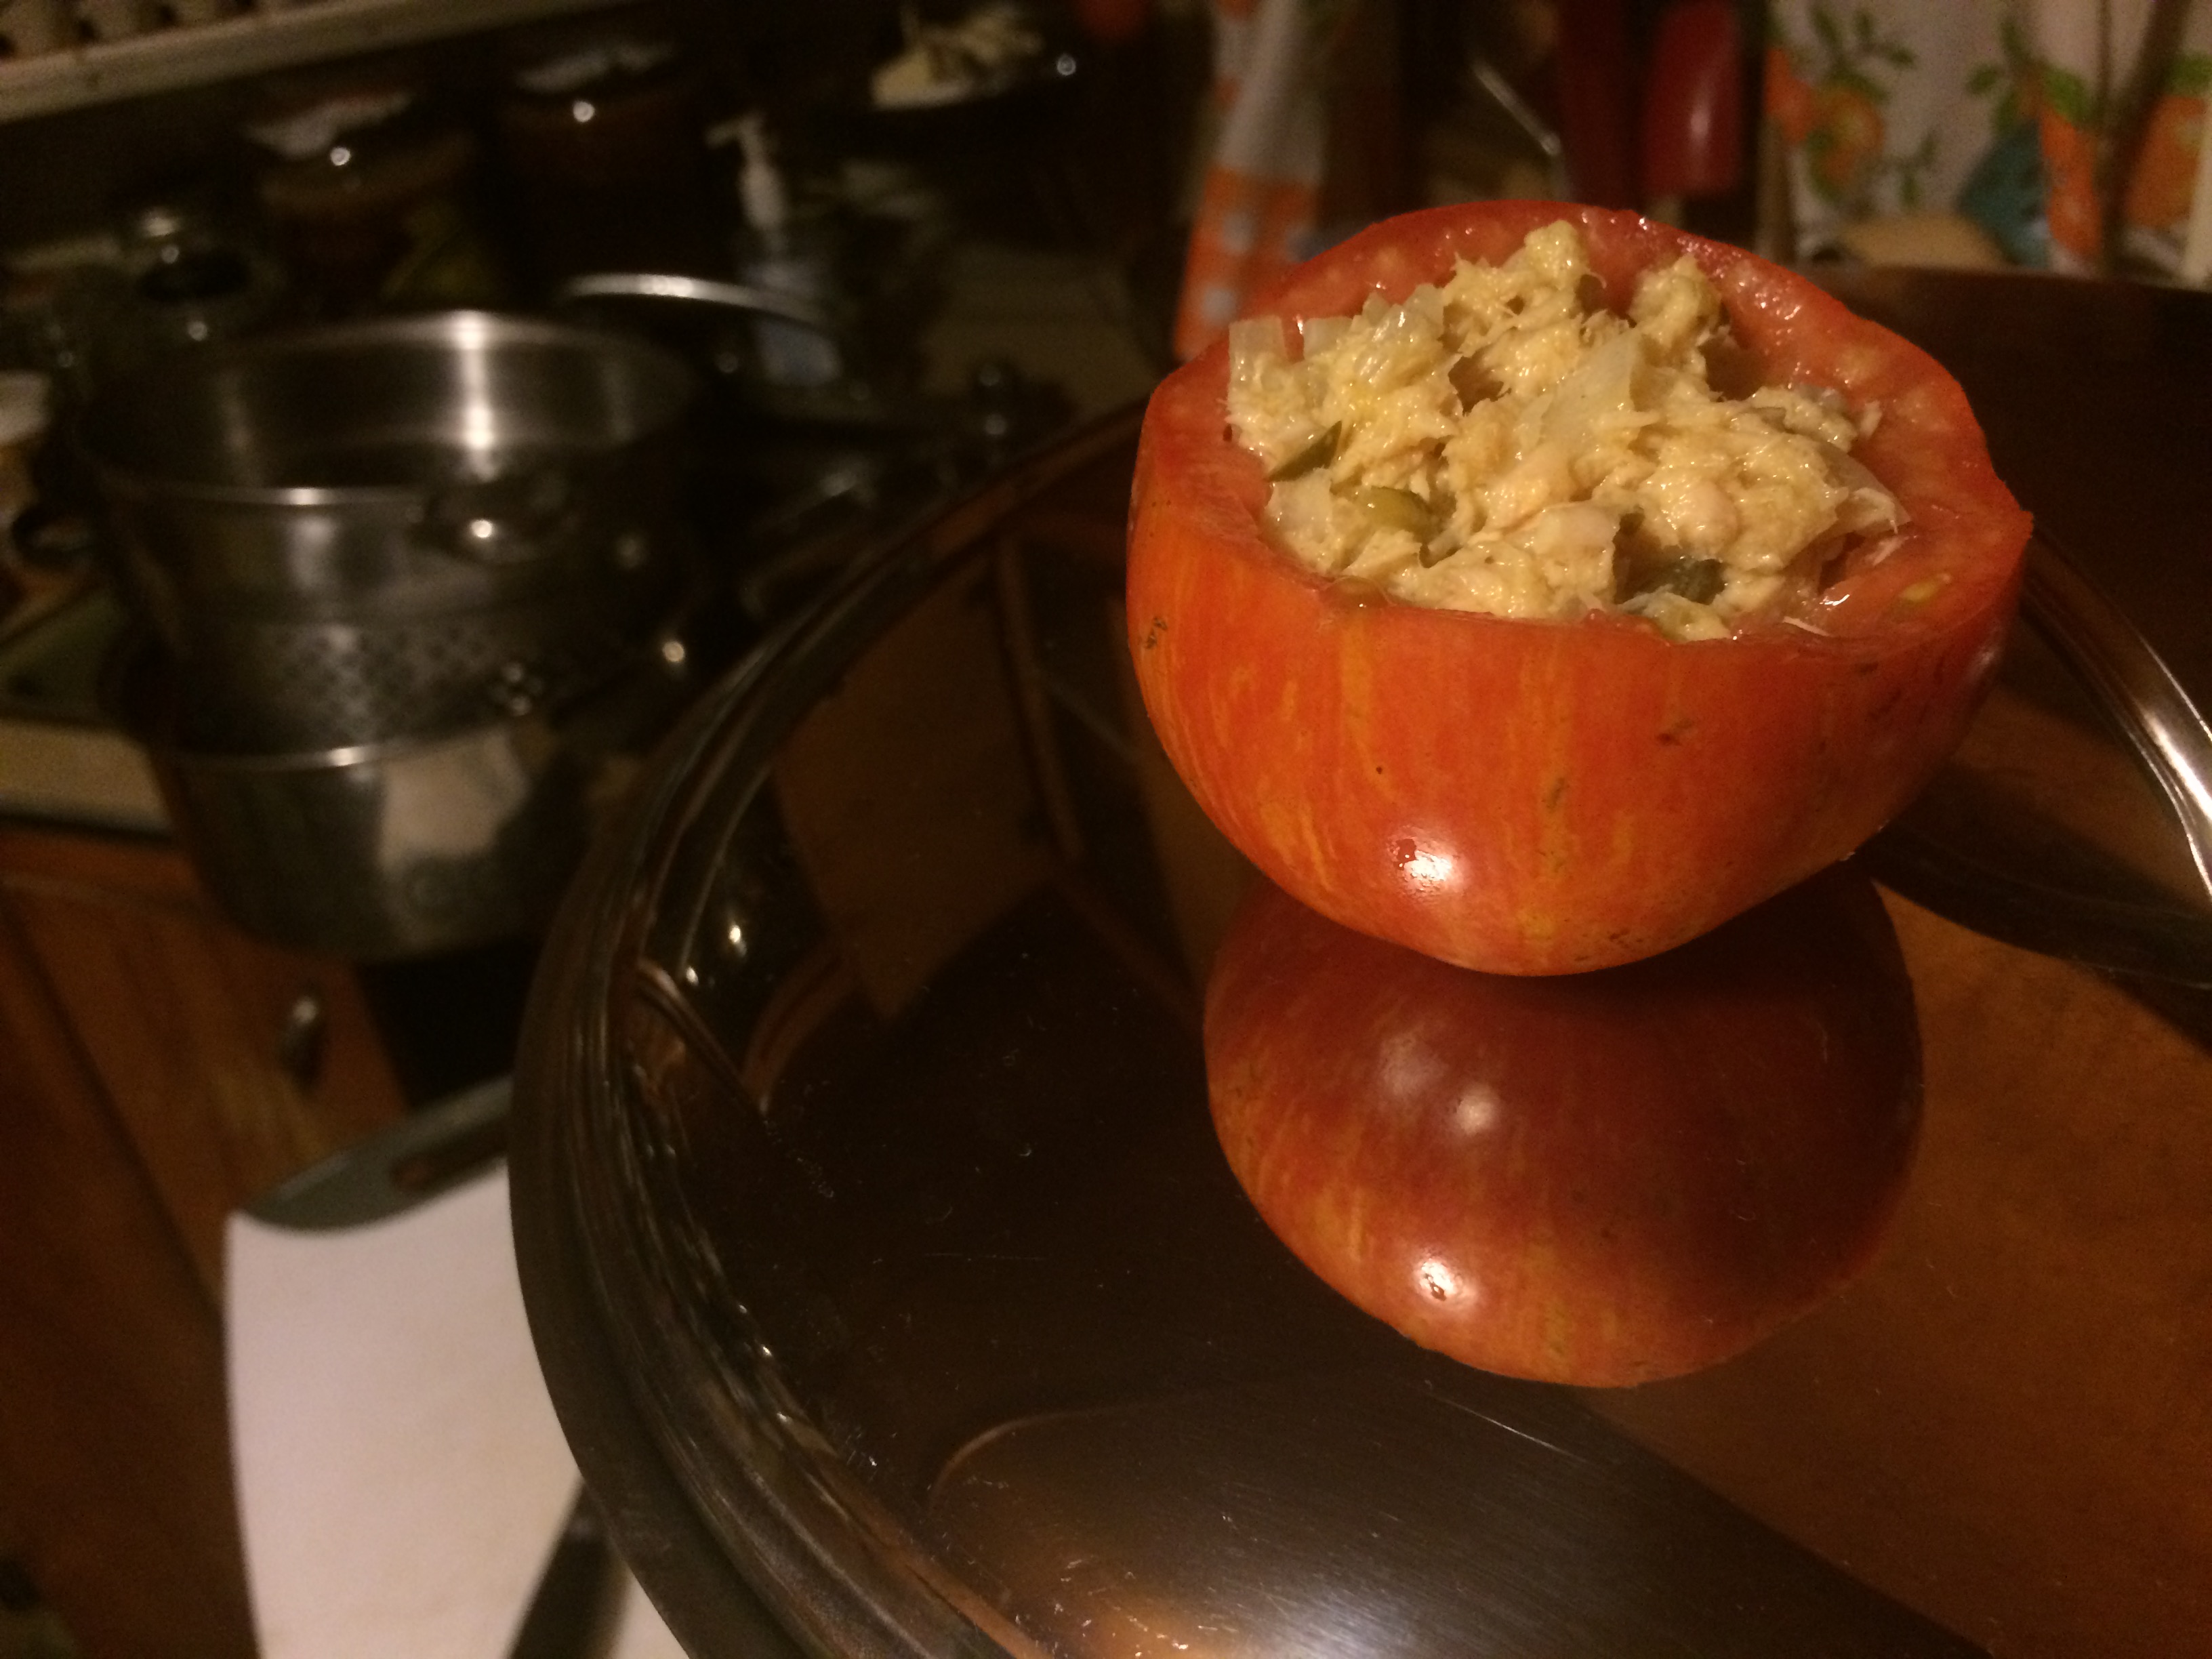
Acorn squash These will store for about a month on your counter. They make cute edible serving dishes for soup or pilaf. Usually it’s best to roast them until they are just tender before filling. I love brown sugar or maple syrup with squash but savory preparations are great as well. This recipe for squash with kale and sausage caught my eye http://www.epicurious.com/recipes/food/views/acorn-squash-with-kale-and-sausage-51203850
Spaghetti squash
Wow. These did really well this year!
They will also store about a month on your counter. Fritters? Red kuri squash – large shares only Our first time growing these and we didn’t get many. A dry crumbly texture. Quite delicious.
Potatoes
We didn’t wash them this time. They store better that way. (And the water was very cold today.)
Eggplant
Last ones! We decided to harvest them all and not try to save the plants from frost. I plan on roasting mine over fire and making my favorite eggplant dish: baba ganoush.
Salad turnips
Sweet and not too turnip-y. Definitely a nice addition to salad but also good to just chomp down raw.
Salad mix(lettuce, spinach, pea tips, mizuna, arugula, tat soi)
I put leftover dressed salad in a food processor and blended it into a pesto-like concoction that I then tossed pasta in. Not bad!
Cilantro
Guacamole.
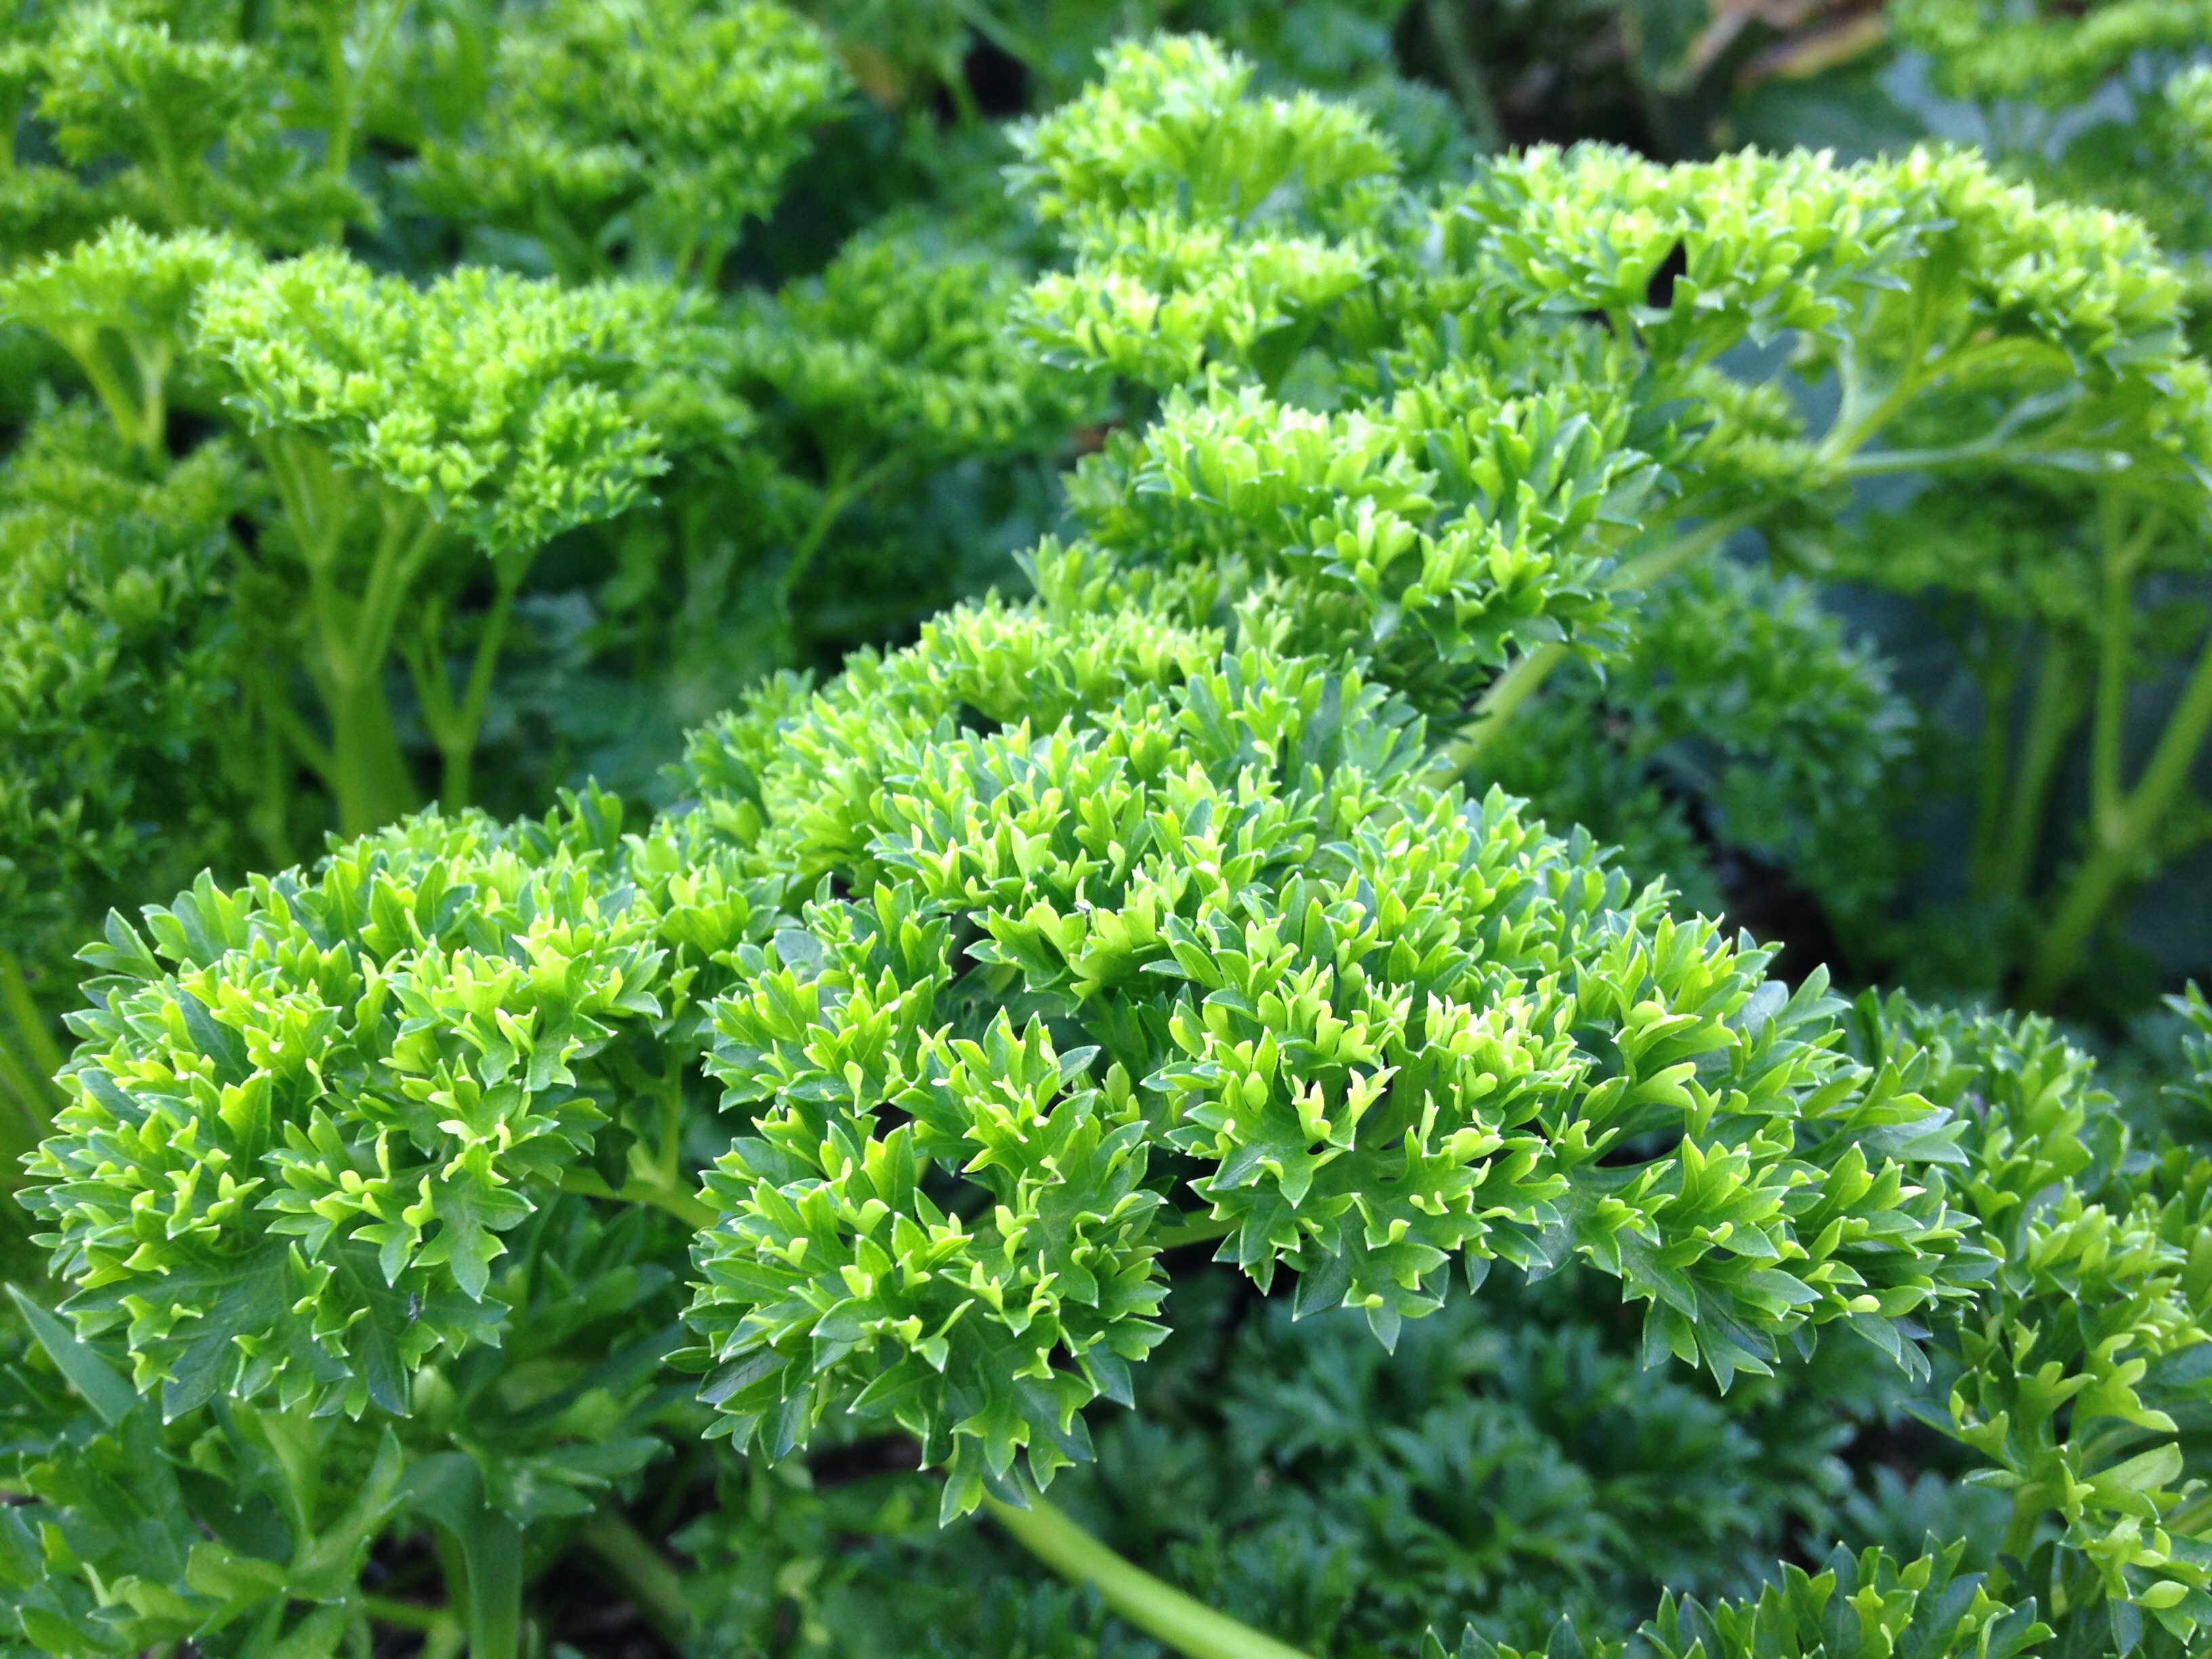
Parsley
Add to cream sauce.
Mustard greens
These are intensely peppery raw. I like it cut up as part of a salad. Cooking it may appeal to you more. You can prepare it as you would kale or collards. Sauté it with garlic, onions, soy sauce, chili flakes, and lime or lemon.
We do that a lot these days. It’s not bad. It’s more meaningful than many popular conversational topics, I reckon.
So. I love this weather. And I love this summer’s slow fade. After the intense spring season, this feels like a hammock in the sunny breeze.
Sometimes, literally.
There is still so much work to do, and sure, we’ve been doing a lot of it. But it feels much more relaxed, less life-and-death. Pull a clump or two of tall grass seedheads out every trip out of the field, but not launch a project to weed out entire rows, or commit total weed genocide.
The mellower temps make harvest less intense as well – things aren’t going to wilt in minutes if not cooled, and ice blocks survive for much longer in the unpowered old chest freezers. Waking with the sunrise now often means sleeping in by springtime standards, and the skies darken absurdly early. Is this really so surprising, year after year?
So it is cooler, but still surprisingly and wonderfully warm. We’re past the average first frost date by a week now, and haven’t given in to firing up the woodstove yet. The WWOOFer musicians have been sleeping out in the starry breeze in The Clearing on The Hill. The literal snowbirds fly over our heads and make us contemplate our own coming migration … as we sit out comfortably in the t-shirt sundowns.
doing dishes at sunset
Hopefully it holds to some extent through the first couple weeks of October, because we’re going to have our first ever event on the farm – a potluck for friends of the farm. (If you’re reading this, that almost certainly includes you.)
After a month with us, WWOOFer Bryan is heading back to Chicago today – with plans to return for the potluck. I love the connections that WWOOFing forges; there is just something about living within a farm, maintaining the living system, together. Here’s some of the things Bryan saw and captured over the last two weeks … followed by a haiku he left behind for us:
Goodbye to tickling
black flies, friends fresh as summer
fruits of sun-washed love.
CSA Box 16
Harvest went smoothly today, even with the return of salad mix. We had a big crew that all know the ropes, and things are just simpler at this time of year – we can harvest some crops the evening before, and overall, the field is settling down. It was still a challenge to get everything in the boxes, even as Kristin started harvesting more stuff in case they were too empty …
September Salad Mix (lettuce, pea tips, spinach, arugula, tat soi, mizuna)
Butternut Squash – easy to peel if you want to cube it up and sautee it. Or halve it and roast the whole thing.
Pepper Party – Those late bloomers are finally starting to produce! If they are orange, they are hot, but other than that you get to play Pepper Roulette, same as I do (today’s lesson for me was that yes unripe green cayenne peppers are just as hot as ripe ones are).
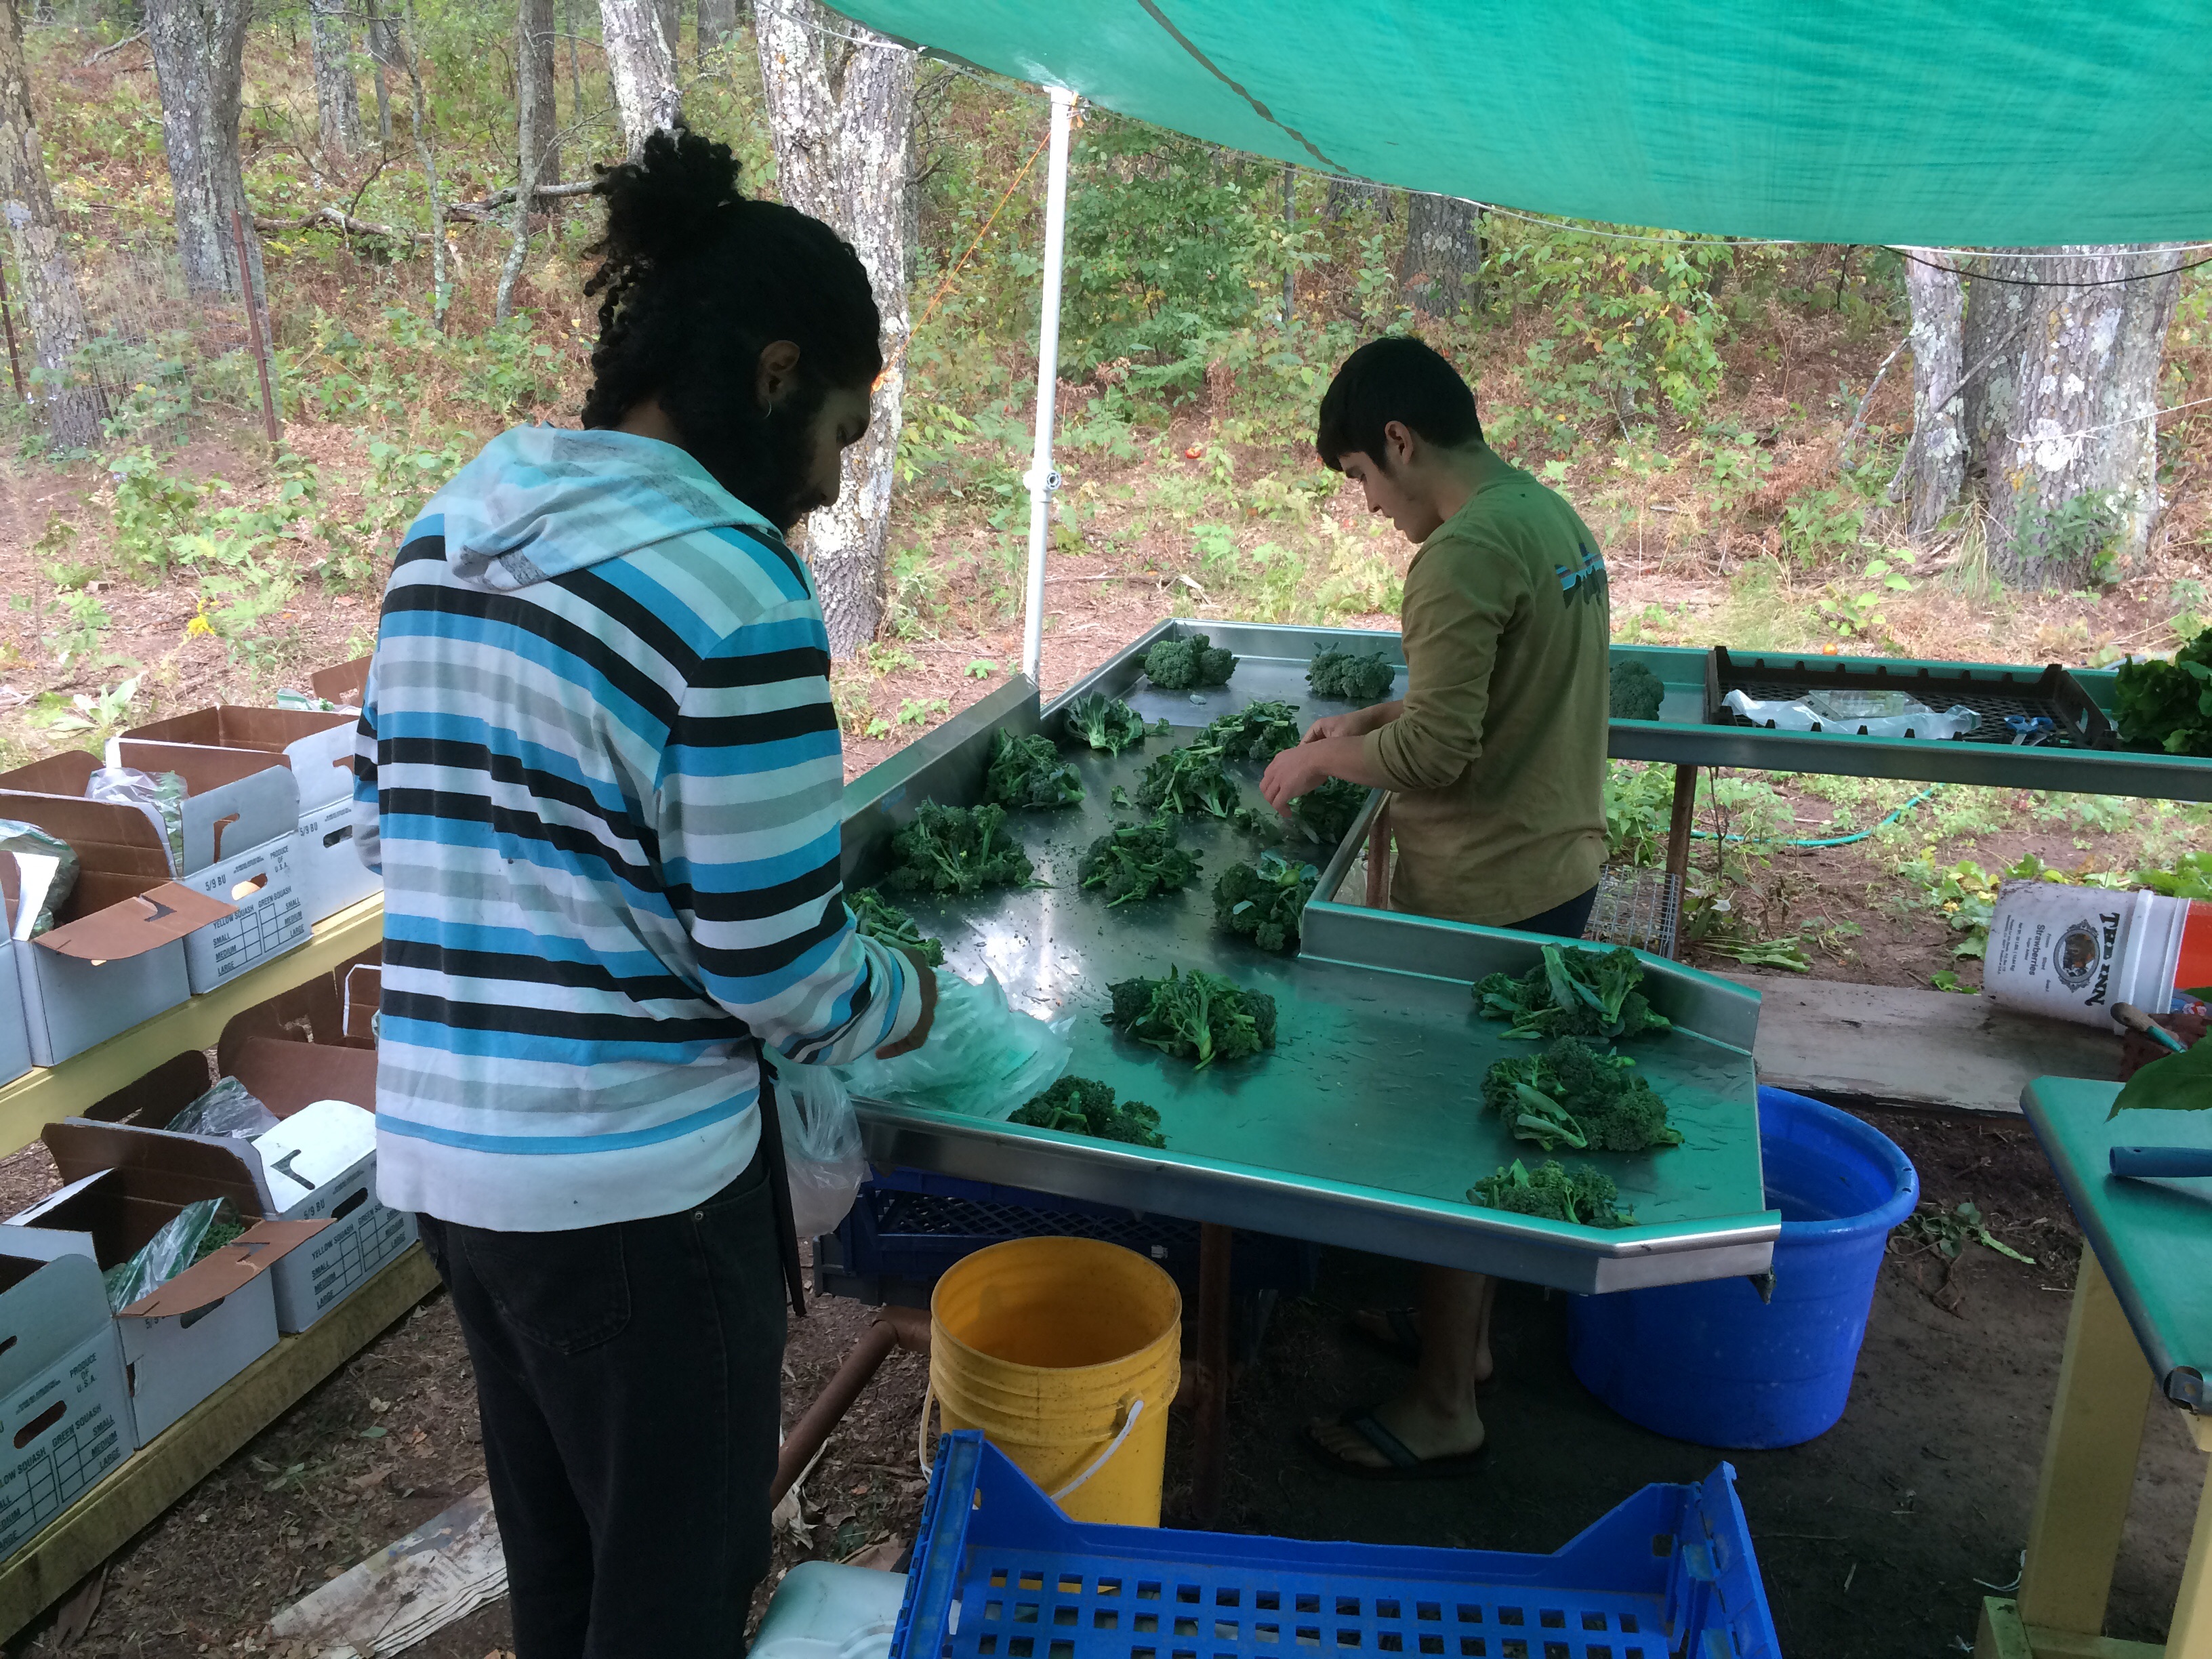
Broccoli – This has been the best year yet for broccoli on our farm – perhaps due to the regular rains and/or our improving soil and composting … hopefully having a little broccoli regularly is something you enjoy as much as we do.
Beets (mostly Chiogga variety)
Shareholders Paul & Elizabeth sent in these pics:
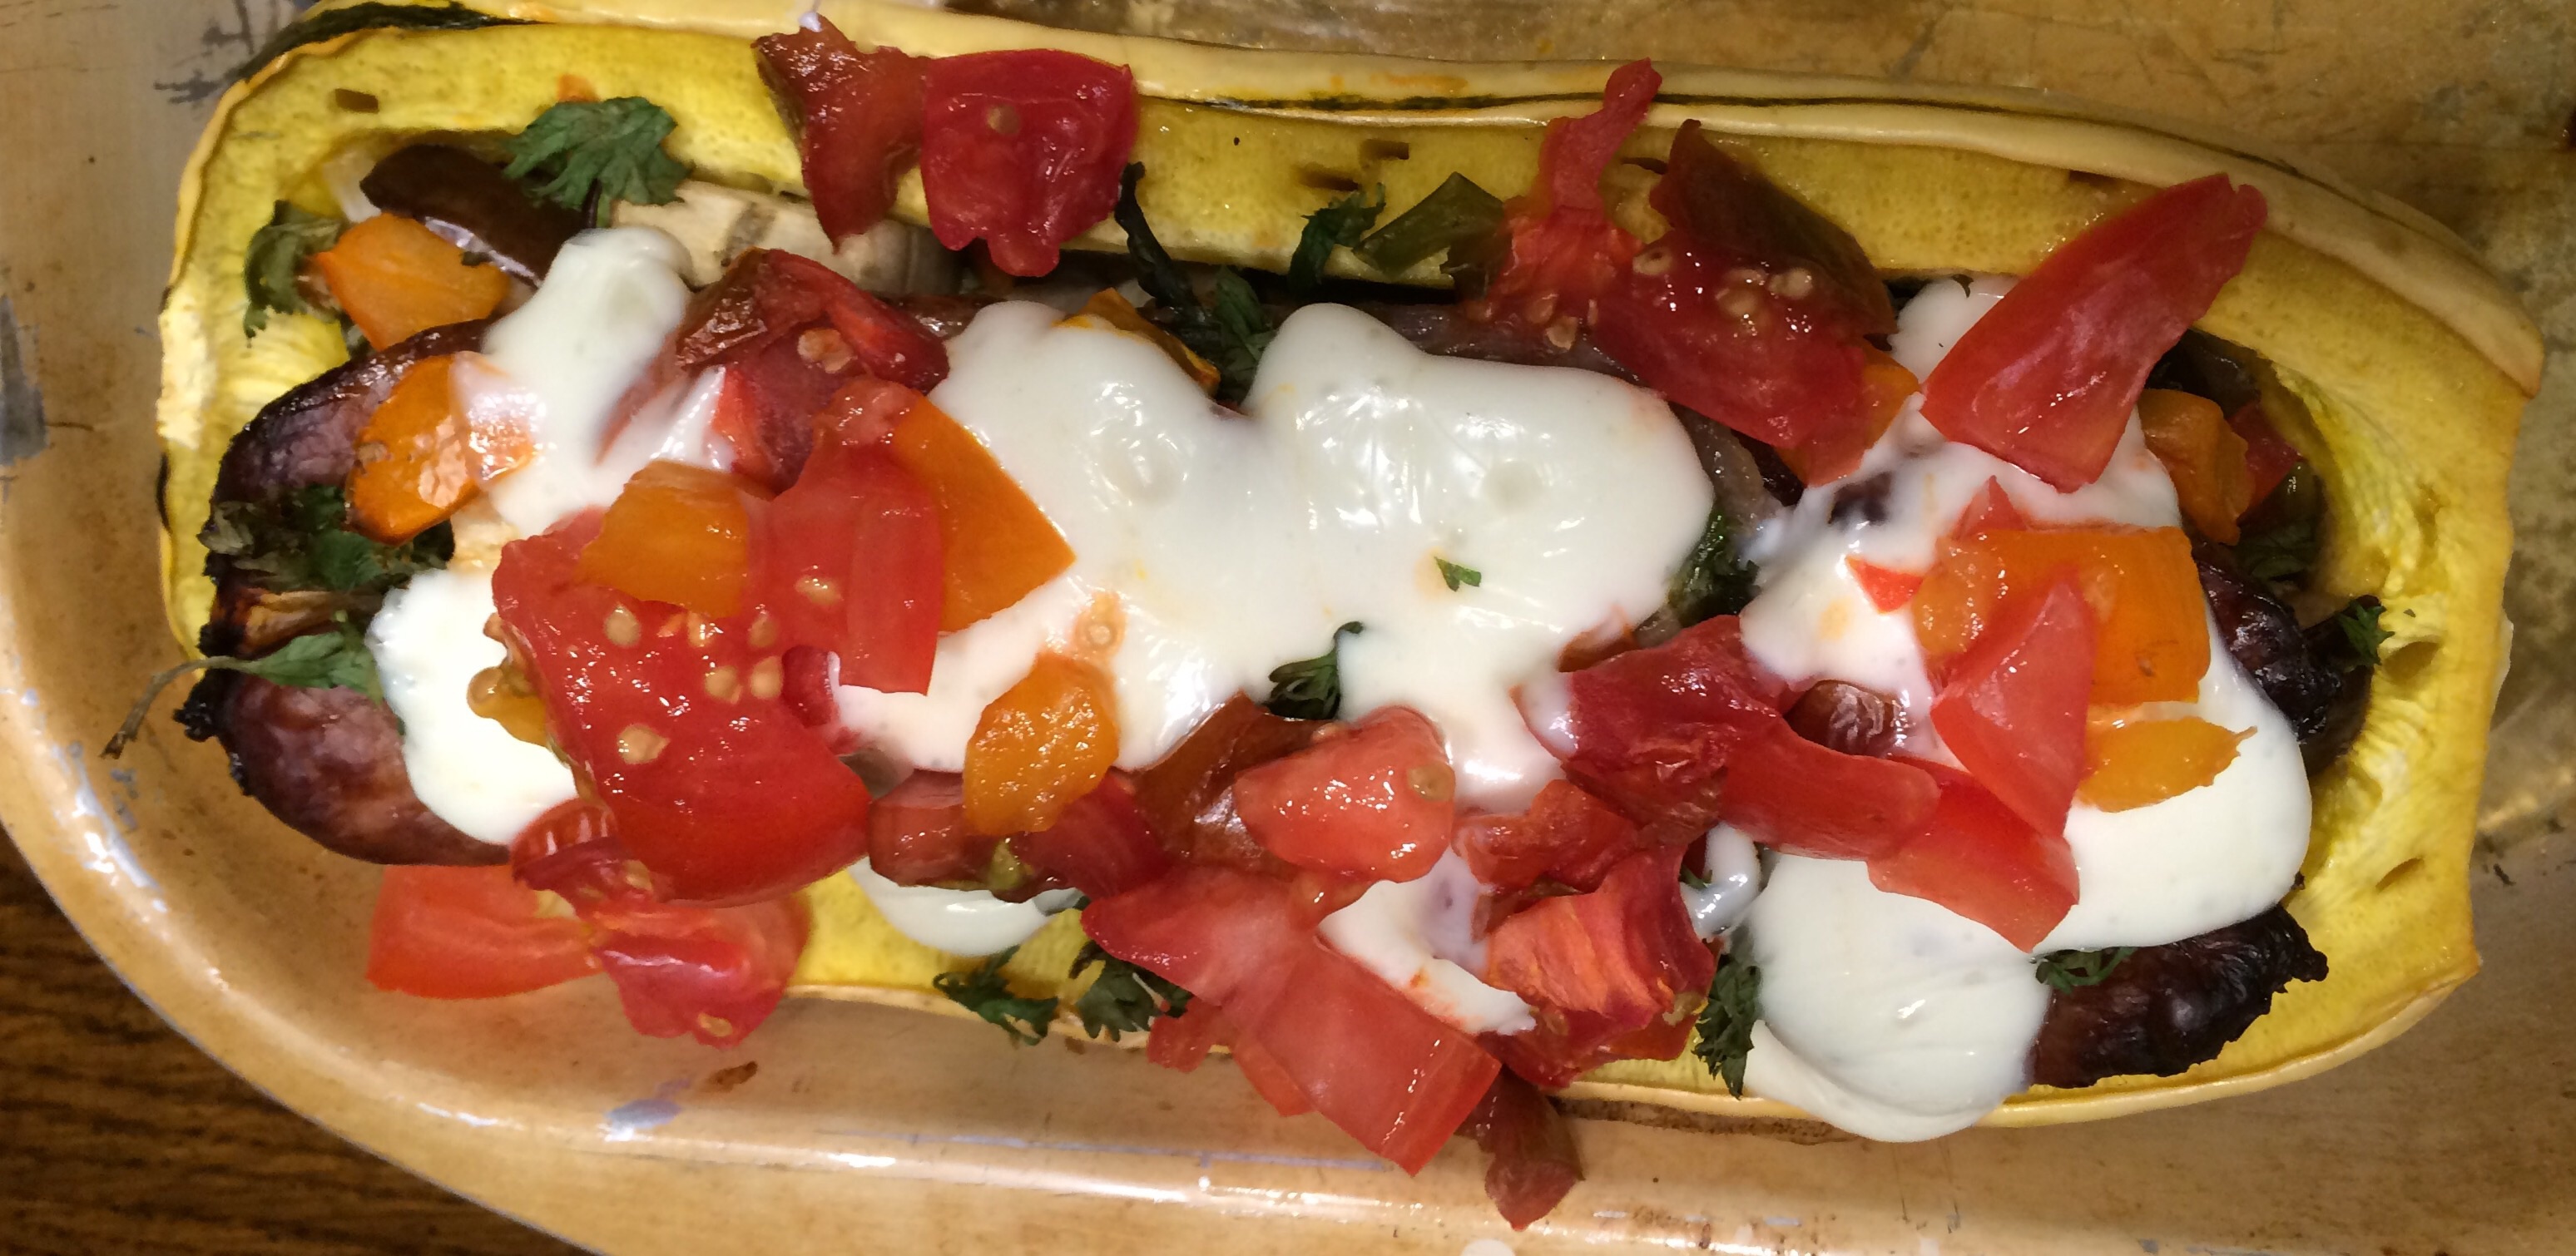
“Elizabeth cooked up a gem!! QSF halved squash baked at 350 with sausage. At 45 minutes 90% of previously diced QSF eggplant, three kinds of diced QSF tomatoes, diced QSF onion (all mixed with olive oil and a bit of vinegar). At 1 hour the last 10% of the diced veggies and some of the mozzarella we made for five more minutes.”
YUM.
More pics from this week:
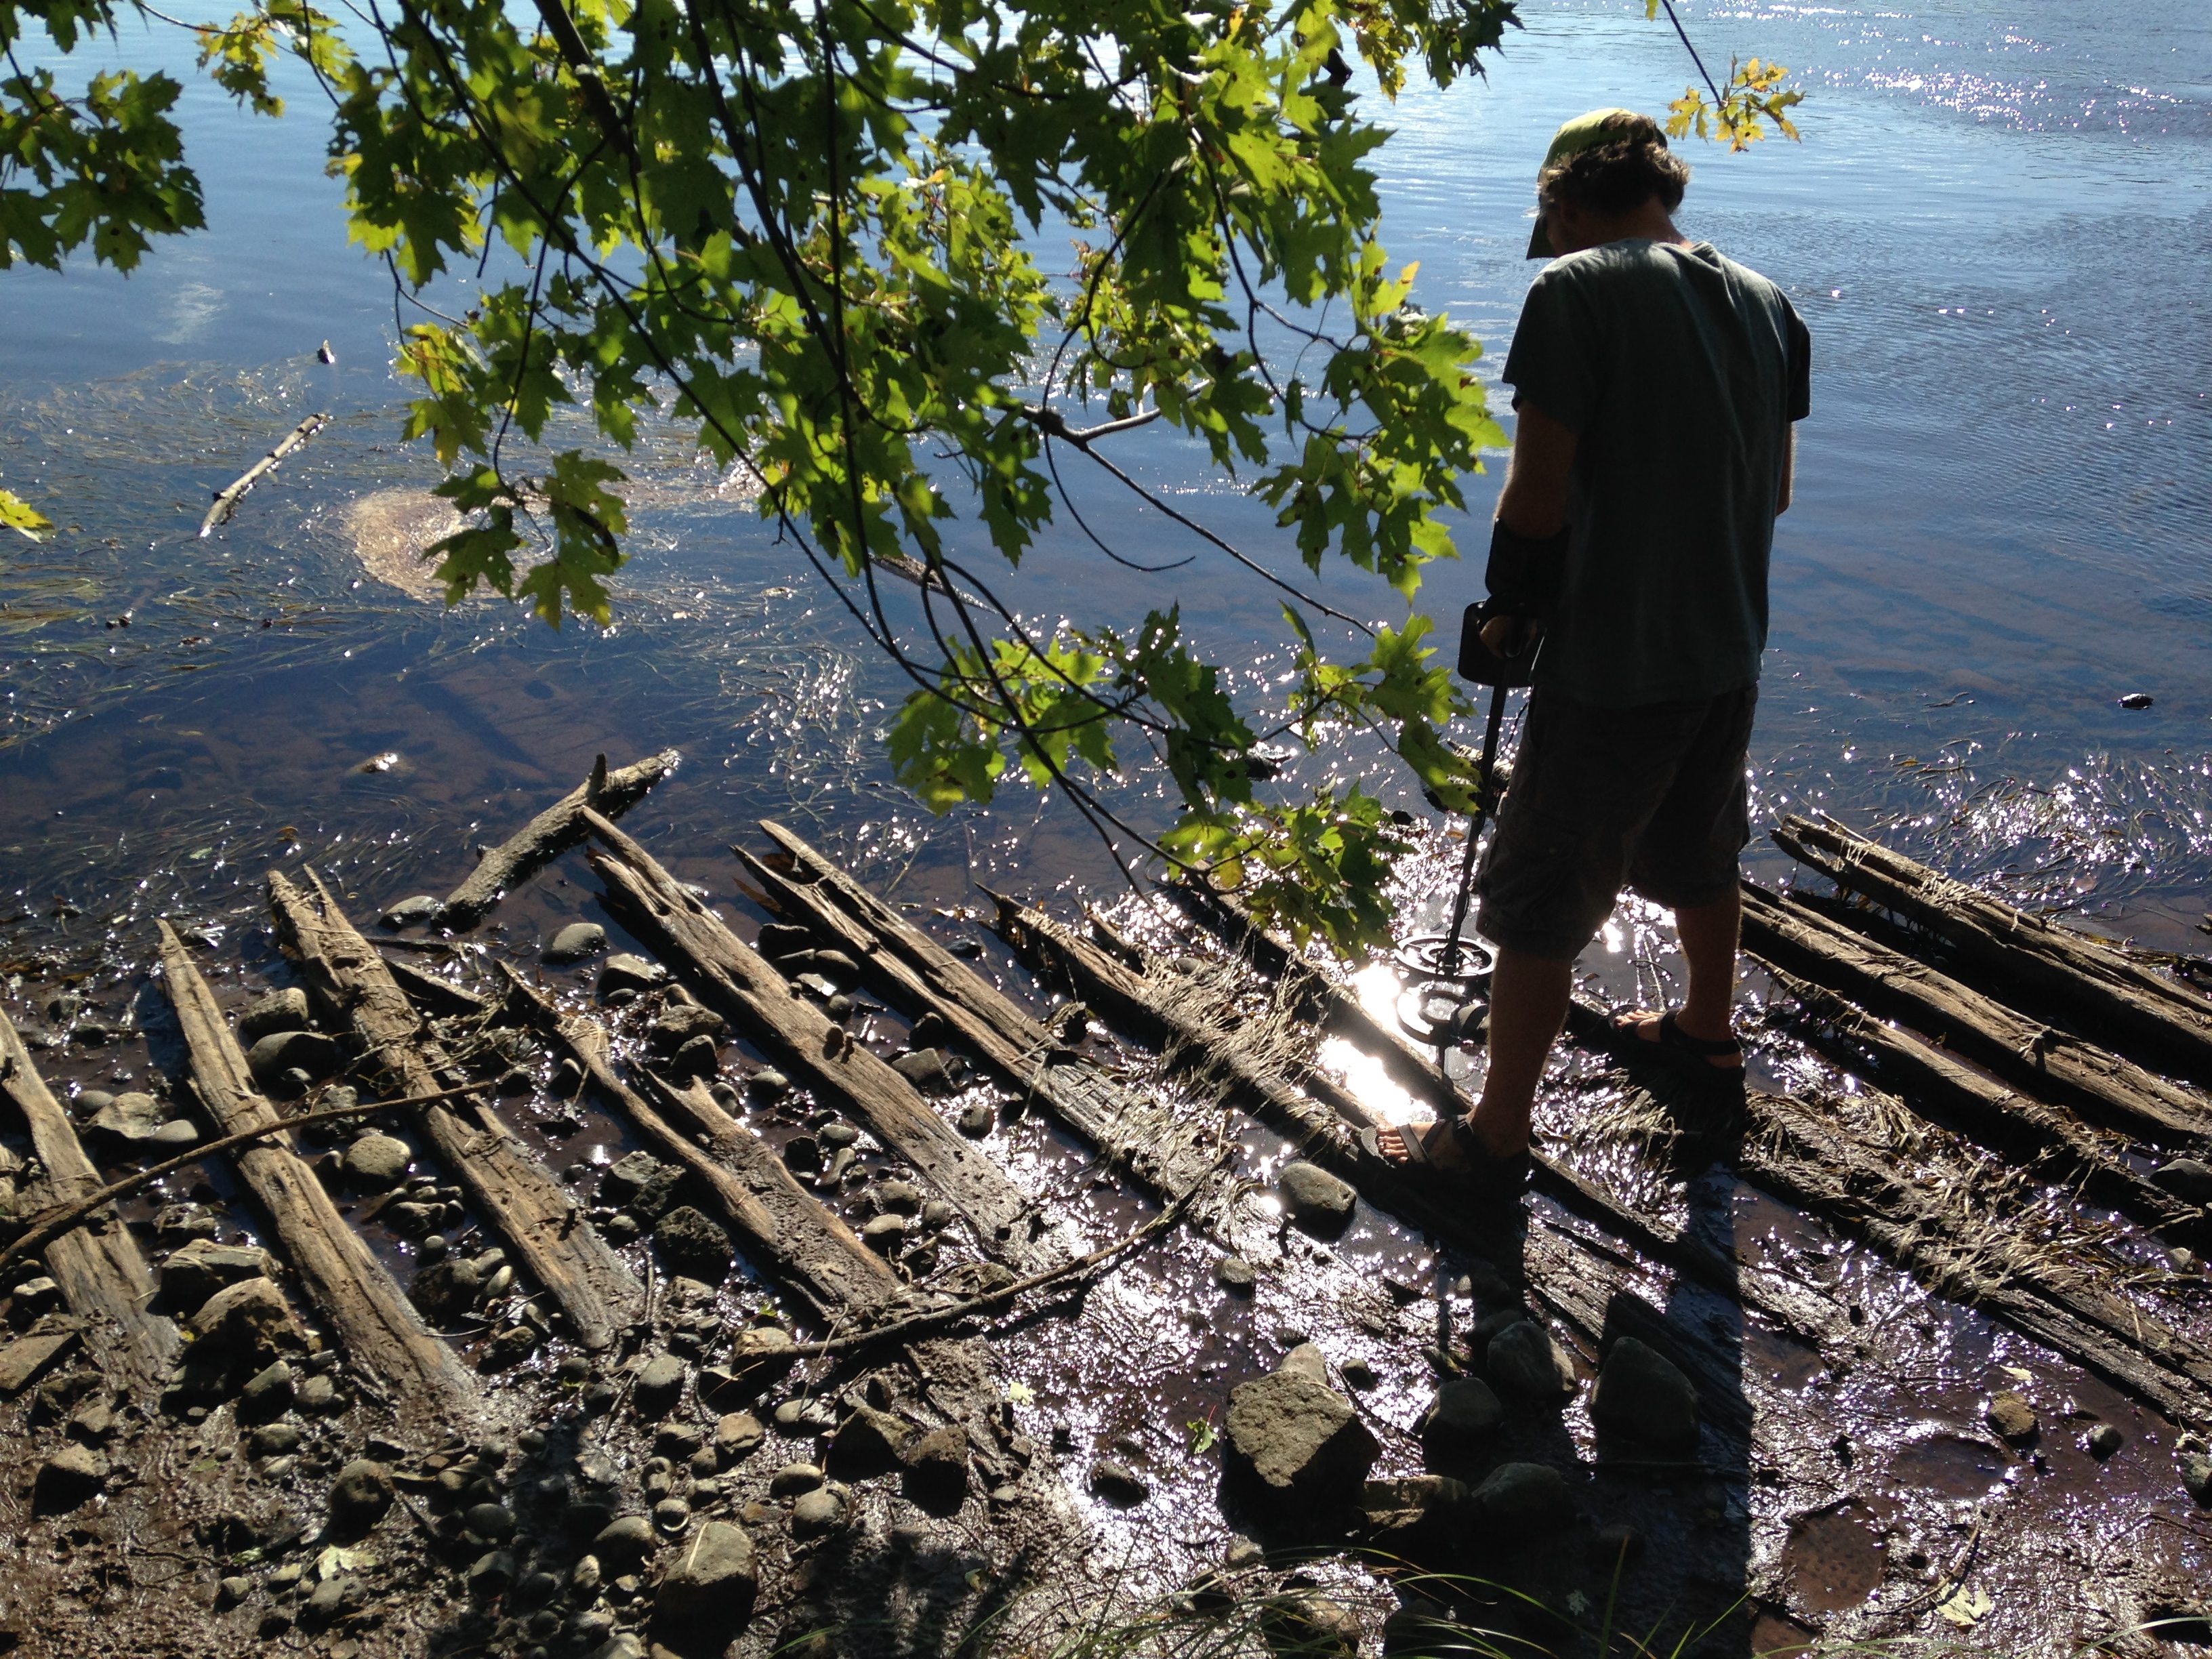
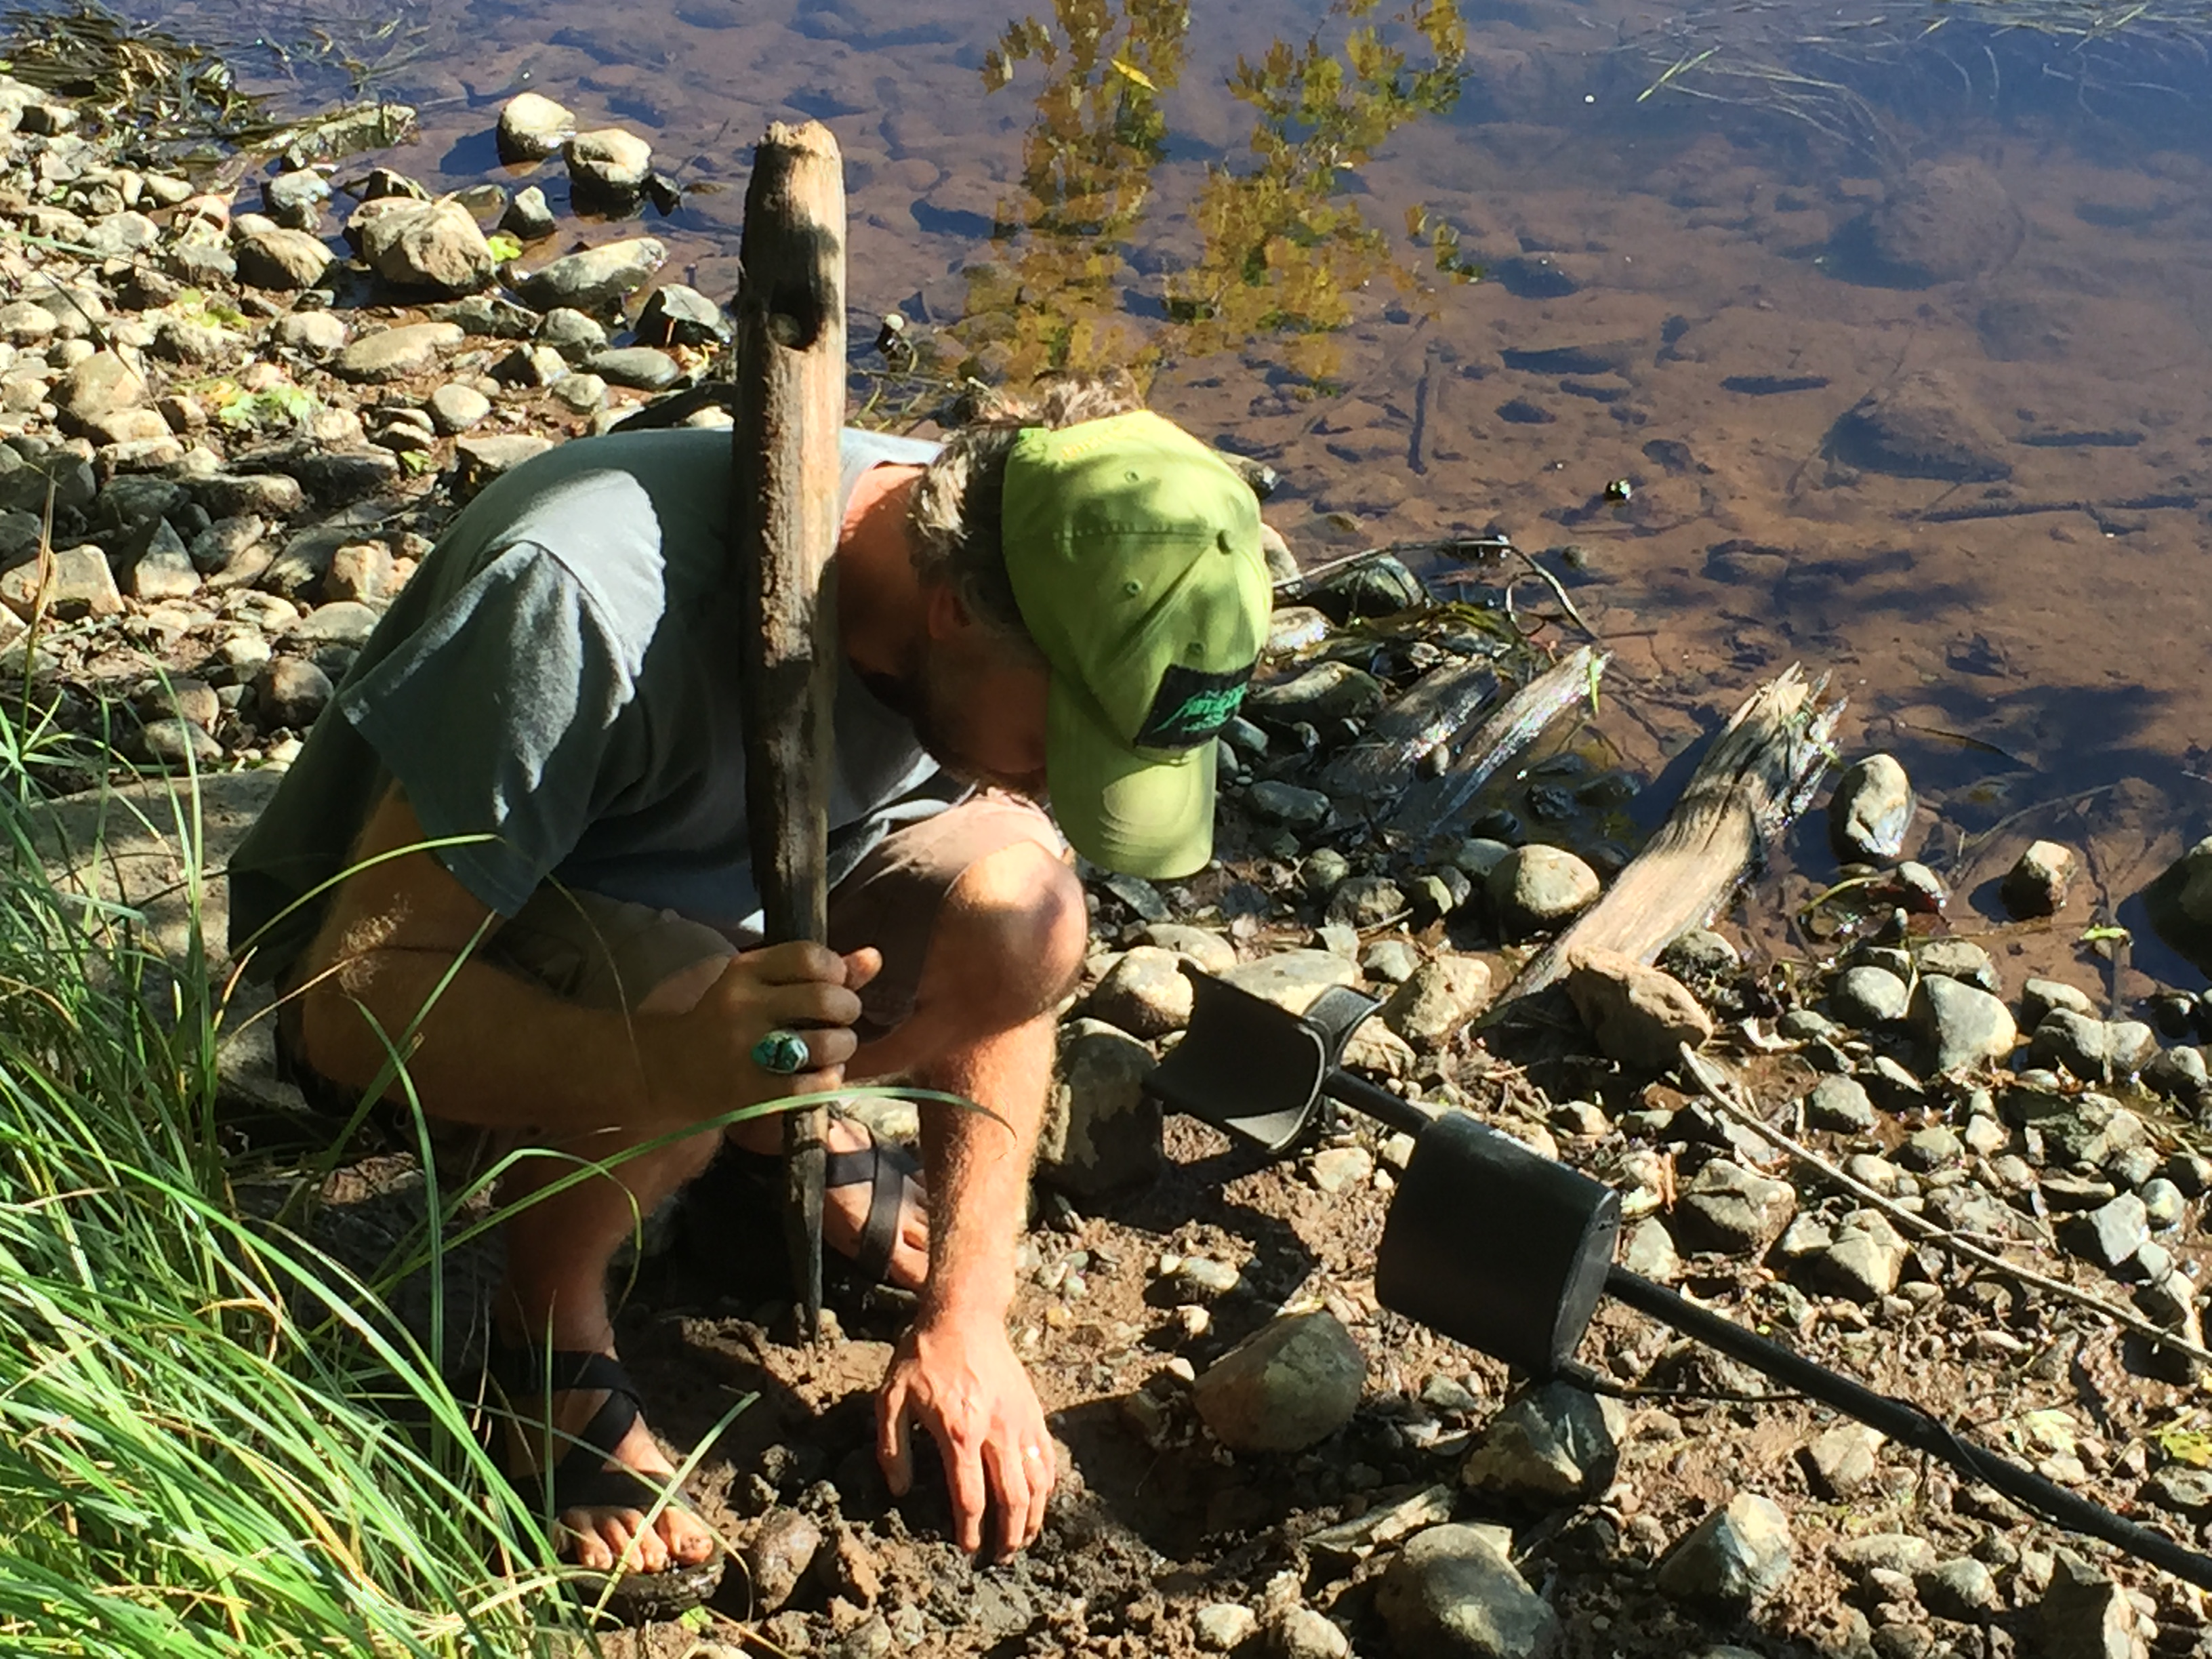
prints in the muck – they lowered the Croix by 8 feet upstream of the dam for repairs, so we went to check it out with Kristin’s folks
this snake may have bitten off more than it can swallow
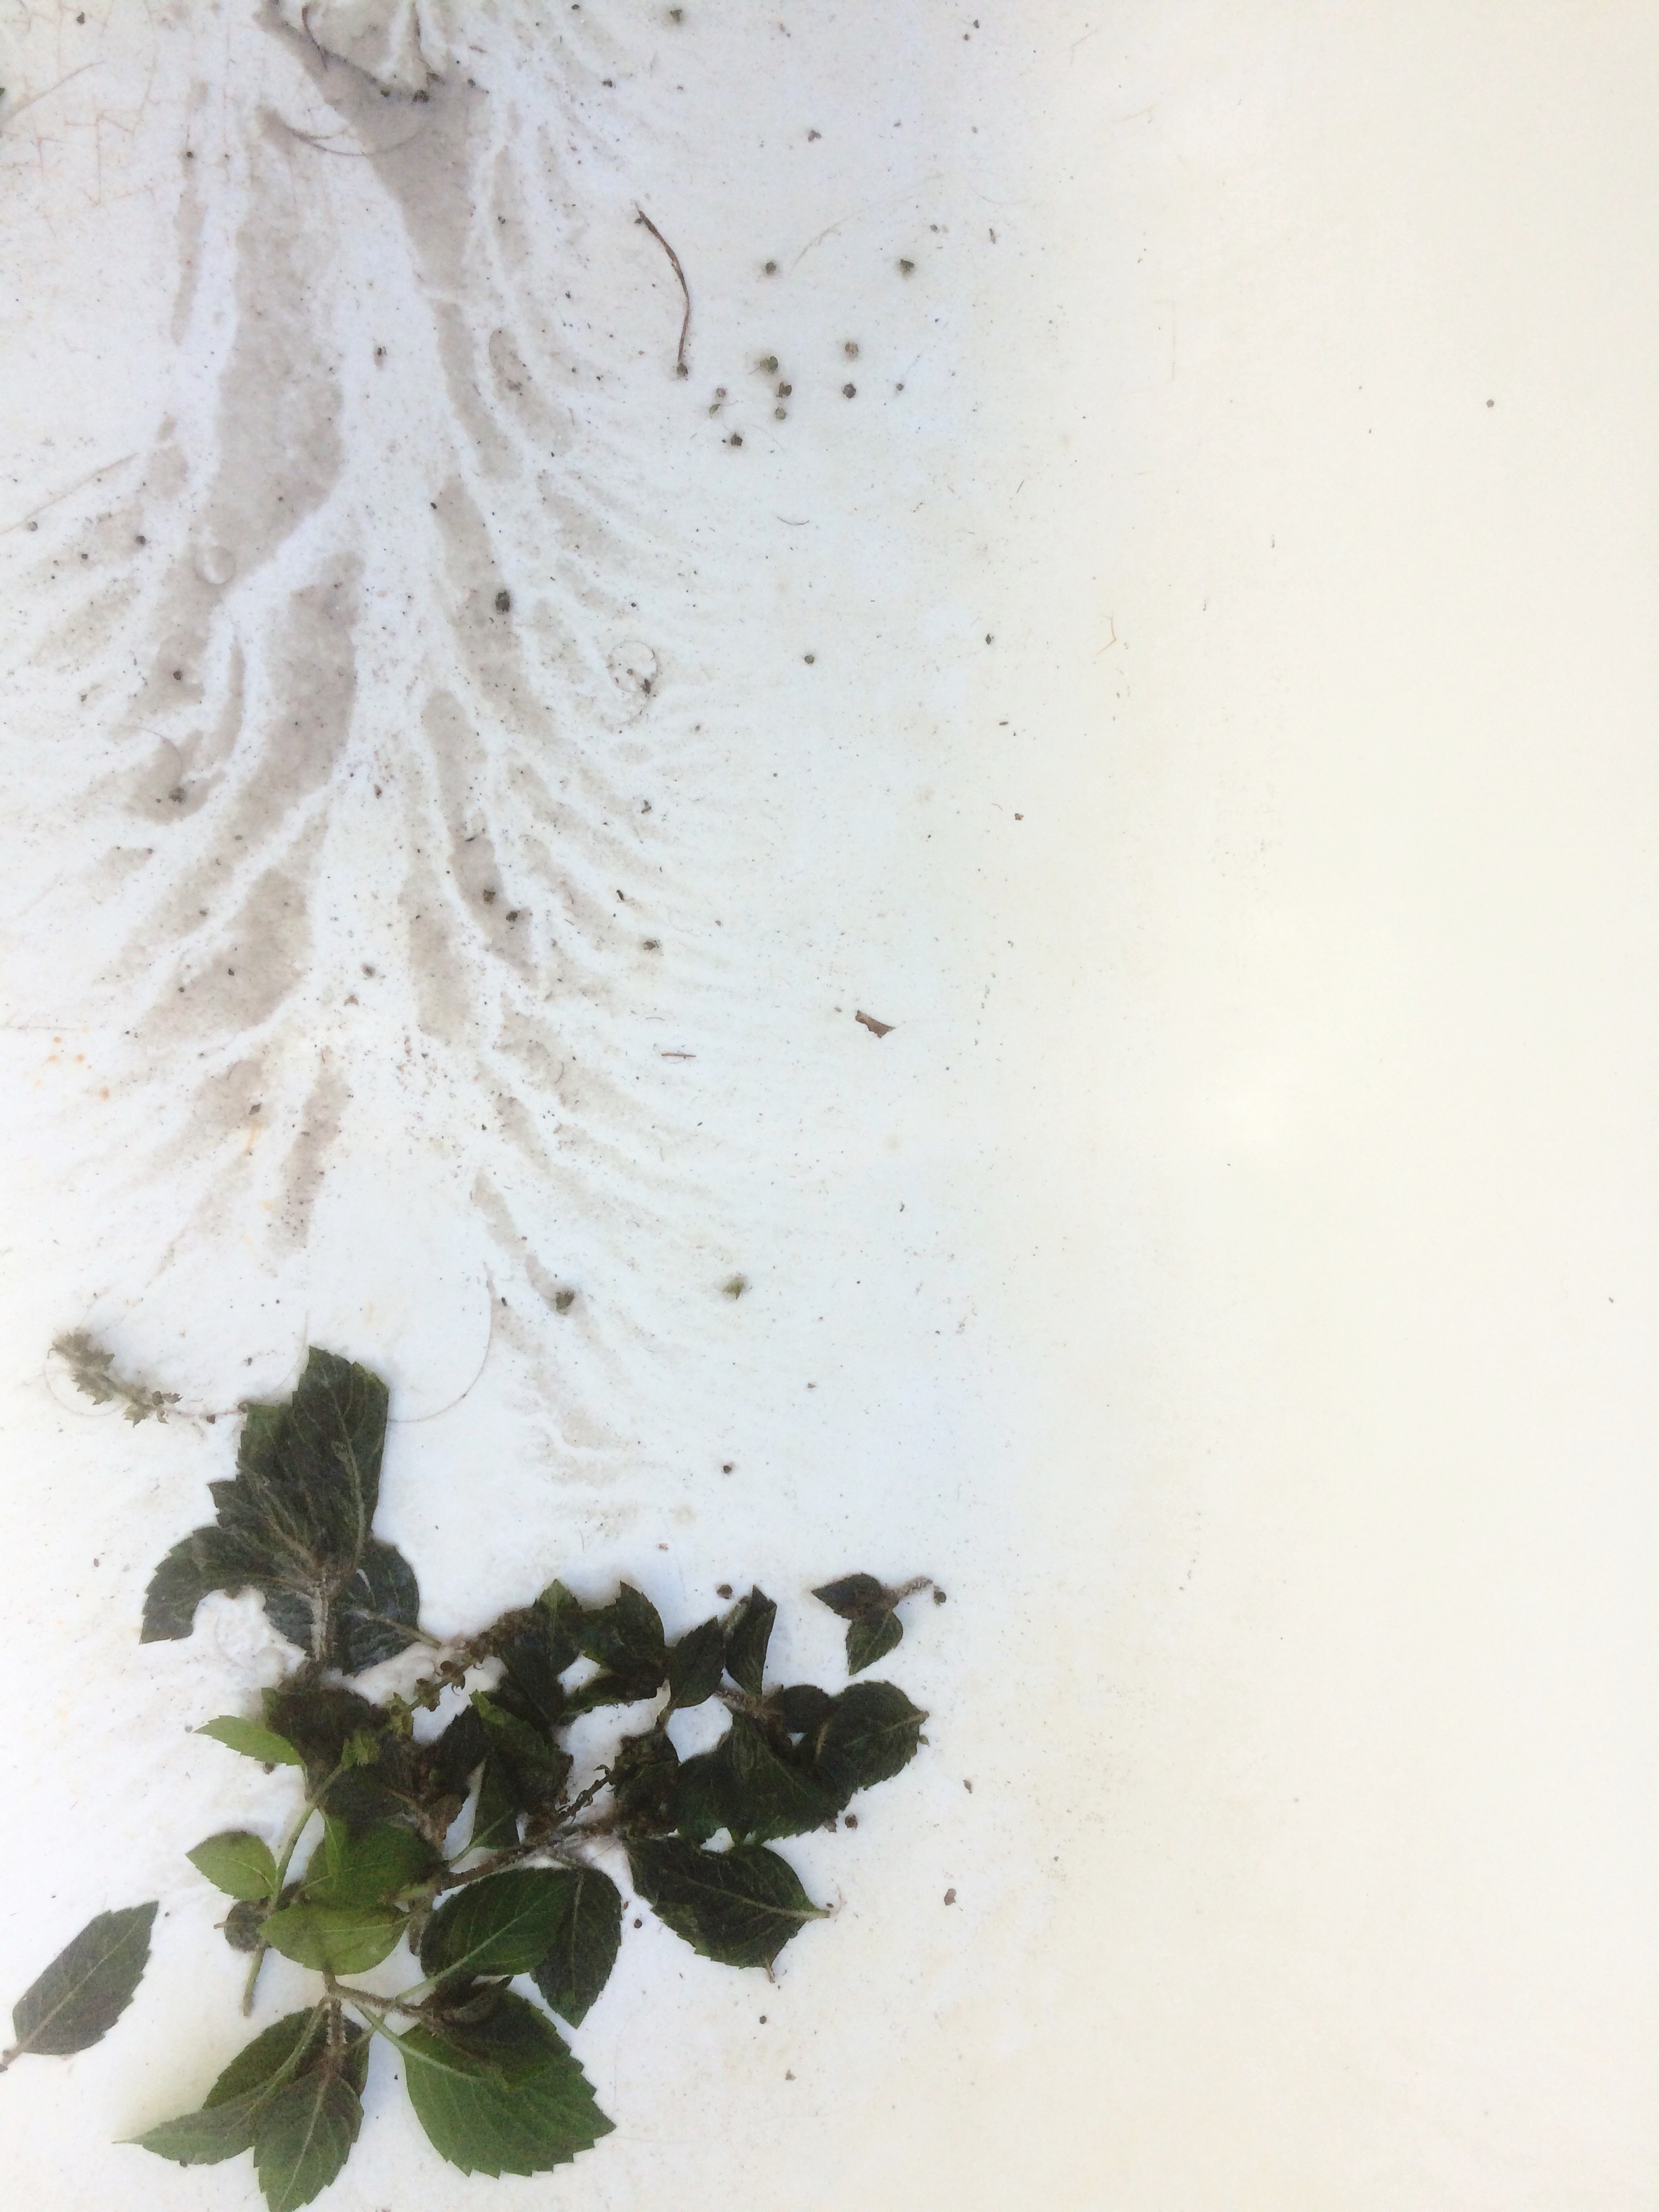
stacking the free insulative firebricks we scored for the greenhouse rocket mass heater (TBD)holy basil hillbilly hottub bath remnants
This summer has been perfect, hasn’t it? This is how I remember summers as a kid. Glowing long days that make for weeks that feel like months – in a good way. A great way.
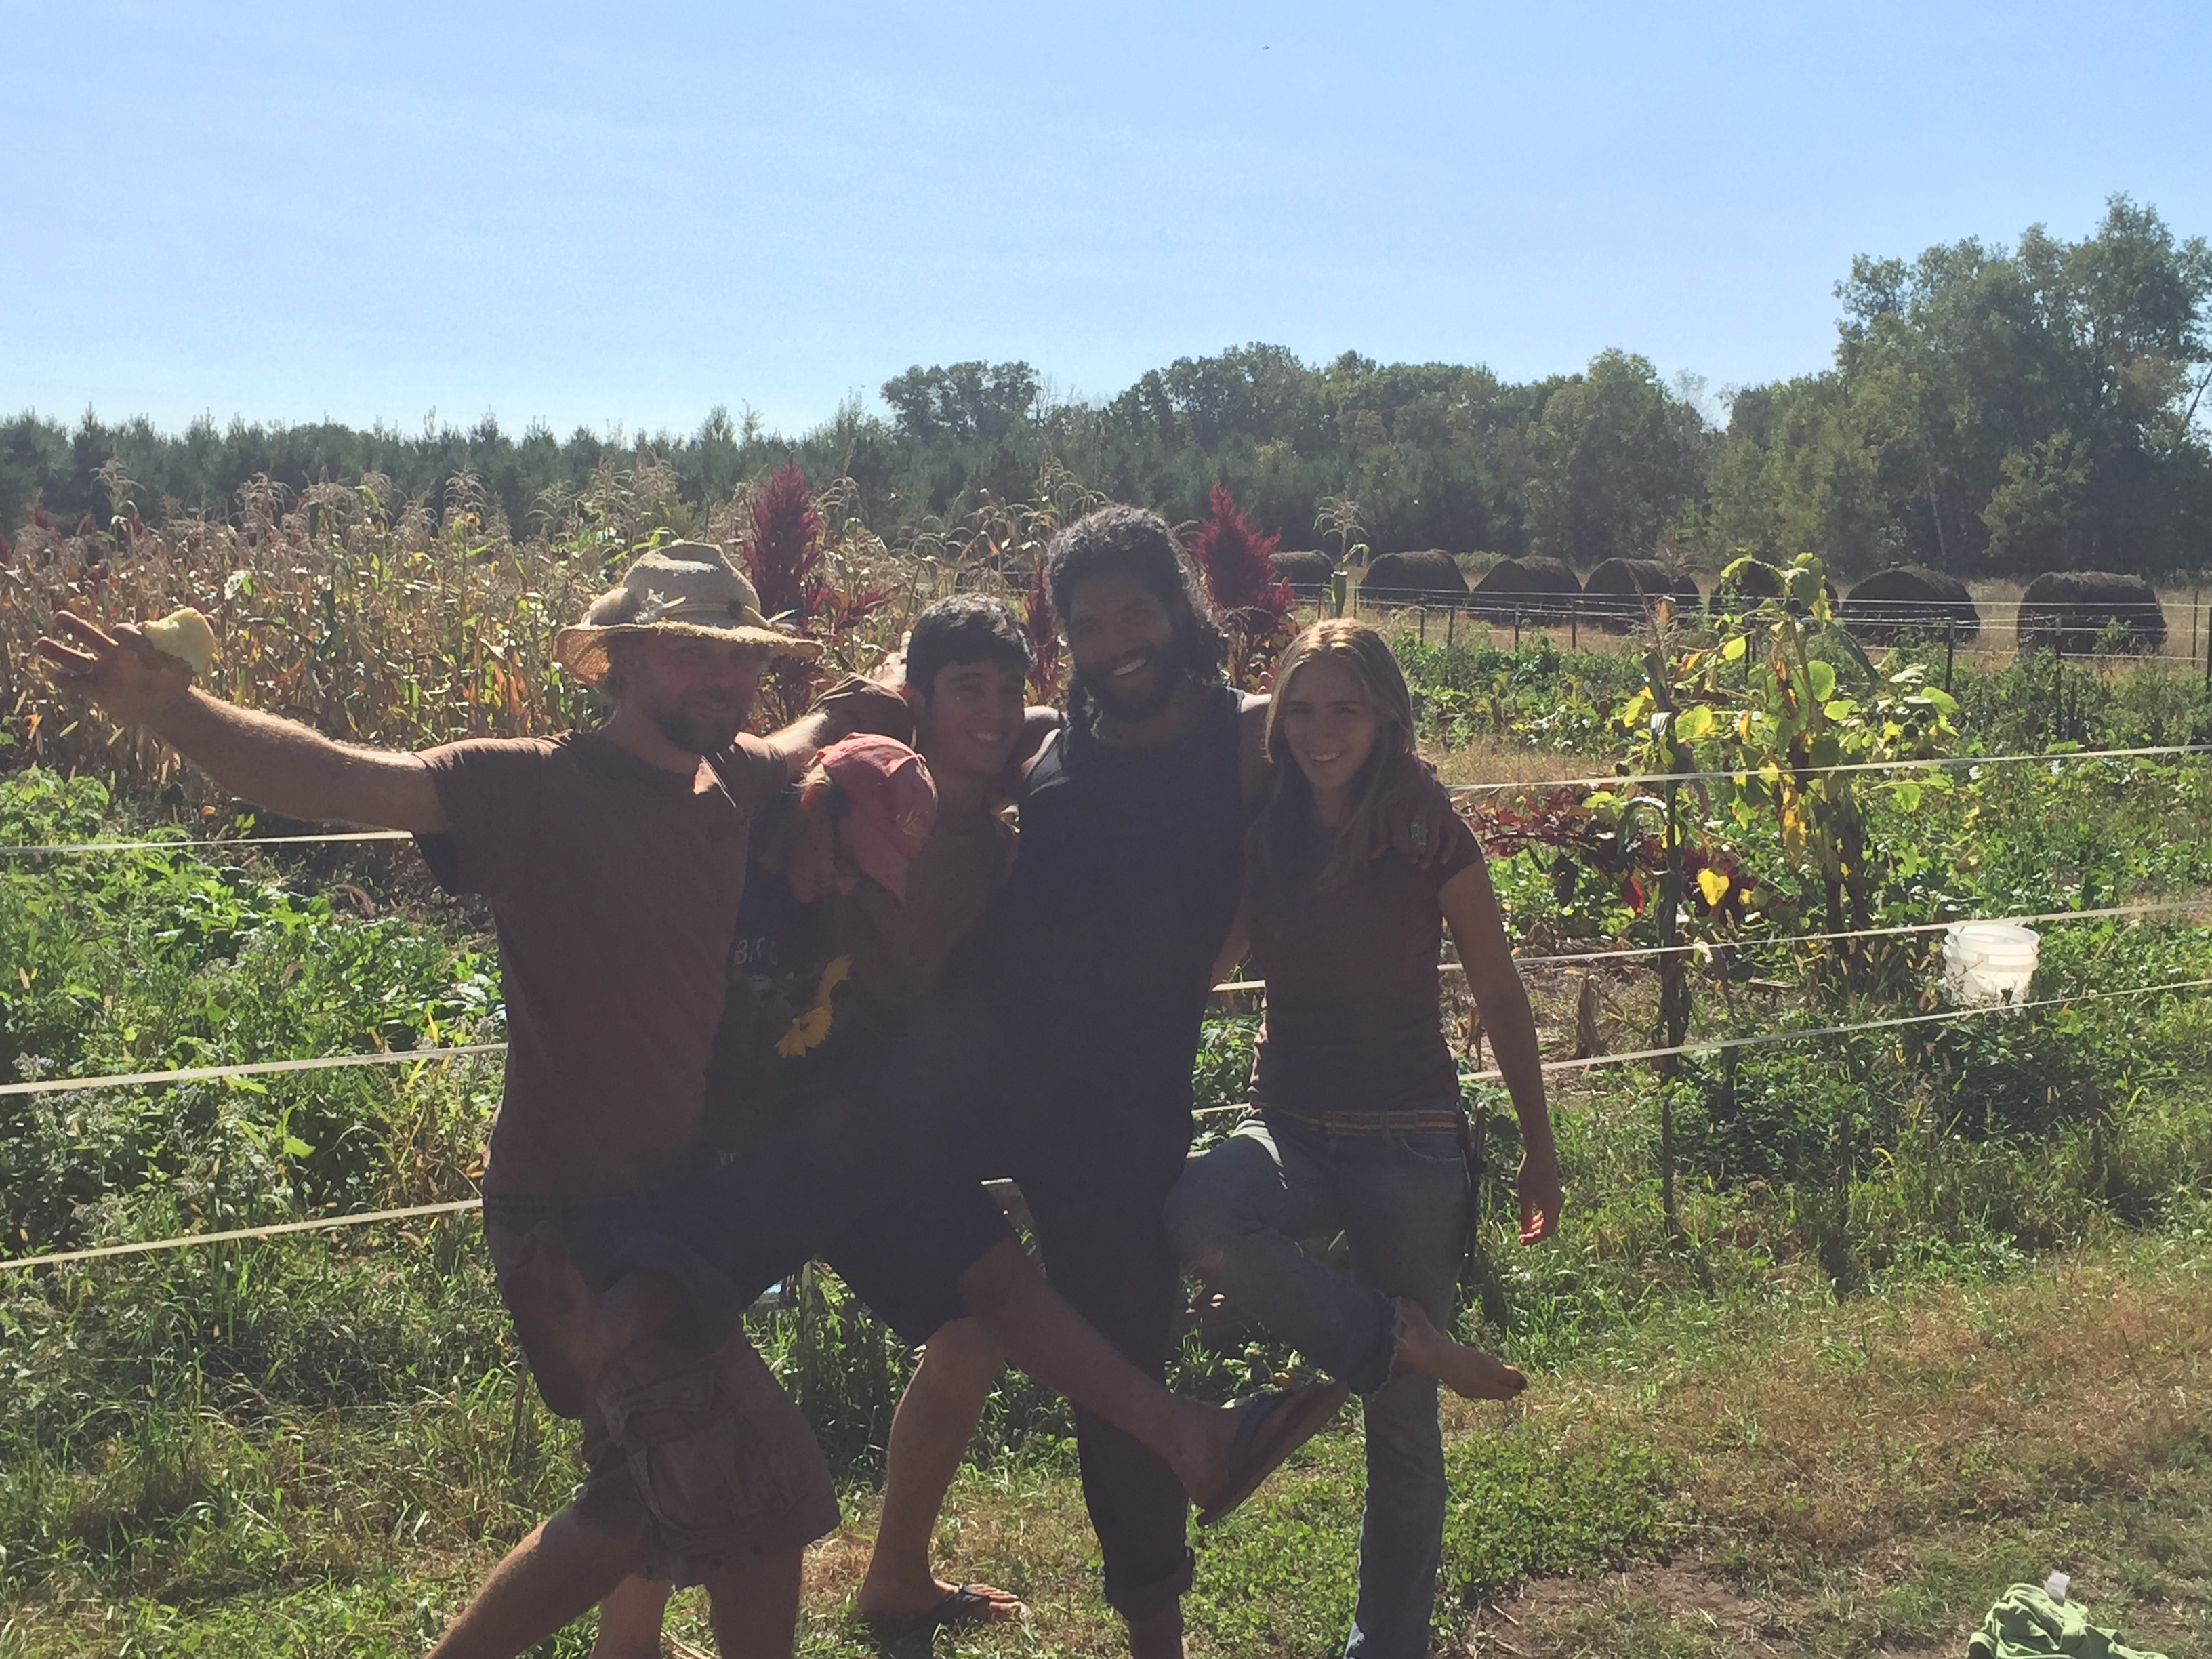
It it was a great week on the farm, too. We have three kickass folks staying with us. (Four, actually, now that Bucket the cat has returned from his three day and night sabbatical in the woods., undevoured and glad to be back.)
The high tunnel project is moving along briskly with indispensable direction and support from Patriarch Jim and Neighbor Dave.
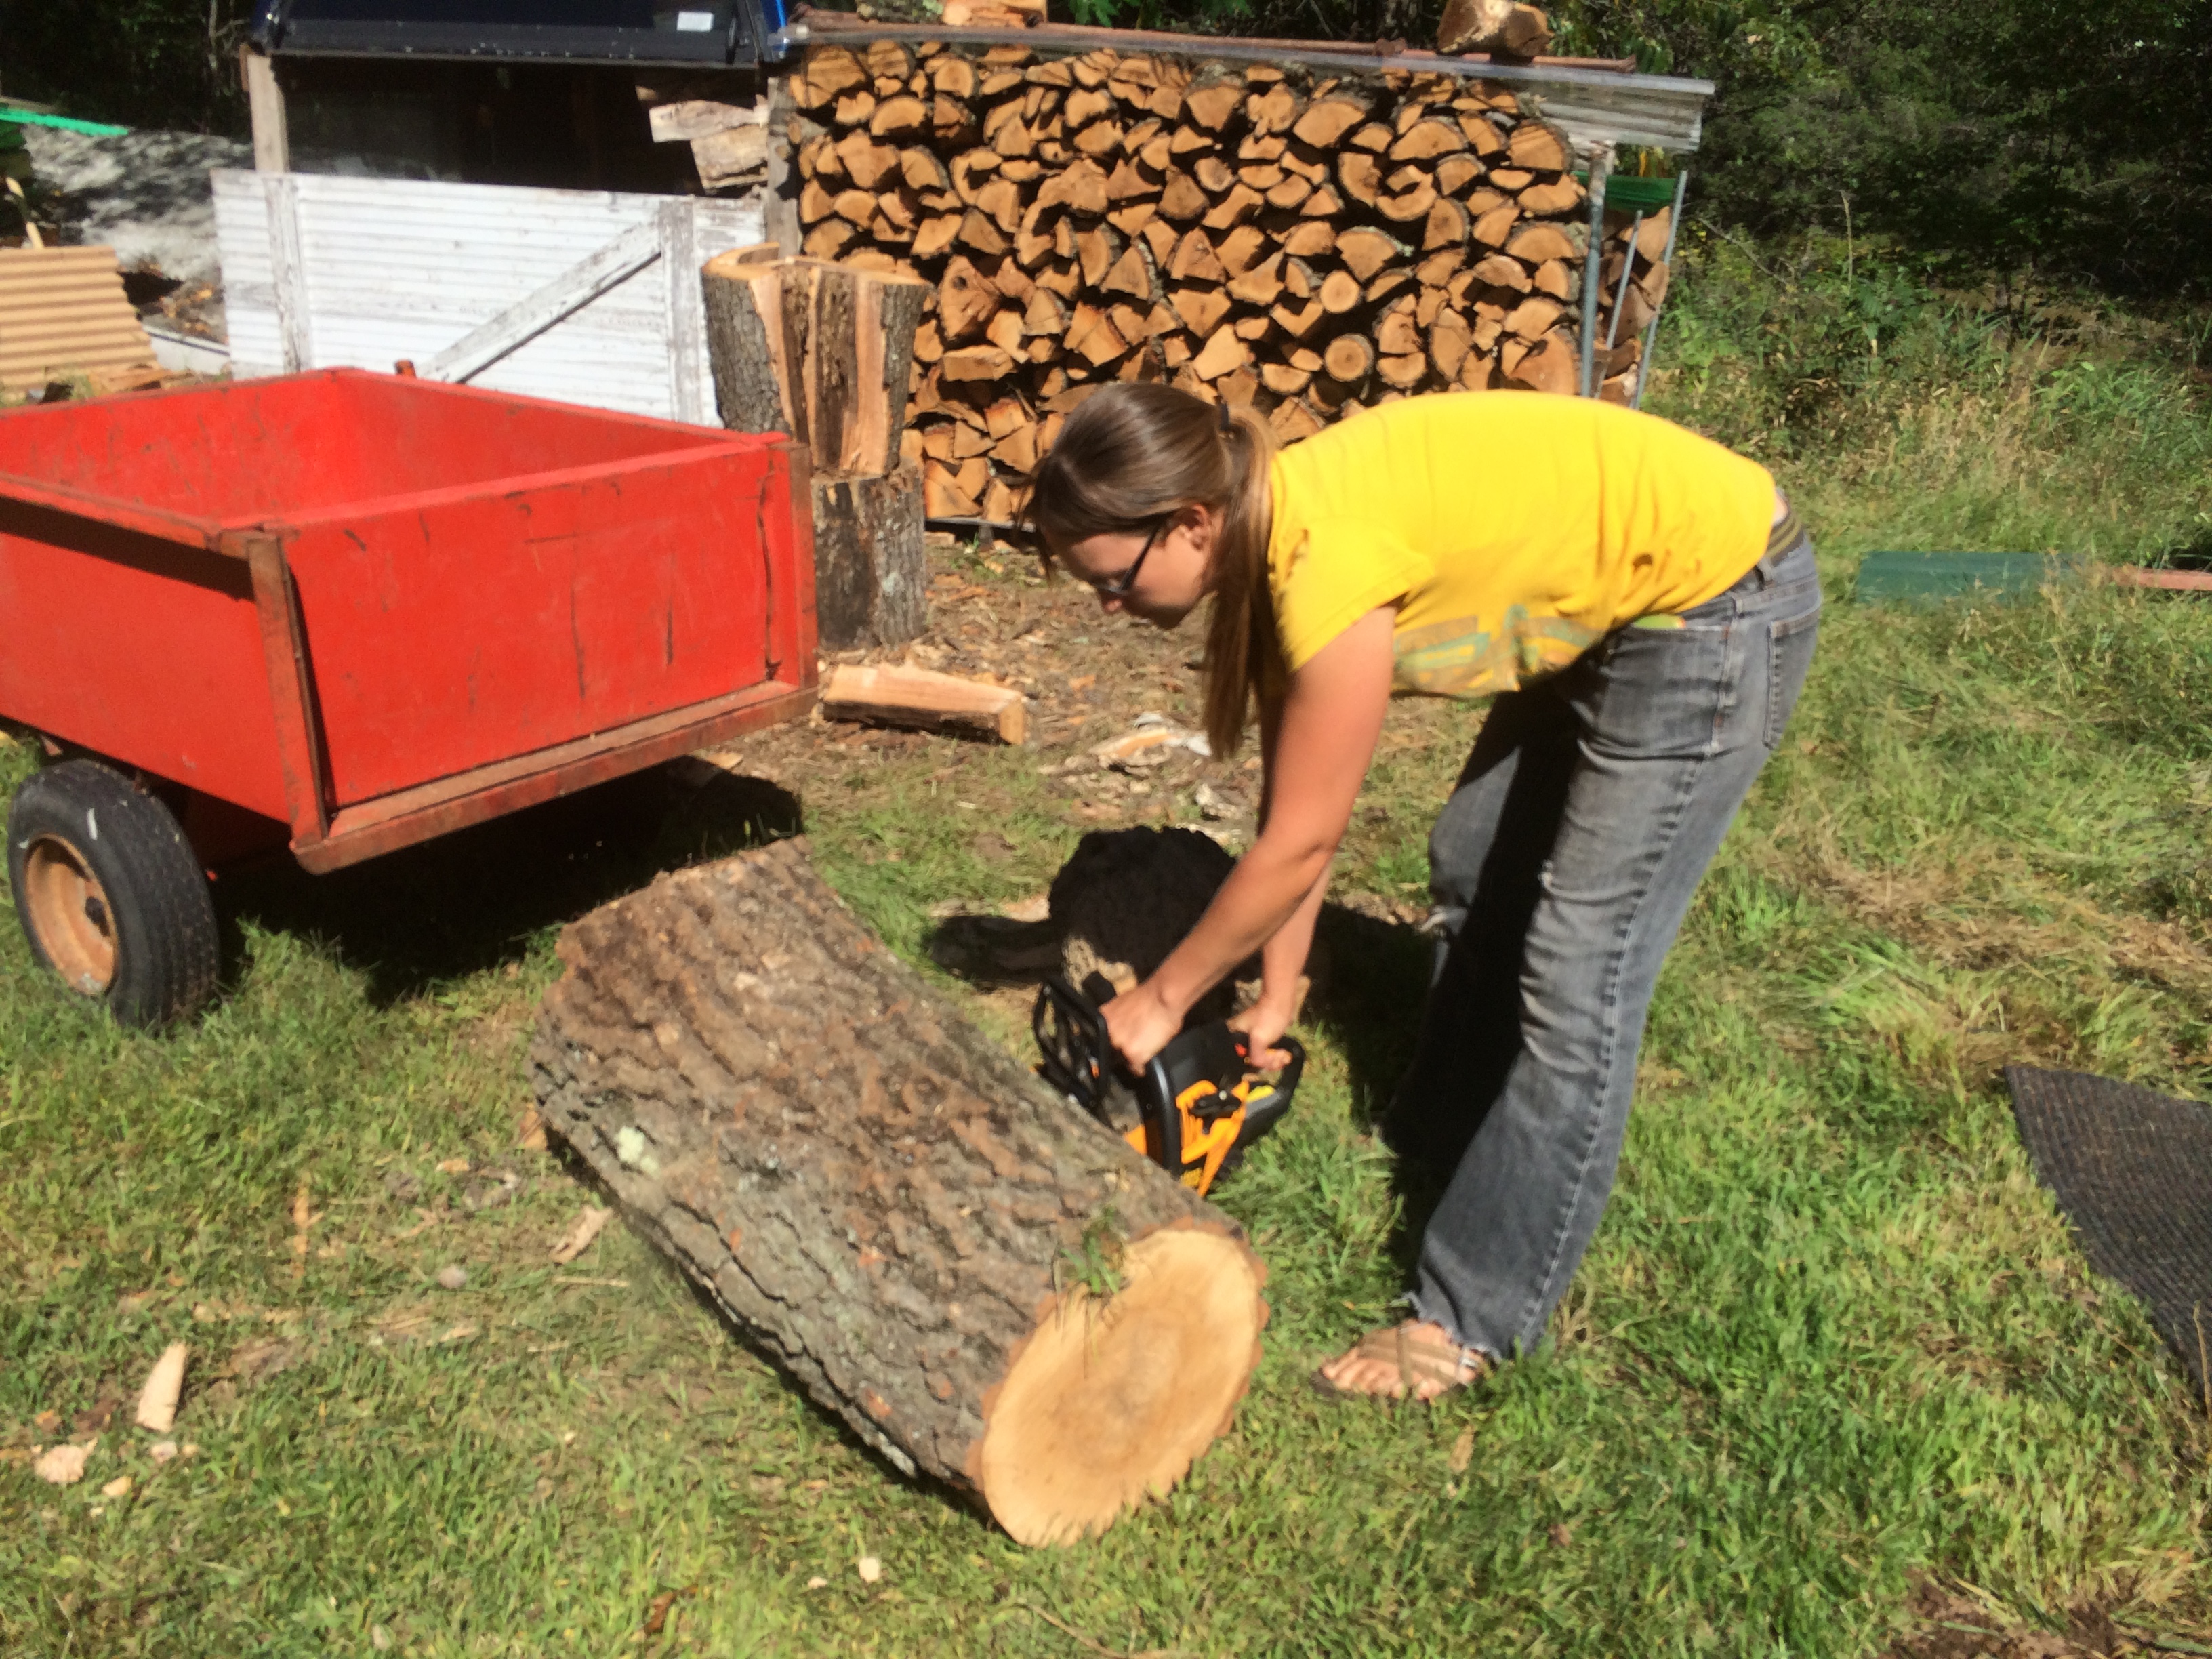
Cold came flirting around, bottoming out around 38 degrees. We’re working on the woodpile while thinking about frost protection and our winter flightpath through the South.
Autumn’s approach inspires a lot of such forward thinking (made possible by a seasonal shift to a schedule less hectic, with luxury of looking ahead further than the next hour and day); we:
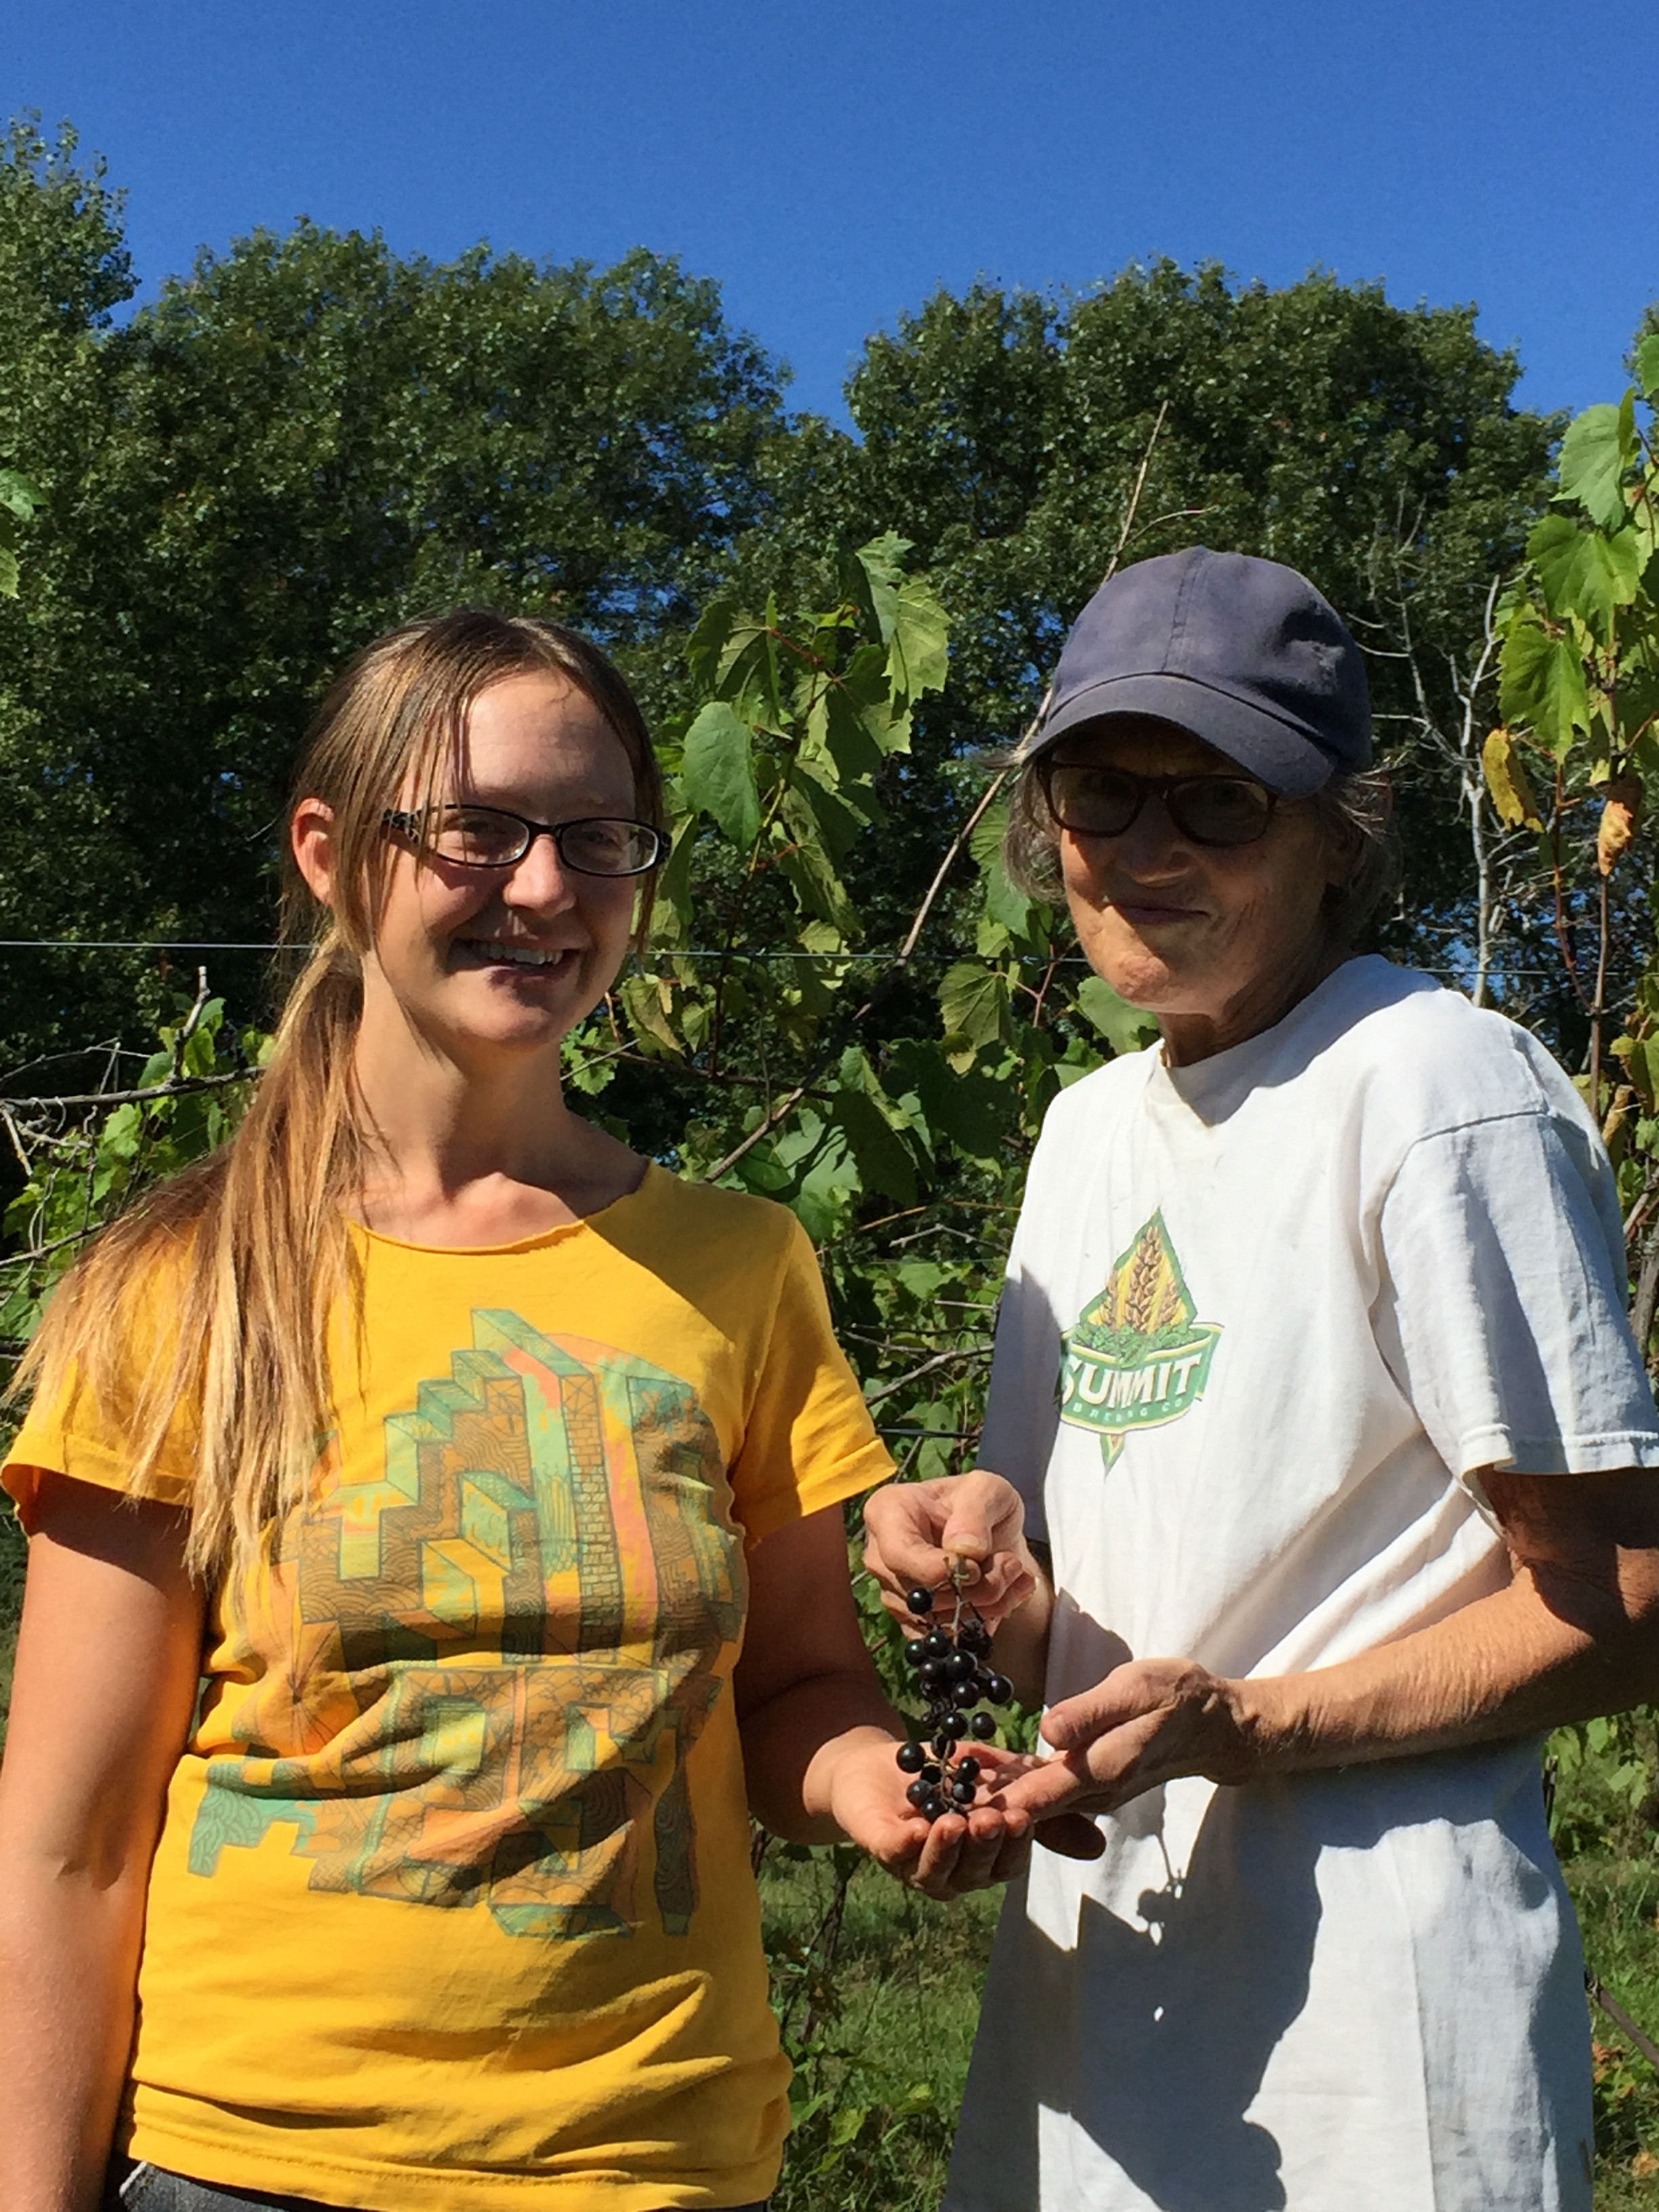
picked apples and made juice, picked grapes at The Neighbors’, and made jelly with the grapes and the apple juice.
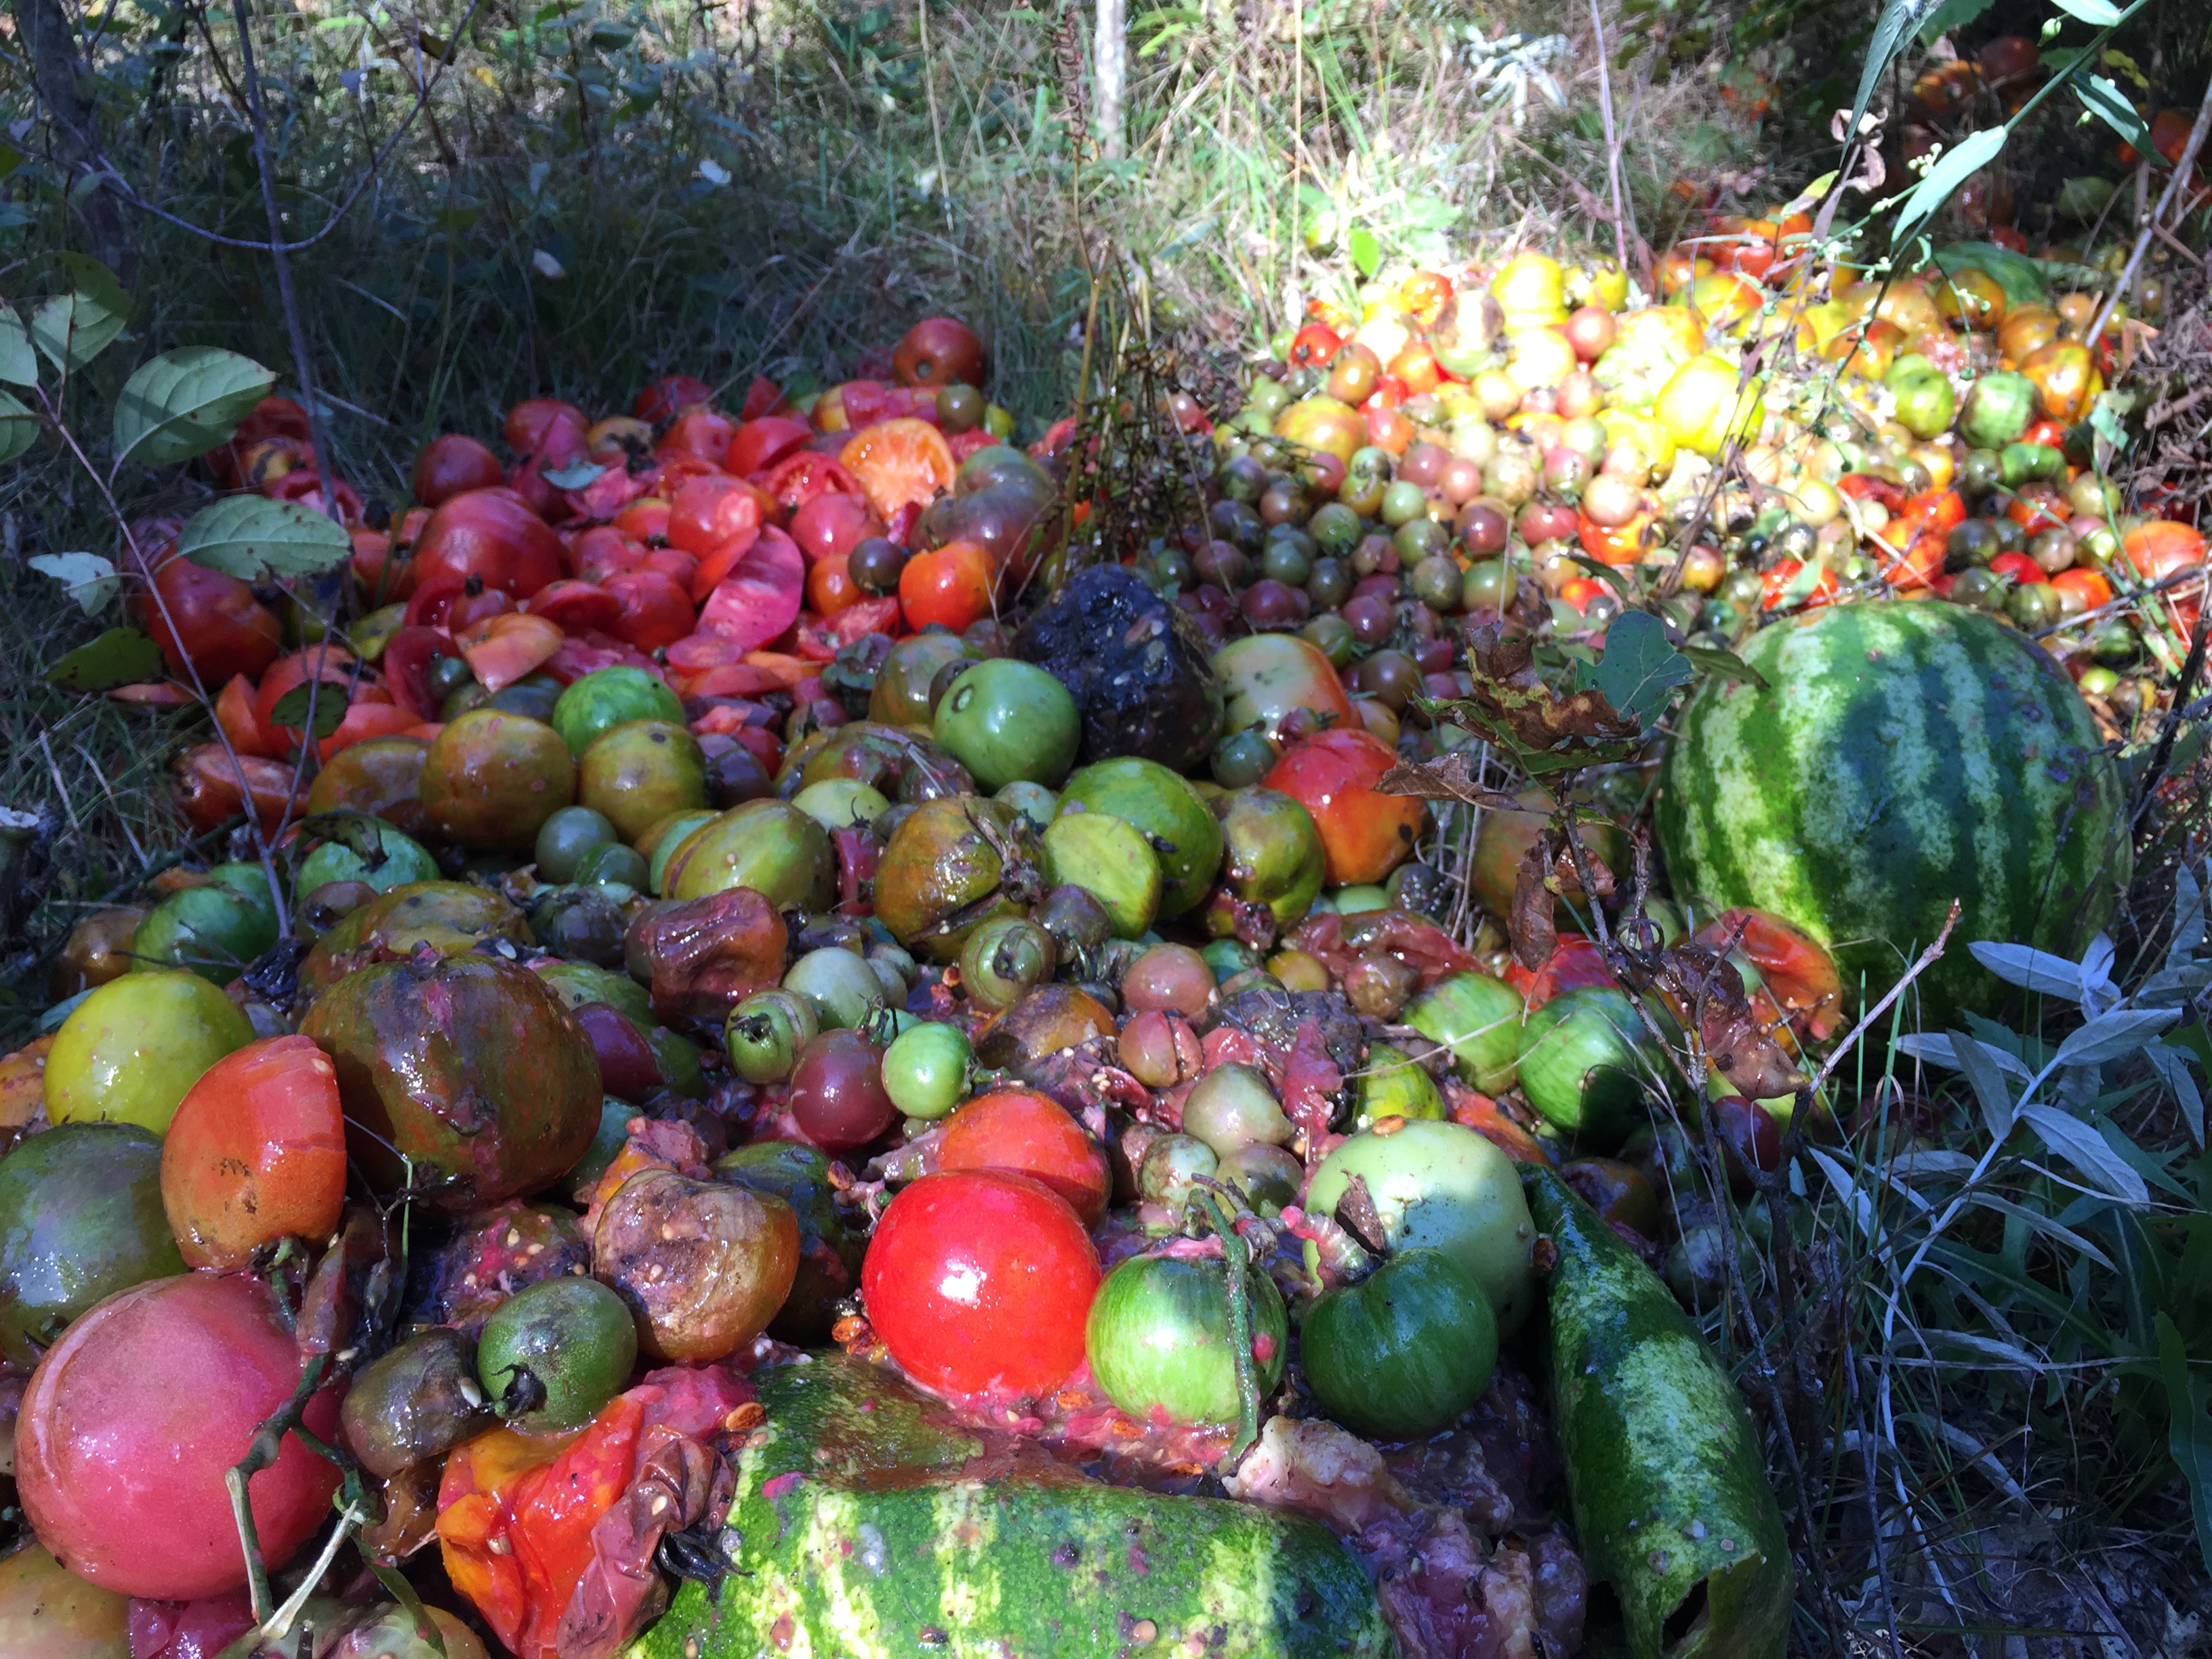
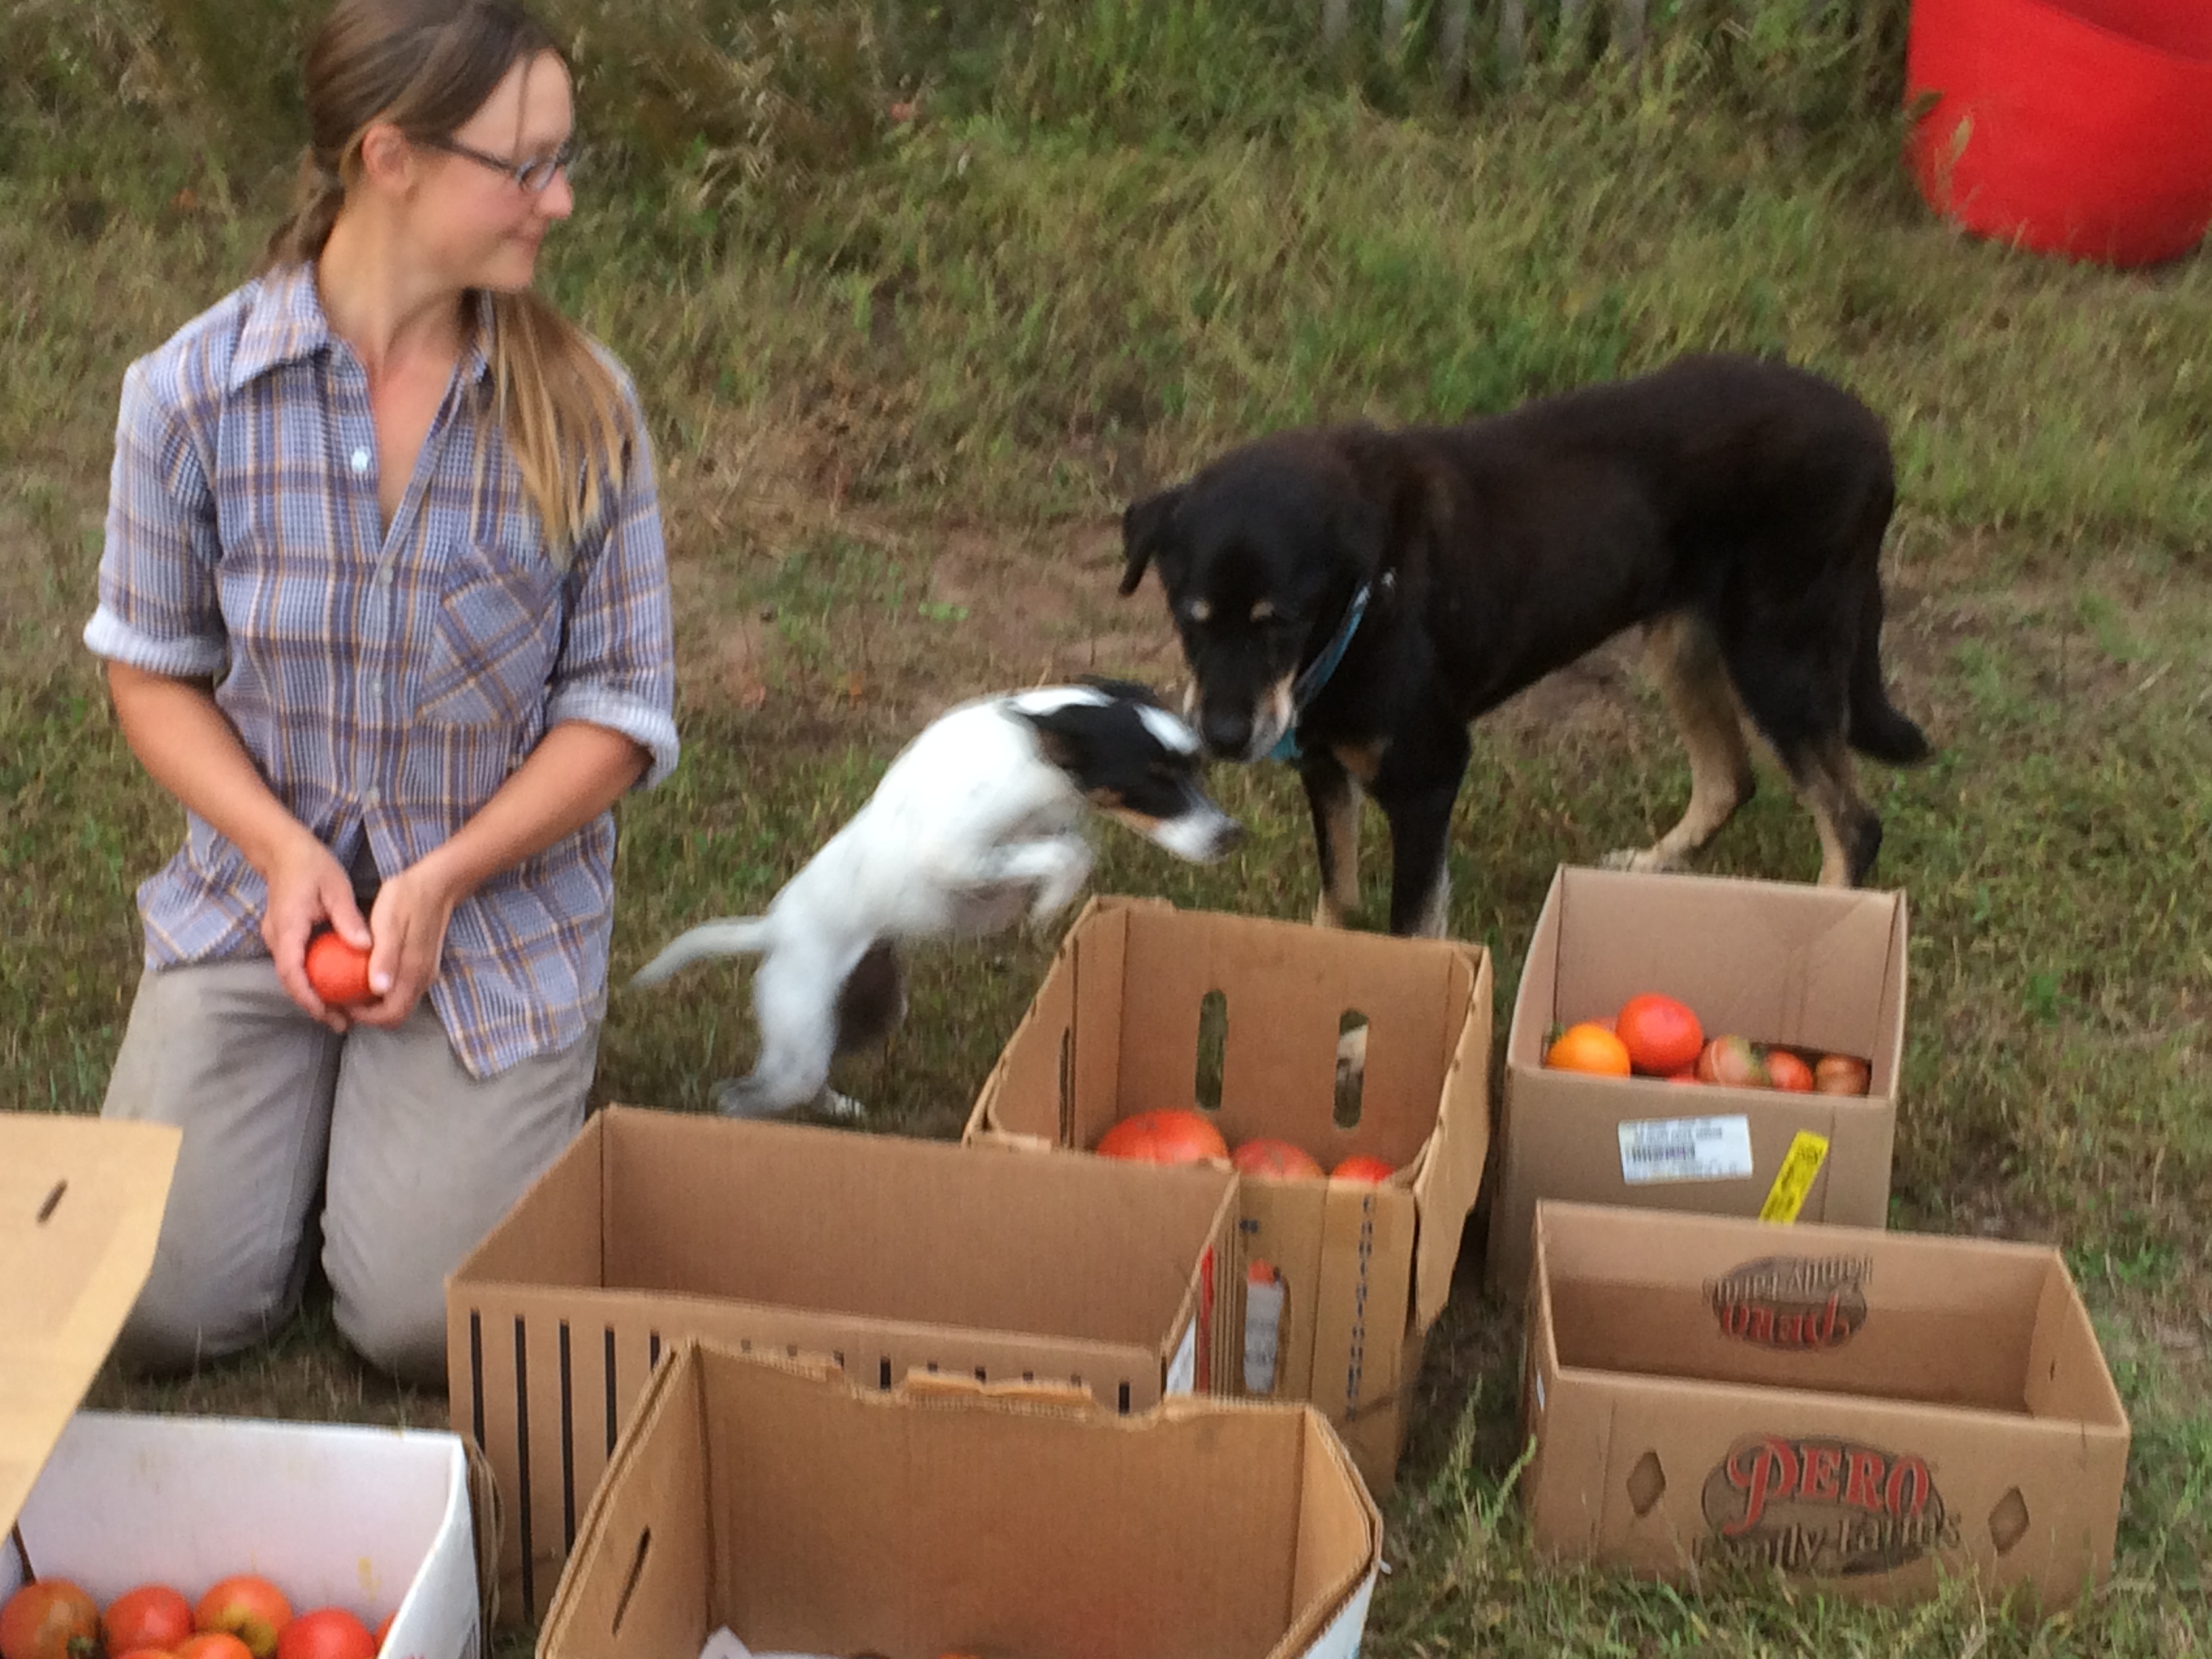
battled the Tomato Tsunami by turning mountains of slightly damaged tomatoes into BBQ sauce.
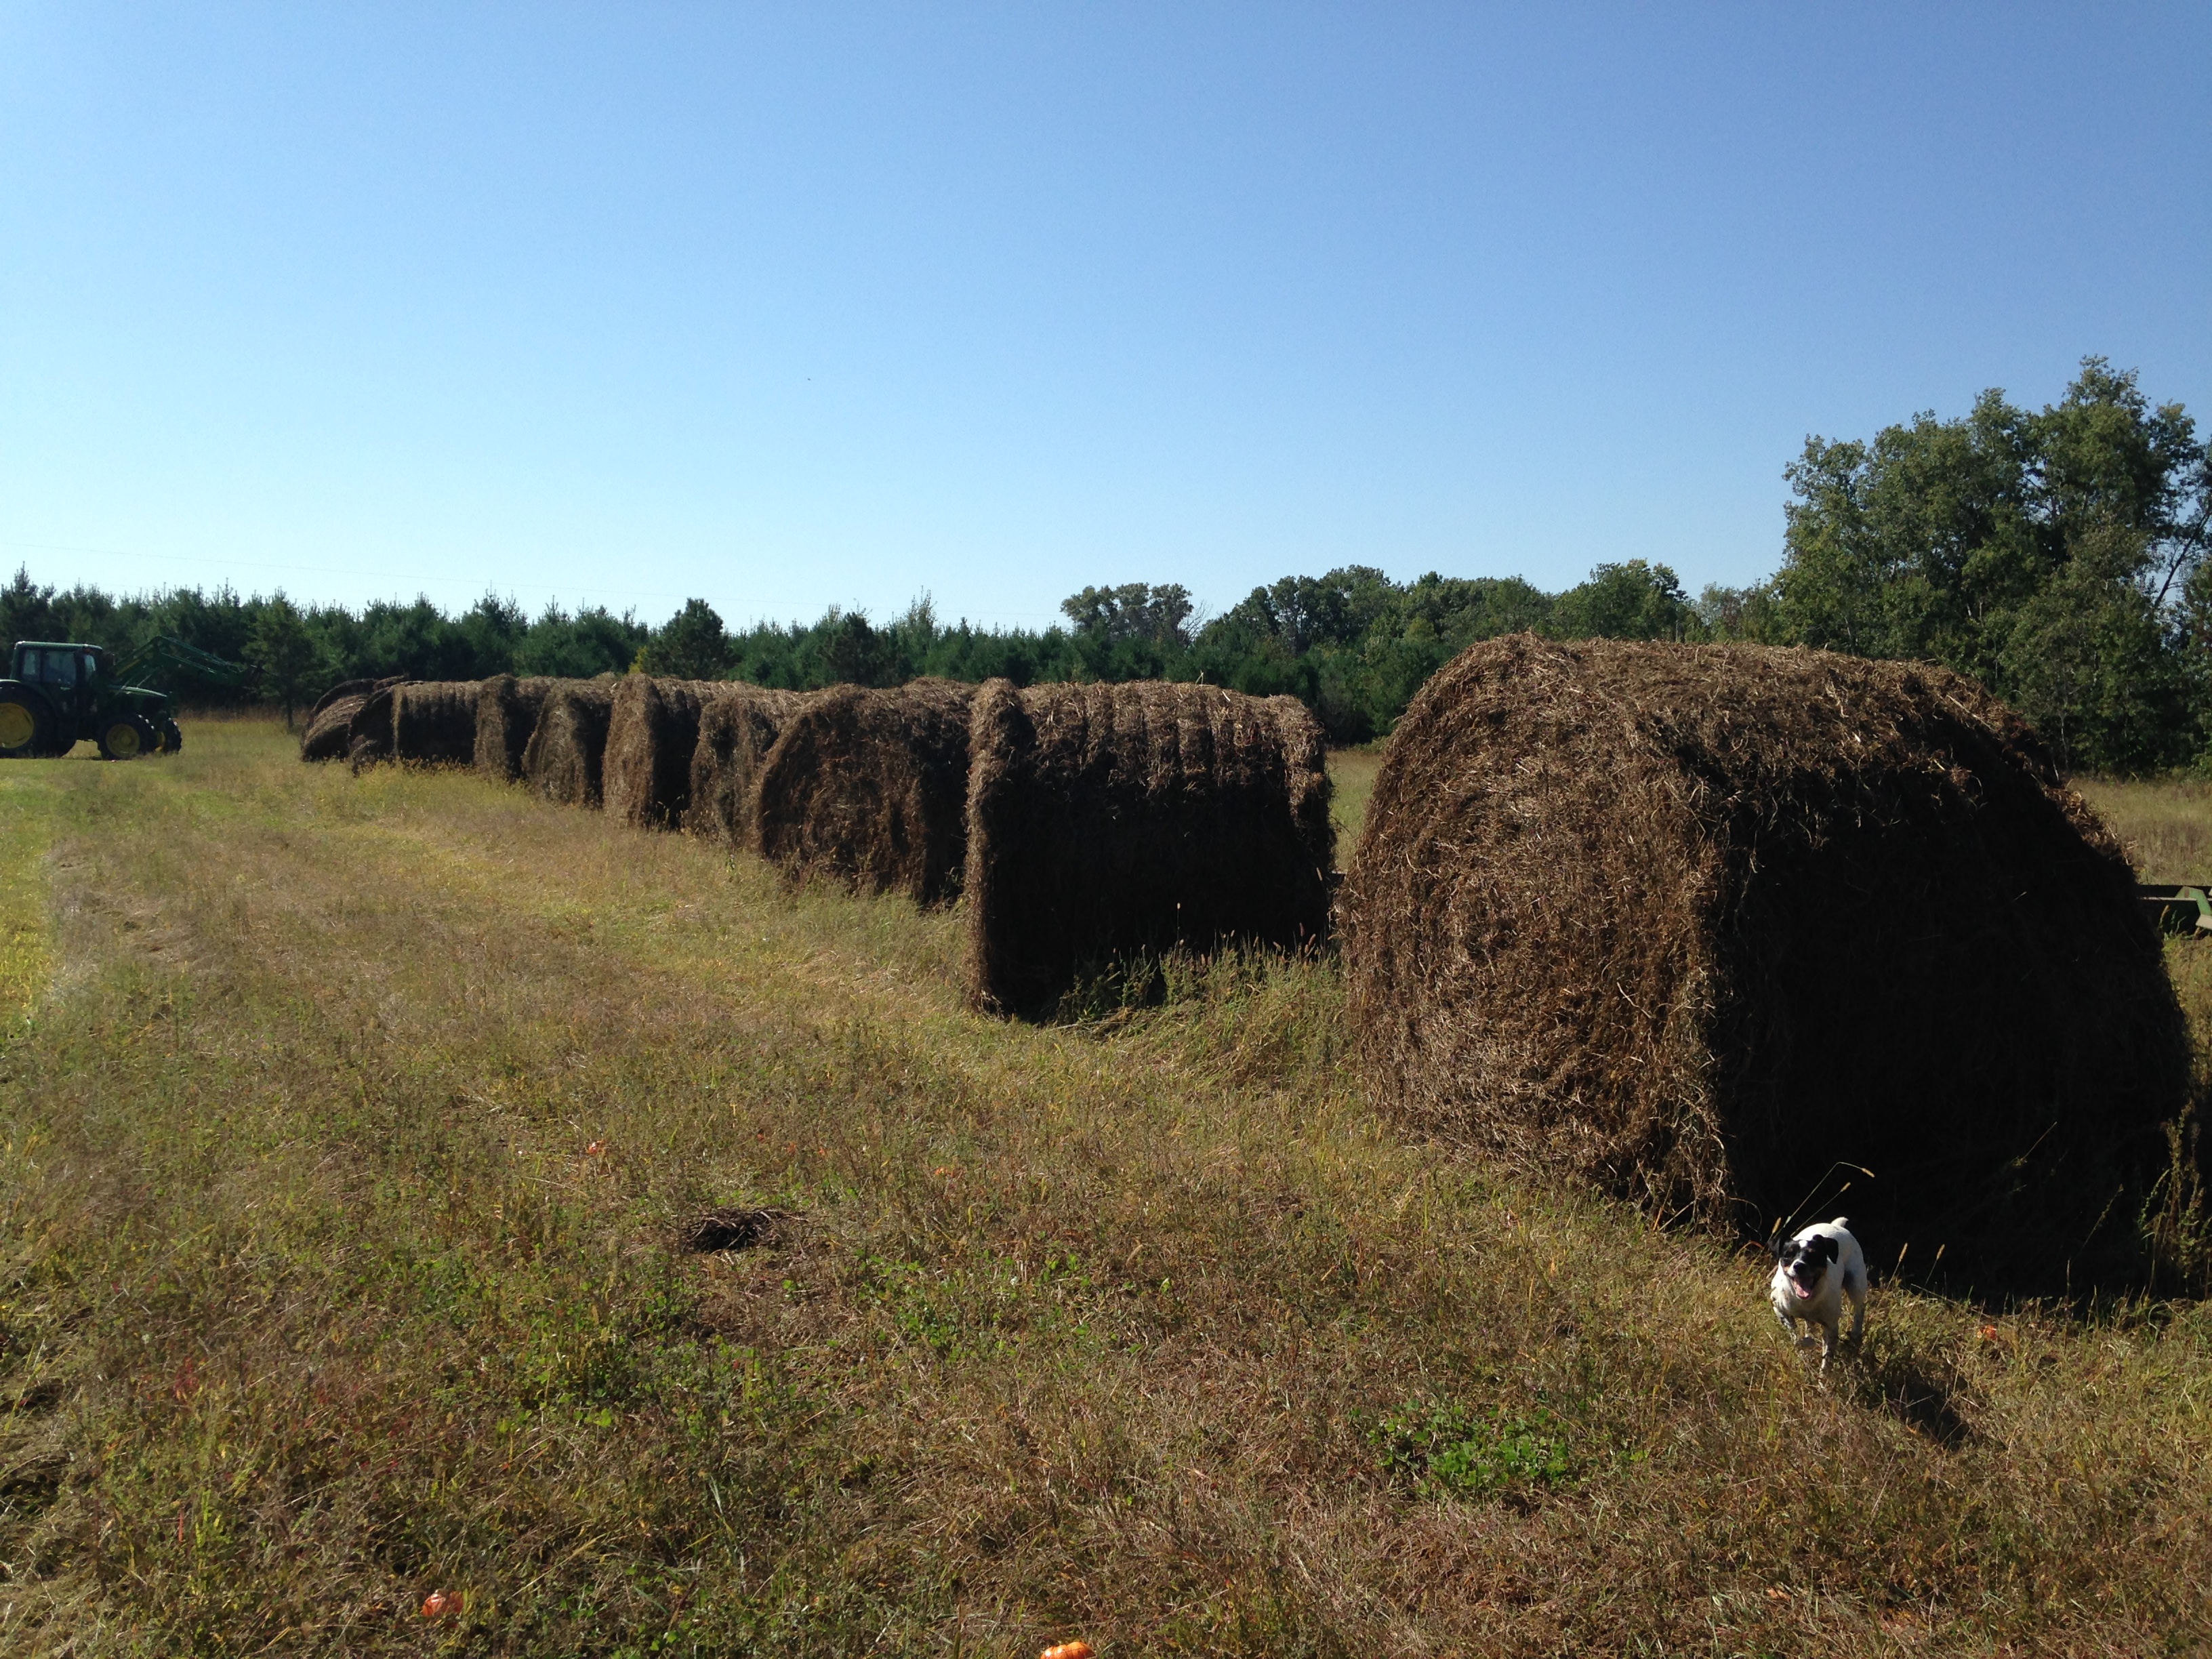
scored more bales of spoiled hay for next year’s composting mulch.
The tomatoes are slowing down now, and soon will go the way of the cucumbers and zucchini. We skipped salad mix this week since you’re getting a whole cabbage, but expect it the next three weeks – the leaves have been under assault by an army of flea beetles, but their damage is cosmetic and the bug boom seems to be ebbing. Squash are ’bout ripe, pumpkins are building halloween hype, and we have all the radishes in the world (we may have slightly overcompensated for Spring’s Great Radish Kill).
It’s been beautiful, reaffirming that This has been the right choice for us to have made. Again have to express gratitude- to our families, friends, neighbors, WWOOFers, market regulars, and to YOU. Thanks for sharing the journey.
Now eat yer vegetables.
CSA Box 15
Napa cabbage – so good and crunchy. Build a delicious salad, or try your hand at Kim chi. Can also be sautéed – or sliced lengthwise, marinated, and grilled!
Broccoli – it’s been a pretty good broccoli year! First ever for us.
Daikon Radish – the big long white roots. Spicy. Some people grate them and squeeze the juice out make them milder, then combine them with tomatoes and salt as a salad. They are popular in Kim chi, in site fry, or sliced up in a salad. Store in the fridge.Recipe to try: https://www.google.com/search?q=radish+carrot+vietanmese+pickleEggplant – if you still have zucchini make ratatouille with the parsley. Or do eggplant in a tomato sauce (it mellows the acid of the maters). If you sauté if, steam the eggplant first so it absorbs less oil – unless you prefer it oily!
Peppers
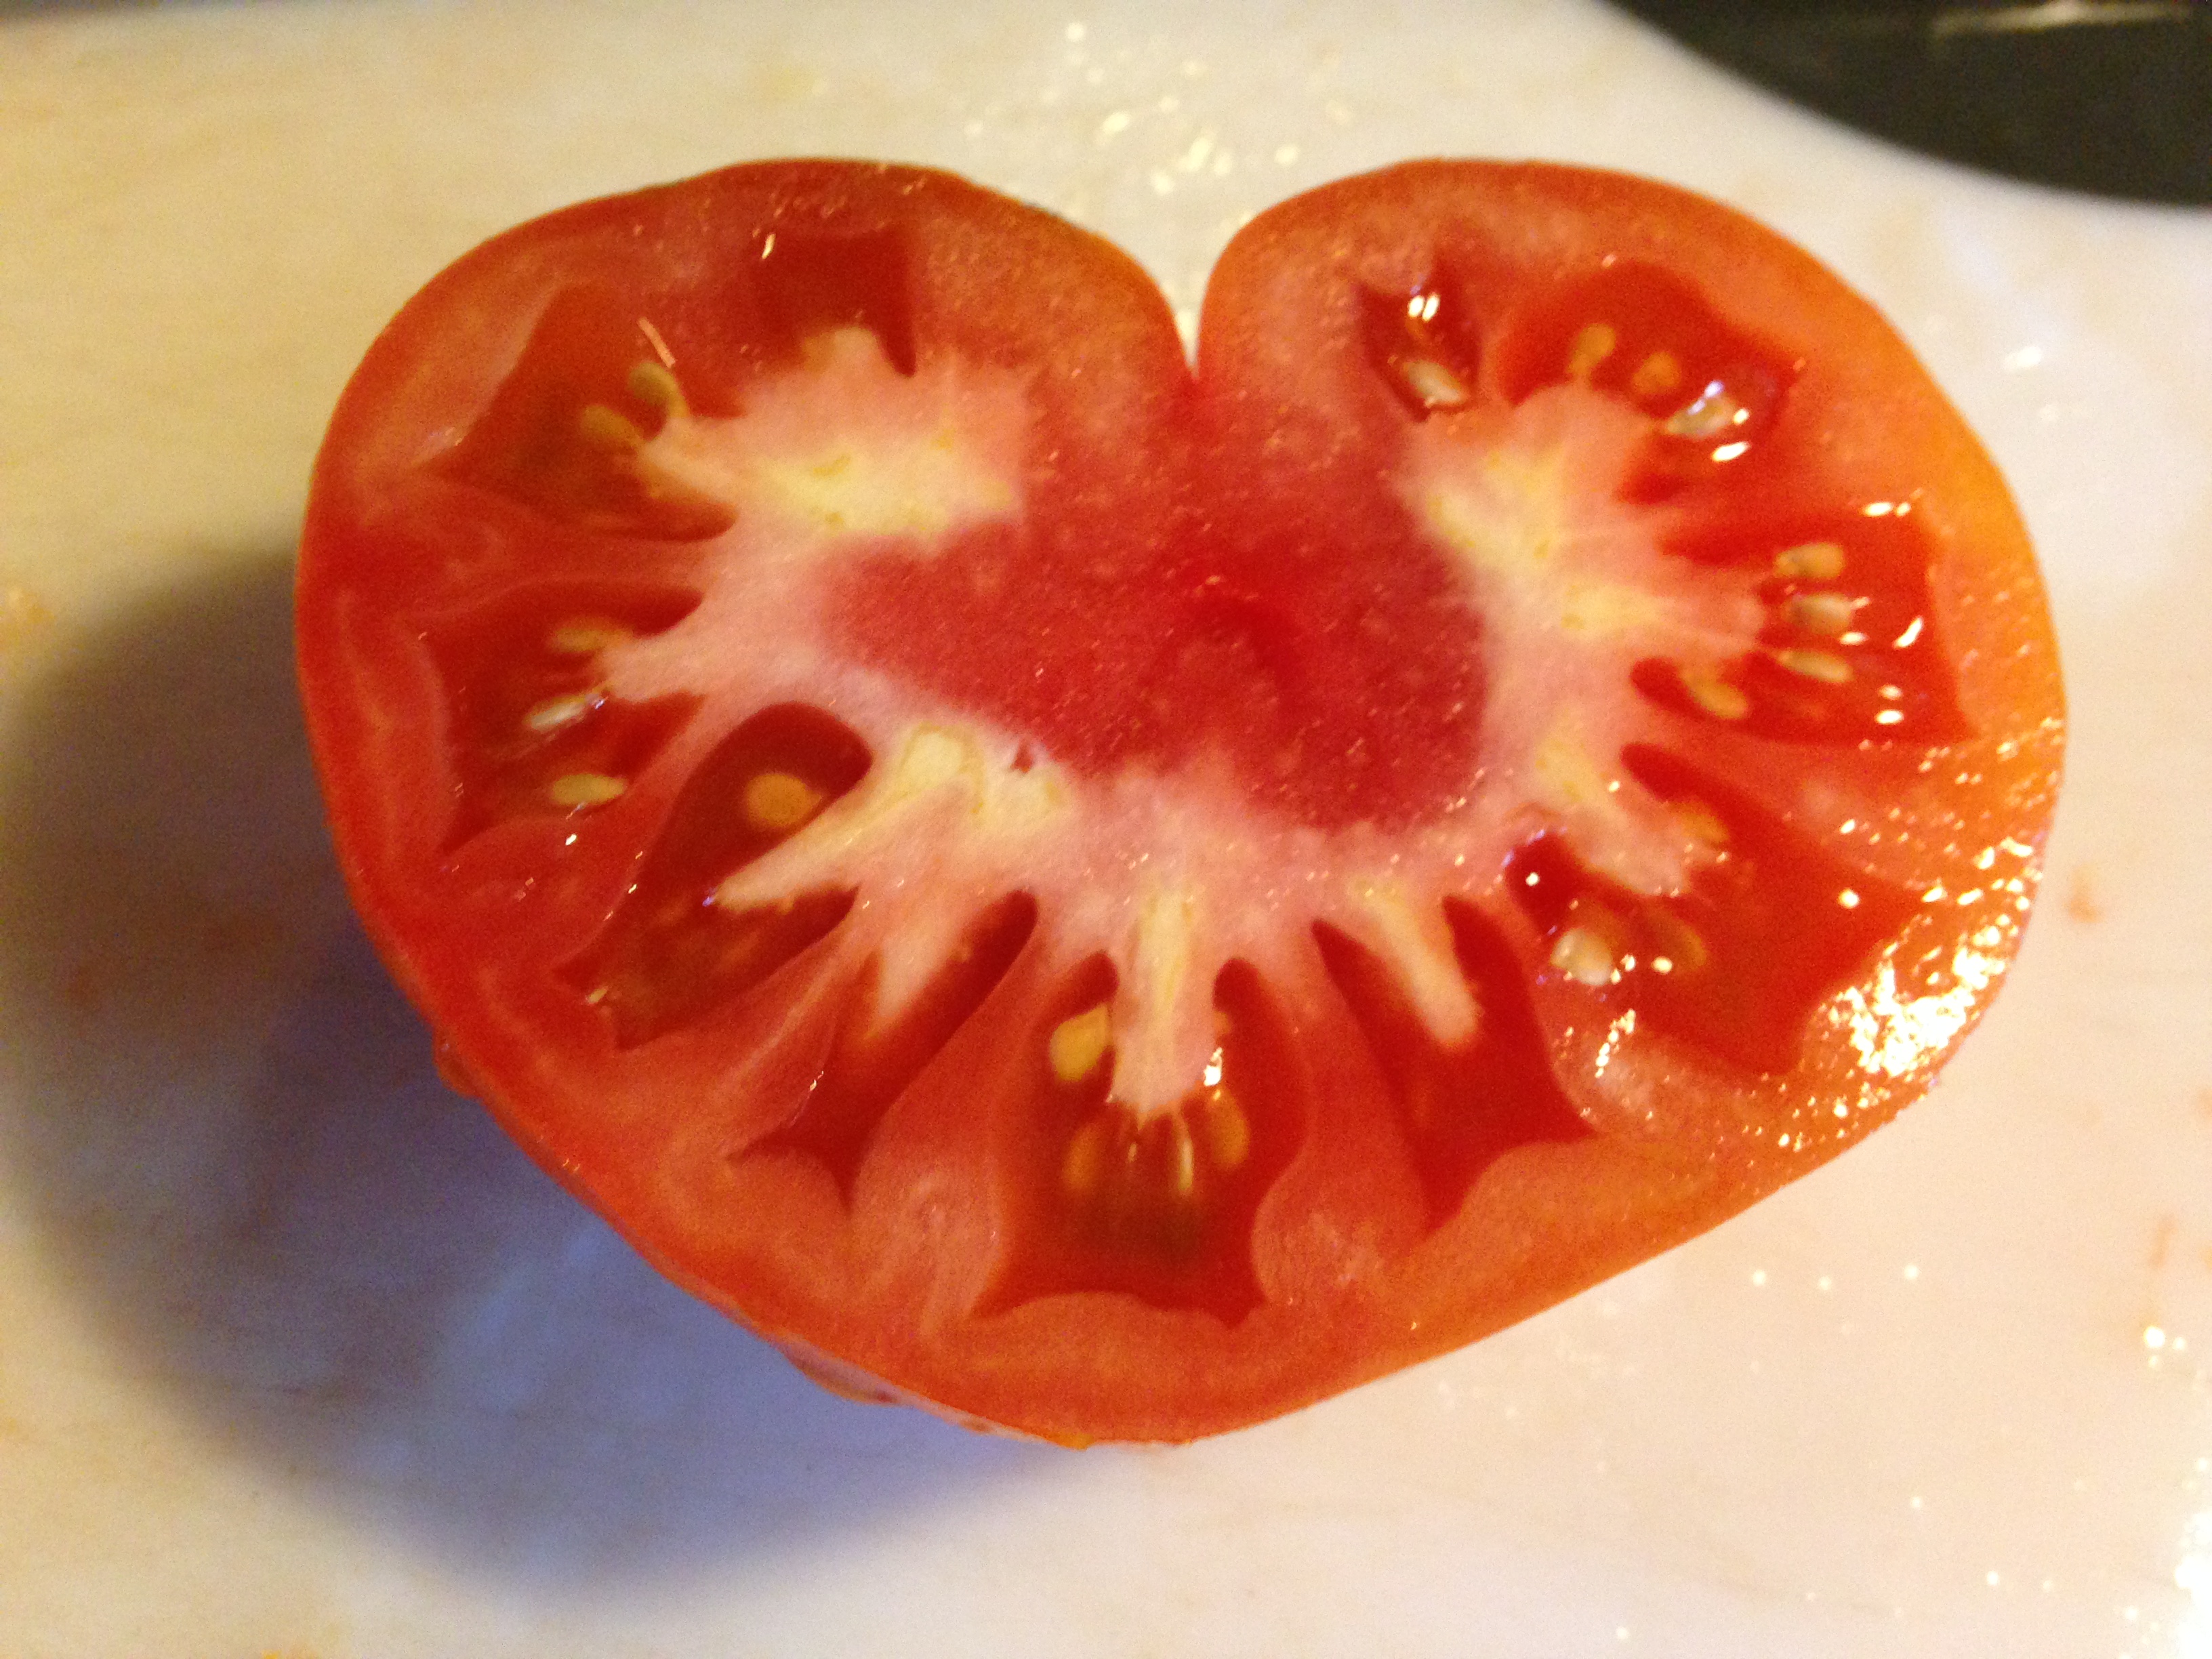
Tomatoes – if you were a member last year you understand why the harvest this year has us feeling exuberant. Too many tomatoes is a problem we are lucky to have! (This is the year I truly fell in love with tomatoes, I think. So many ways they are great, but my favorite simply eaten raw like an apple.)
Carrots
Delicata squash – the tastiest squash, sweet potatoes when. Slice it open, scoop out the seeds and roast it … And the seeds. Because these are also the tastiest squash or pumpkin seeds!
Parsley – pair with the tomatoes, or dry it if you don’t have a use just yet – it dries well if you hang it upside down in a dark ventilated spot.