The second week at Yokna Bottoms Farm was as expected – we worked throughout the weekday mornings, and the rest of the time ate, relaxed, and explored our surroundings in beautiful northern Mississippi.
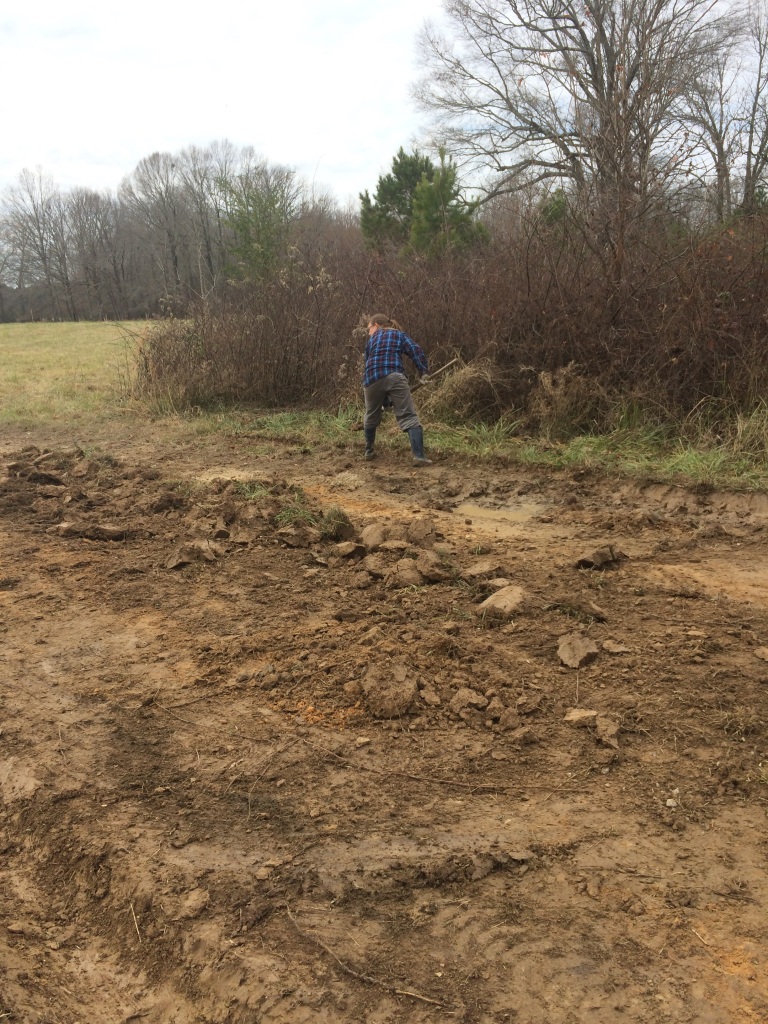
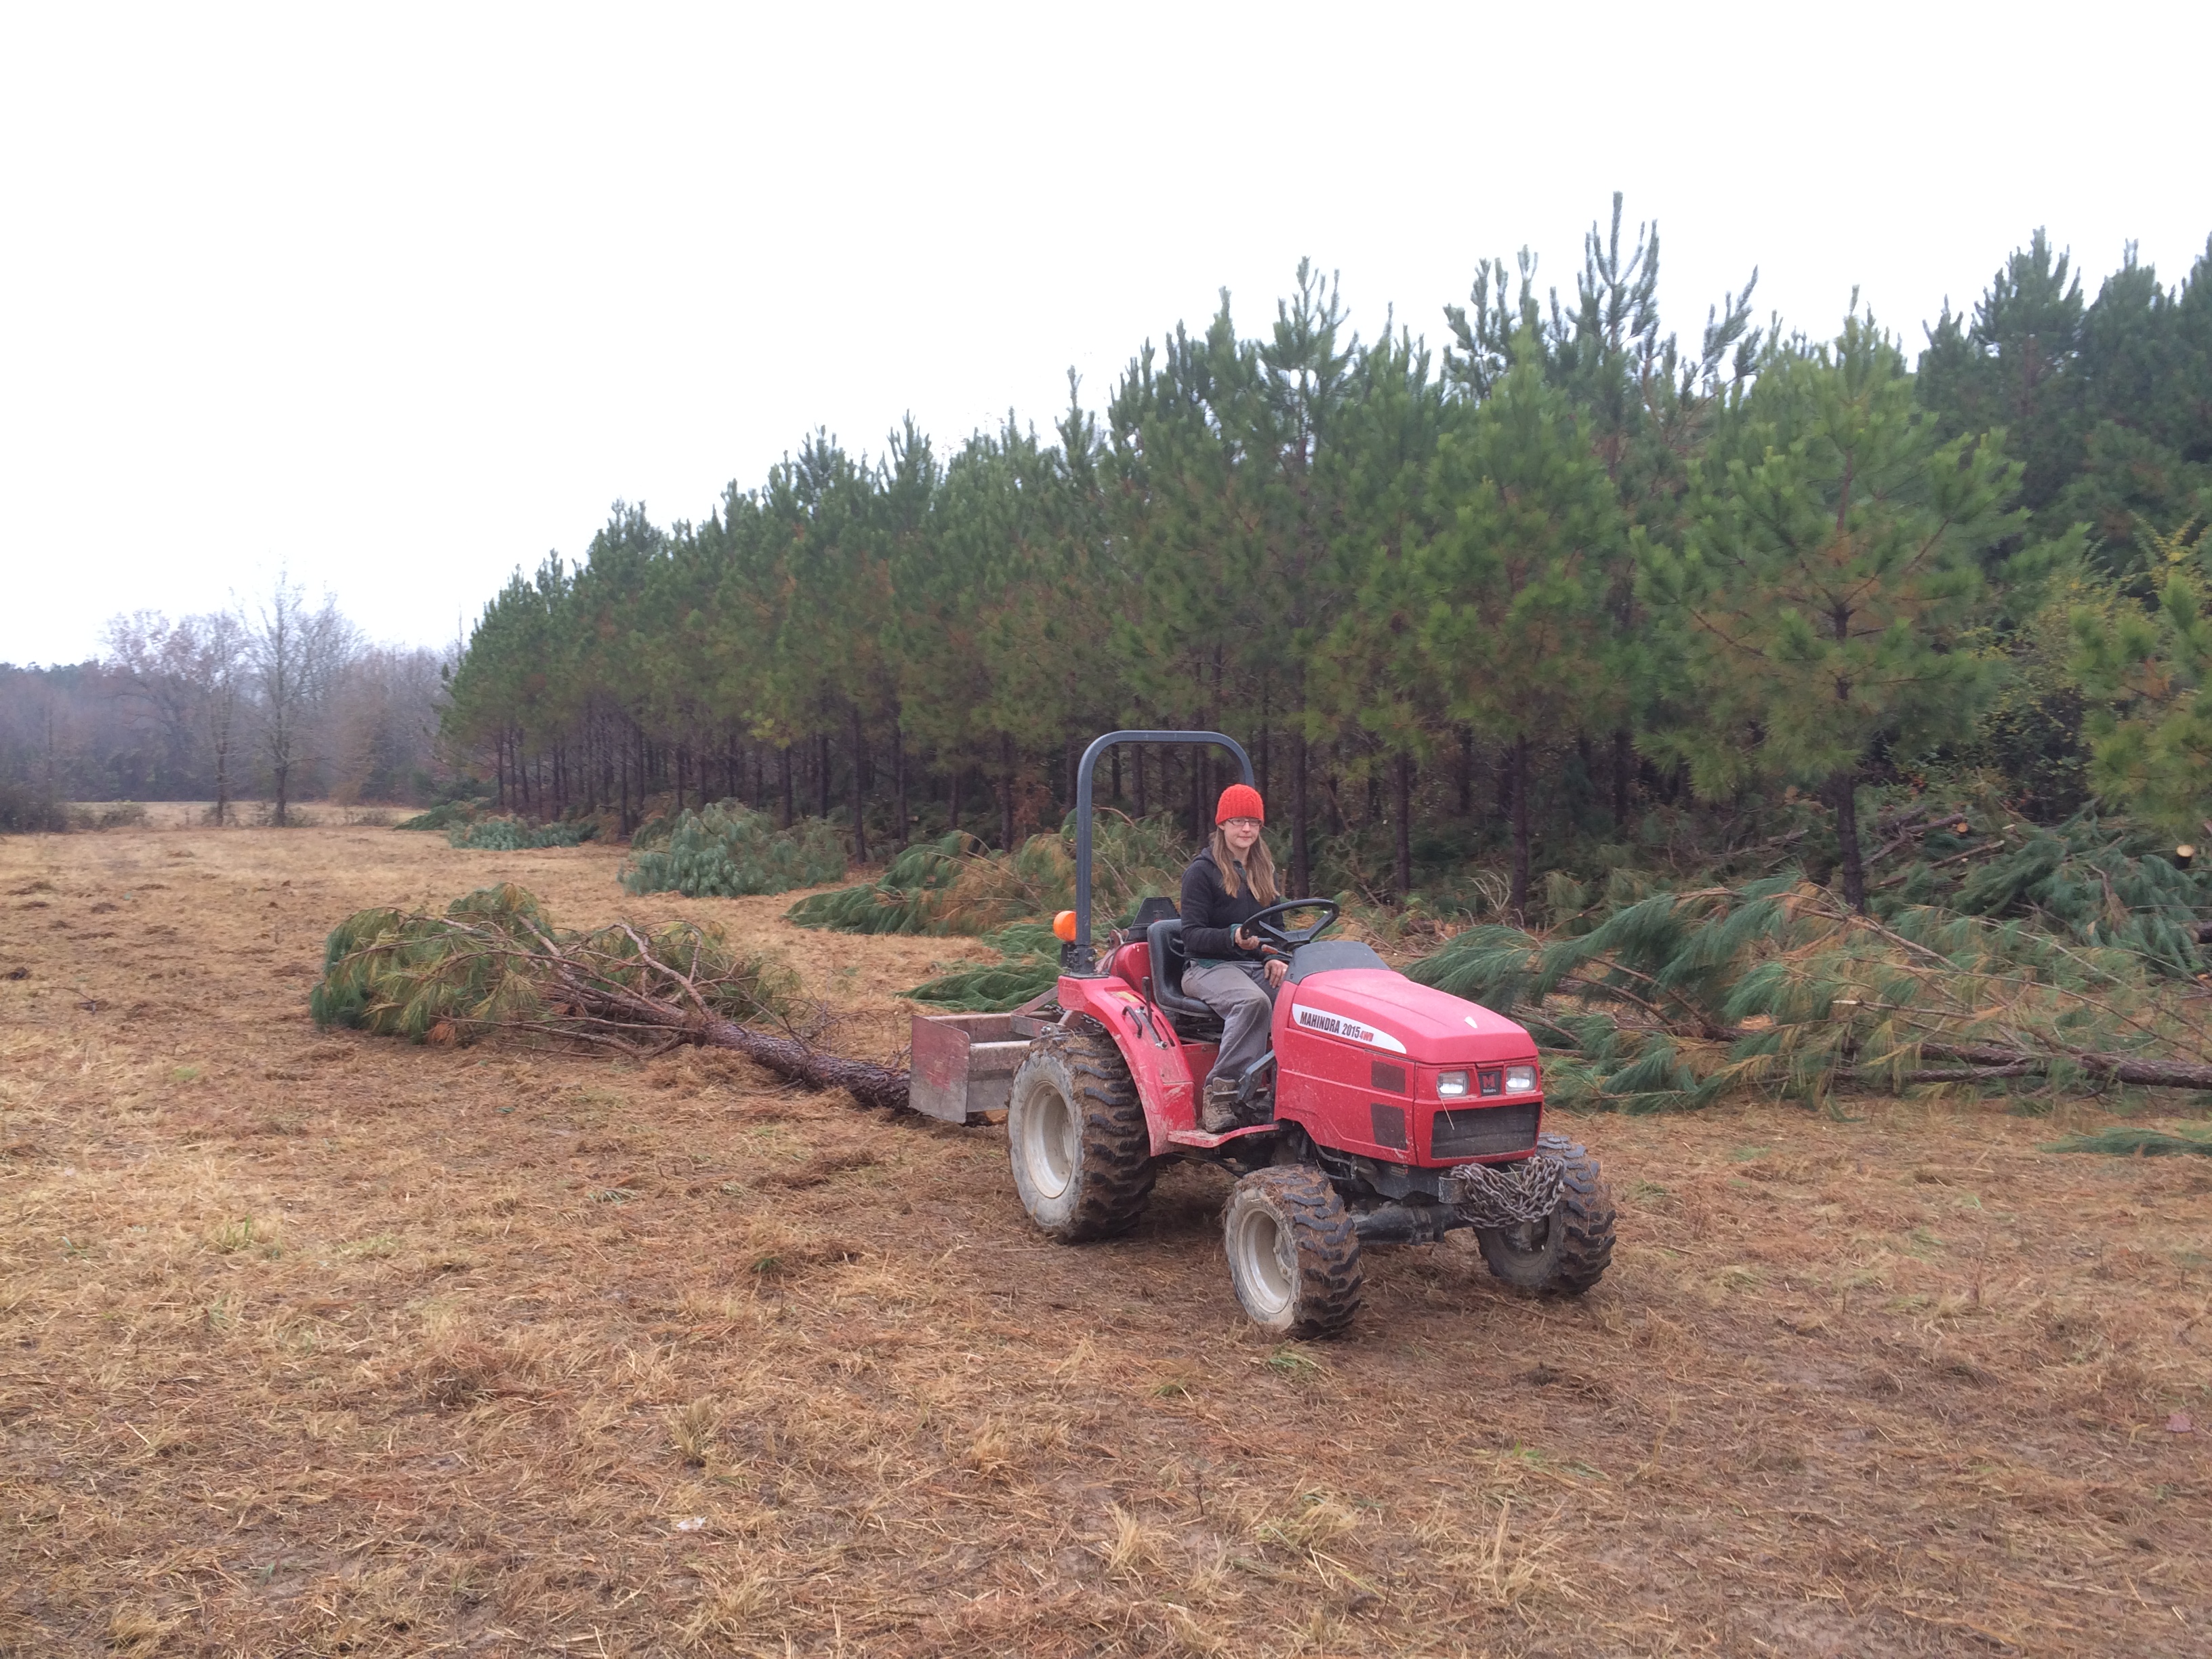
There was more deja vu from our time here last year, as we dug drainage ditches and continued the pine-tree clearing project (with a new and improved chain rig that Jeff put together), and plenty of hay mulching.
sorting old peppers into keepers and compost
Jeff tests the deer stand we cobbled together from scavenged materials – which we put up on the edge of the field in hopes of harvesting some venison from the cover crop fieldsdigging ditches to divert waterflow off of the dirt road down to the field
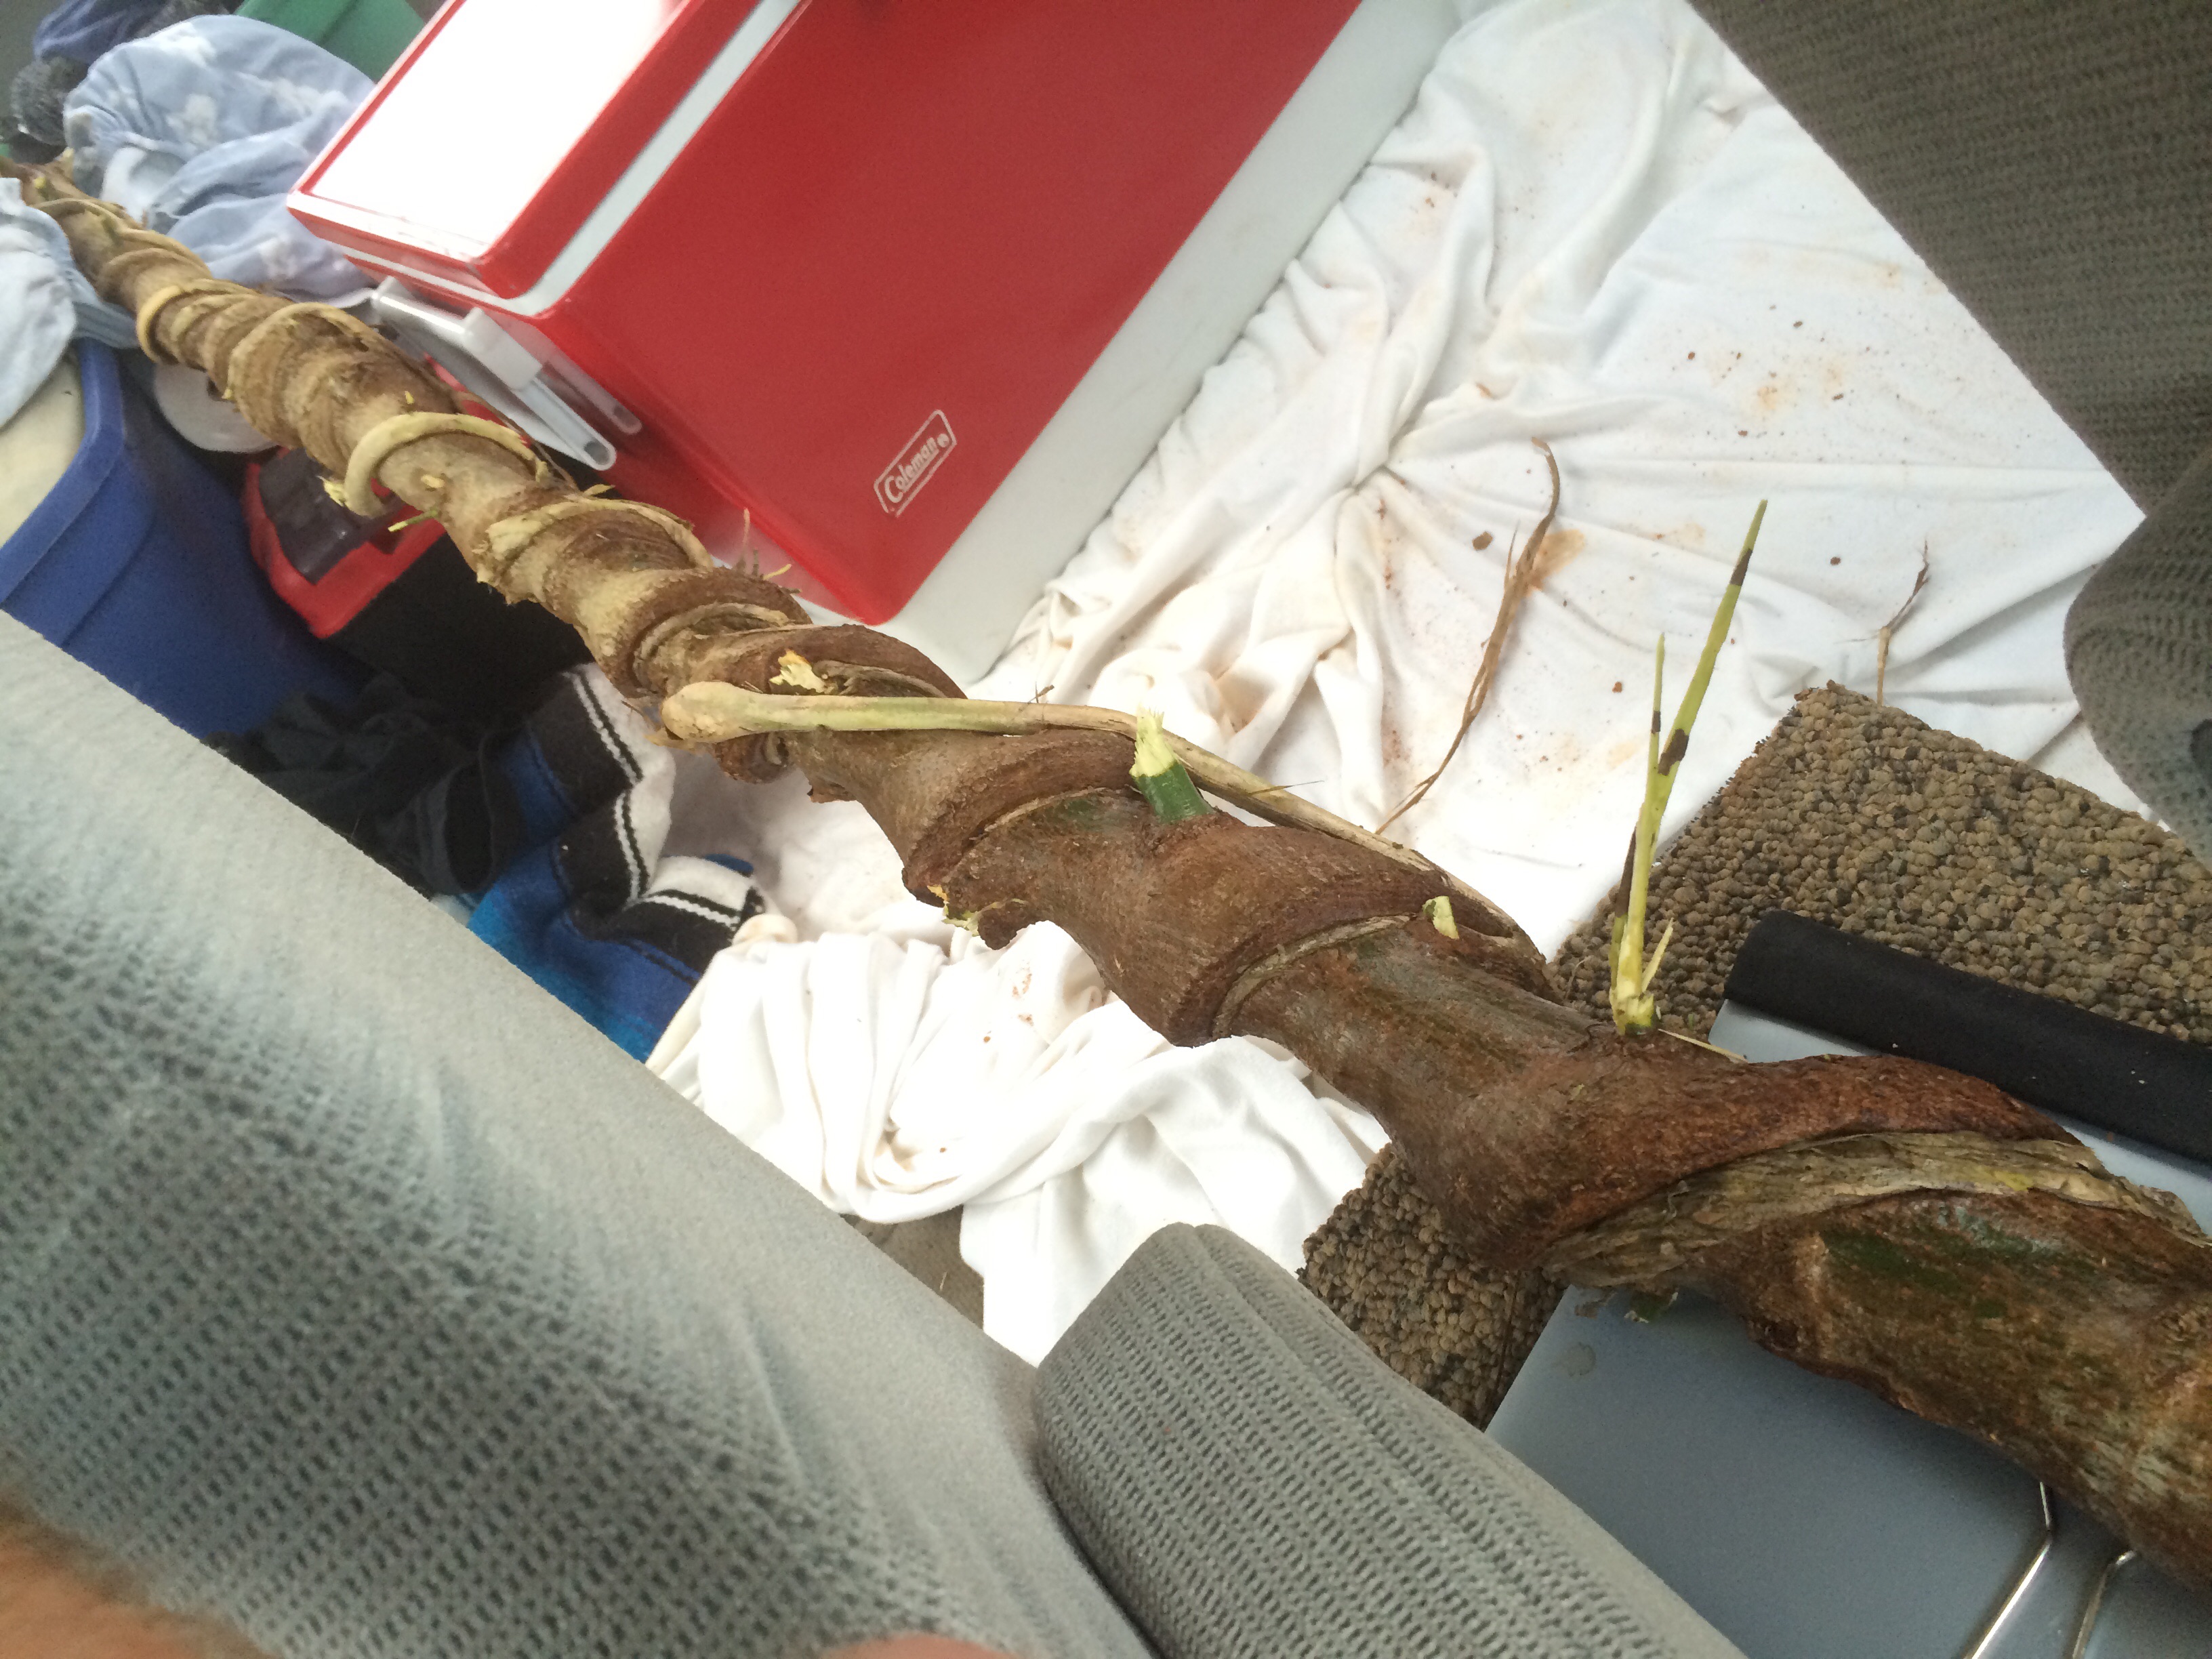
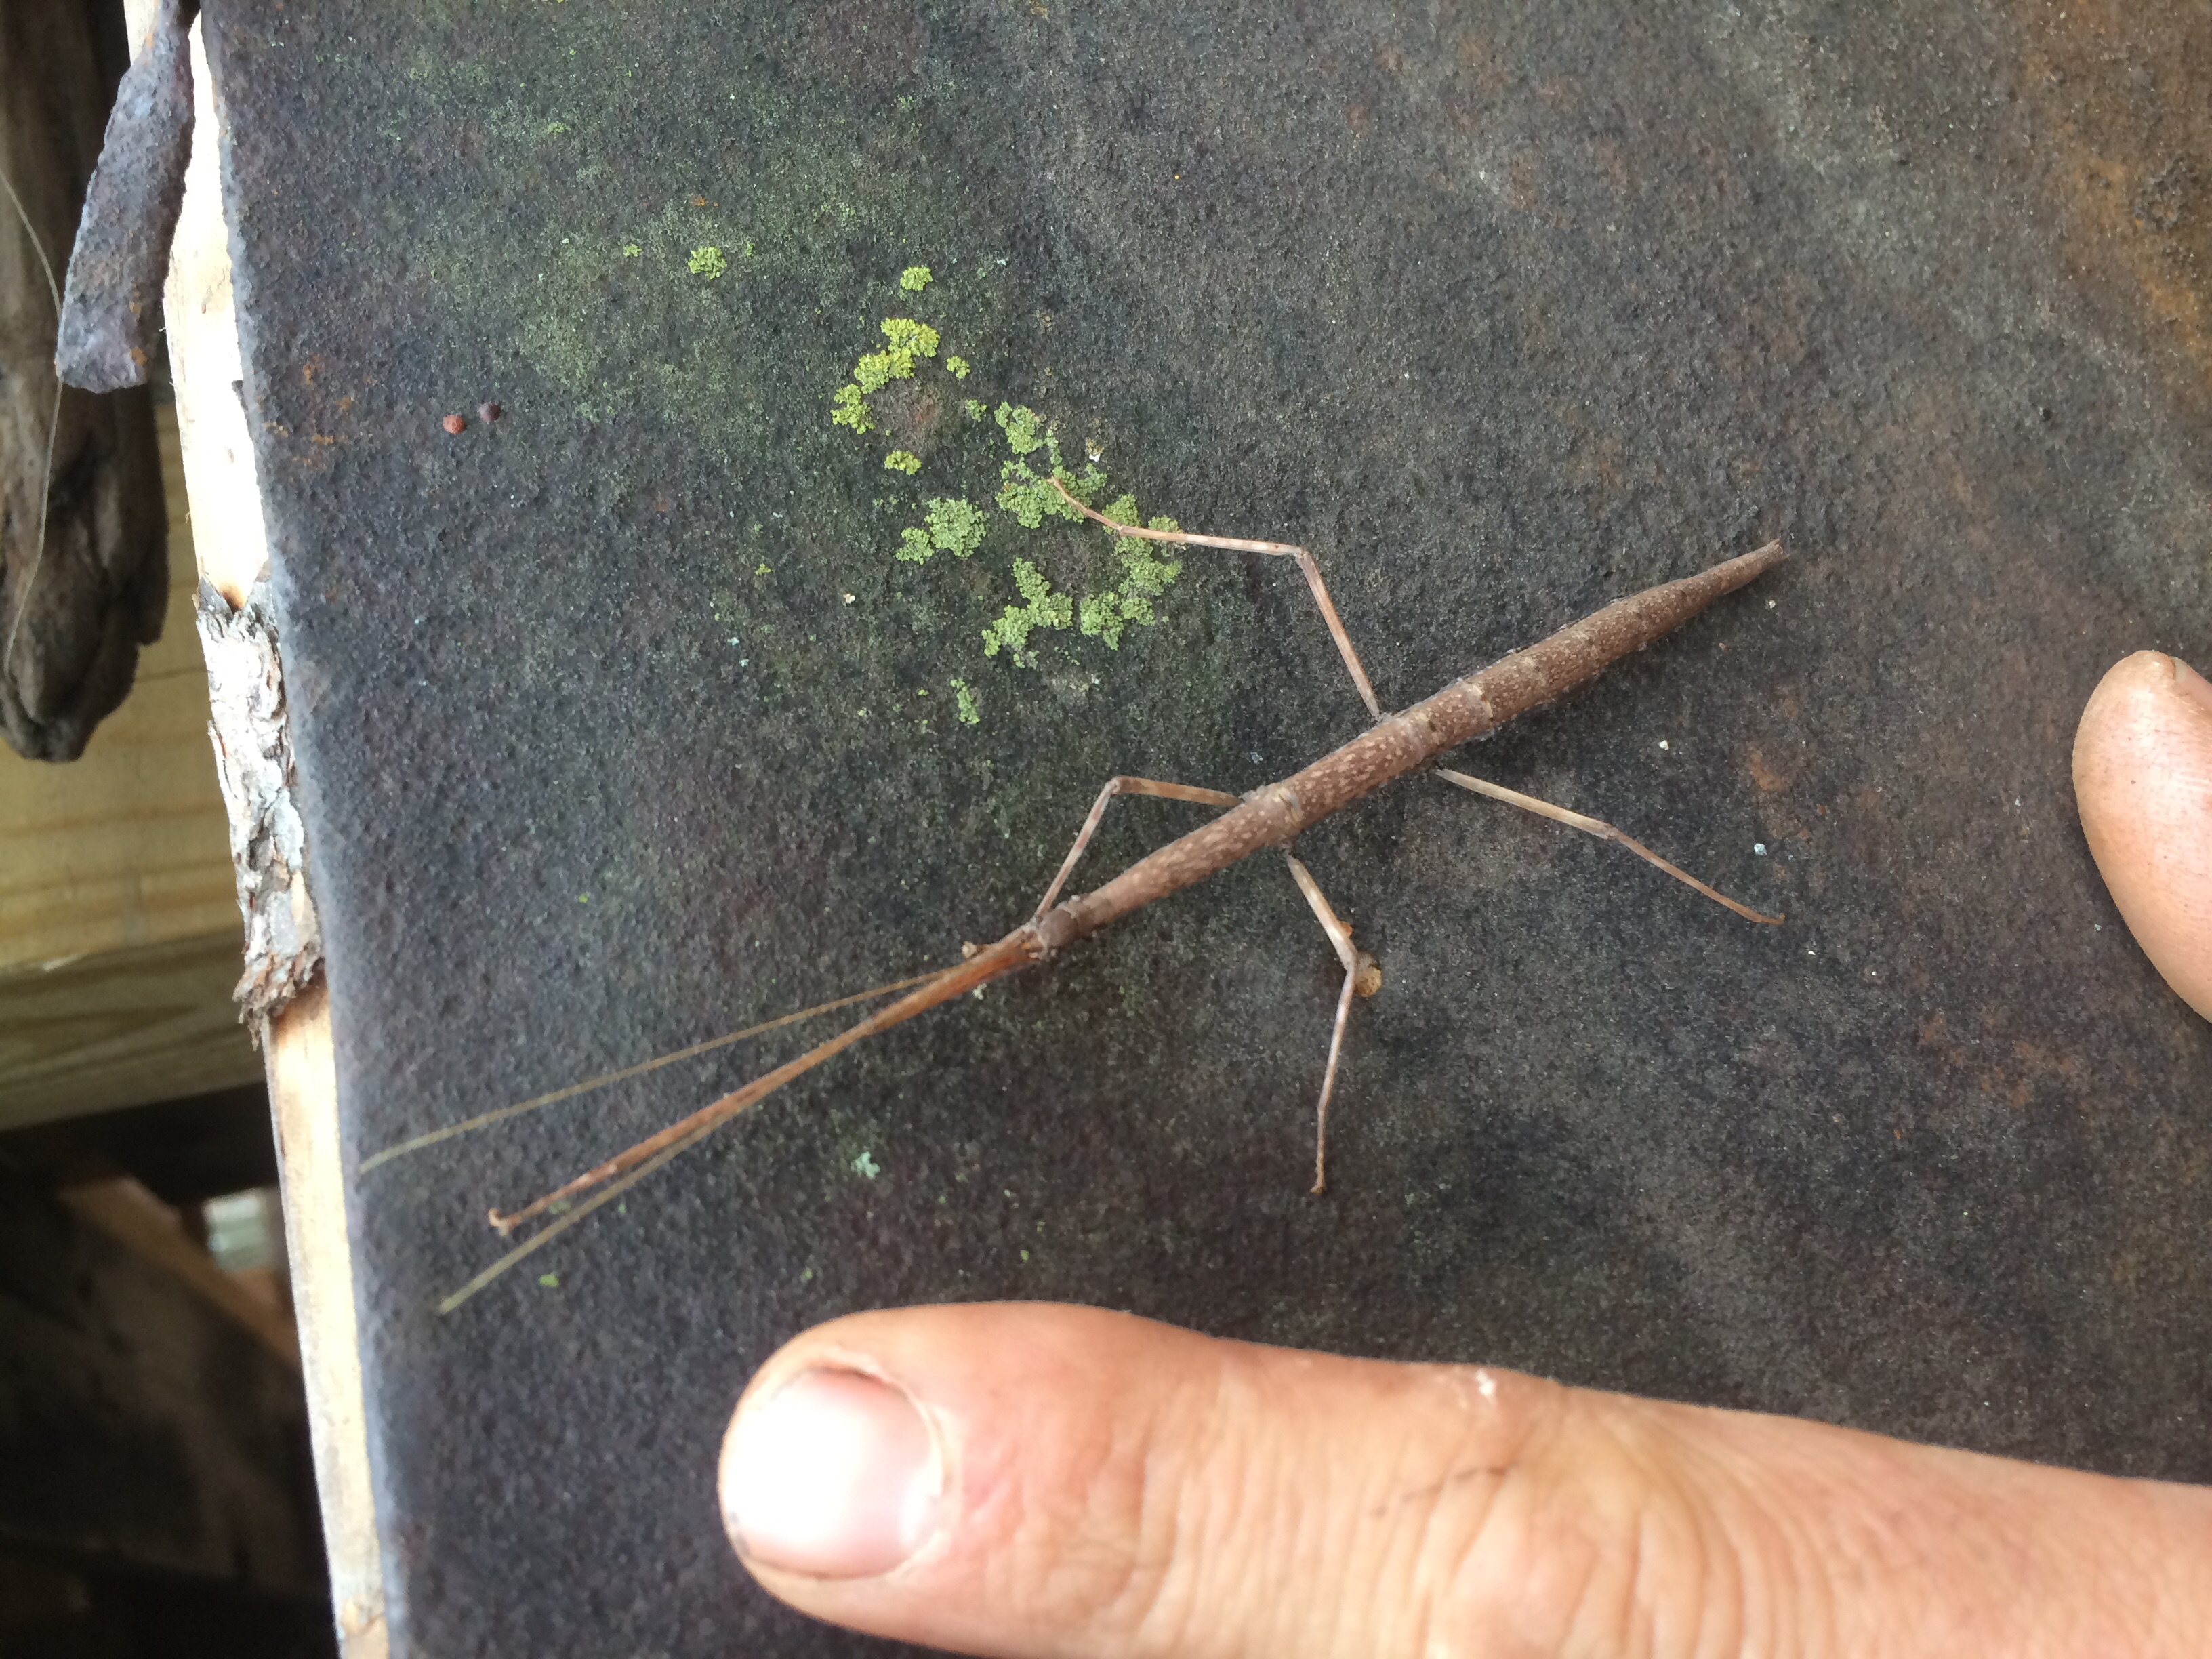
not ginger – Jerusalem Artichokes
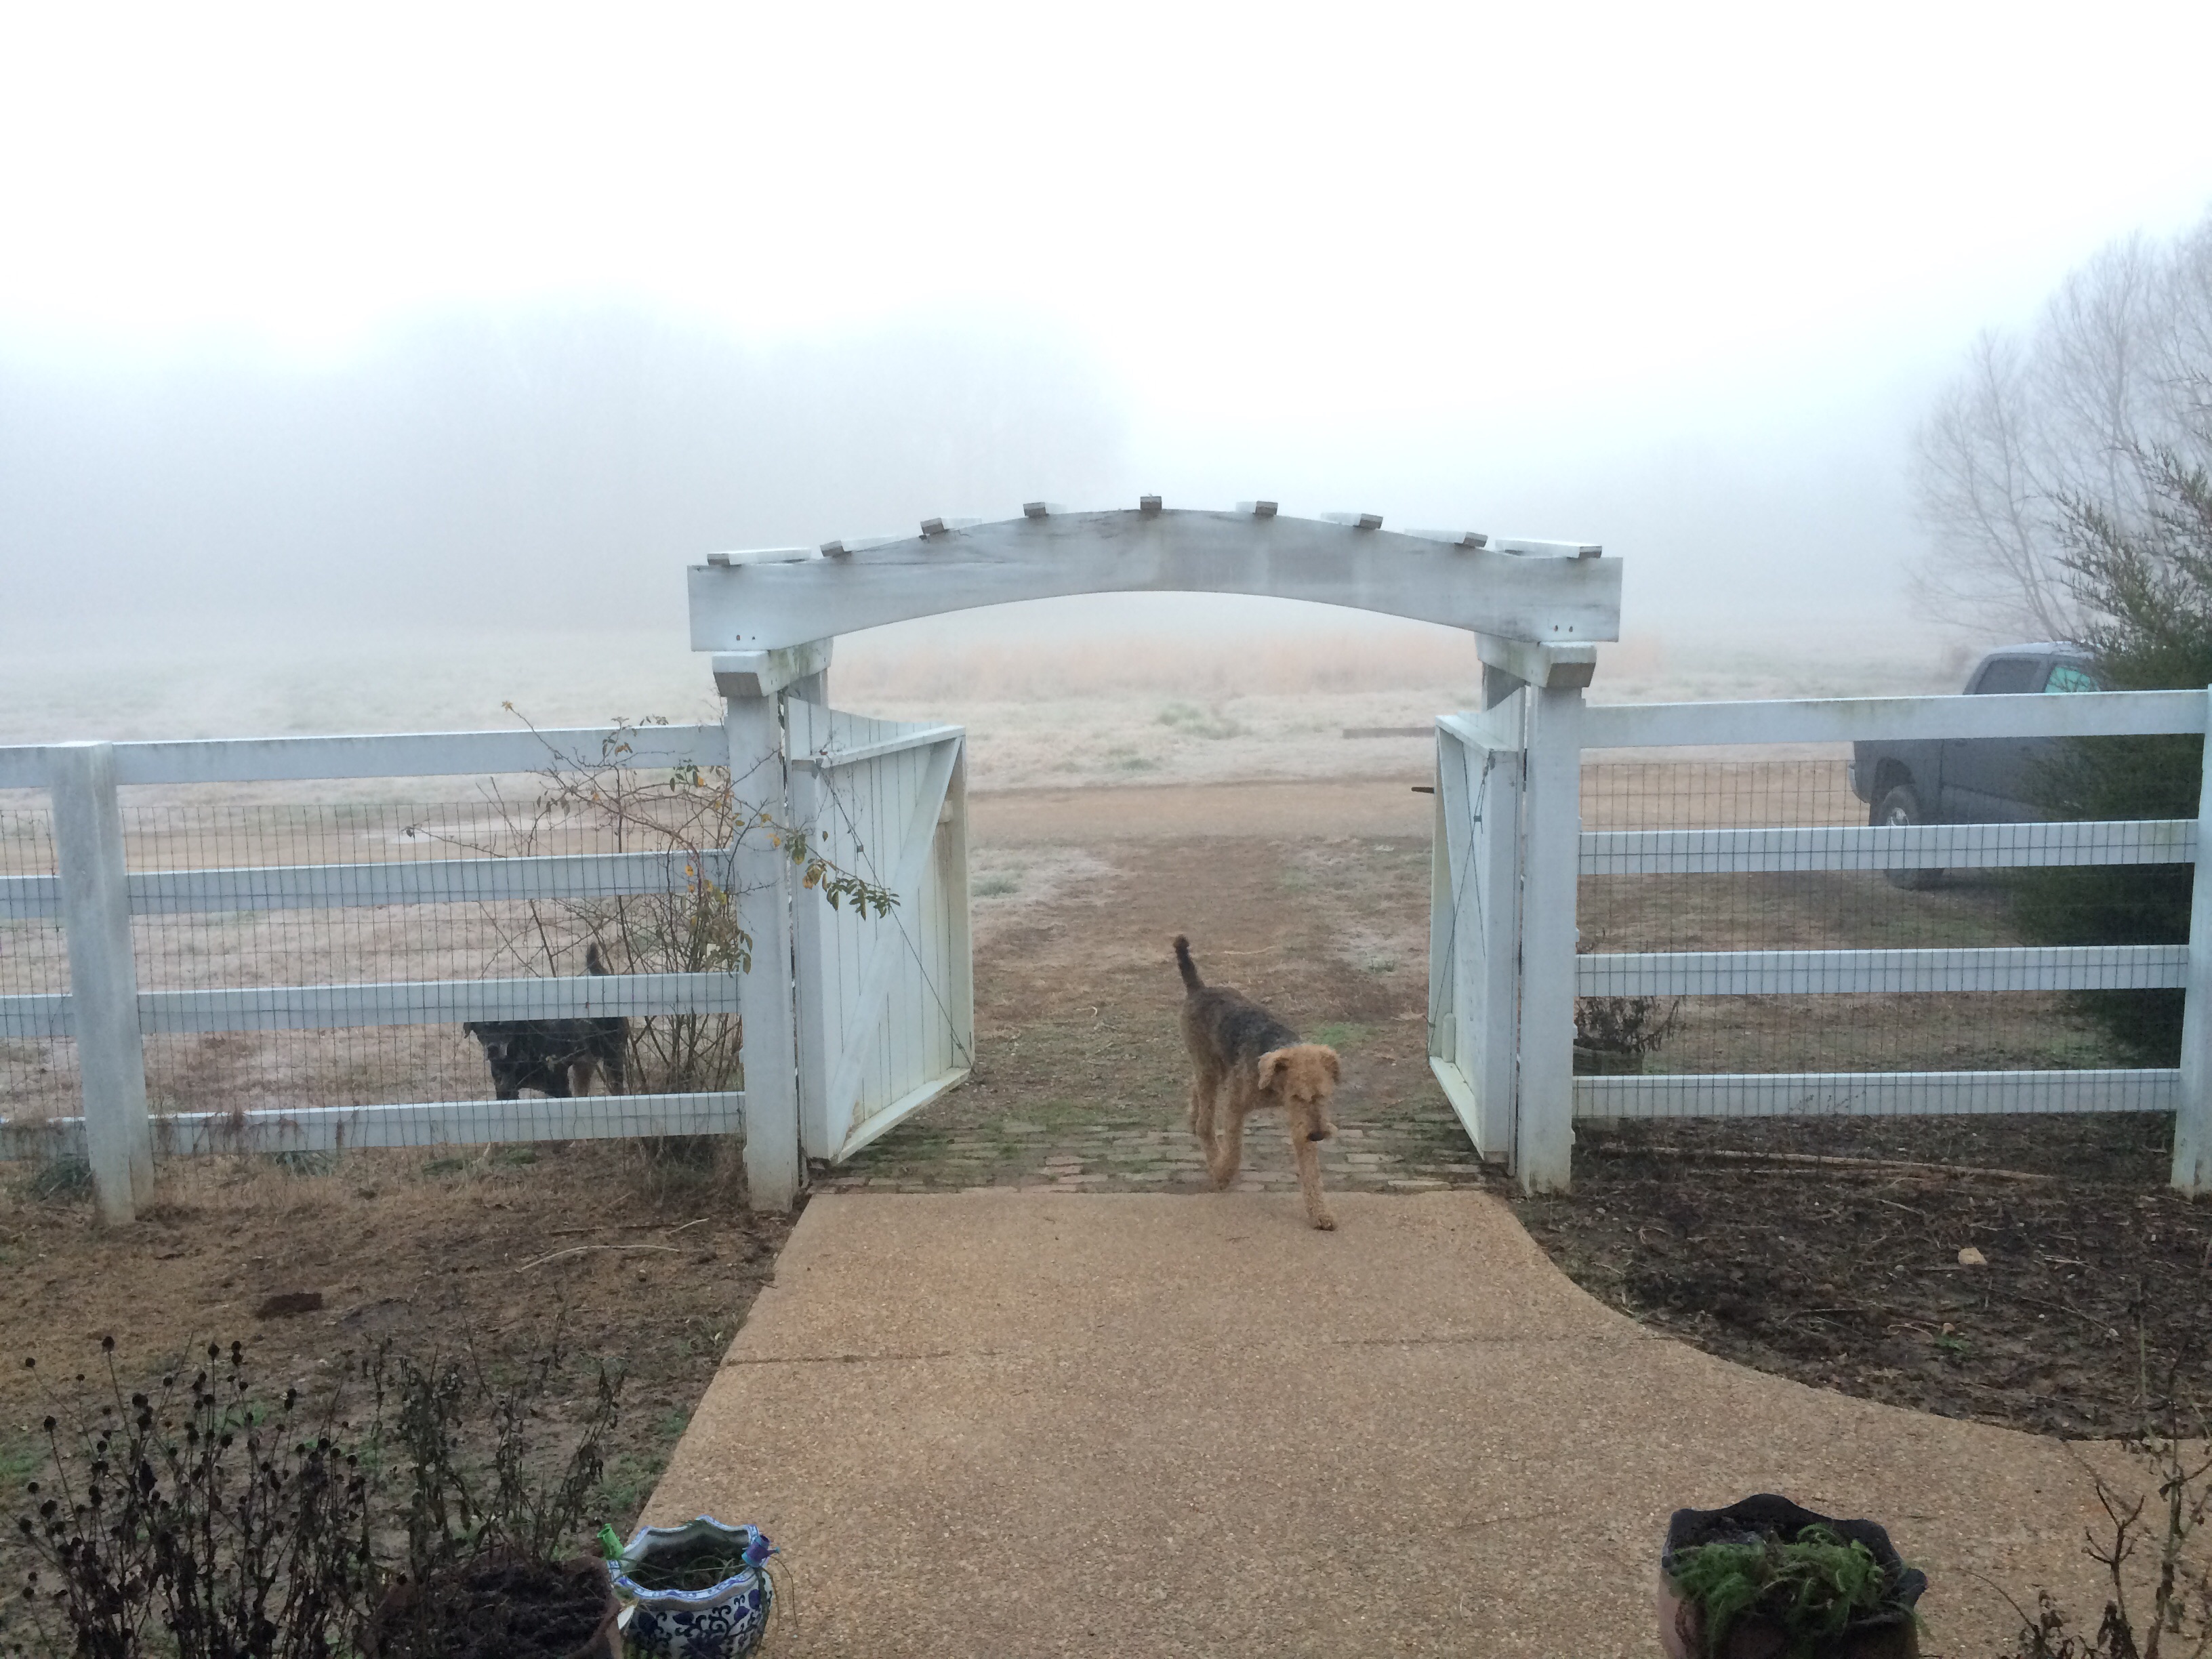
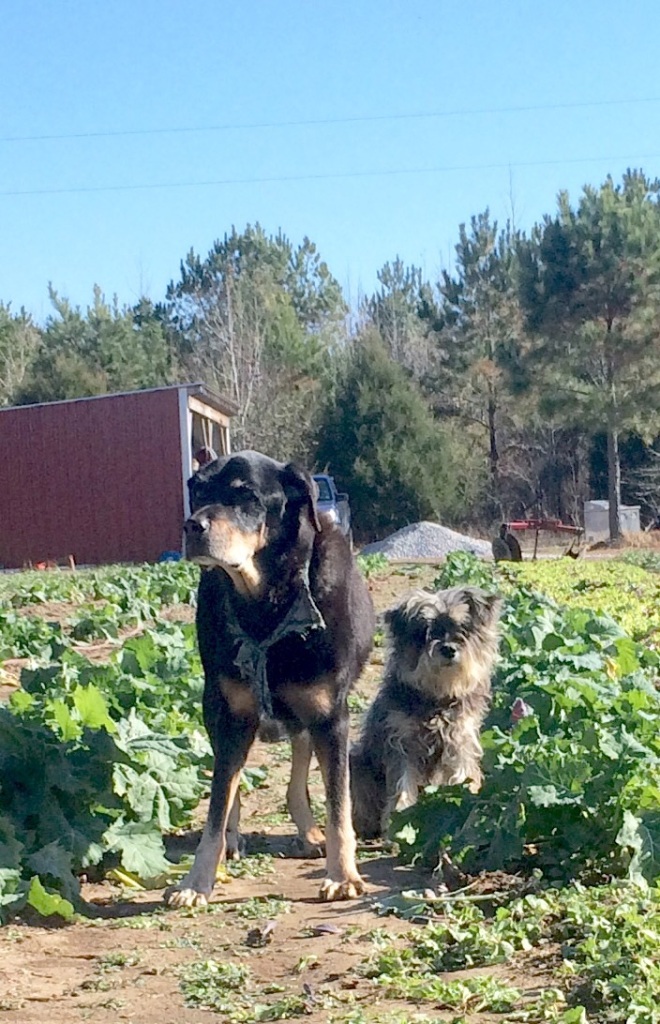
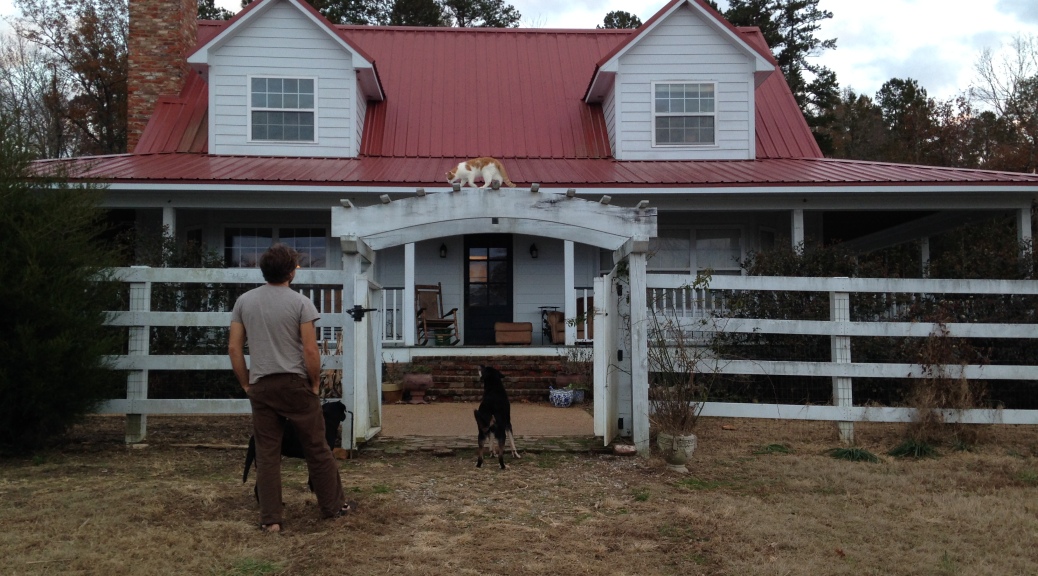
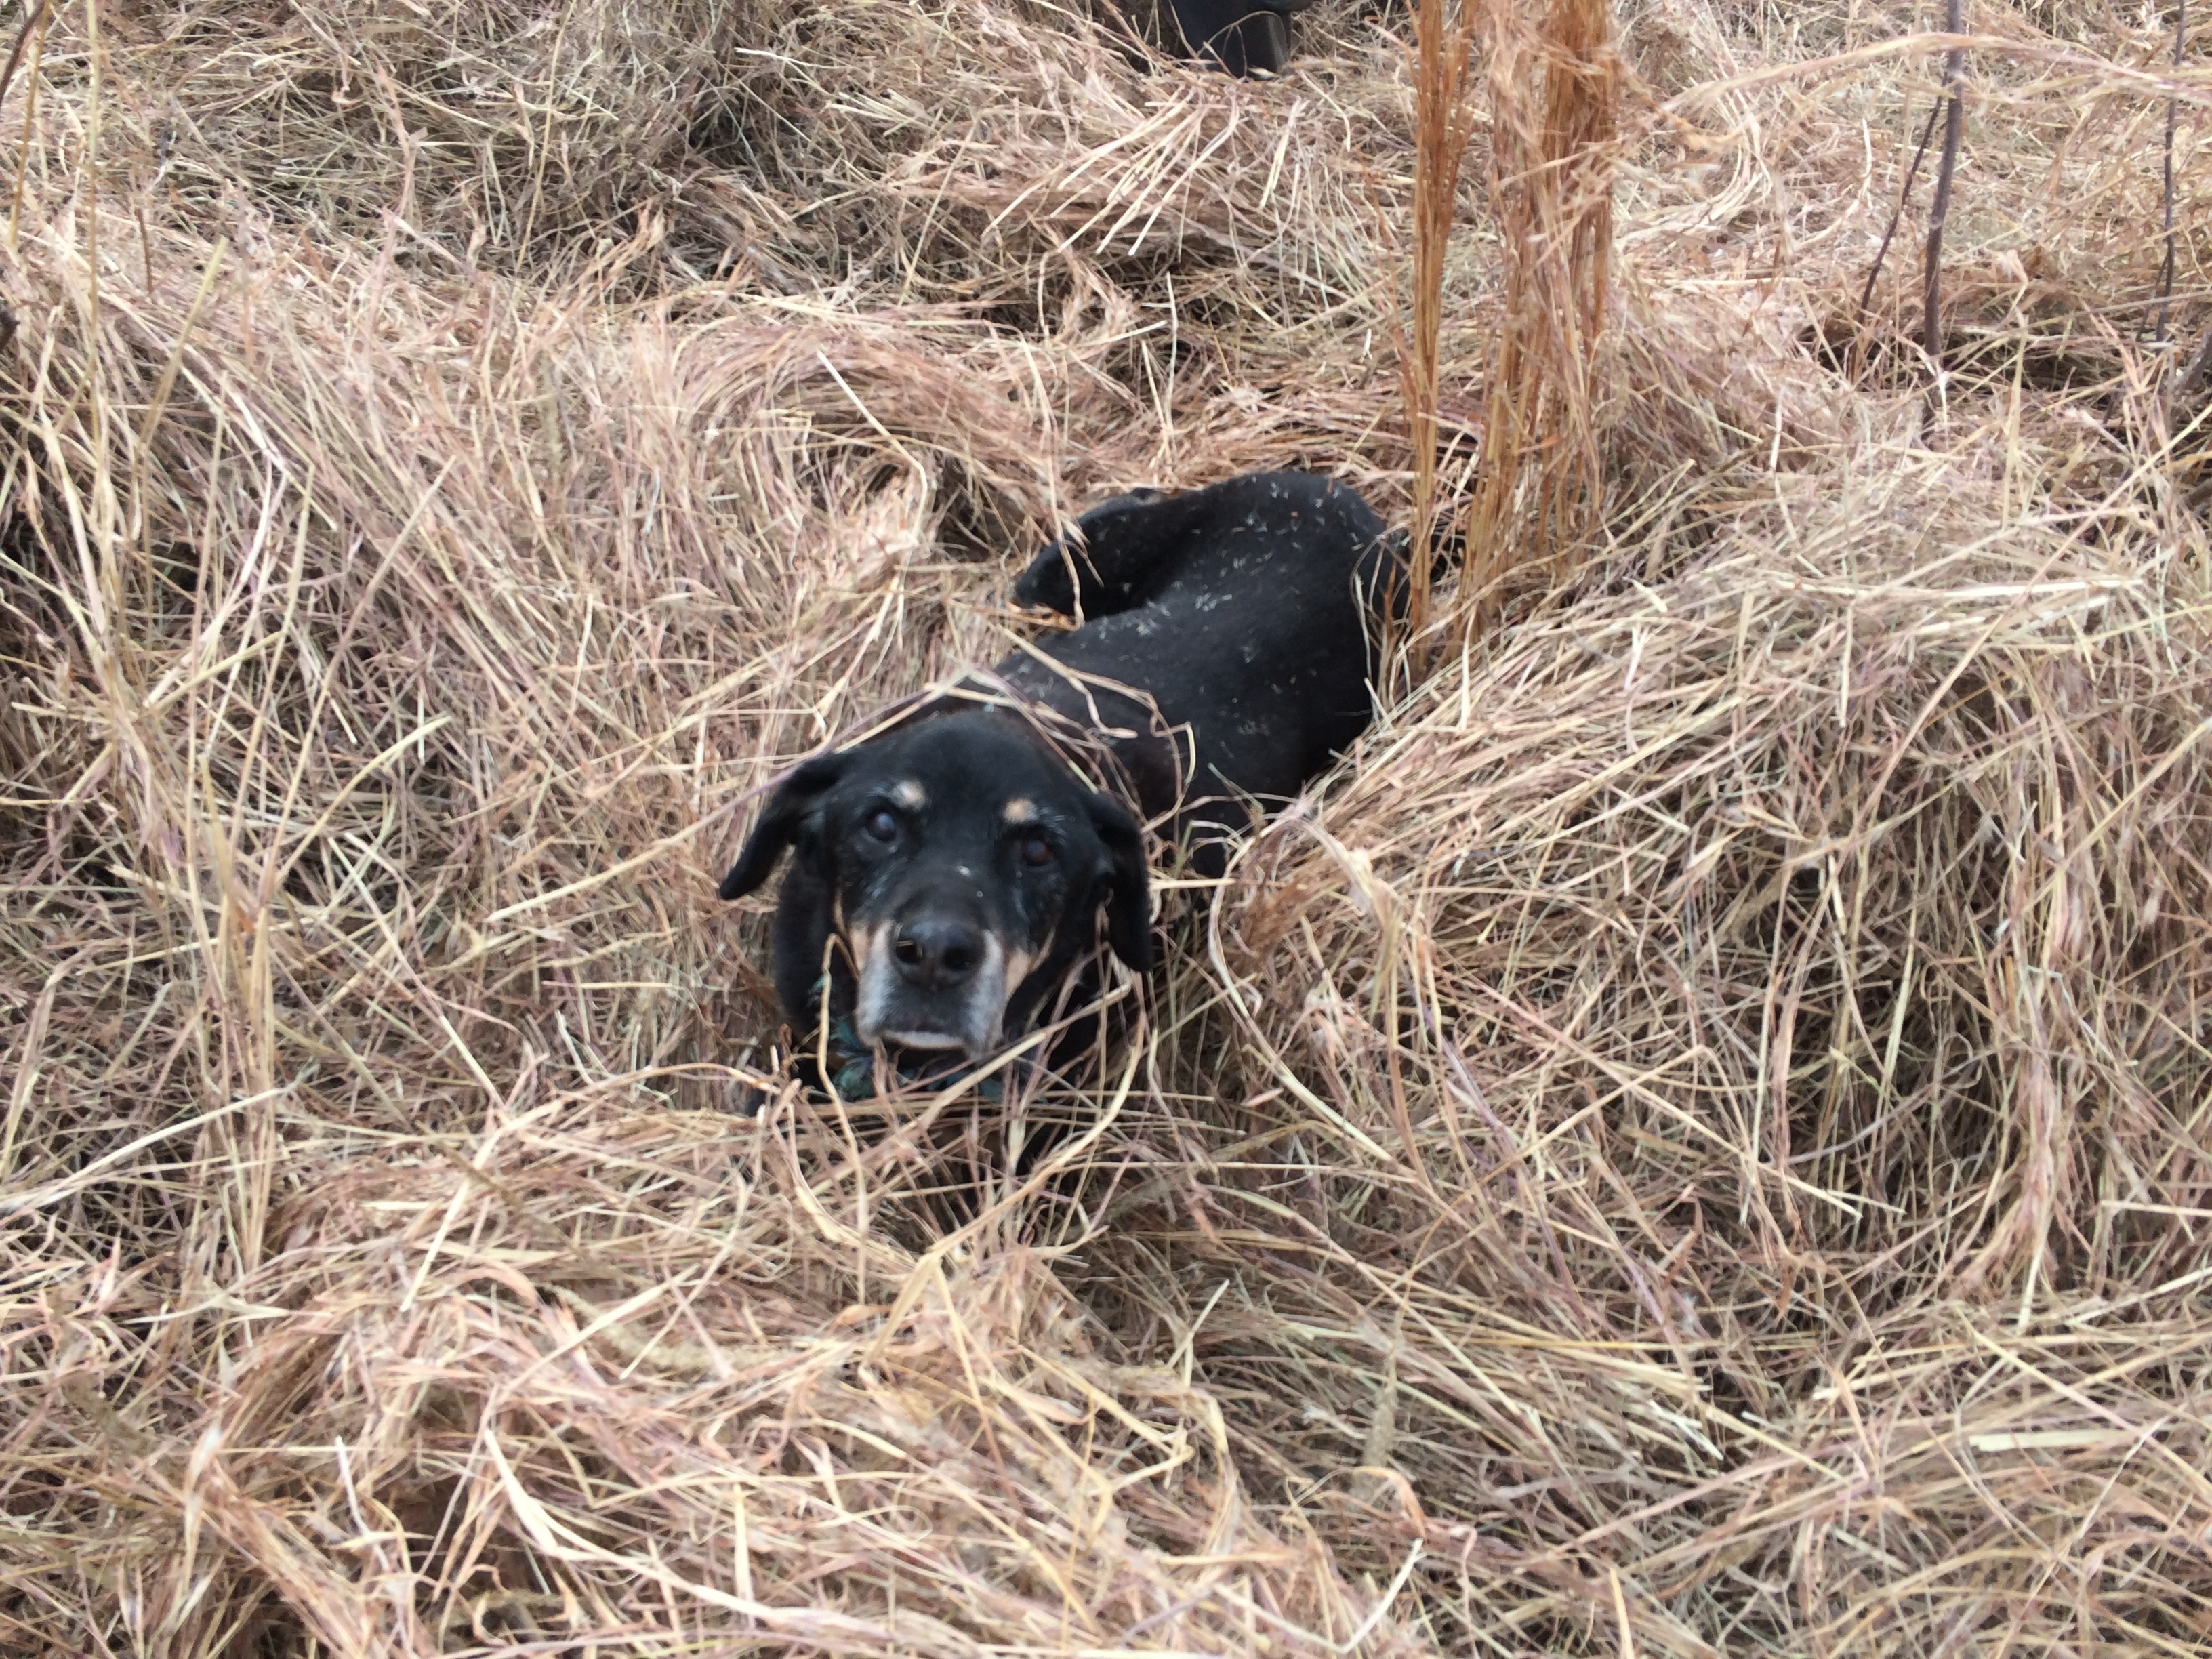
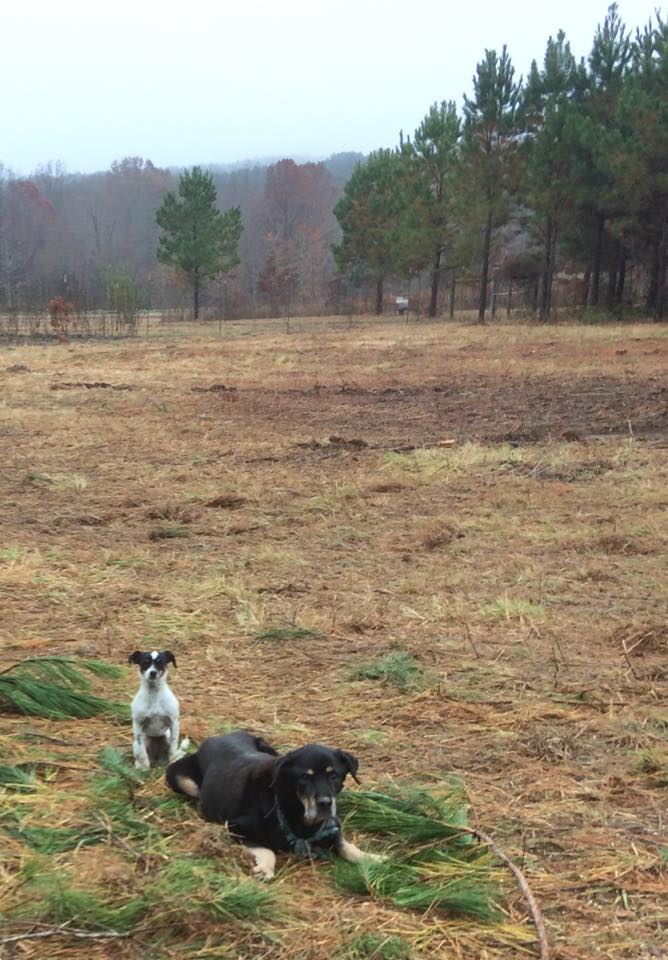
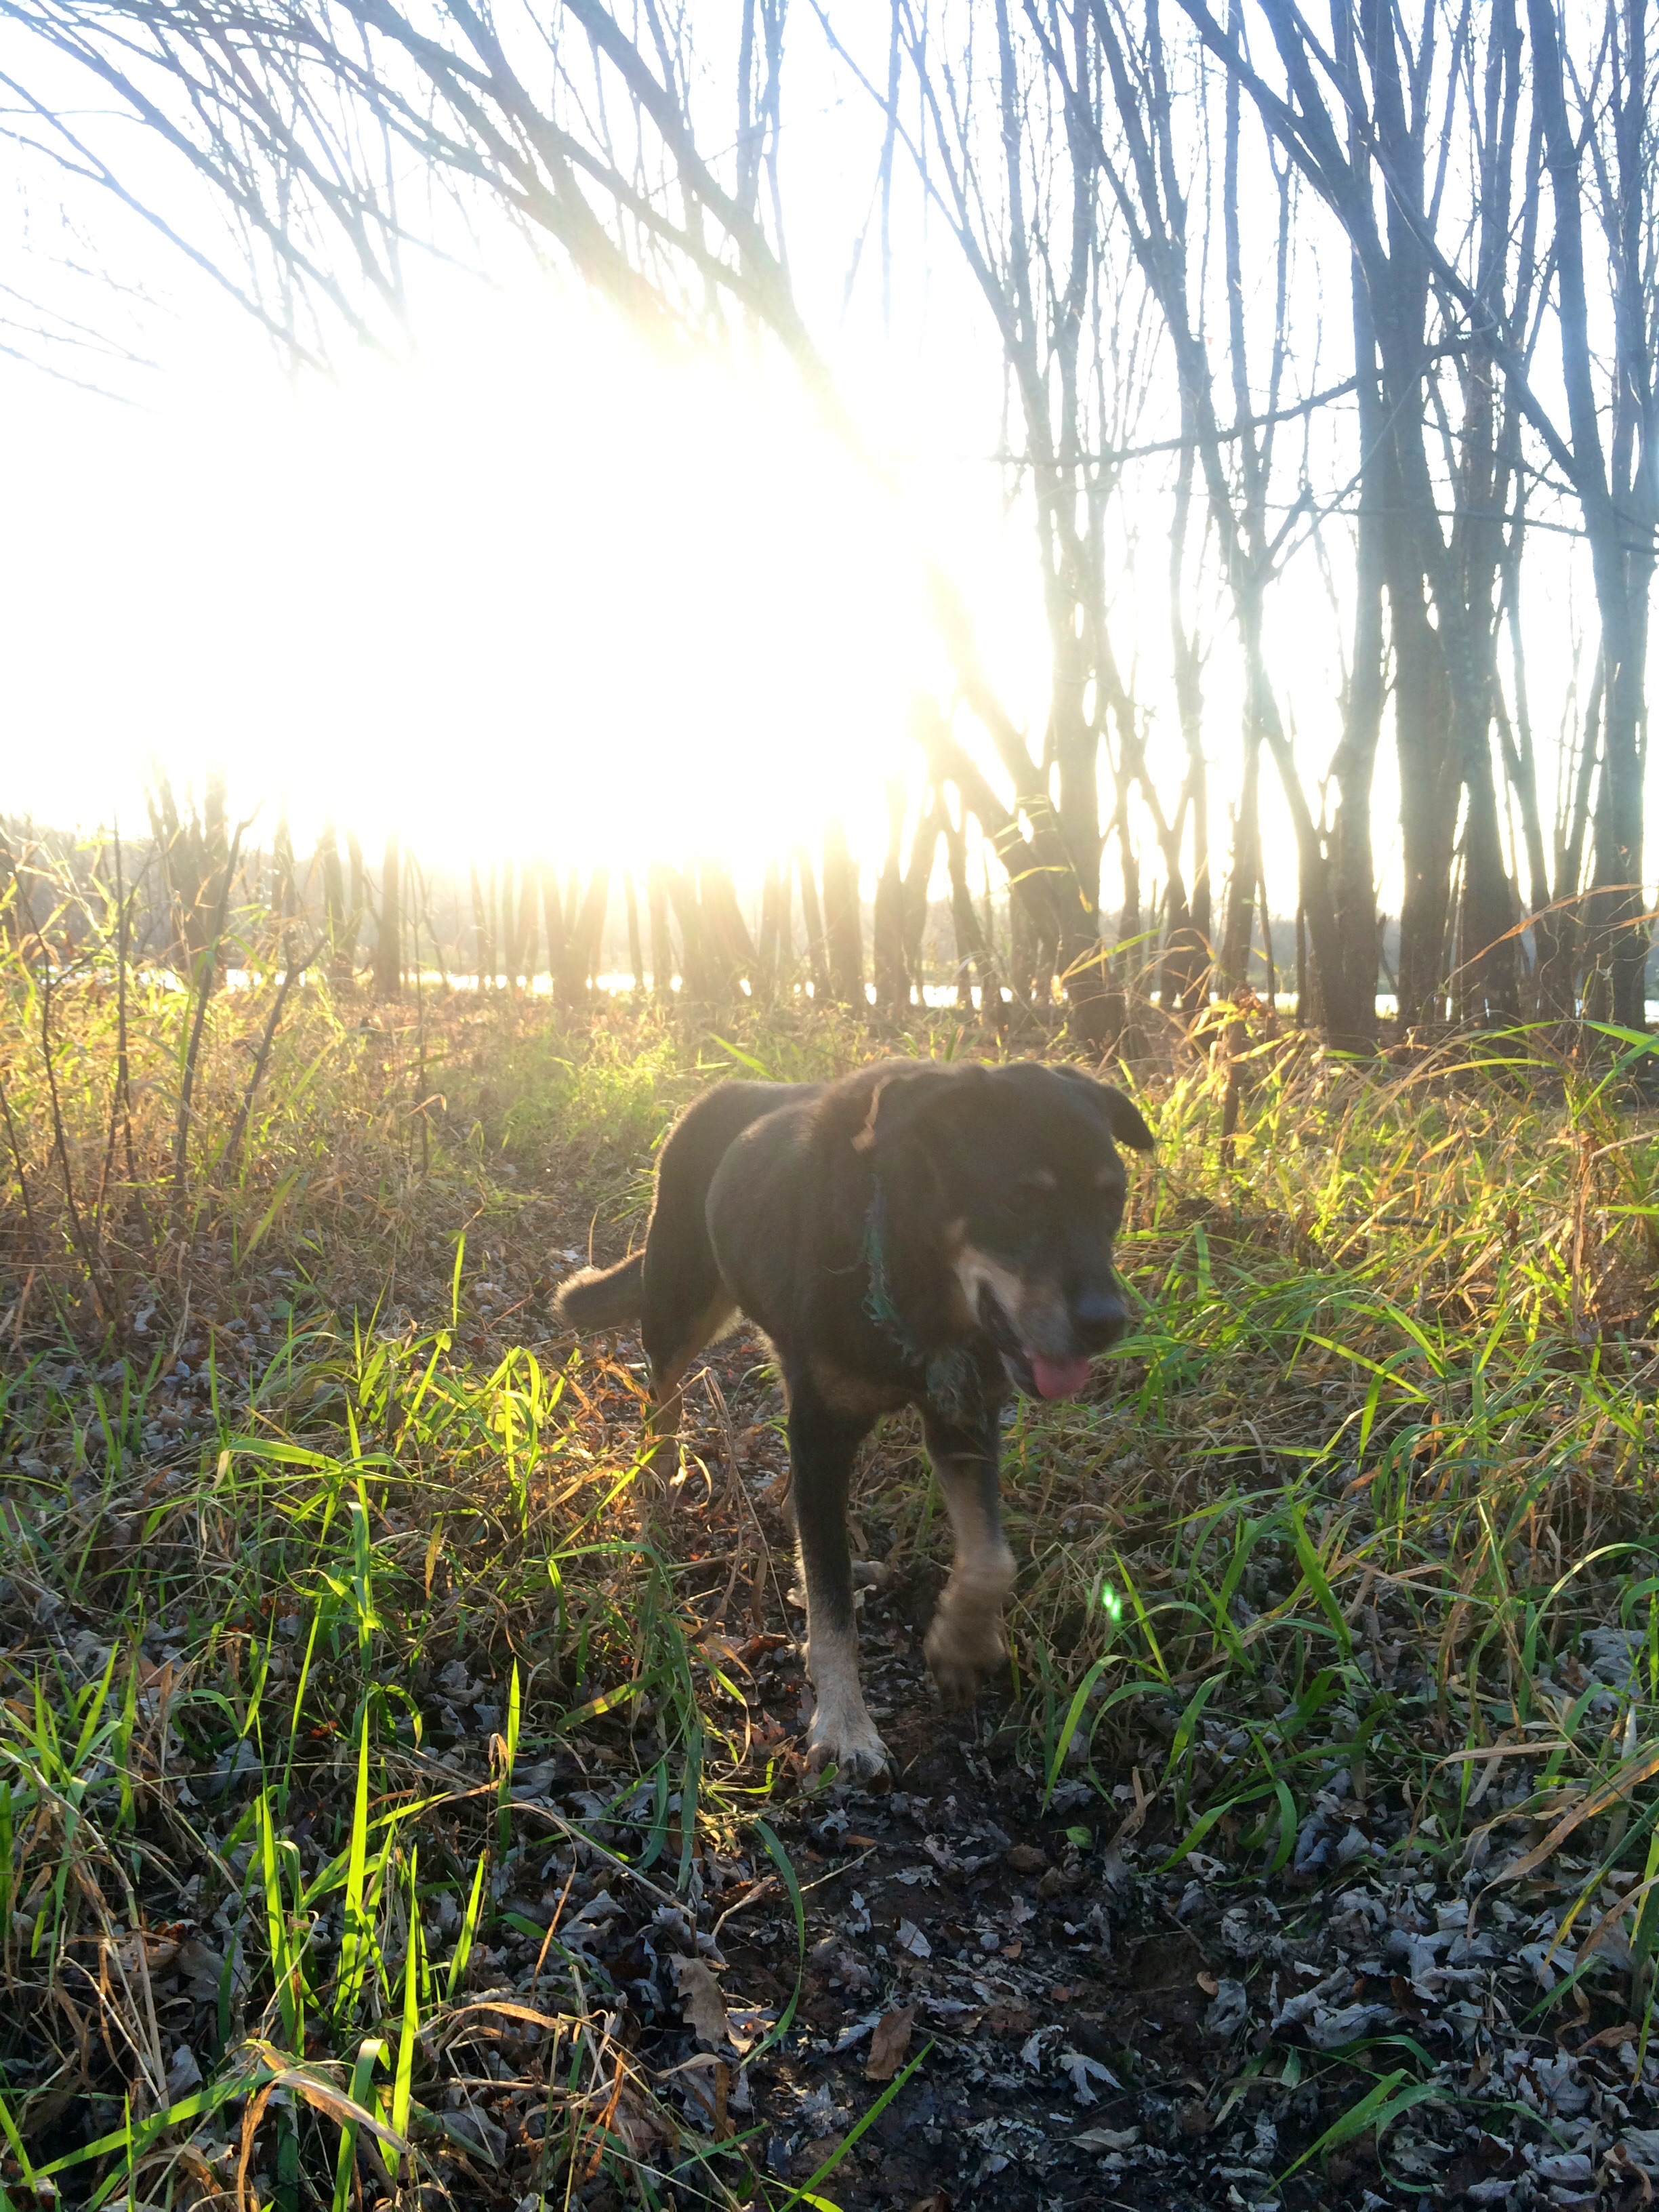
The dogs, of course, are loving it here … although the Yokna Dog Pack lost one member since last year (Nathan moved out with his dog Ella), it gained a new one unofficially – “Grey Dog,” the neighbor’s year-old giant puppy – plus, there is a stray that sometimes hands out with us by the field, which brings the total up to eight … plus four cats and a shifting cast of primates …
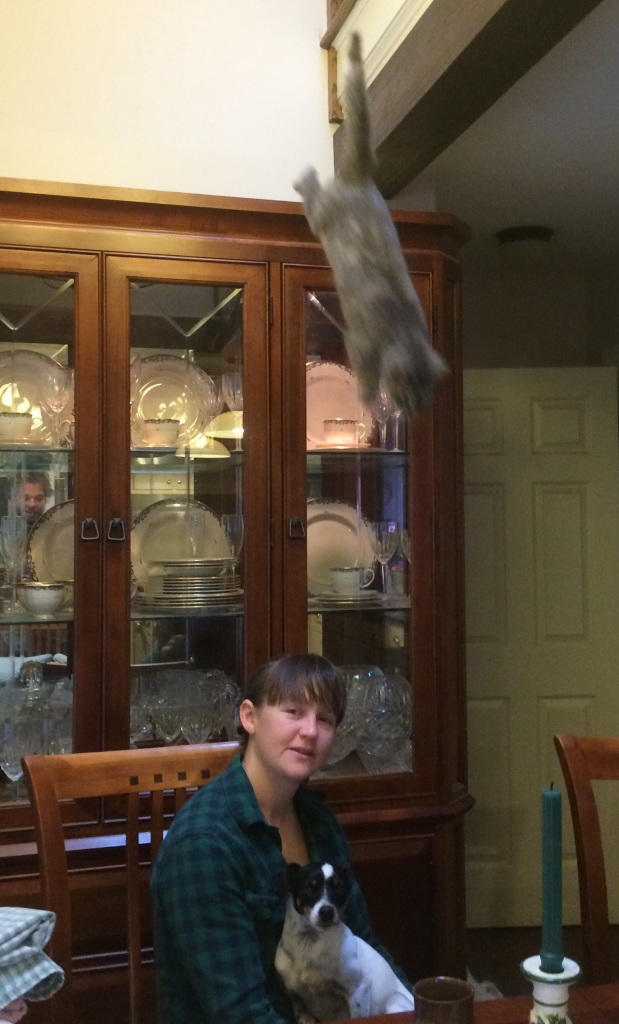
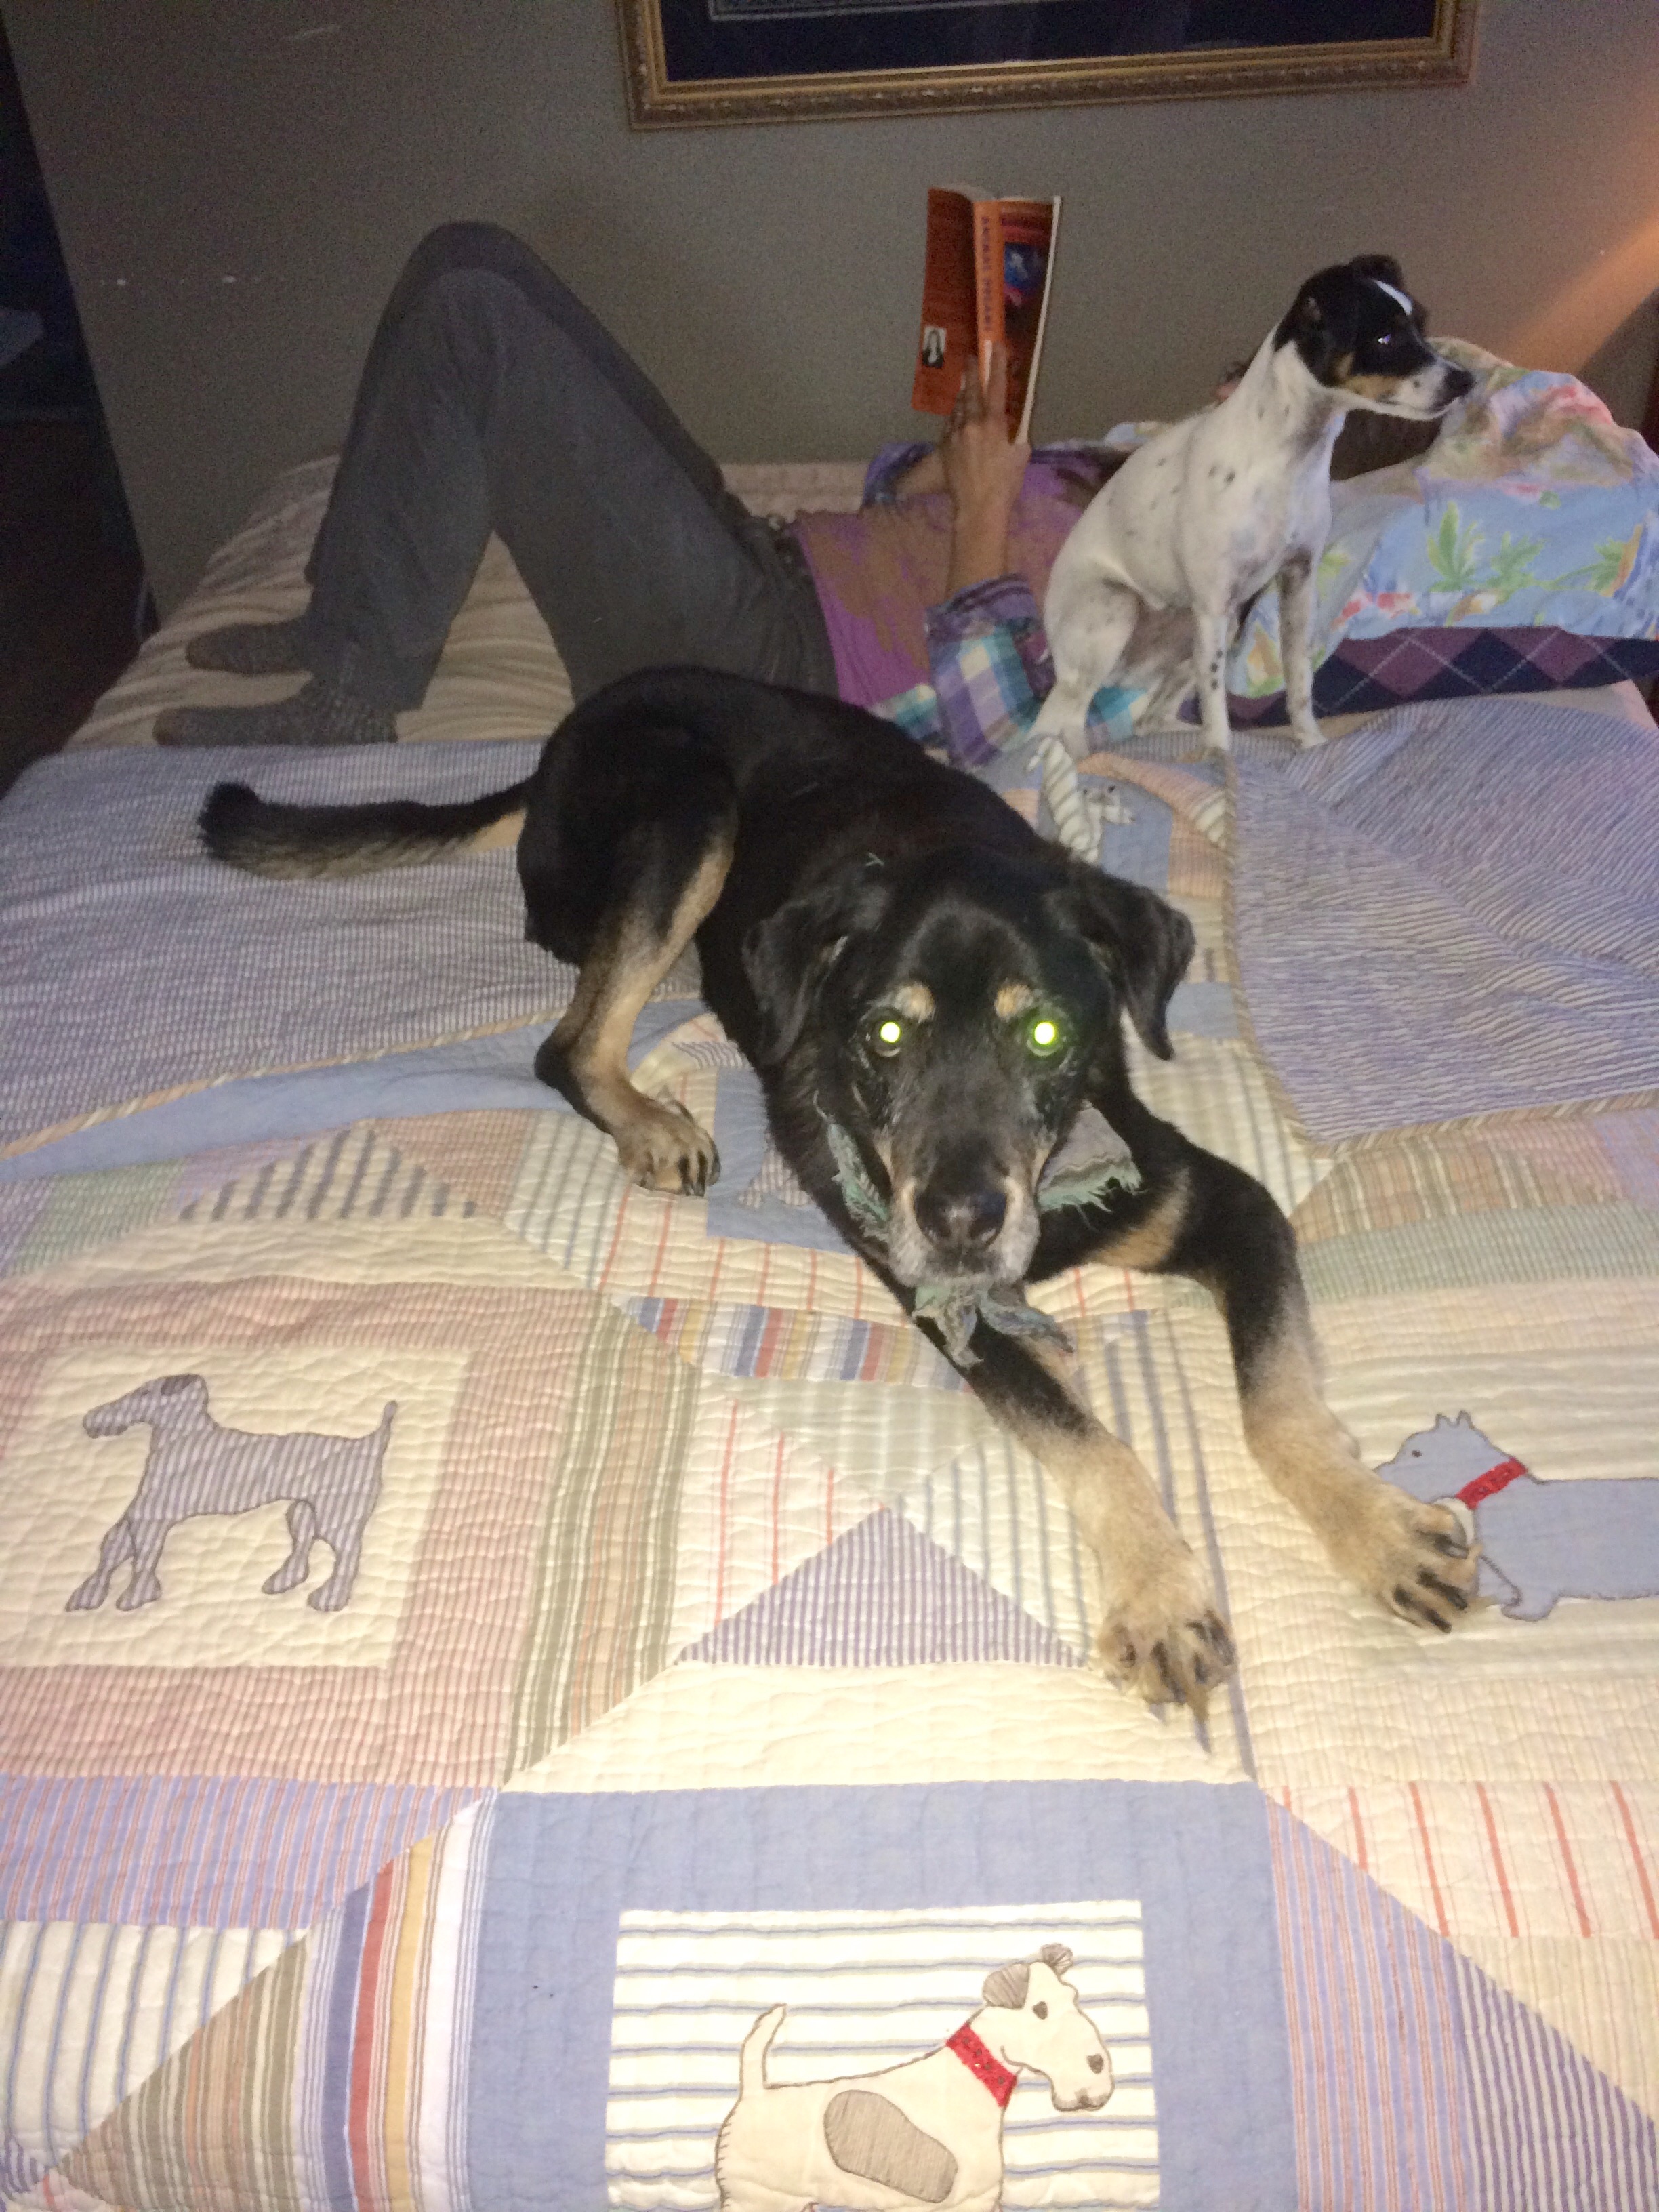
bombs away! Faith, inbound.at least 5 dogs on the bed spread
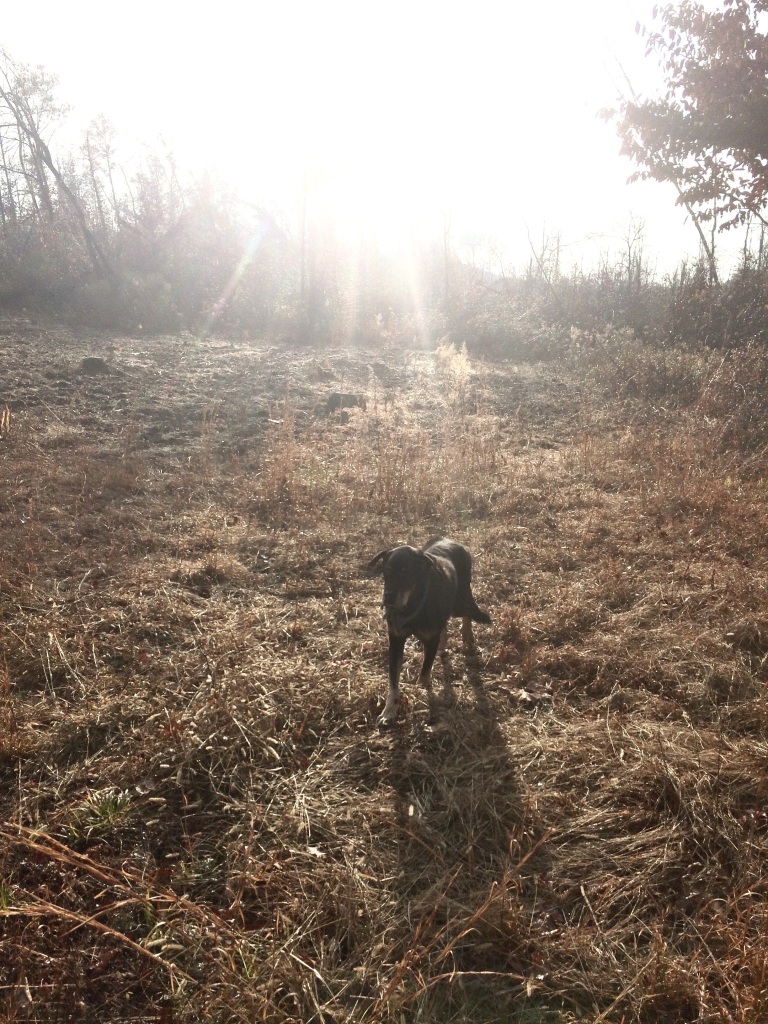
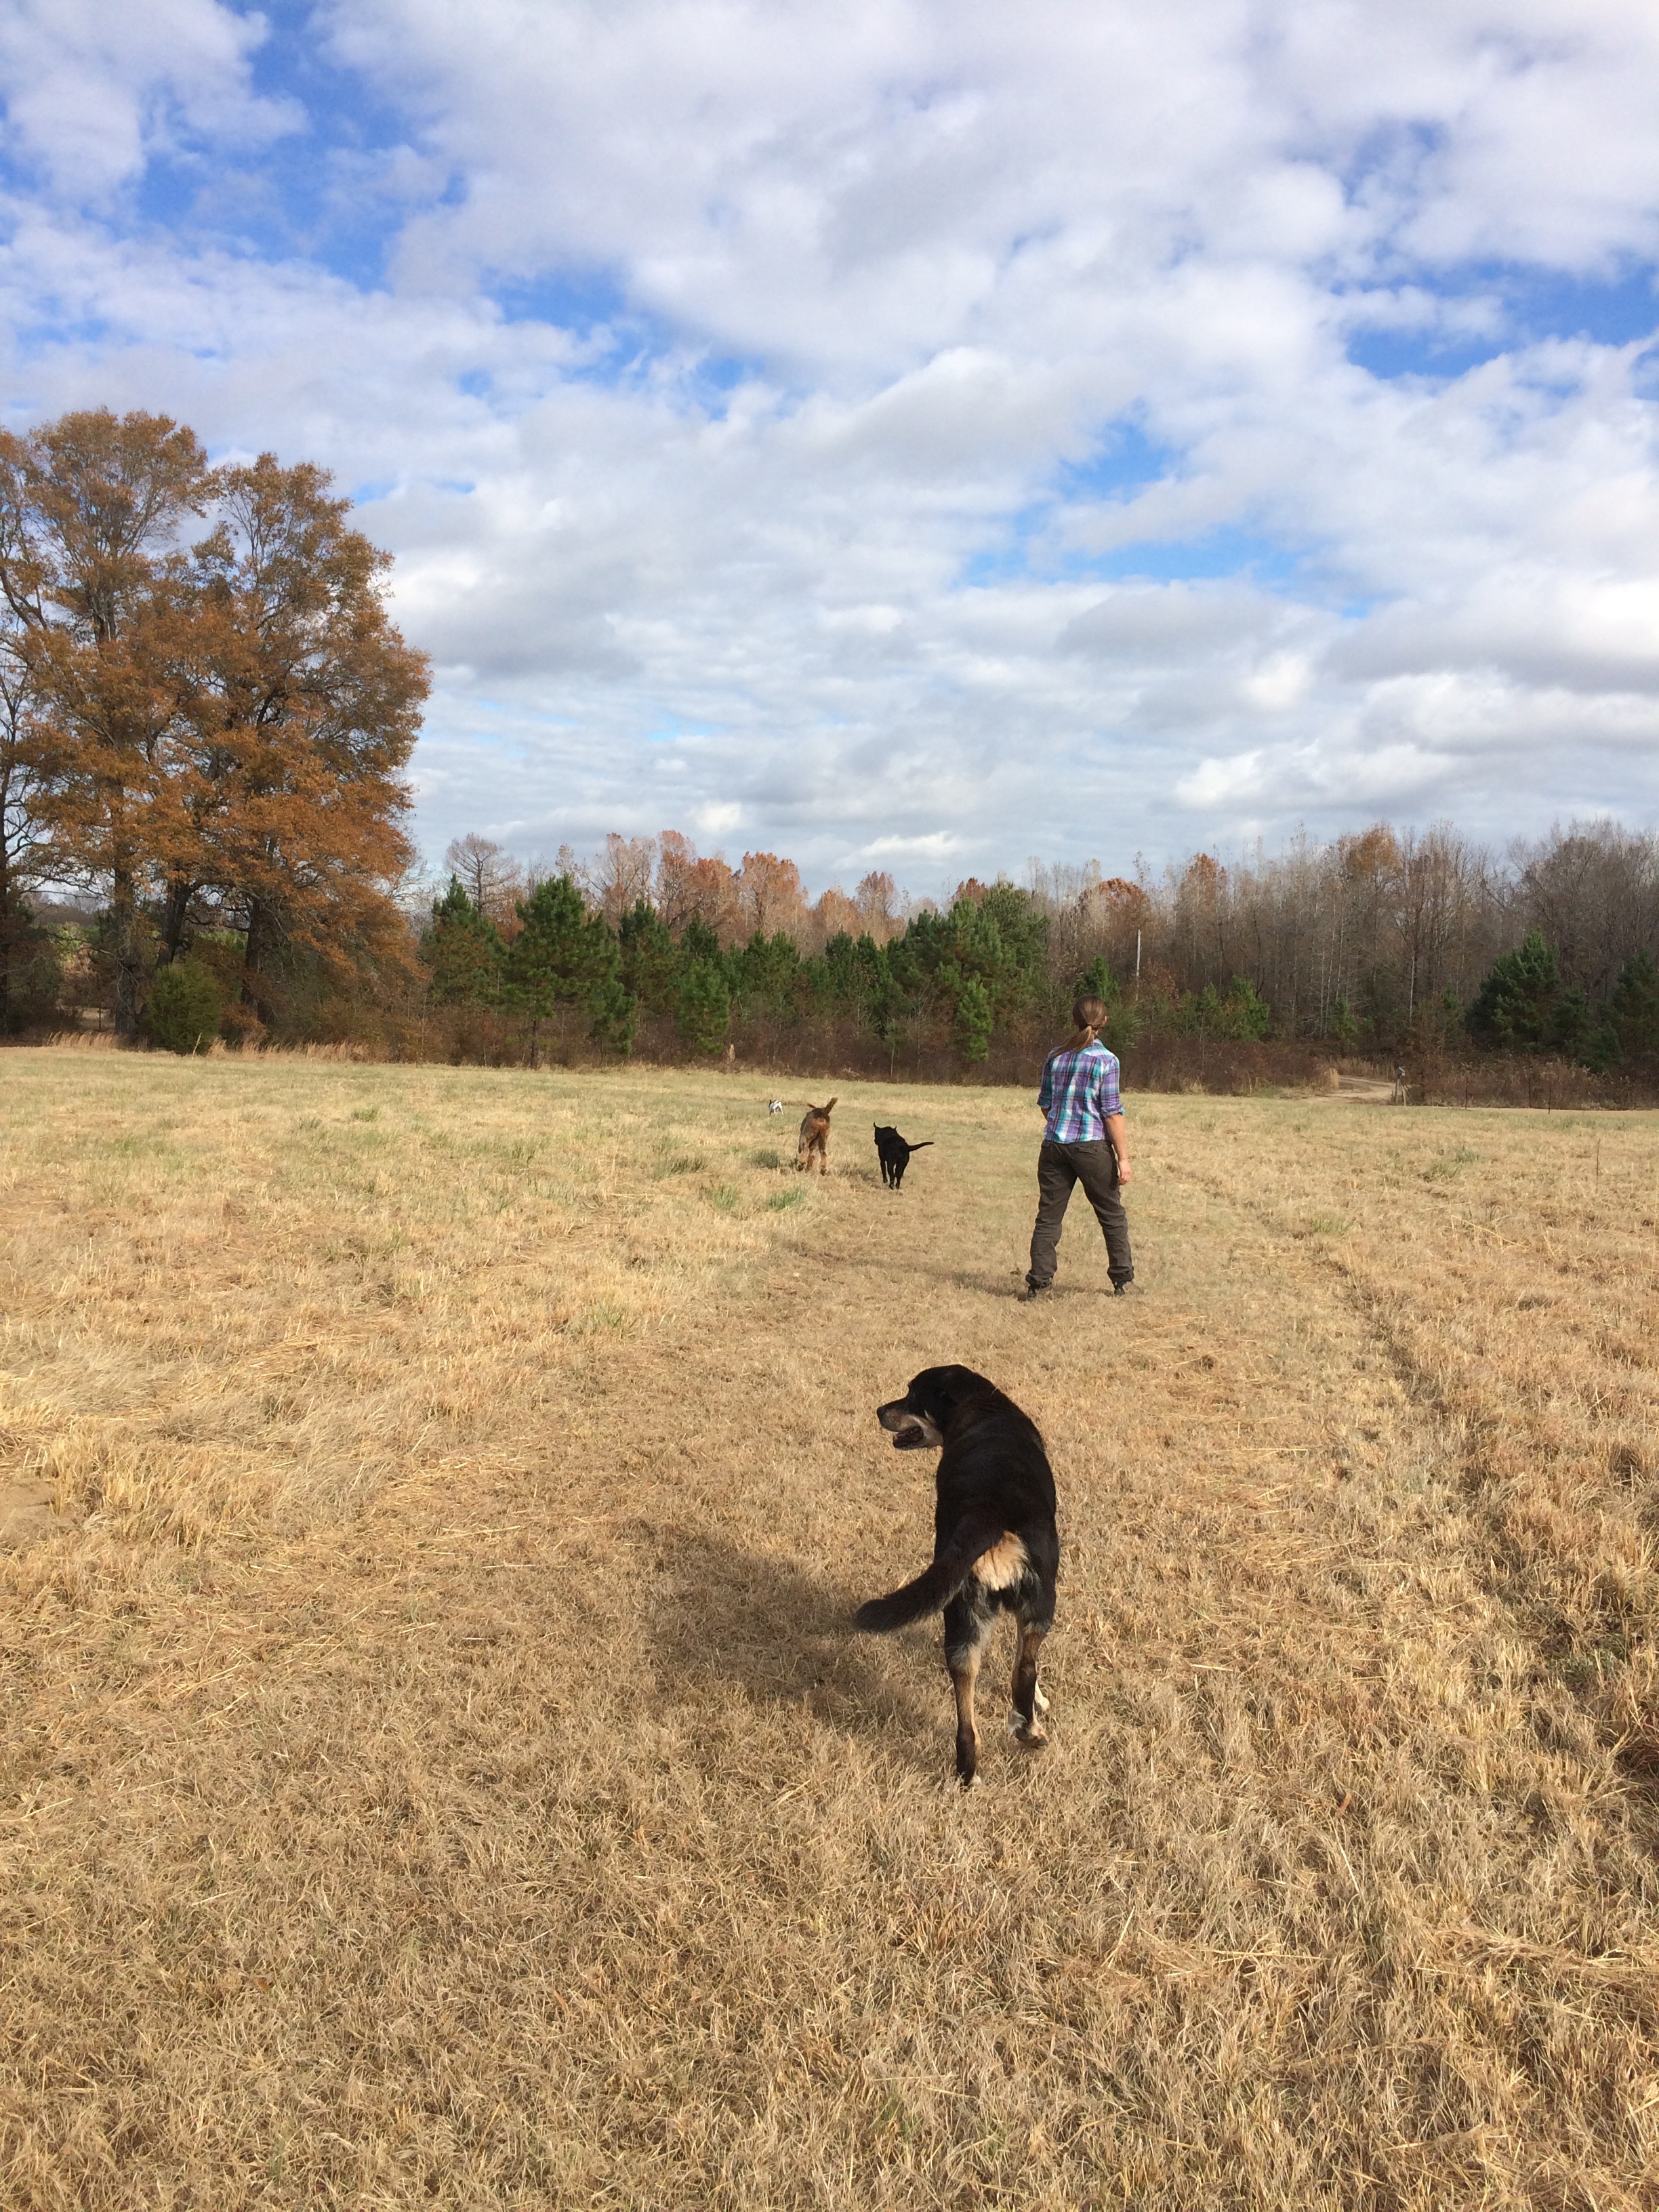
Cleo in the field up at Jeff’s place in the nearby hills Cleo and Benji the Stray (we gave his shaggy eye-fur a trim to help him better see and been seen) Missy playing with Grey Dog … this is the day that he stole both of Gabe’s work/hoking shoes and made off with them, apparently making multiple trips to bring them back to his house. Over the next couple of days the neighbor found them both (unharmed!) and returned them one at a time … the eyes of a serial shoe thief
We have less than a week to go here before we strike out westward toward new territory … time is flying!
a vine-strangled sapling on its way back to the farm to be turned into a proper Wizard Stick
When we originally planned our winter journey, we did not plan on returning to any of the same farms we WWOOFed at last year – we’d enjoyed all three, but thought we’d get more from the trip if we did all-new places – meeting all new people, learning entirely new ways of farming, etc.
However, when we looked at a map of the planned route, we realized that Yokna Bottoms Farm in Oxford, Mississippi, was right in the middle of the long stretch of road between my sister’s in northern Illinois, and a farm that had agreed to host us in New Orleans.
It turned out they were accepting WWOOFers again at the time we would be coming through – so we wound up returning this year – once again, we’d kick the trip off as members of the Yokna dog pack.
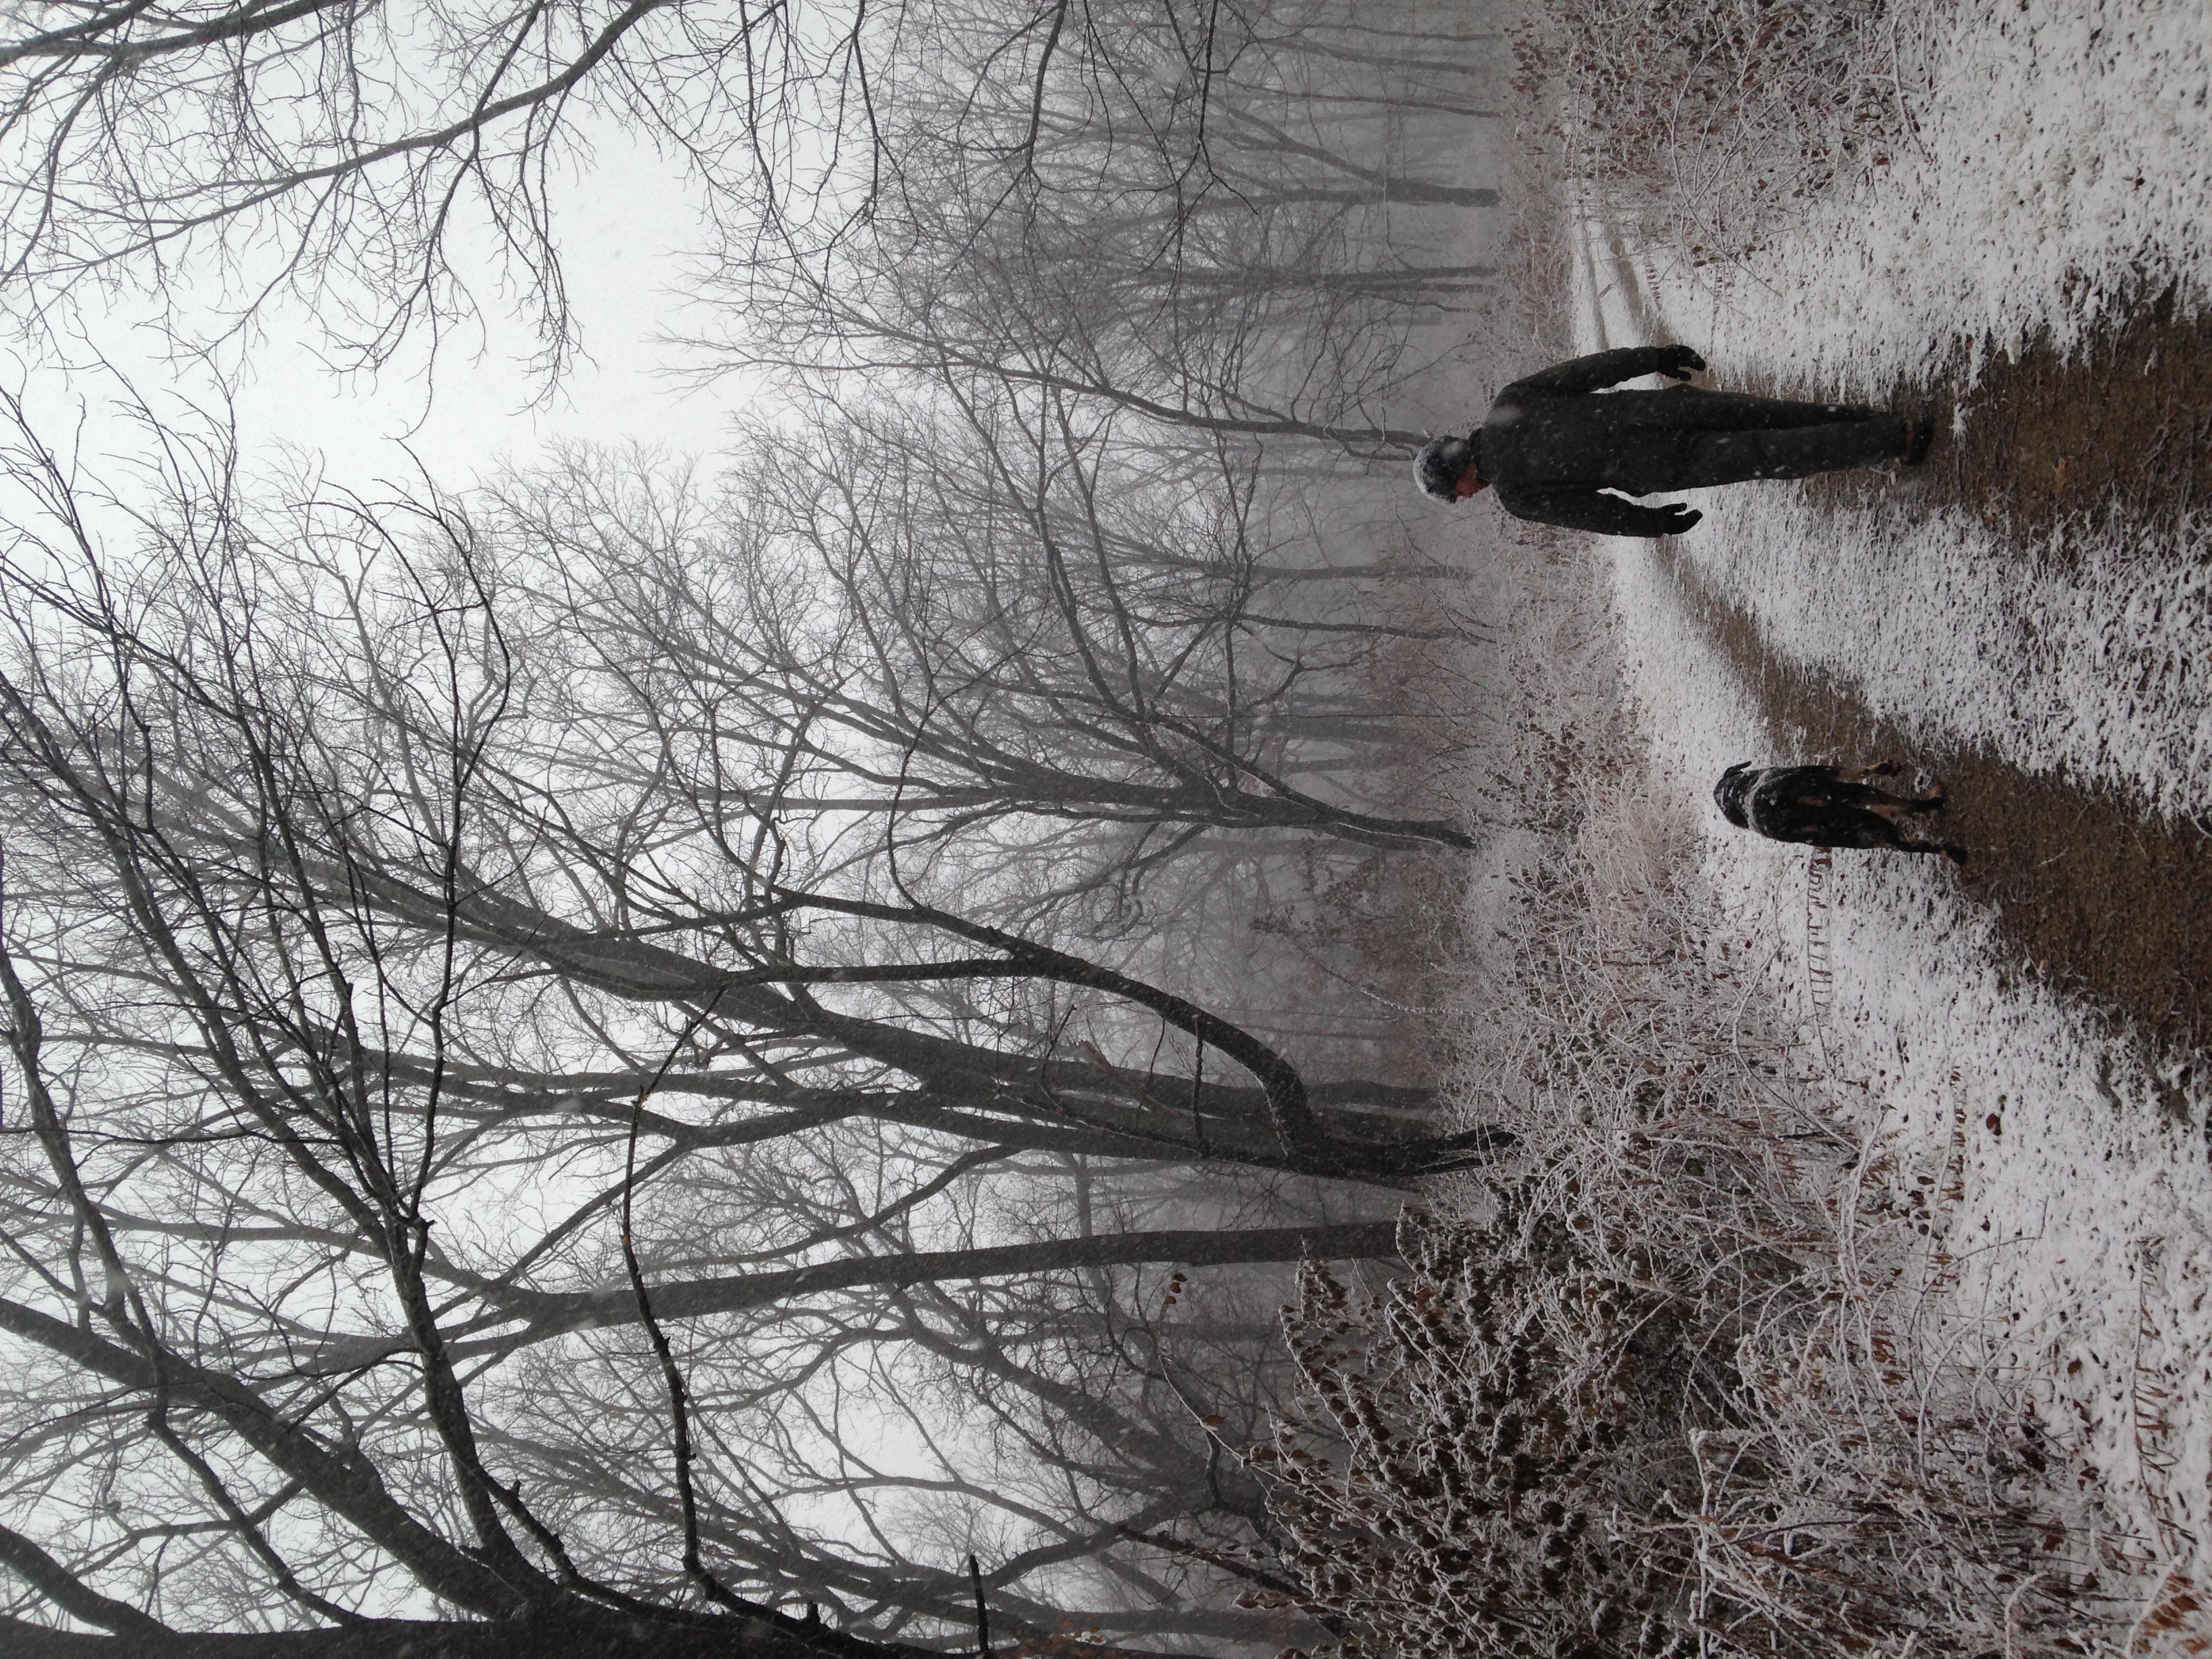
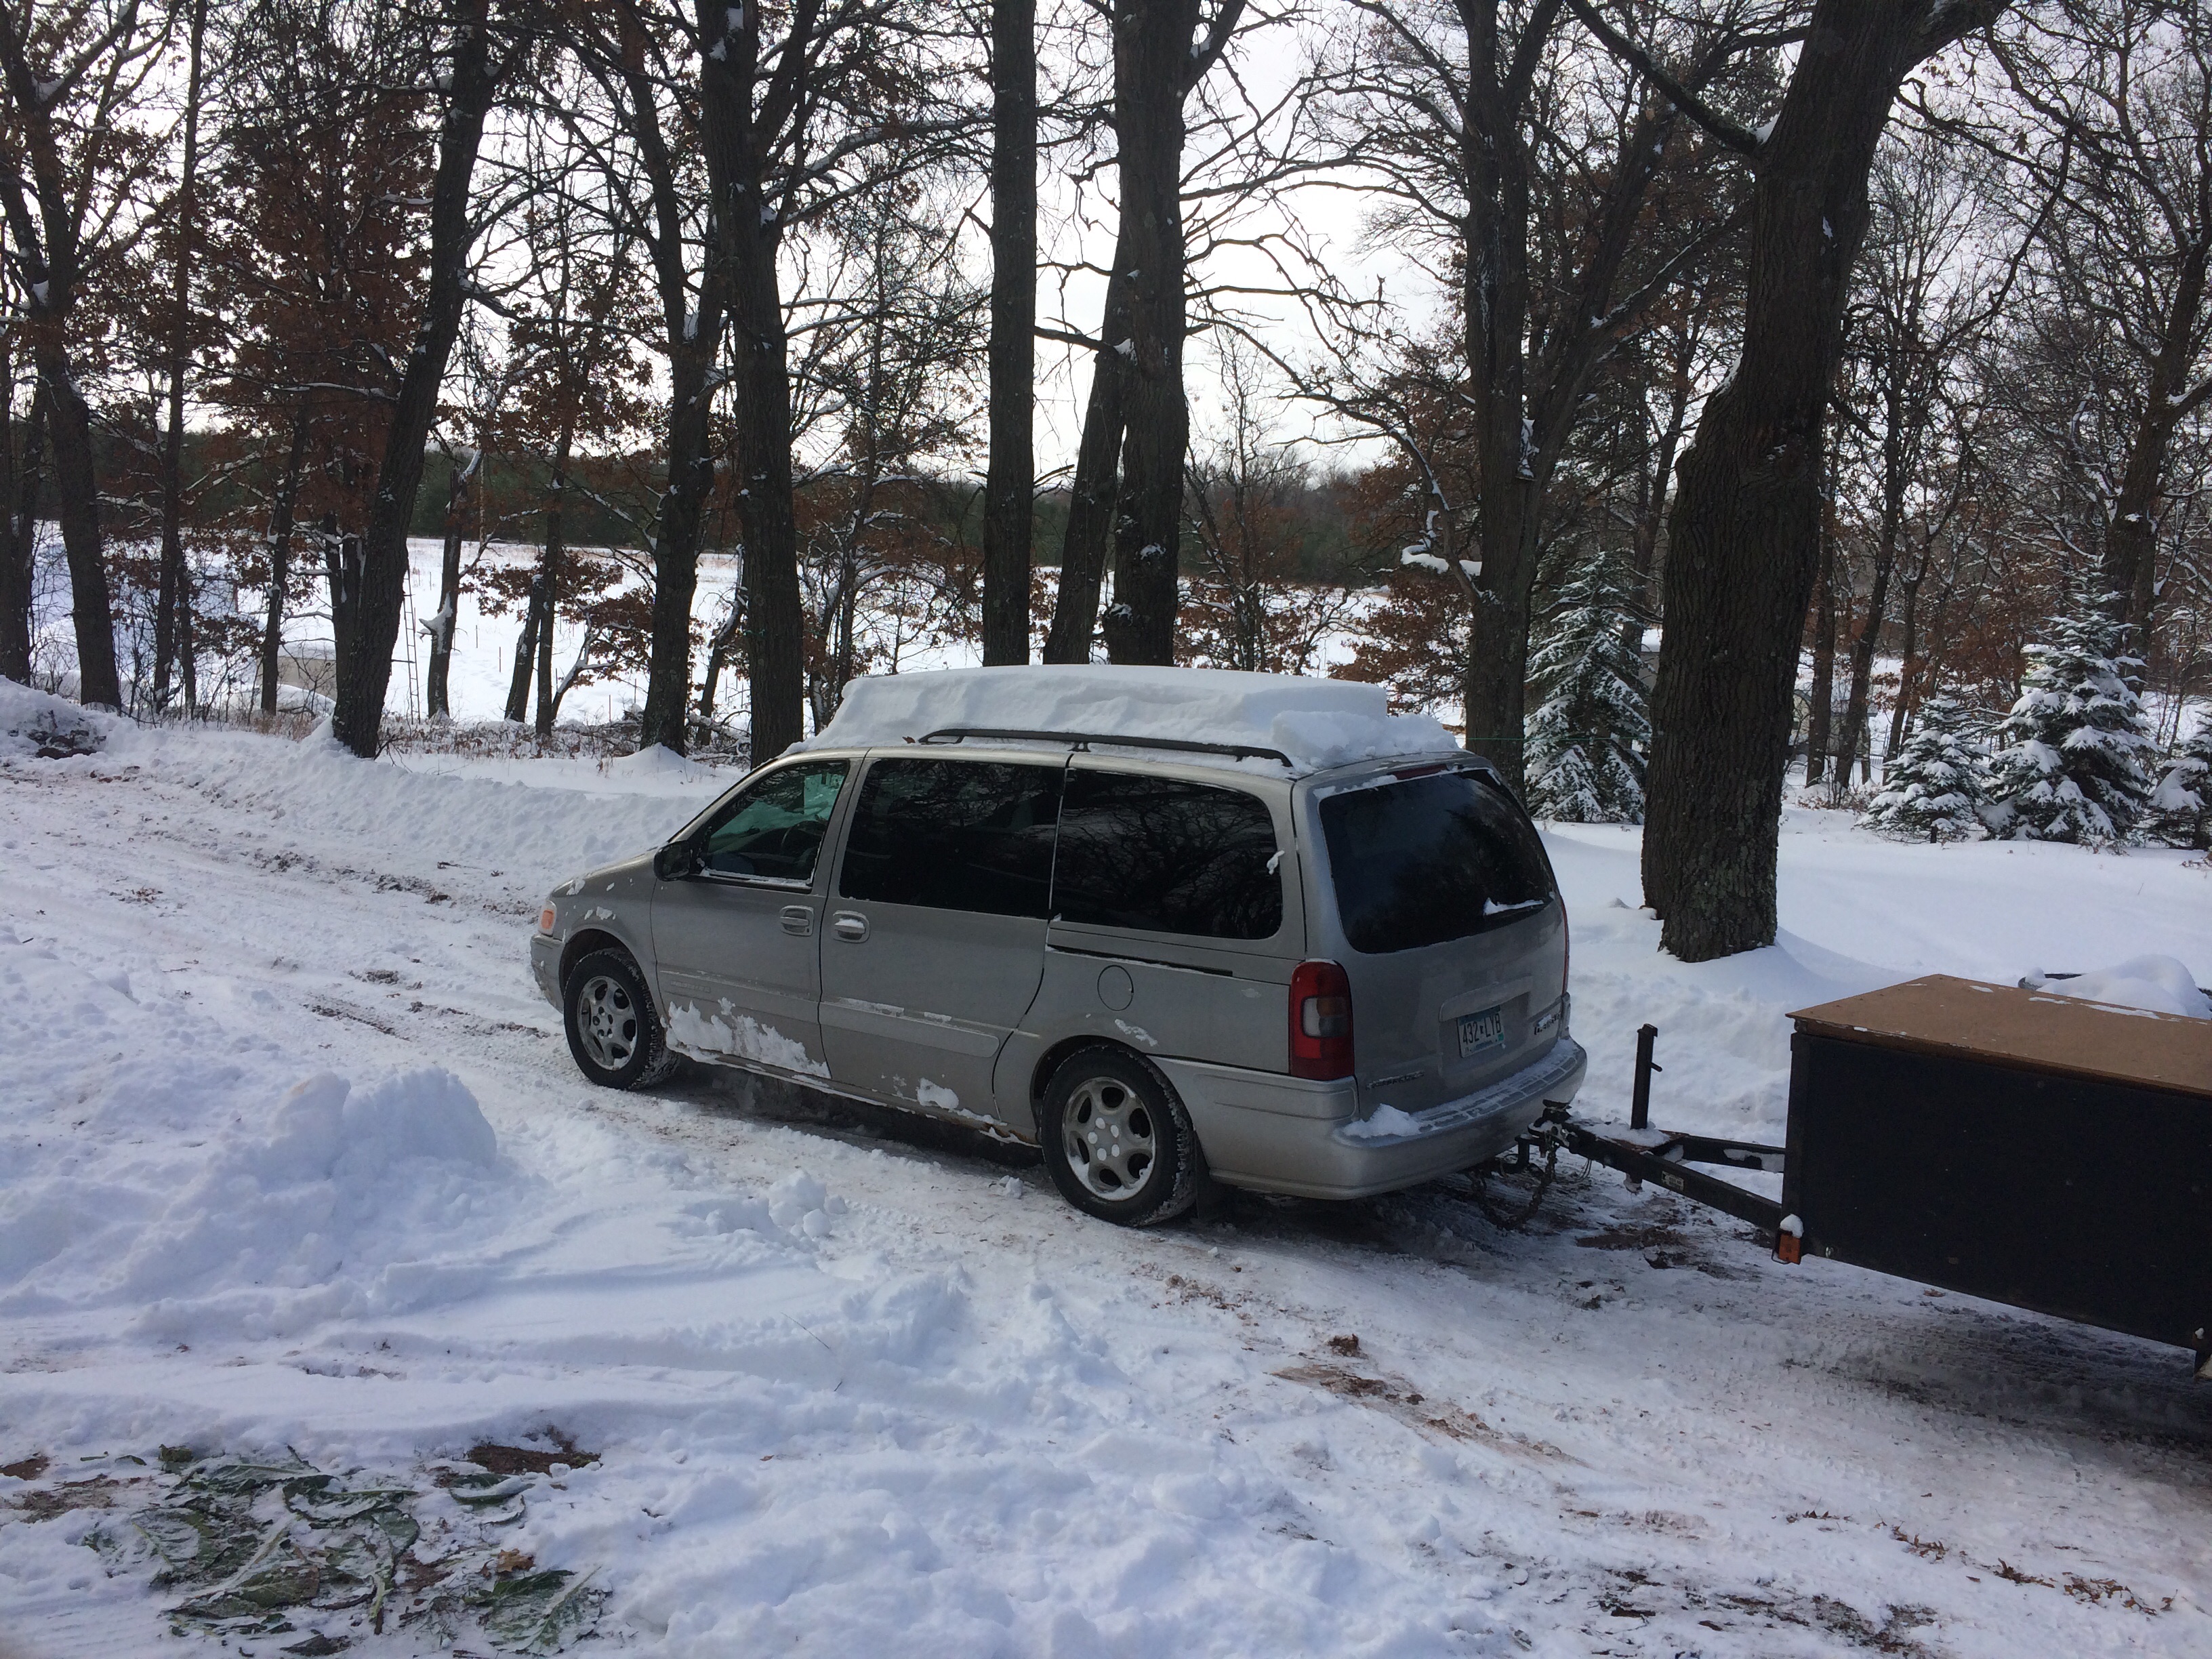
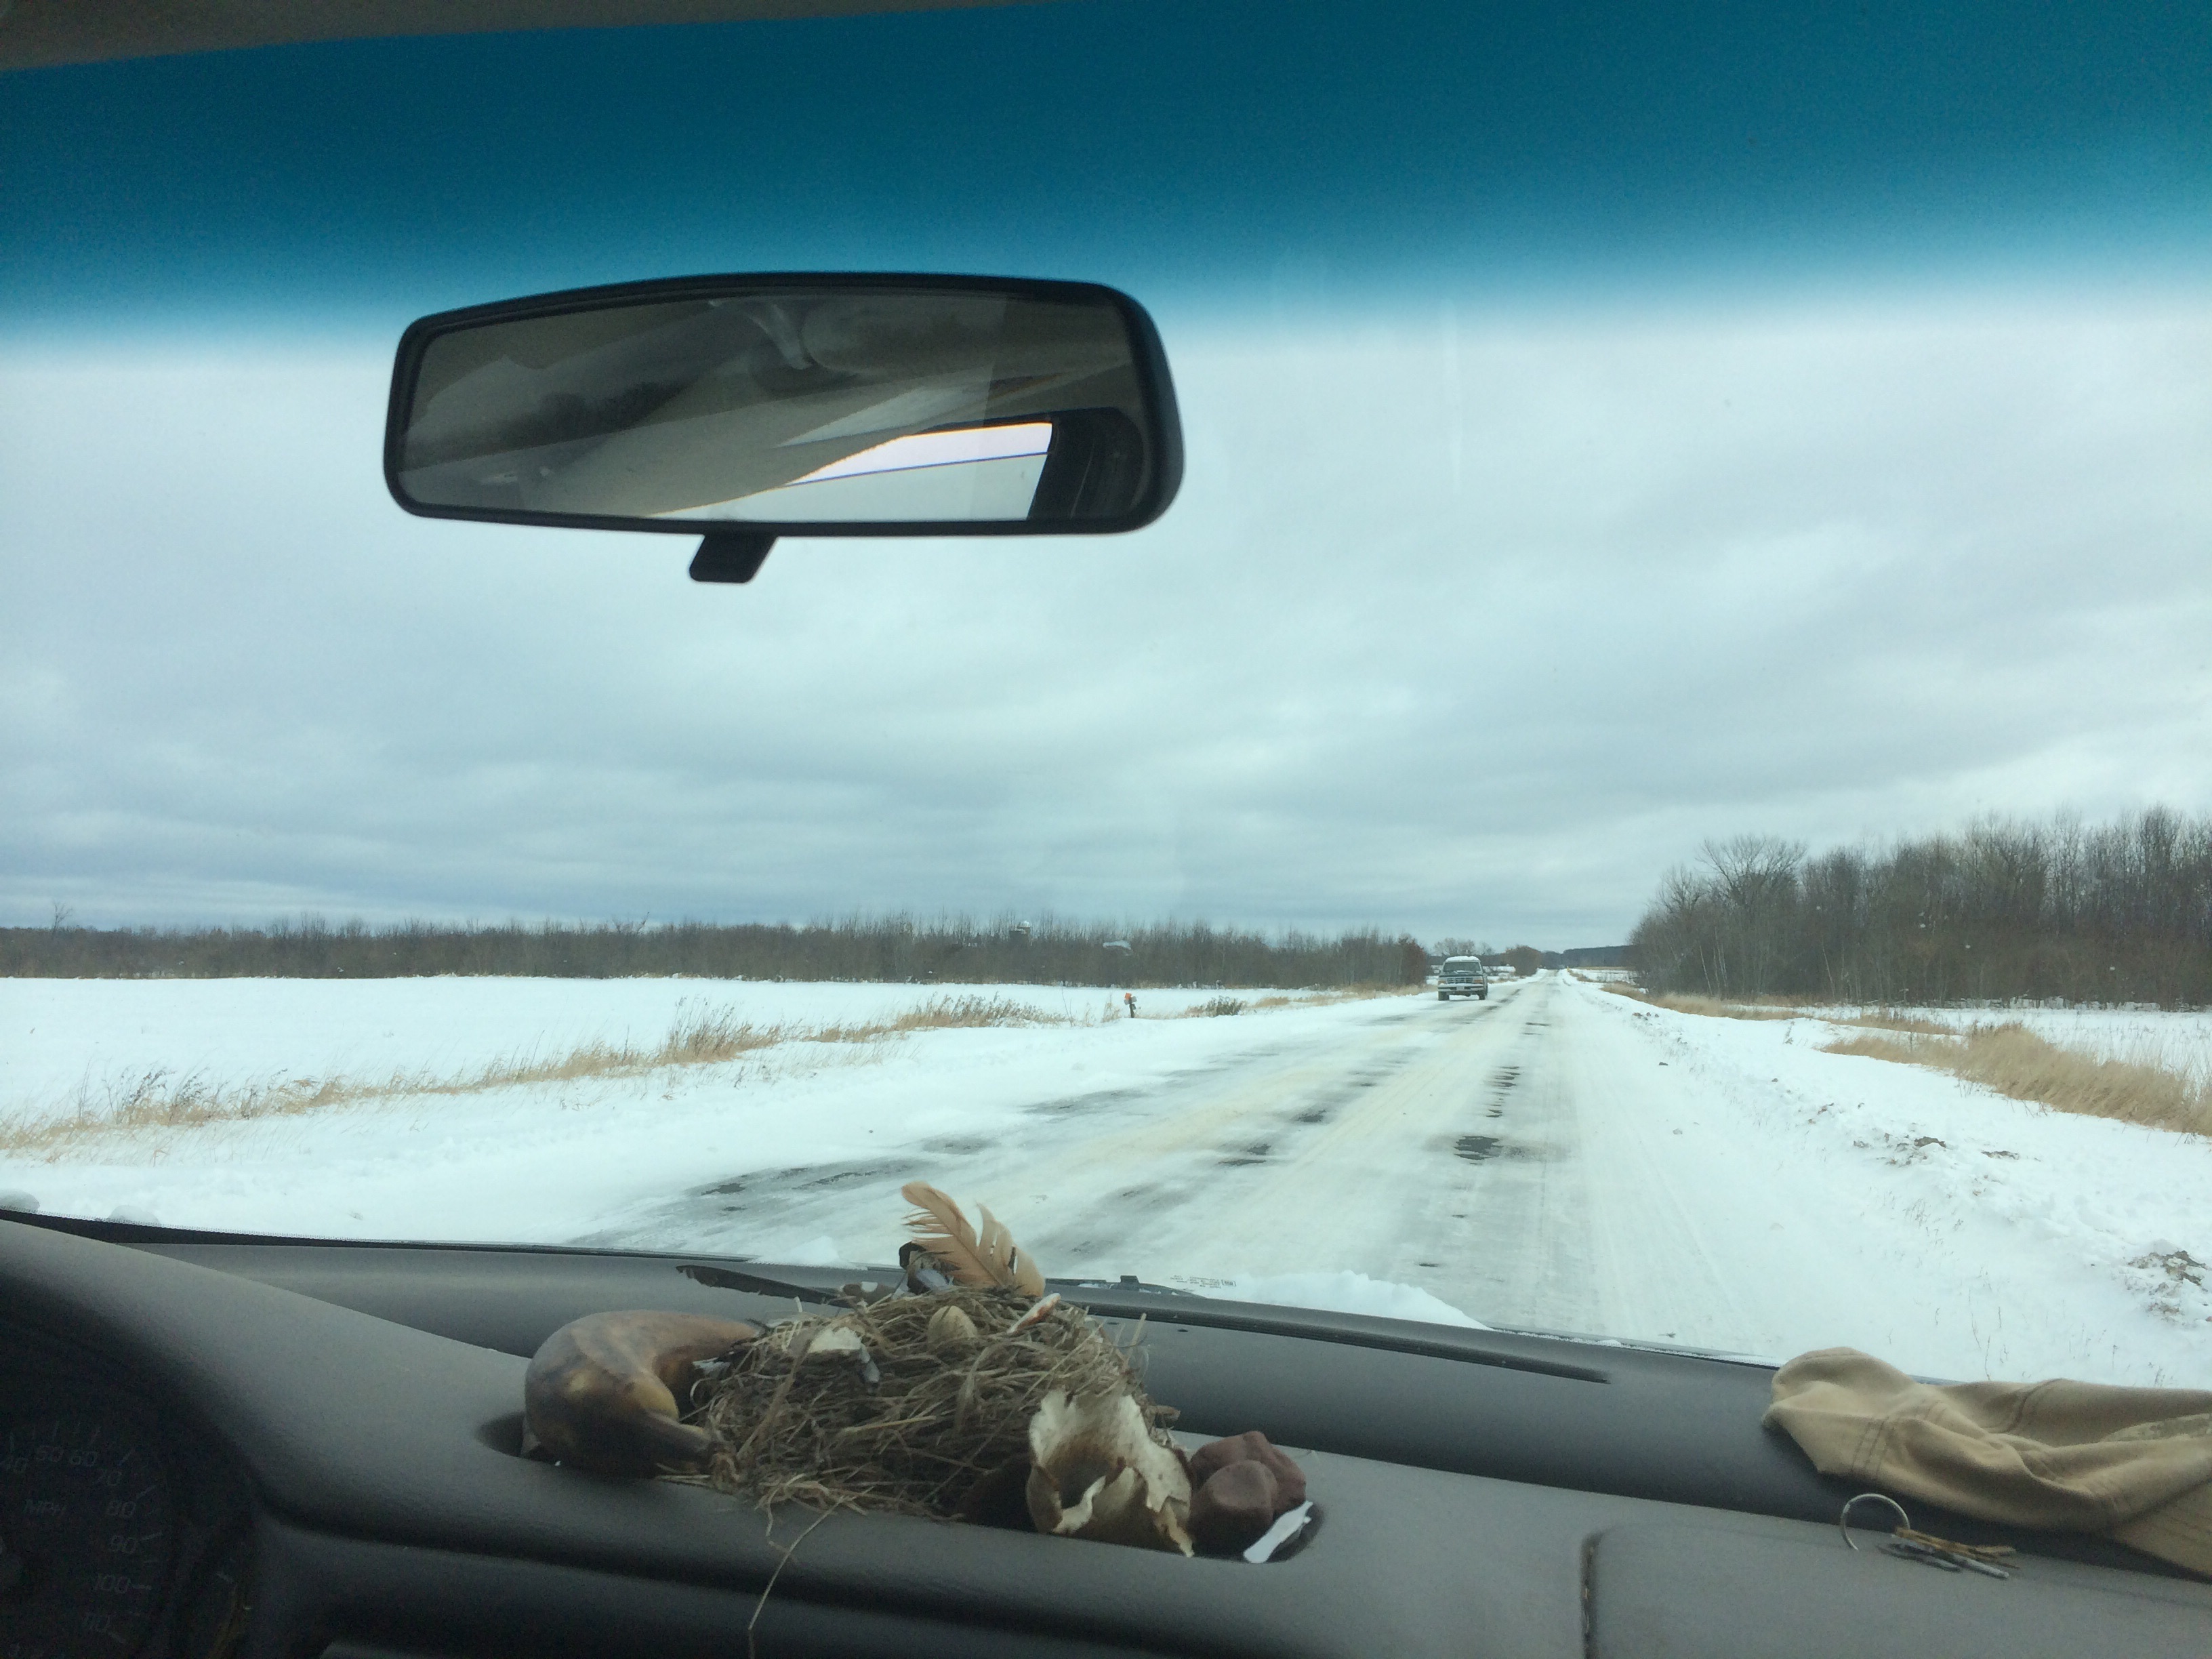
So, we took turns driving south for 5 hours apiece, stopping twice for gas, watching the sun rise and fall and the vans thermometer creep steadily upward, until it was about 30 degrees warmer than when we’d left that morning and we were pulling into the familiar gravel driveway of Farmer Doug’s house.
full moon over Yokna Bottoms Farm
We arrived just days after the season’s last farmer’s market, and the final CSA boxes had been delivered.
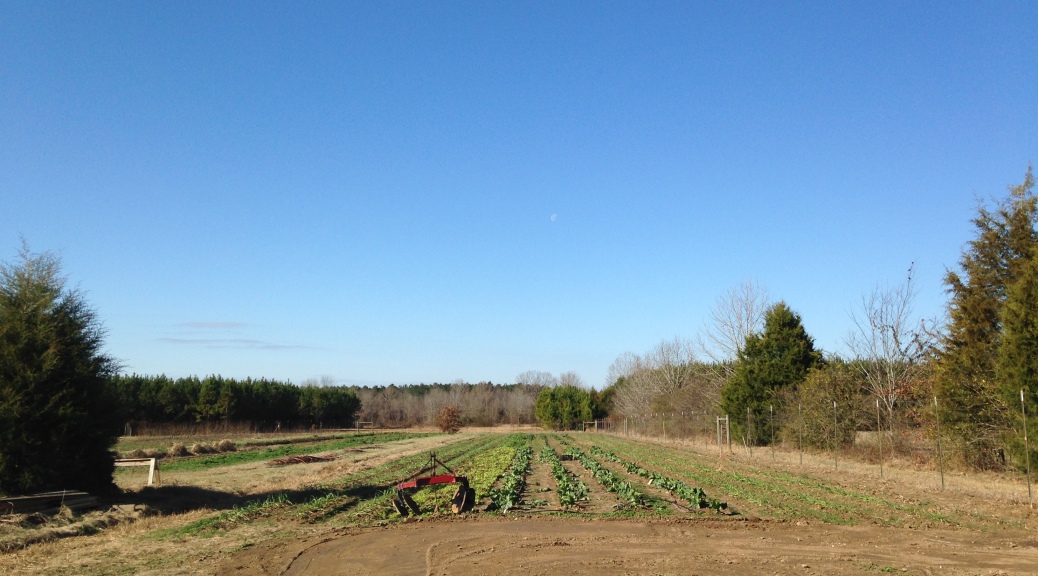
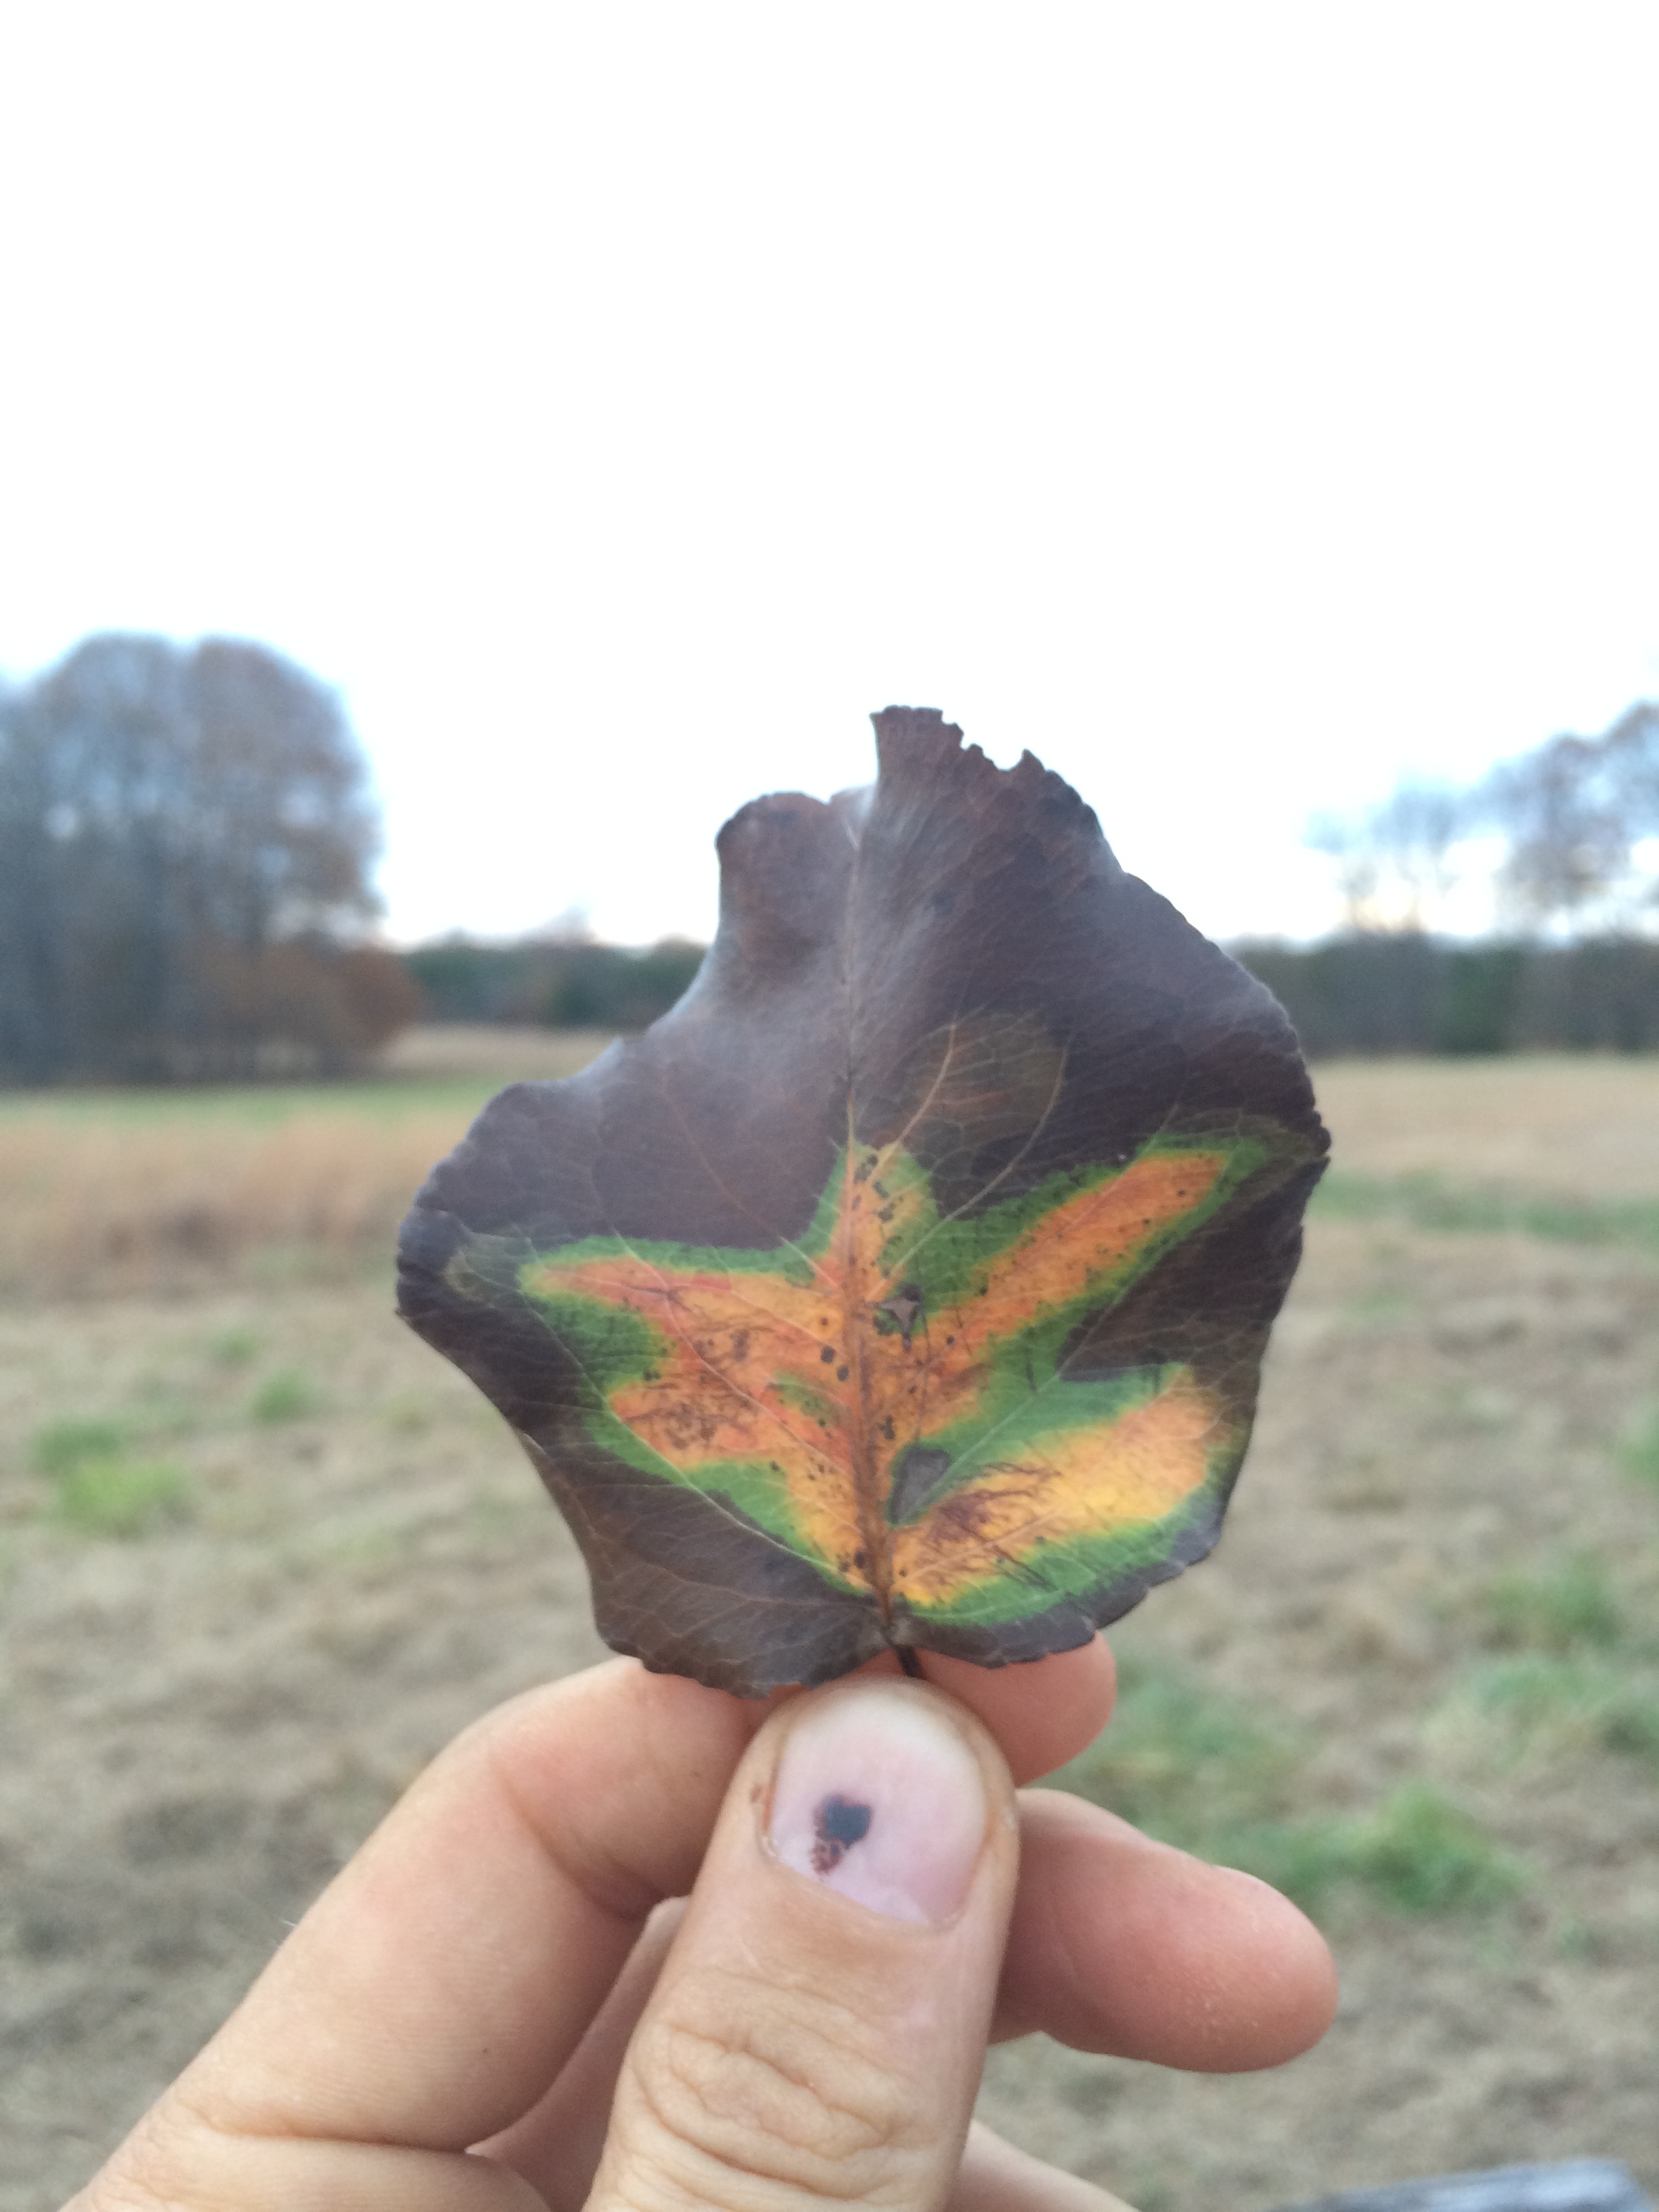
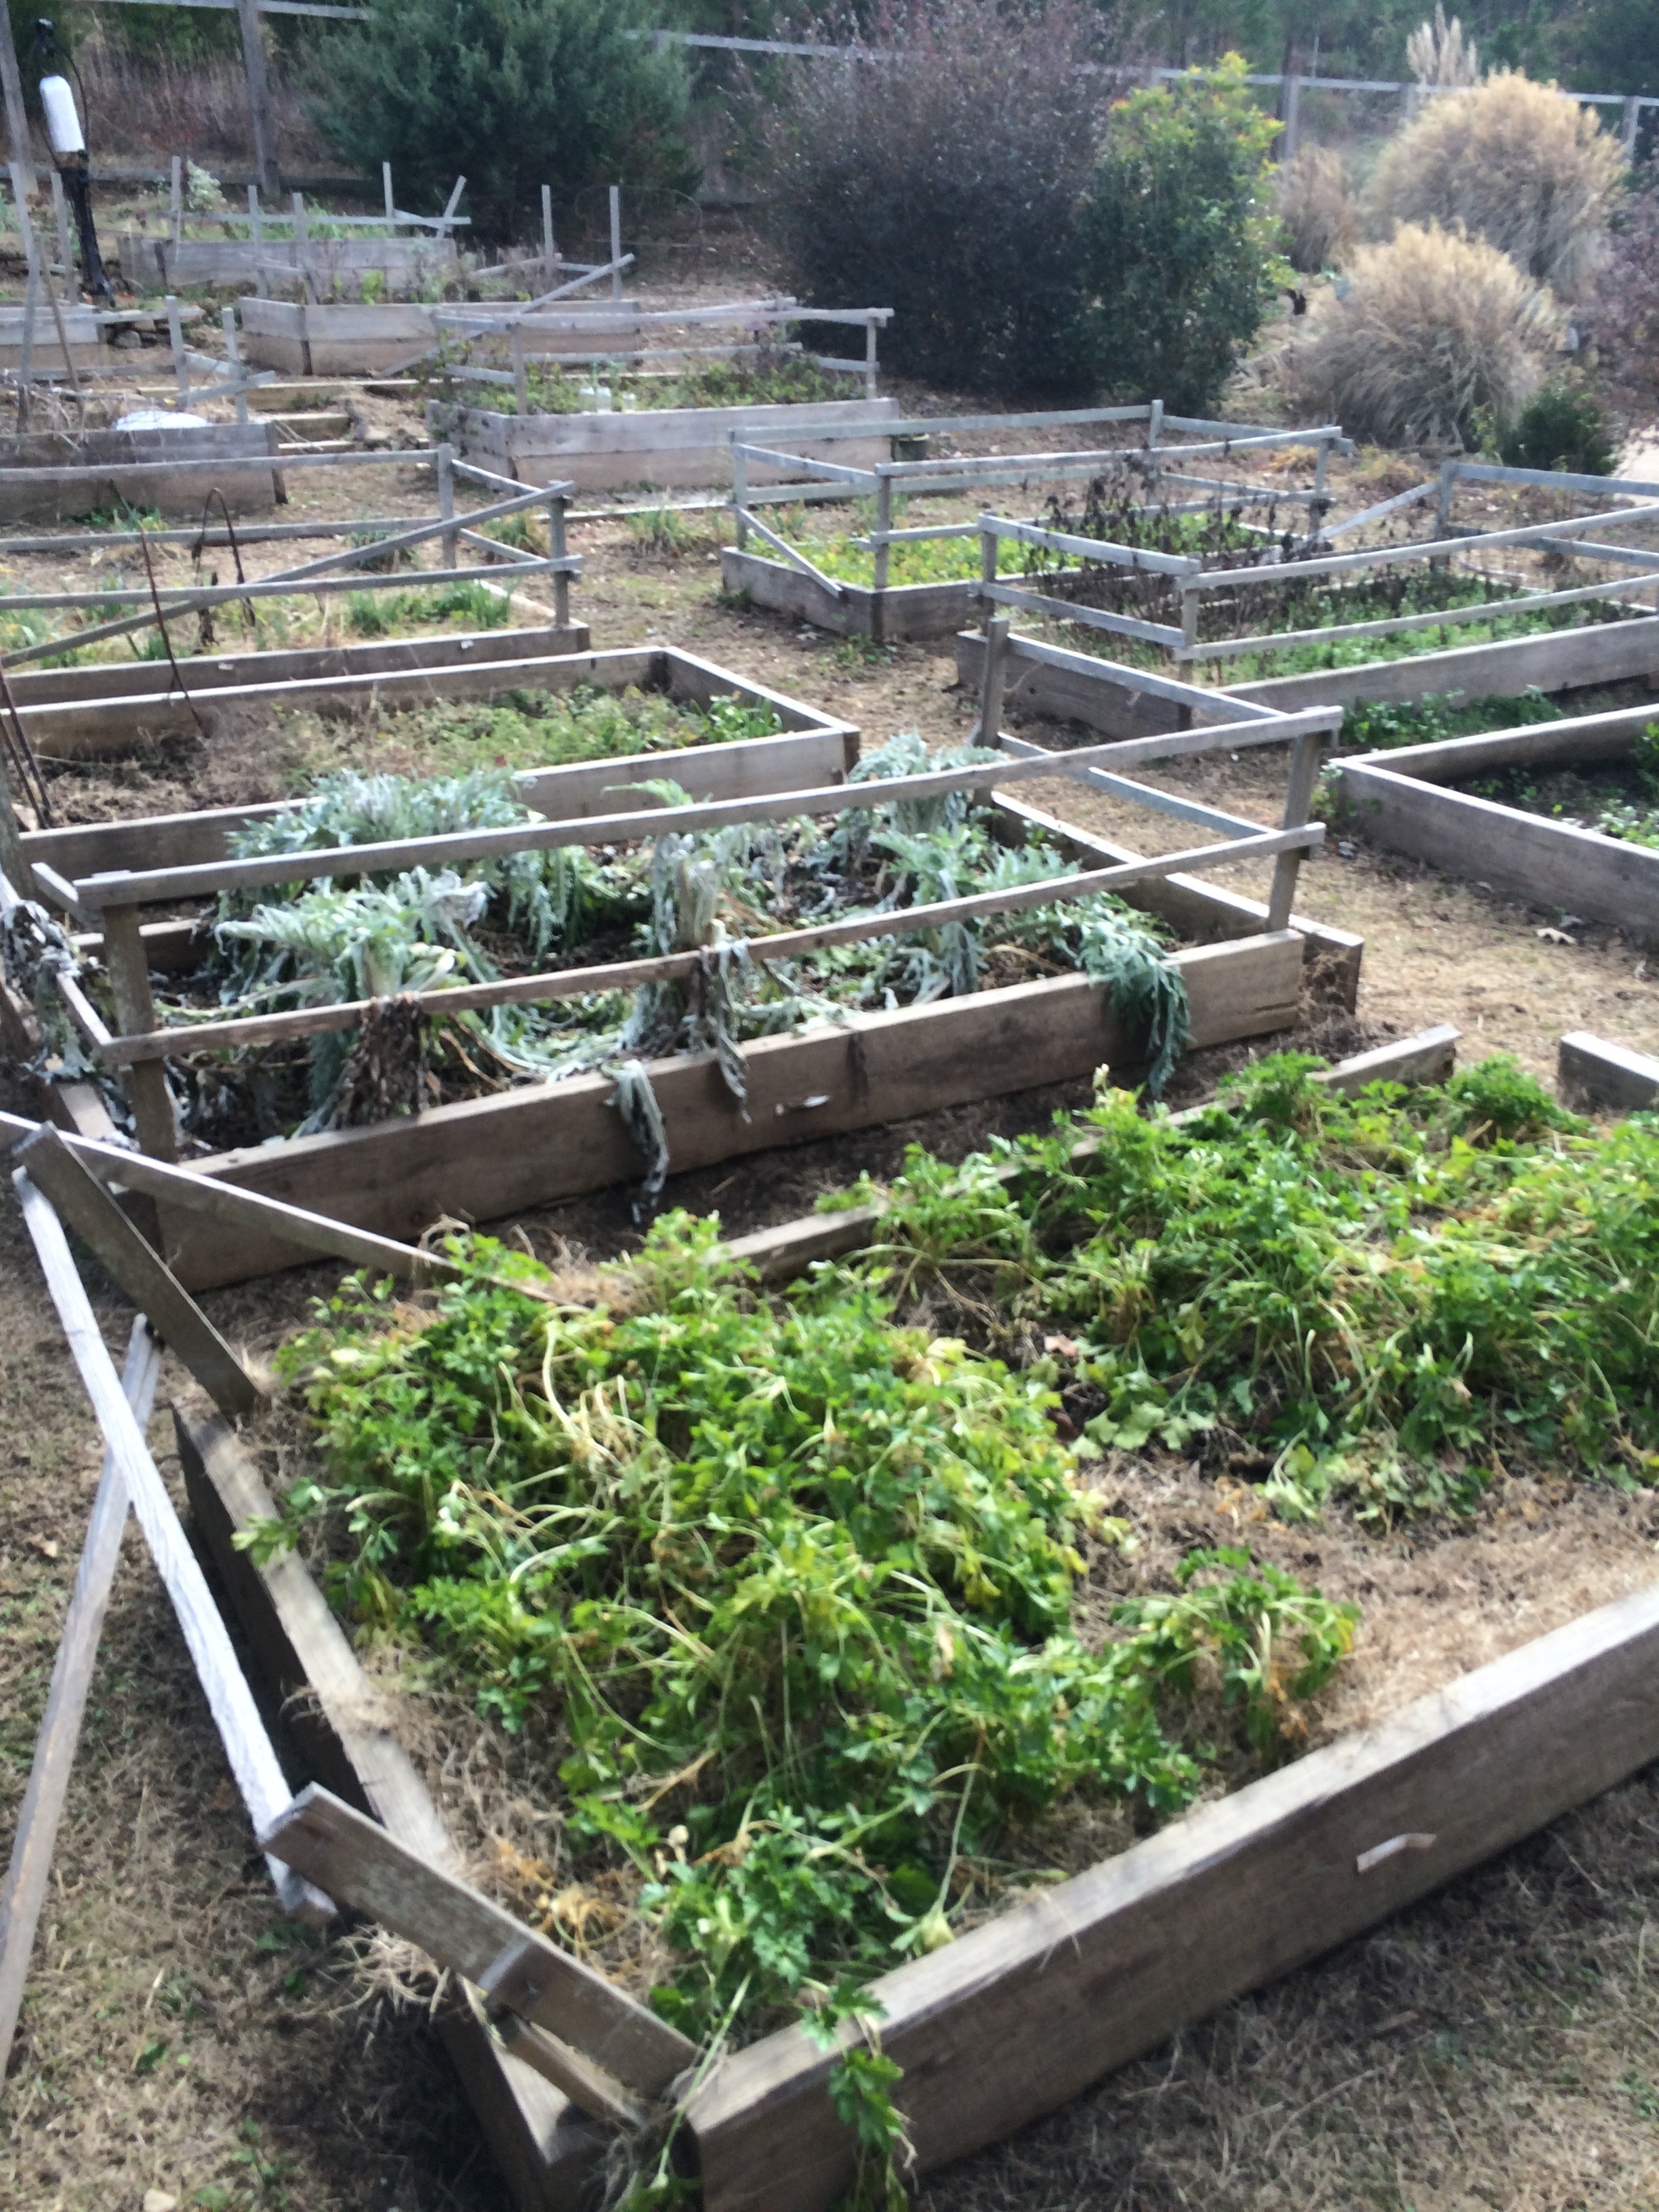
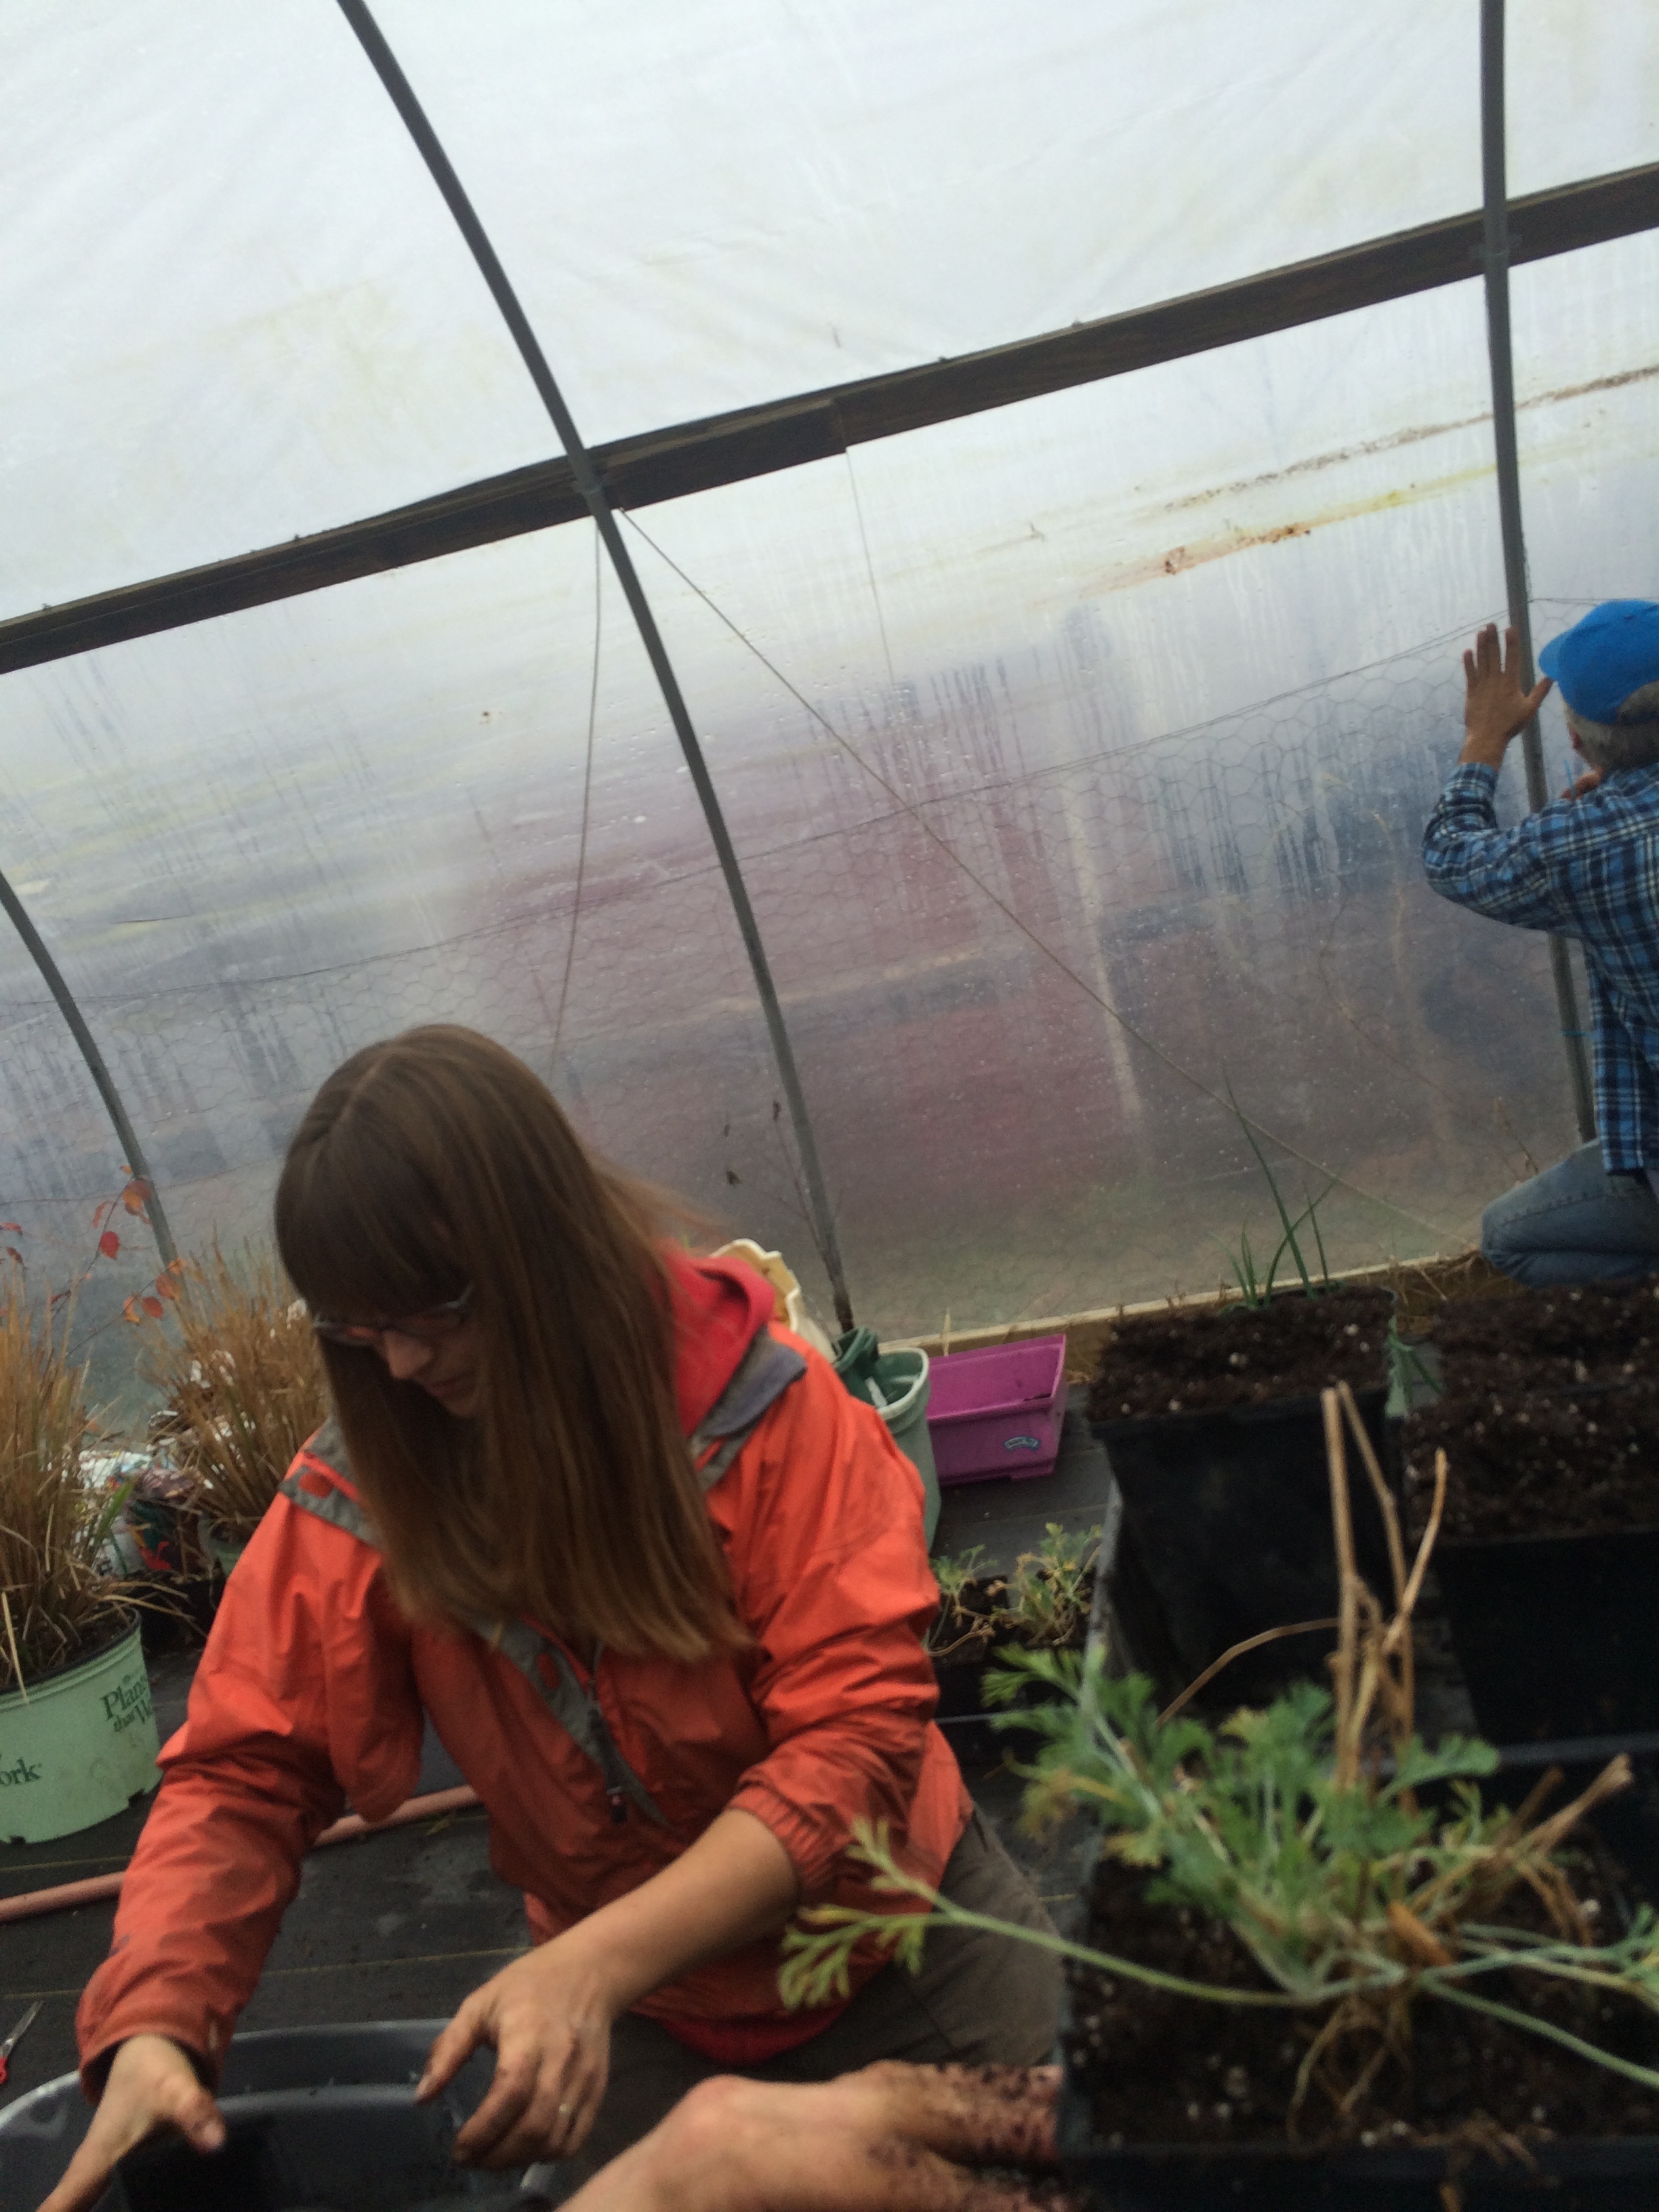
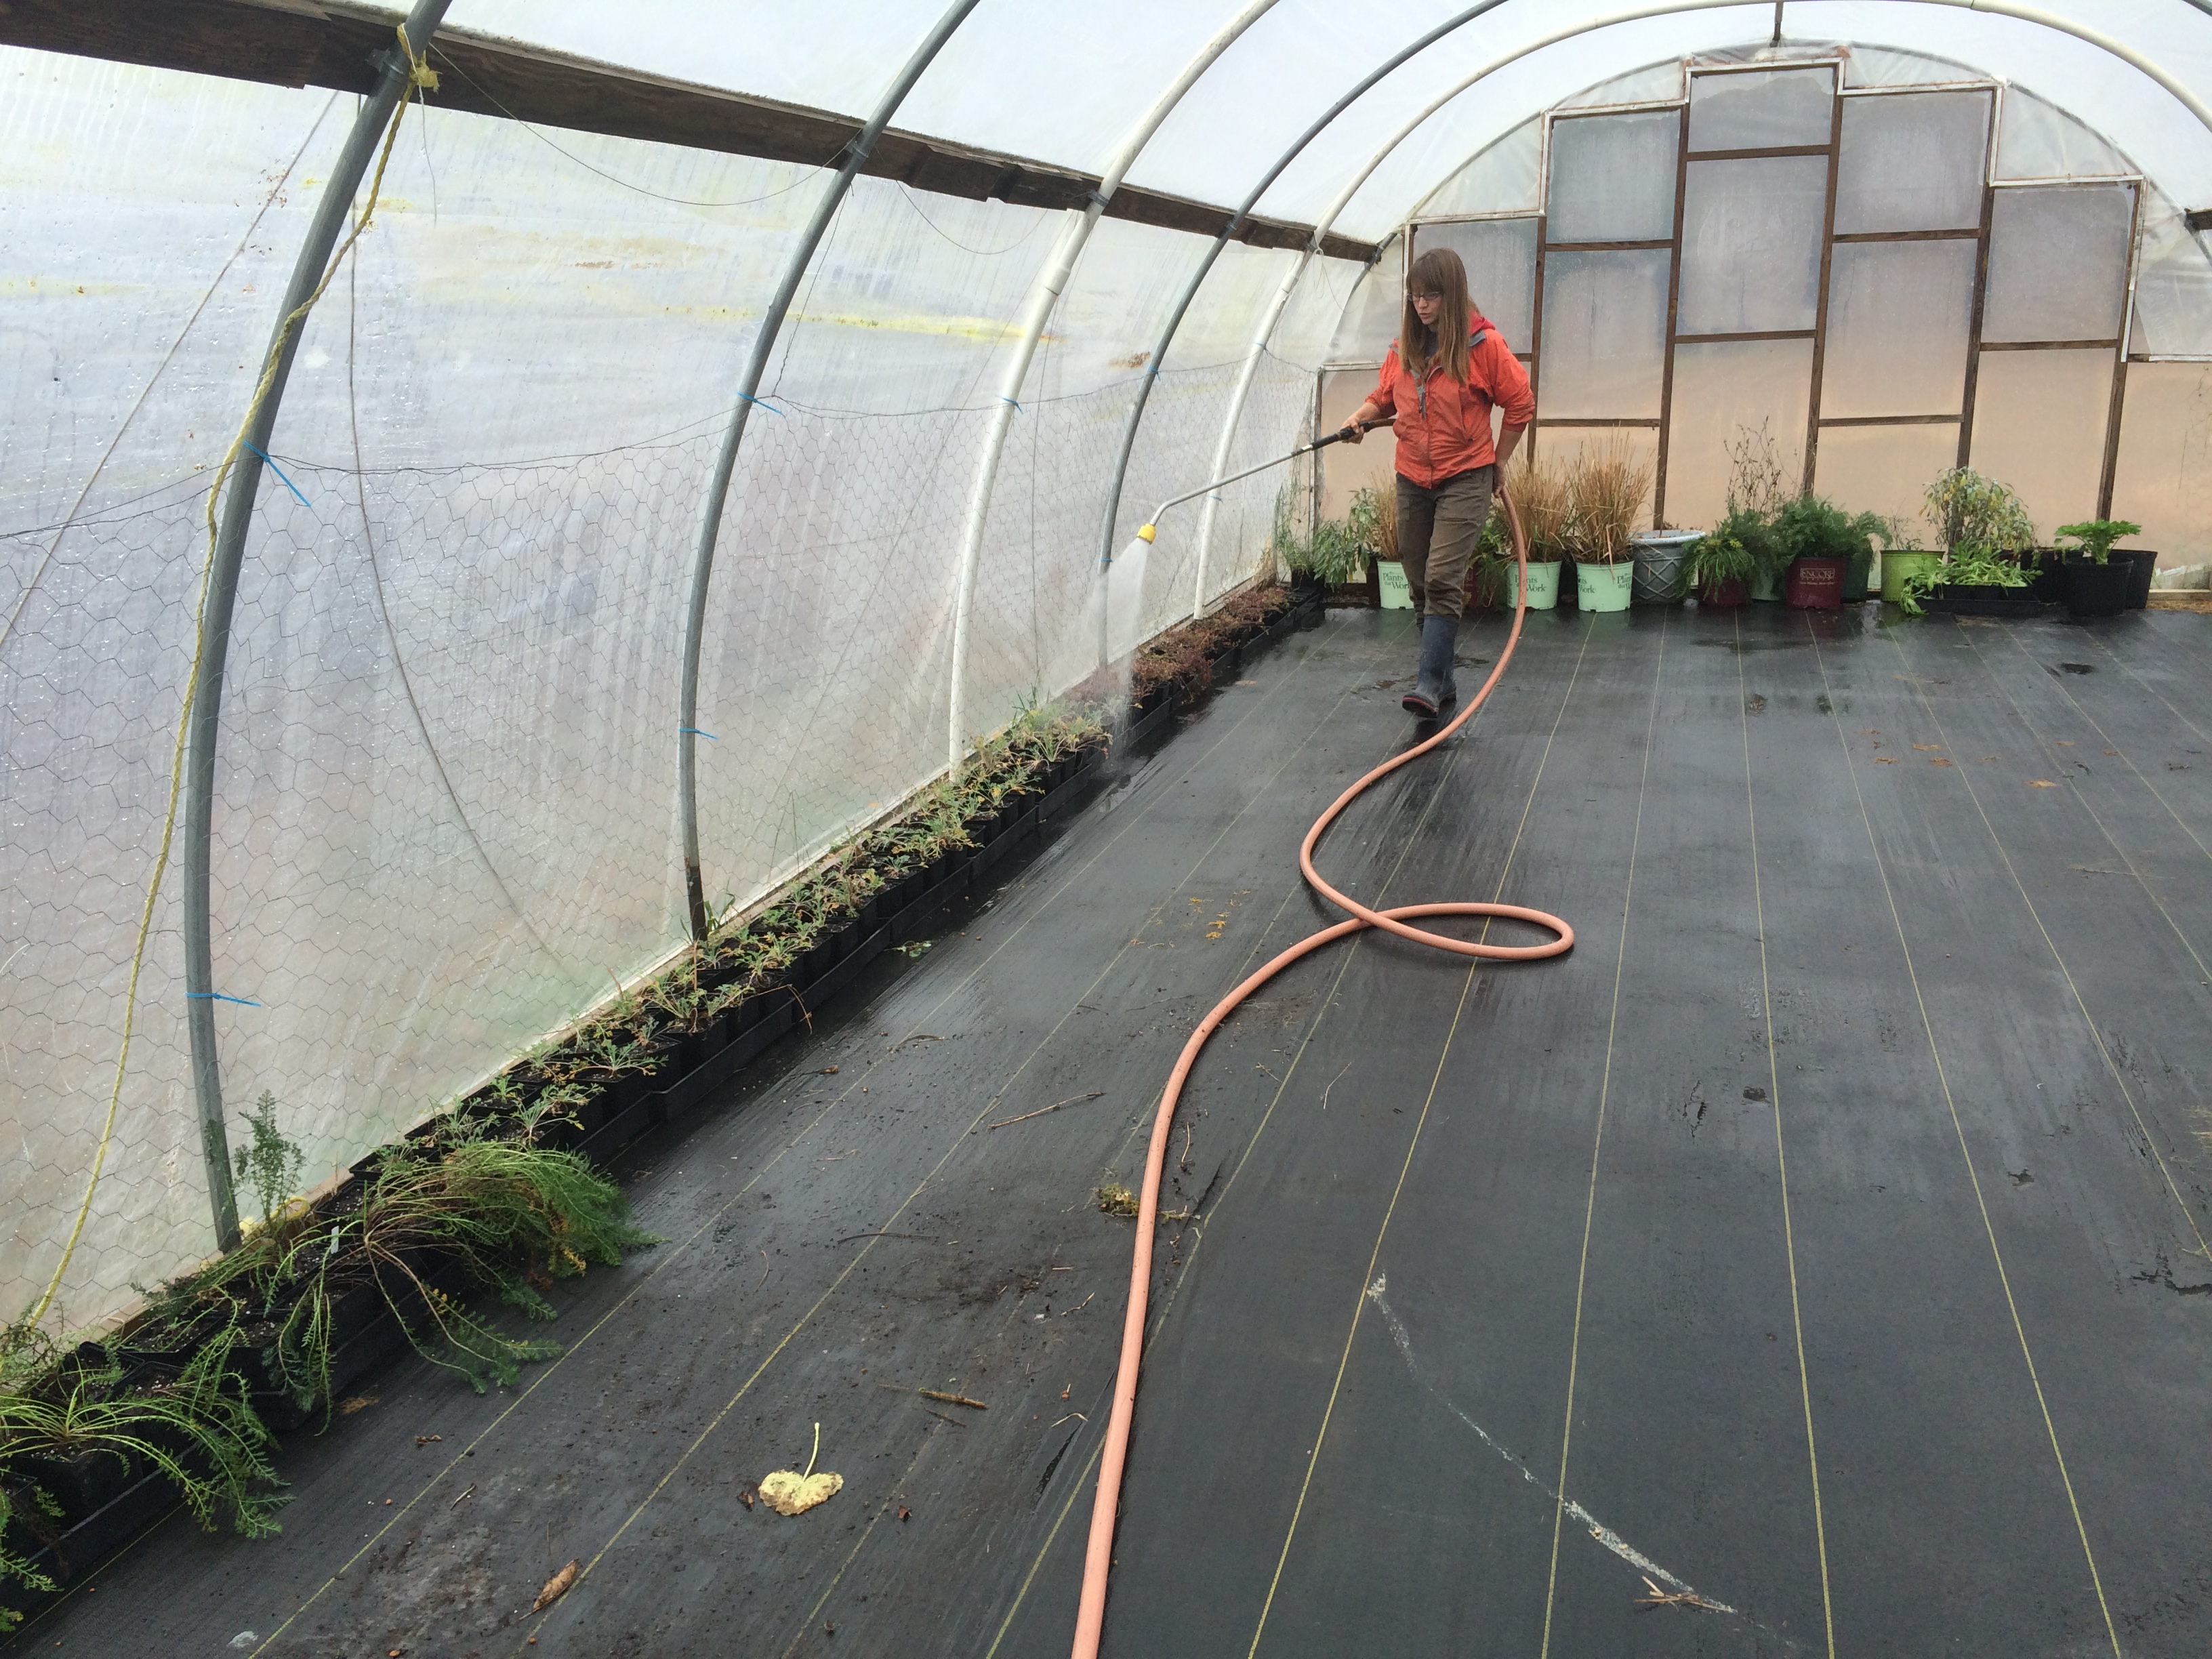
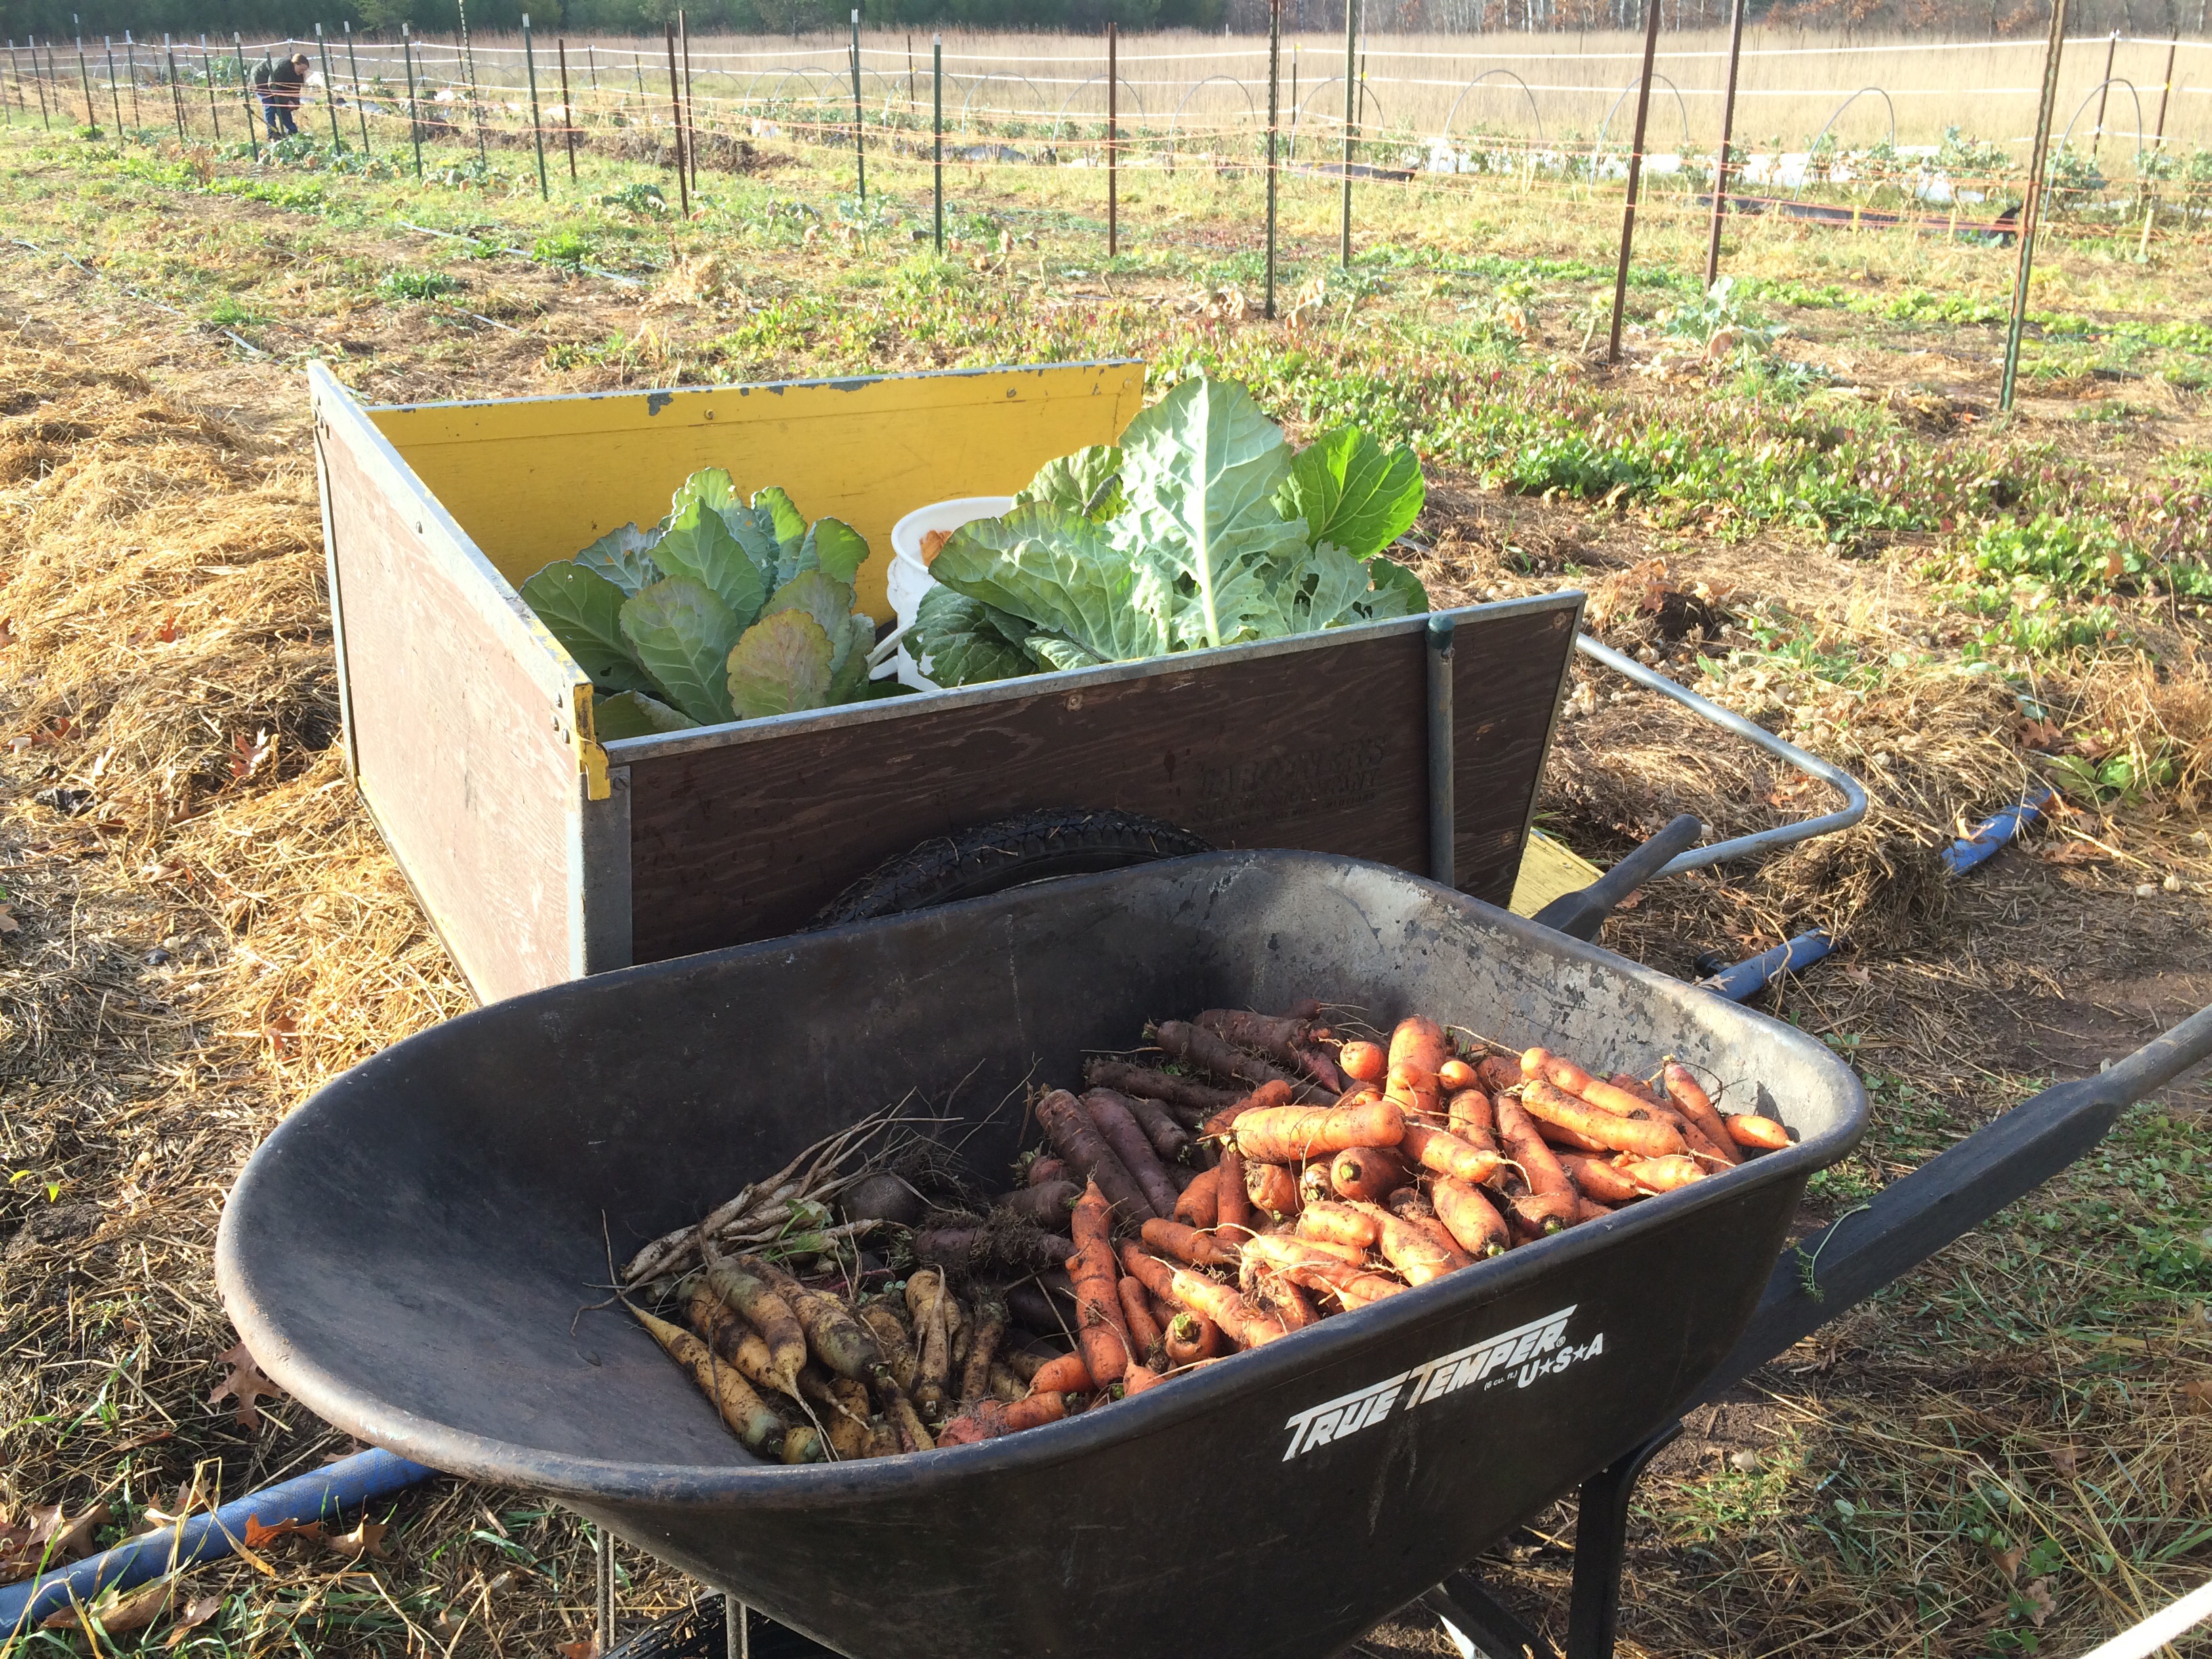
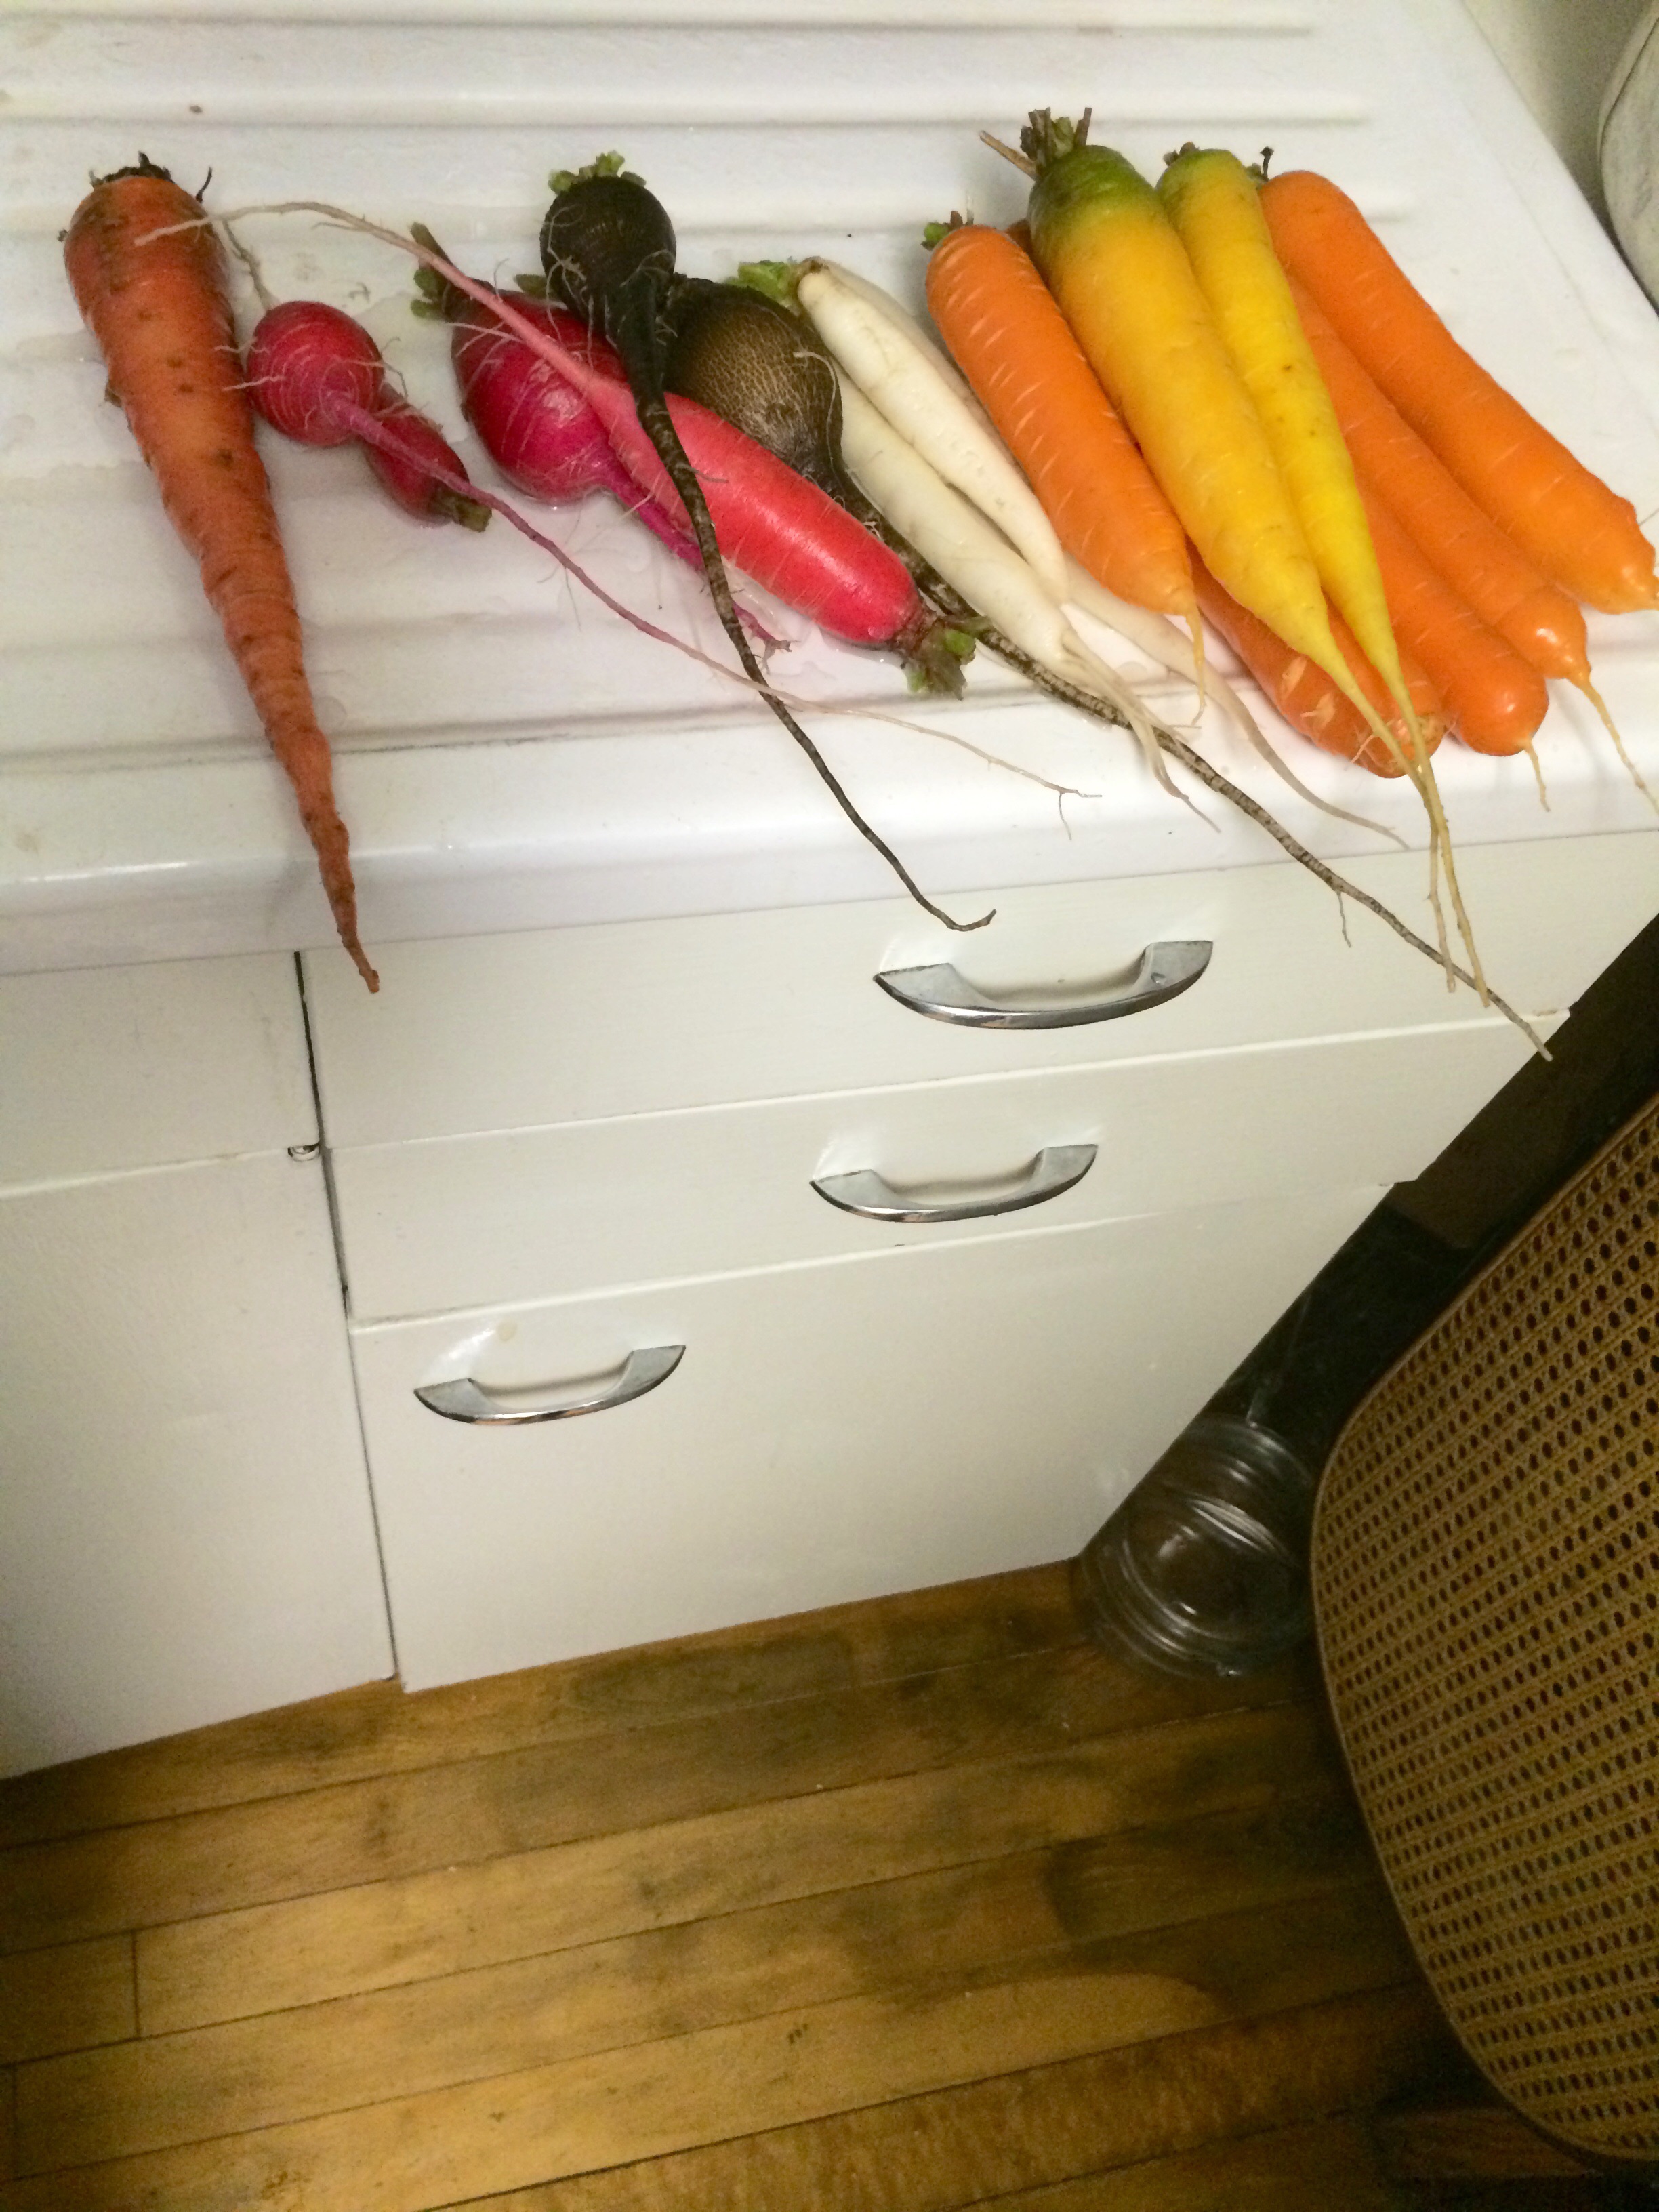
We were here two months earlier in the year than we had been last time through, so there was still a lot of cold-hardy produce growing in the fields – herbs, kale, broccoli, carrots, lettuce, cabbage, collards, brussel sprouts, and more, in amounts well beyond what we grow back home in our acre or so of cultivated field.
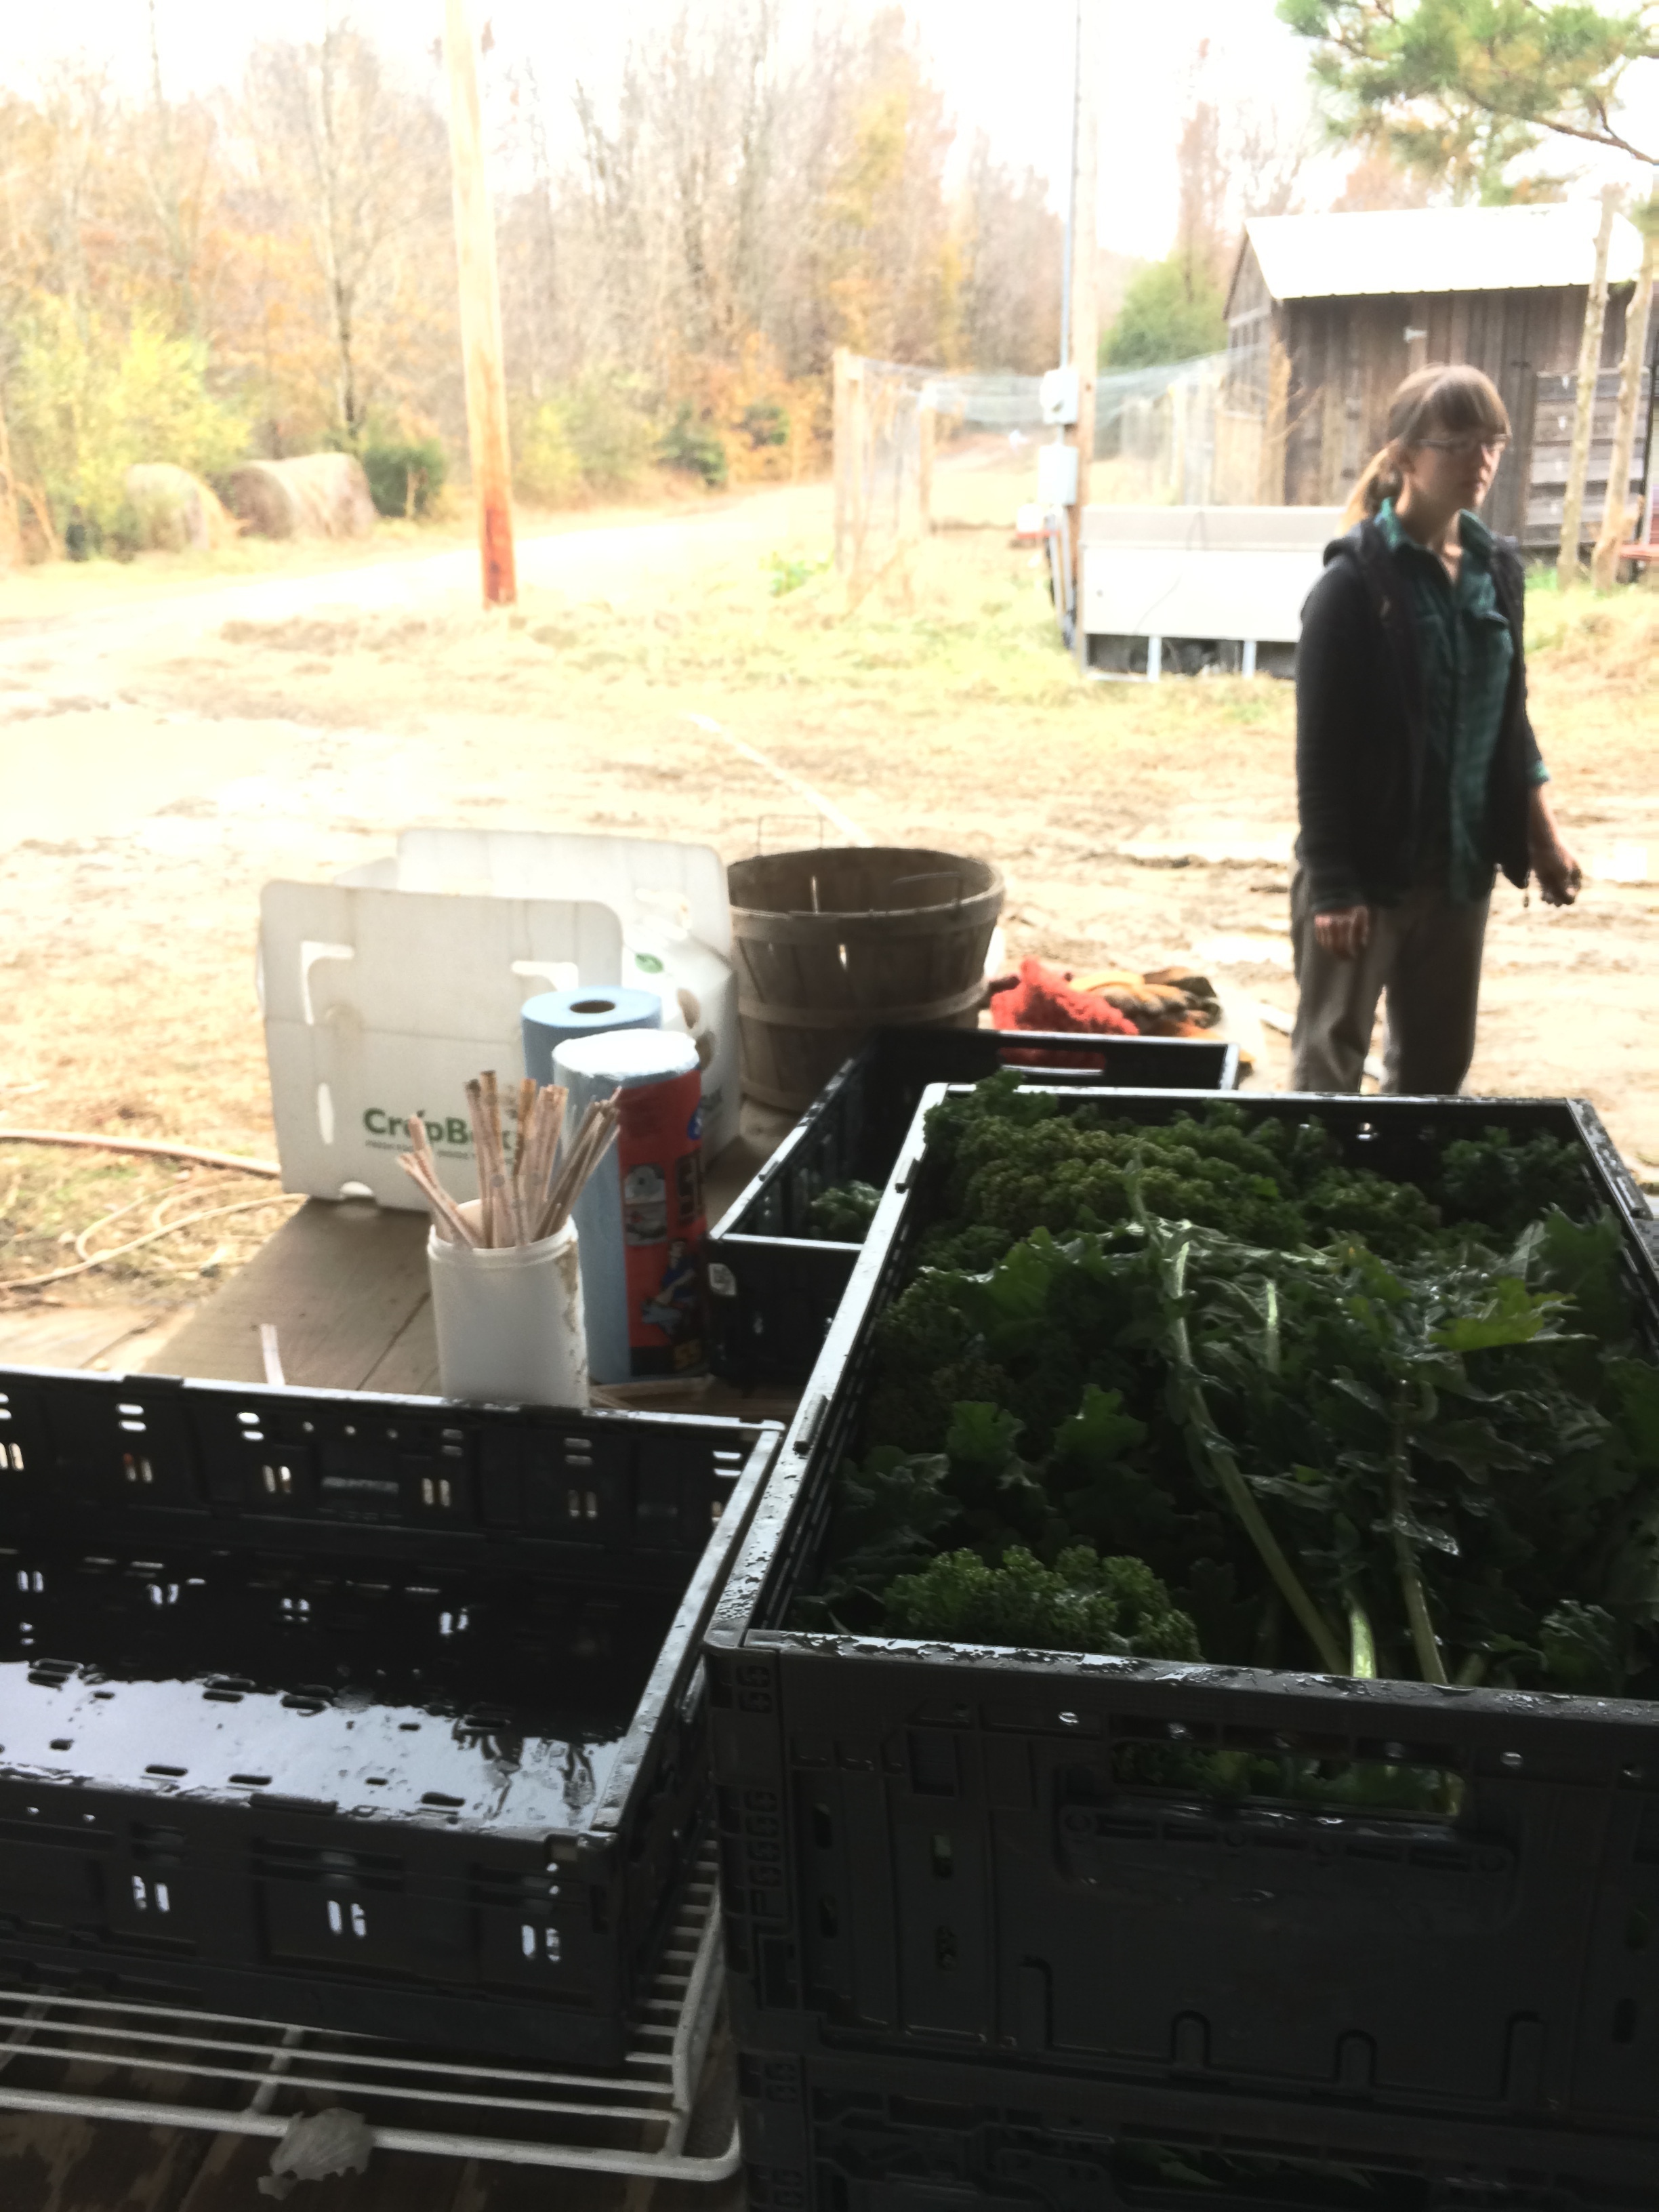
Although the markets and CSA were finished, the farm was selling produce to several local restaurants, which we harvested with Farm Manager Jeff whenever necessary.
When not harvesting, we worked on other projects – which wound up giving us deja vu.
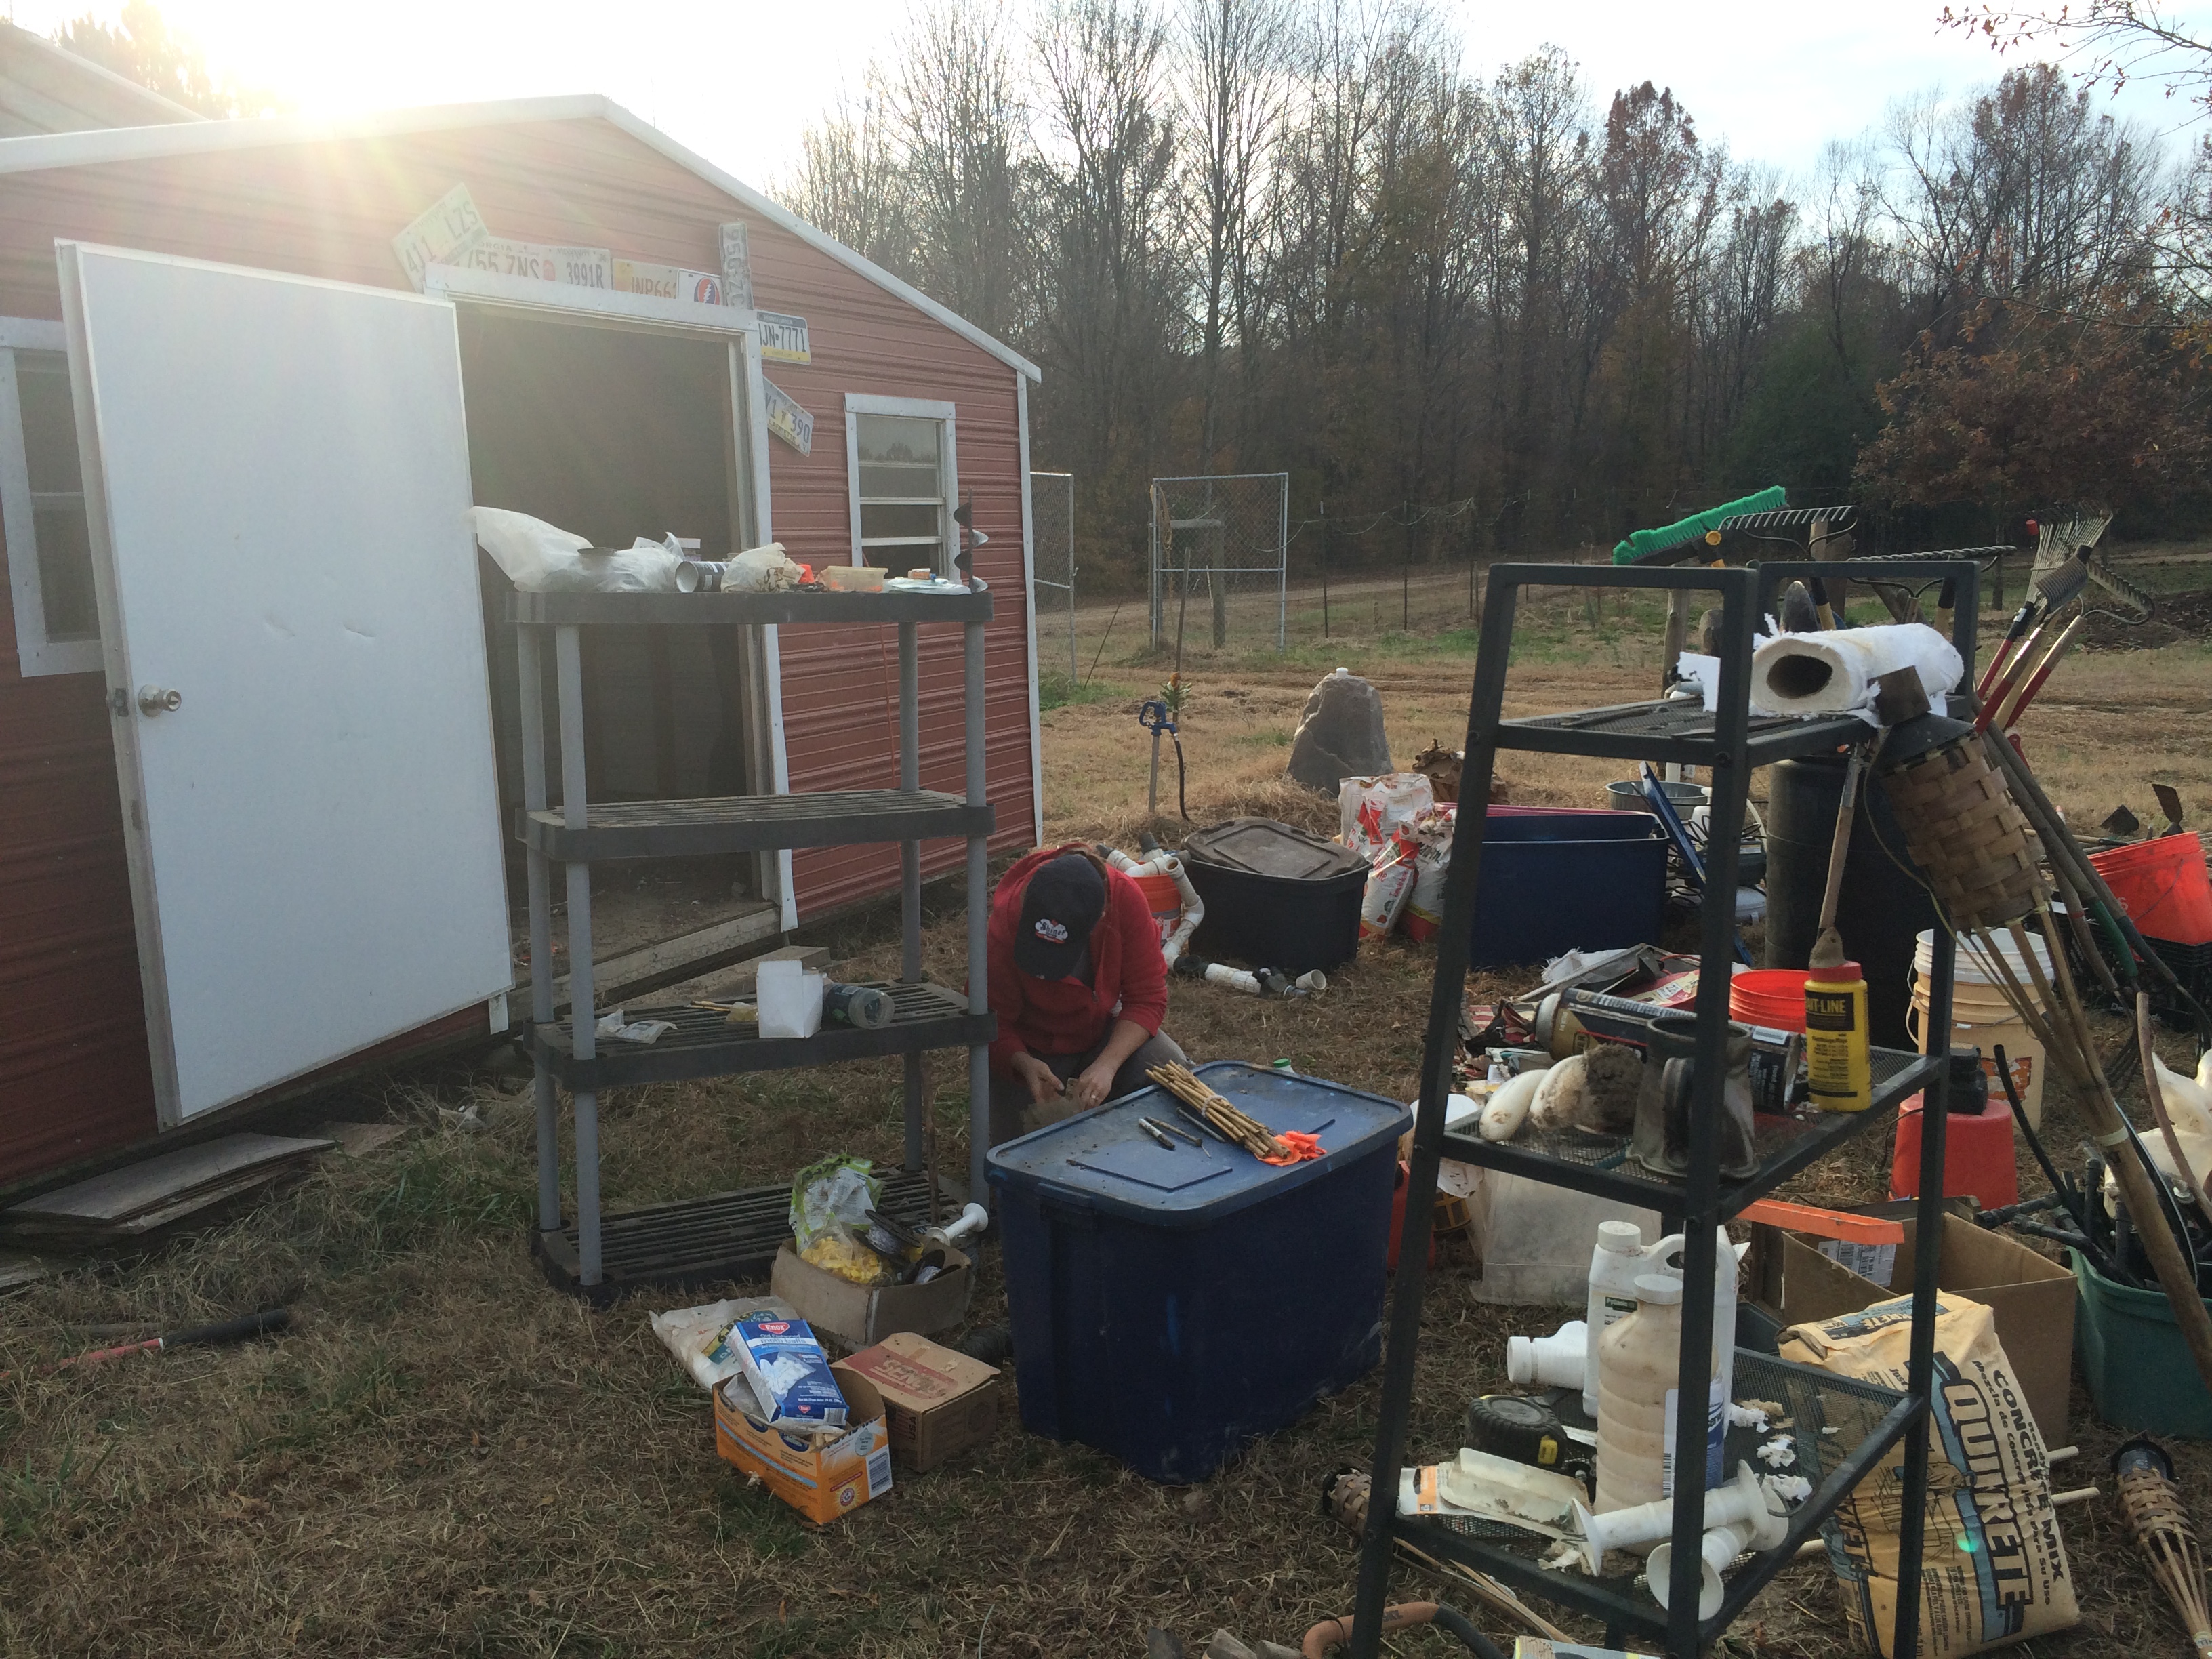
cleaning the shed redux – again with intense mouse allergy trigger action!
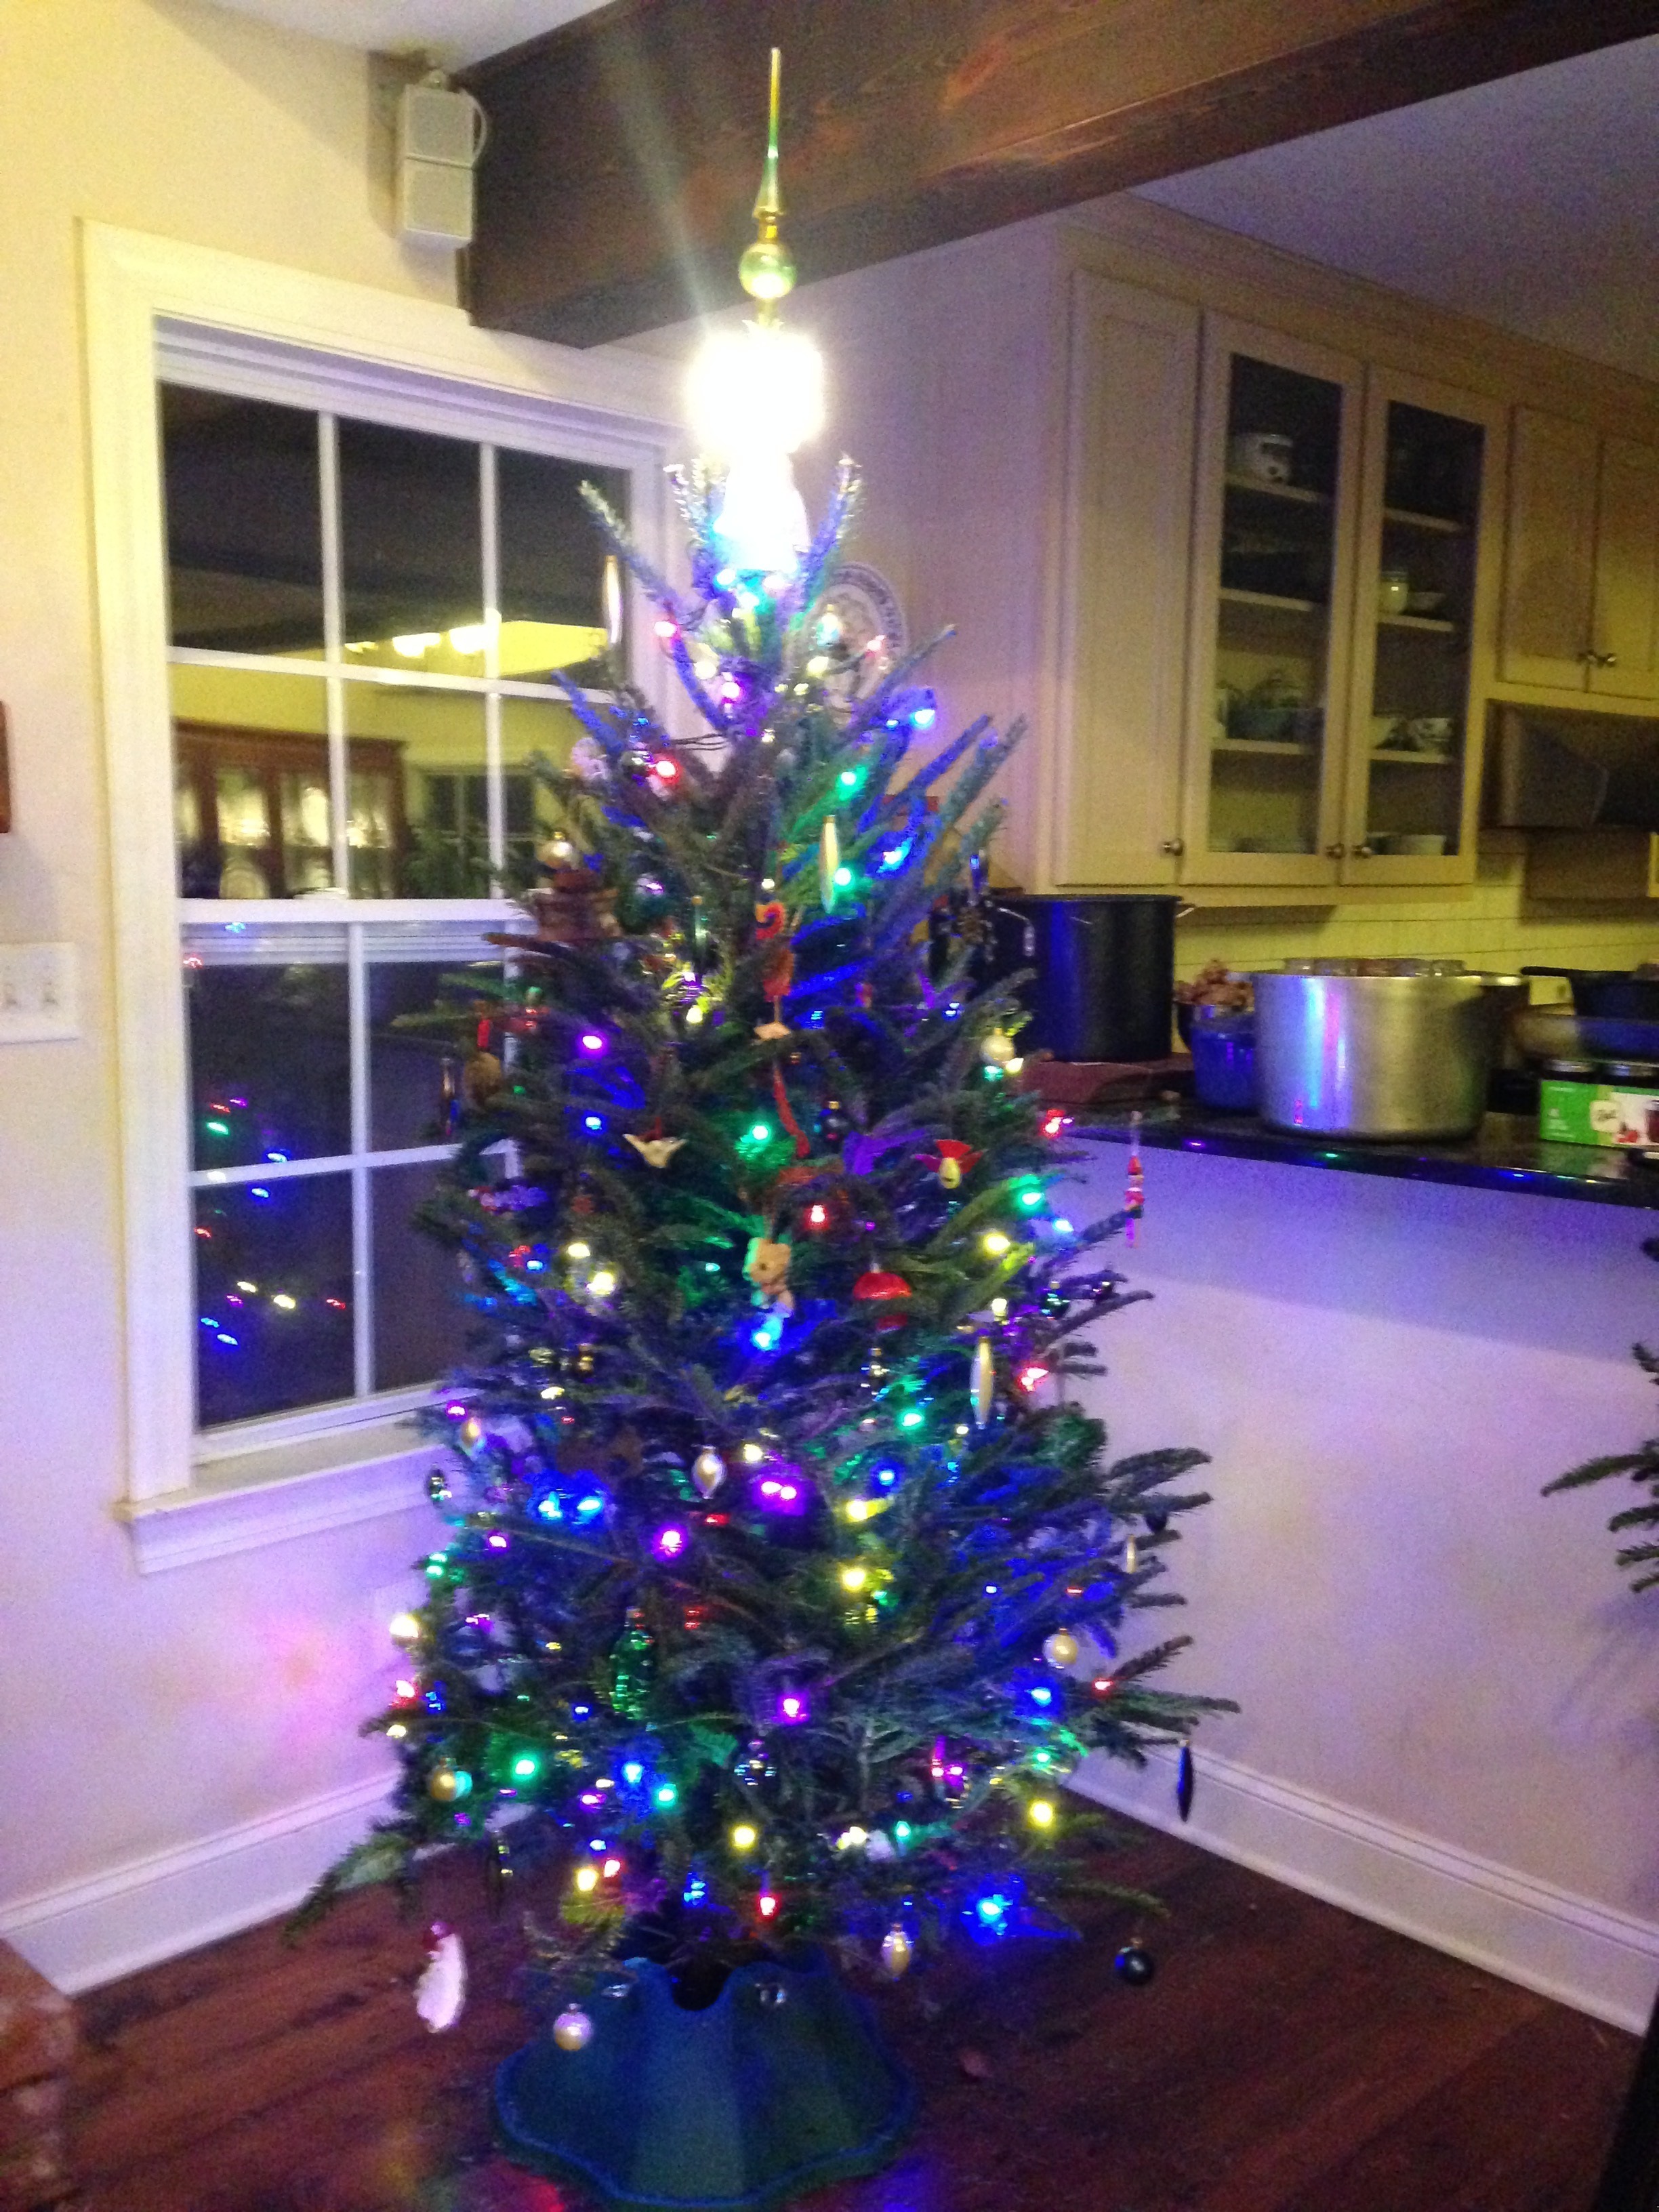
We also helped prepare the house for a party again – this time, including the decoration of a Christmas tree in our duties.
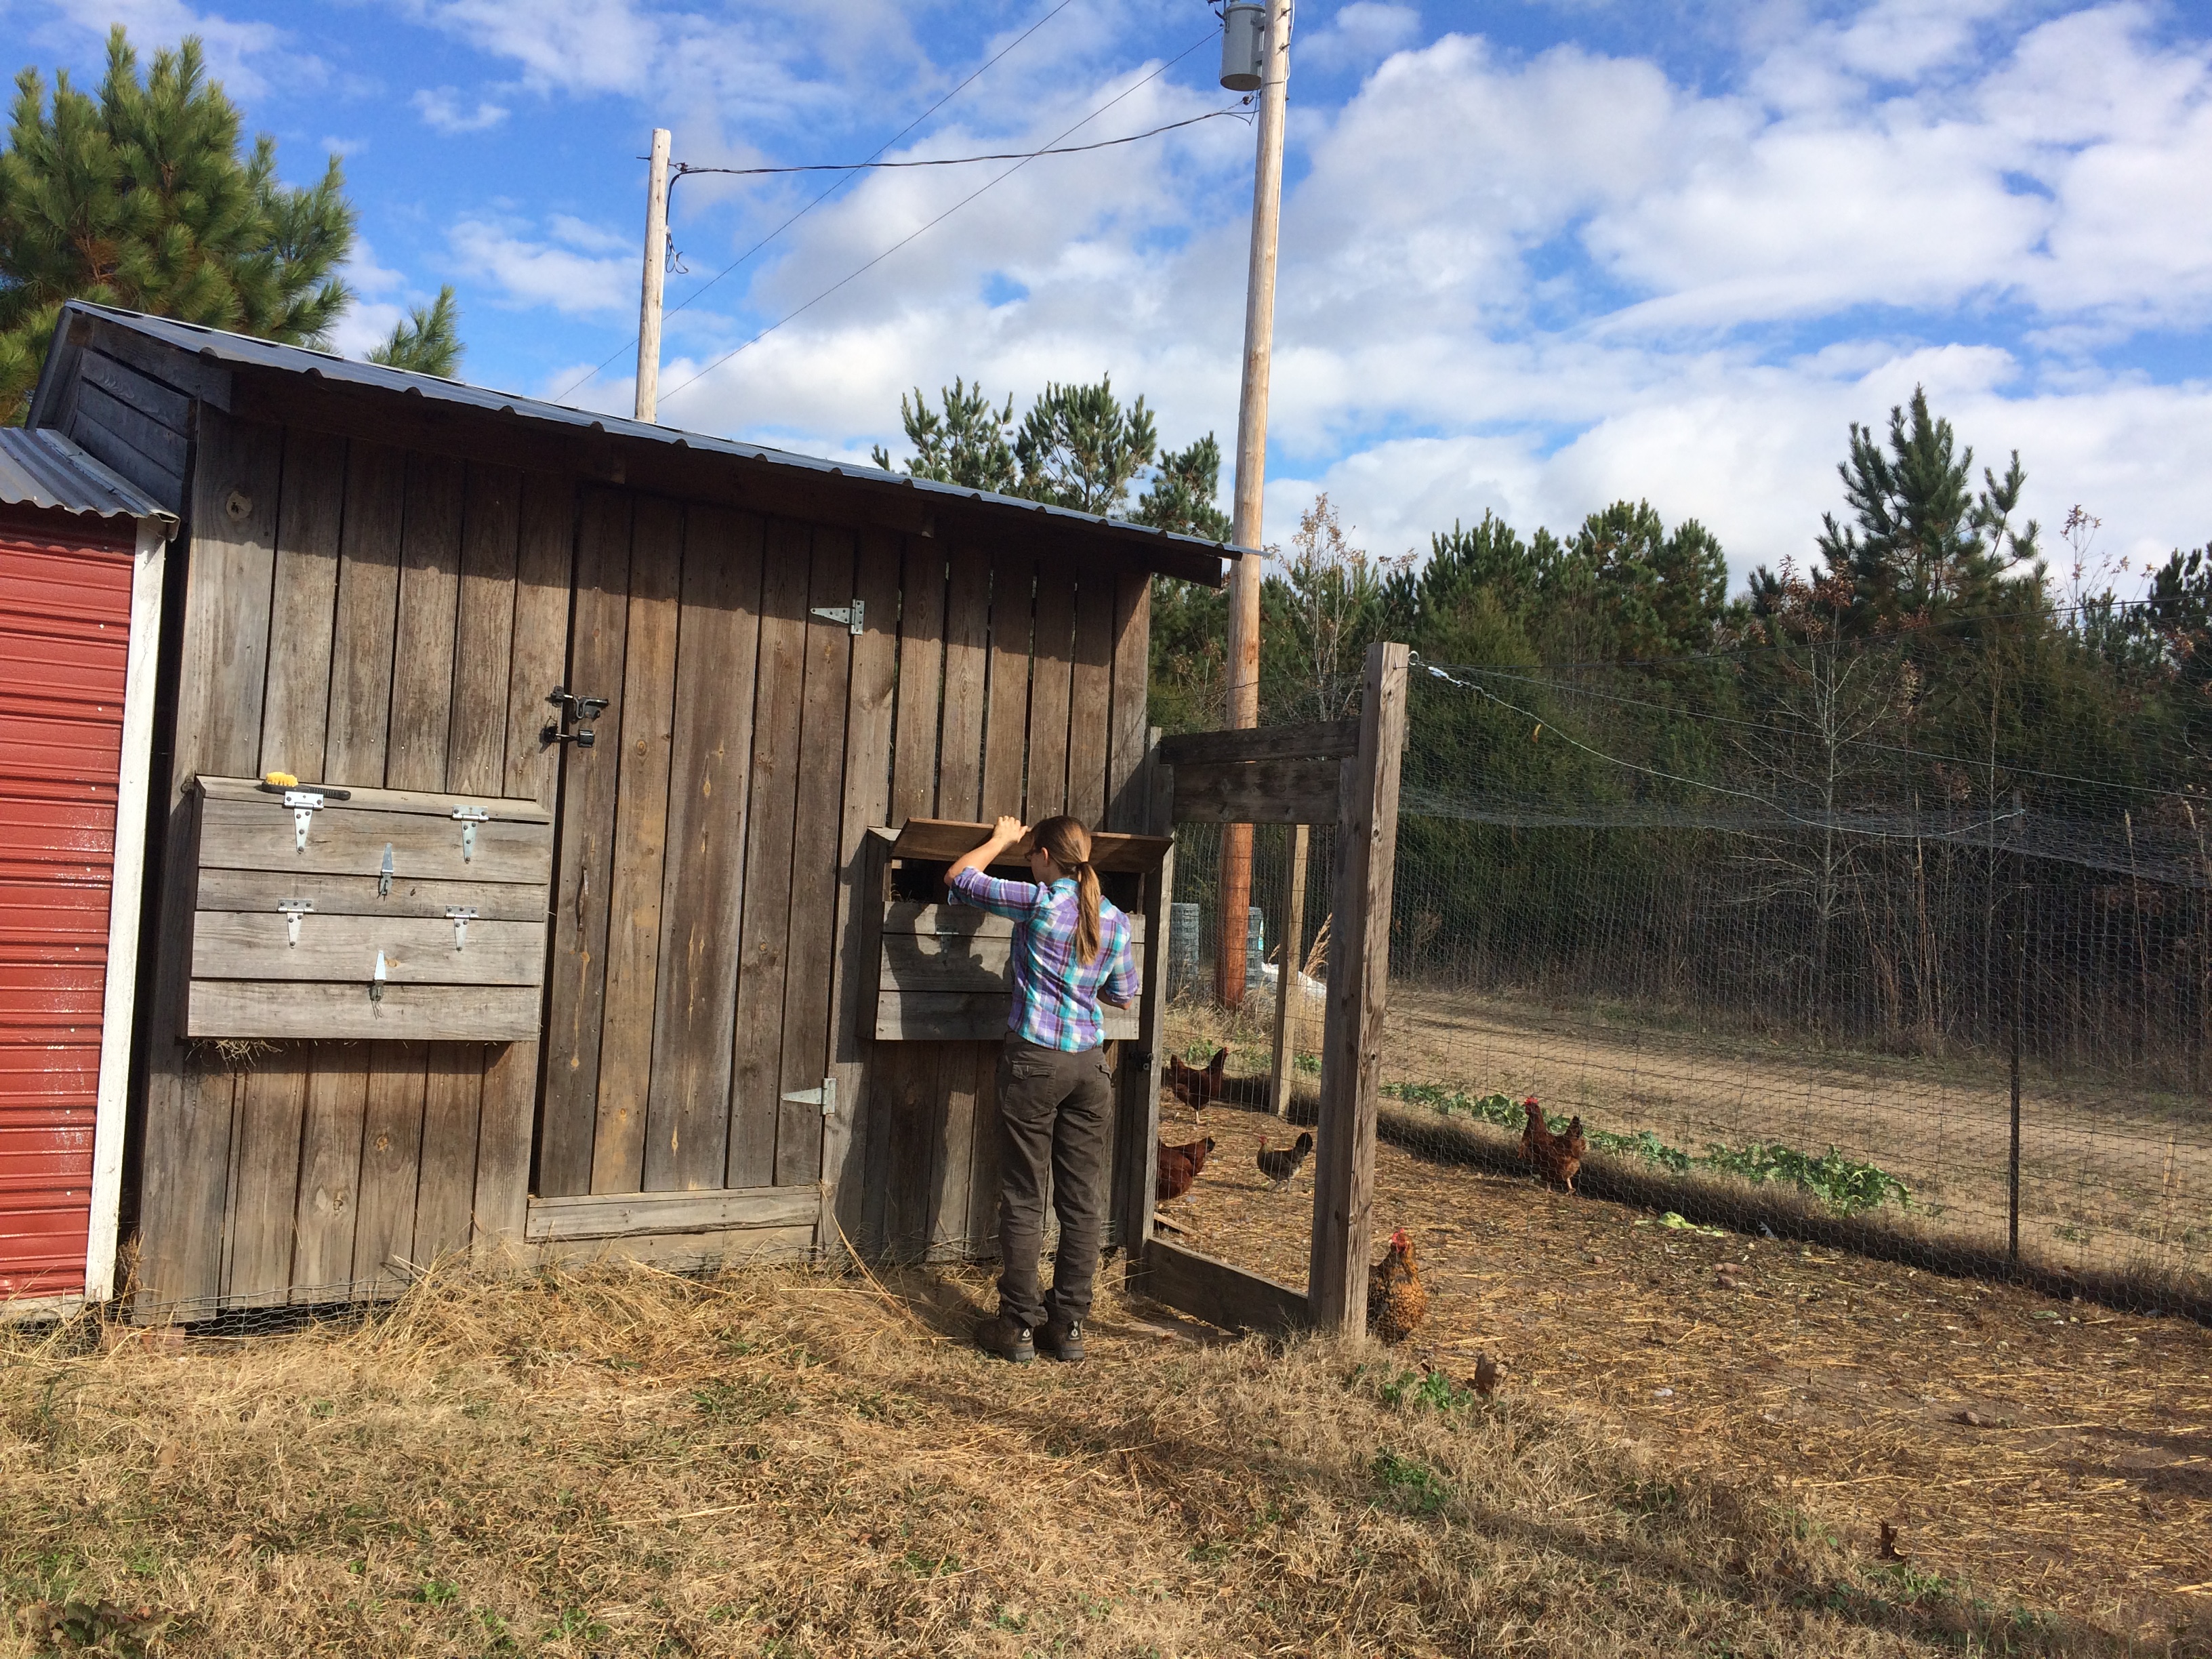
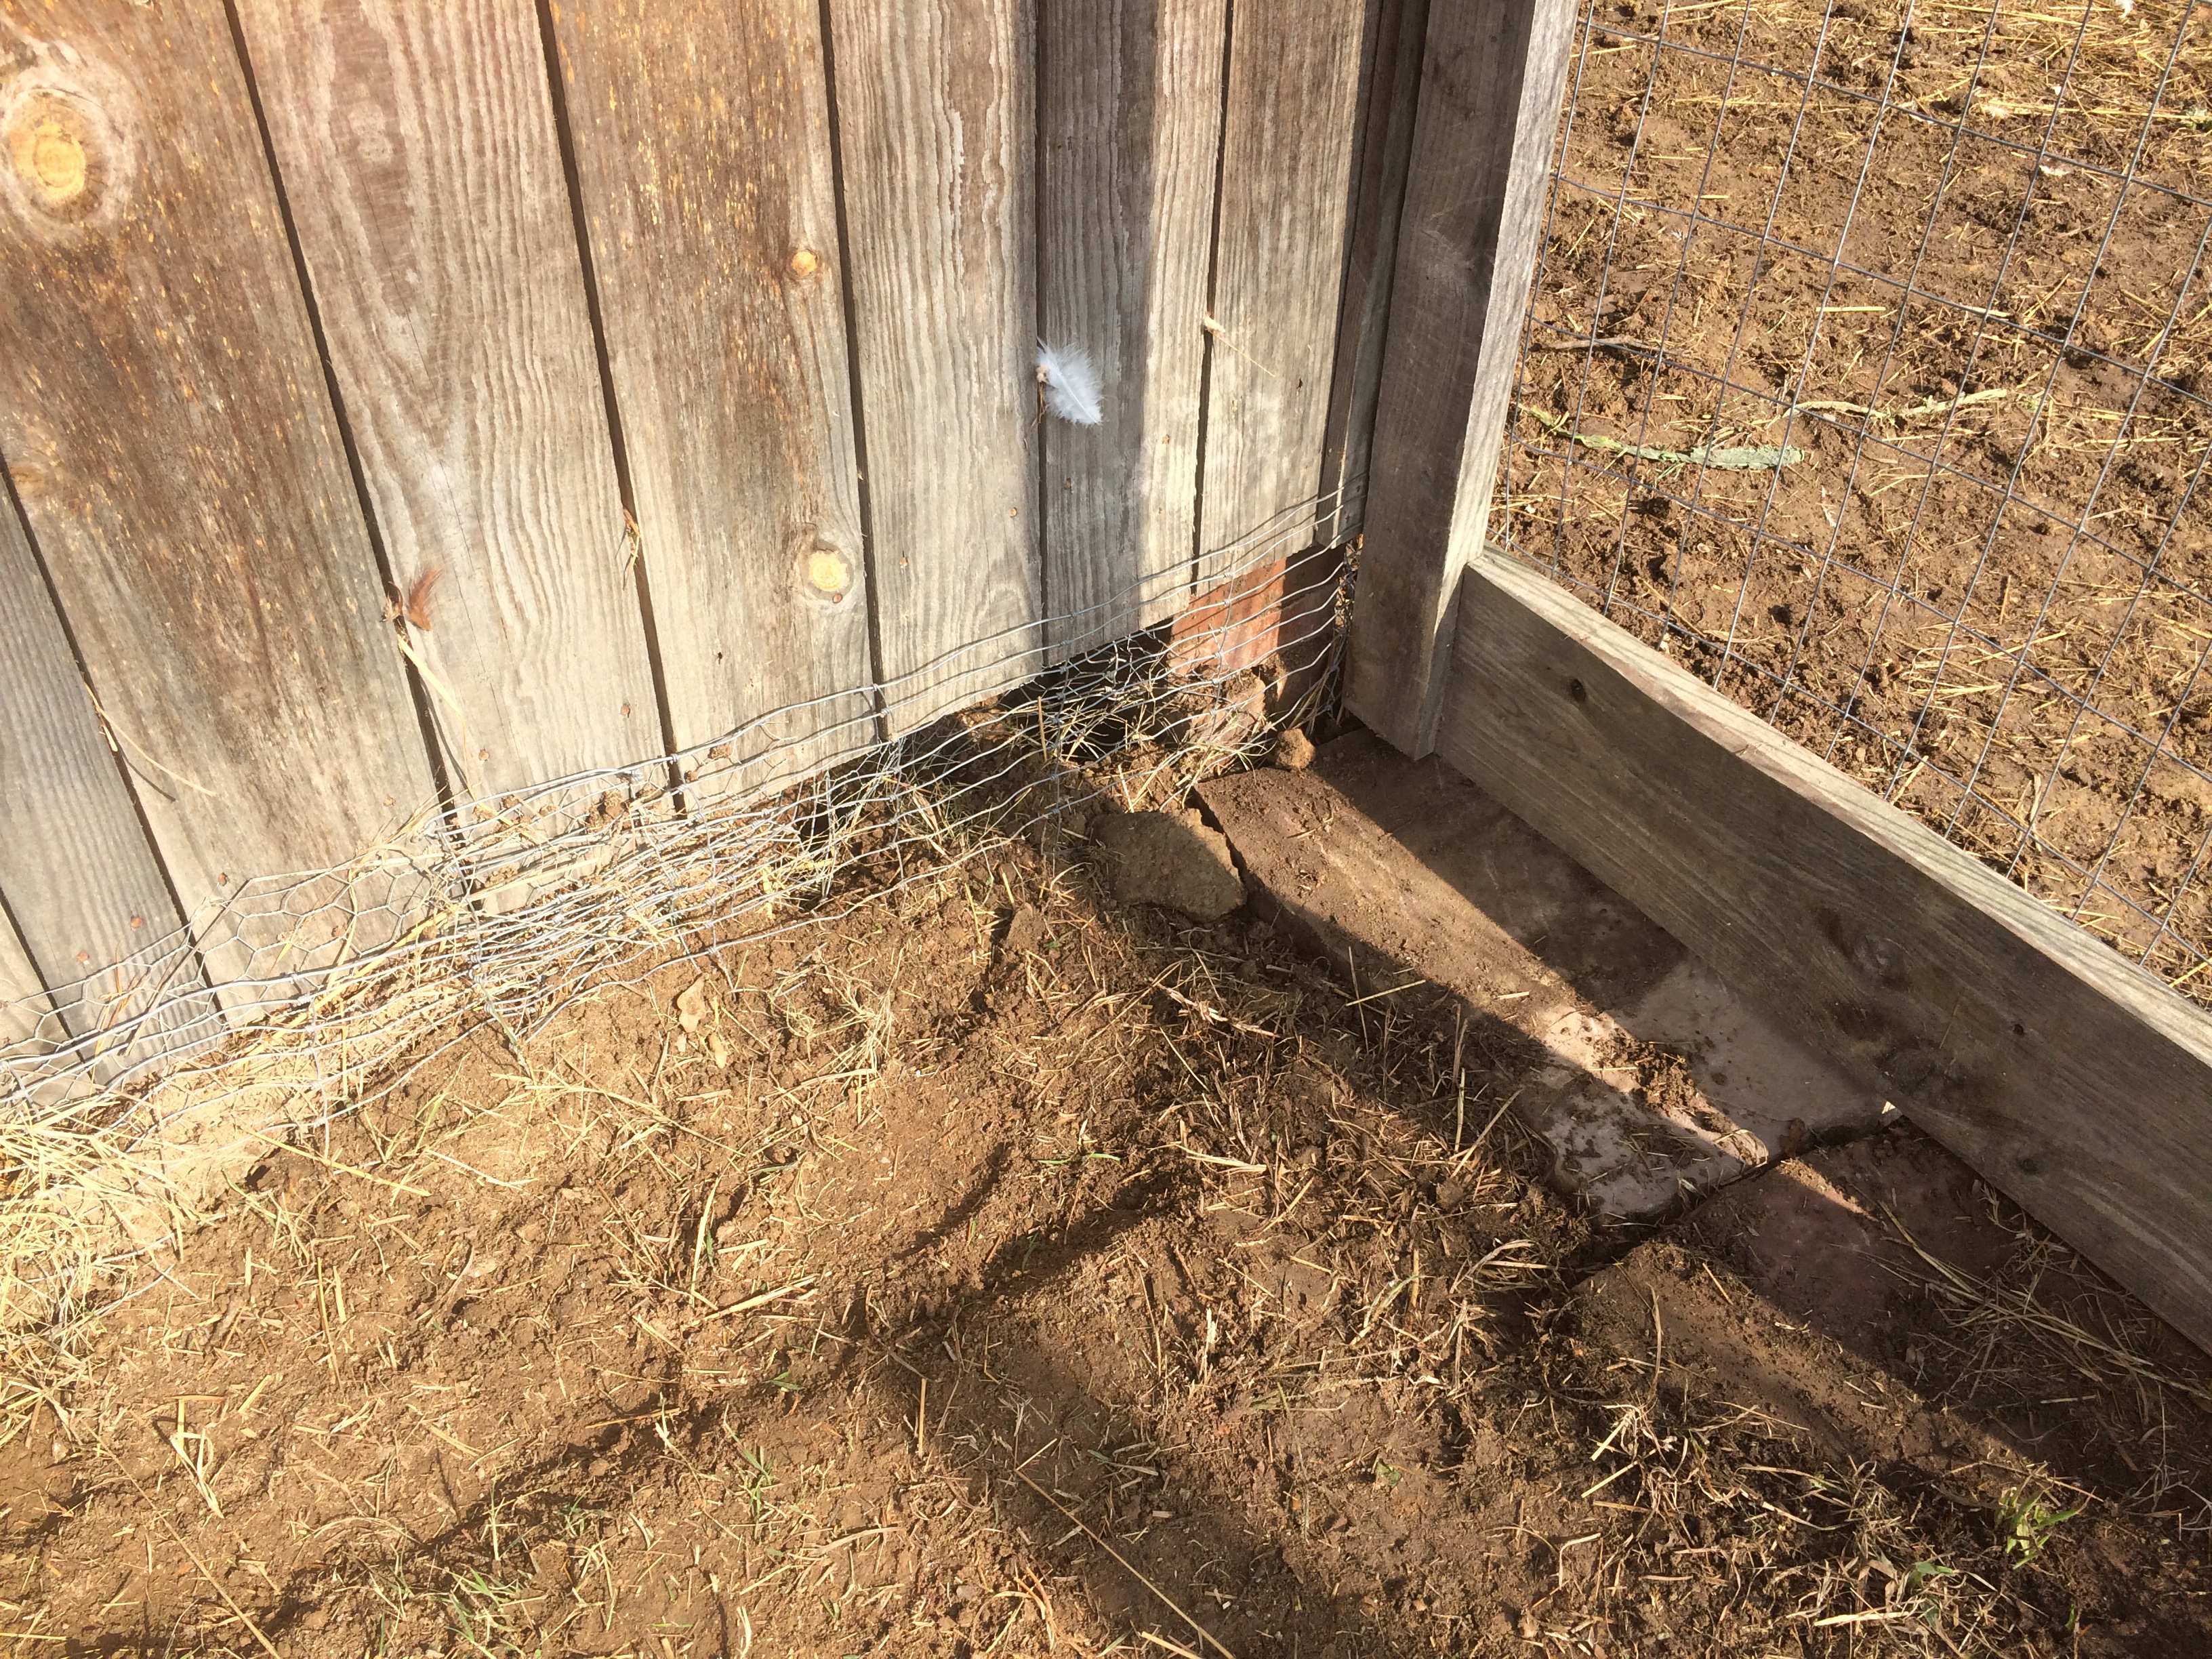
Finally, we raised a sunken corner of the chicken coop, and patched up gaps that could let predators in.
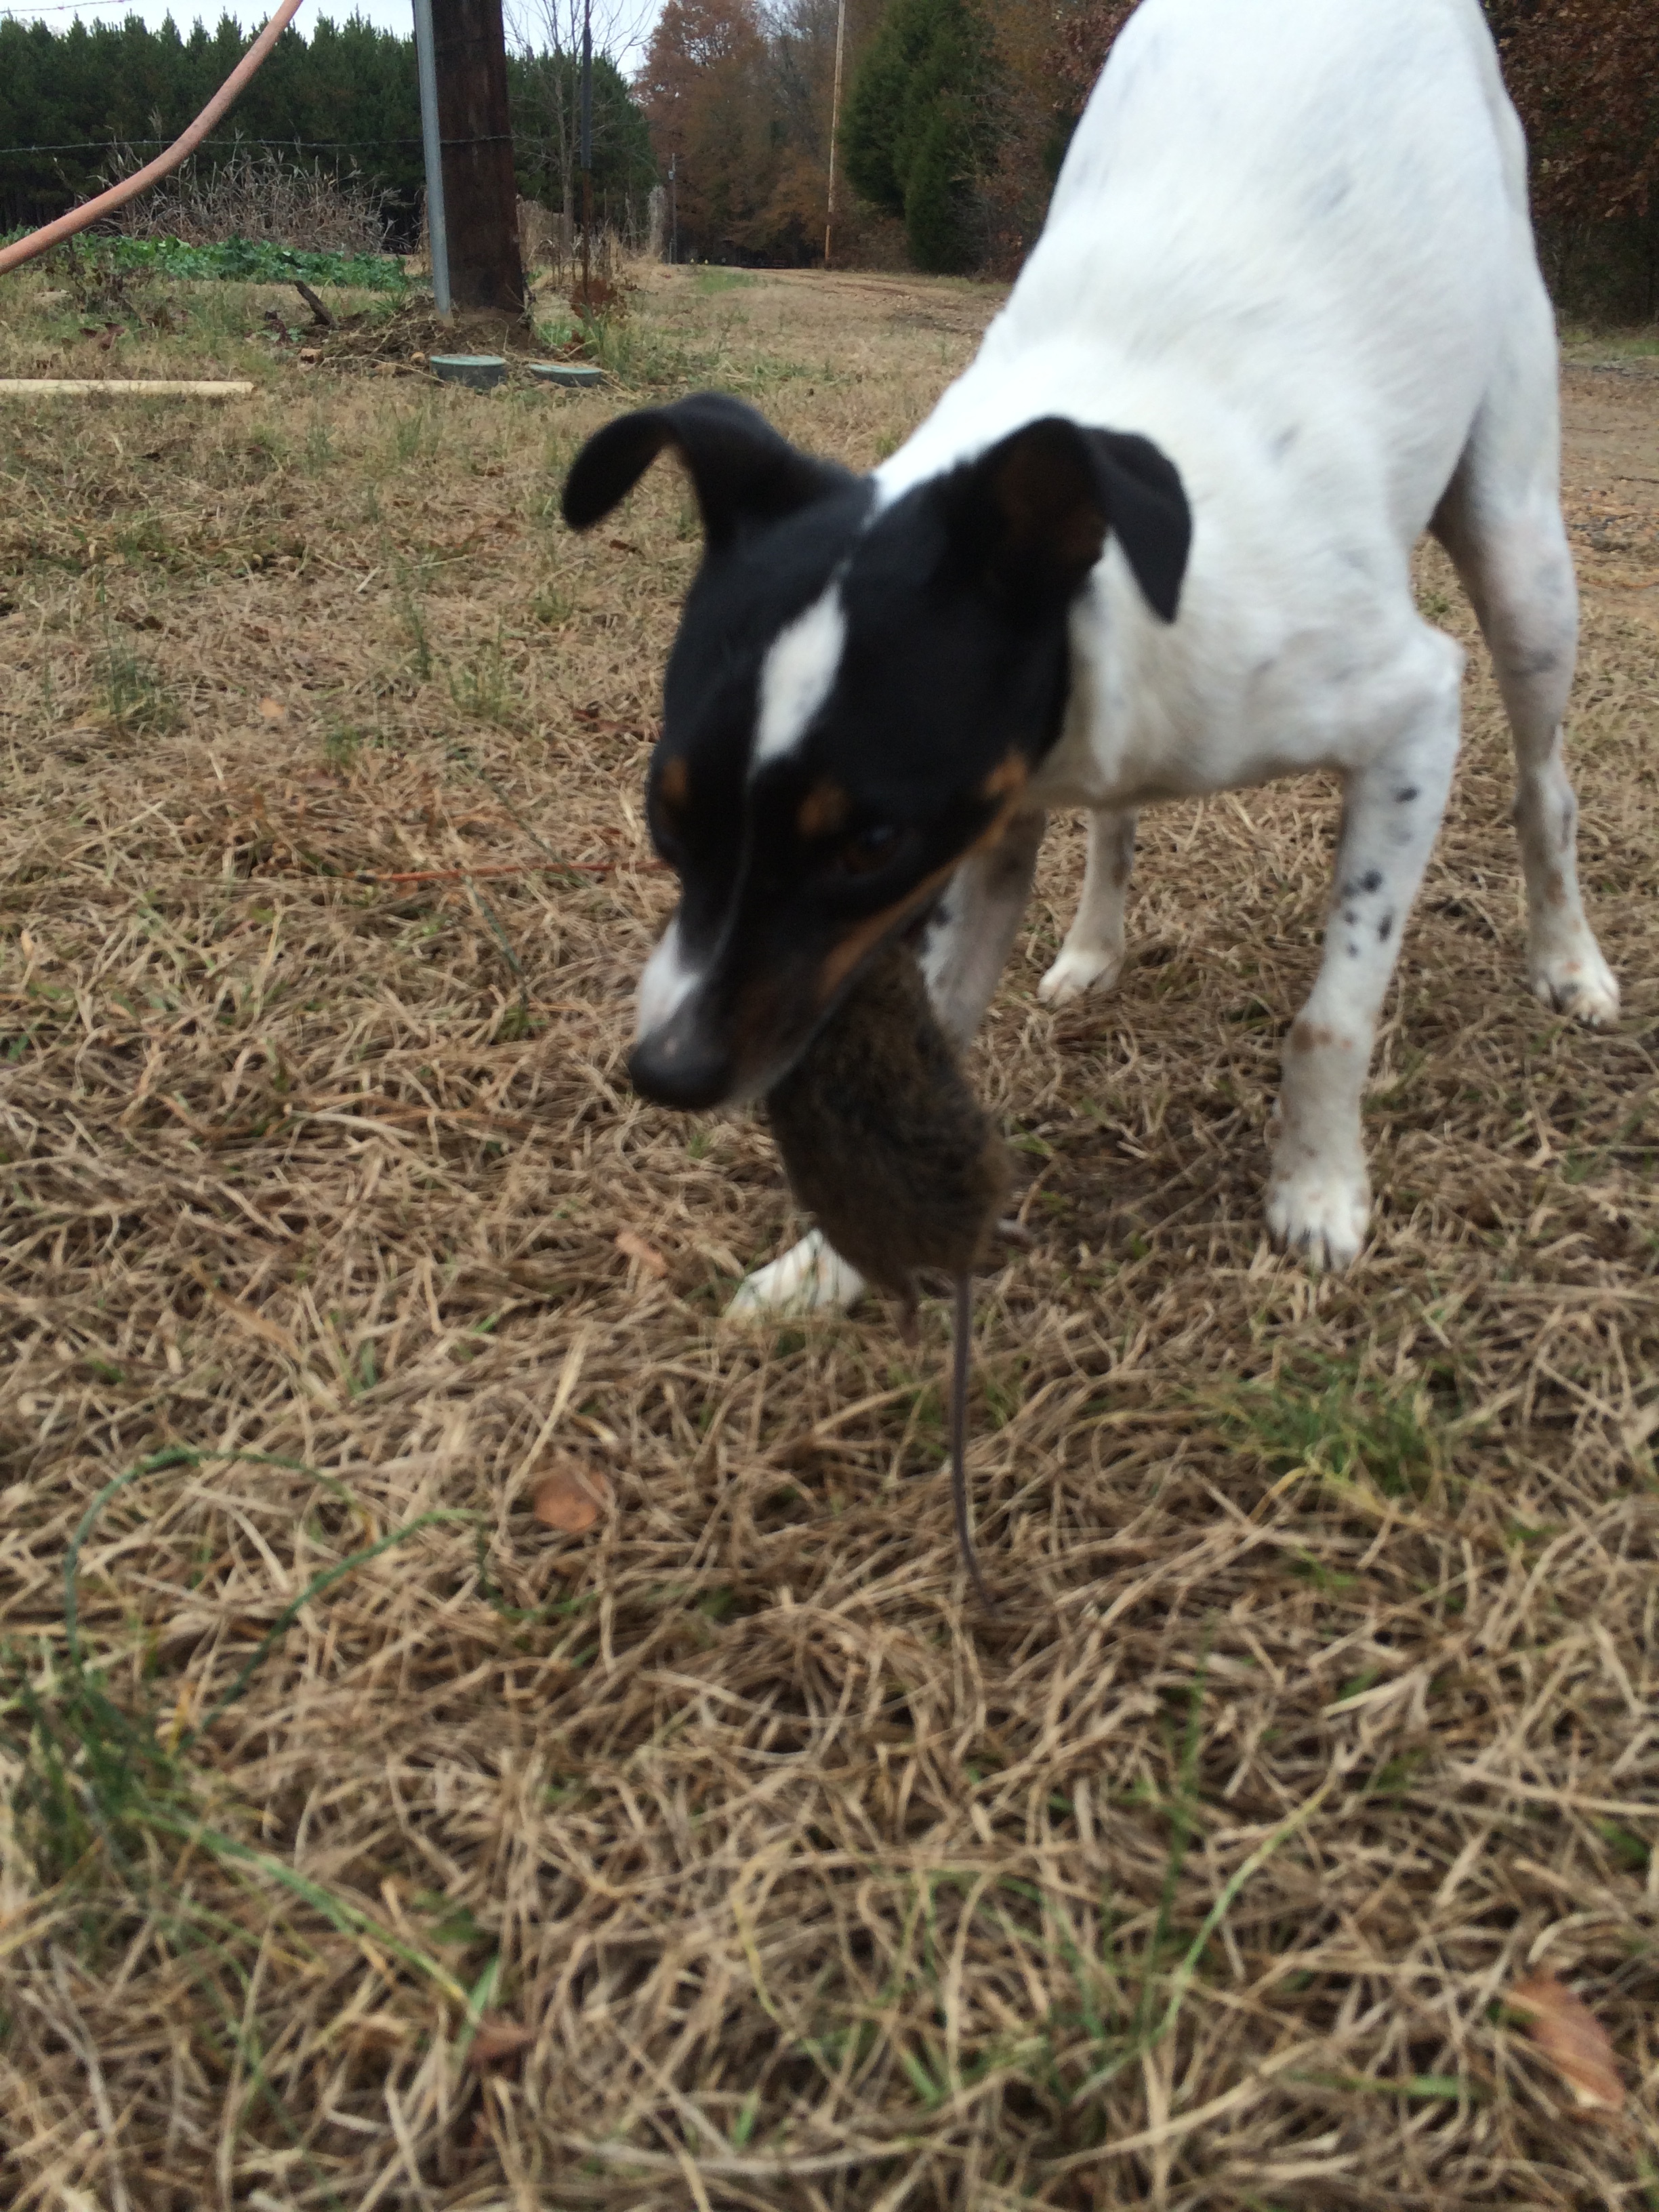
Widget did the Rat Terrier Thing and caught mice and rats as they scattered out of the shed while we cleaned.
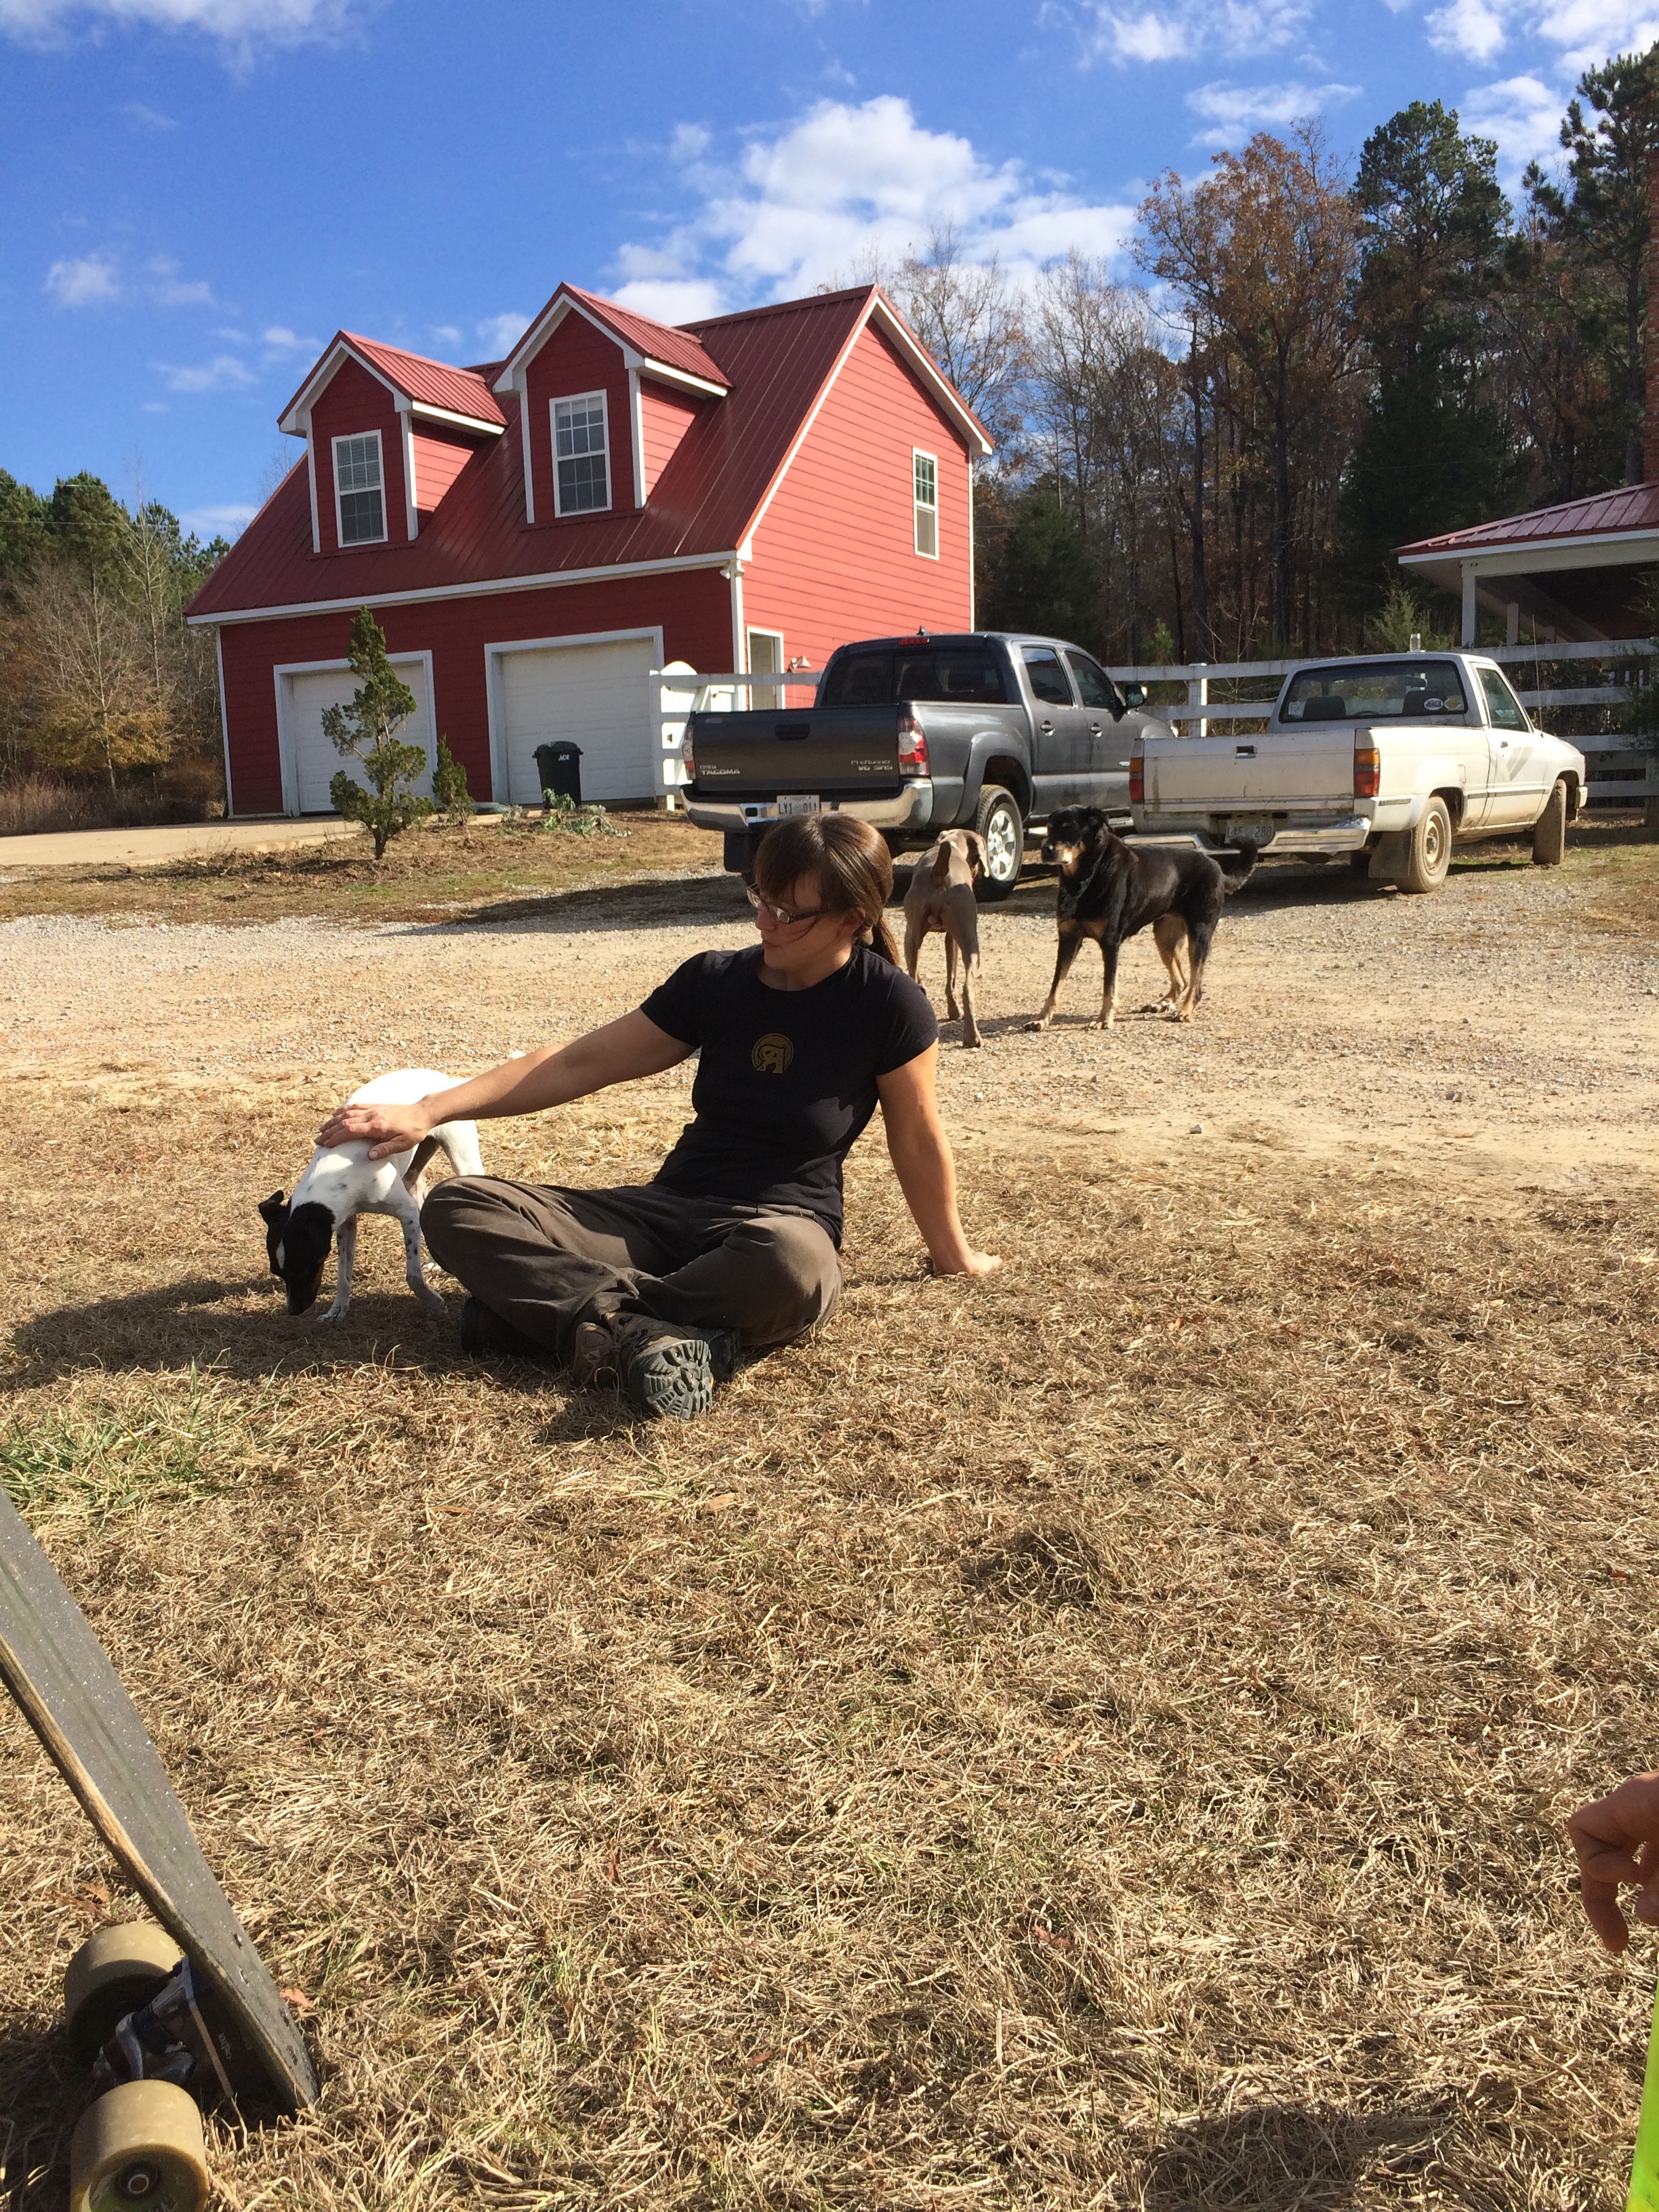
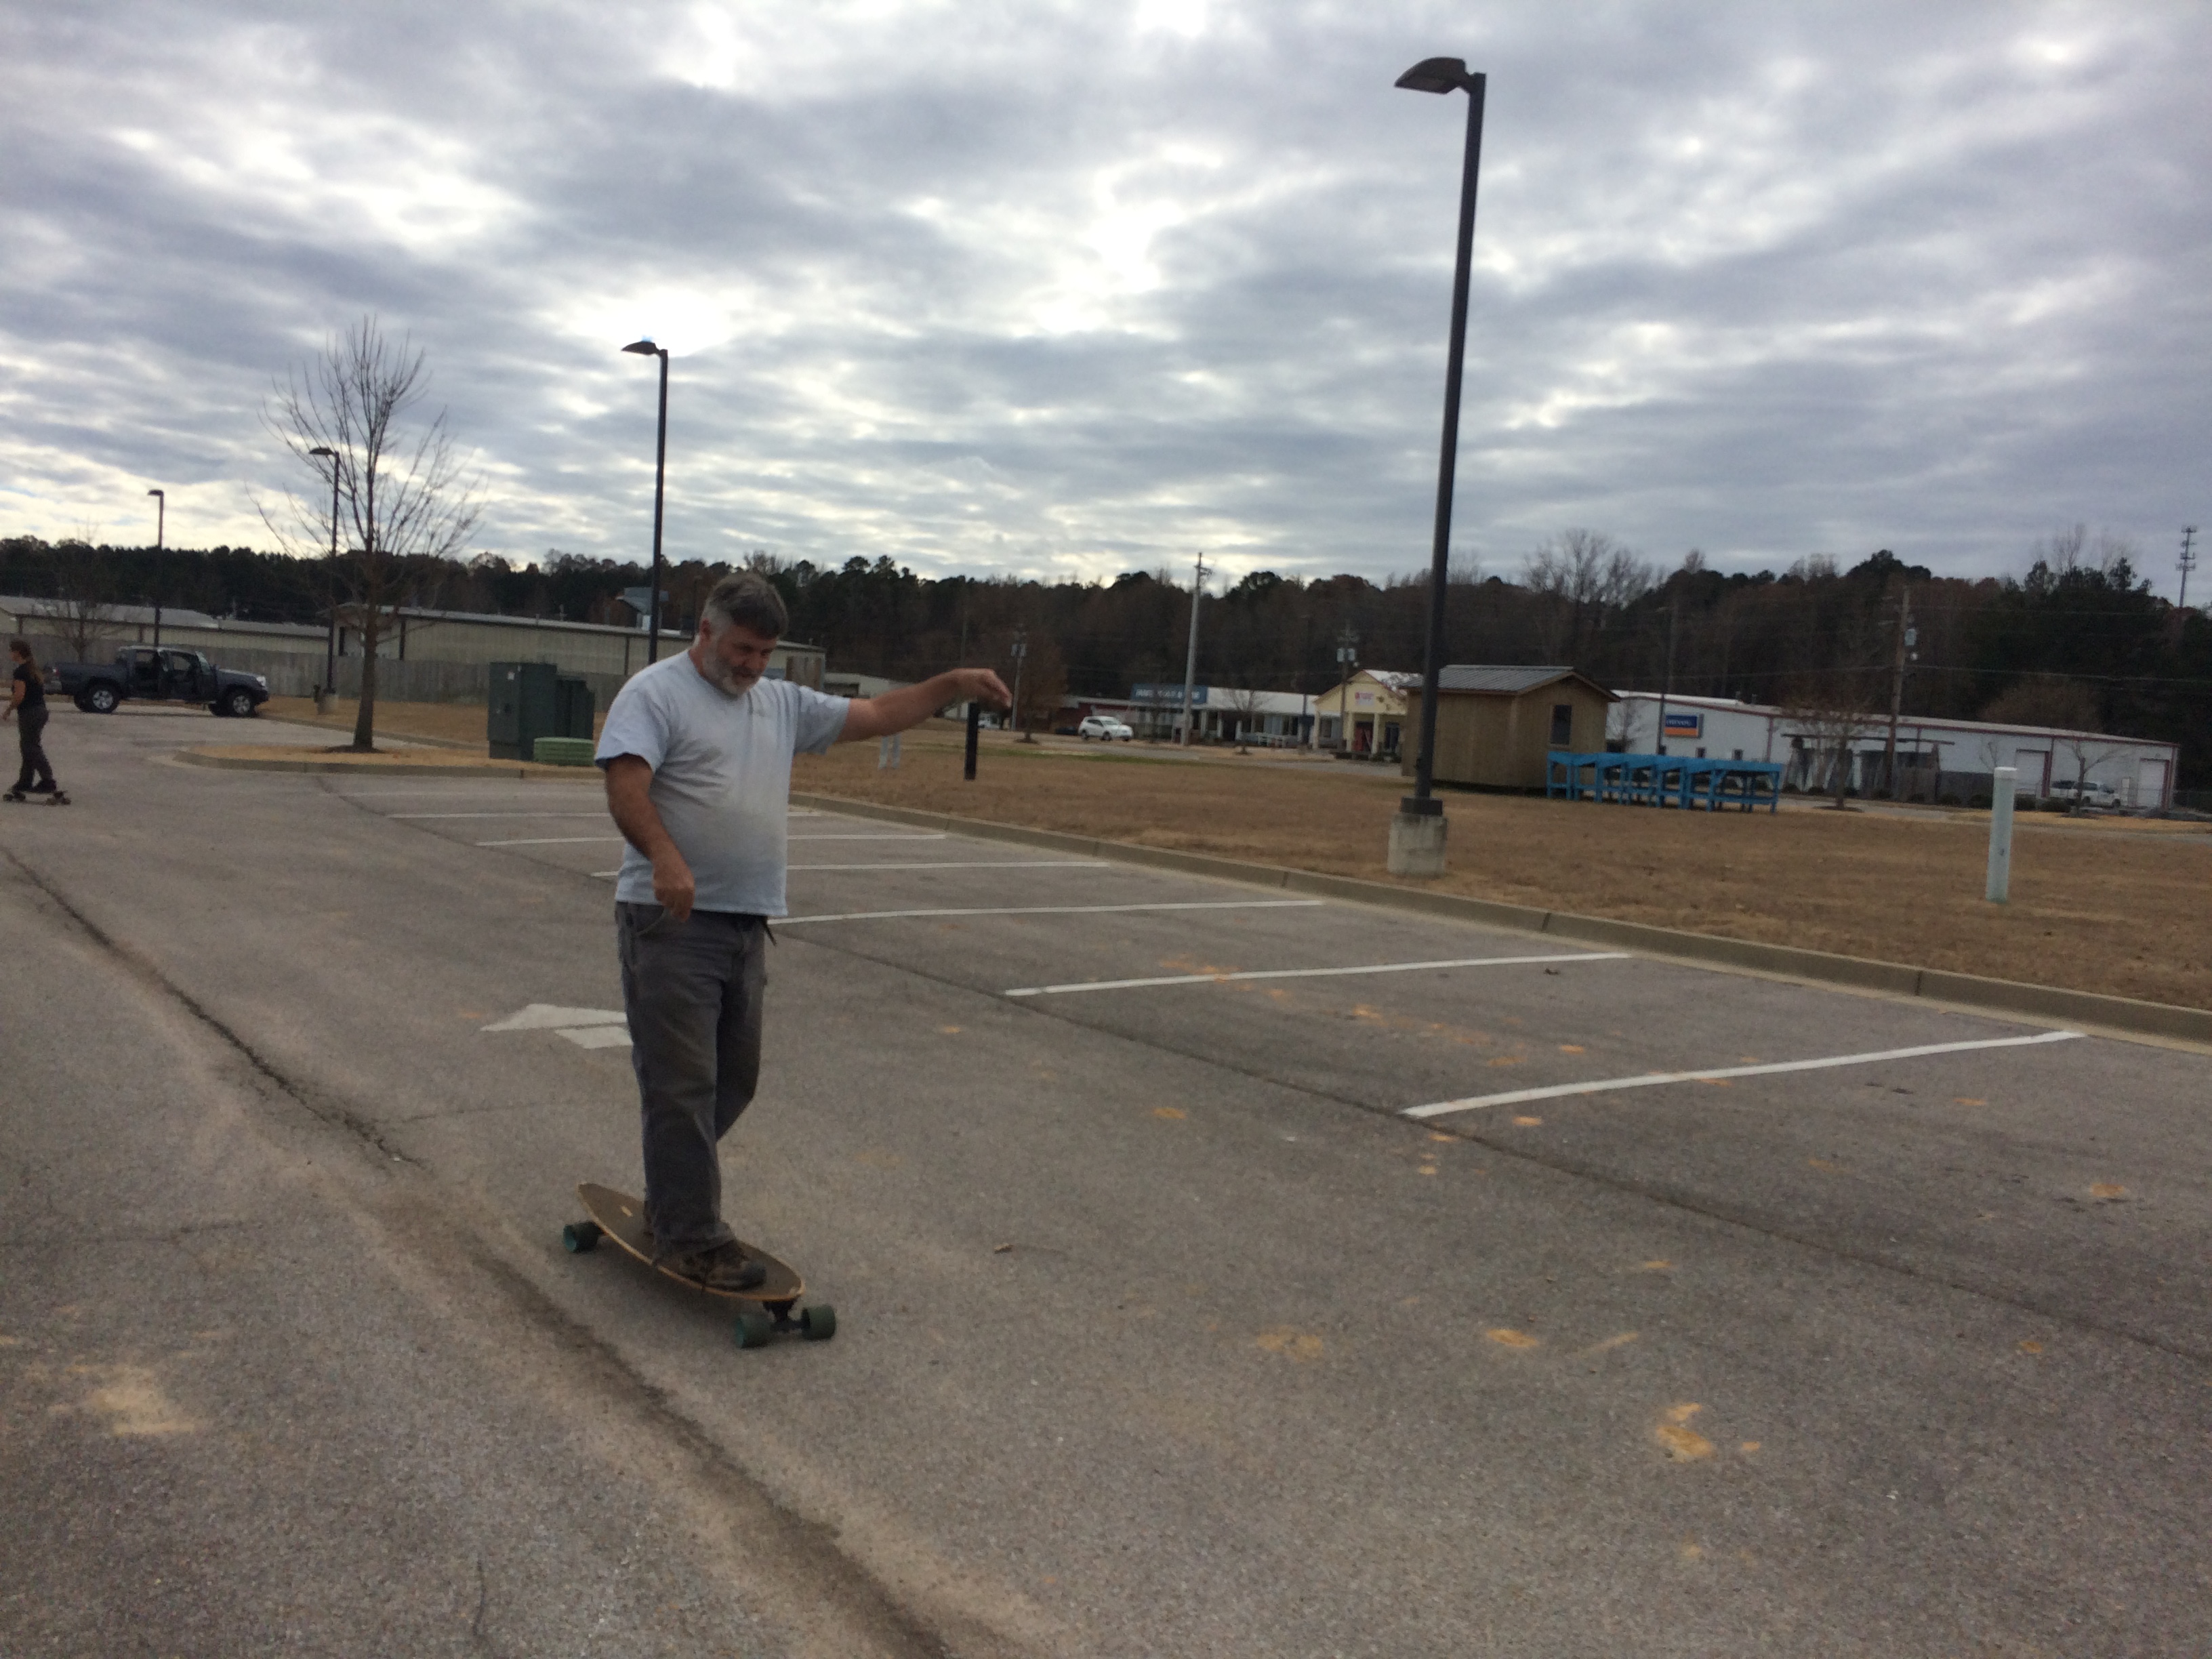
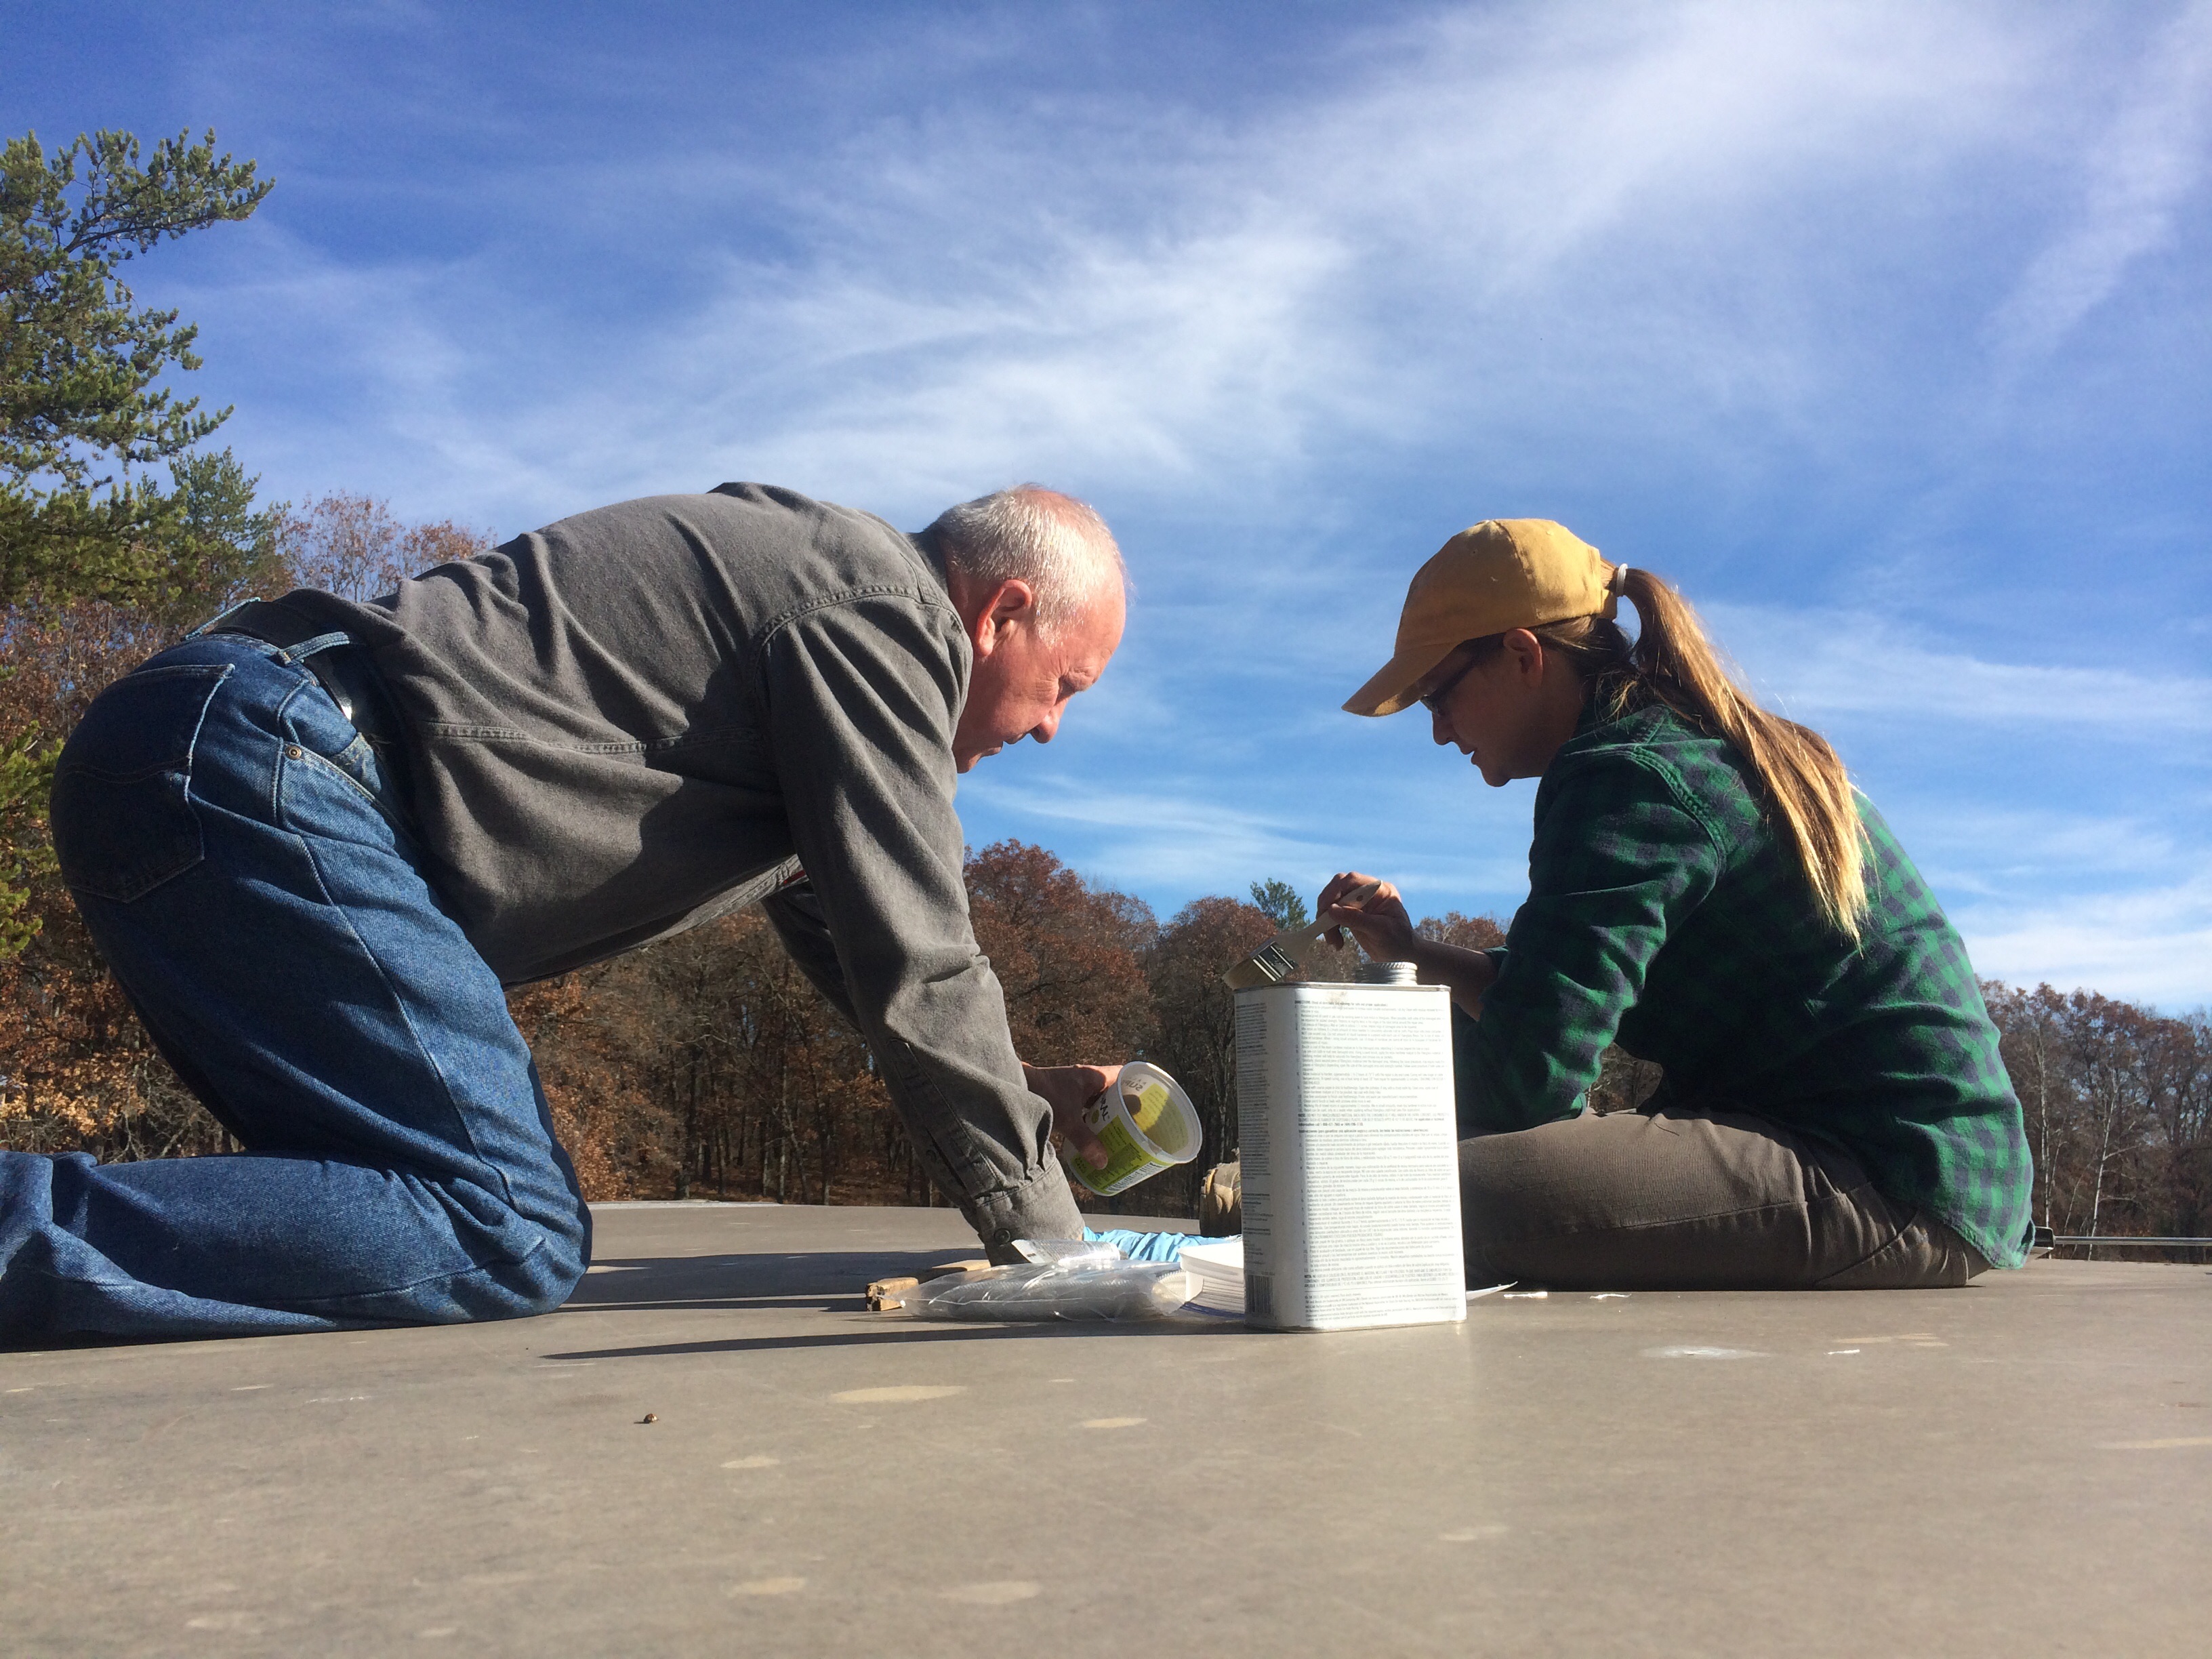
In our downtime, we even got Farmer Doug out on a longboard again! He still doesn’t feel safe on one, but he pushed around carefully a bit until Kristin and I got our fill of zooming around a parking lot, turning gyrations into momentum and basking in the sunshine.
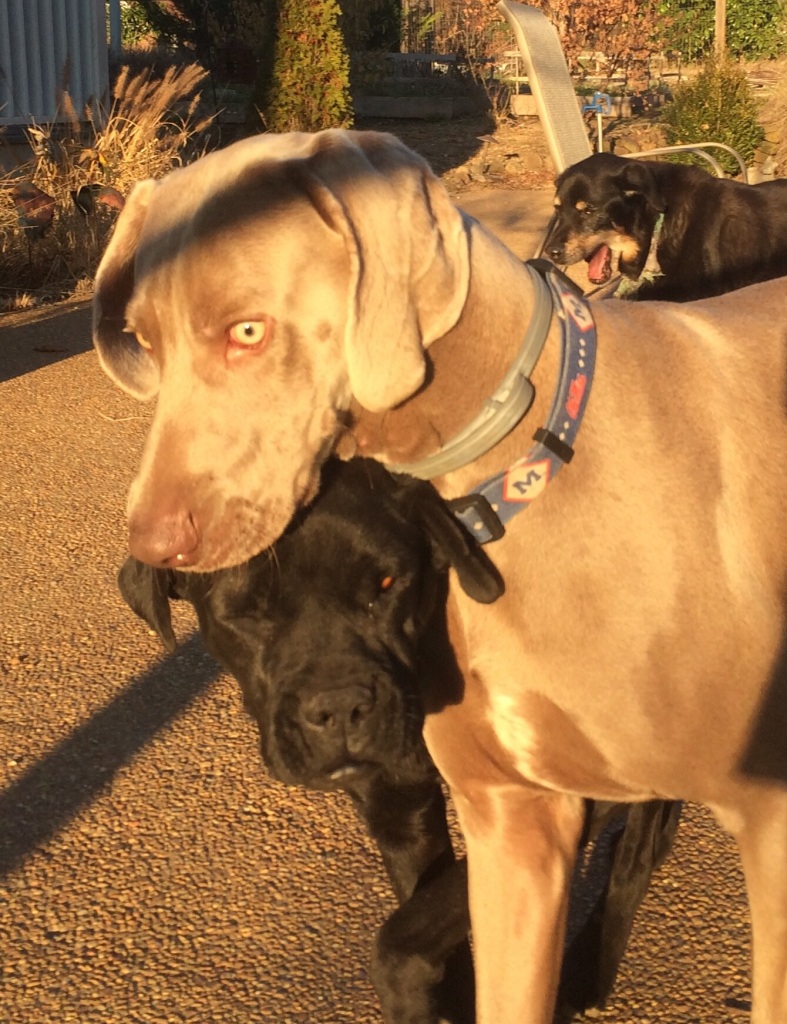
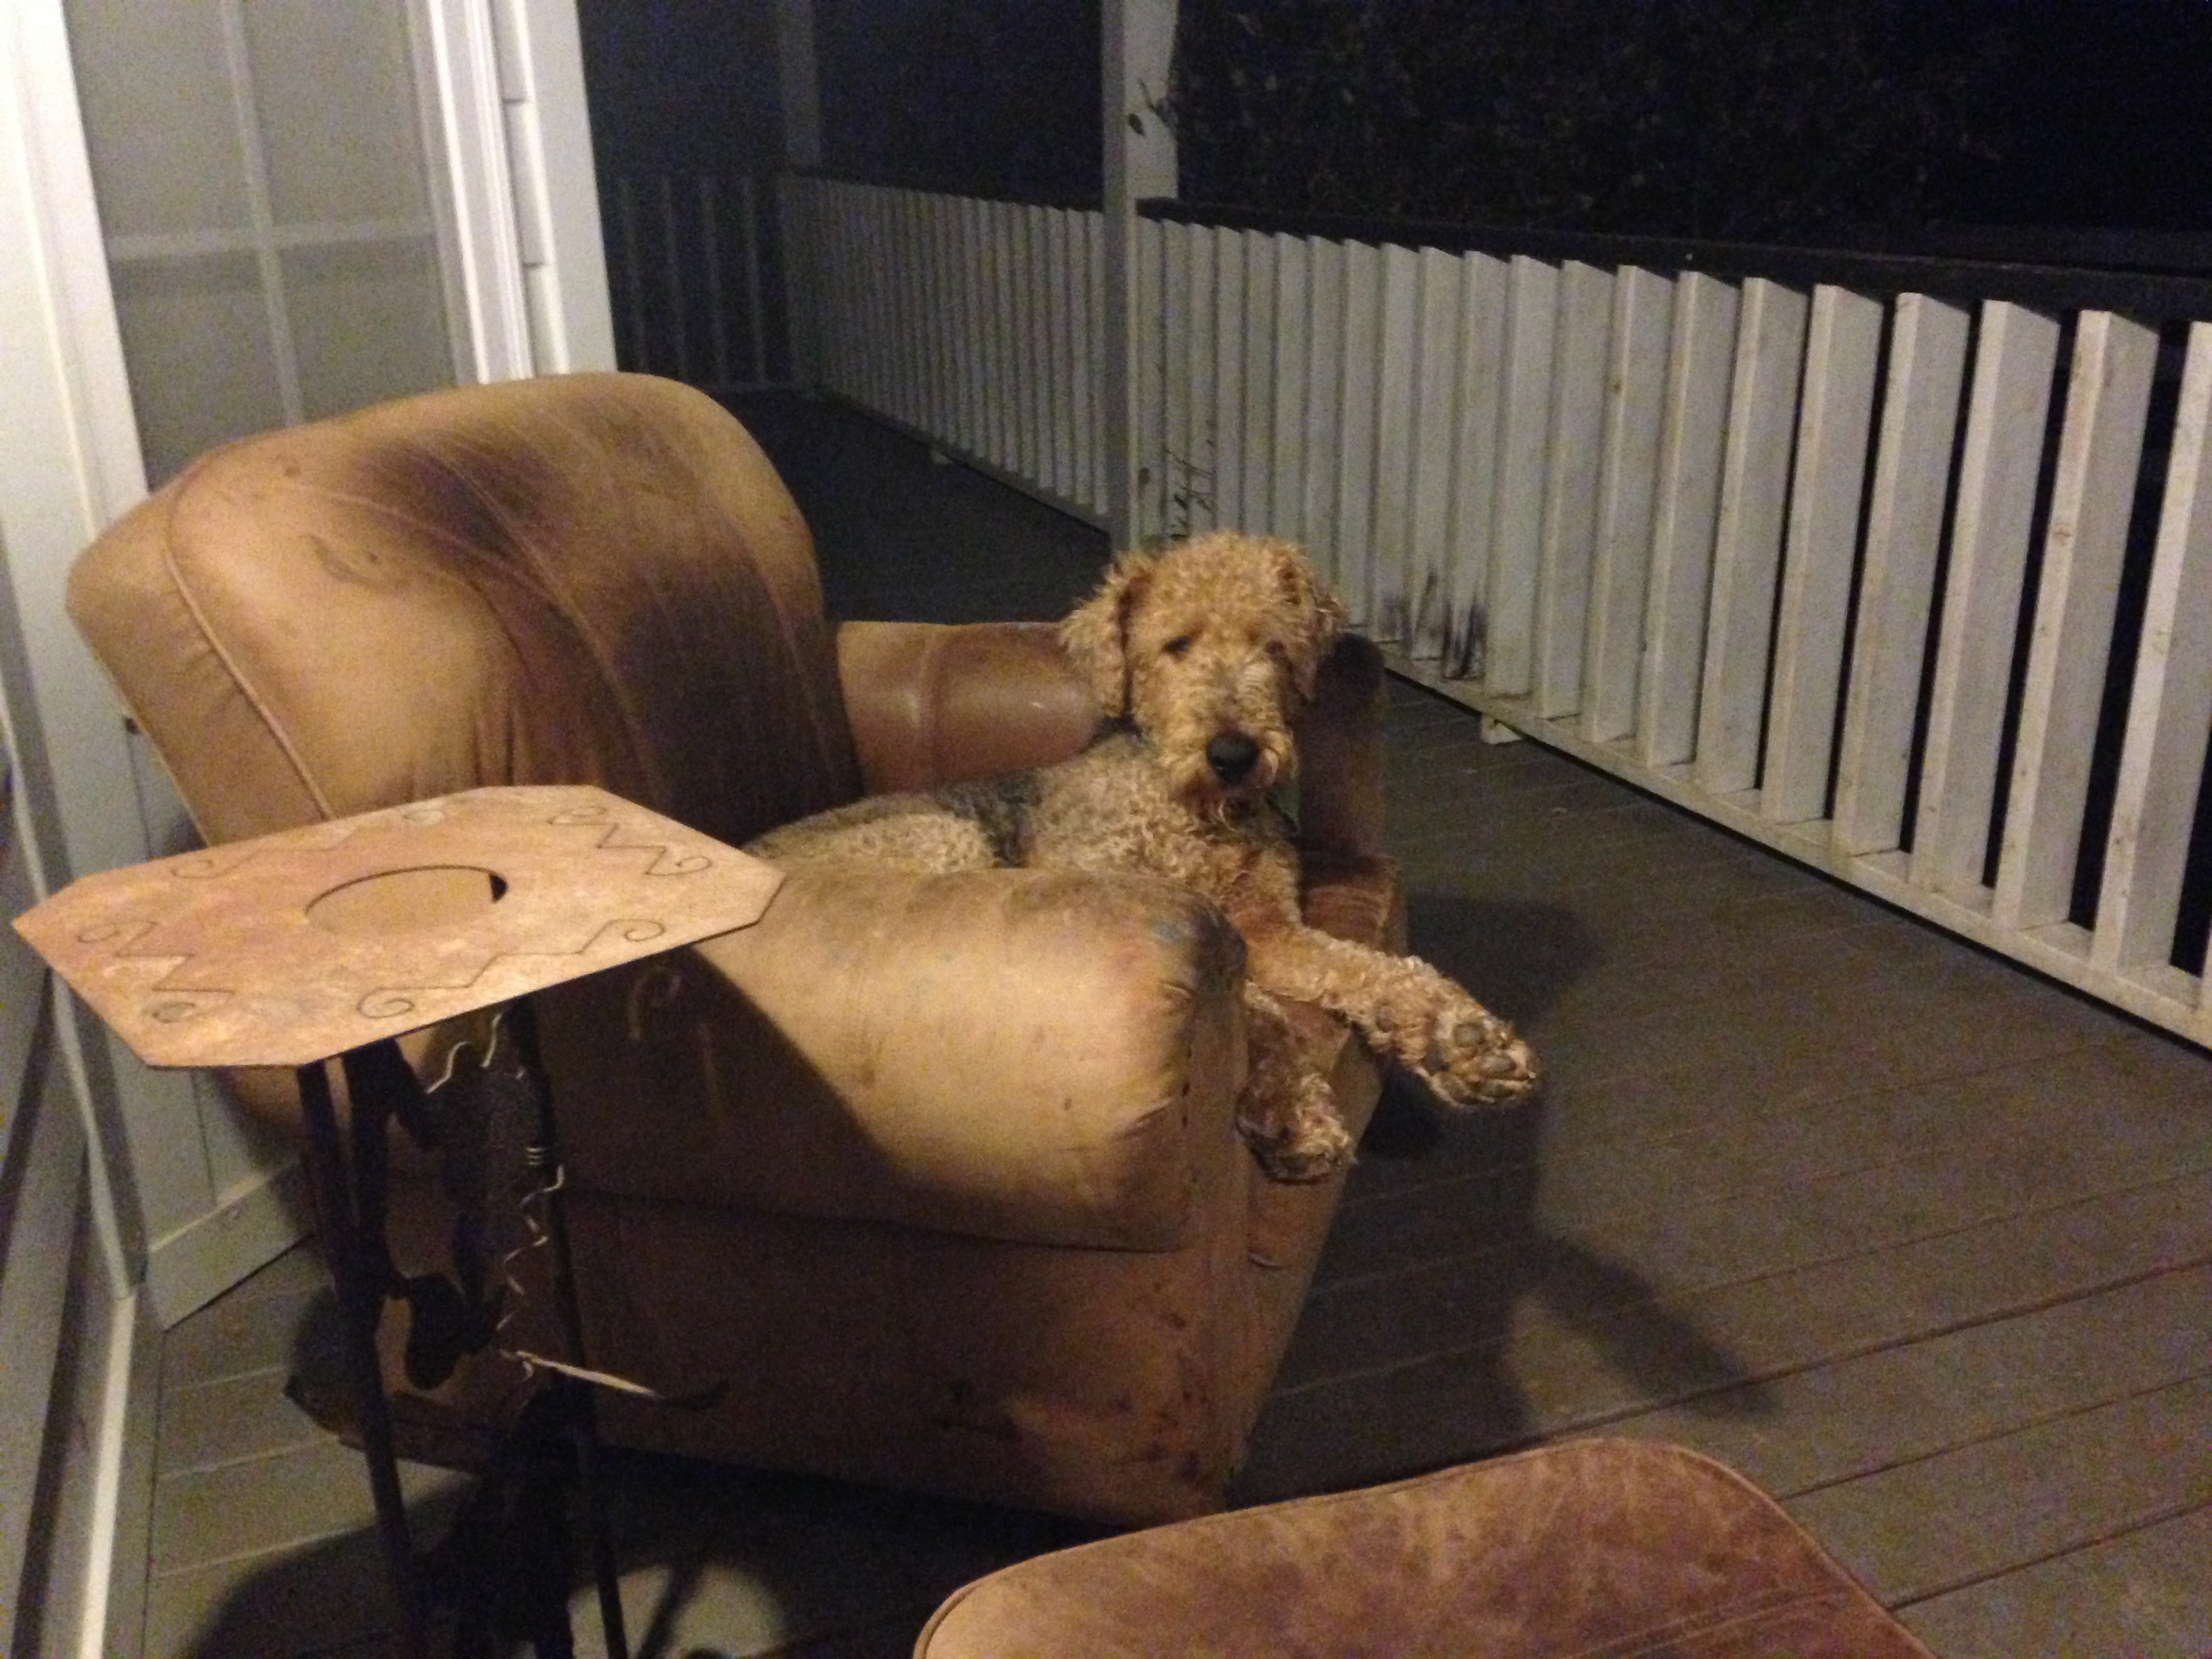
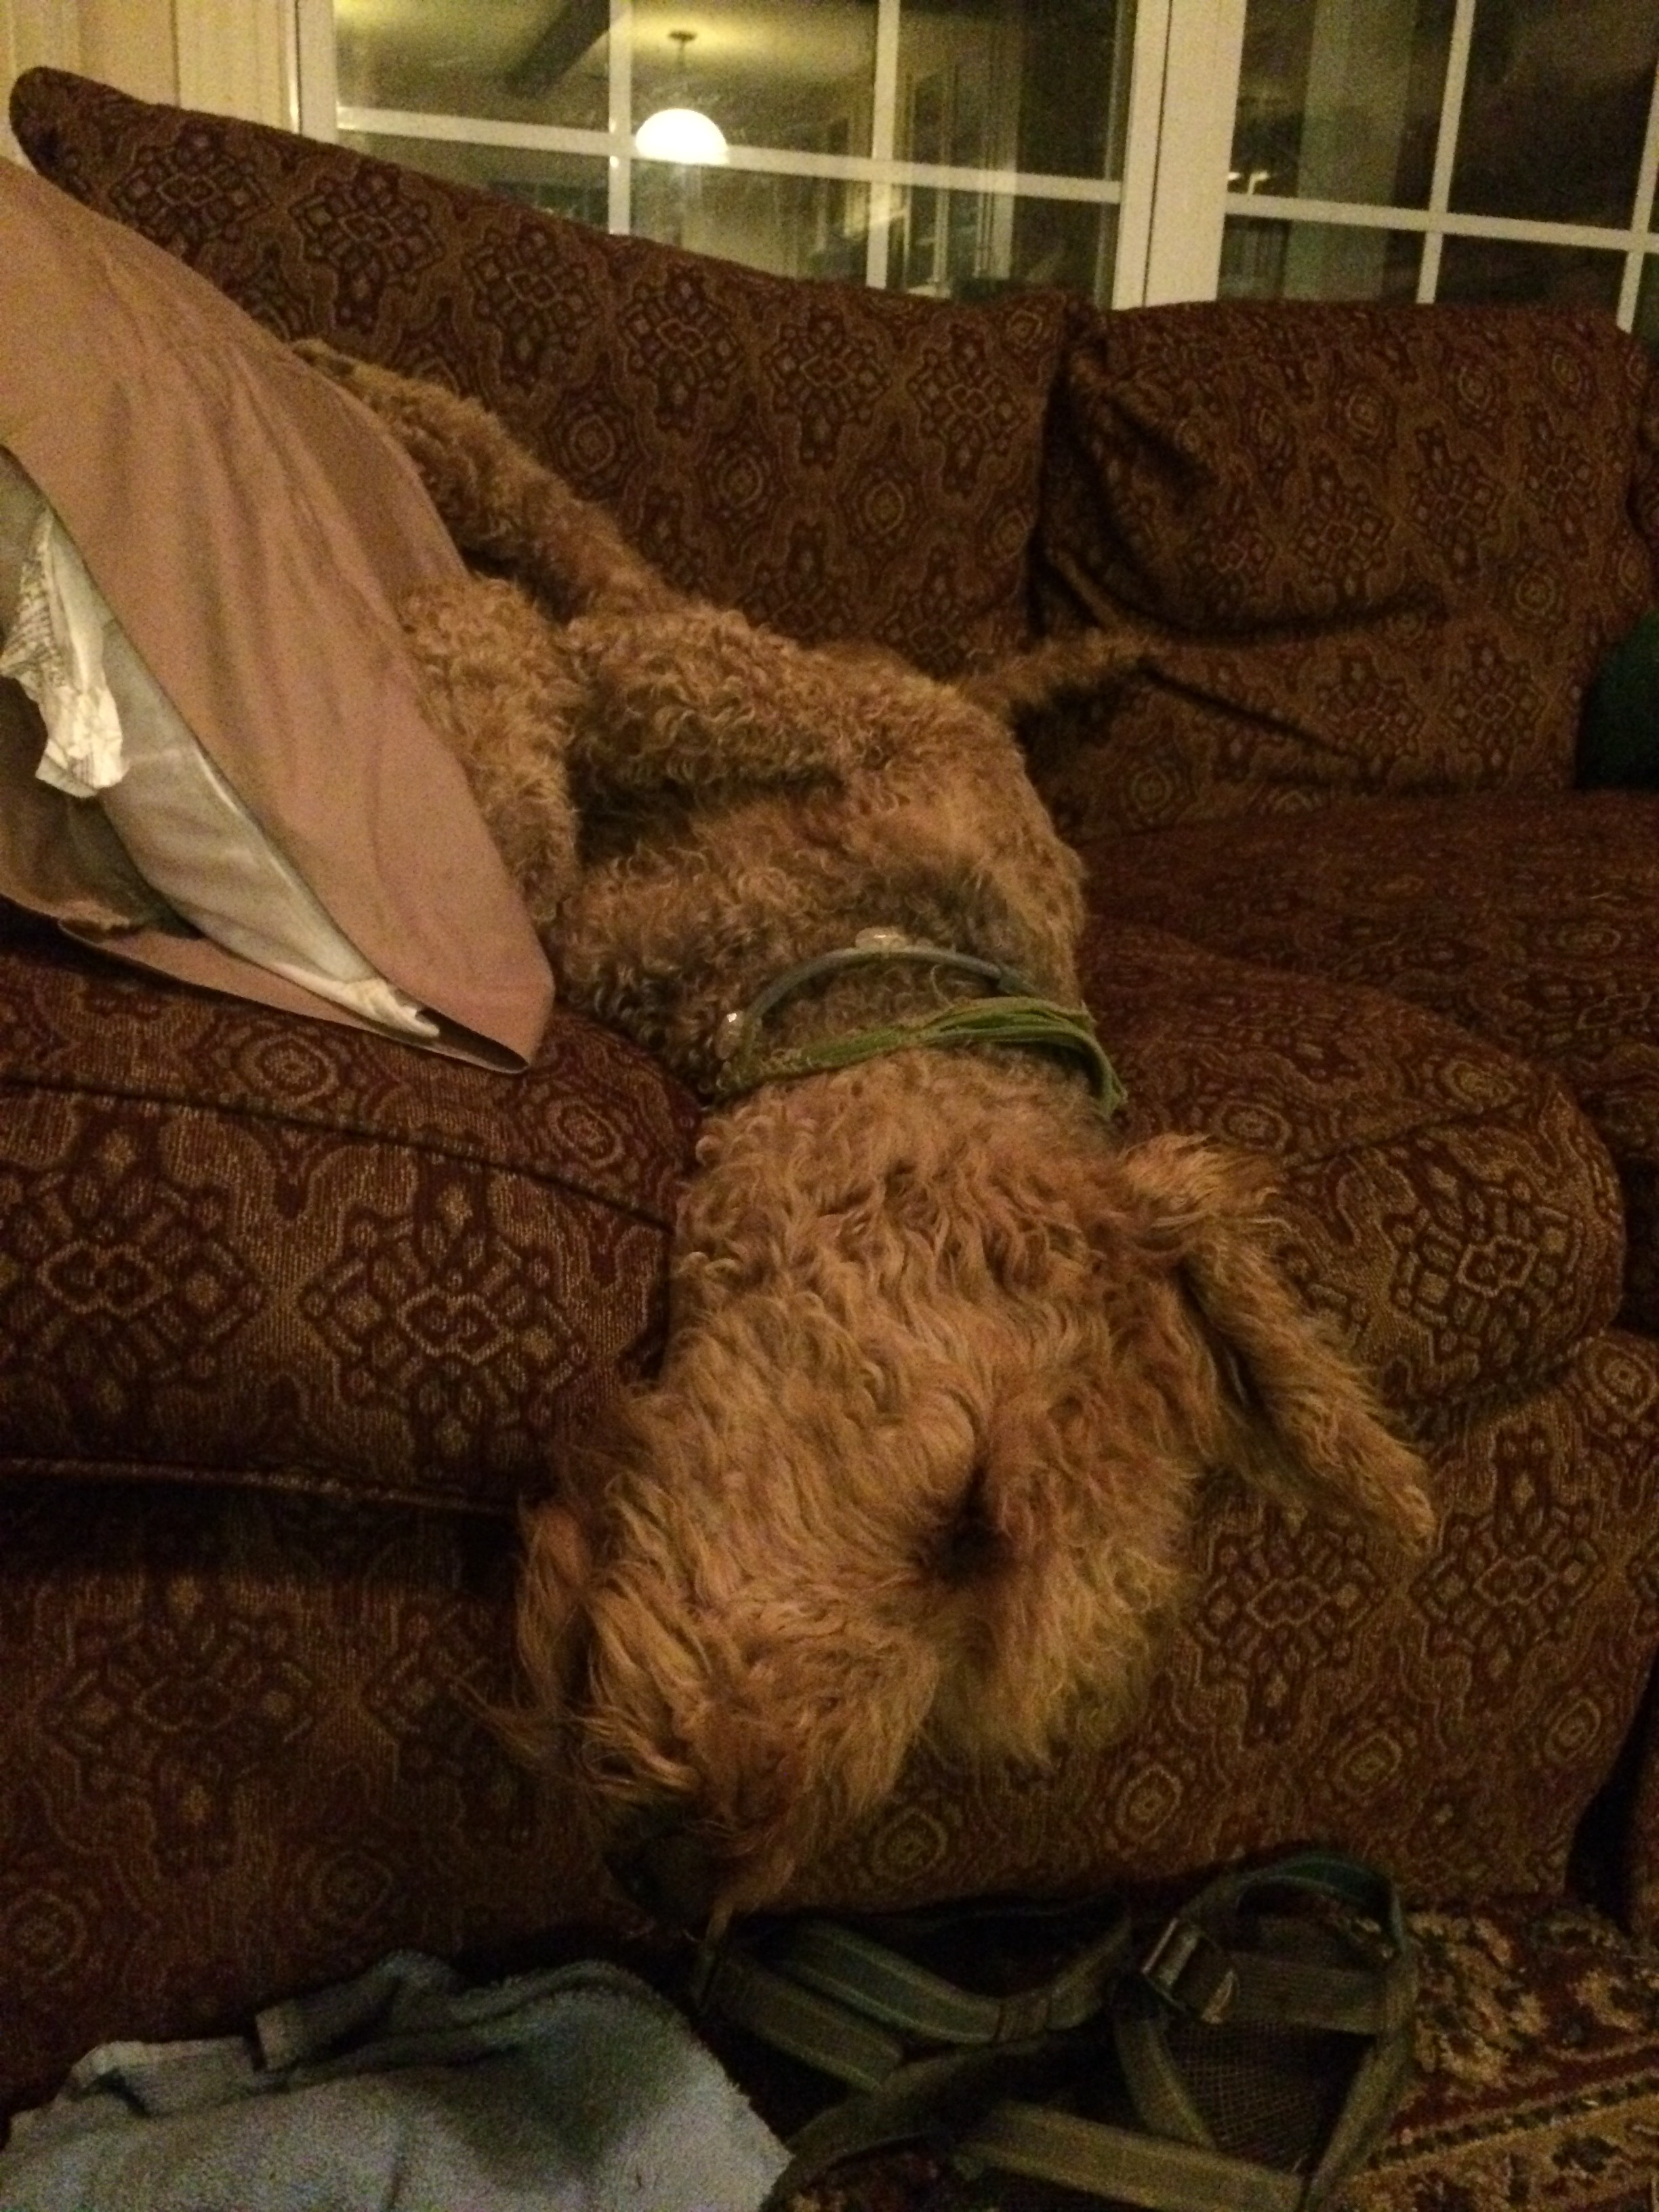
In one of the final Yokna posts from last winter, I said that ” it seems impossible that I may not see (Yokna Bottoms Farm) again” – and it turned out I was right It is great to be back – we’d missed the dogs (Merton, Shivas, Missy, WhatDog), the cats (Faith, Hoobilly, Jack), and the people (Doug, Jeff, Betsey), and it felt like home immediately.
It’s been both educational and interesting to see the restaurant sales side of Yokna’s operations – we just started to do so for the first time last year, on a small scale, and both feel we have much to learn. And like learning a language, it’s ideal to learn by immersion, where all the many complexities and how they interrelated are experienecd directly, not translated up and down through lossy words. Working with people, you pick up so much more than you even realize – not just facts, but processes, ways of thinking about and seeing and solving things, general principles, handy shortcuts, things to avoid, sparks that trigger new ideas … not things you can plan for, organize, or predict – things you get by embracing the “que sera, sera” and simply being open and grateful for what does come into life, surfing from day to day, season to season, always more in the Now than in thoughts of any future plan. Valuable things that come in abundance with WWOOFing!
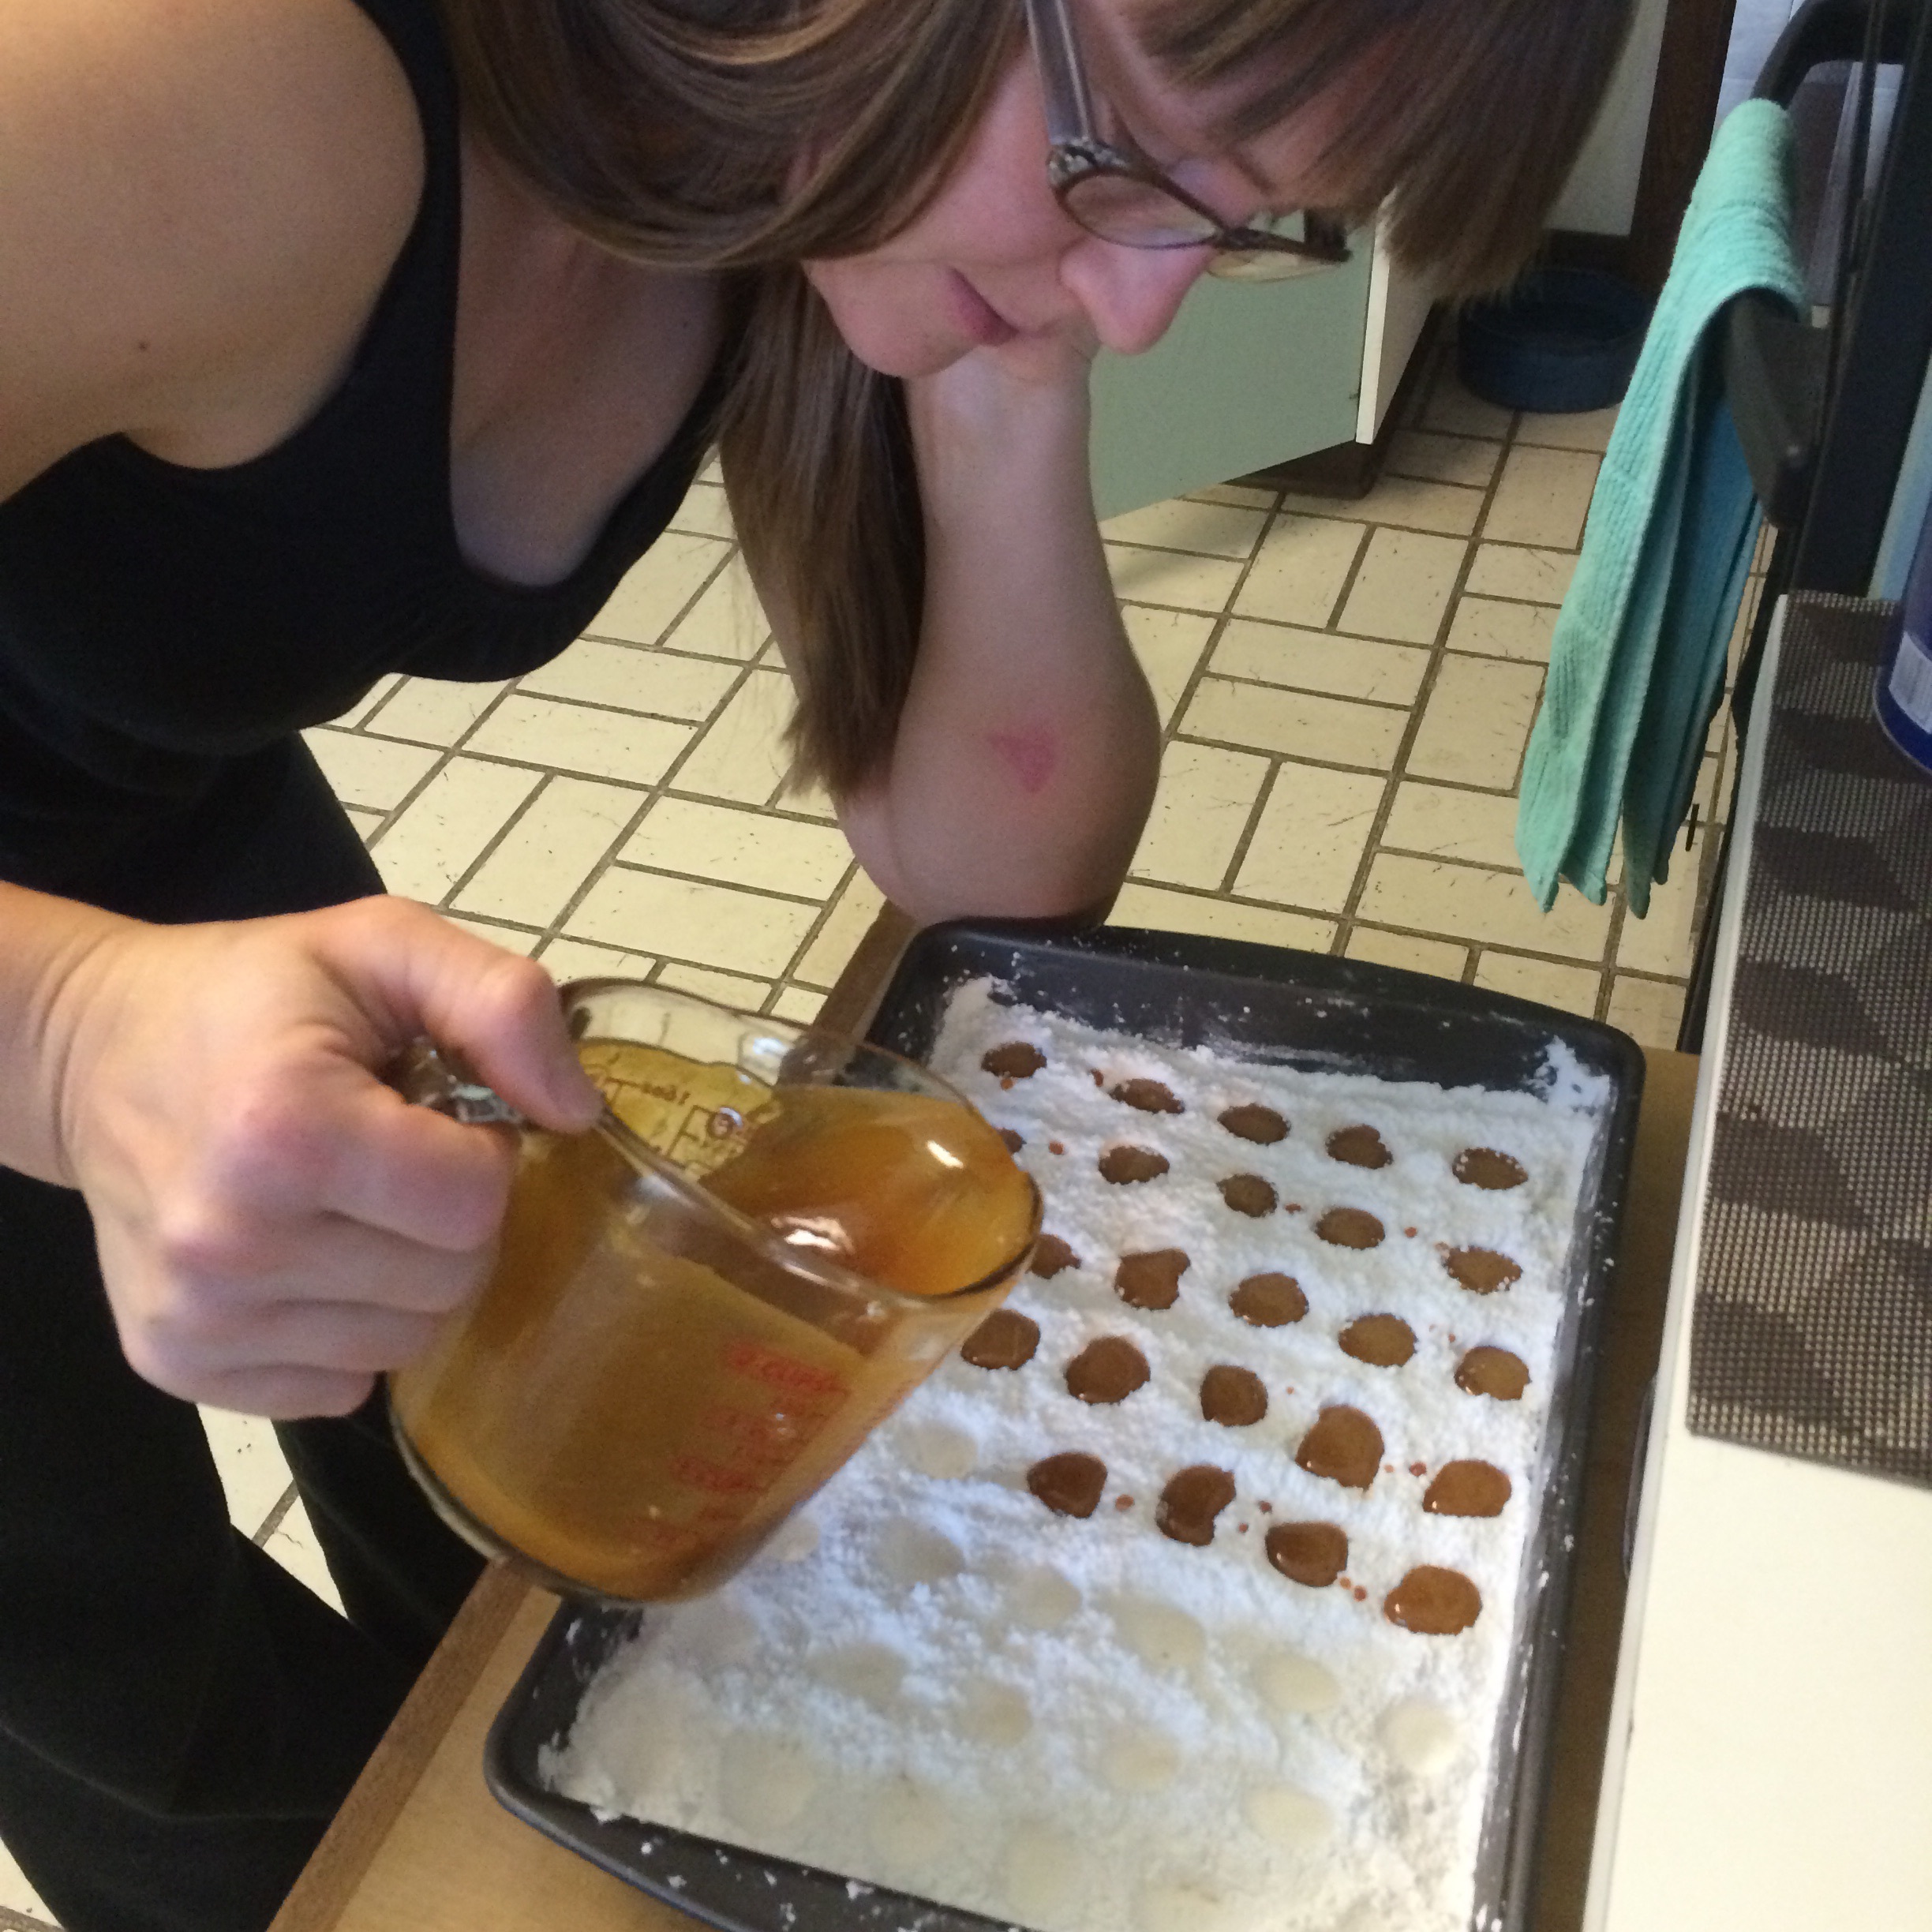
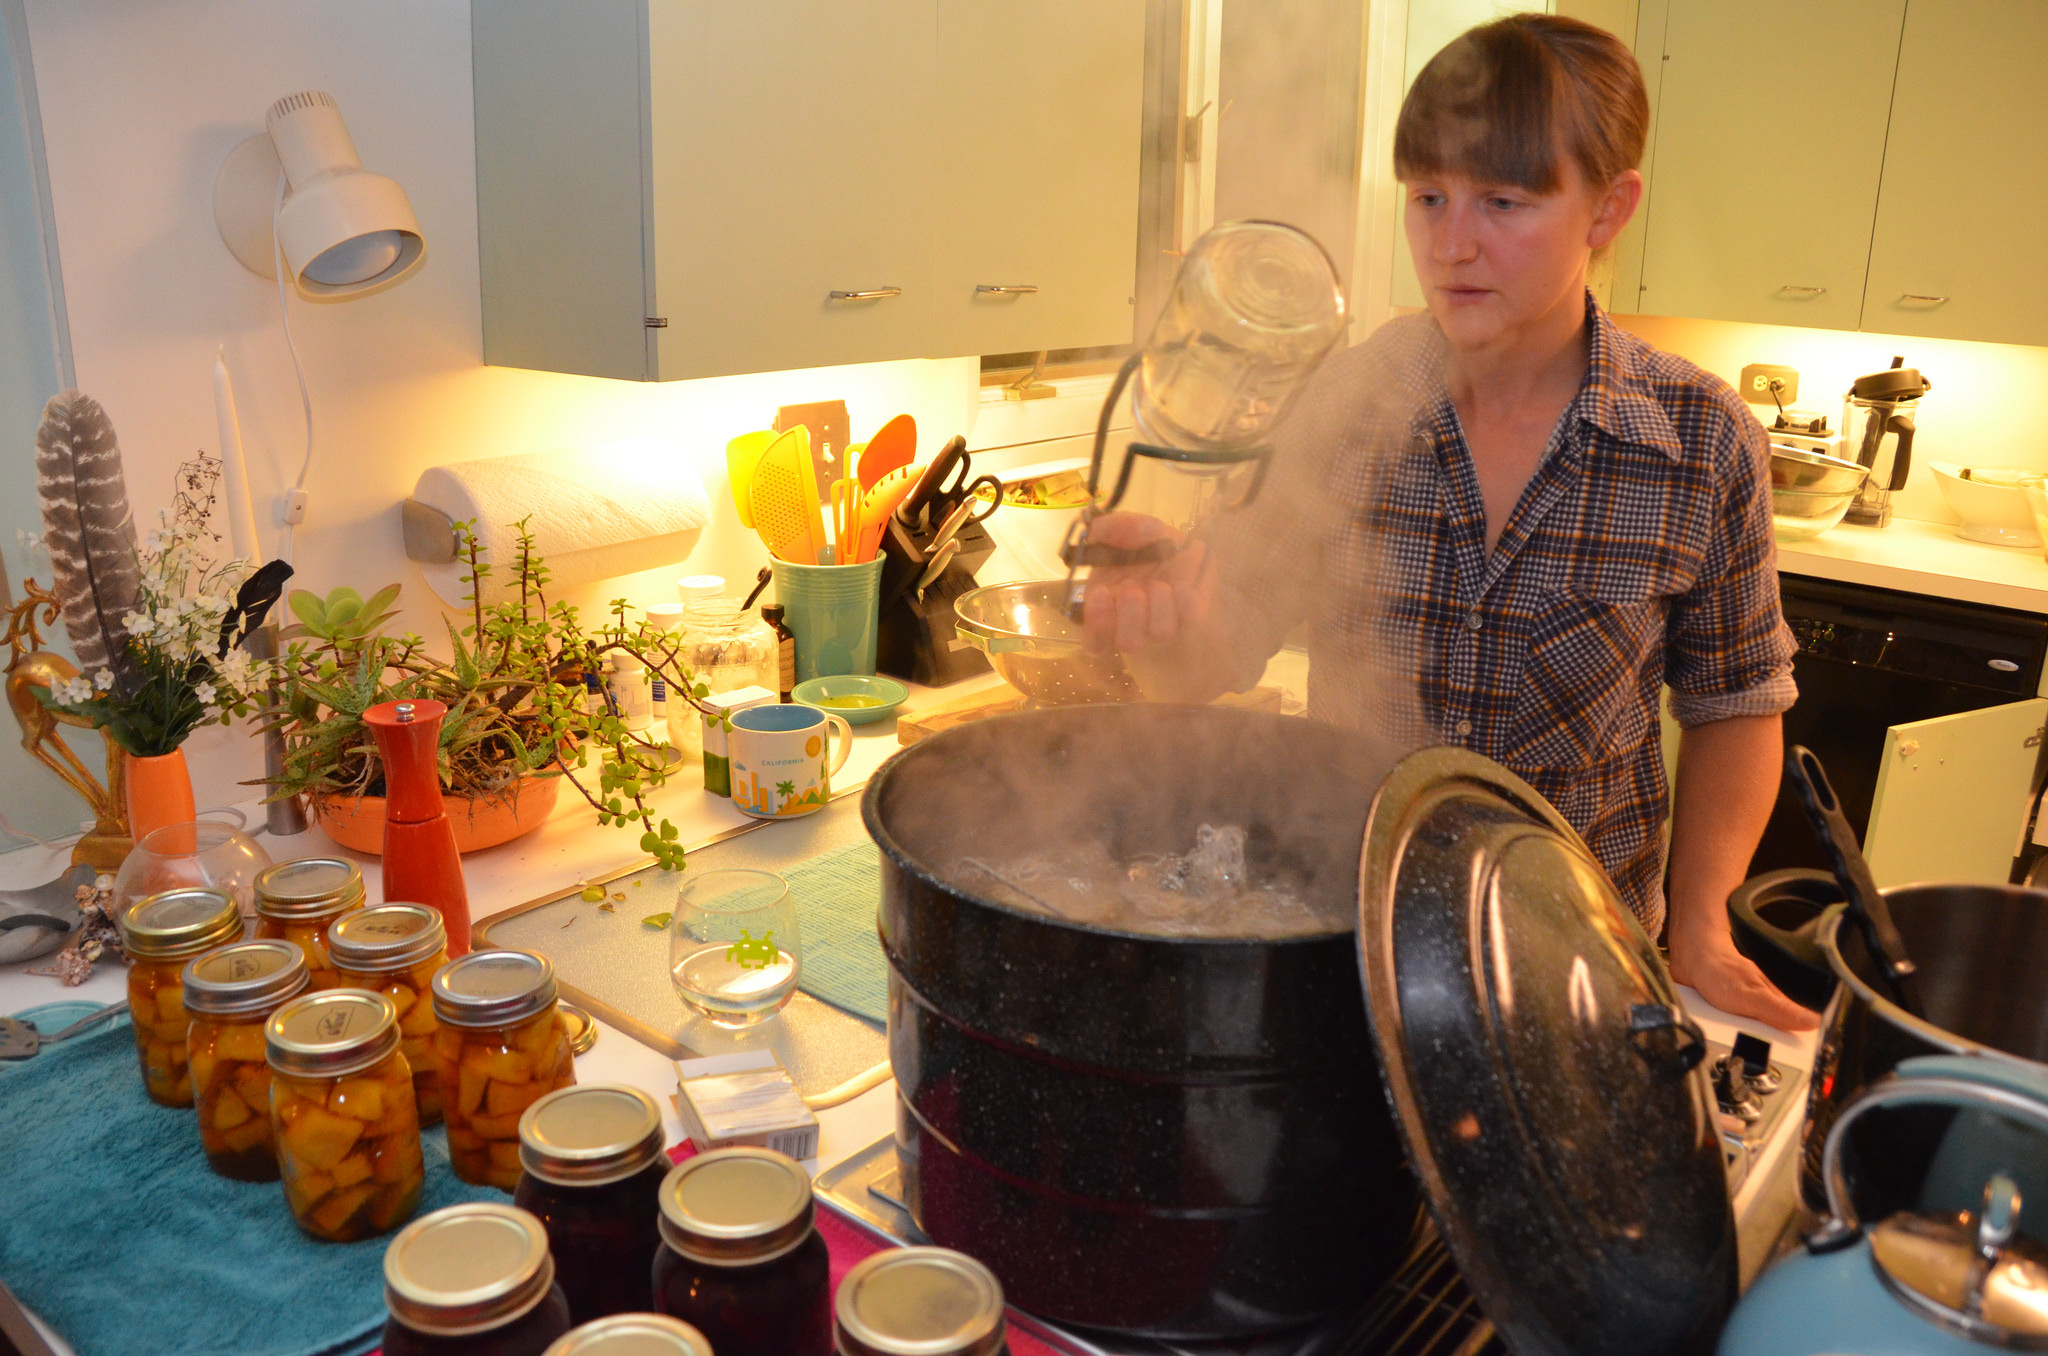
After we left the Farm, we spent a couple of weeks at Gabe’s sister’s home in Illinois, celebrating the Holidays early, relaxing, and doing some final preservation projects …
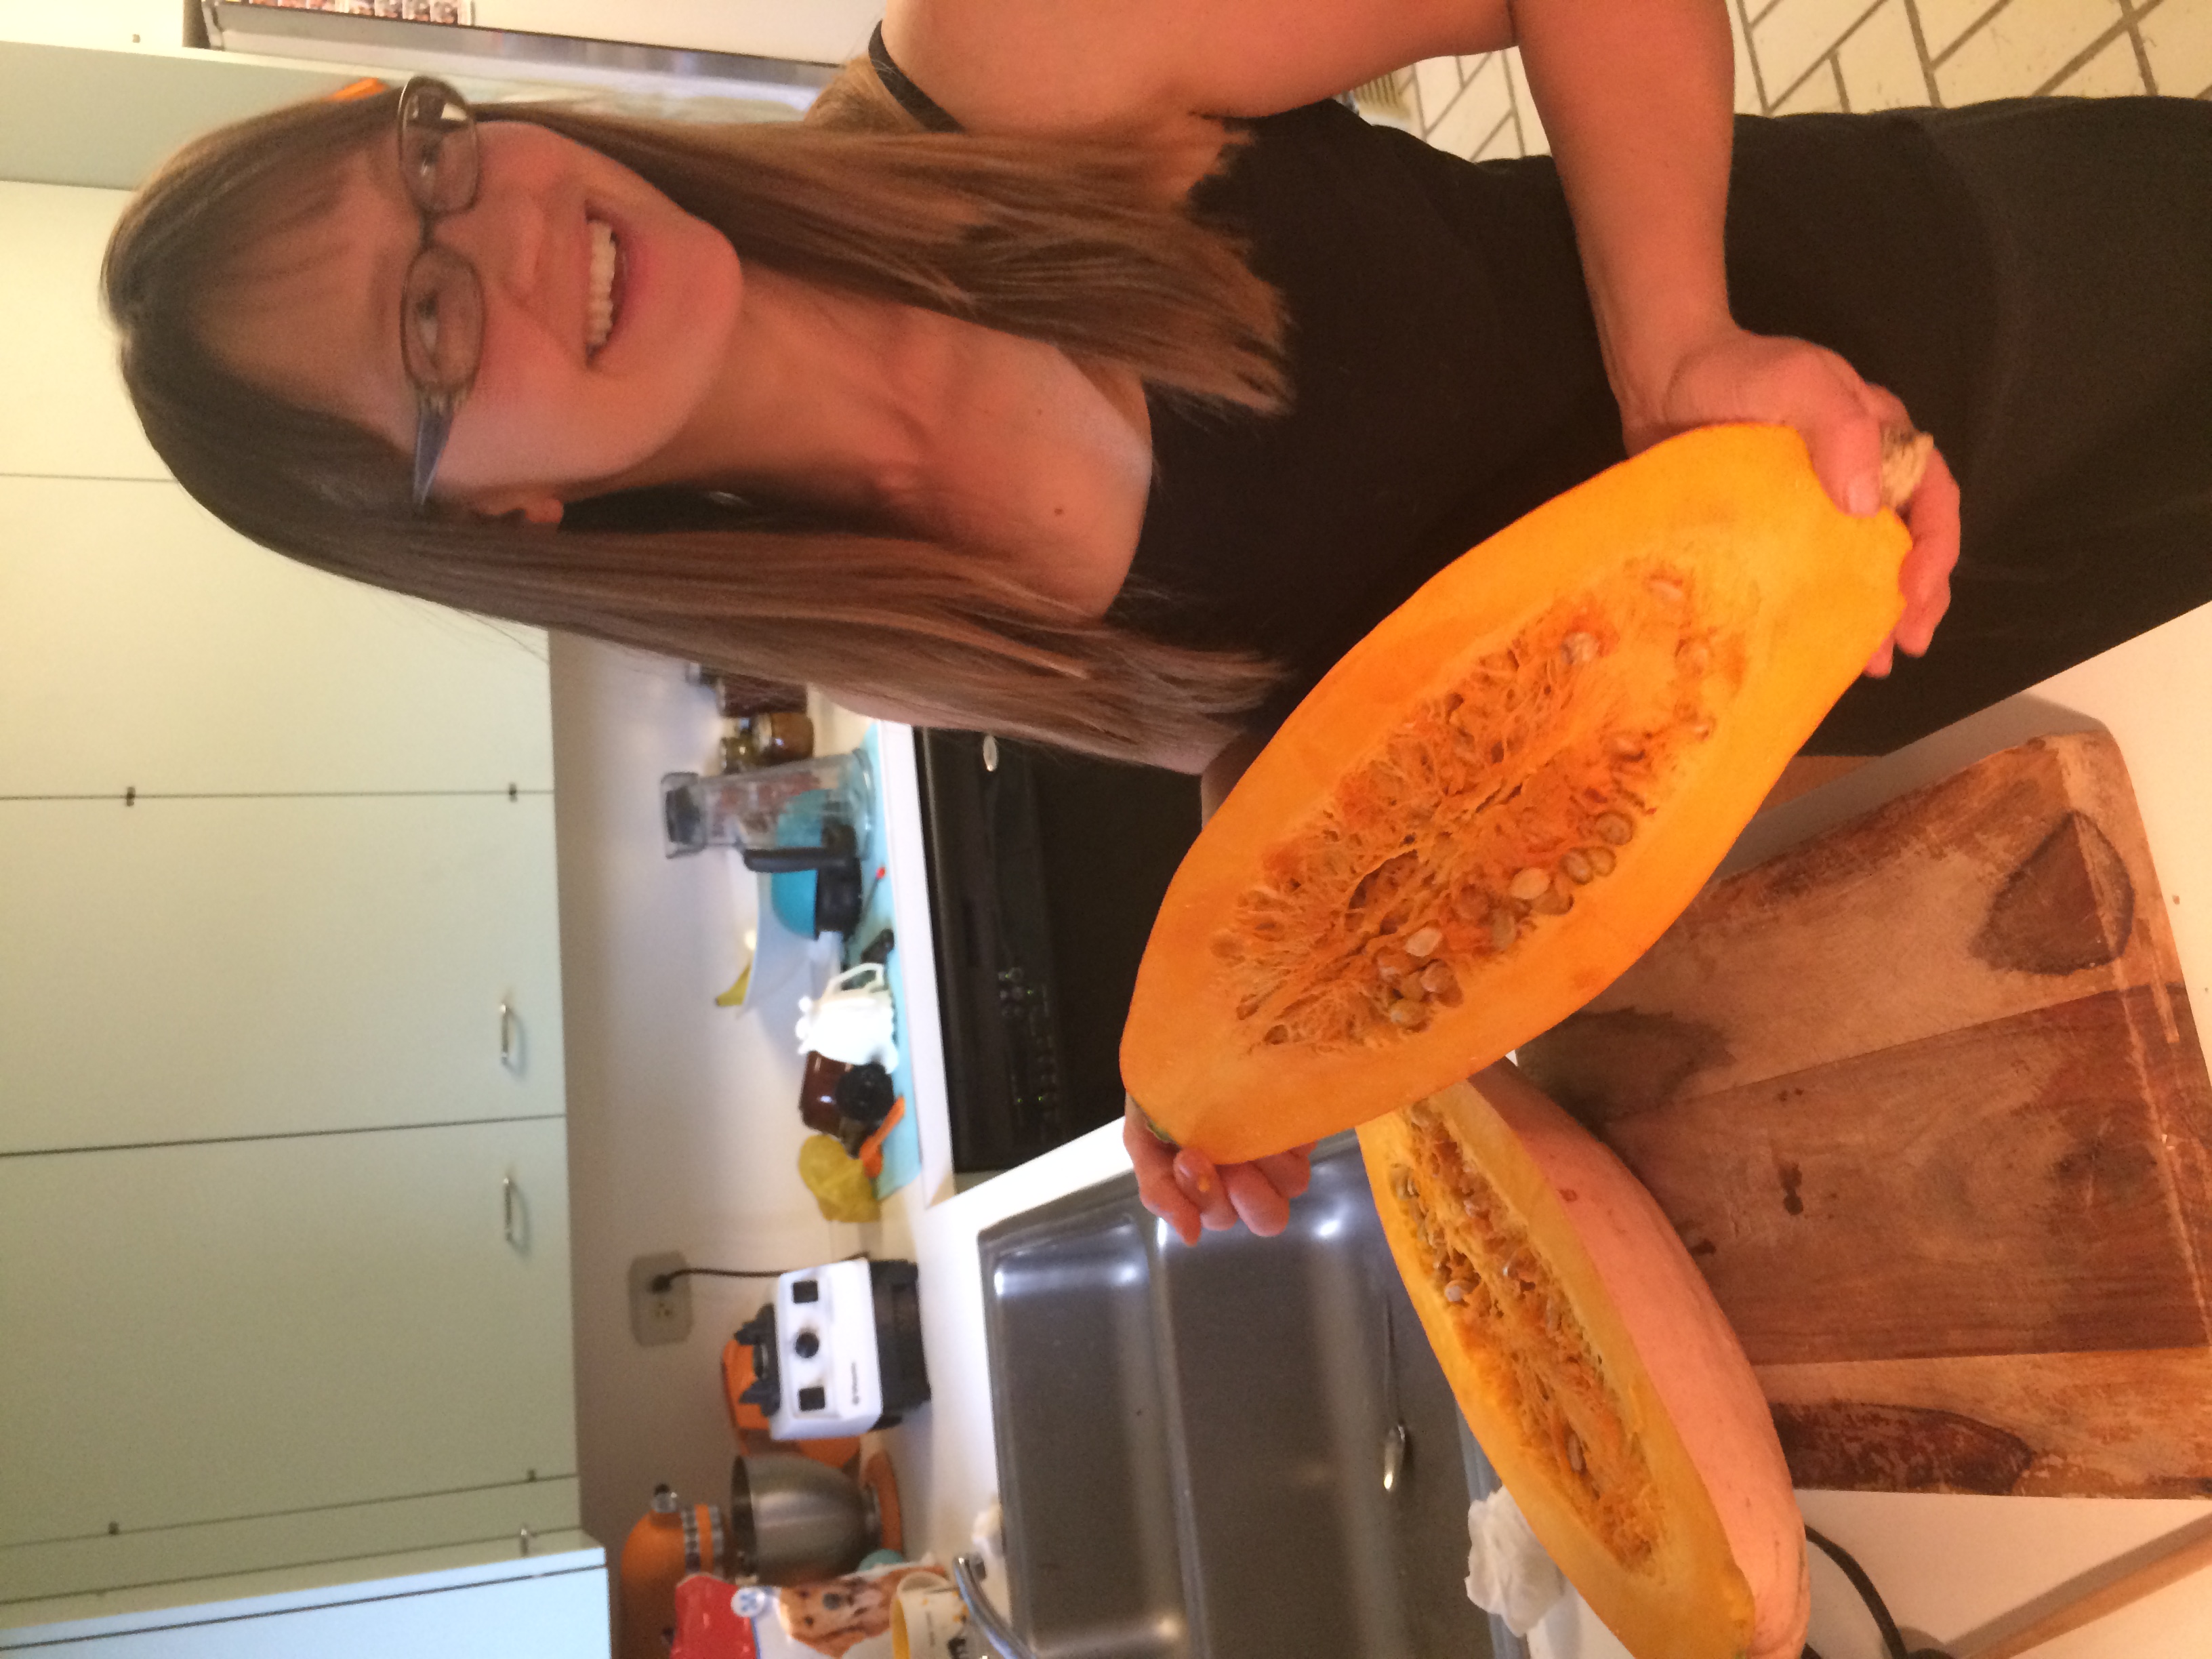
we brought the giant banana squash along for the autumn feasting – it would become smoothies, pumpkin pie, and pancakes …
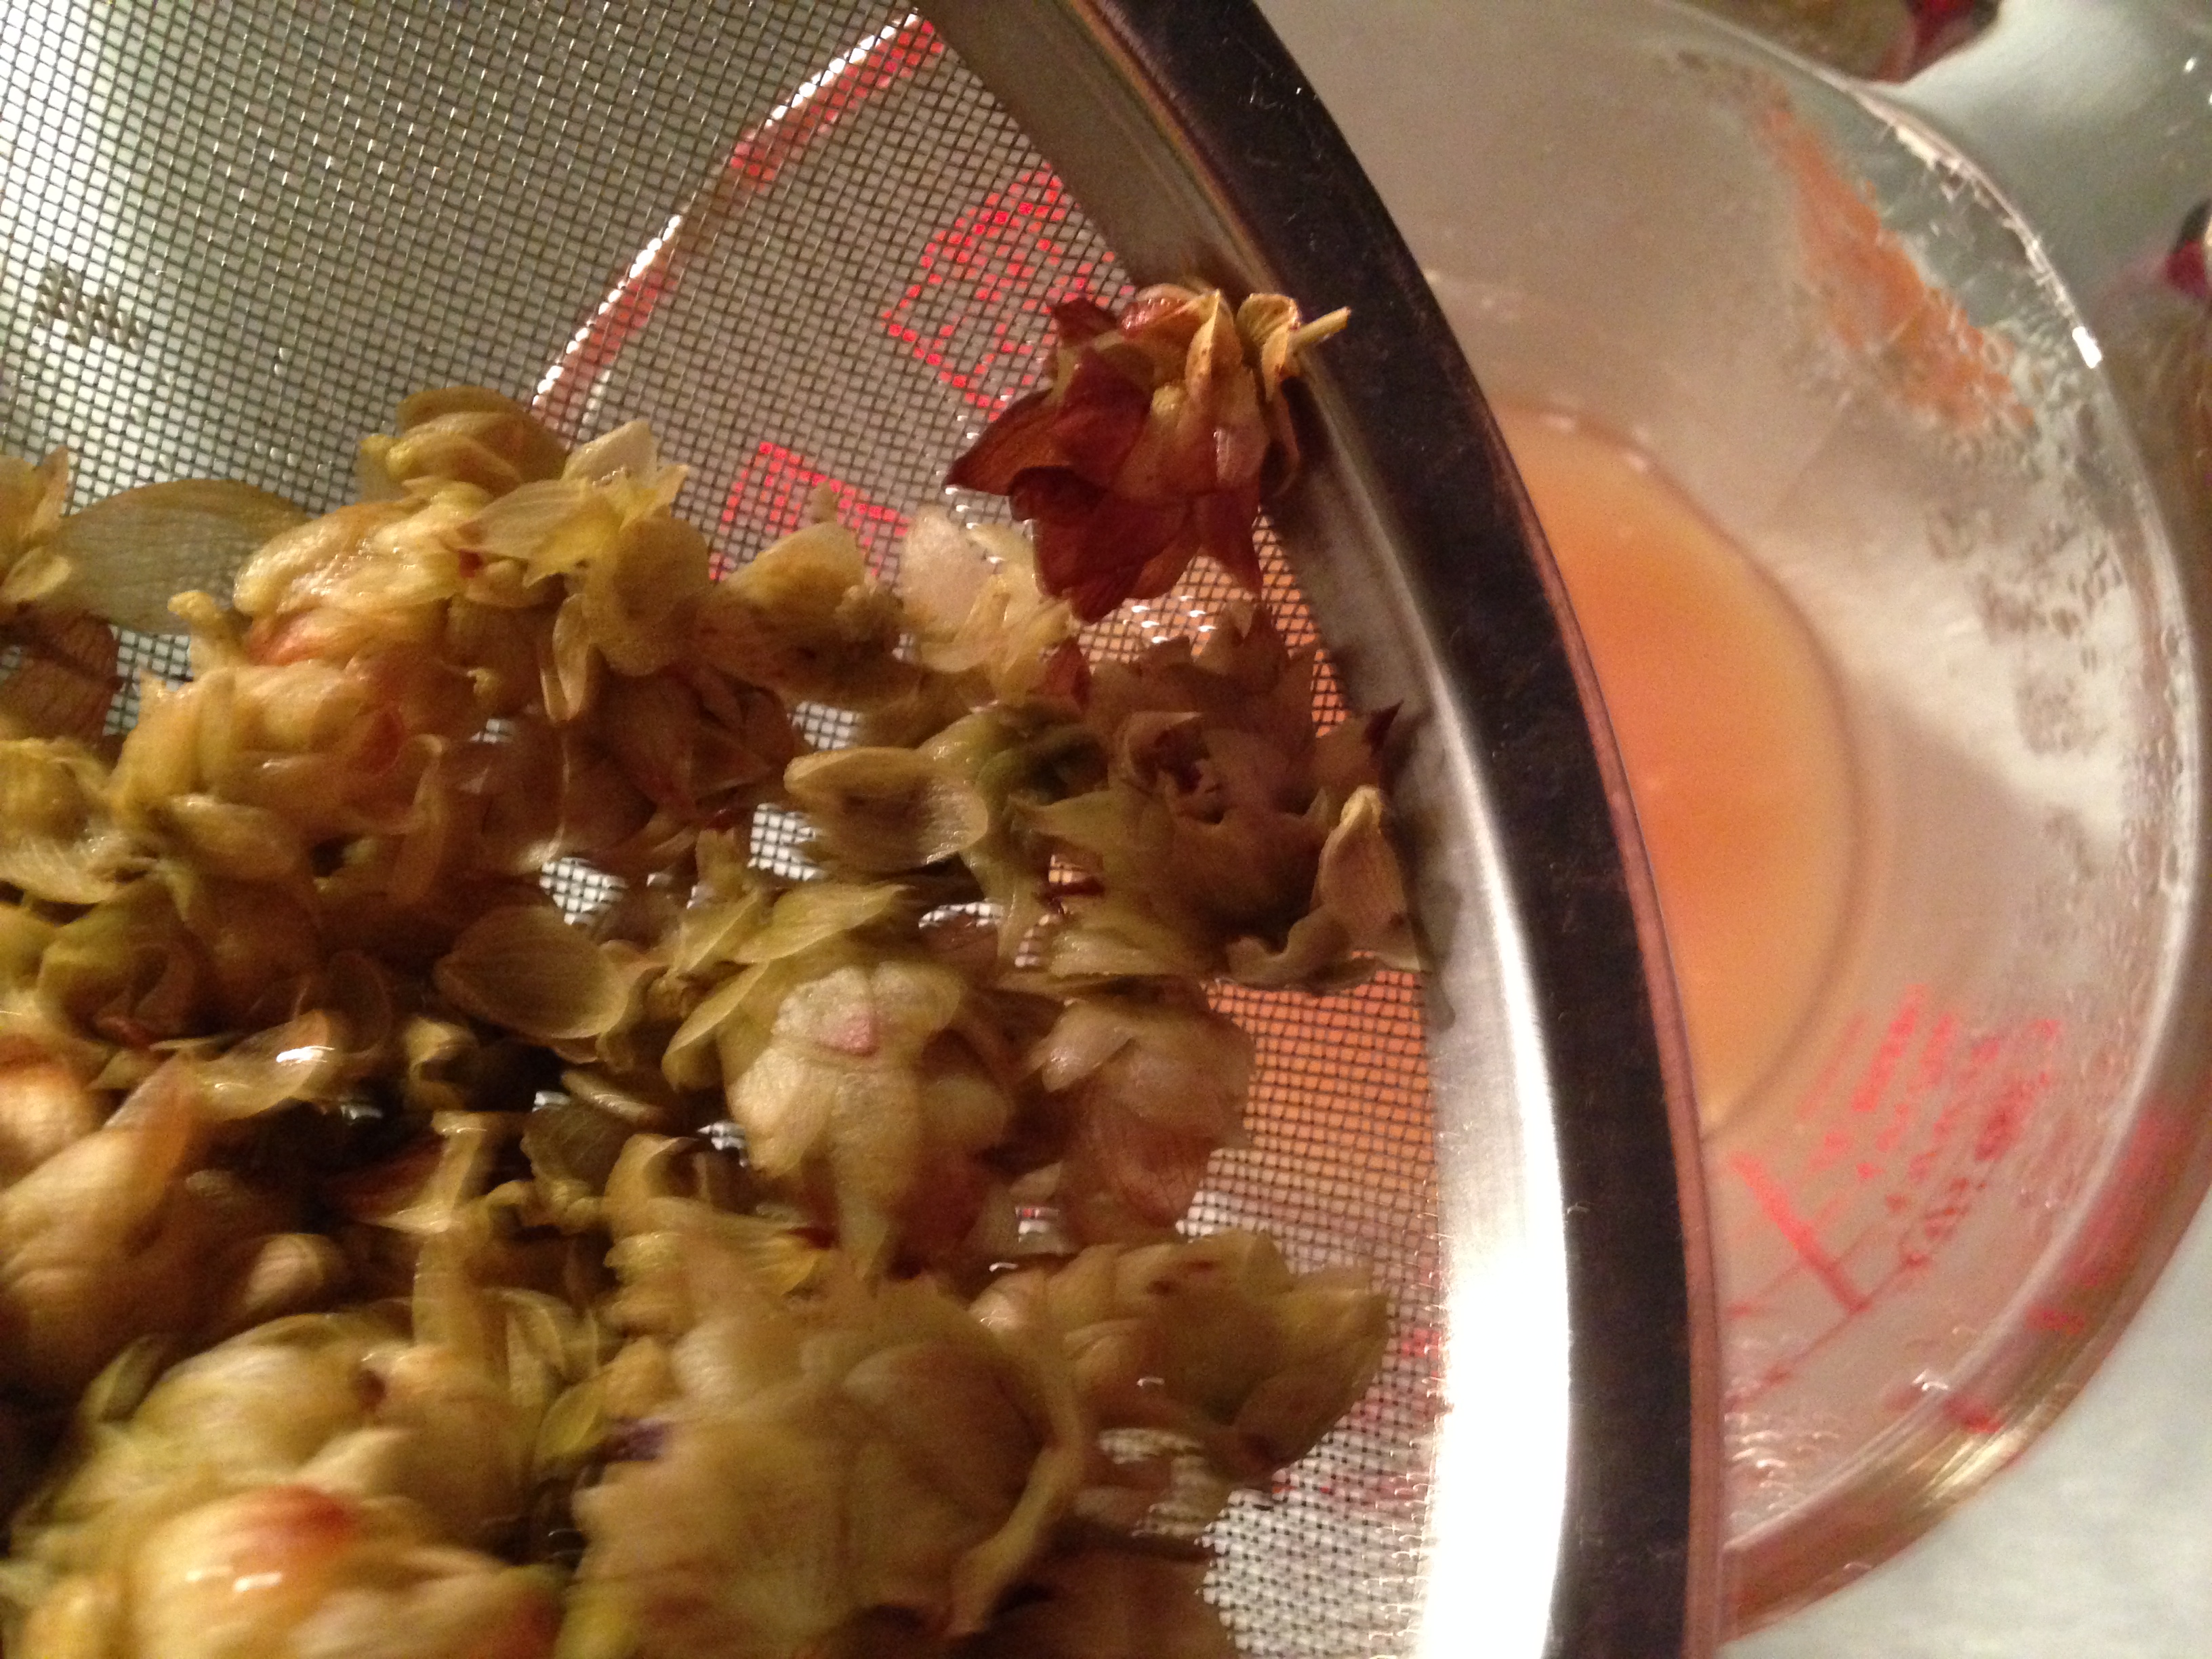
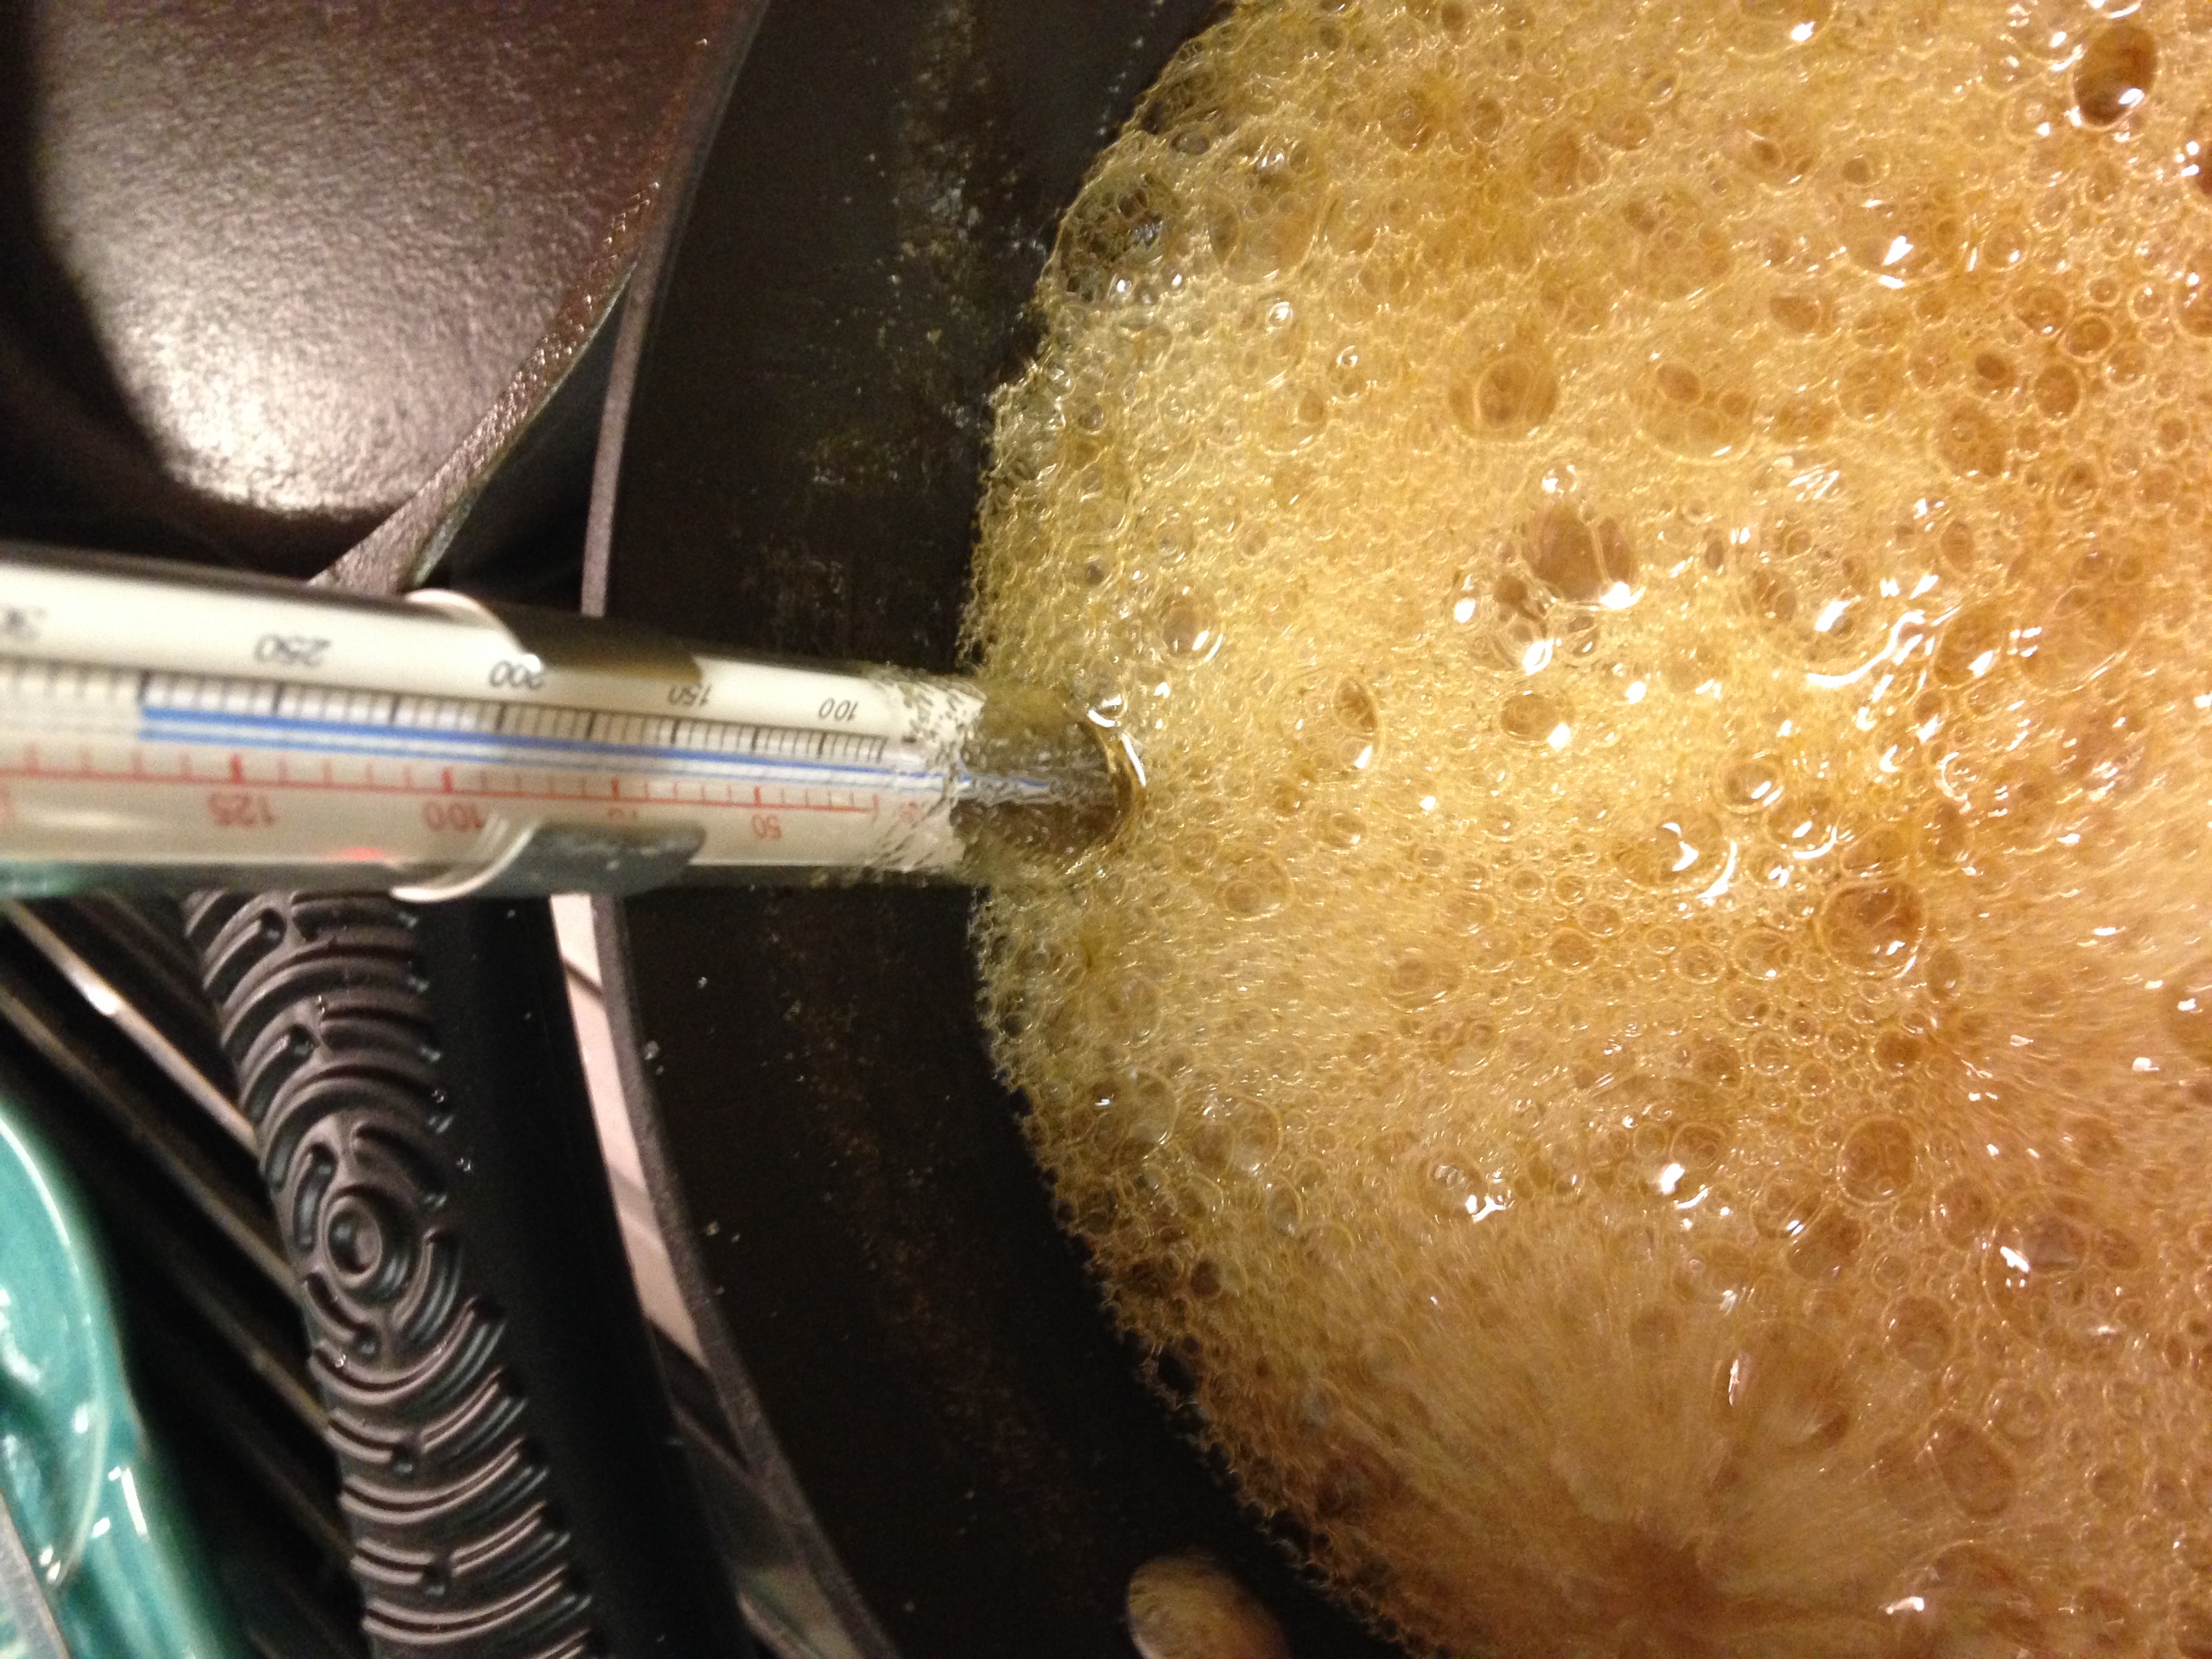
hop candy making (we’d grown a couple hop plants up the side of the semi trailer)
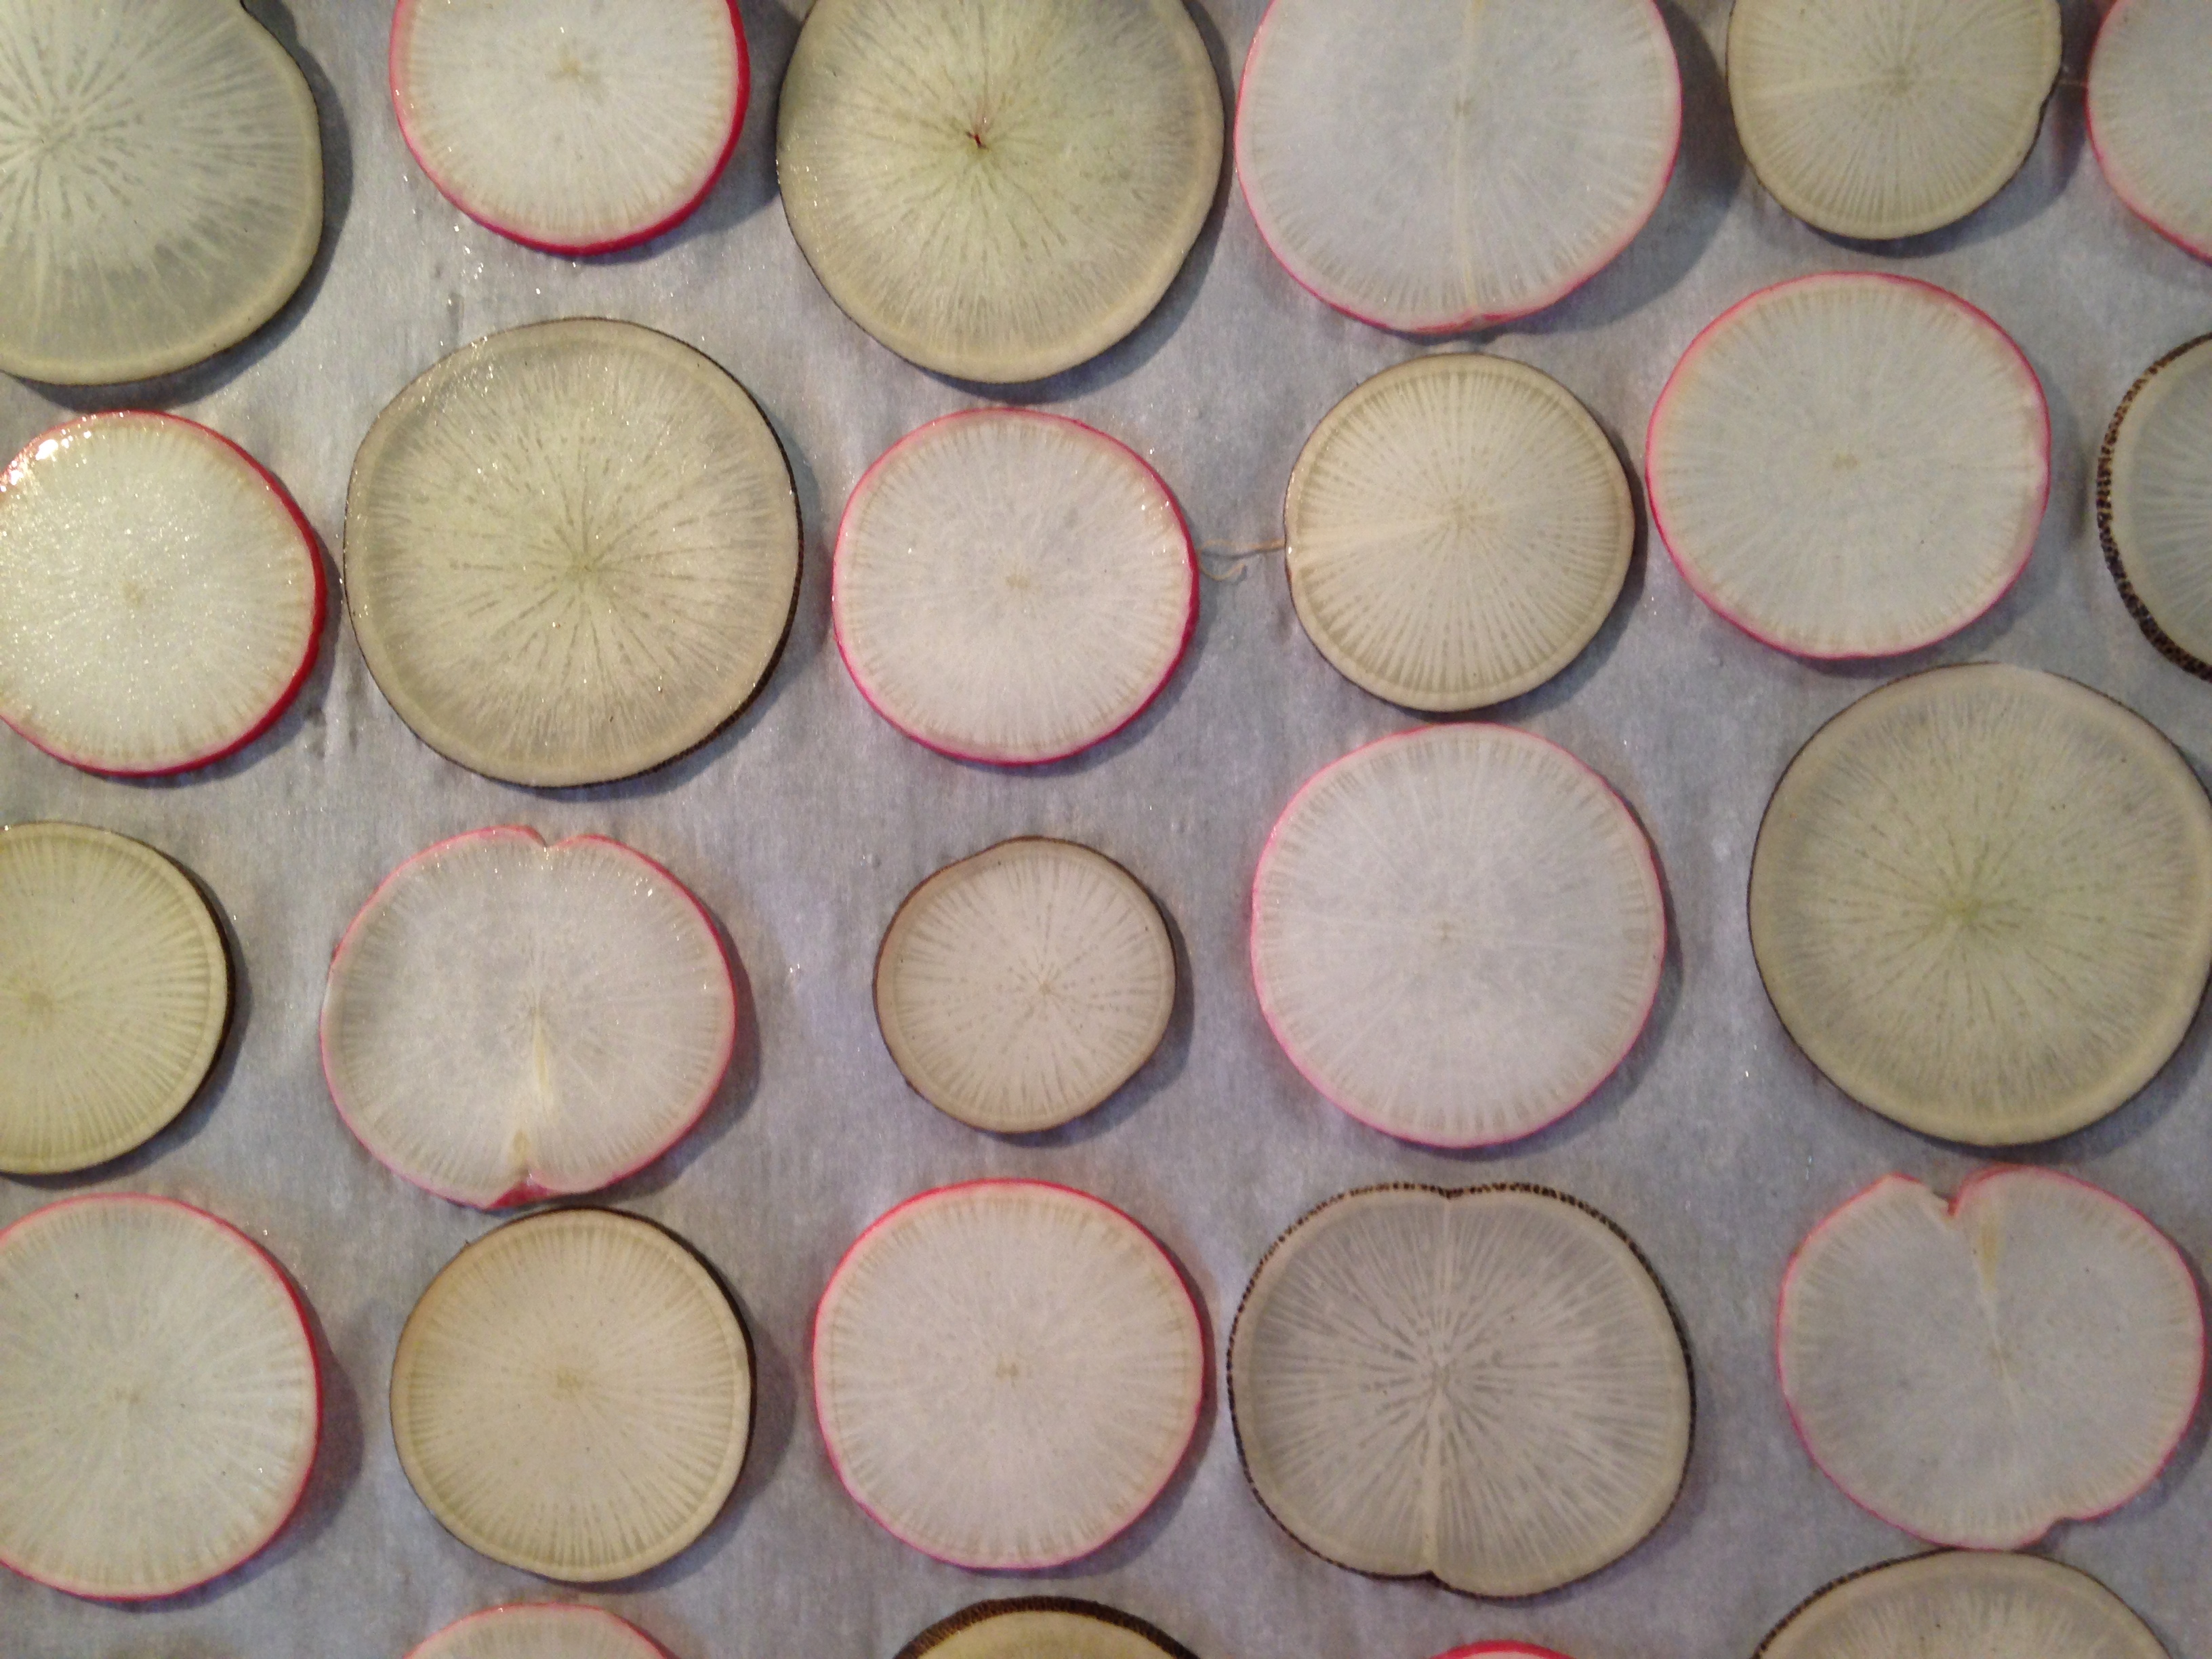
We were busy for the first couple weeks of November, preparing the farm for winter, preserving food, and packing to flow southward.
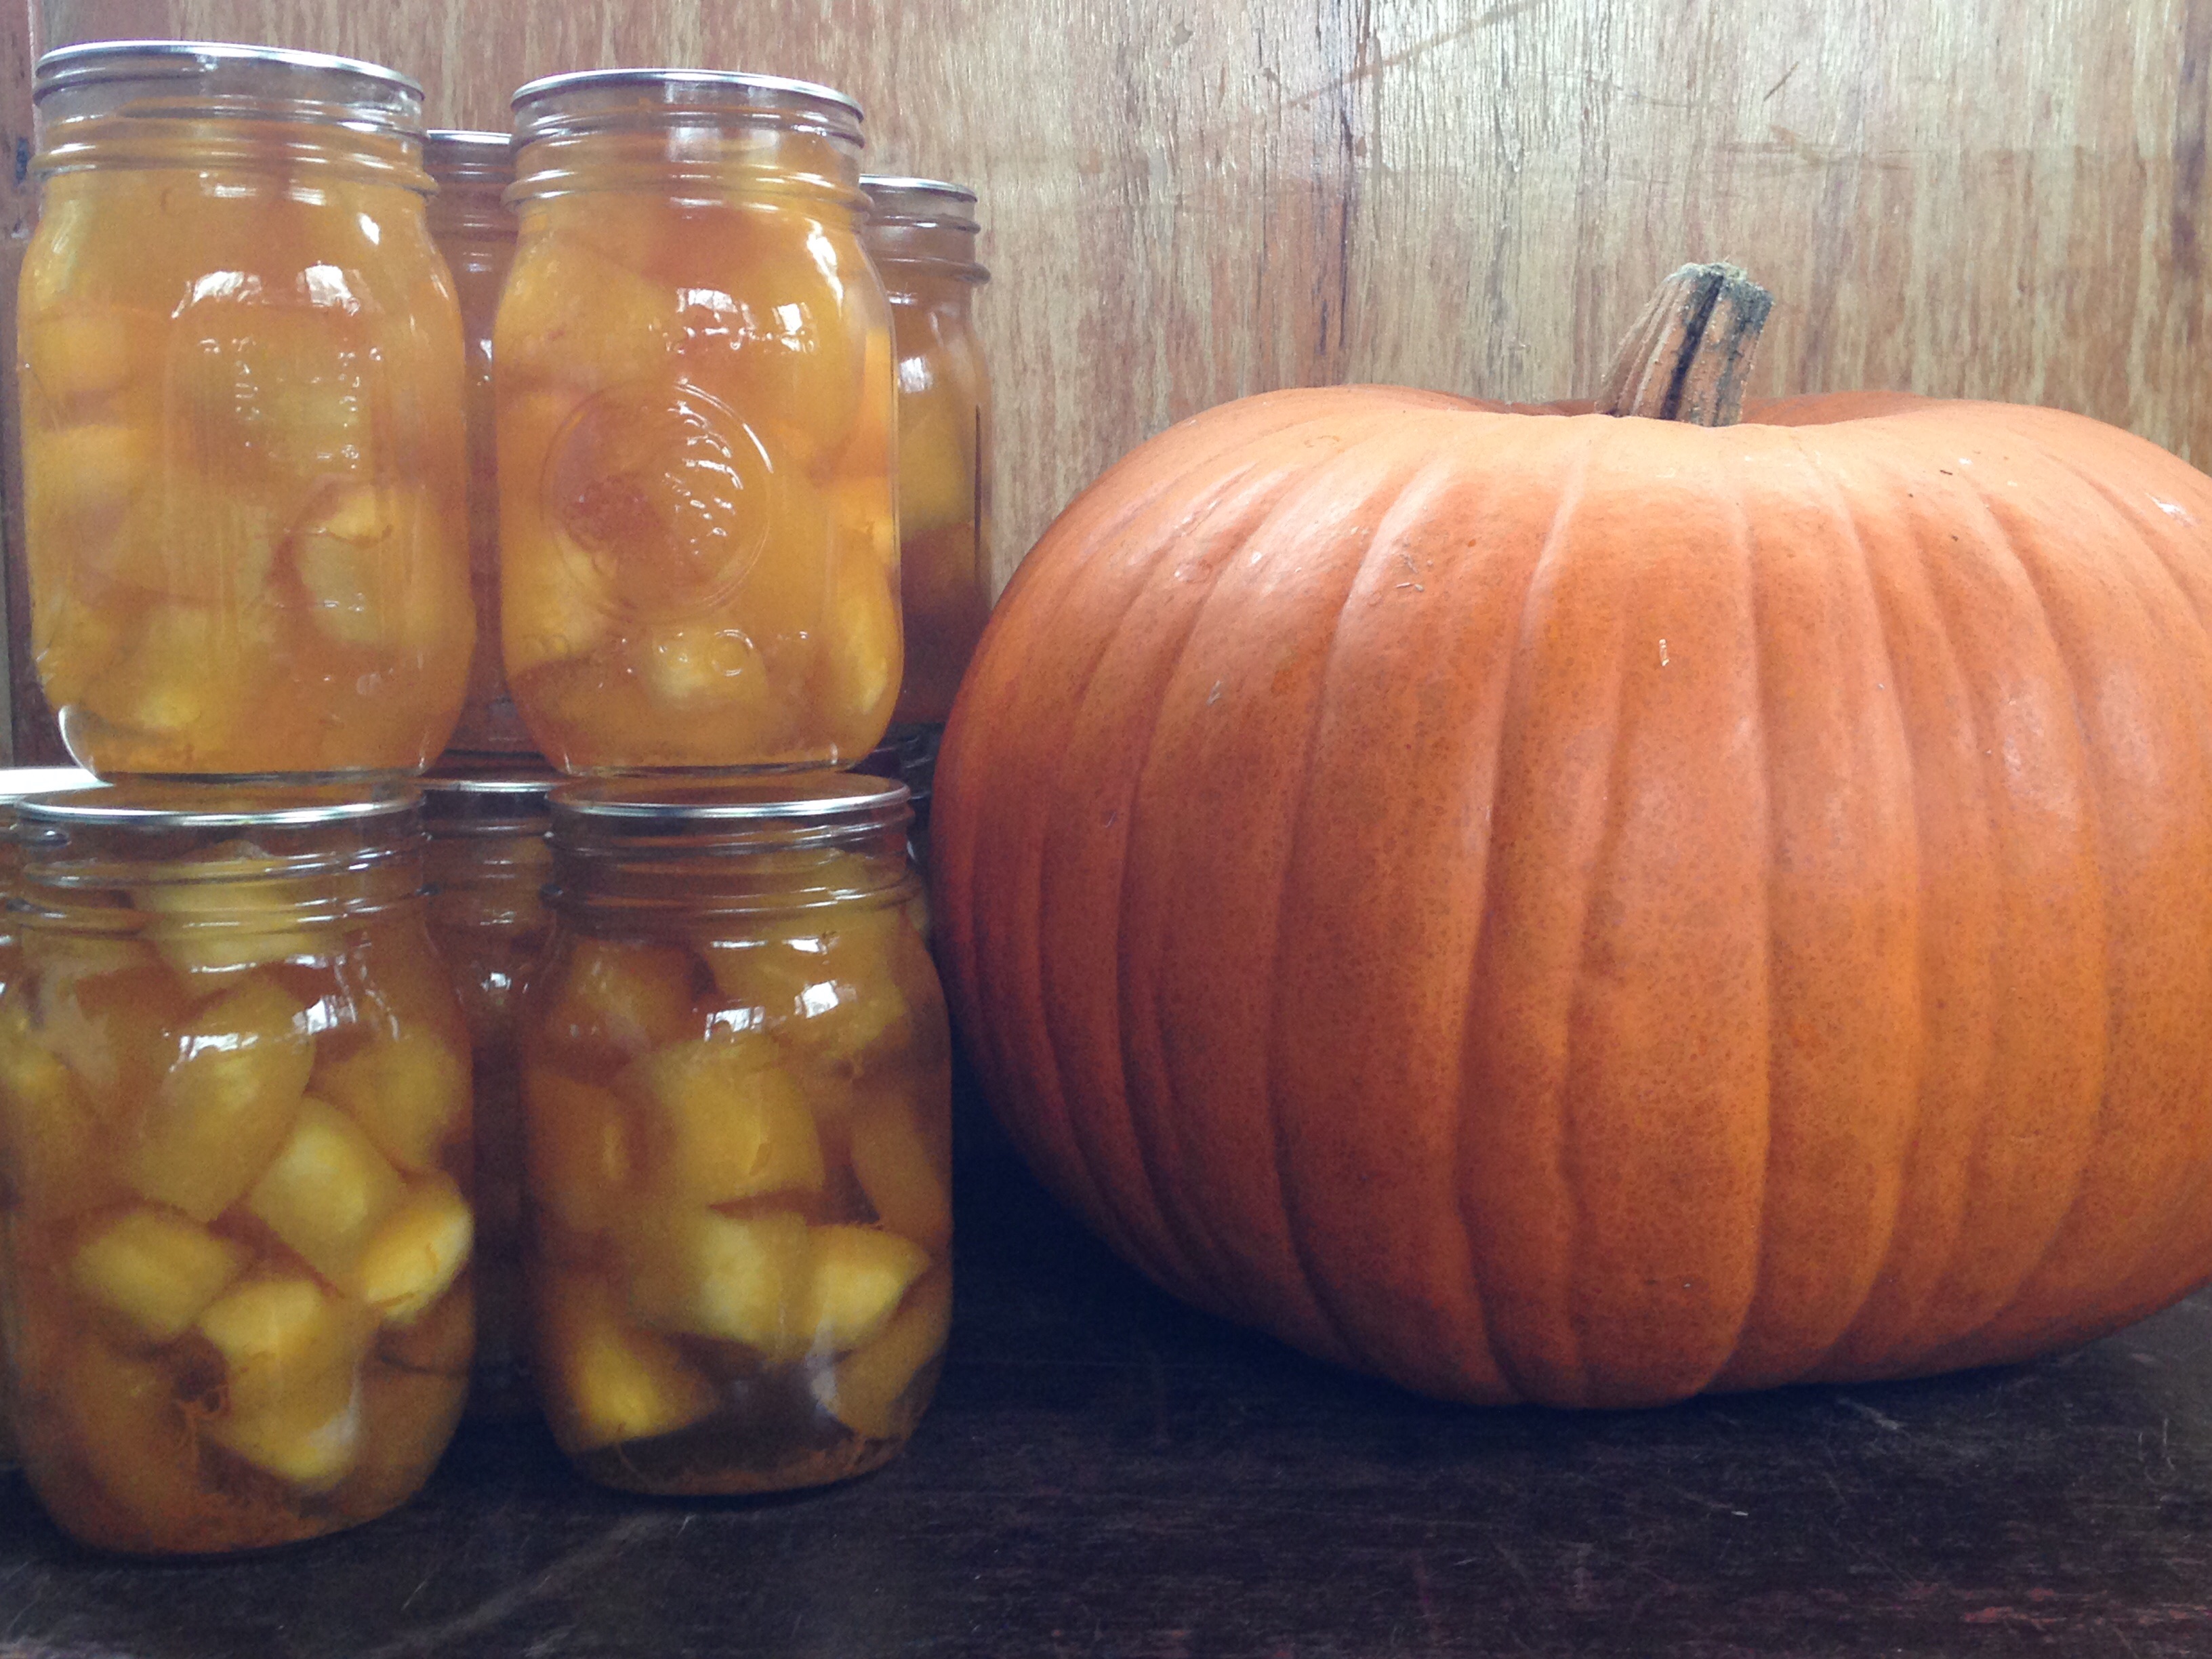
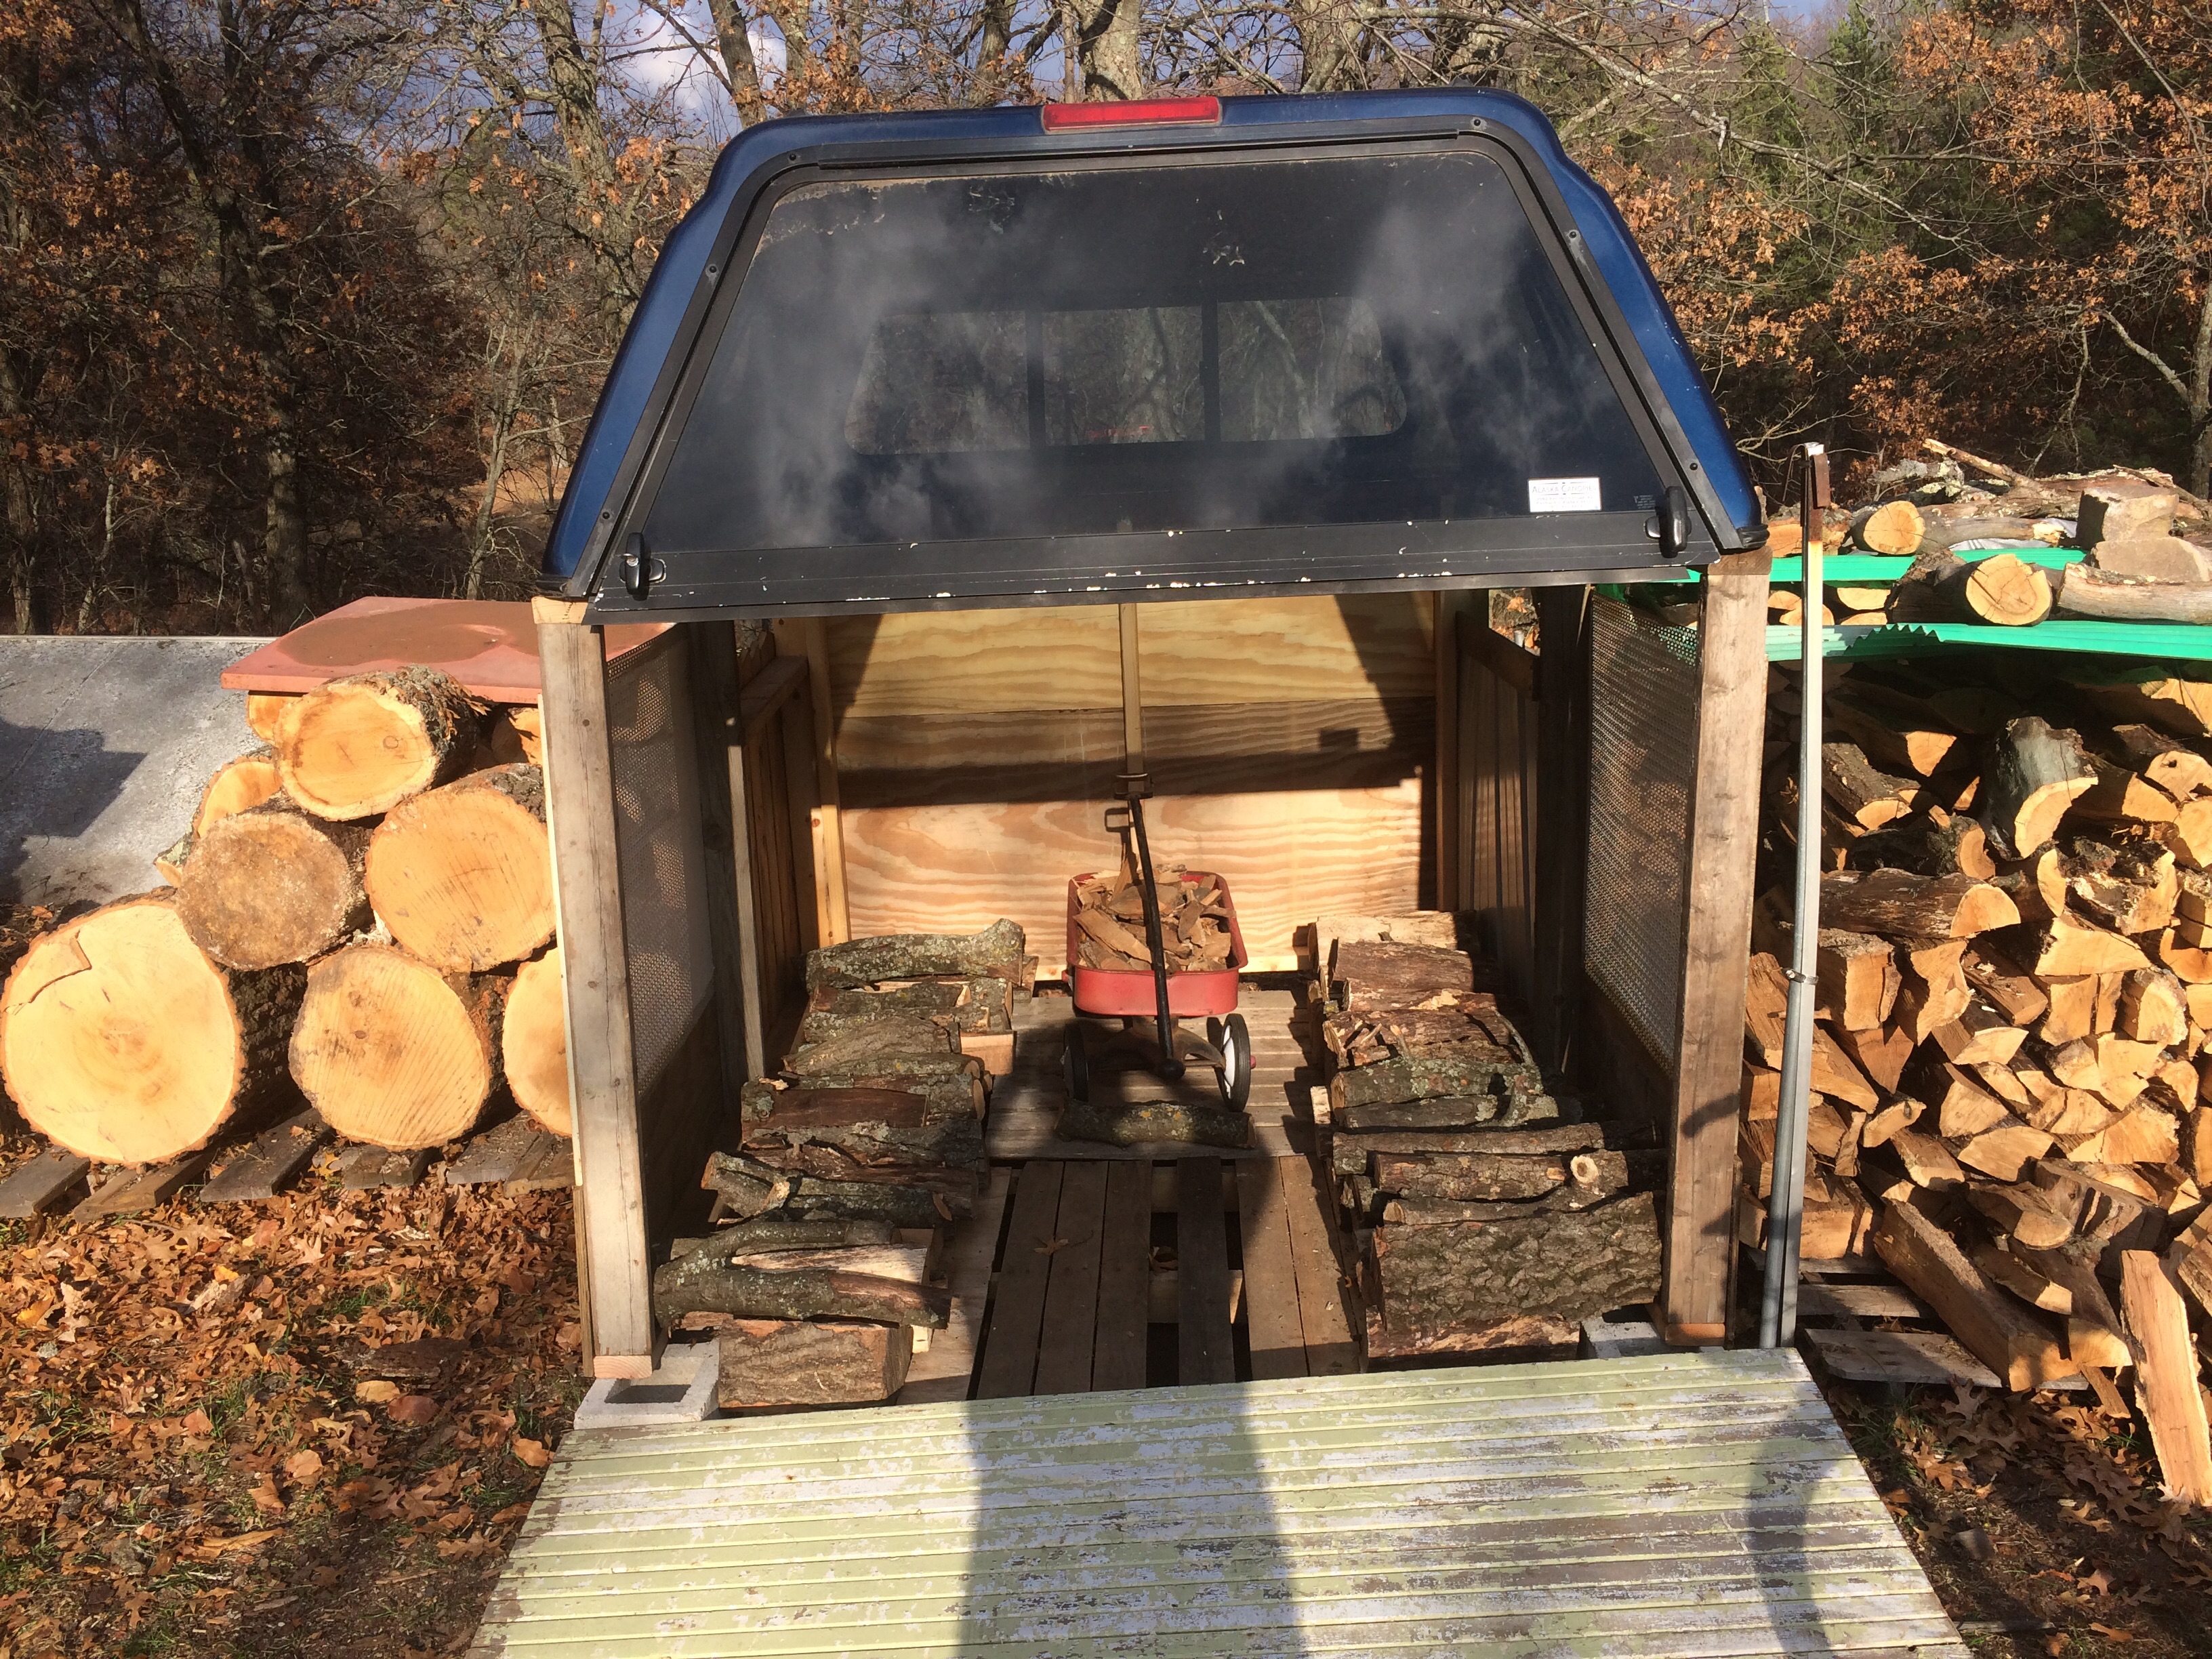
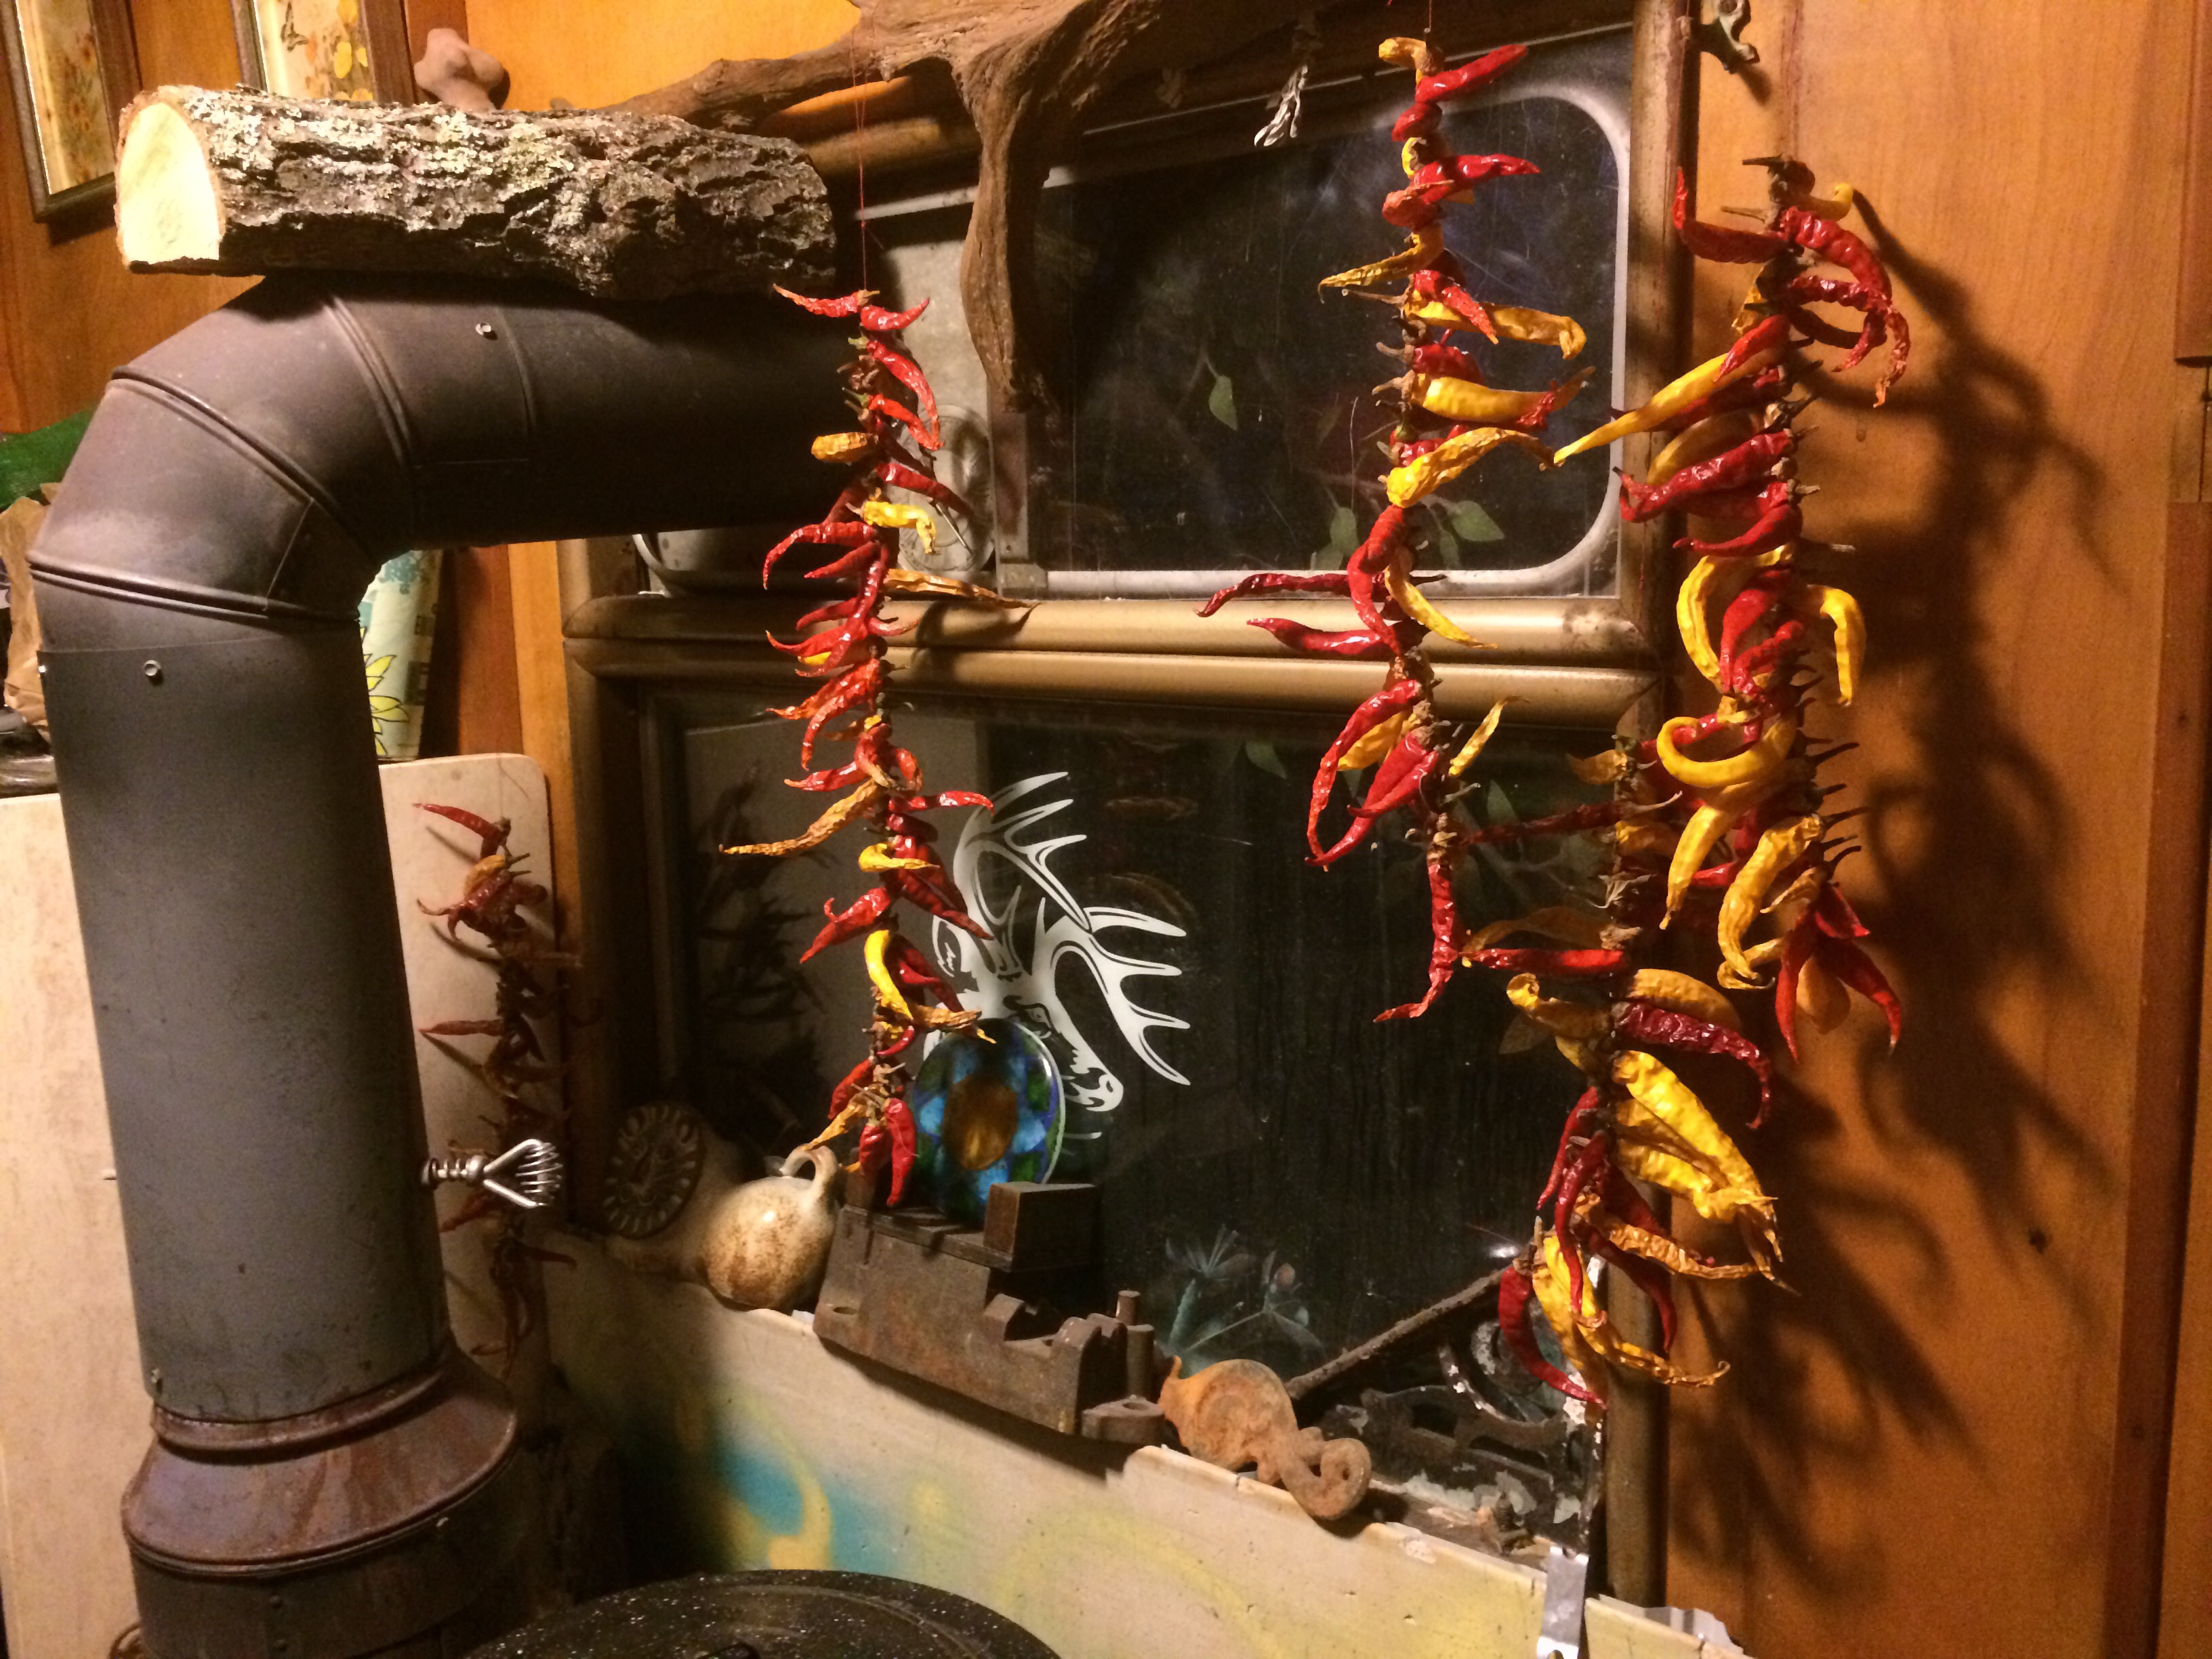
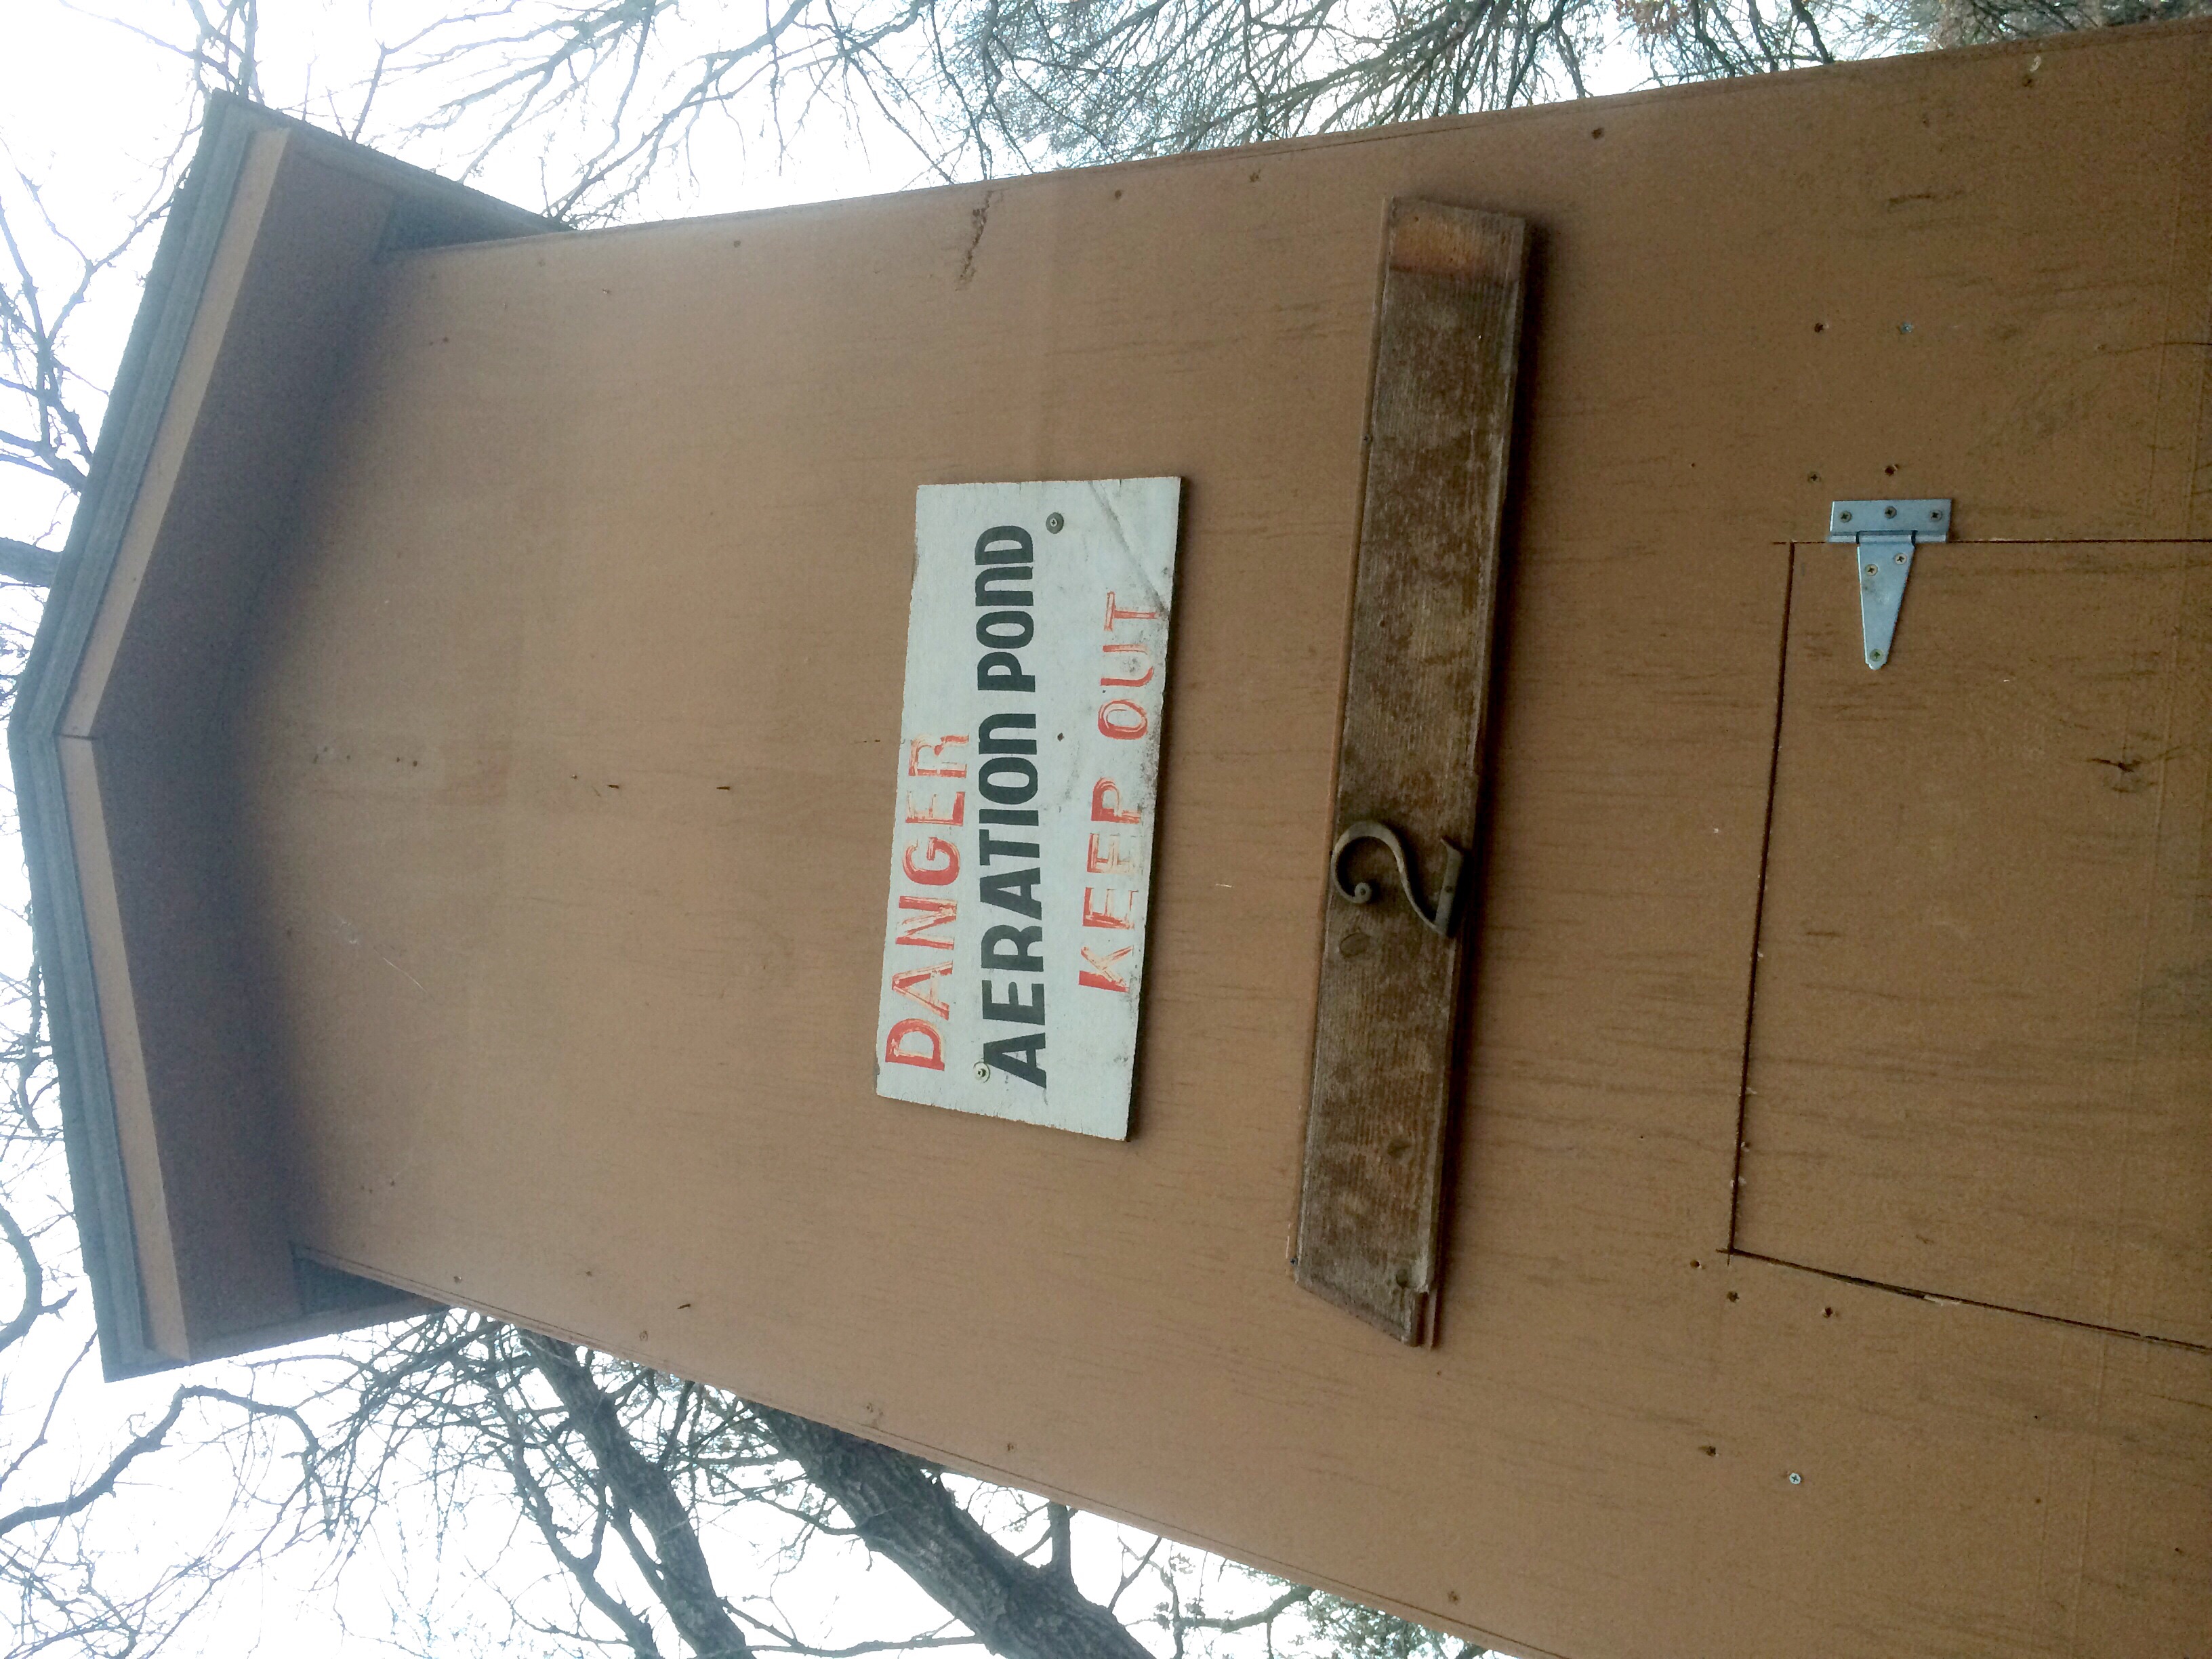
Kristin & her dad patching leaks atop the semi trailer barnsweet pumpkin picklesthe new firewood shed about to get filled uppeppers drying over the woodstove#2 – the back door of the composting outhouse2014 final harvest – mere hours before 16″ of snowfall began
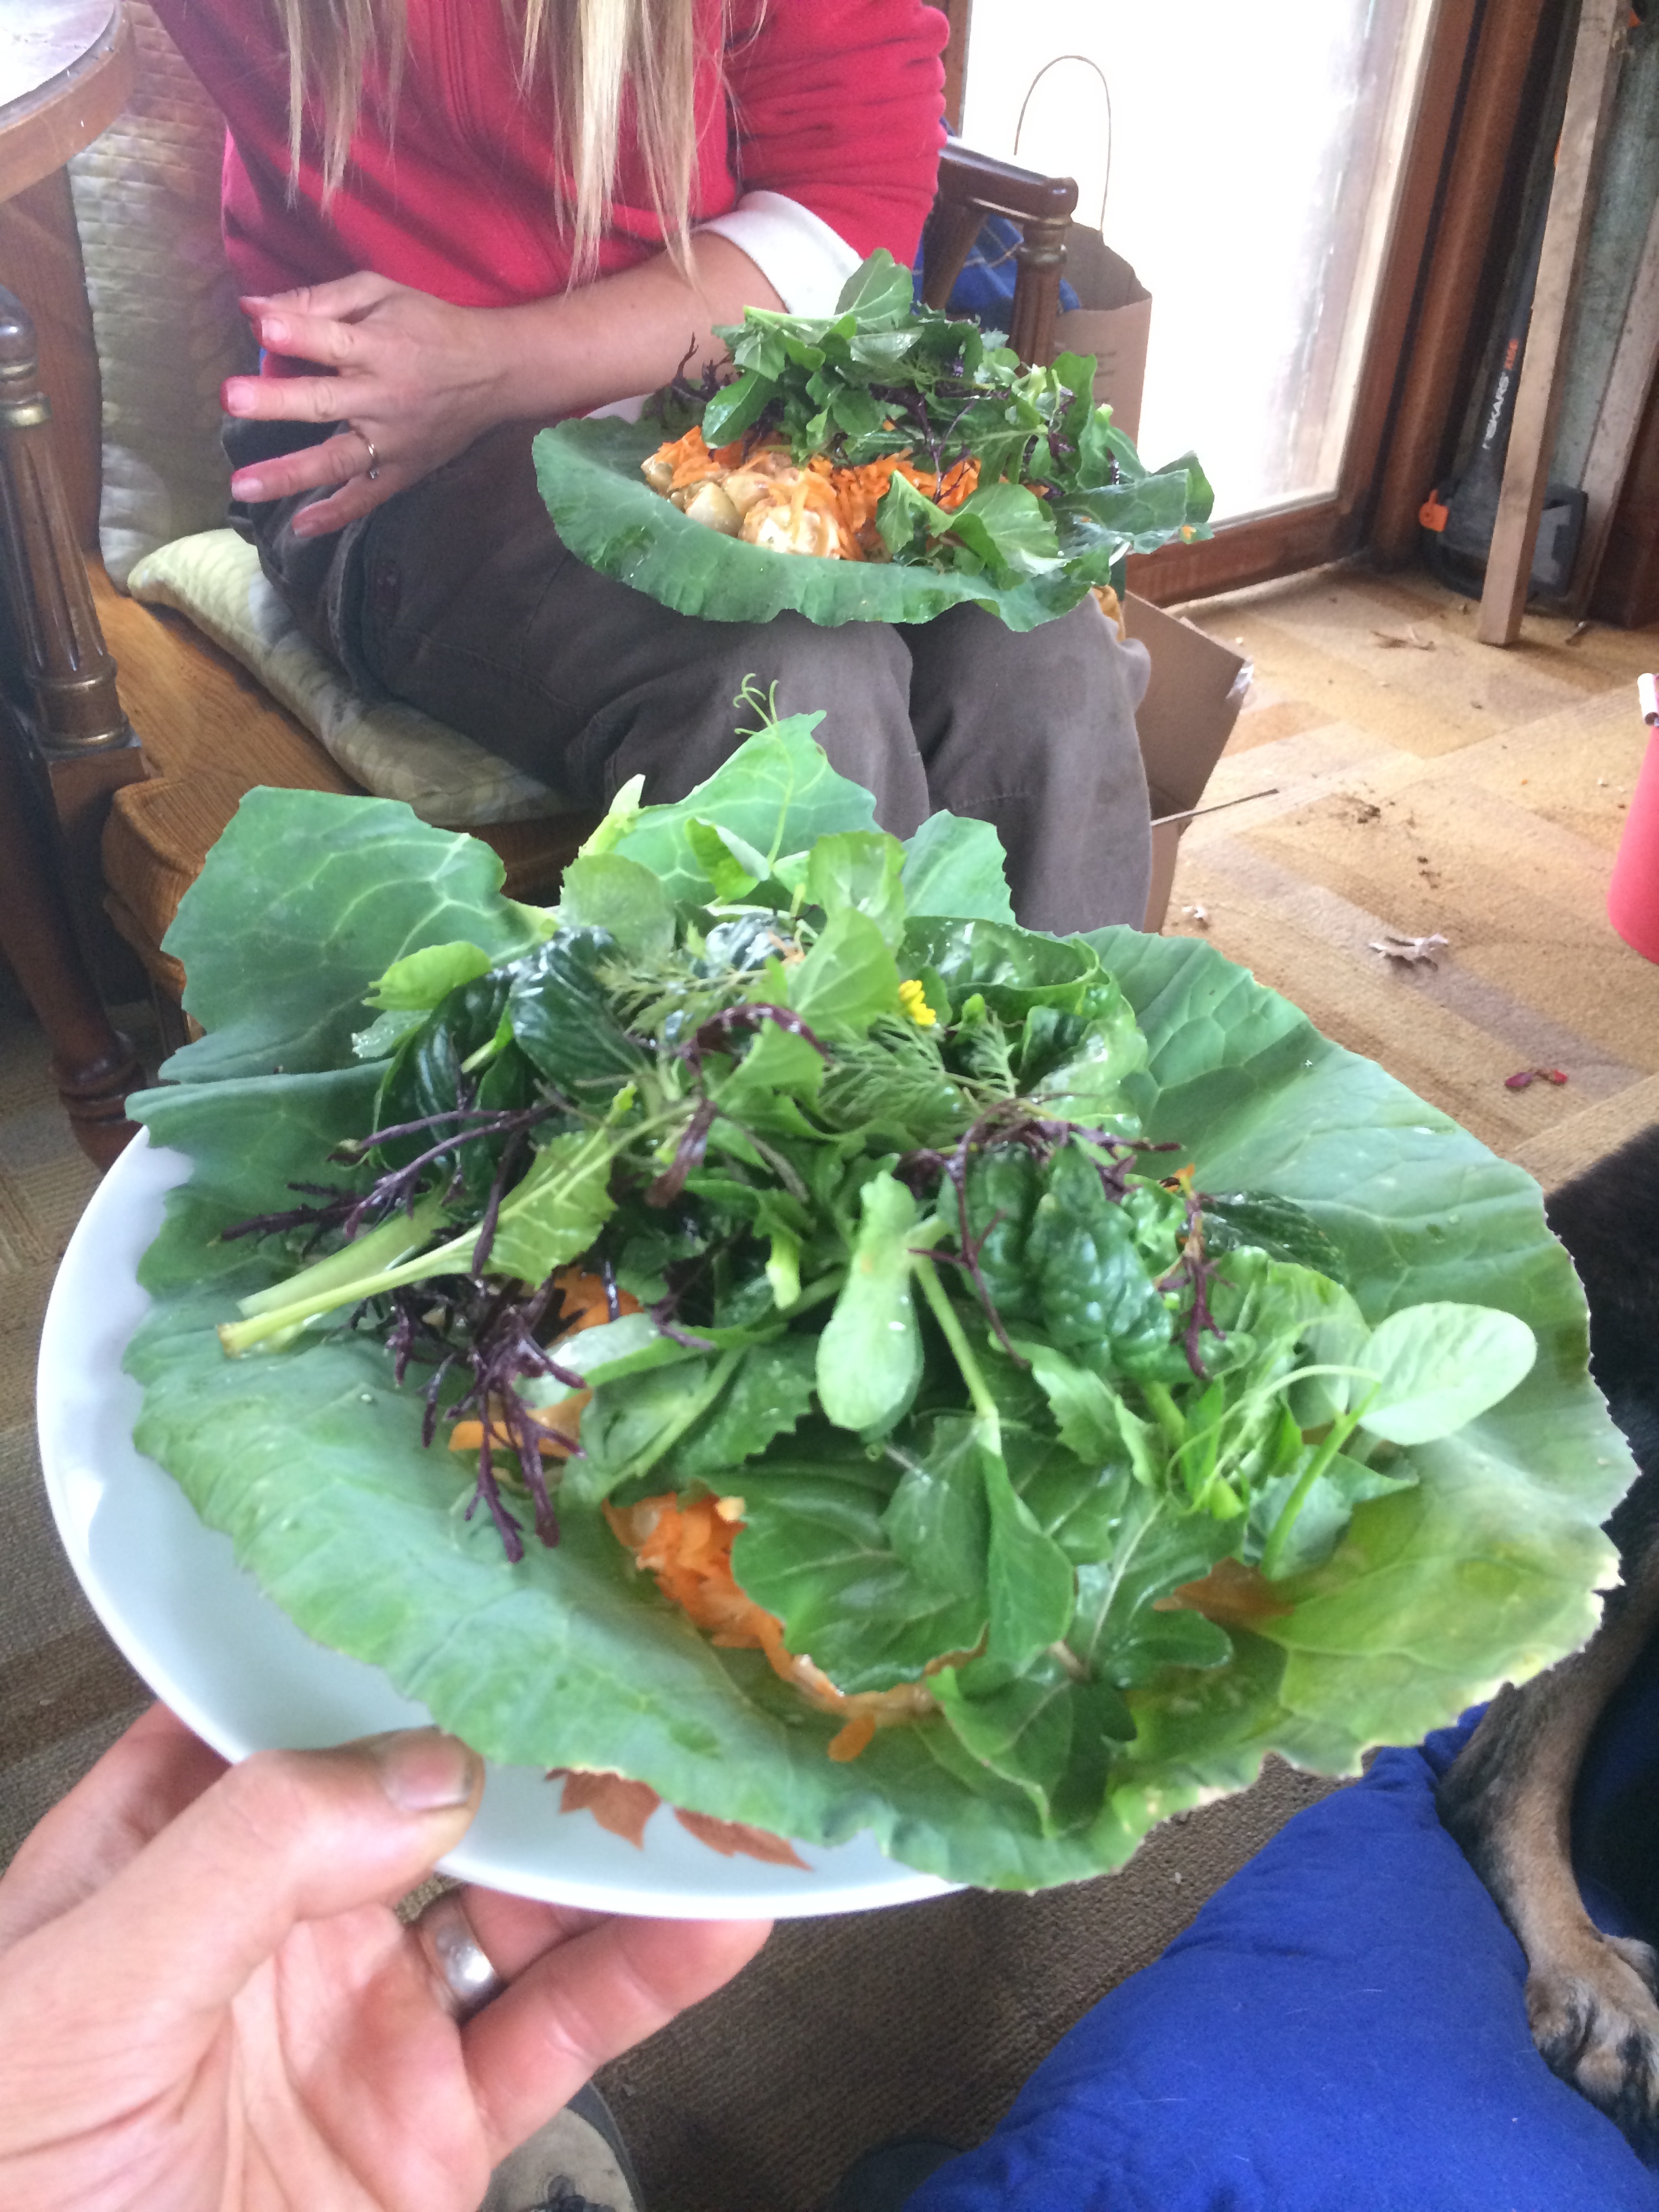
potato salad senposai wraps w/ bok choi, arugula, pea tips, spinach, mizuna, carrots, beets, & dill
November 13th was one year to the day from my last day at my internet marketing job in downtown Minneapolis. Coincidentally, it was also the day that the four of us rolled out from the farm, for 4 months of travel and working on other farms down south – WWOOFing as we did last winter.
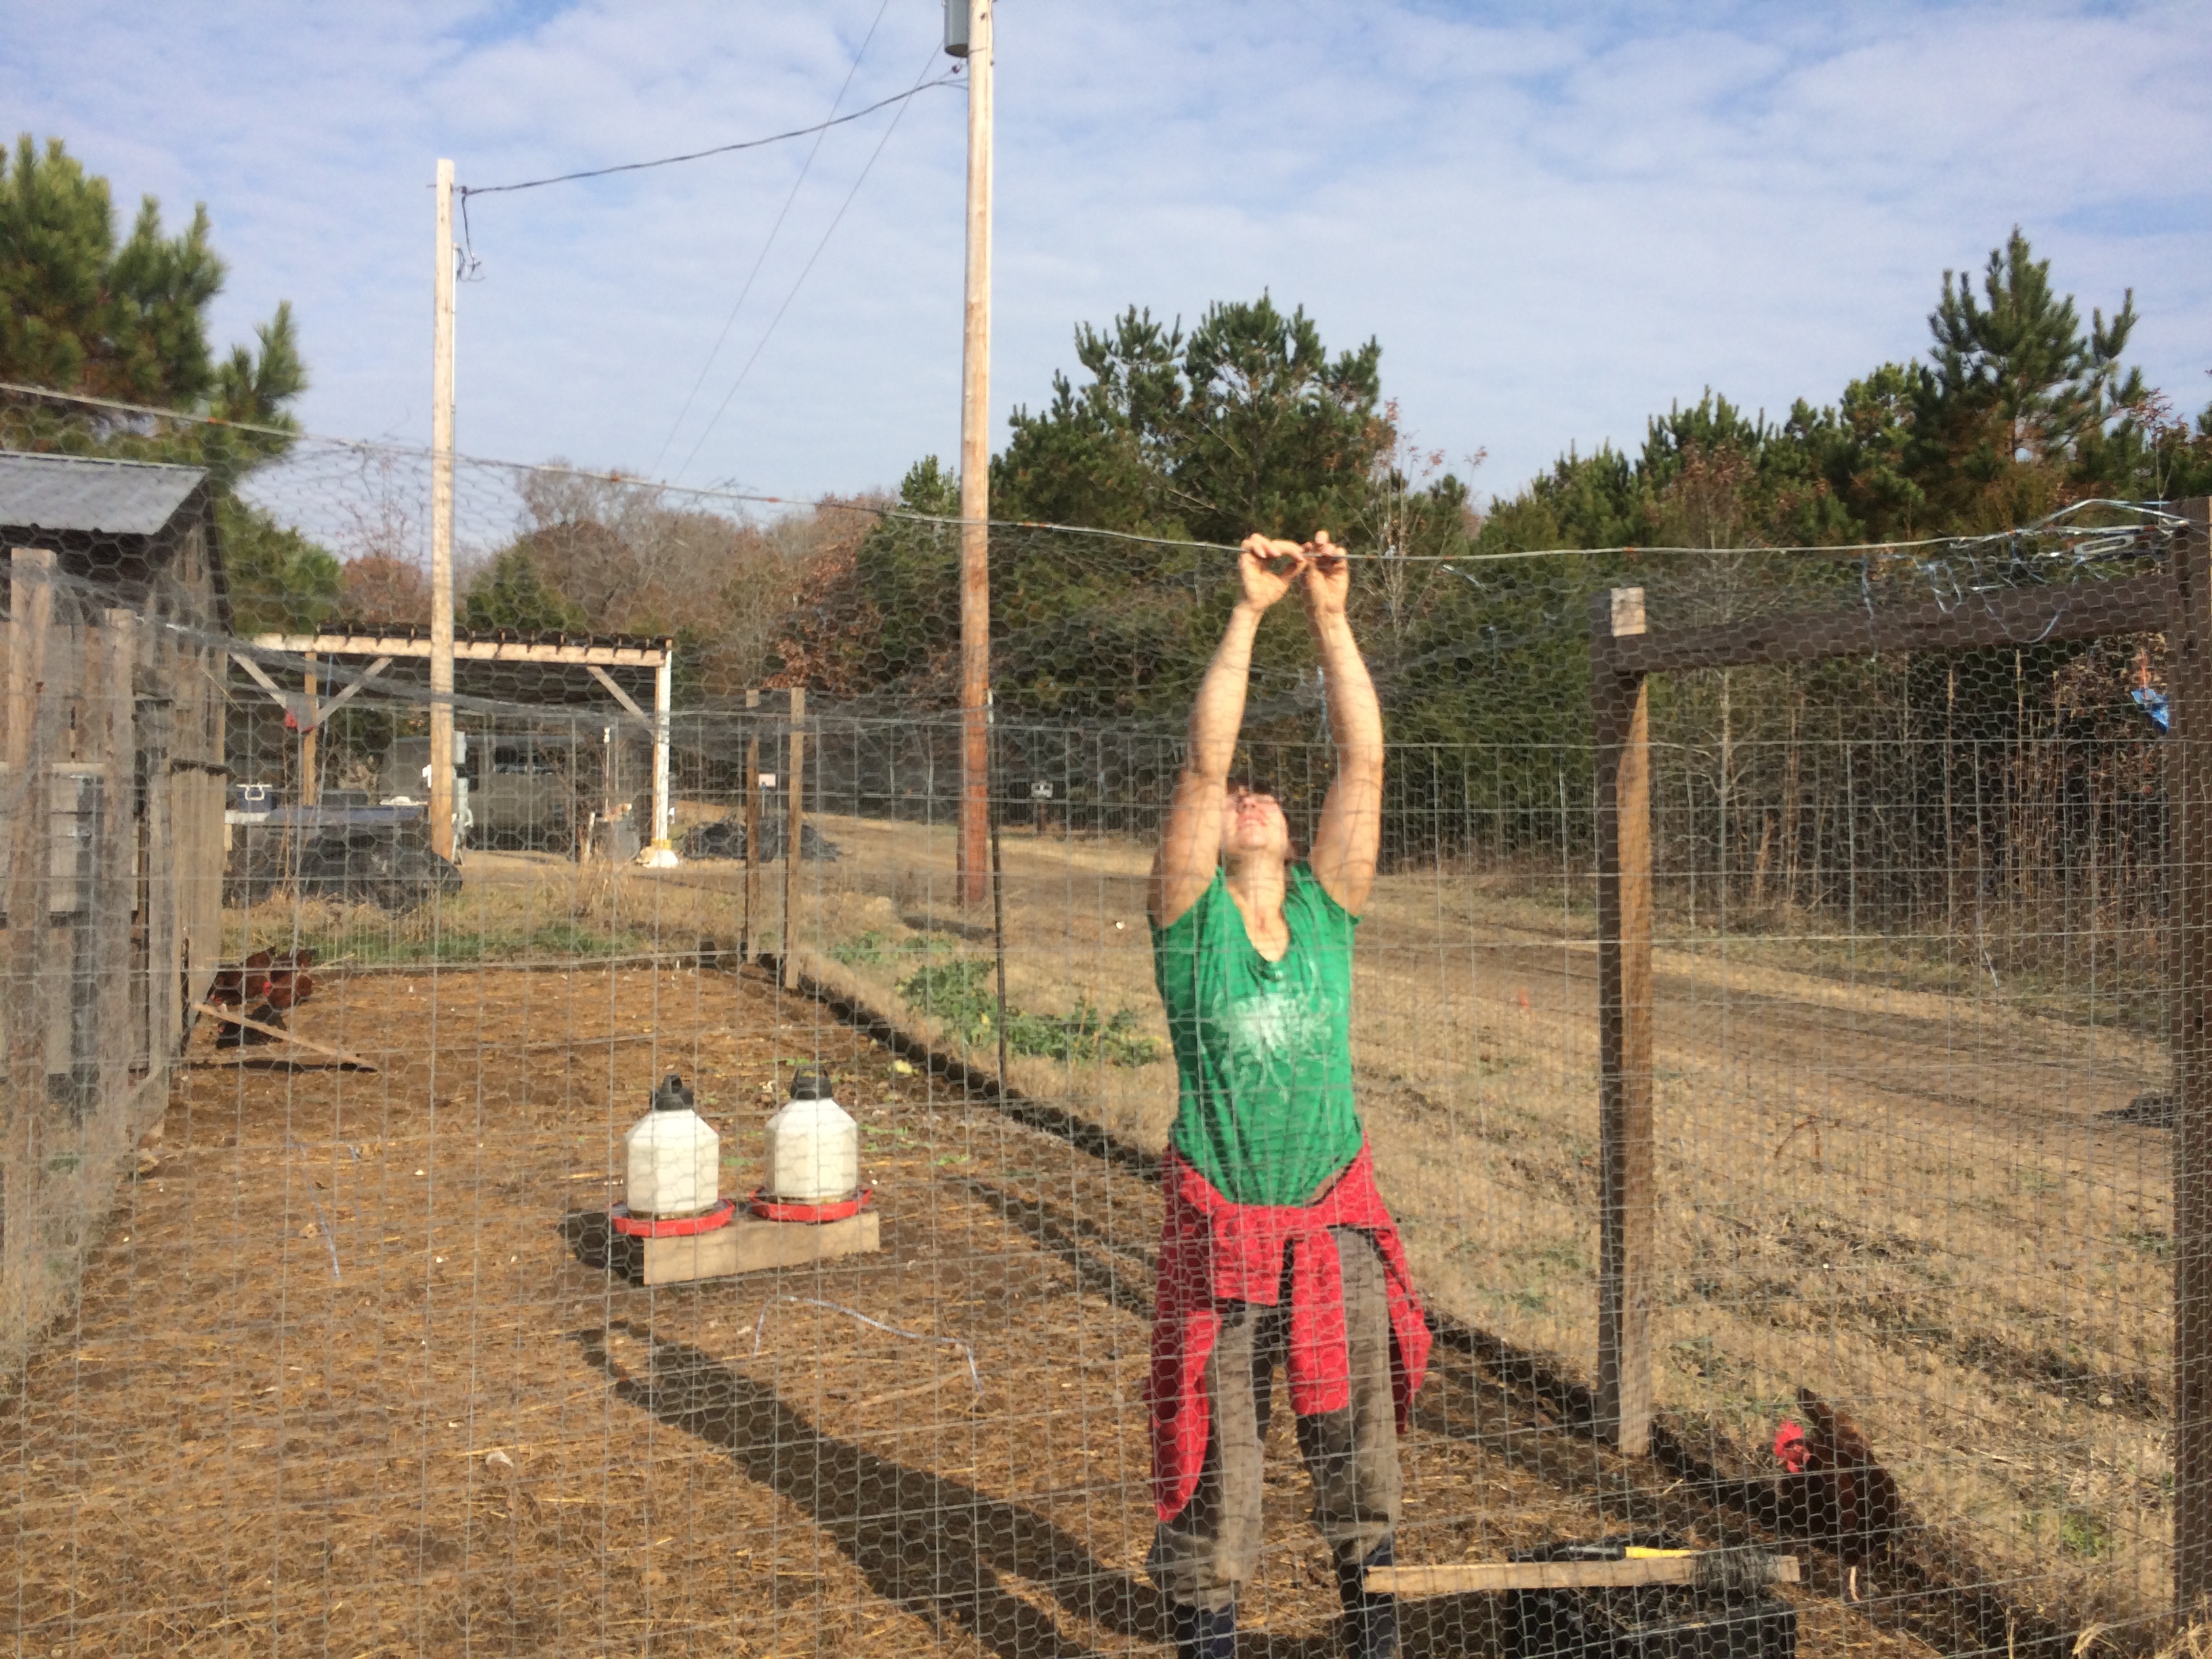
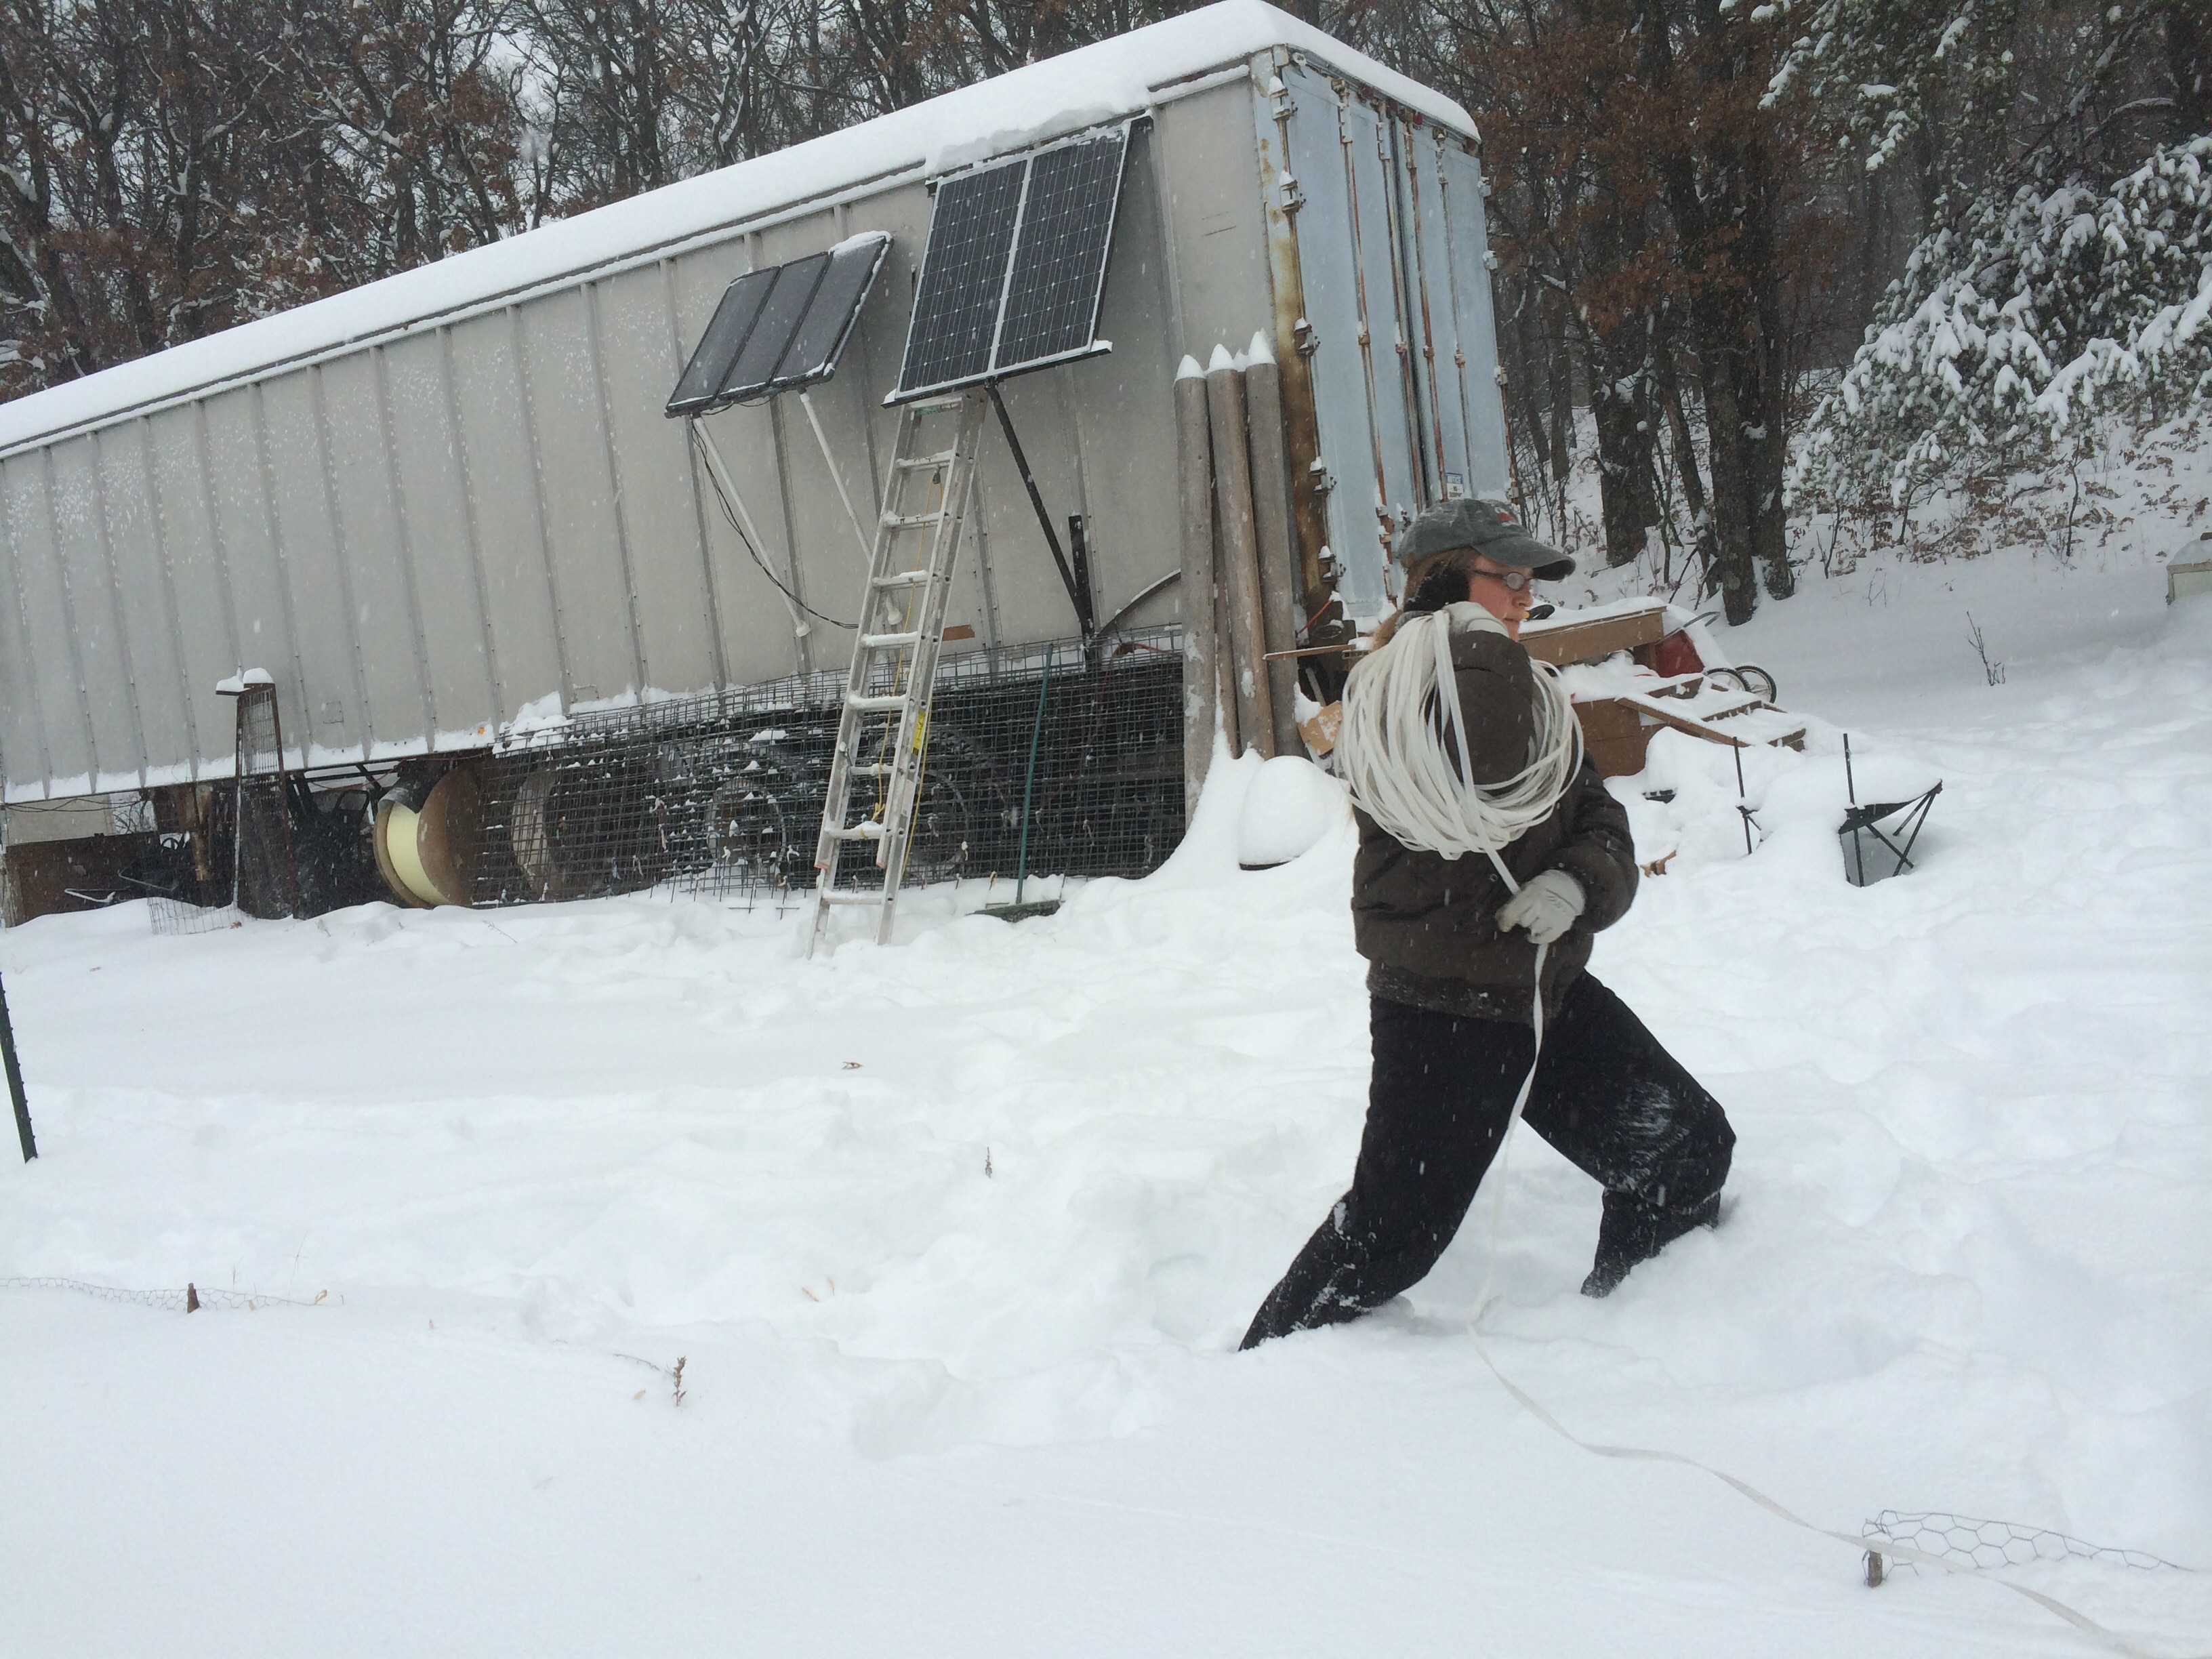
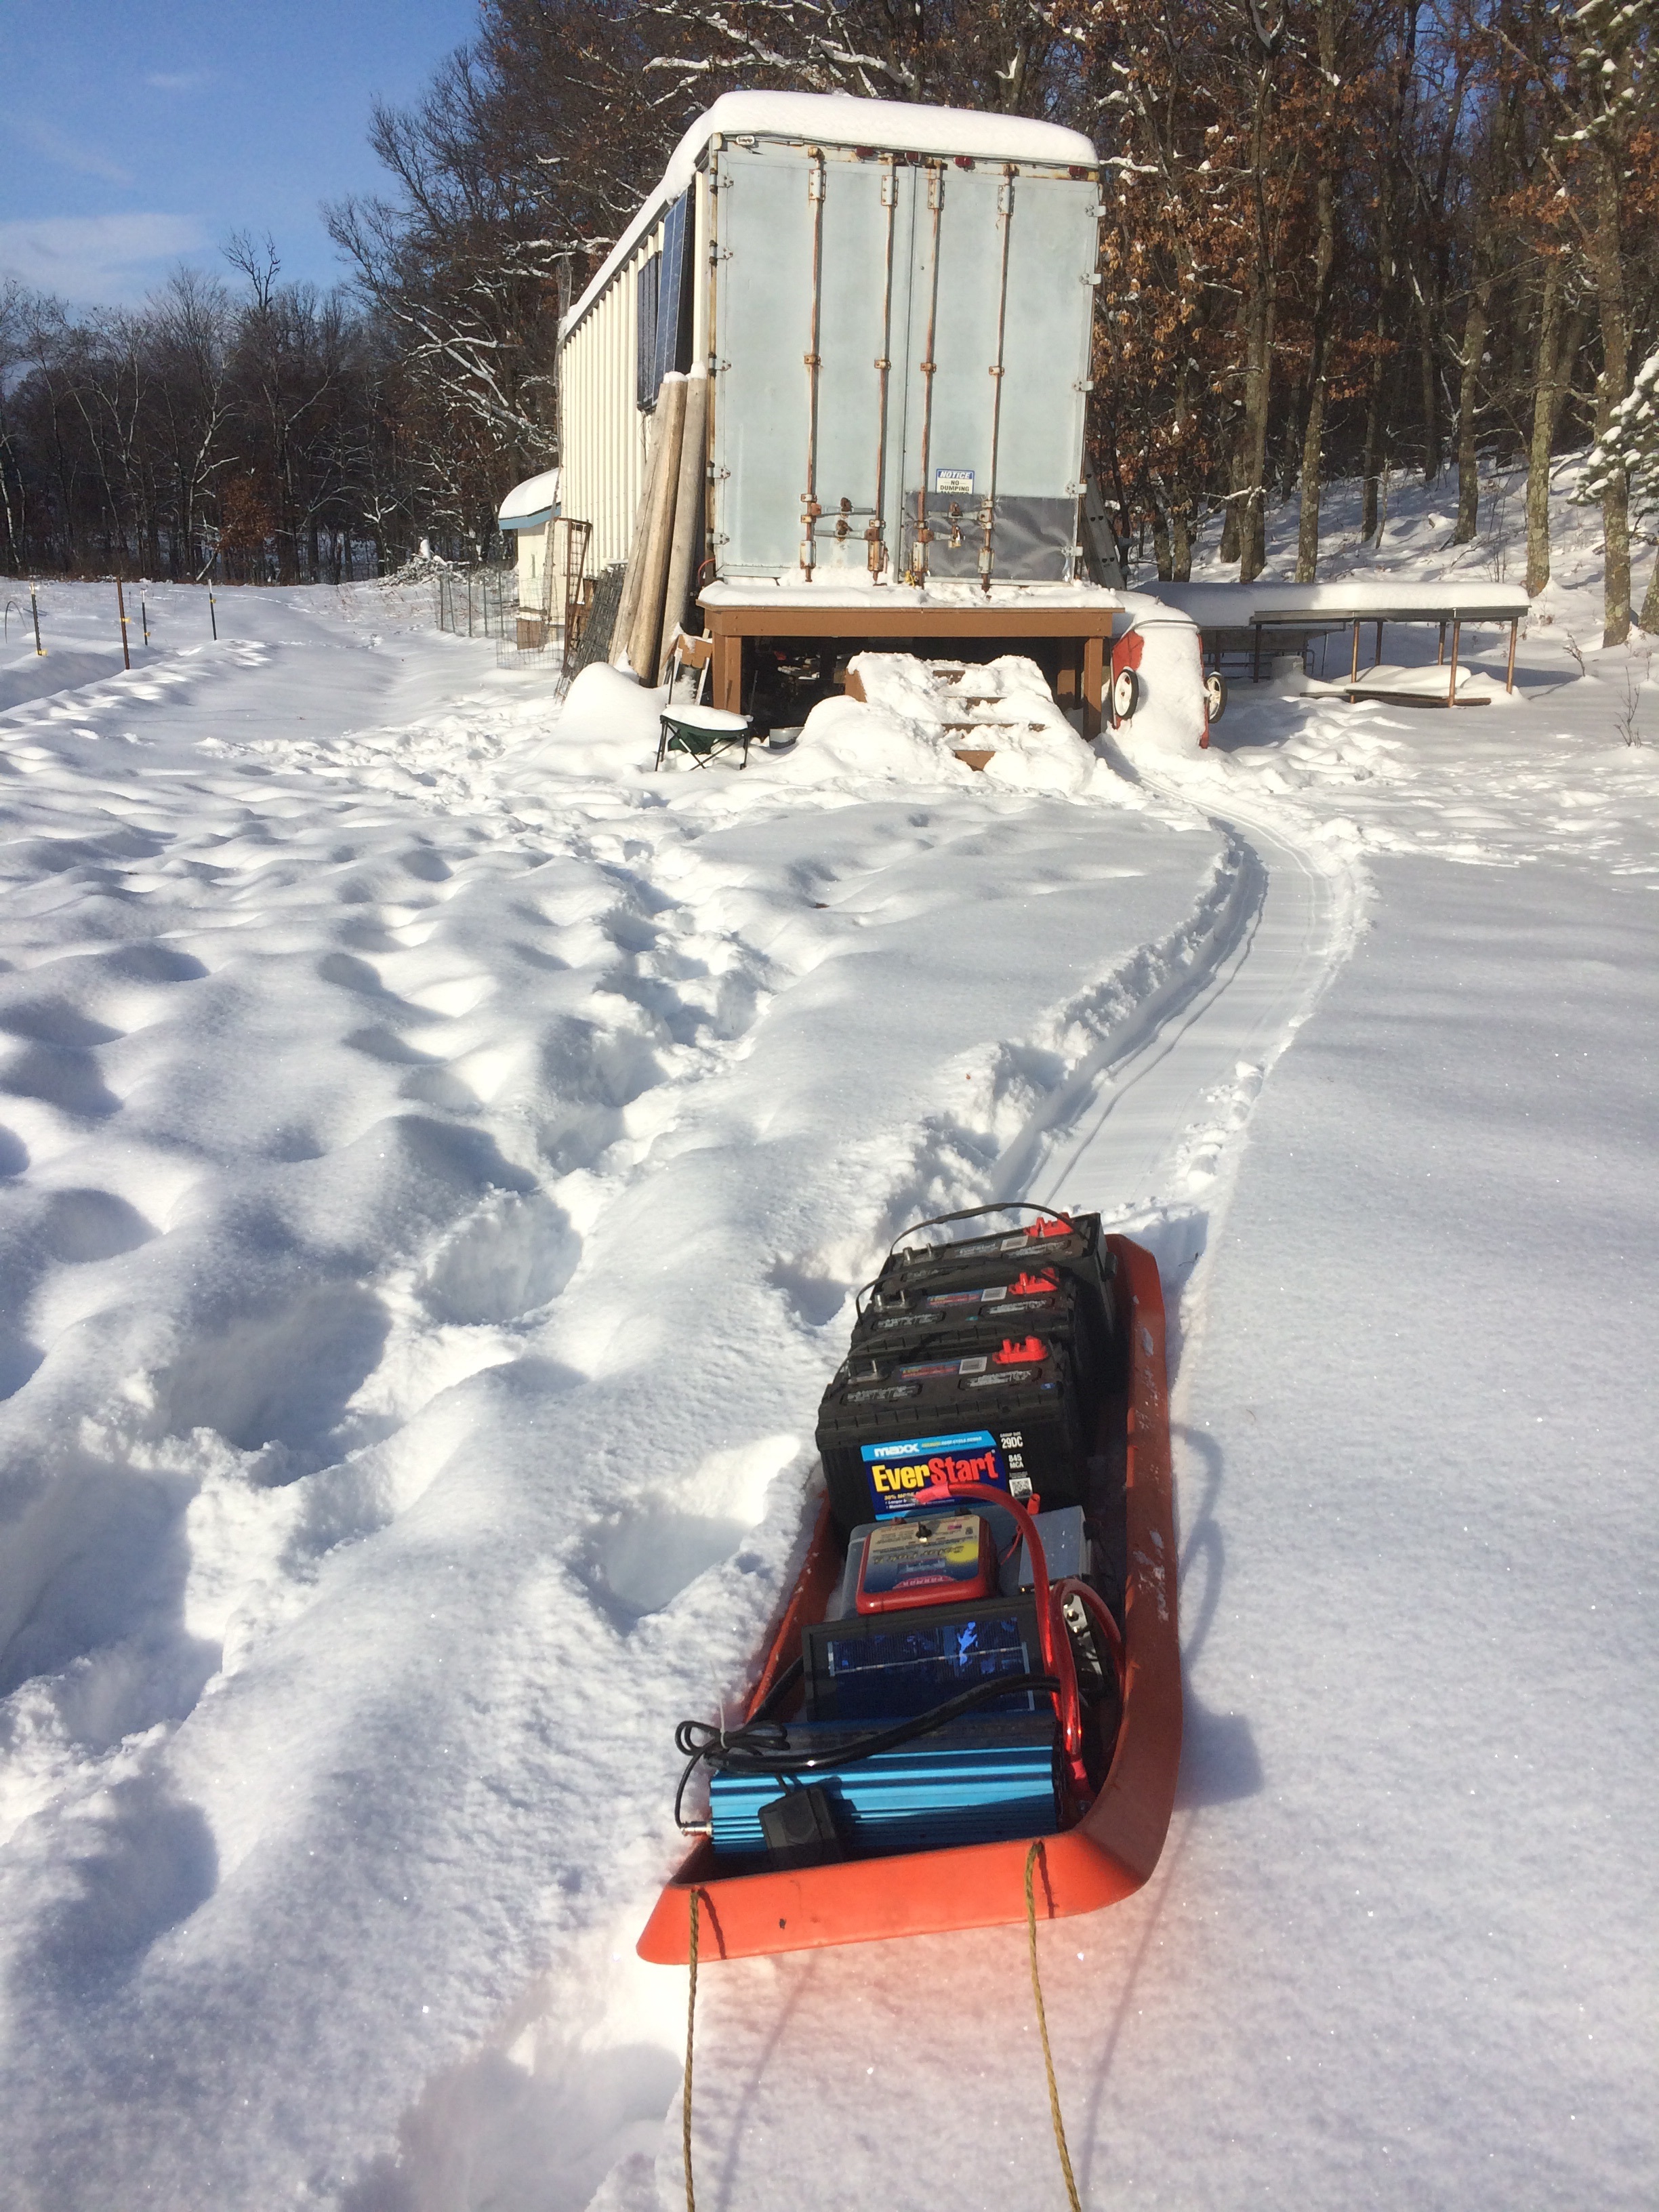
packing up the electric fence – and opening up the remnant buffet for the deer (who leave us all kinds of free-range grass-fed fertilizer in exchange)
Why leave? For one thing, the farm is not yet ready for us to overwinter – the well would freeze, the firewood pile is too small and uncured, the trailer is drafty. These things could certainly be overcome, but we prefer to travel anyway – escape the worst of winter’s cold, meet new people, see new places, learn new things – and spend some well-earned time away from the farm, where we have spent almost every day working fro sunup to sundown for the entire season. Winter’s frigid spell gives us an opportunity to leave the field behind for a while, and get out of well-worn ruts of routine and responsibility.
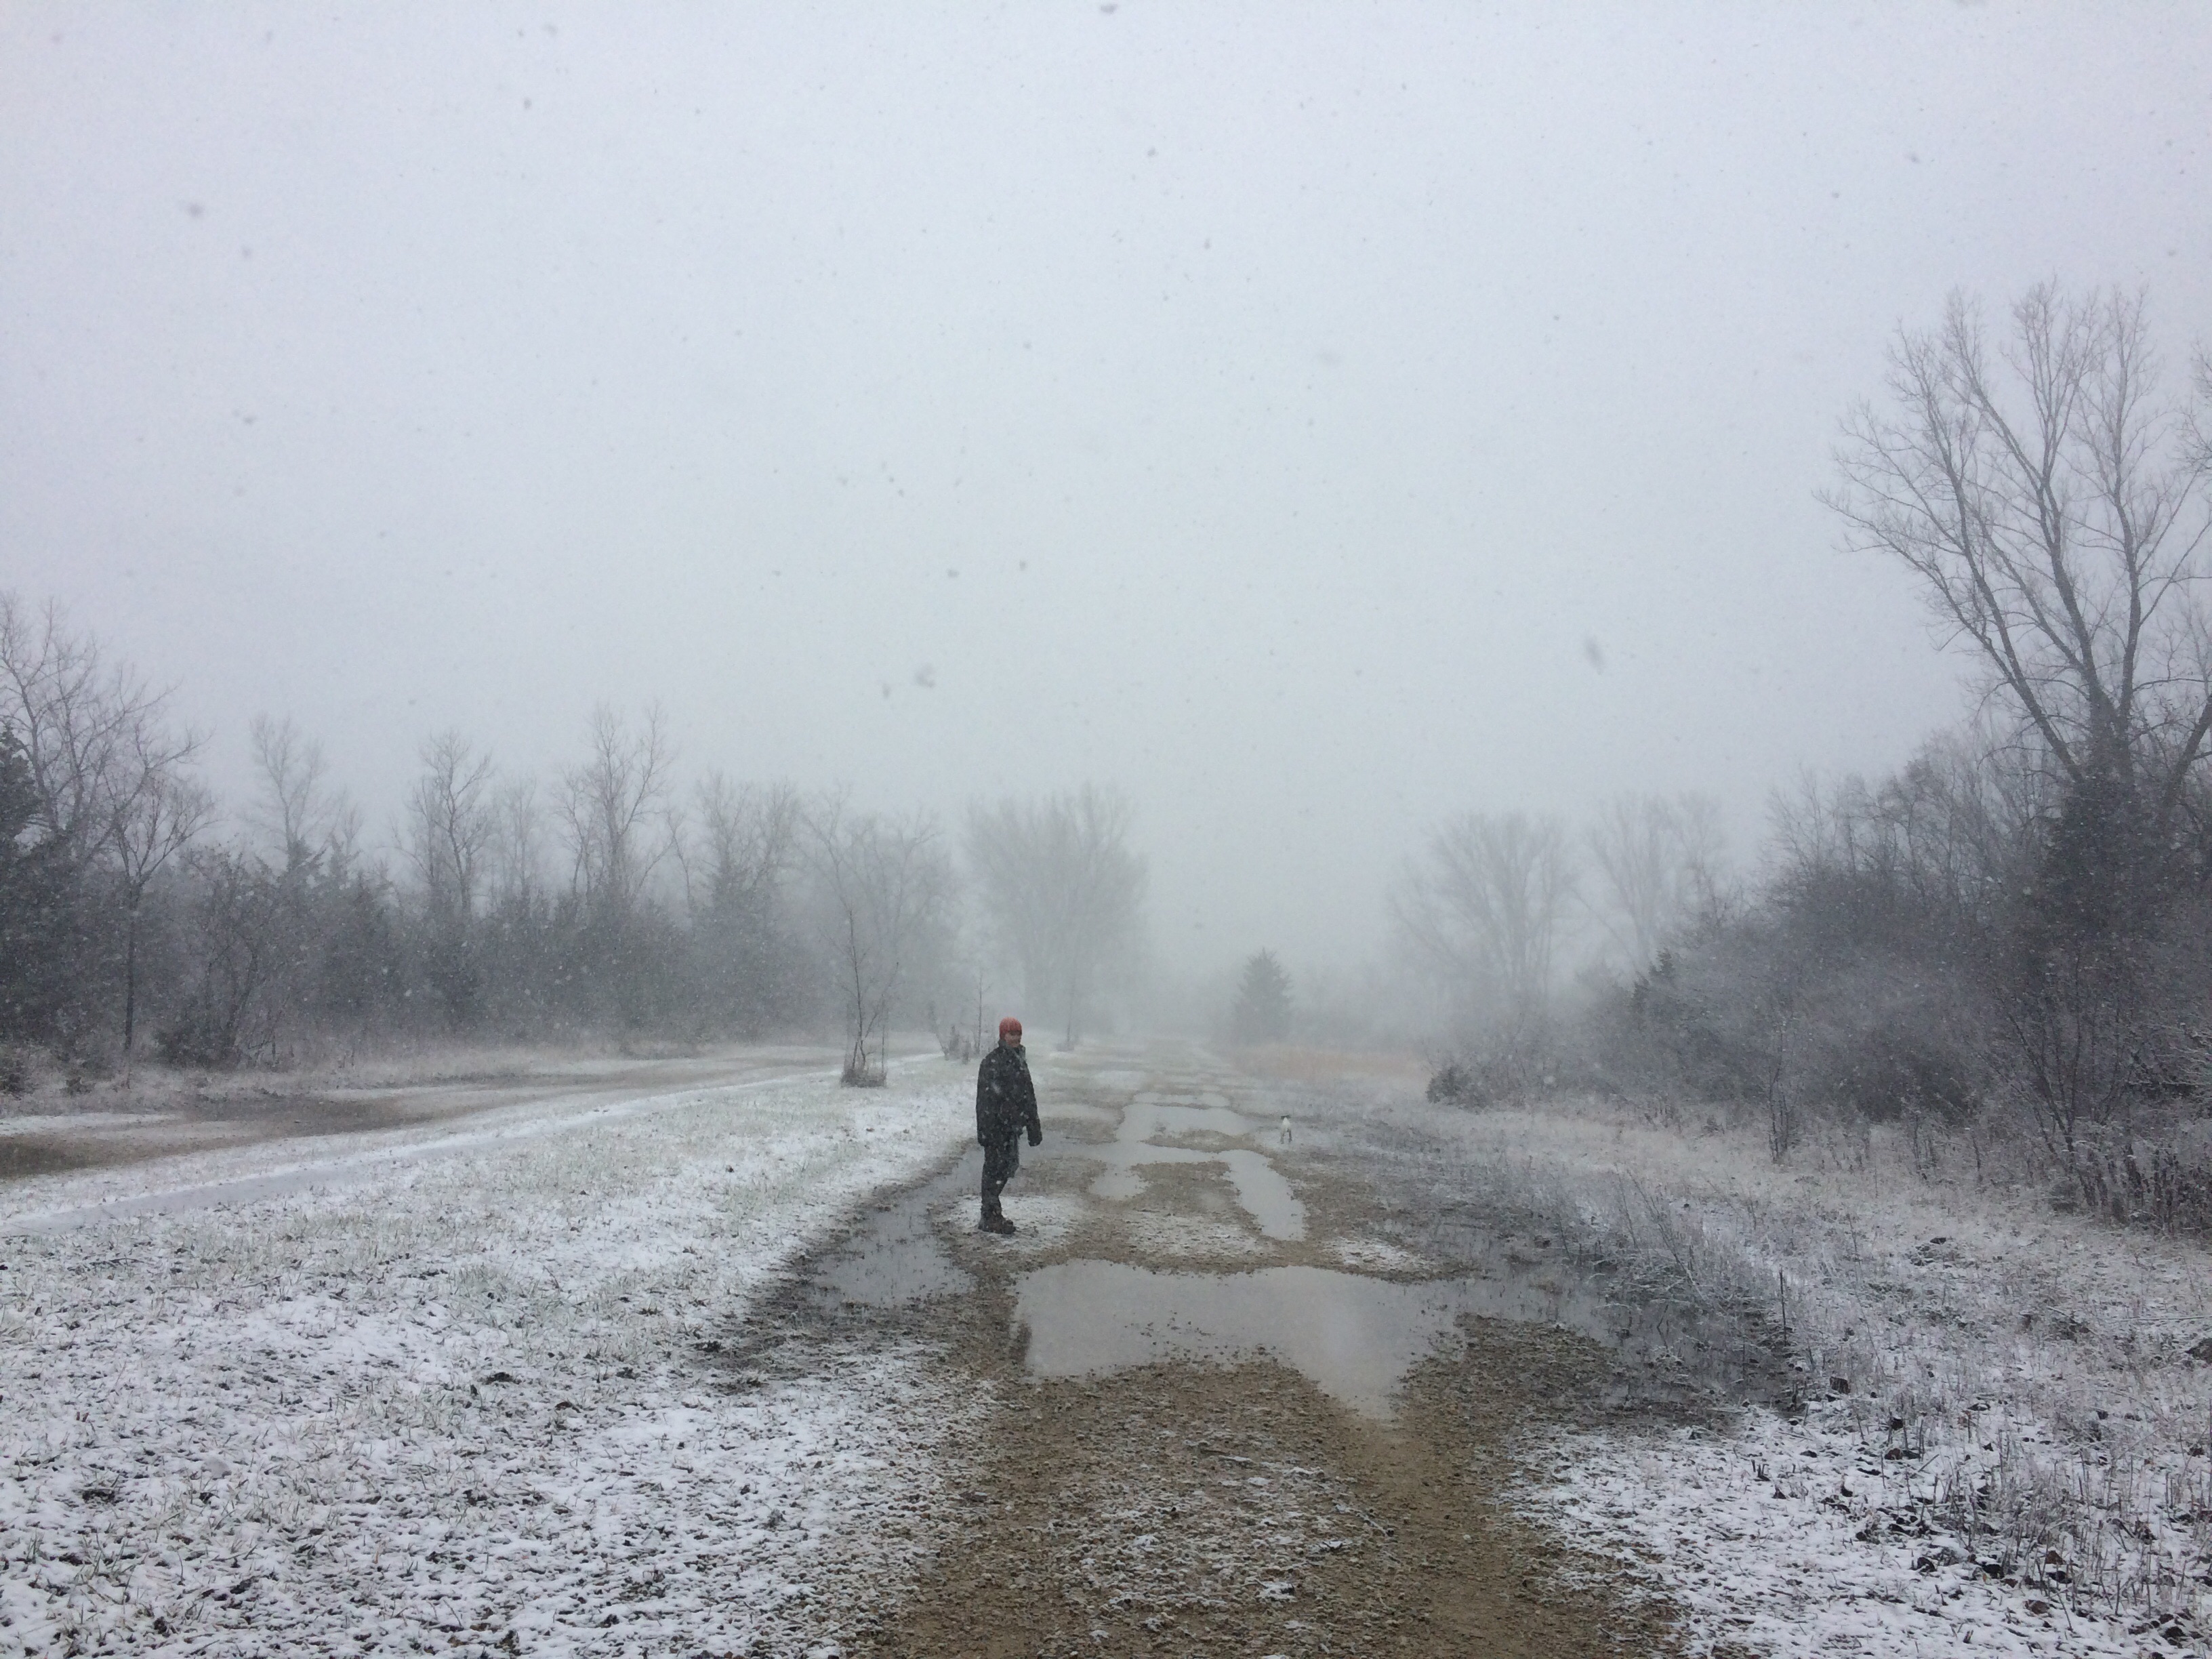
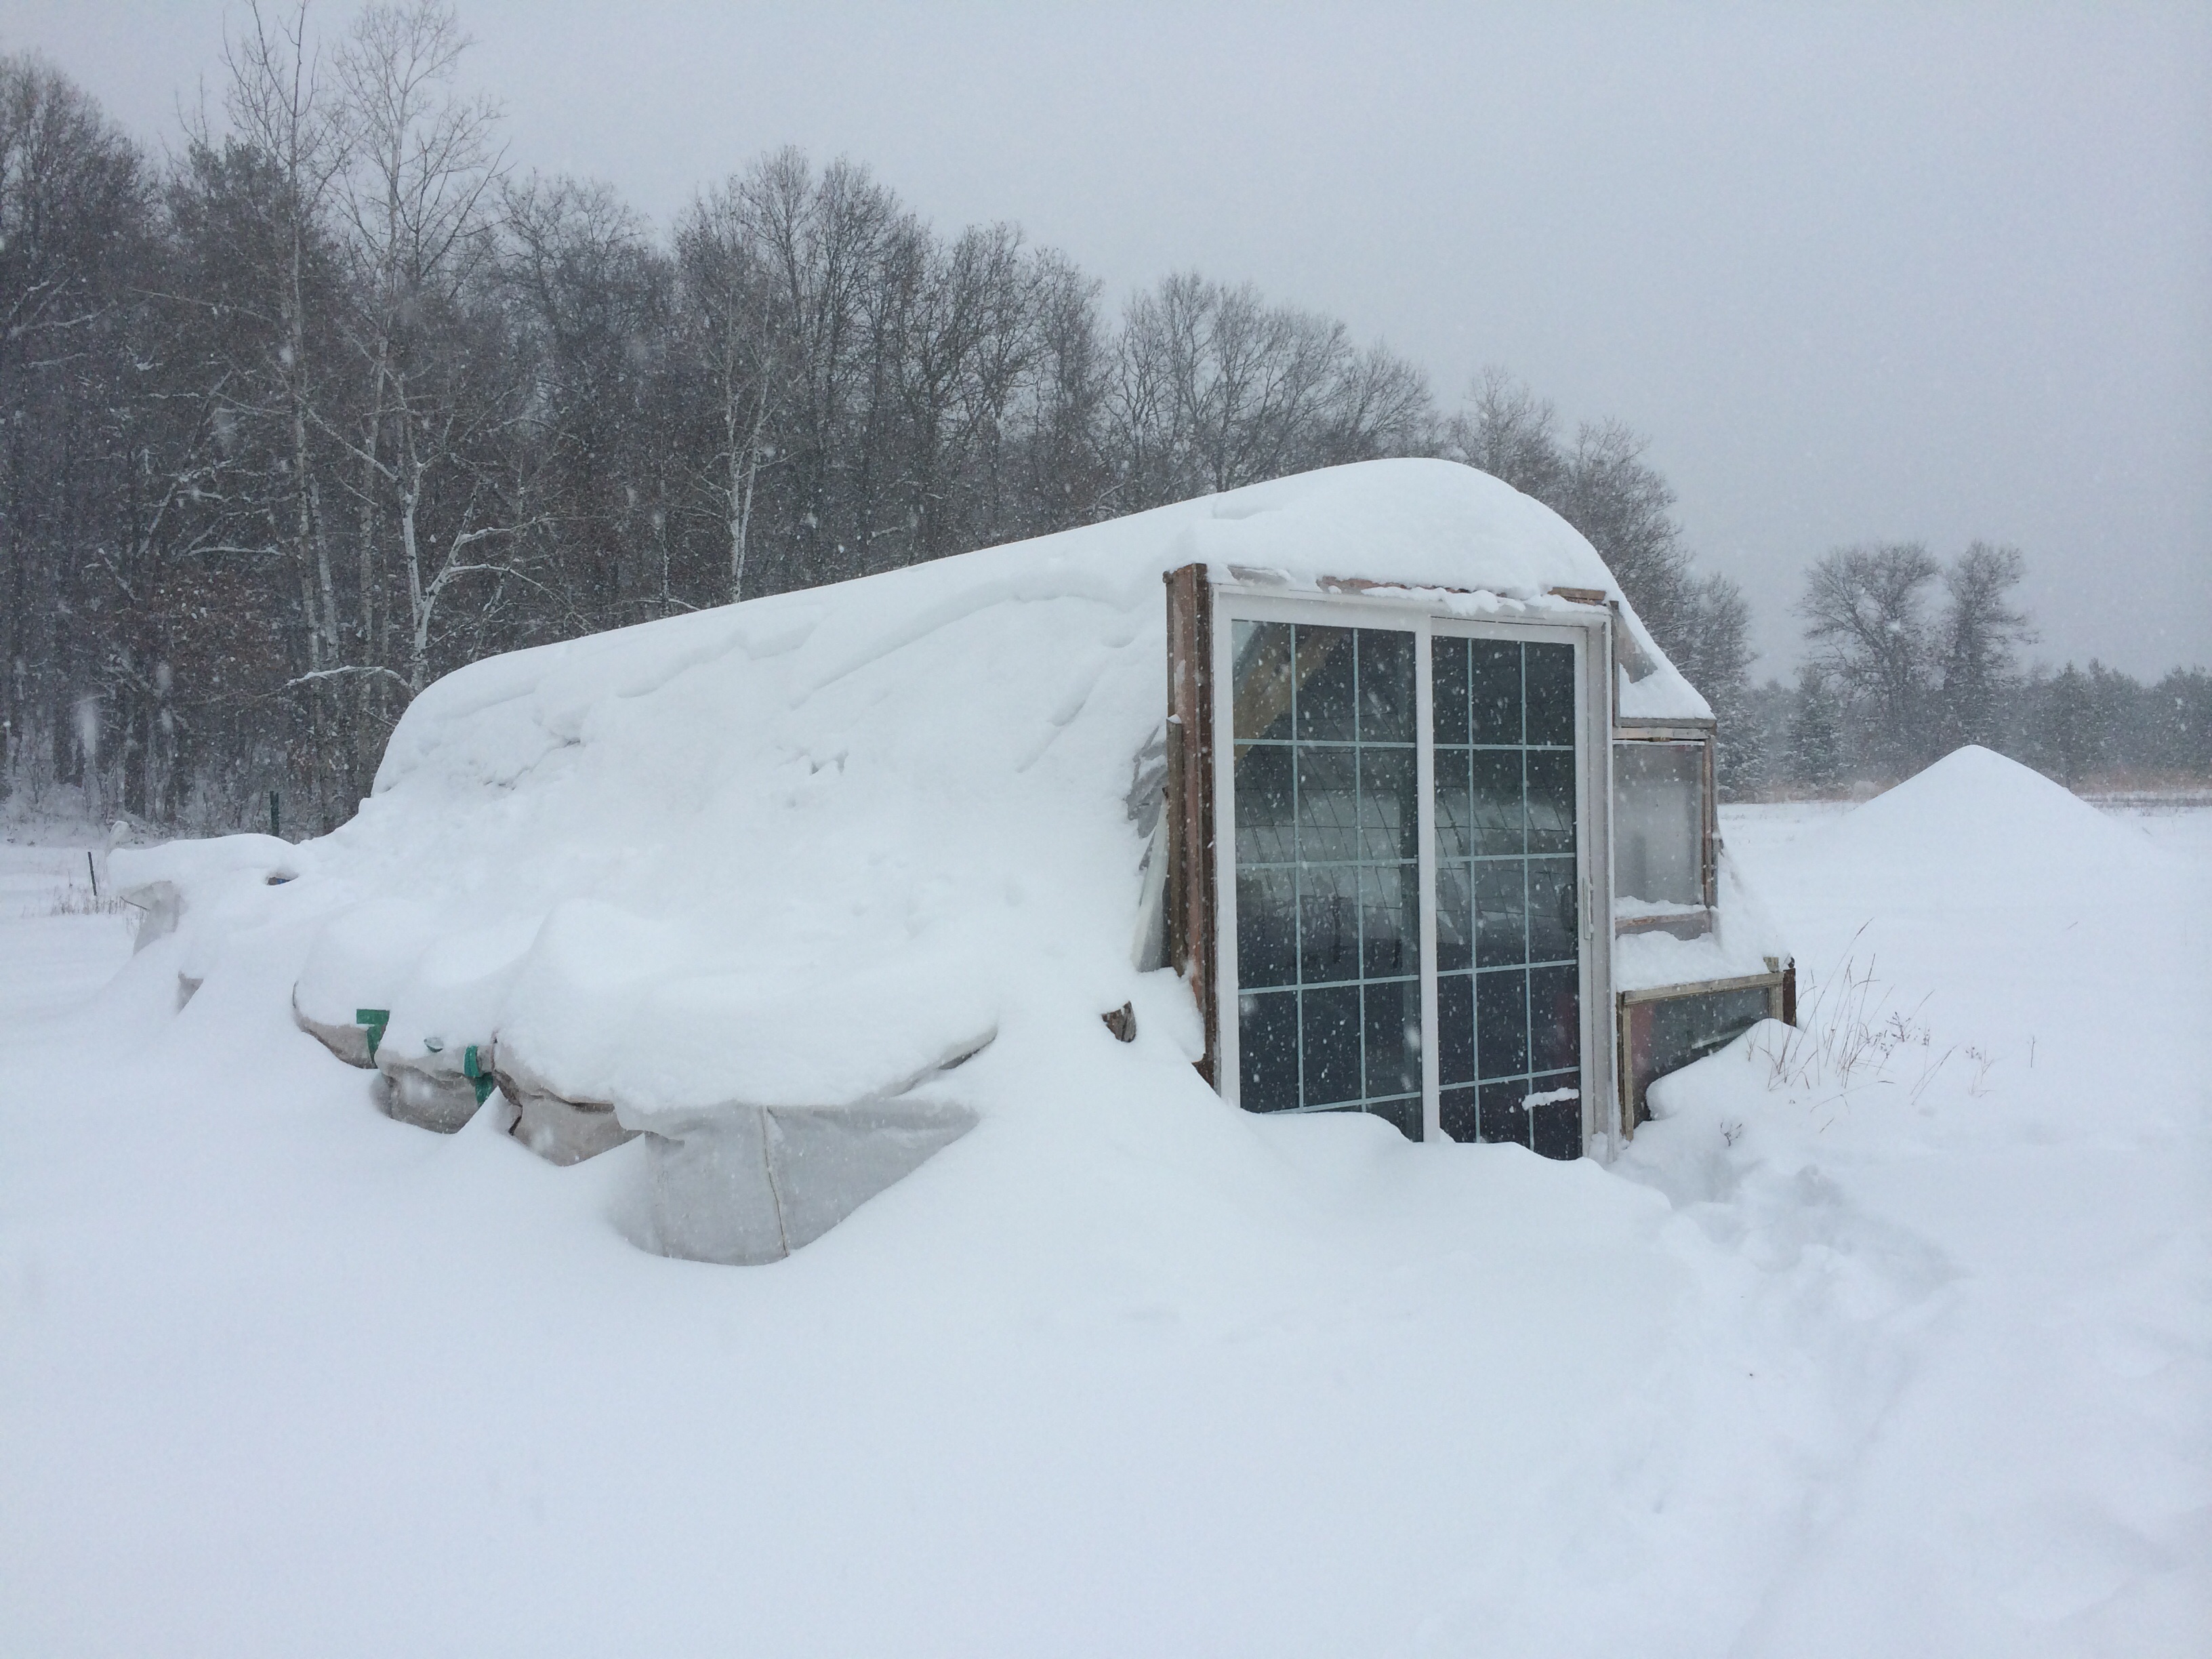
Over the two days before we planned to leave, a storm buried the farm beneath 16 inches of snow – and nearly trapped us there.
in the bullseye
The snowplow took 2 and a half days to clear the road, just in time for us to leave – and our amazing neighbors Dave & Marcie helped us escape – plowing us out, and then pulling us up and out of their driveway when we got stuck there while trying to drop off some veggies as we departed.
To start the journey off, we picked up my mom and drove with her out to Illinois, to my sister’s house – where I’m writing from now. My mom flew back to the Twin Cities after a few days – we’re staying here for two weeks, enjoying the company and beautiful home of my sister and her husband and their two whippets.
We leave for Yokna Bottoms Farm in Oxford, Mississippi in Saturday. Tomorrow is Thanksgiving. We have much to be thankful for … and look forward to leaving on our journey filled with good food and fortified by two weeks of family relaxation!
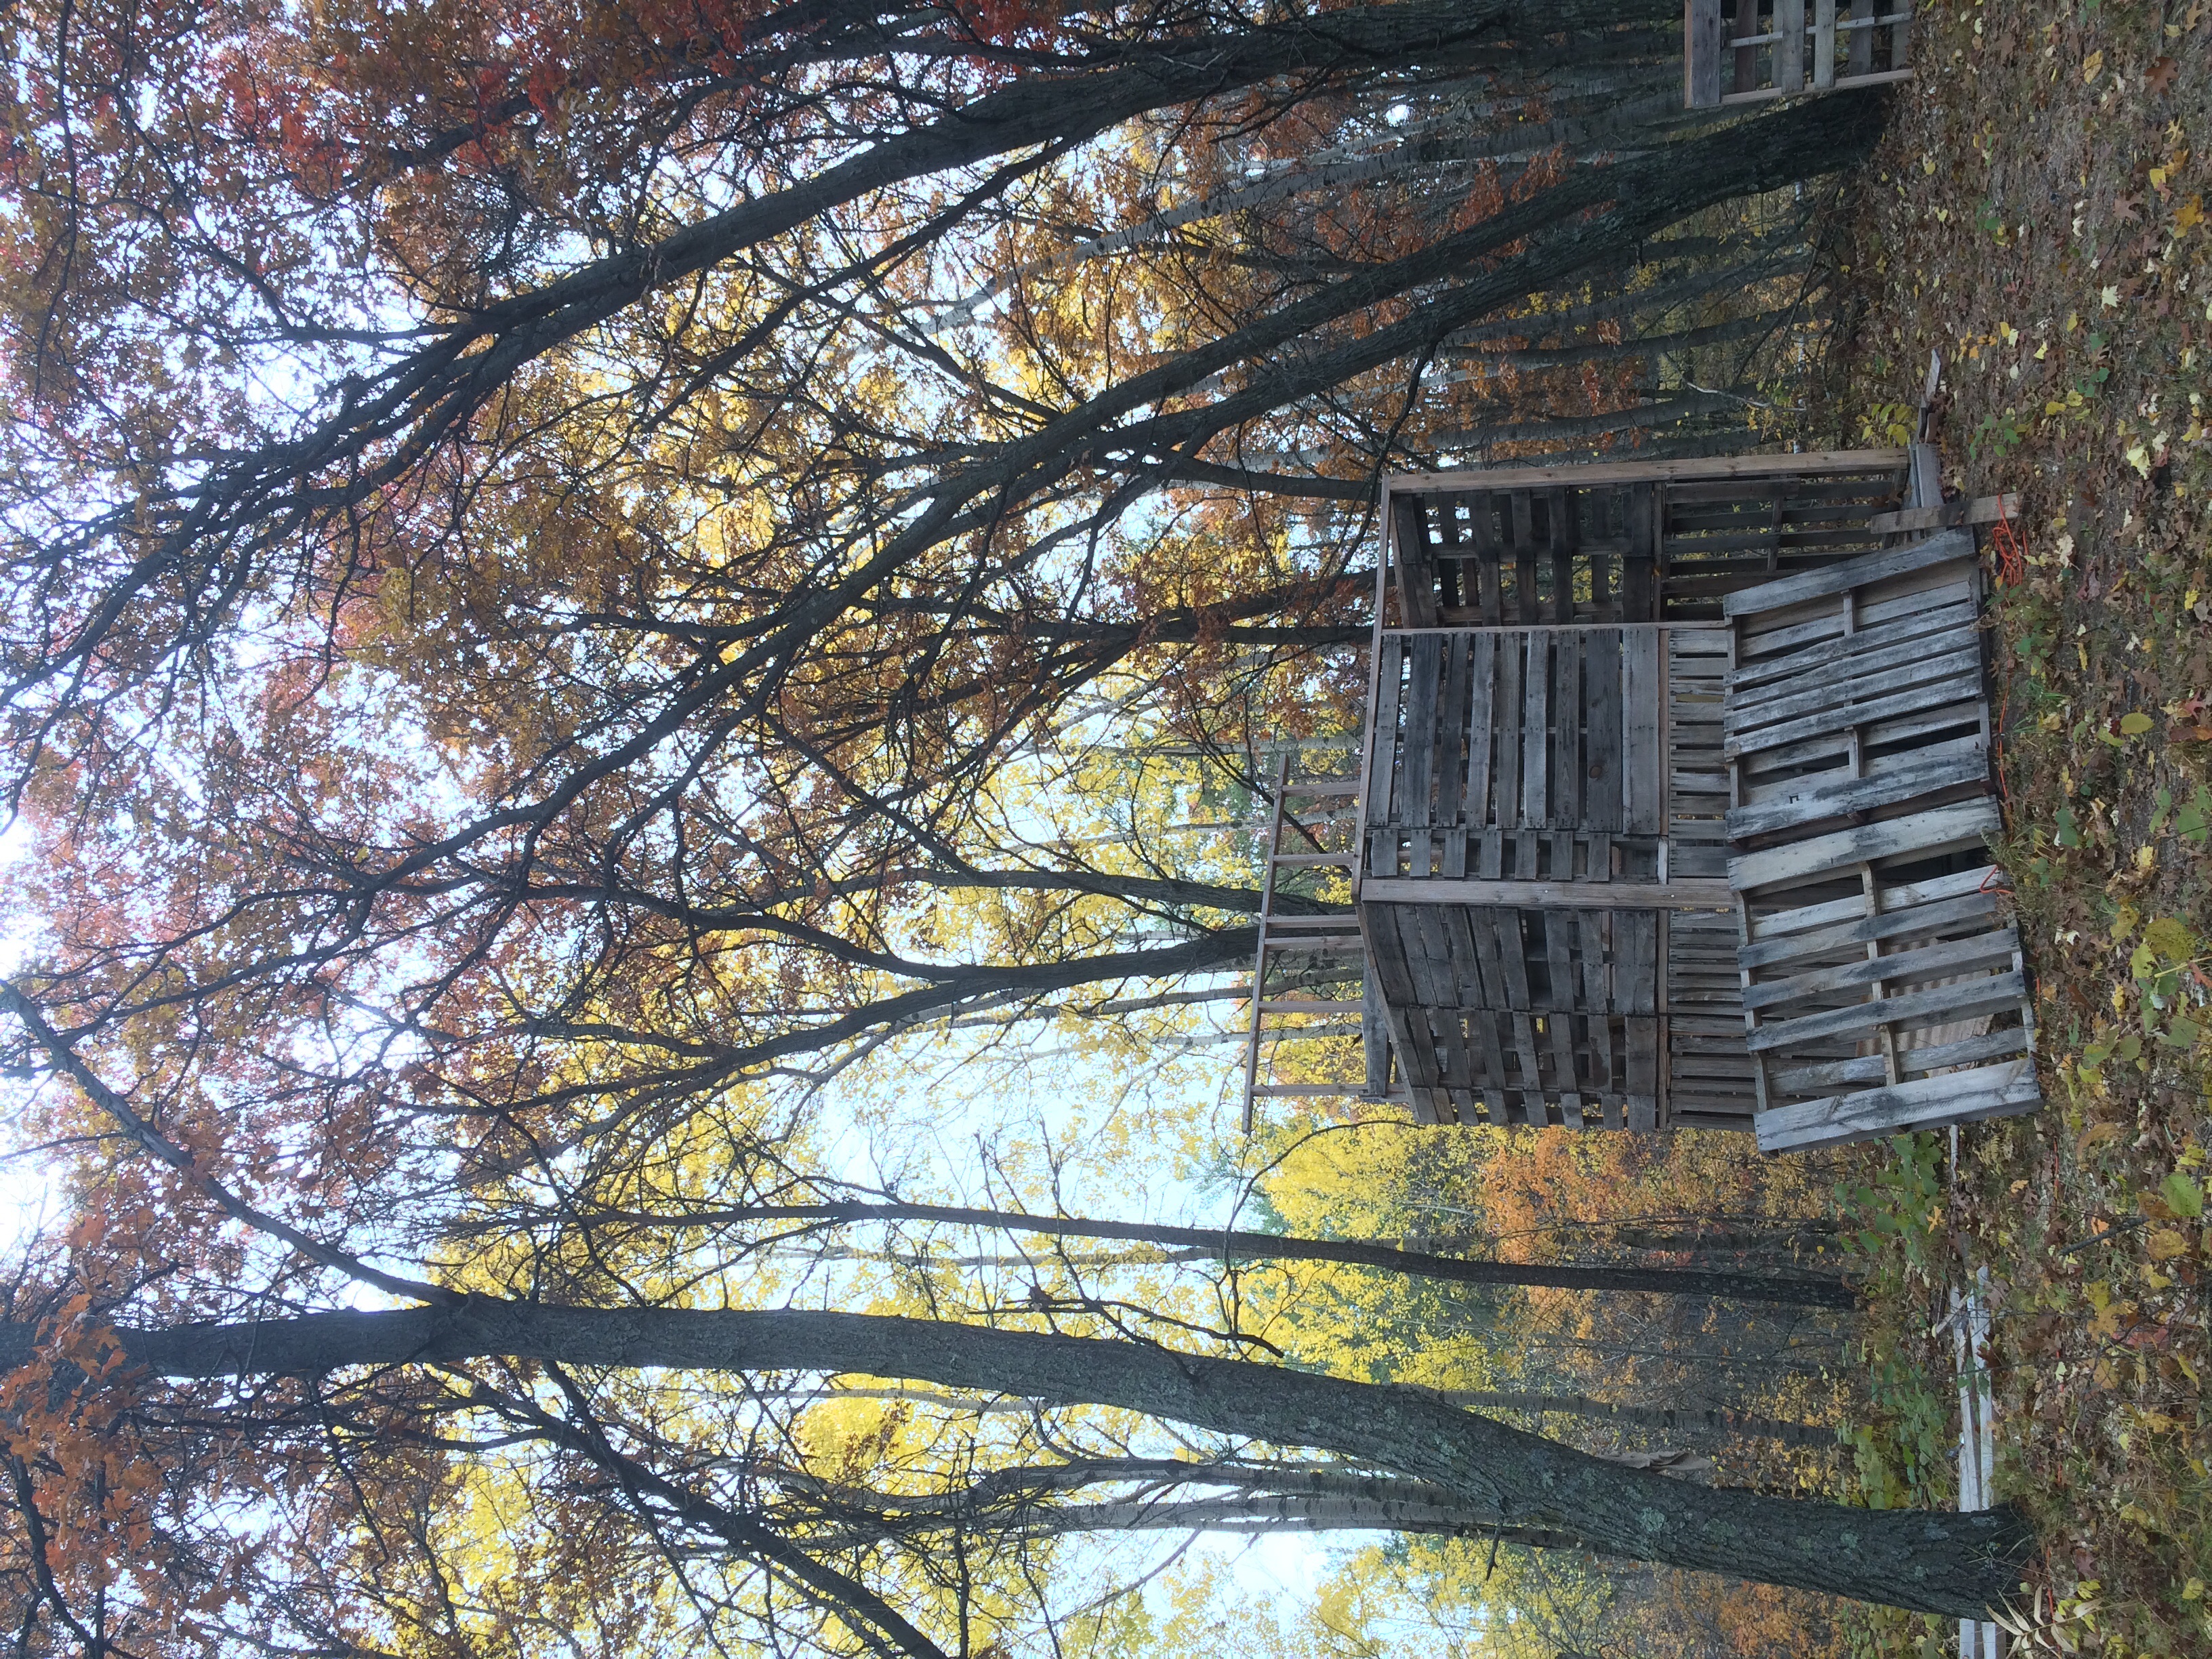
Once the freezing nights had decimated most of the crops, the CSA was done for the year, and we’d completed our final farmer’s market, there was time to work on projects outside the field. Kristin mostly focused on preserving and storing produce for us to eat over the winter months ahead. Gabe turned his attention to the pallet fort, which had languished, partially constructed, all year.
Reconstructing the fort from the couple photos that Kristin had taken when she was disassembling the original (from a South Minneapolis back yard, found via the Craigslist Free section) was a real pain in the butt.
partially disassembled in South Minneapolis
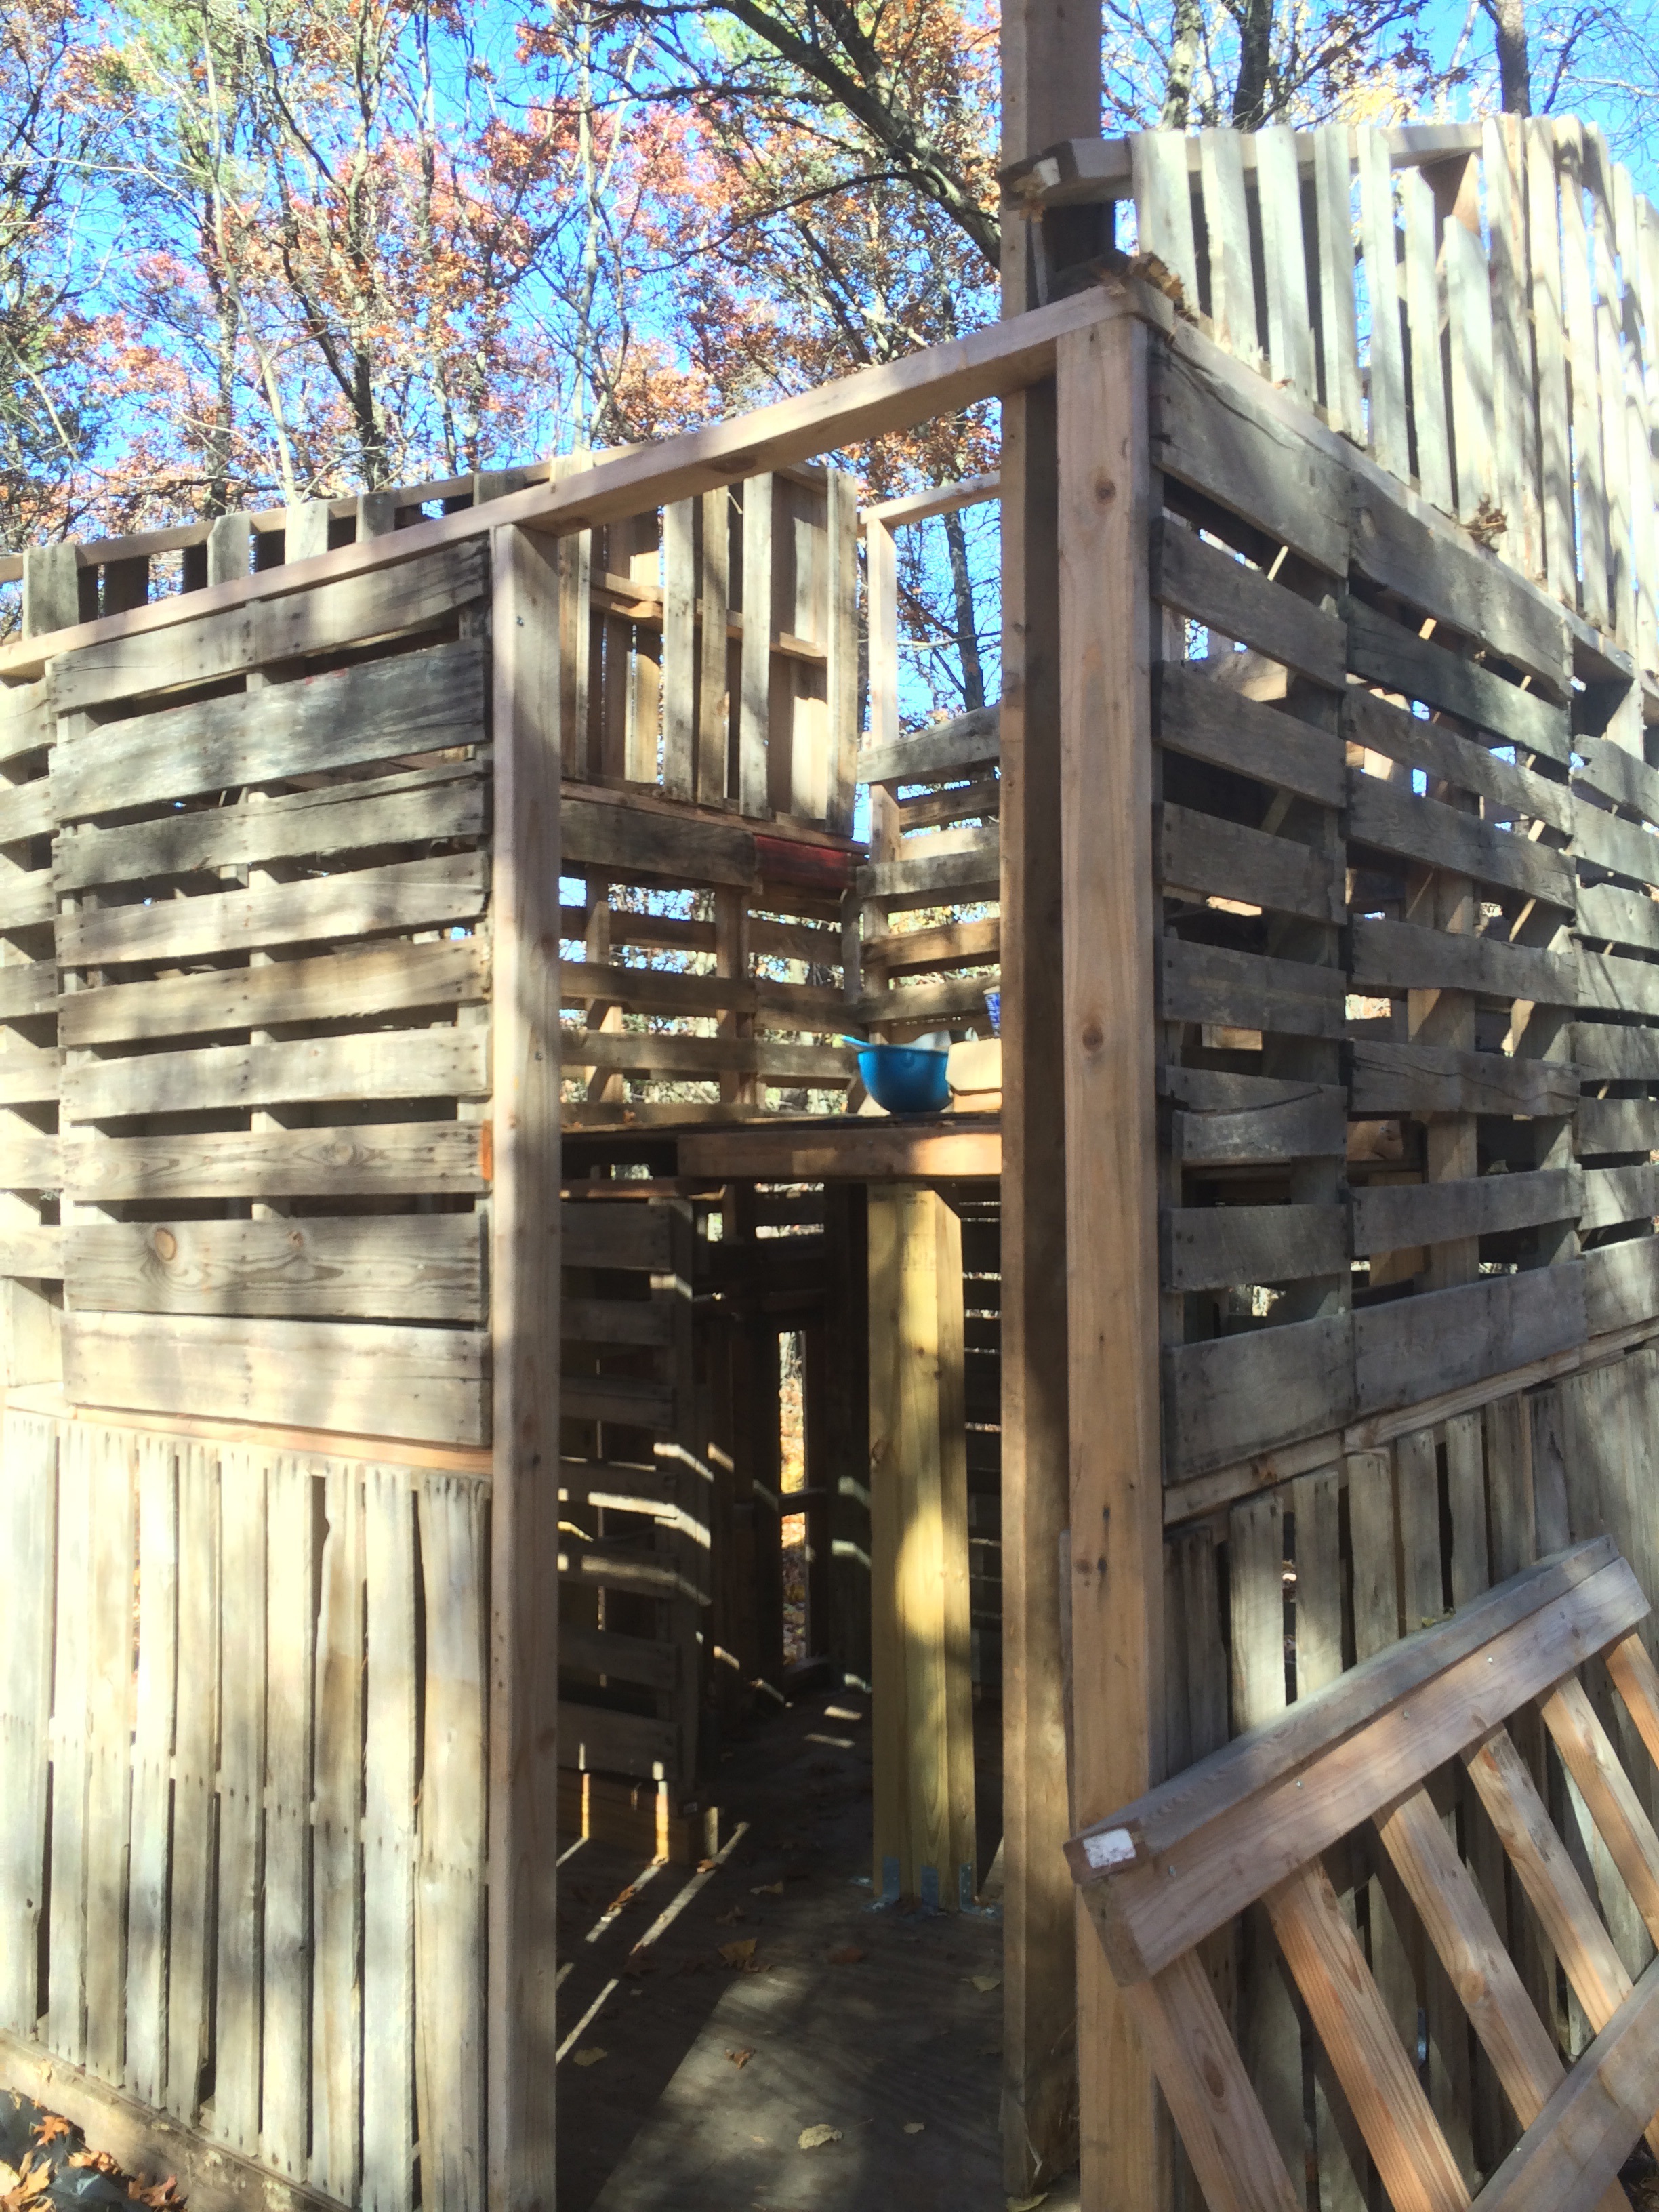
Also, we didn’t have a clear idea of what the heck we’d even use such a thing for – maybe firewood storage? However, we did know we didn’t want the plywood floor and pallet walls to be sitting in the snow and slush all winter long, so we made it a goal to get the roof up before the snow flew.
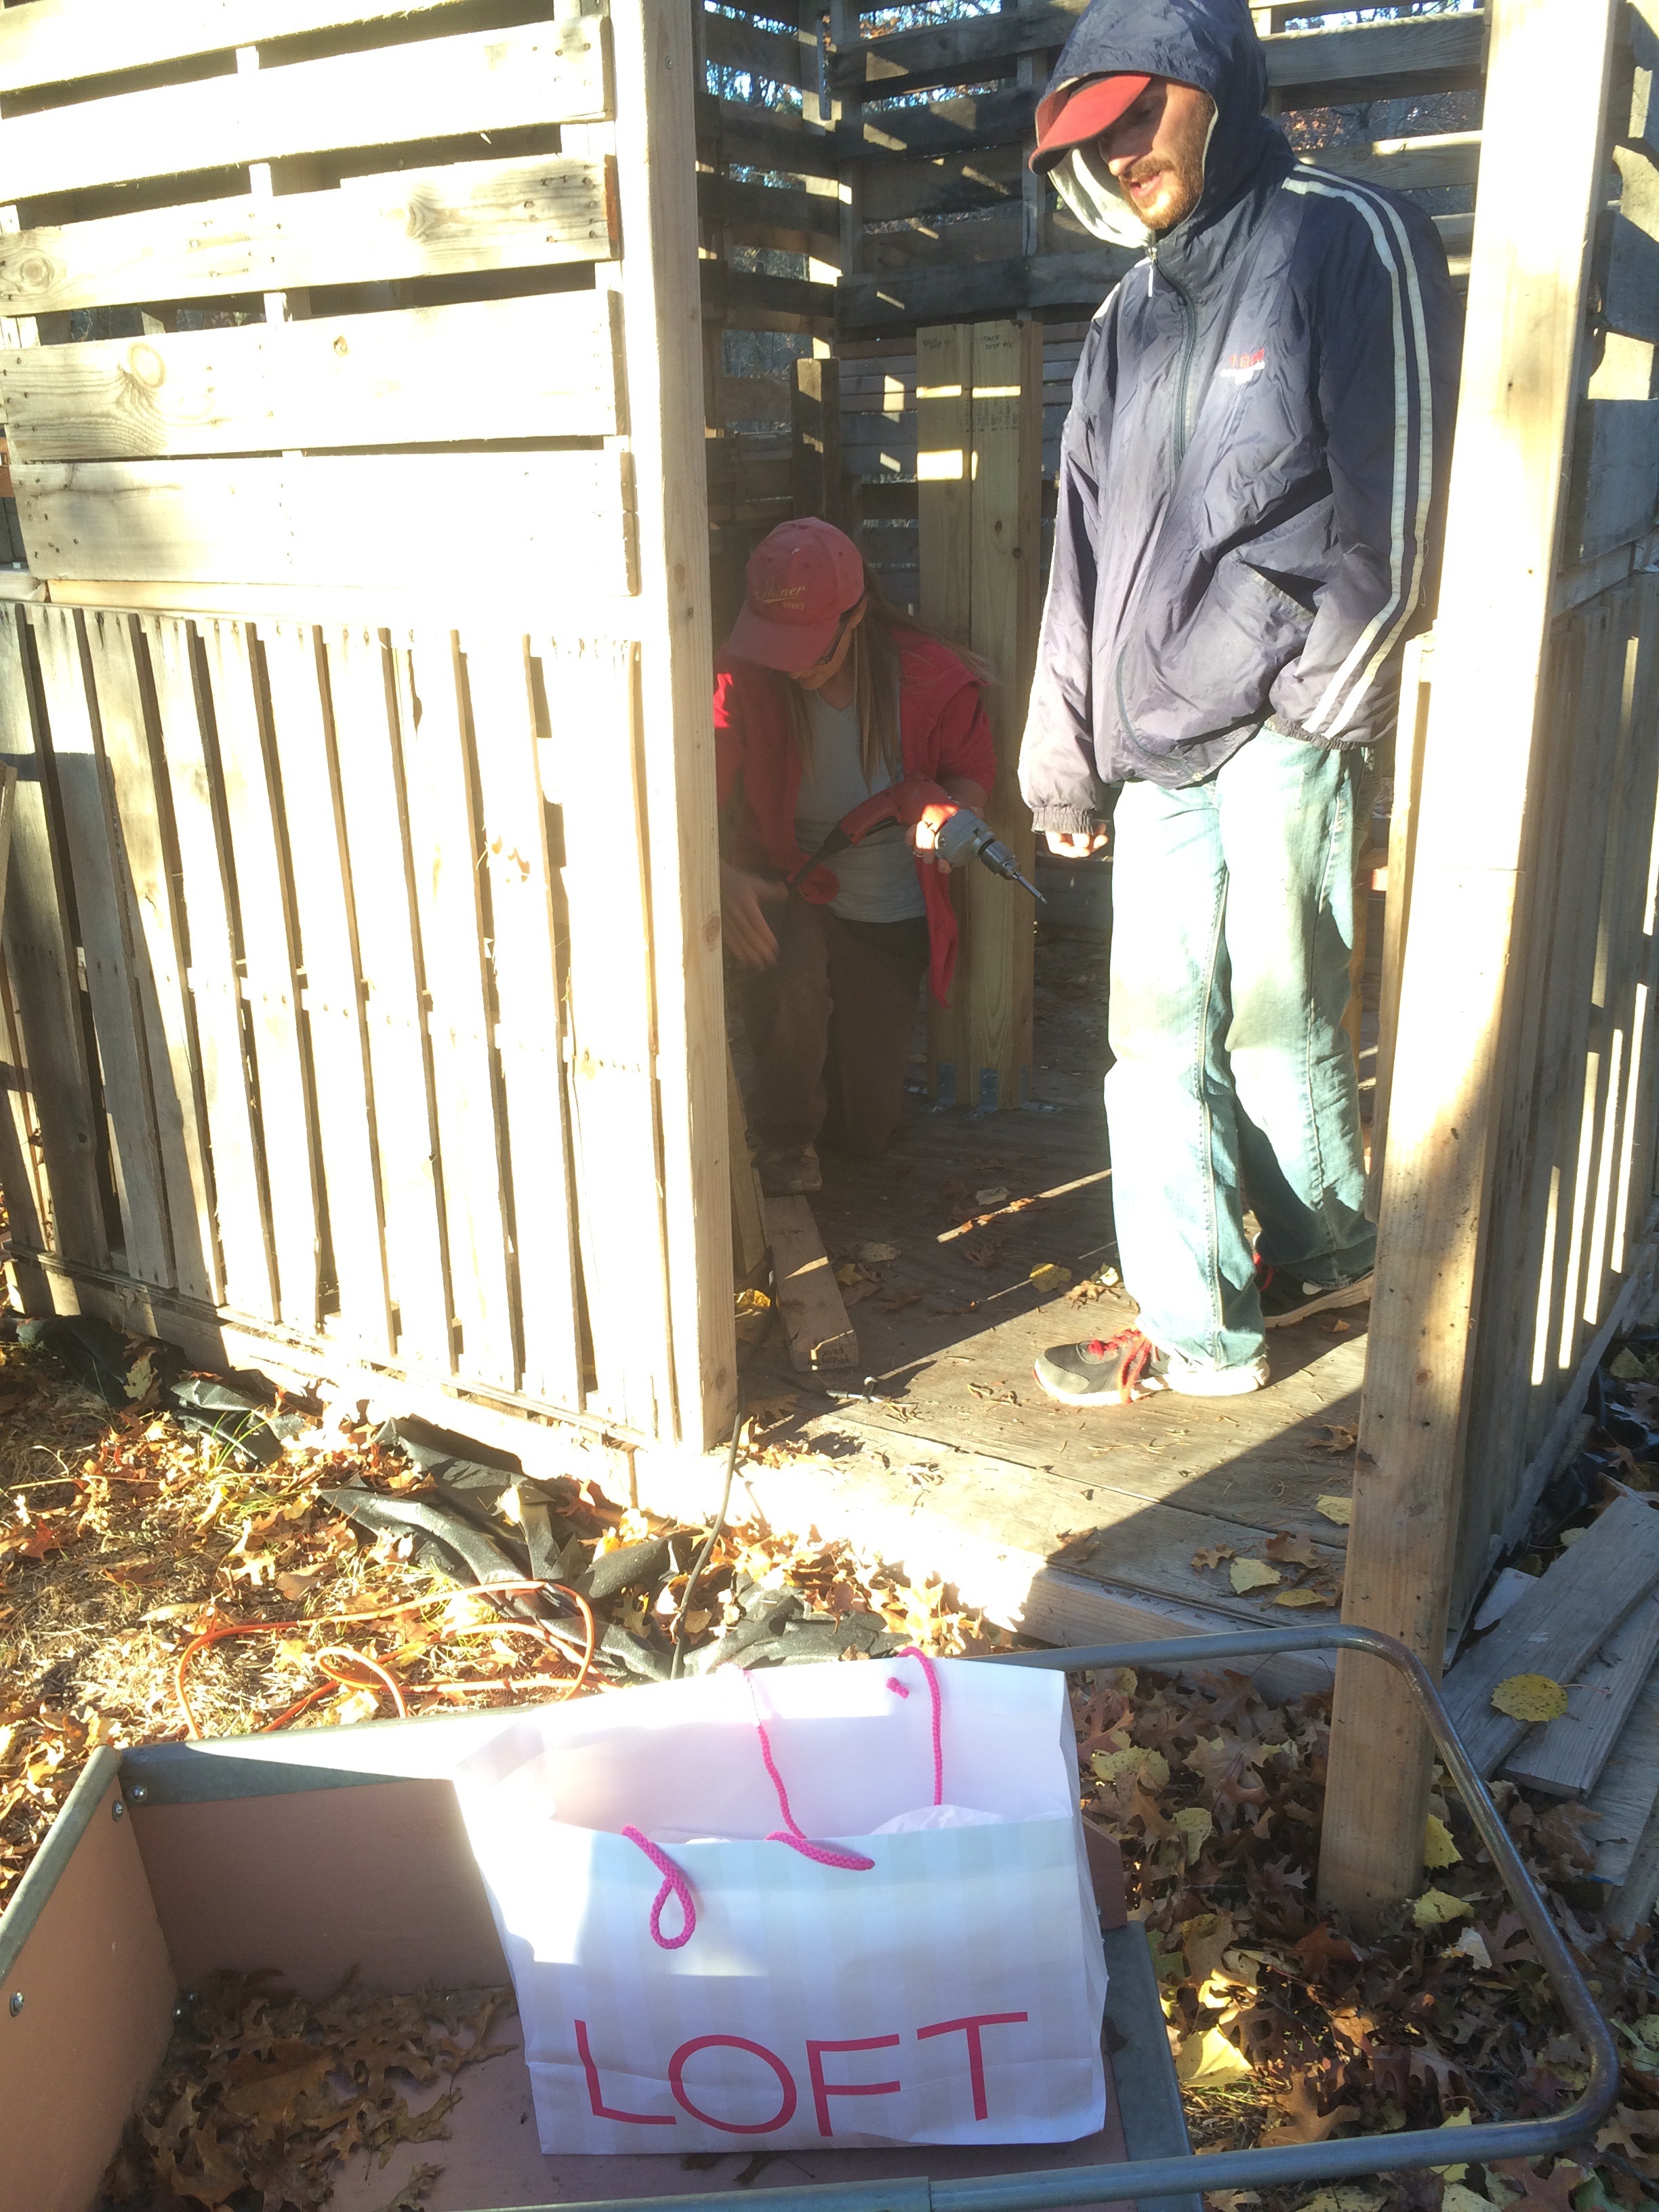
But to add the roof, we had to finish the exterior walls, as well as build out the loft inside, so we could stand on it to work on the roof inside. This all seemed like a big obstacle, until we actually got into the work, and it flew by – with some help from Kristin and Mark, Gabe got the thing completed in no time, with some modifications improving upon the original design.
building the loft
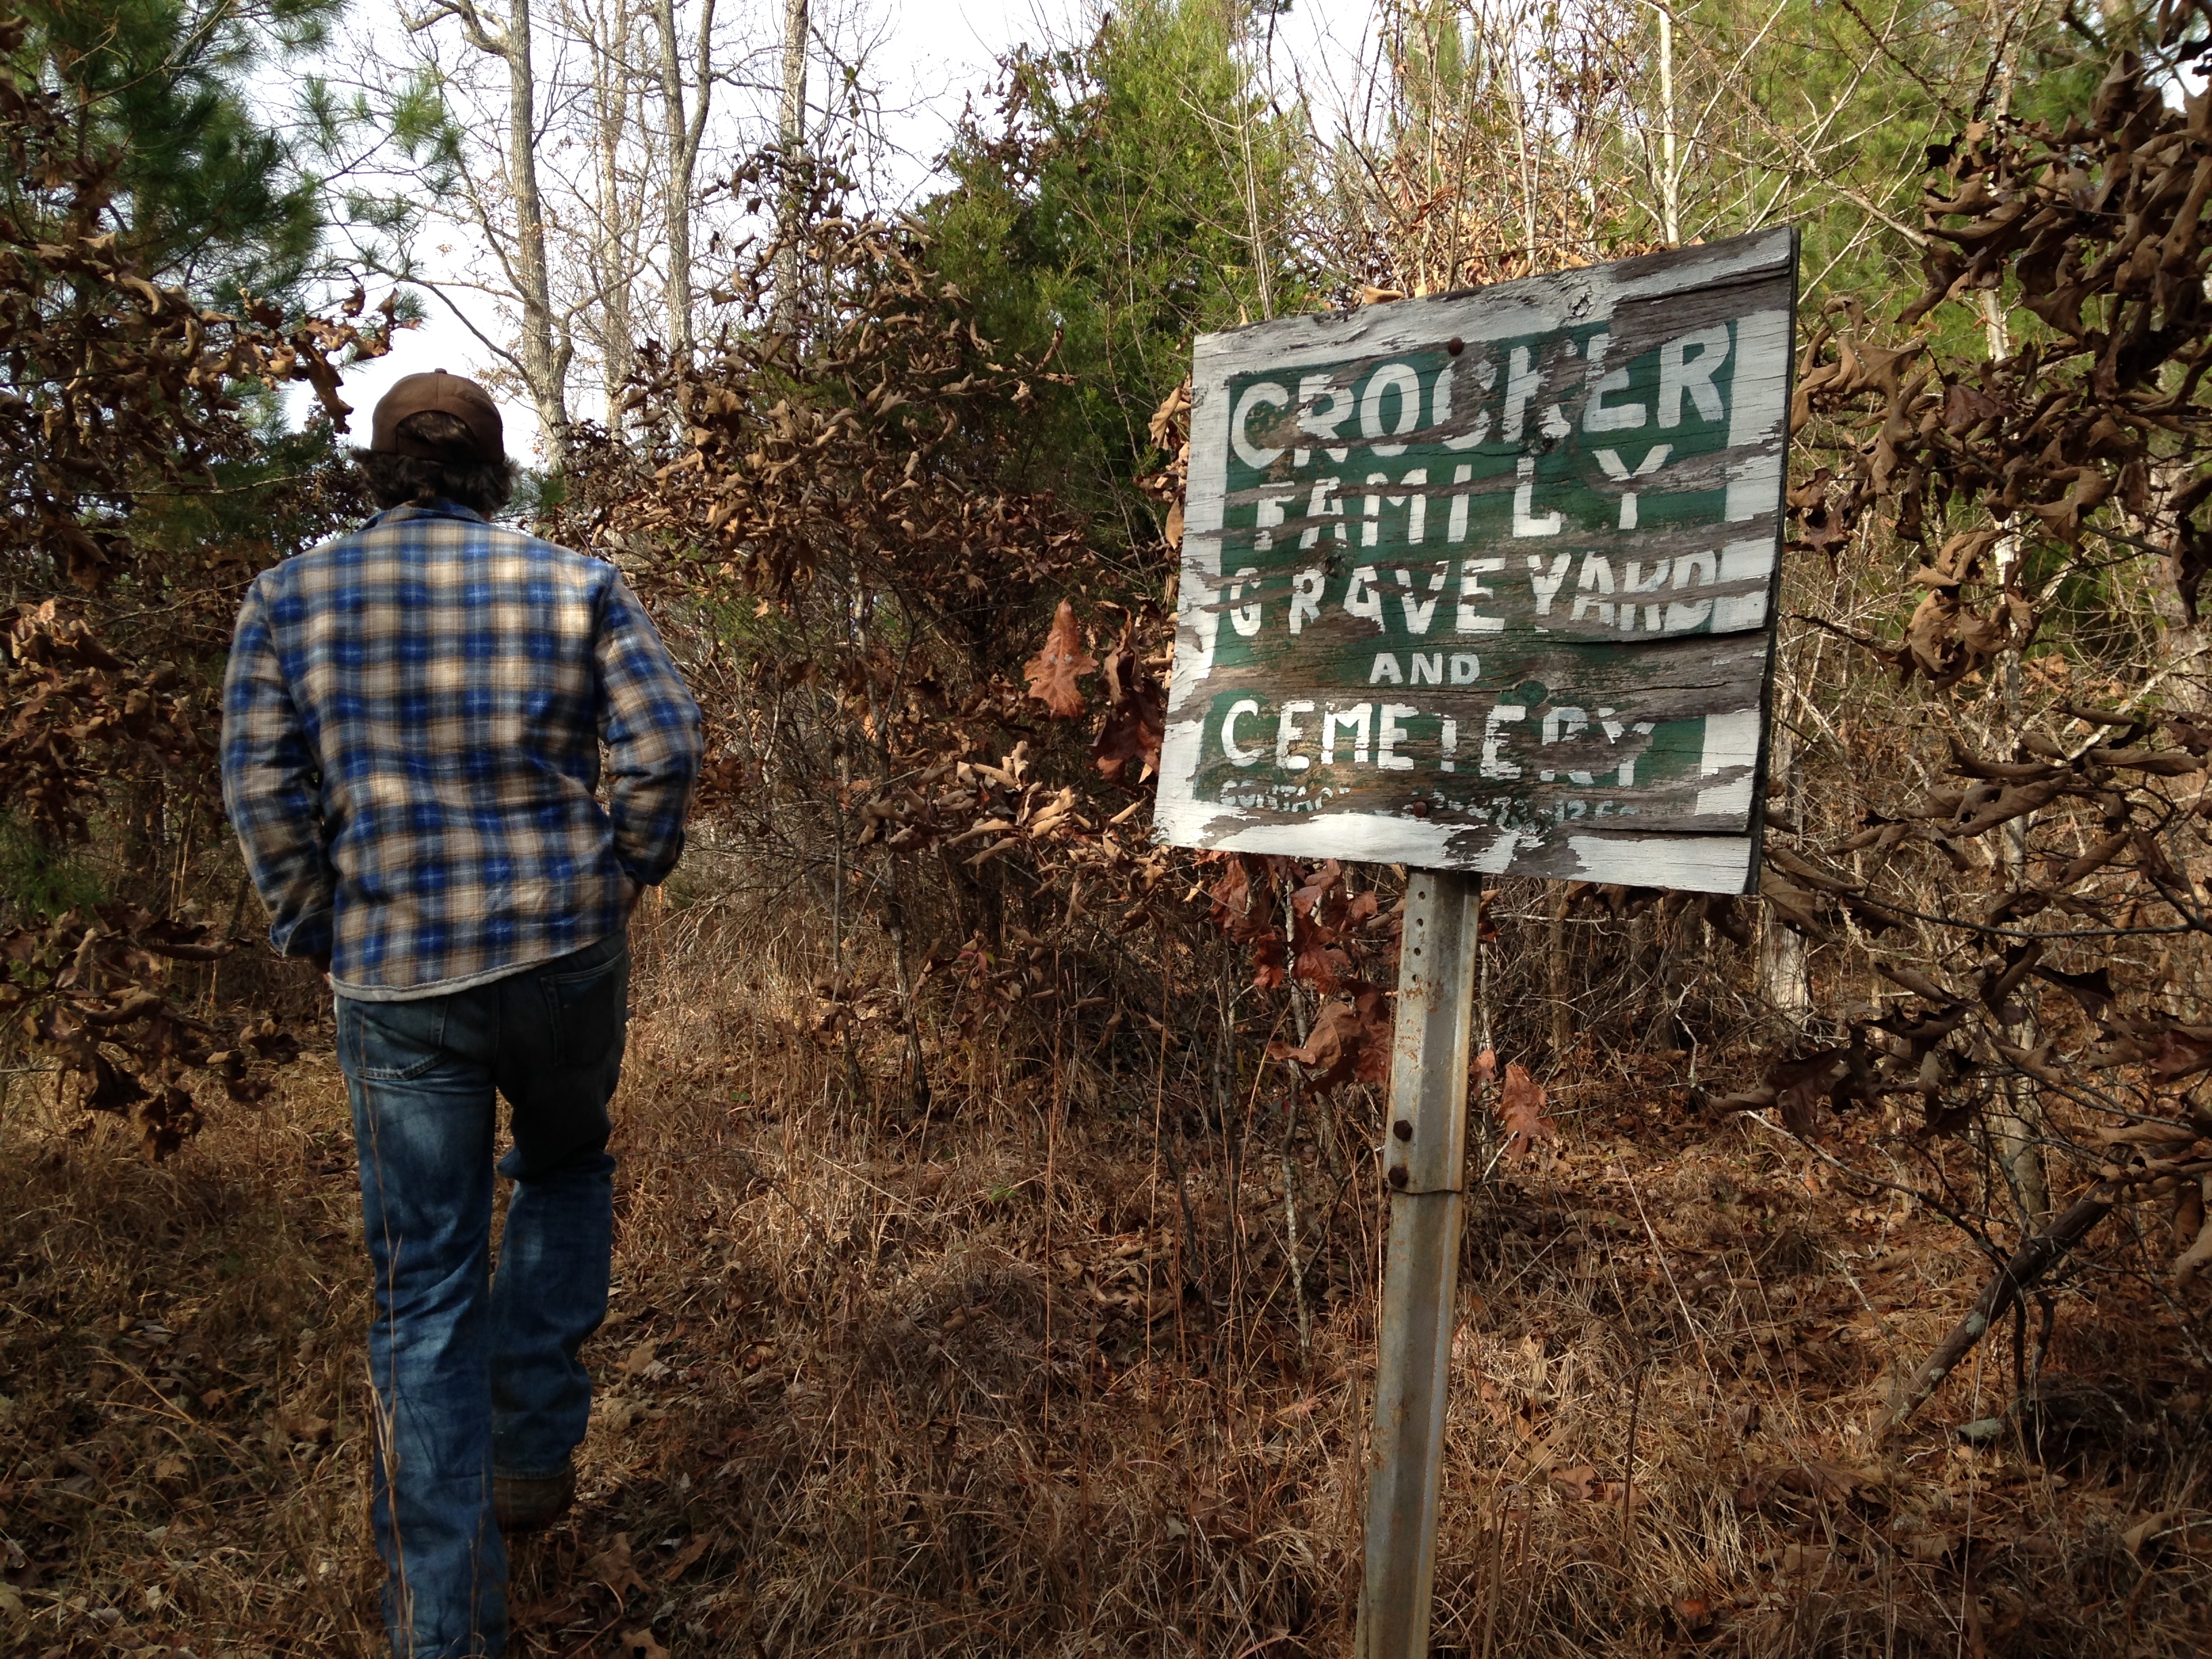
So now the fort was as complete as it had ever been – but still was open to the elements from the sides, through the gaps in the pallets. It was easy to see that winter would fill it with snow, which would thaw and freeze and deteriorate the floor, which was already suffering from sitting piled under scant cover last winter. So thoughts turned to siding … and we remembered the fascinating ruins we’d discovered in the Polk County forest right down the road from us.
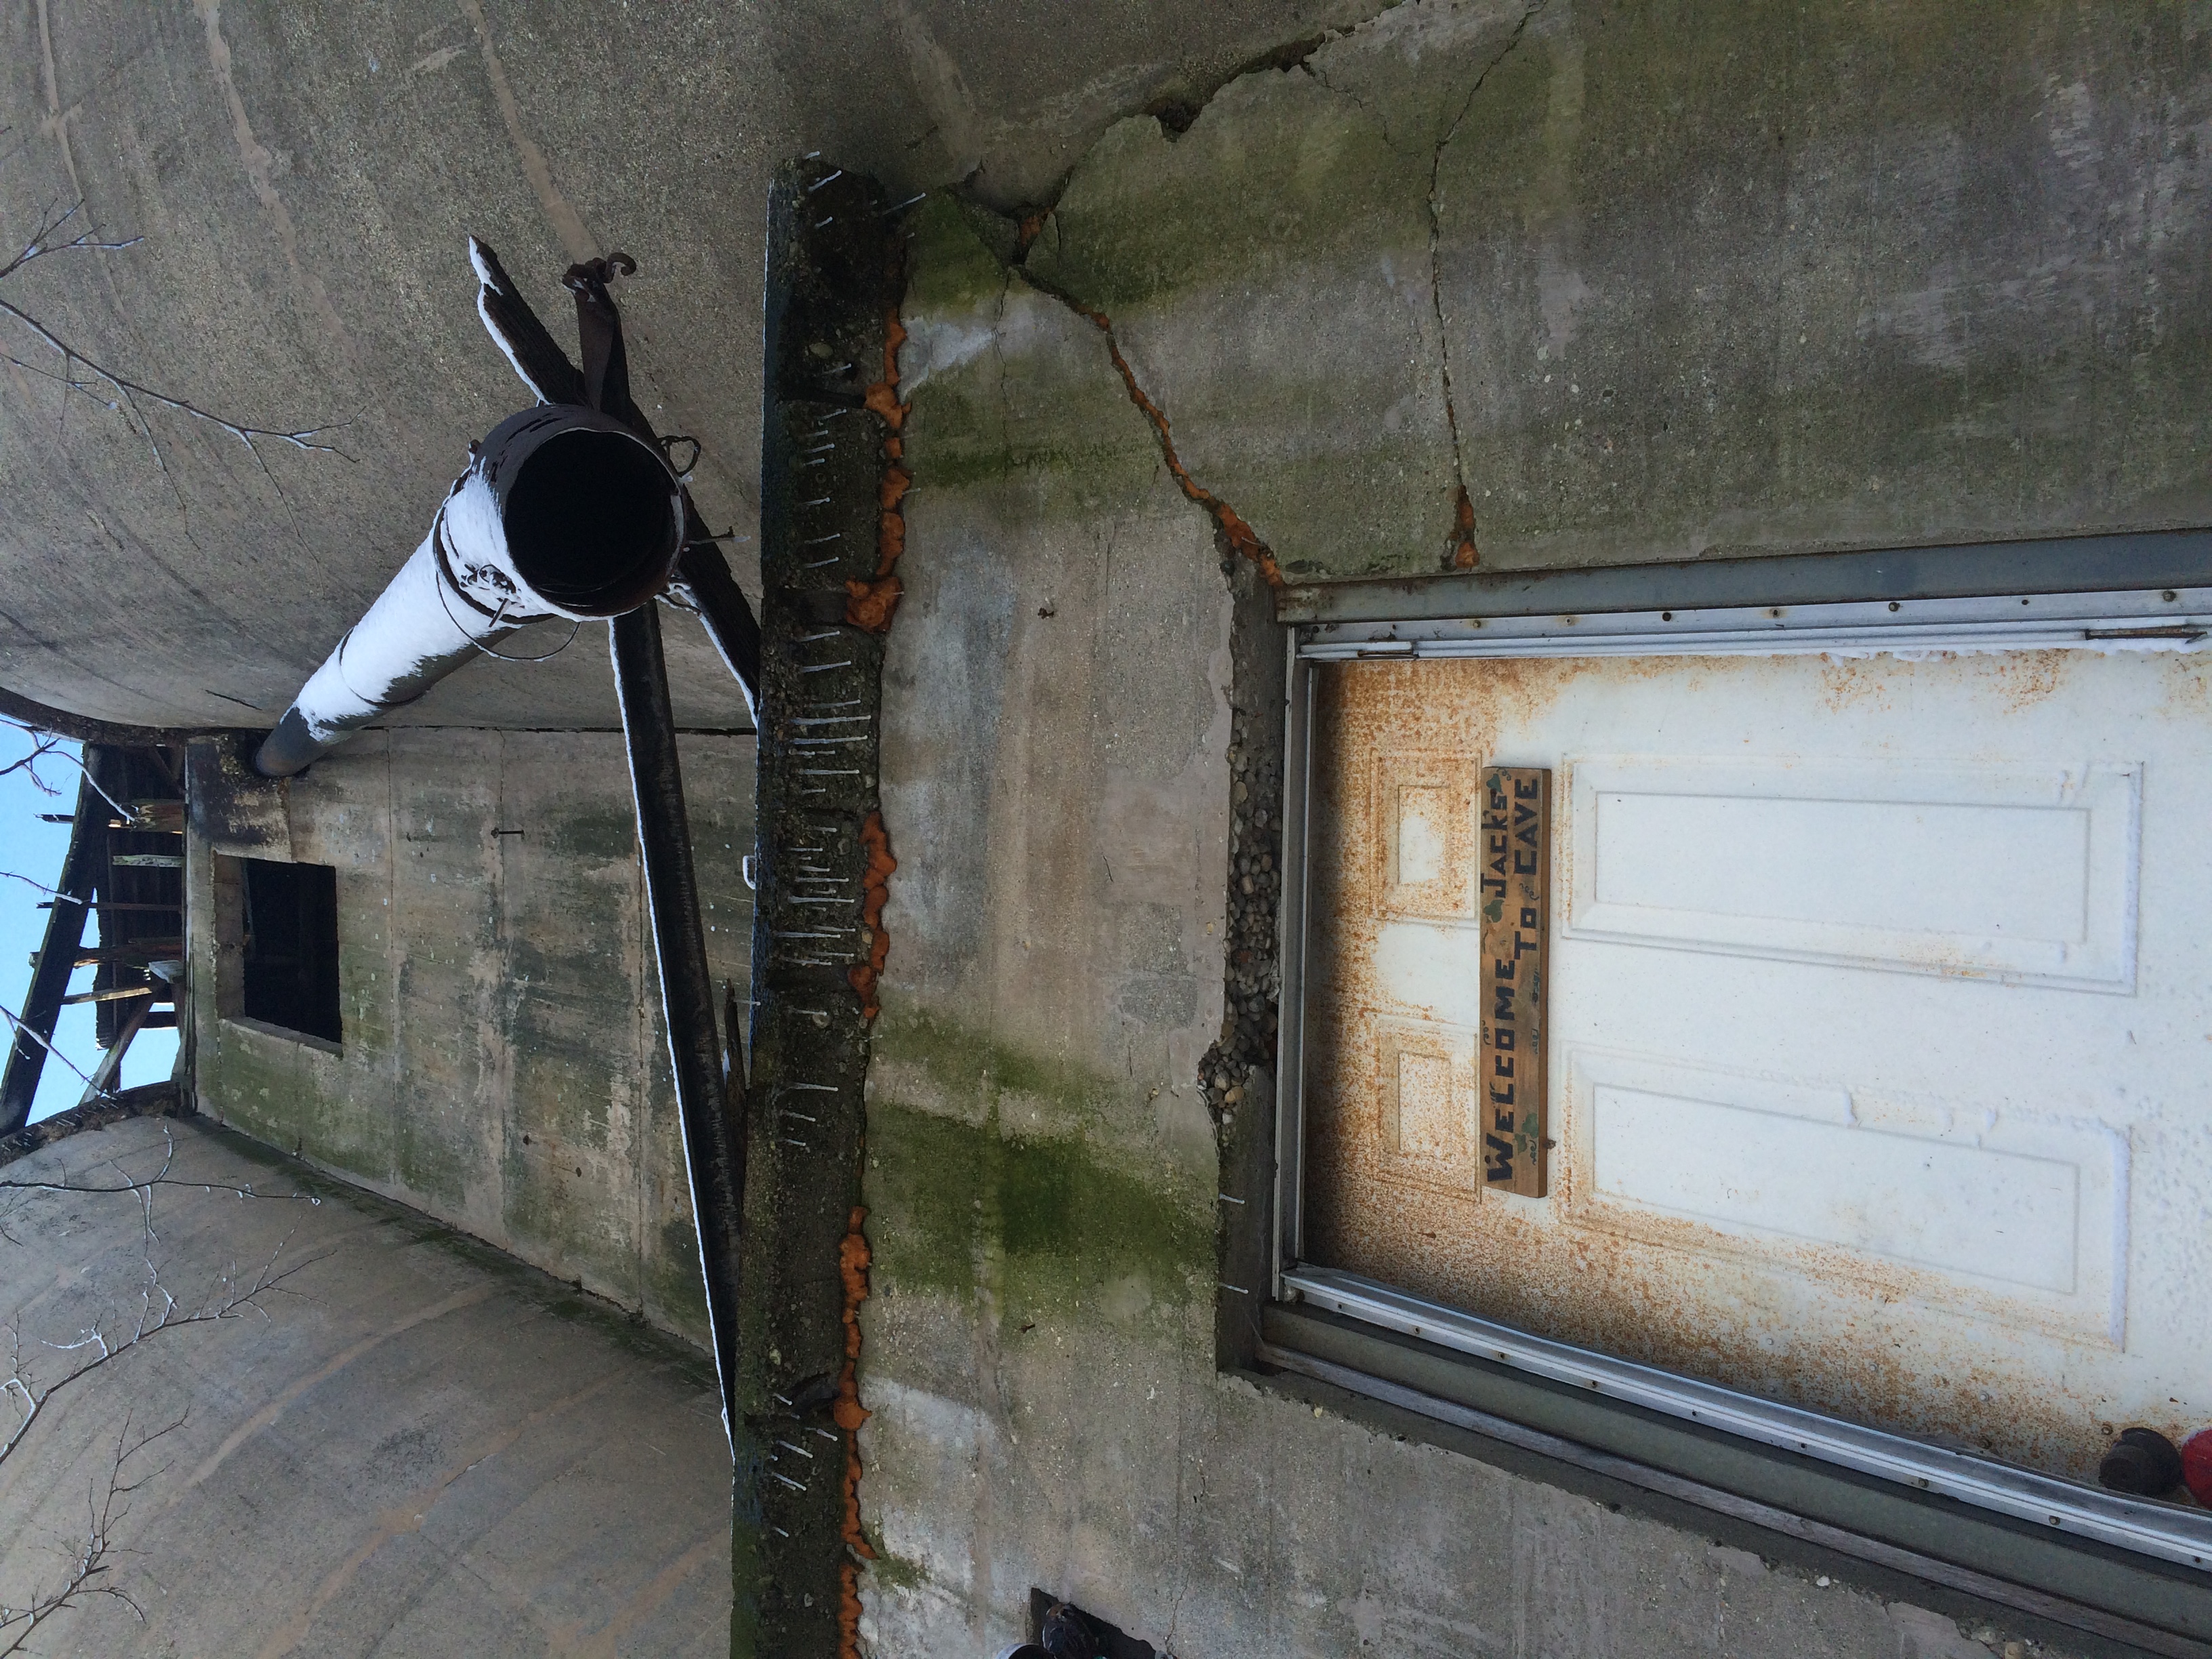
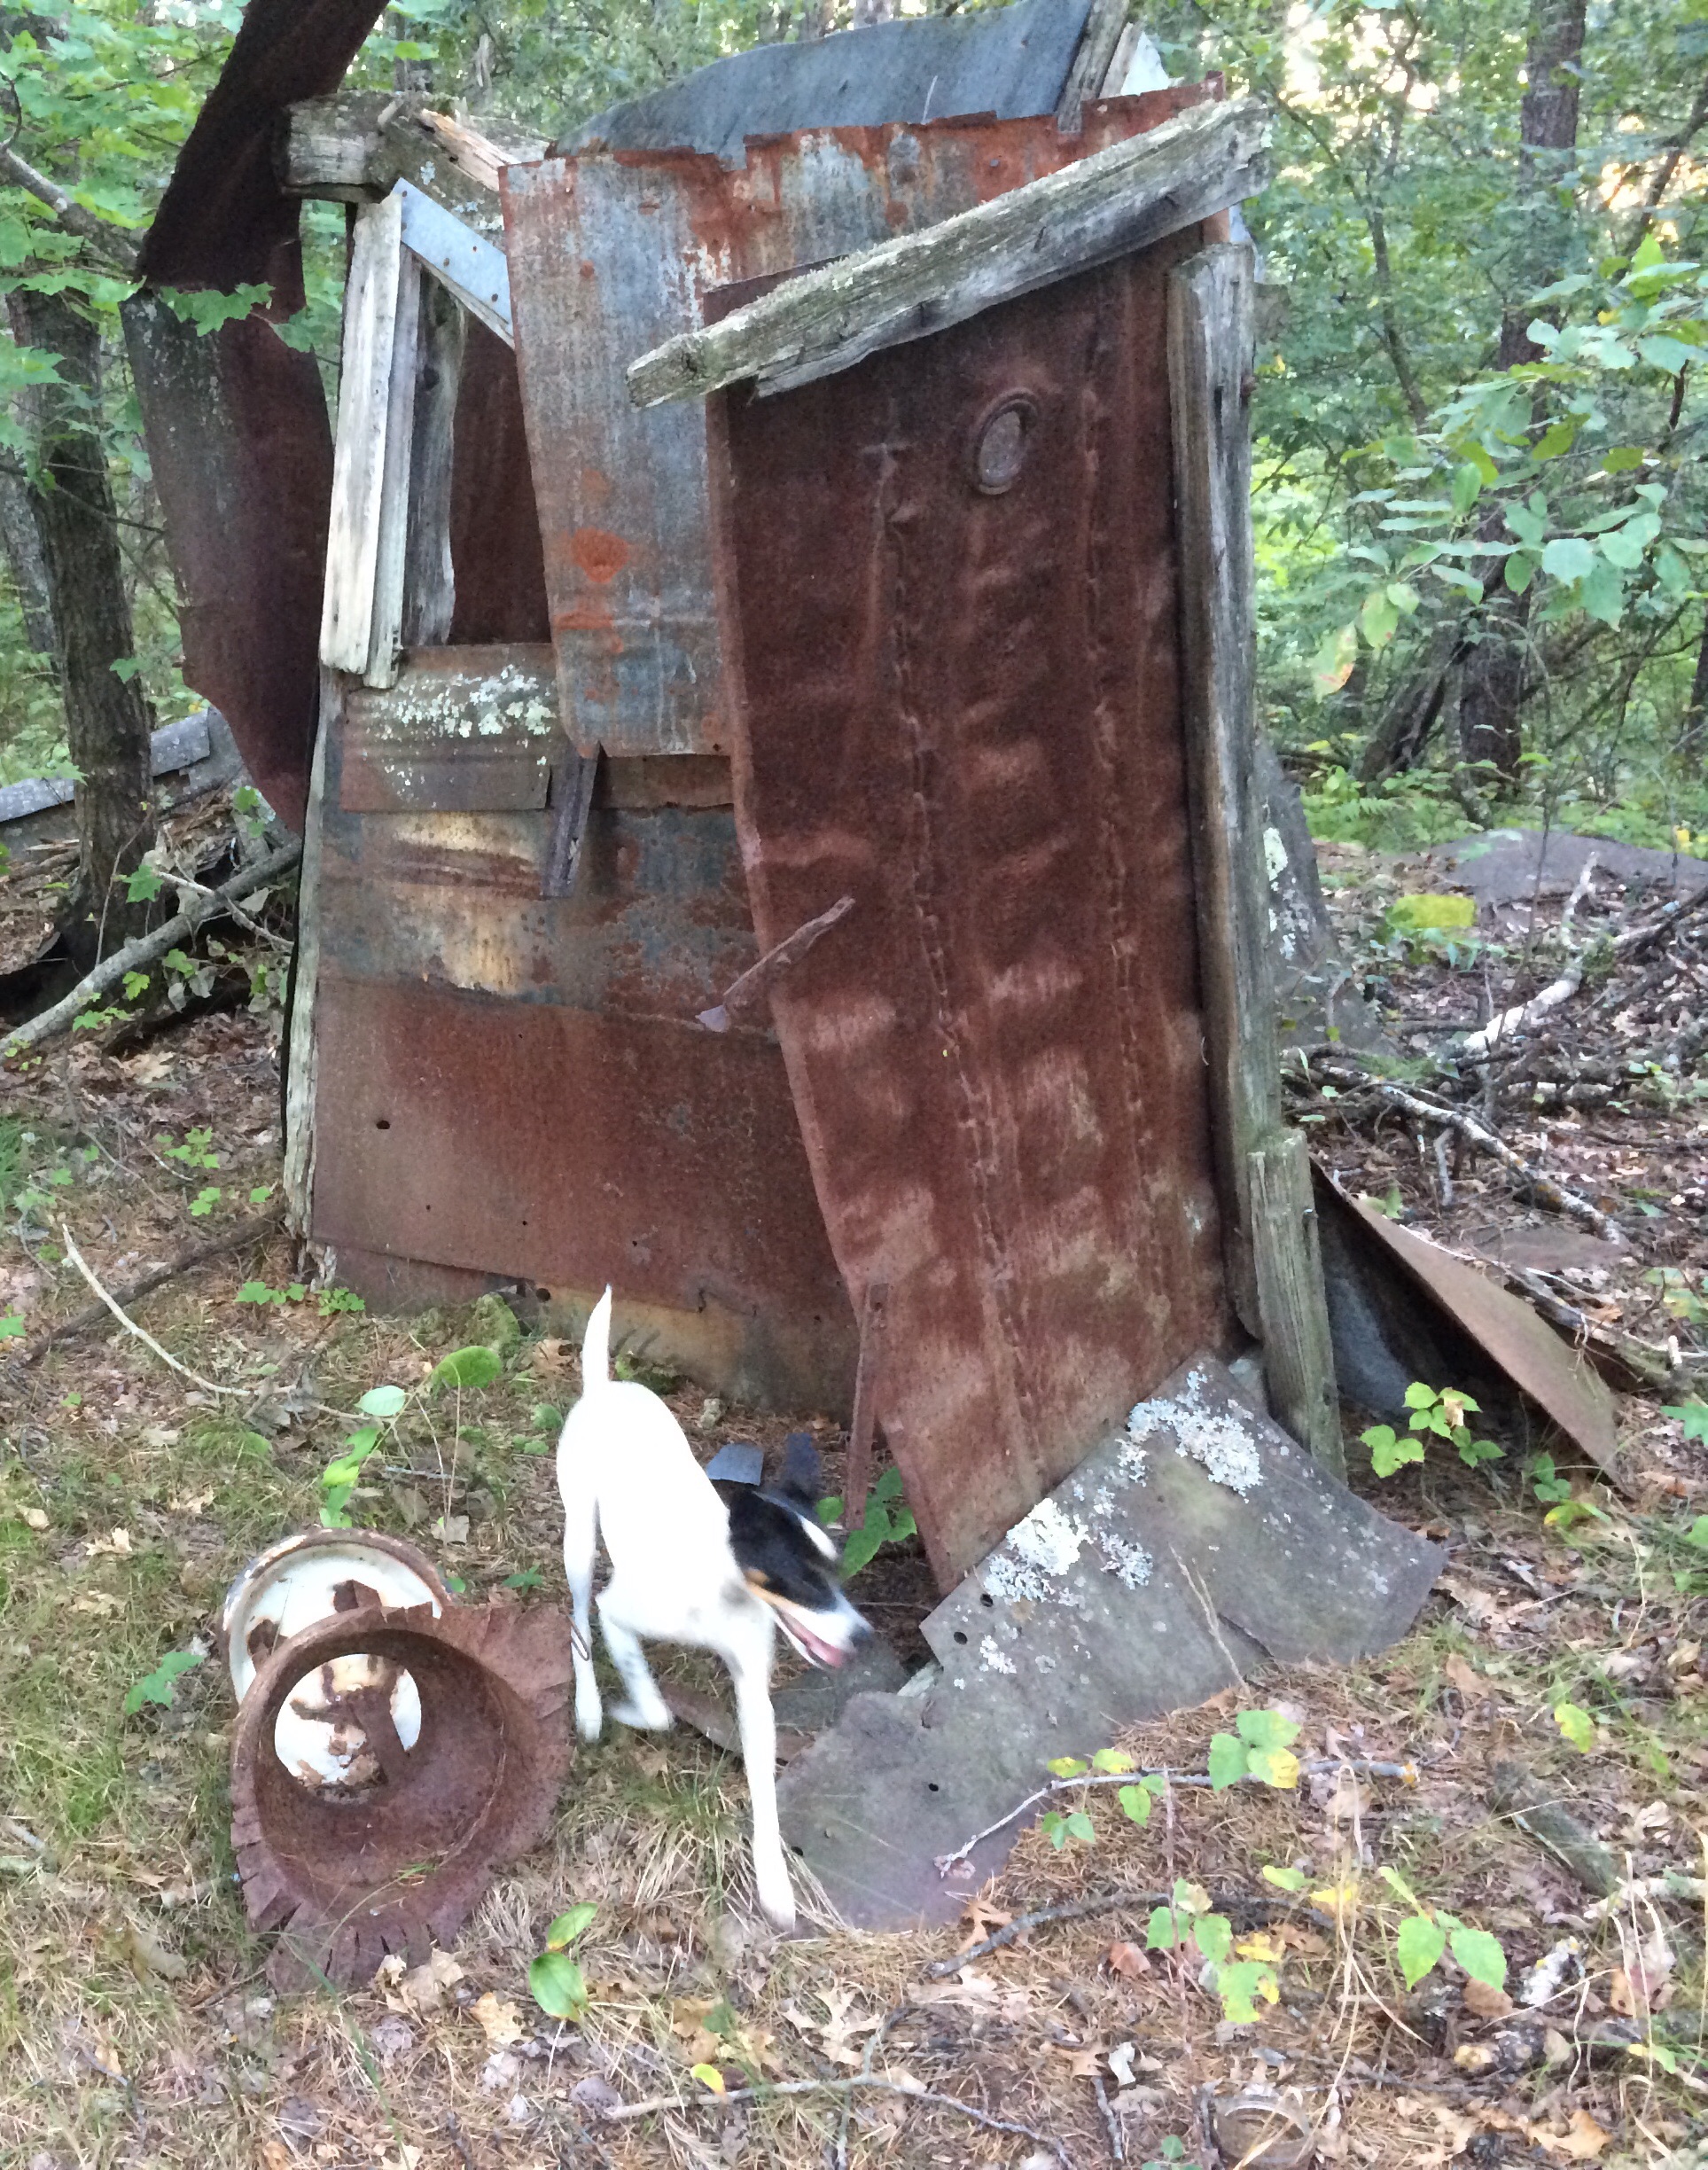
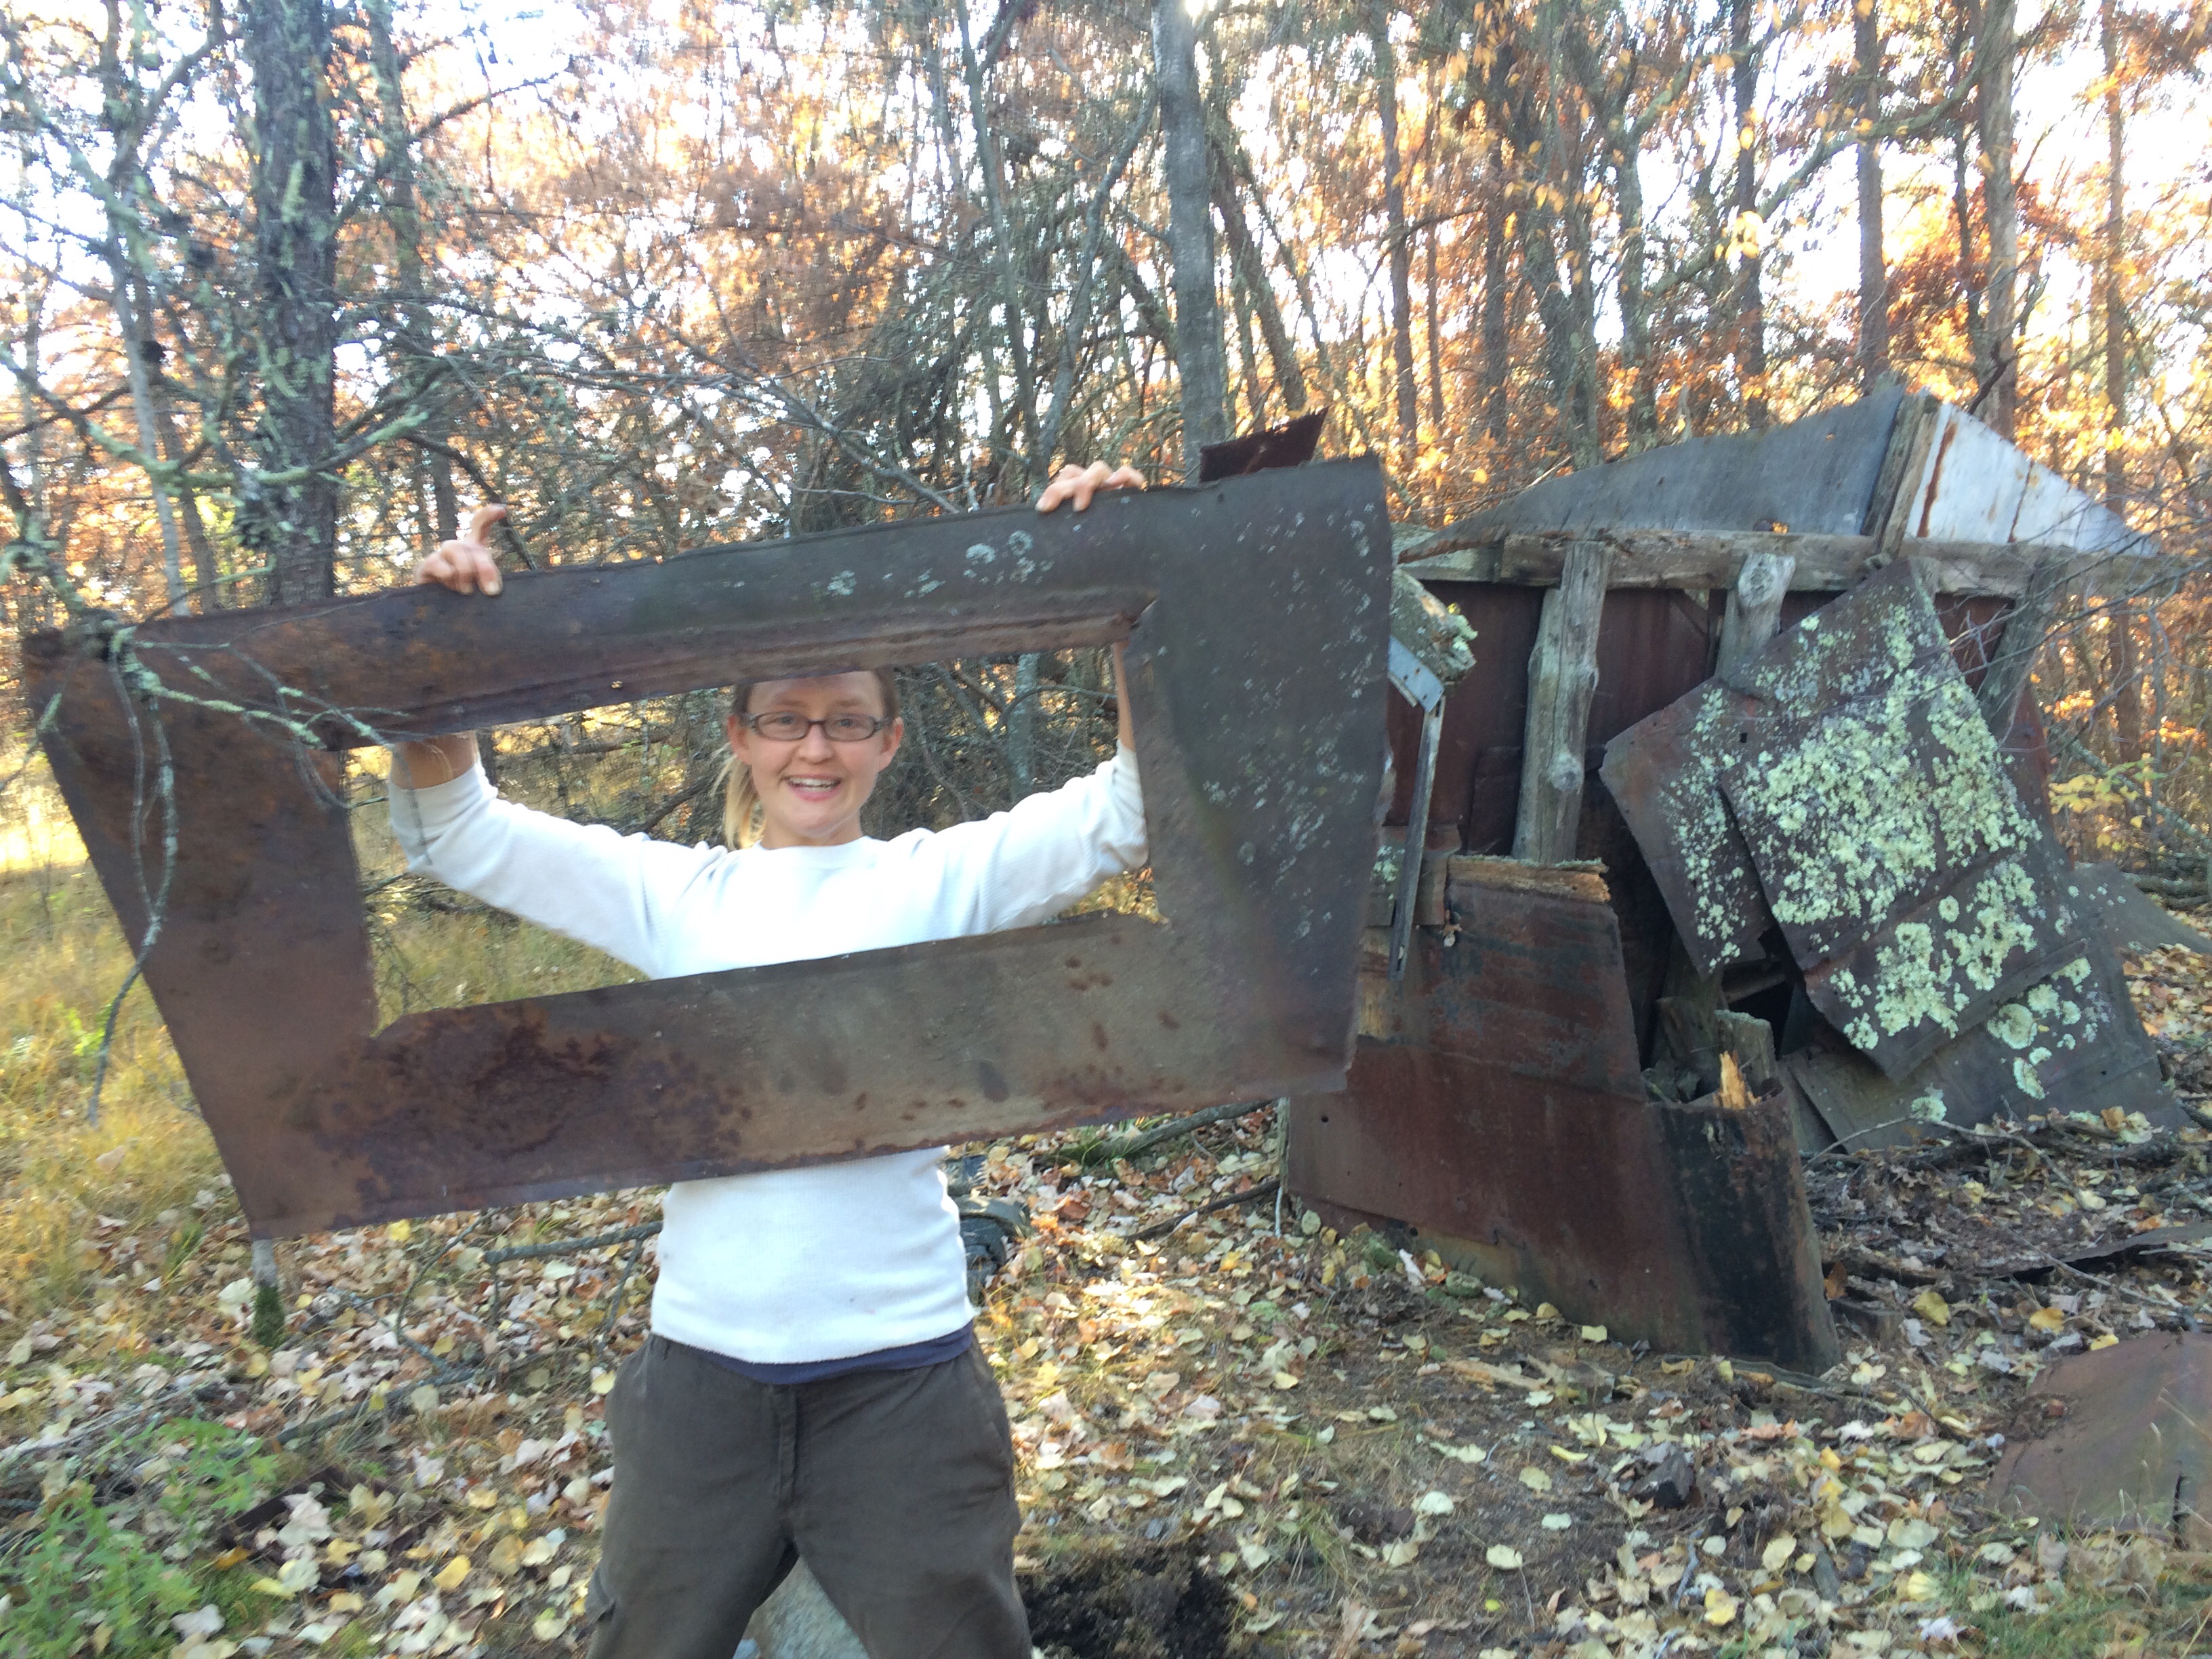
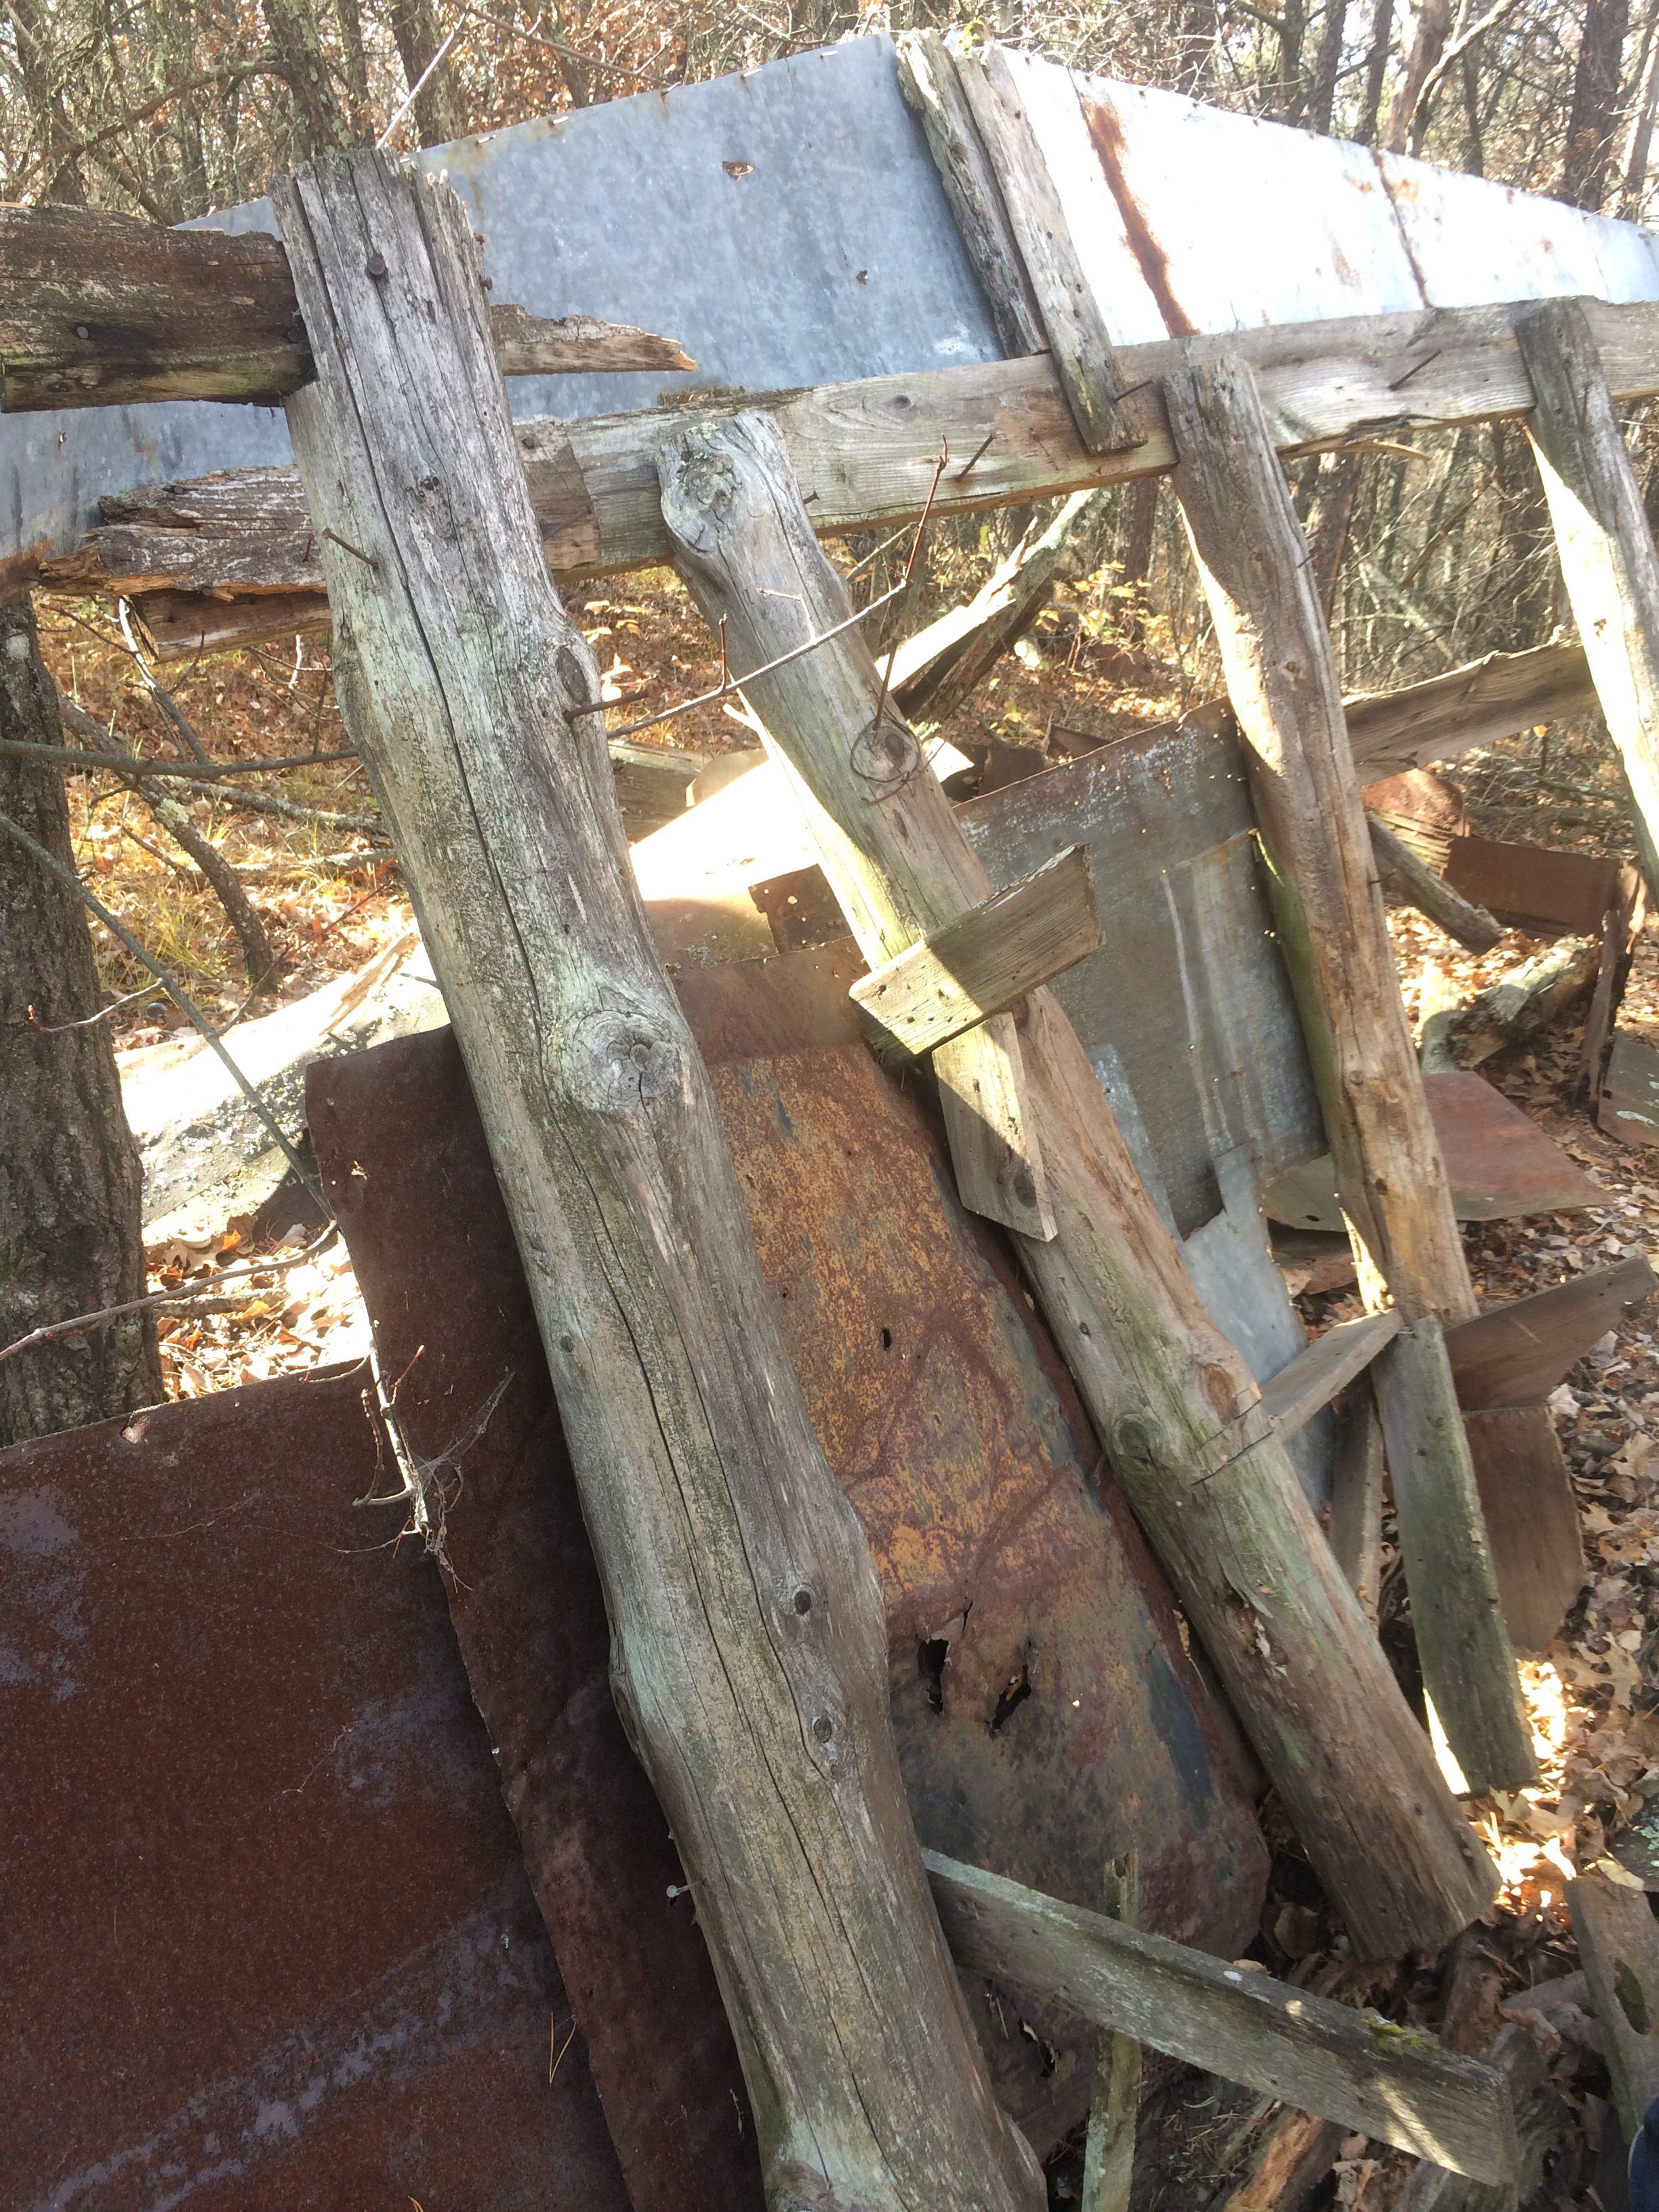
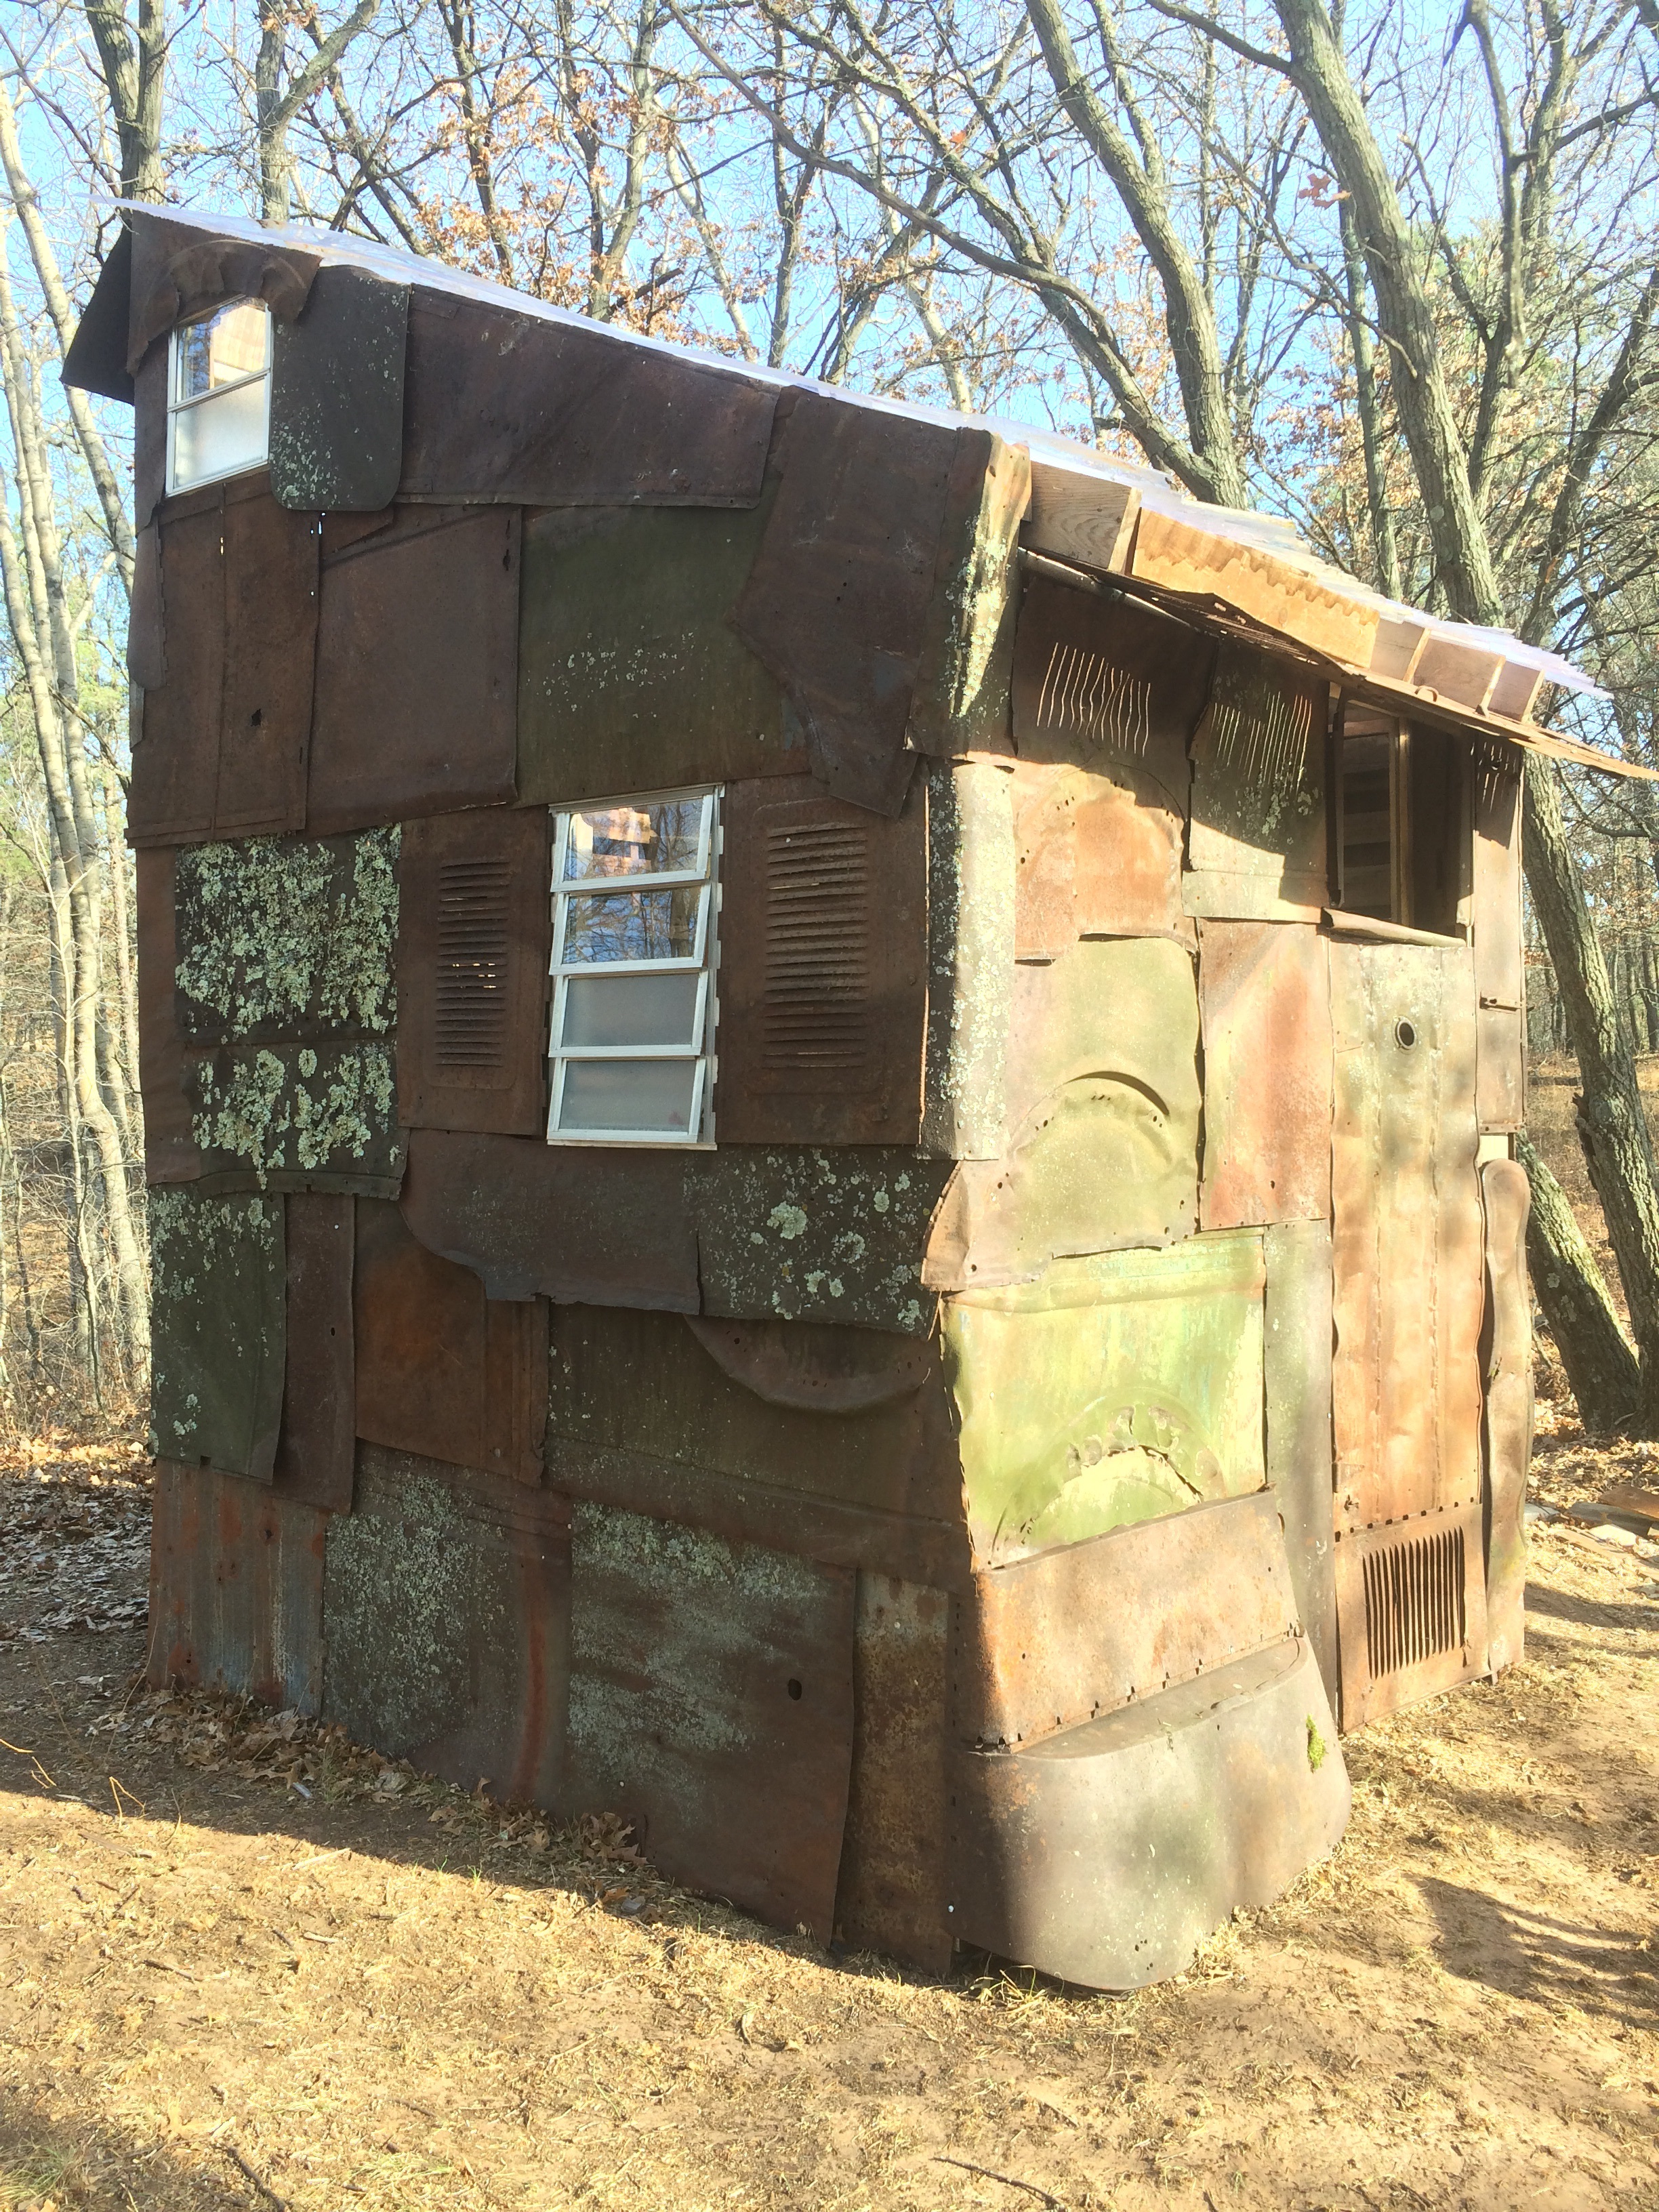
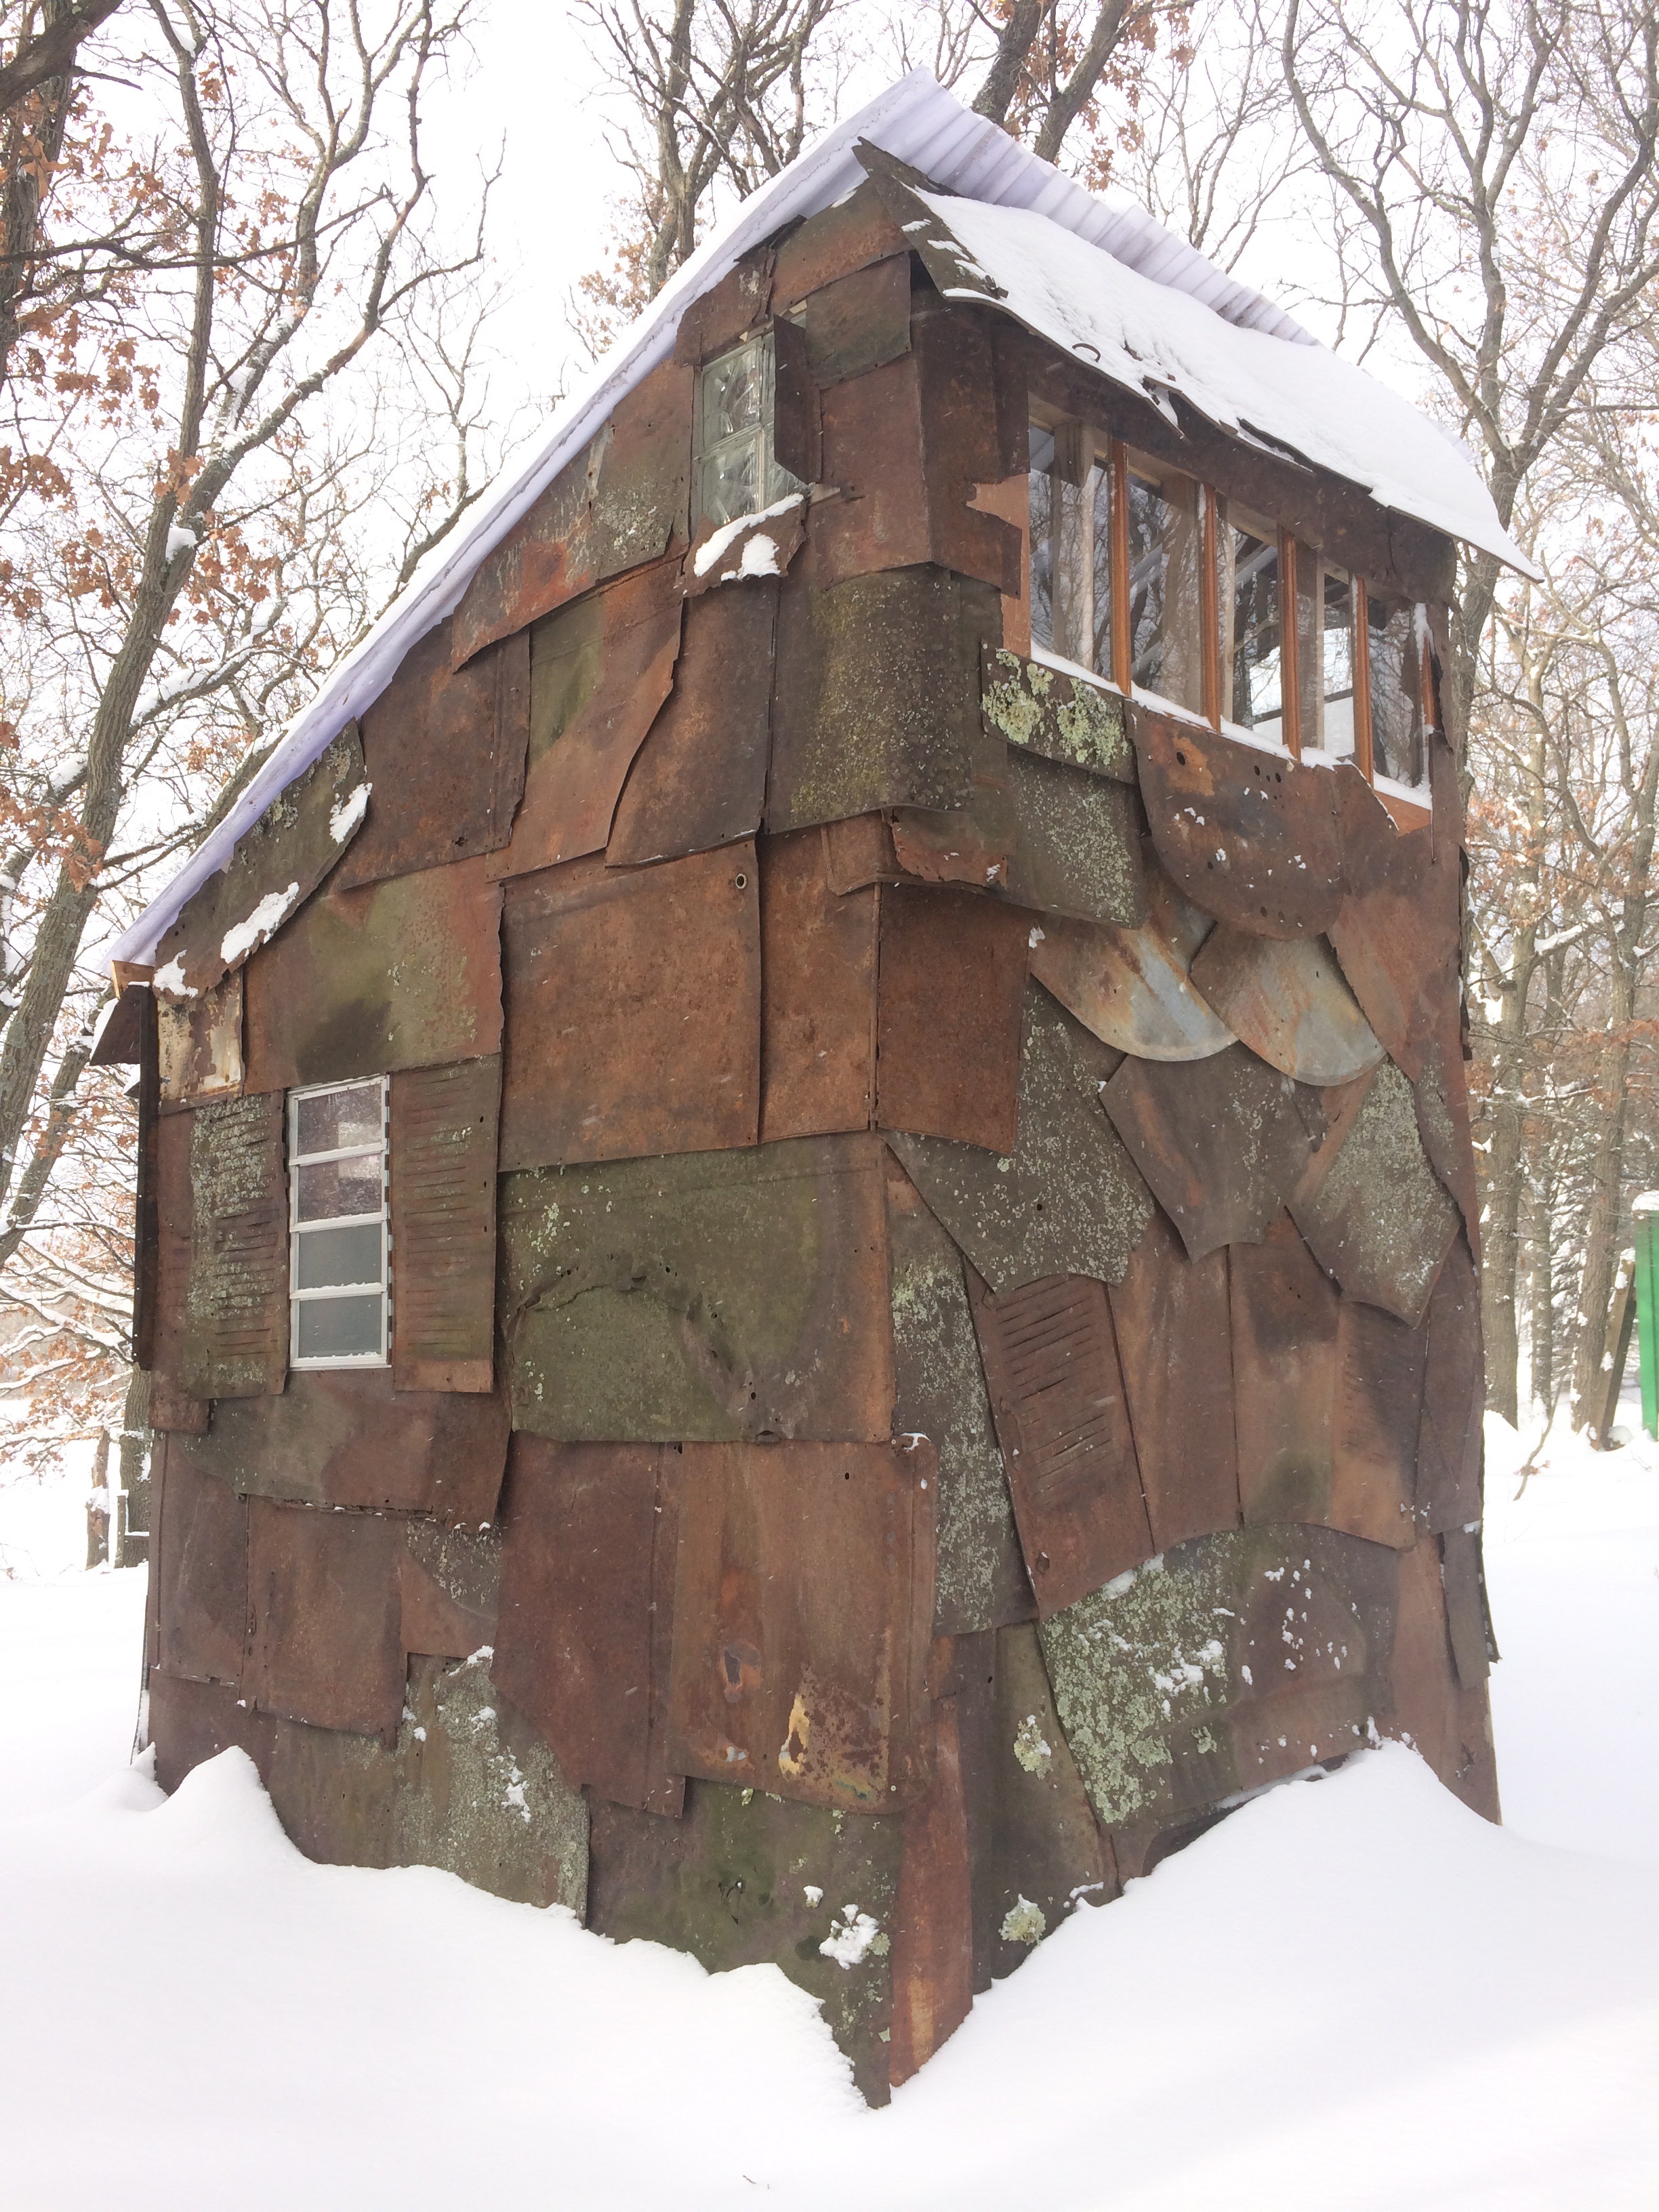
This was what we came to call “The Architect’s Shack” – the remains of a cluster of shanties and shacks all built in the same style – shallow foundation pits, lined with steel panels from cars dating to the 1920s or ’30s. Walls had been built from natural timber beams, with flattened autobody panels nailed together onto them in layers, always with higher panels lapping over lower ones, to keep water from running in. The wood stove was gone, but the DIY chimney cap made from a milk jug and an enamelware pot was still laying nearby.
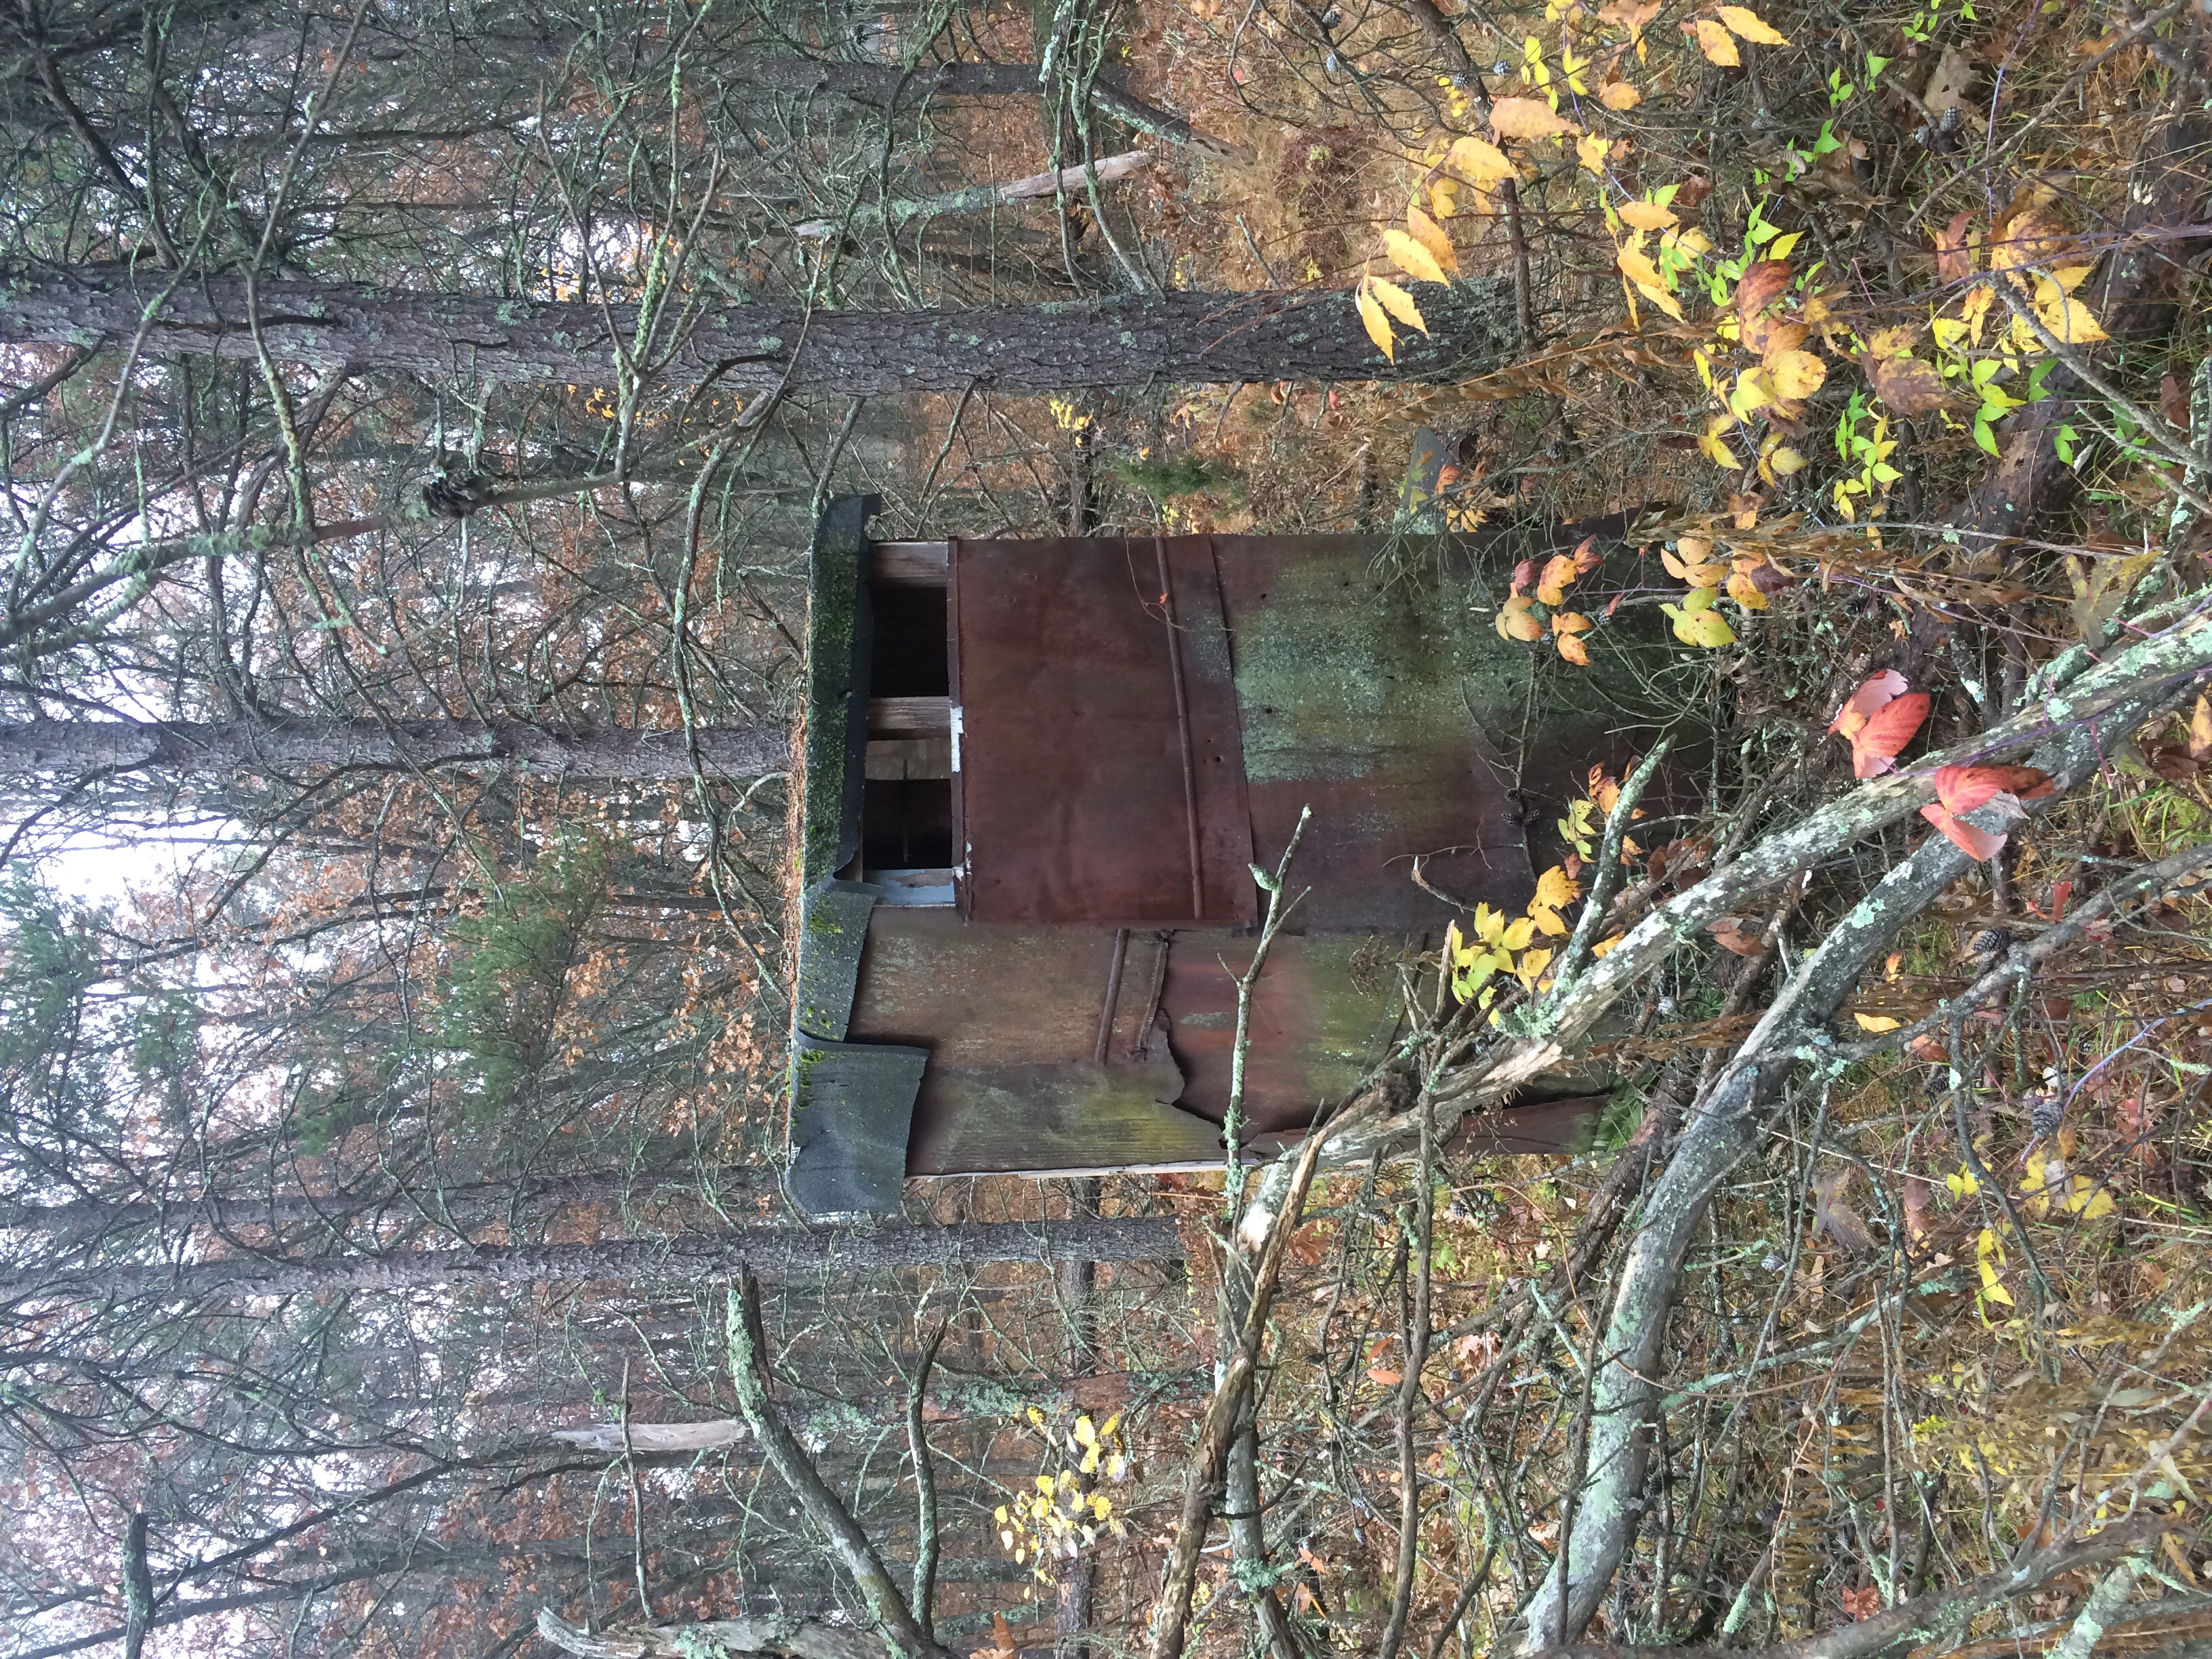
There was only part of one wall of the main shack still standing, and the piece of hammered-flat steel tank that had served as a front door hanging from it. Two other totally-collapsed structures were nearby, as well as more further back into the woods – and an outhouse still standing, the only surviving piece of the Architect’s work.
Everything he’d built had been sided almost entirely with old auto body panels – hoods, doors, roofs, tailgates – all pieces of Model As, Model Ts, and other cars from a time when cars were made from serious heavy steel.
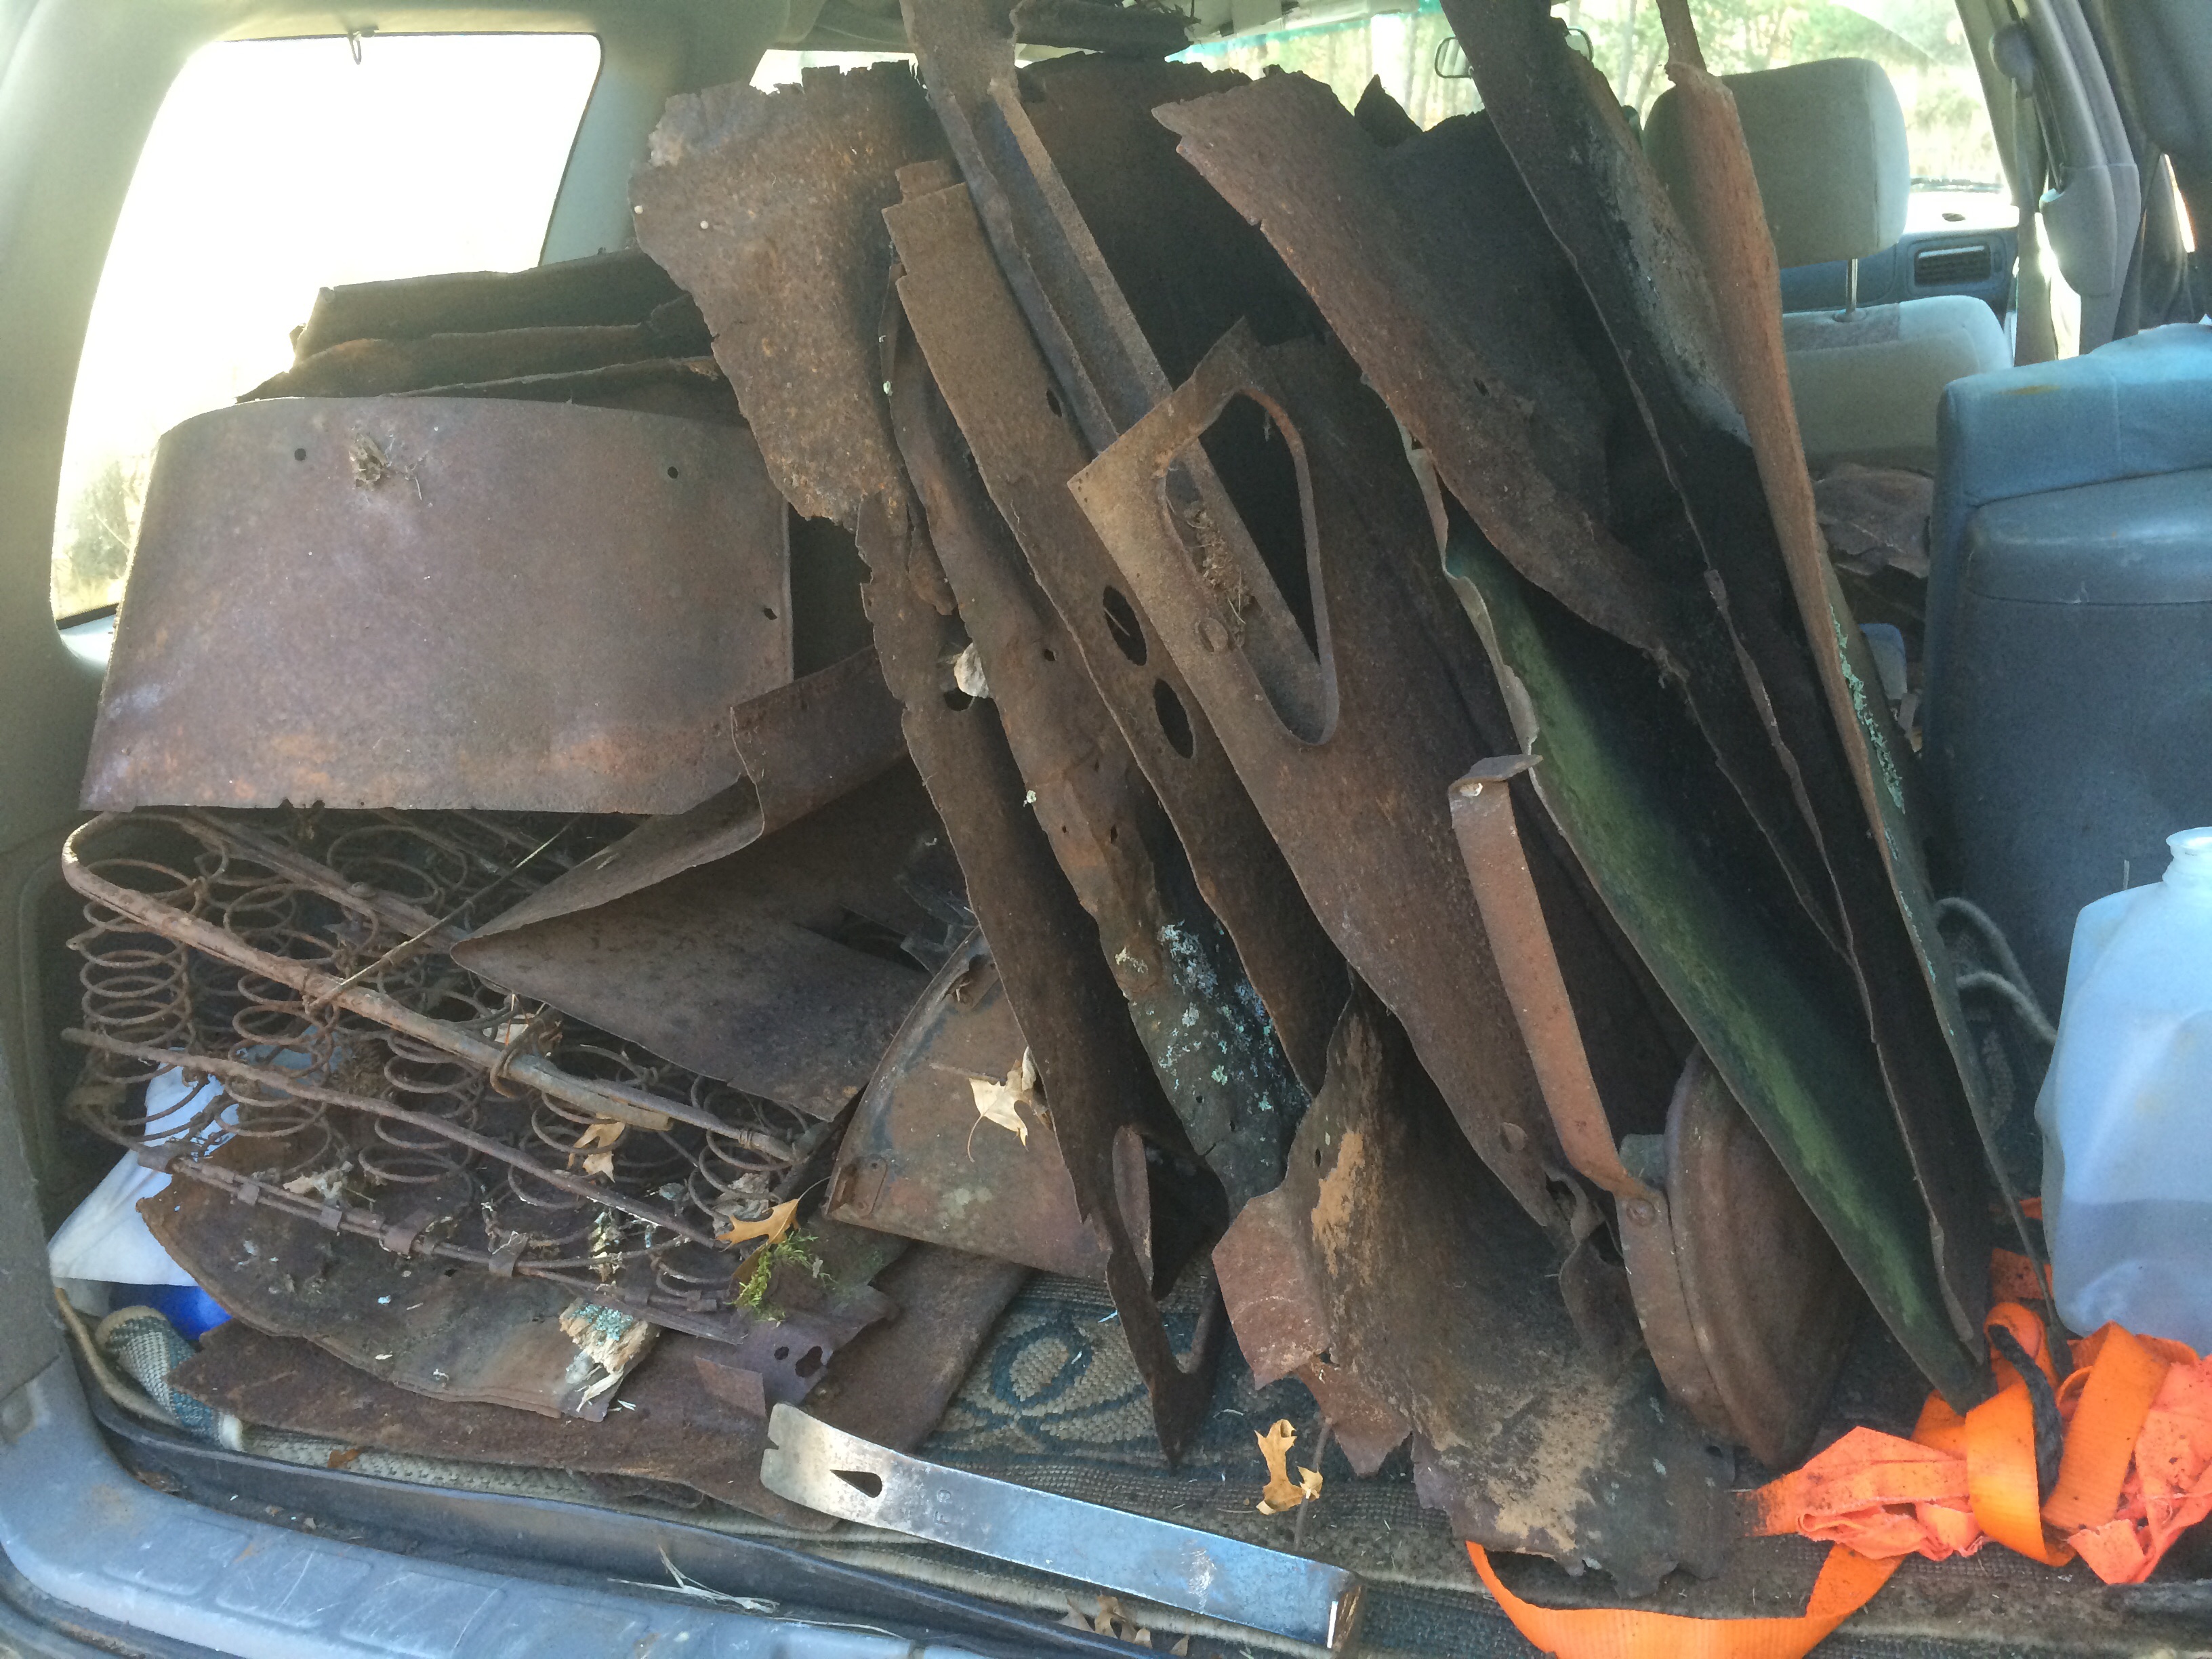
The panels had rusted, but were surprisingly intact considering they’d been in the elements and partially buried for at least 60 years – and they’d acquired a gorgeous patina of rust, algae, and lichens. I was completely in love with their look and history, and had already planned to scavenge as many as I could to use in artistic projects.
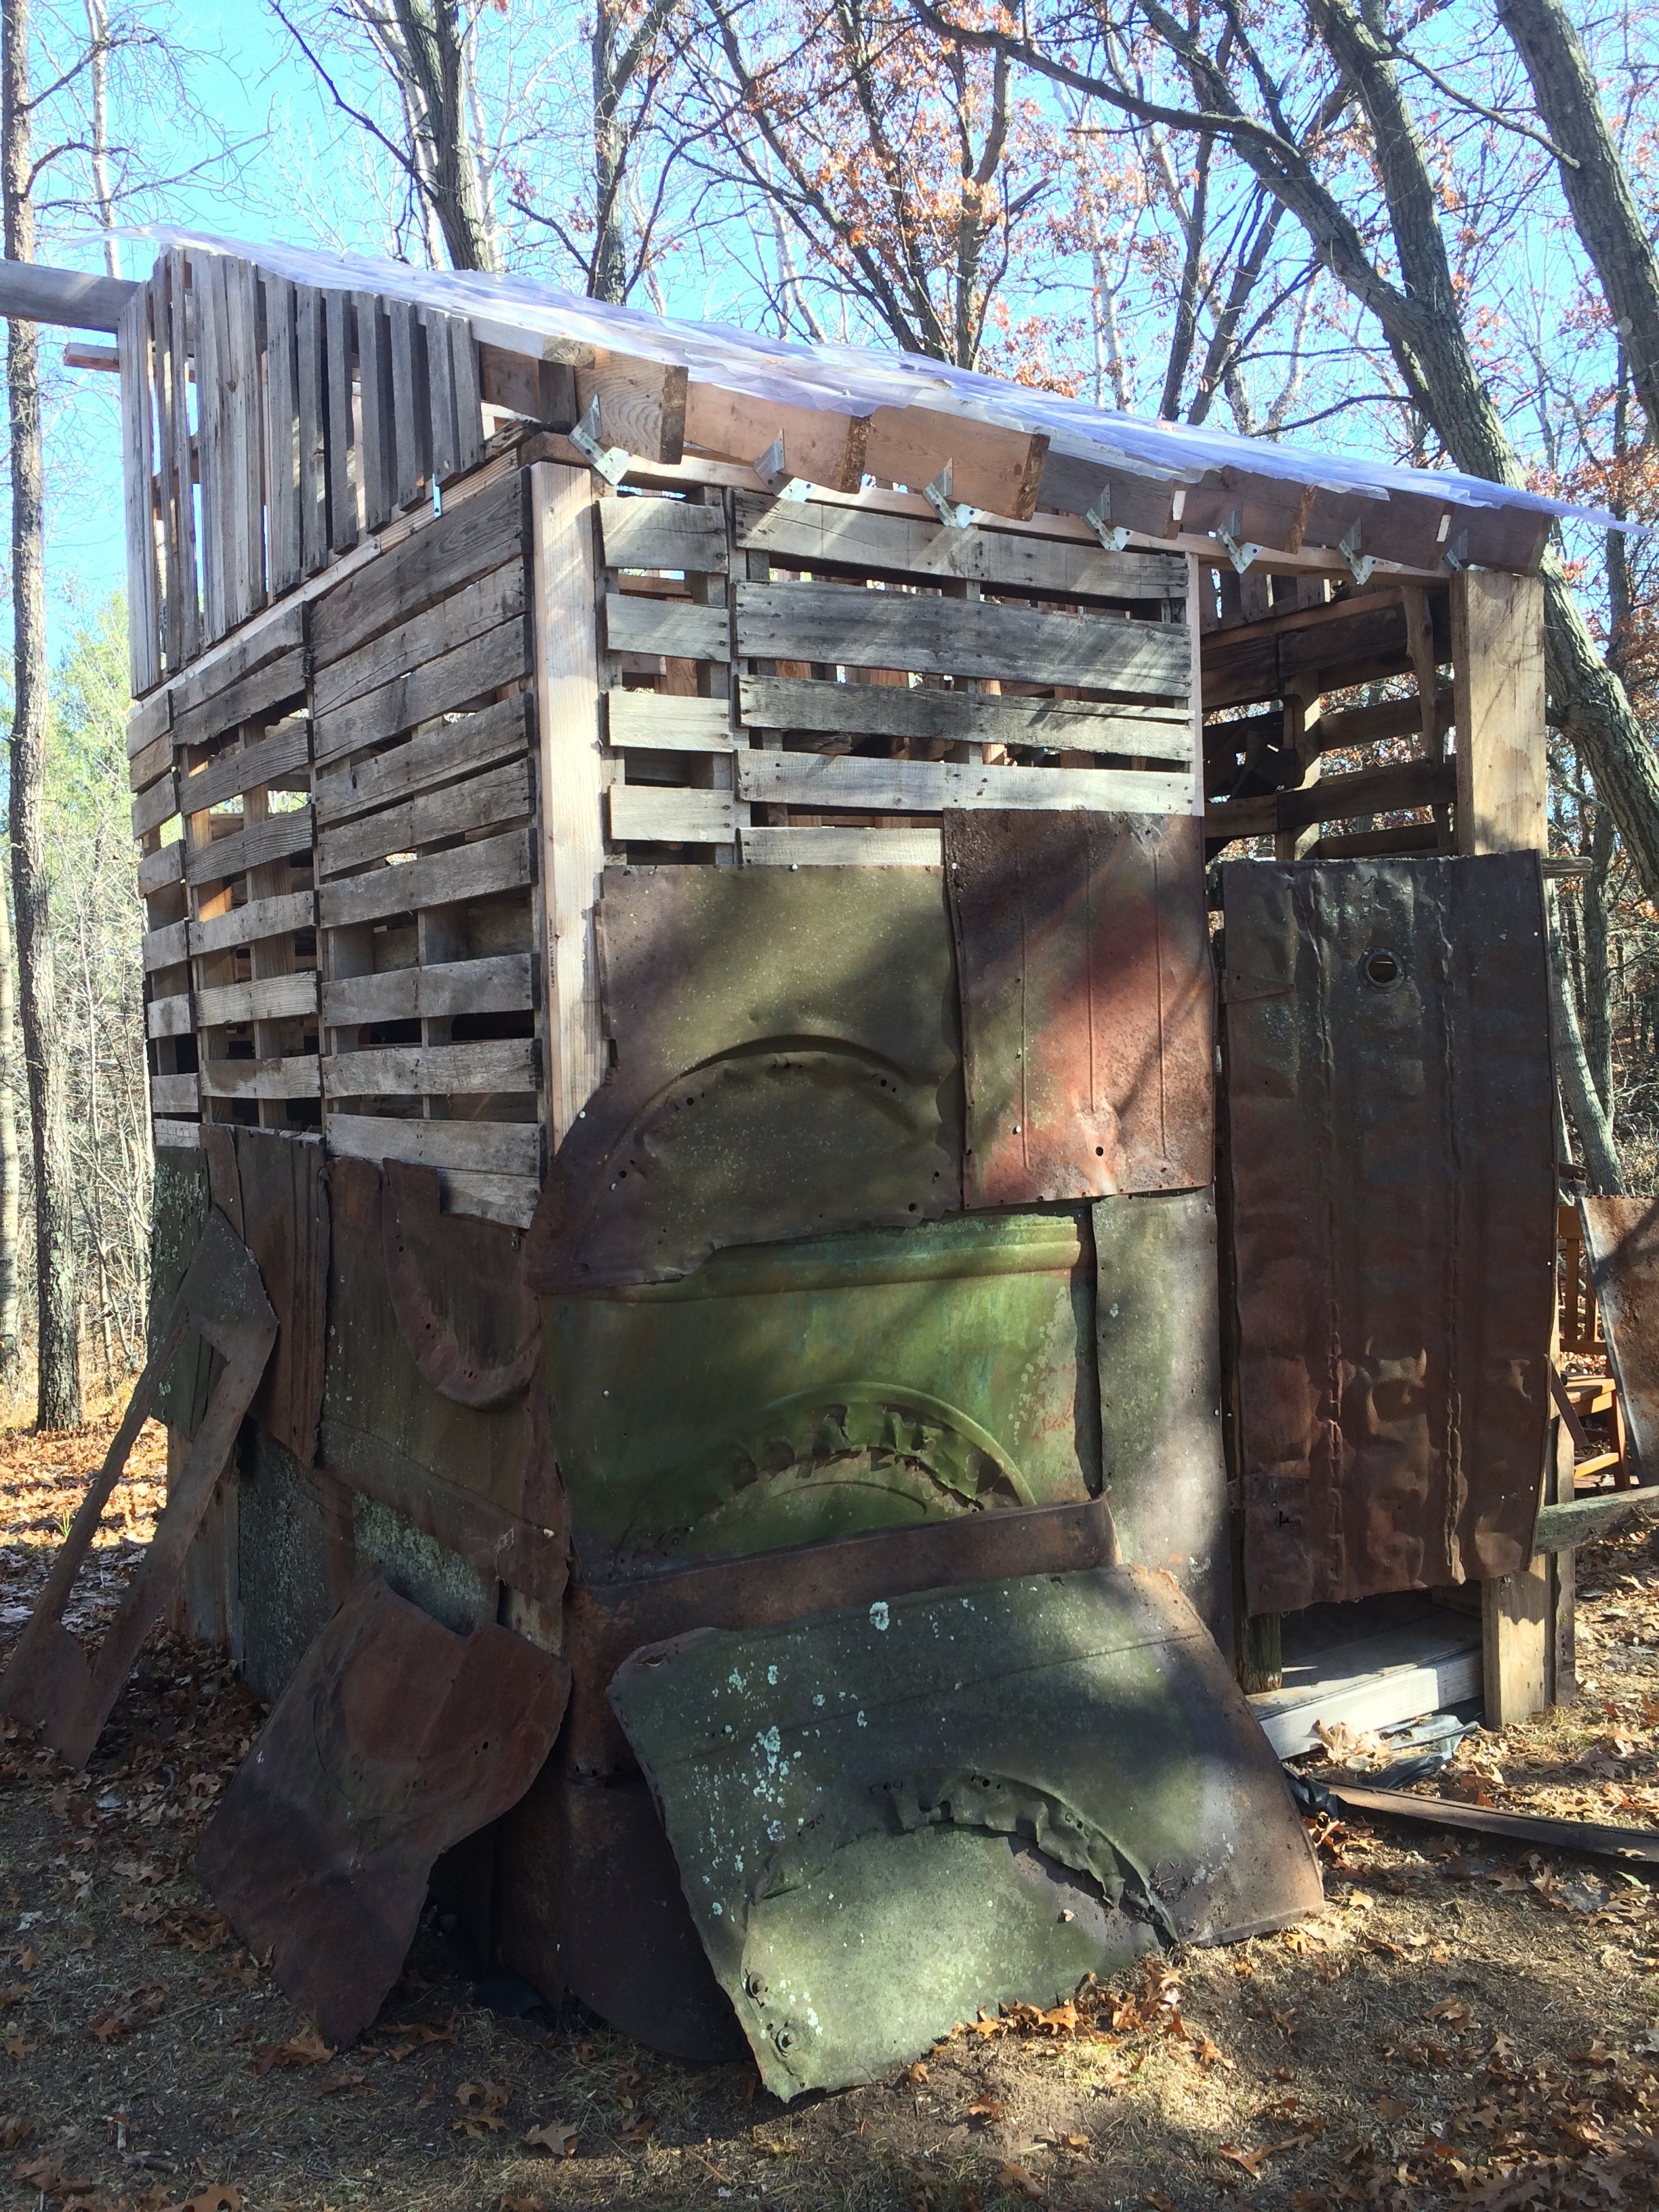
But it wasn’t until the pallet fort was rebuilt that it really clicked that we could pay homage to the forgotten shack-builder’s design style, by salvaging the remains from his structures and renewing them as siding on our fort.
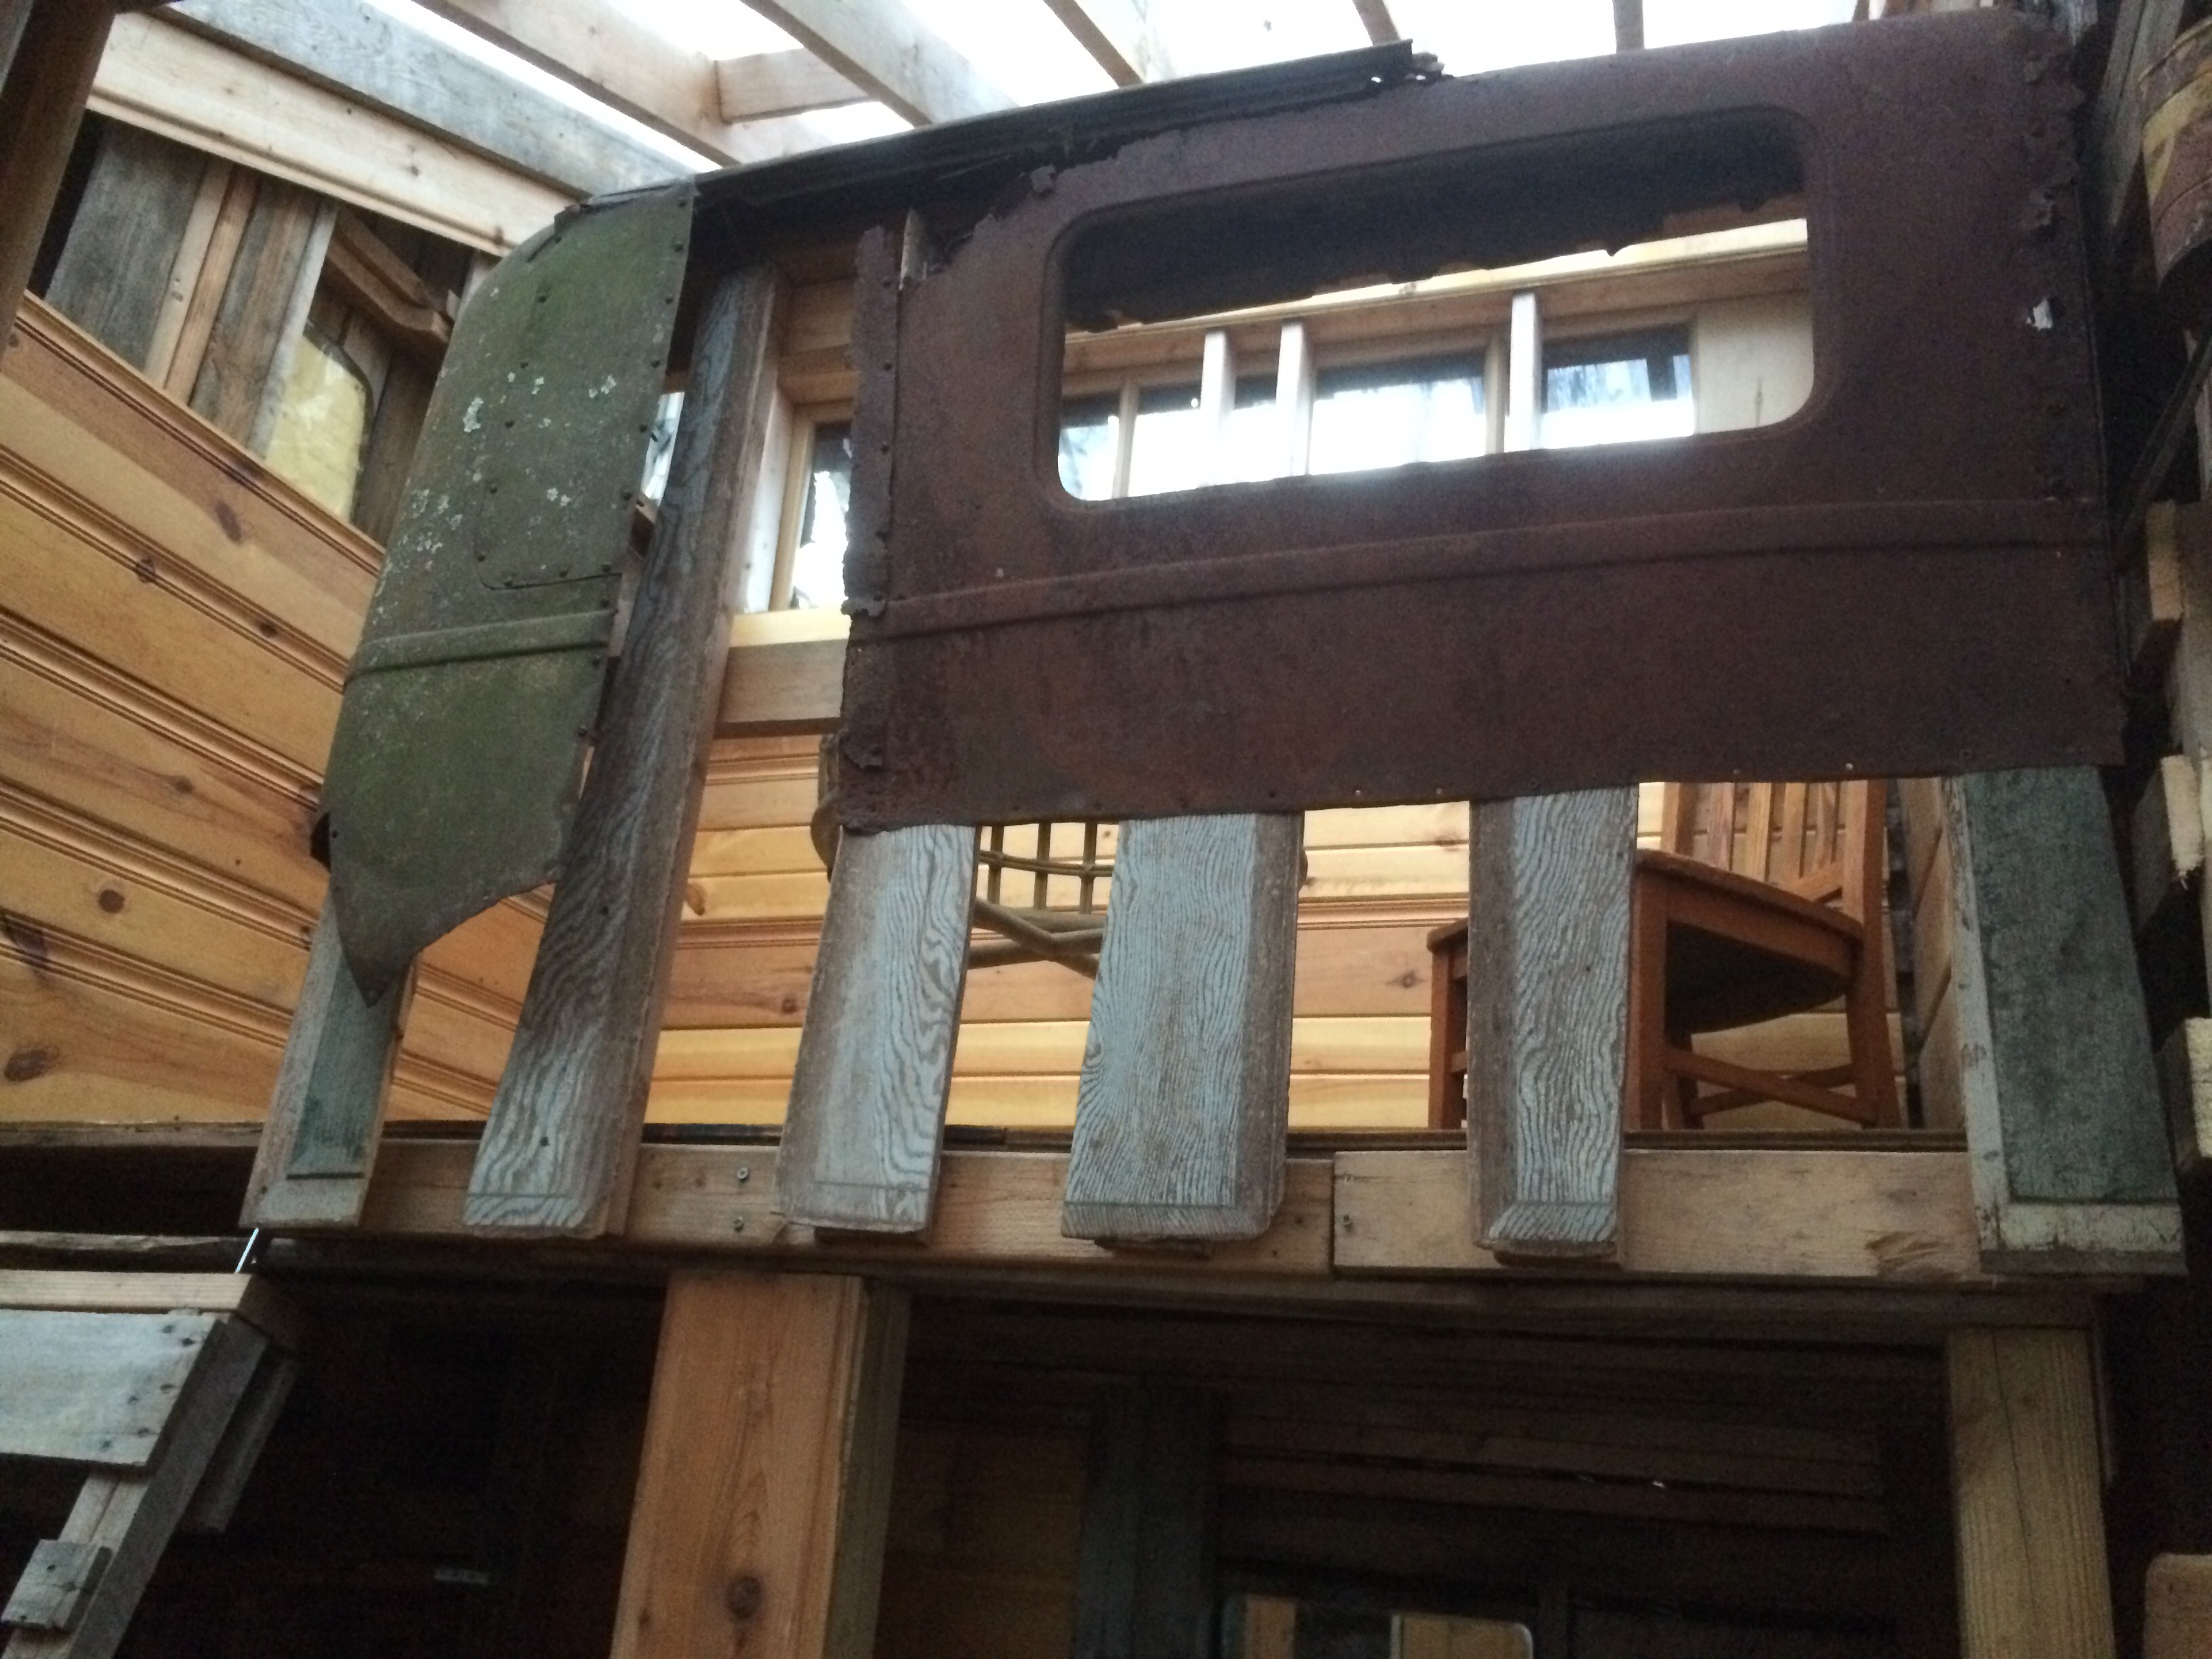
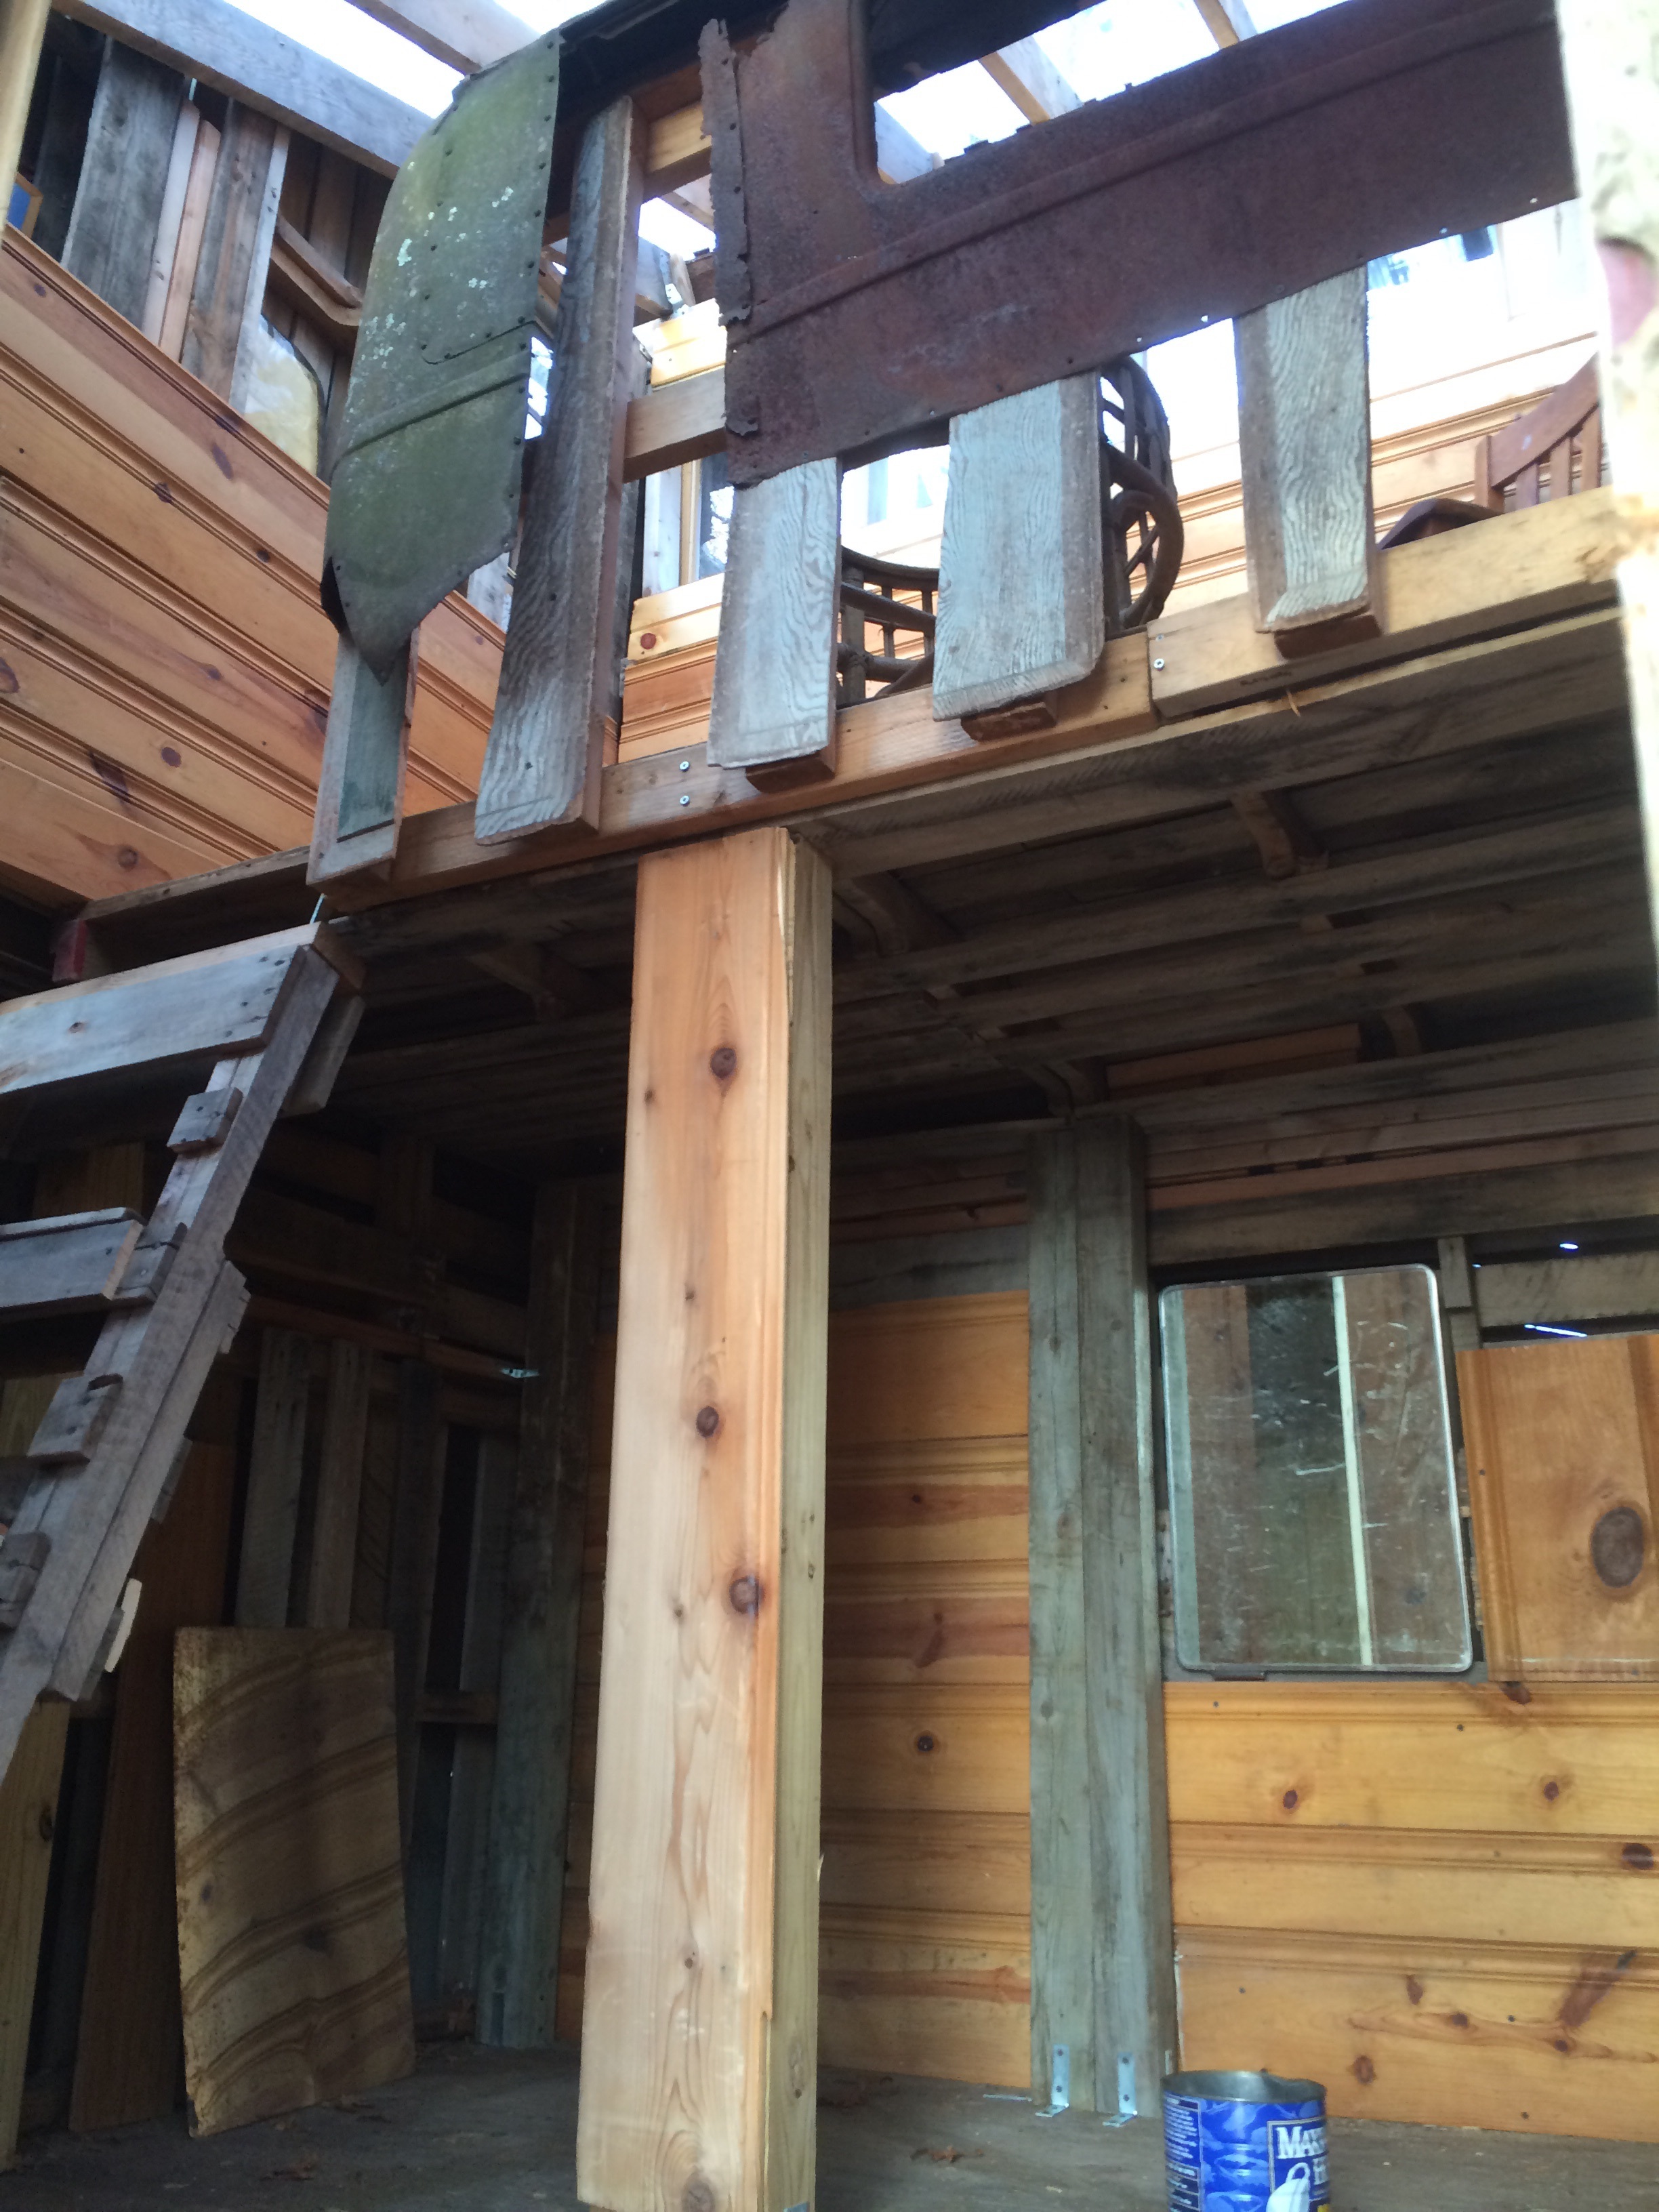
We wound up unearthing and retrieving a half-dozen carloads of panels, which – with some old windows, glass blocks, and a french door we had on hand, quickly armored the fort against the onslaughts of coming winter – and the Rust Shack, aka The Architect’s Shack, was born.
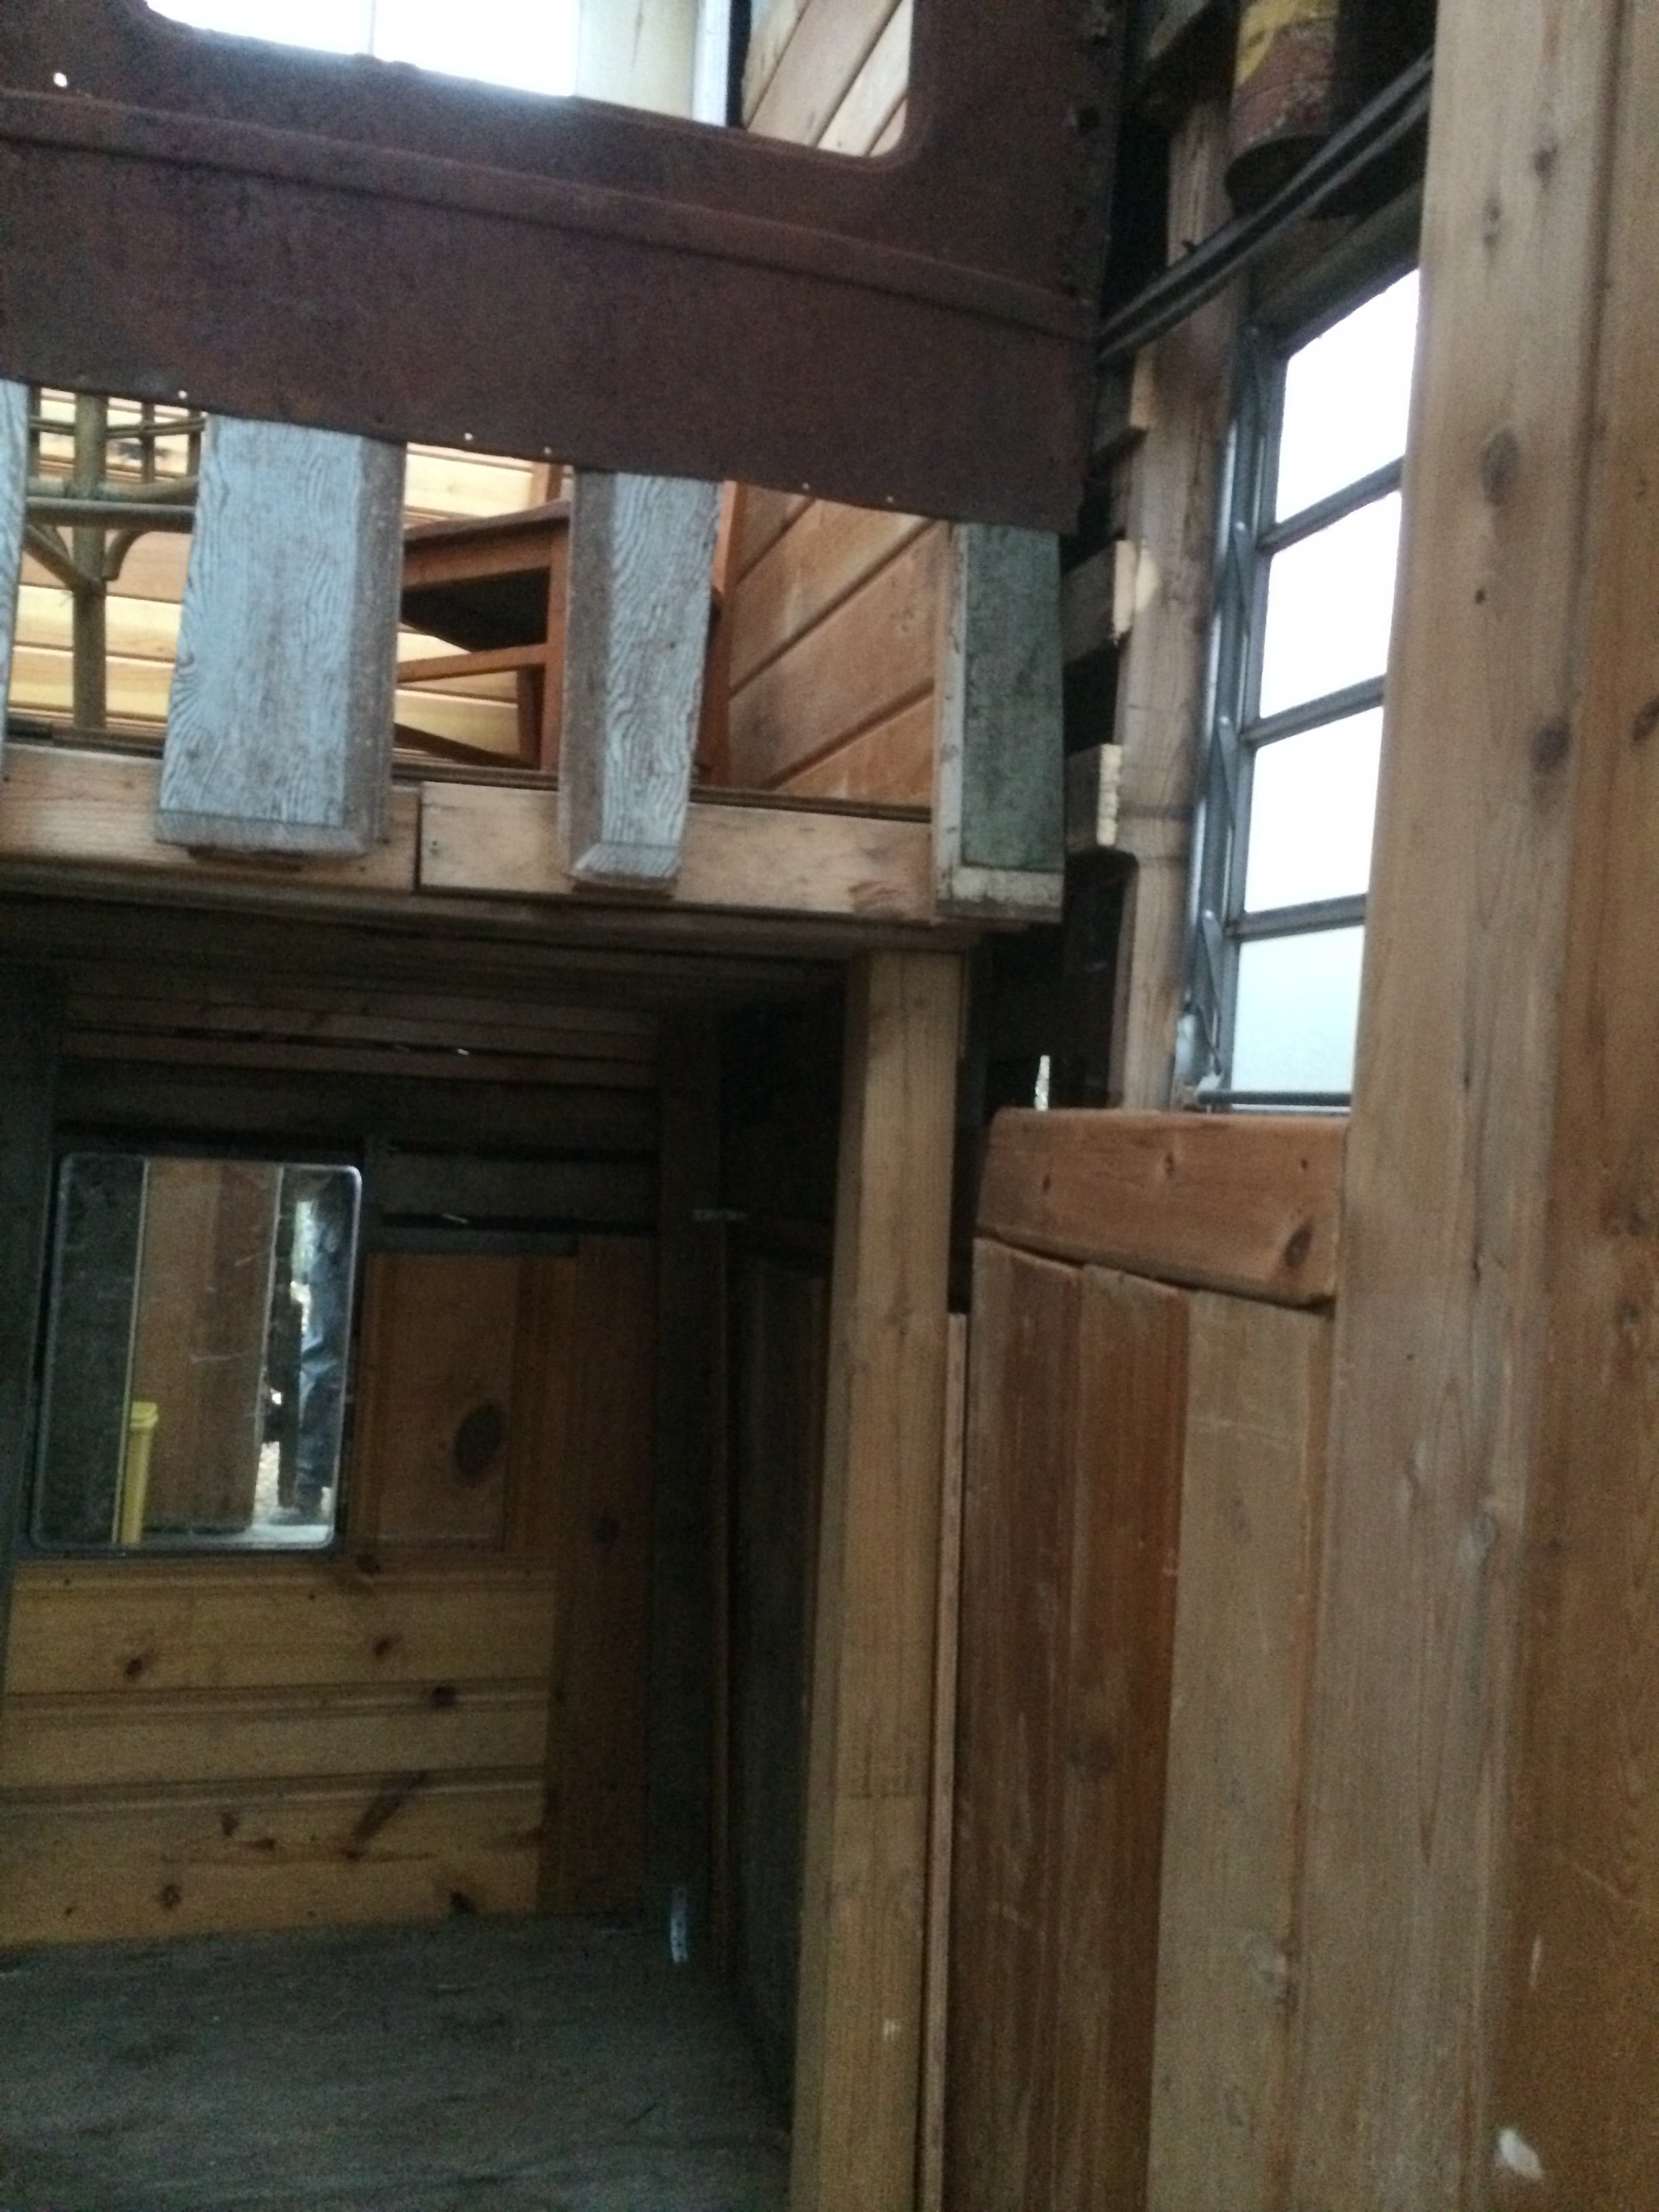
Once the metal exterior was complete, Gabe turned his attention to the interior. First up was the railing on the loft – it was so central, so literally in your face, that something had to be done with it. The bare 2×4 construction was functional but ugly … we considered trying to minimize the size of the railing, but then it wouldn’t really serve its purpose. Since we couldn’t really fix it, it had to be featured. And the only couple of intact car body panels we’d recovered from the woods – still curved, never pounded flat and nailed to a shack – fit over it beautifully, a worthy centerpiece, beautiful and bringing the exterior theme into the inside of the shack.
We had stacks of scavenged pipe and aromatic cedar paneling, which served perfectly to bring a homey, welcoming, and warm vibe to the interior – vital, in order to avoid any negative “murder shack” connotations that the rusty metal exterior might hold for people who don’t share our rust n’ lichens aesthetic.
The panels covered most of the interior walls, leaving space for an inset medicine cabinet mirror, some knick-knack nooks, and a few patches that we can fill in this Spring.
And the day after the panel project was declared done for the season, the snows came, and our full attention turned to preparing to travel southward …