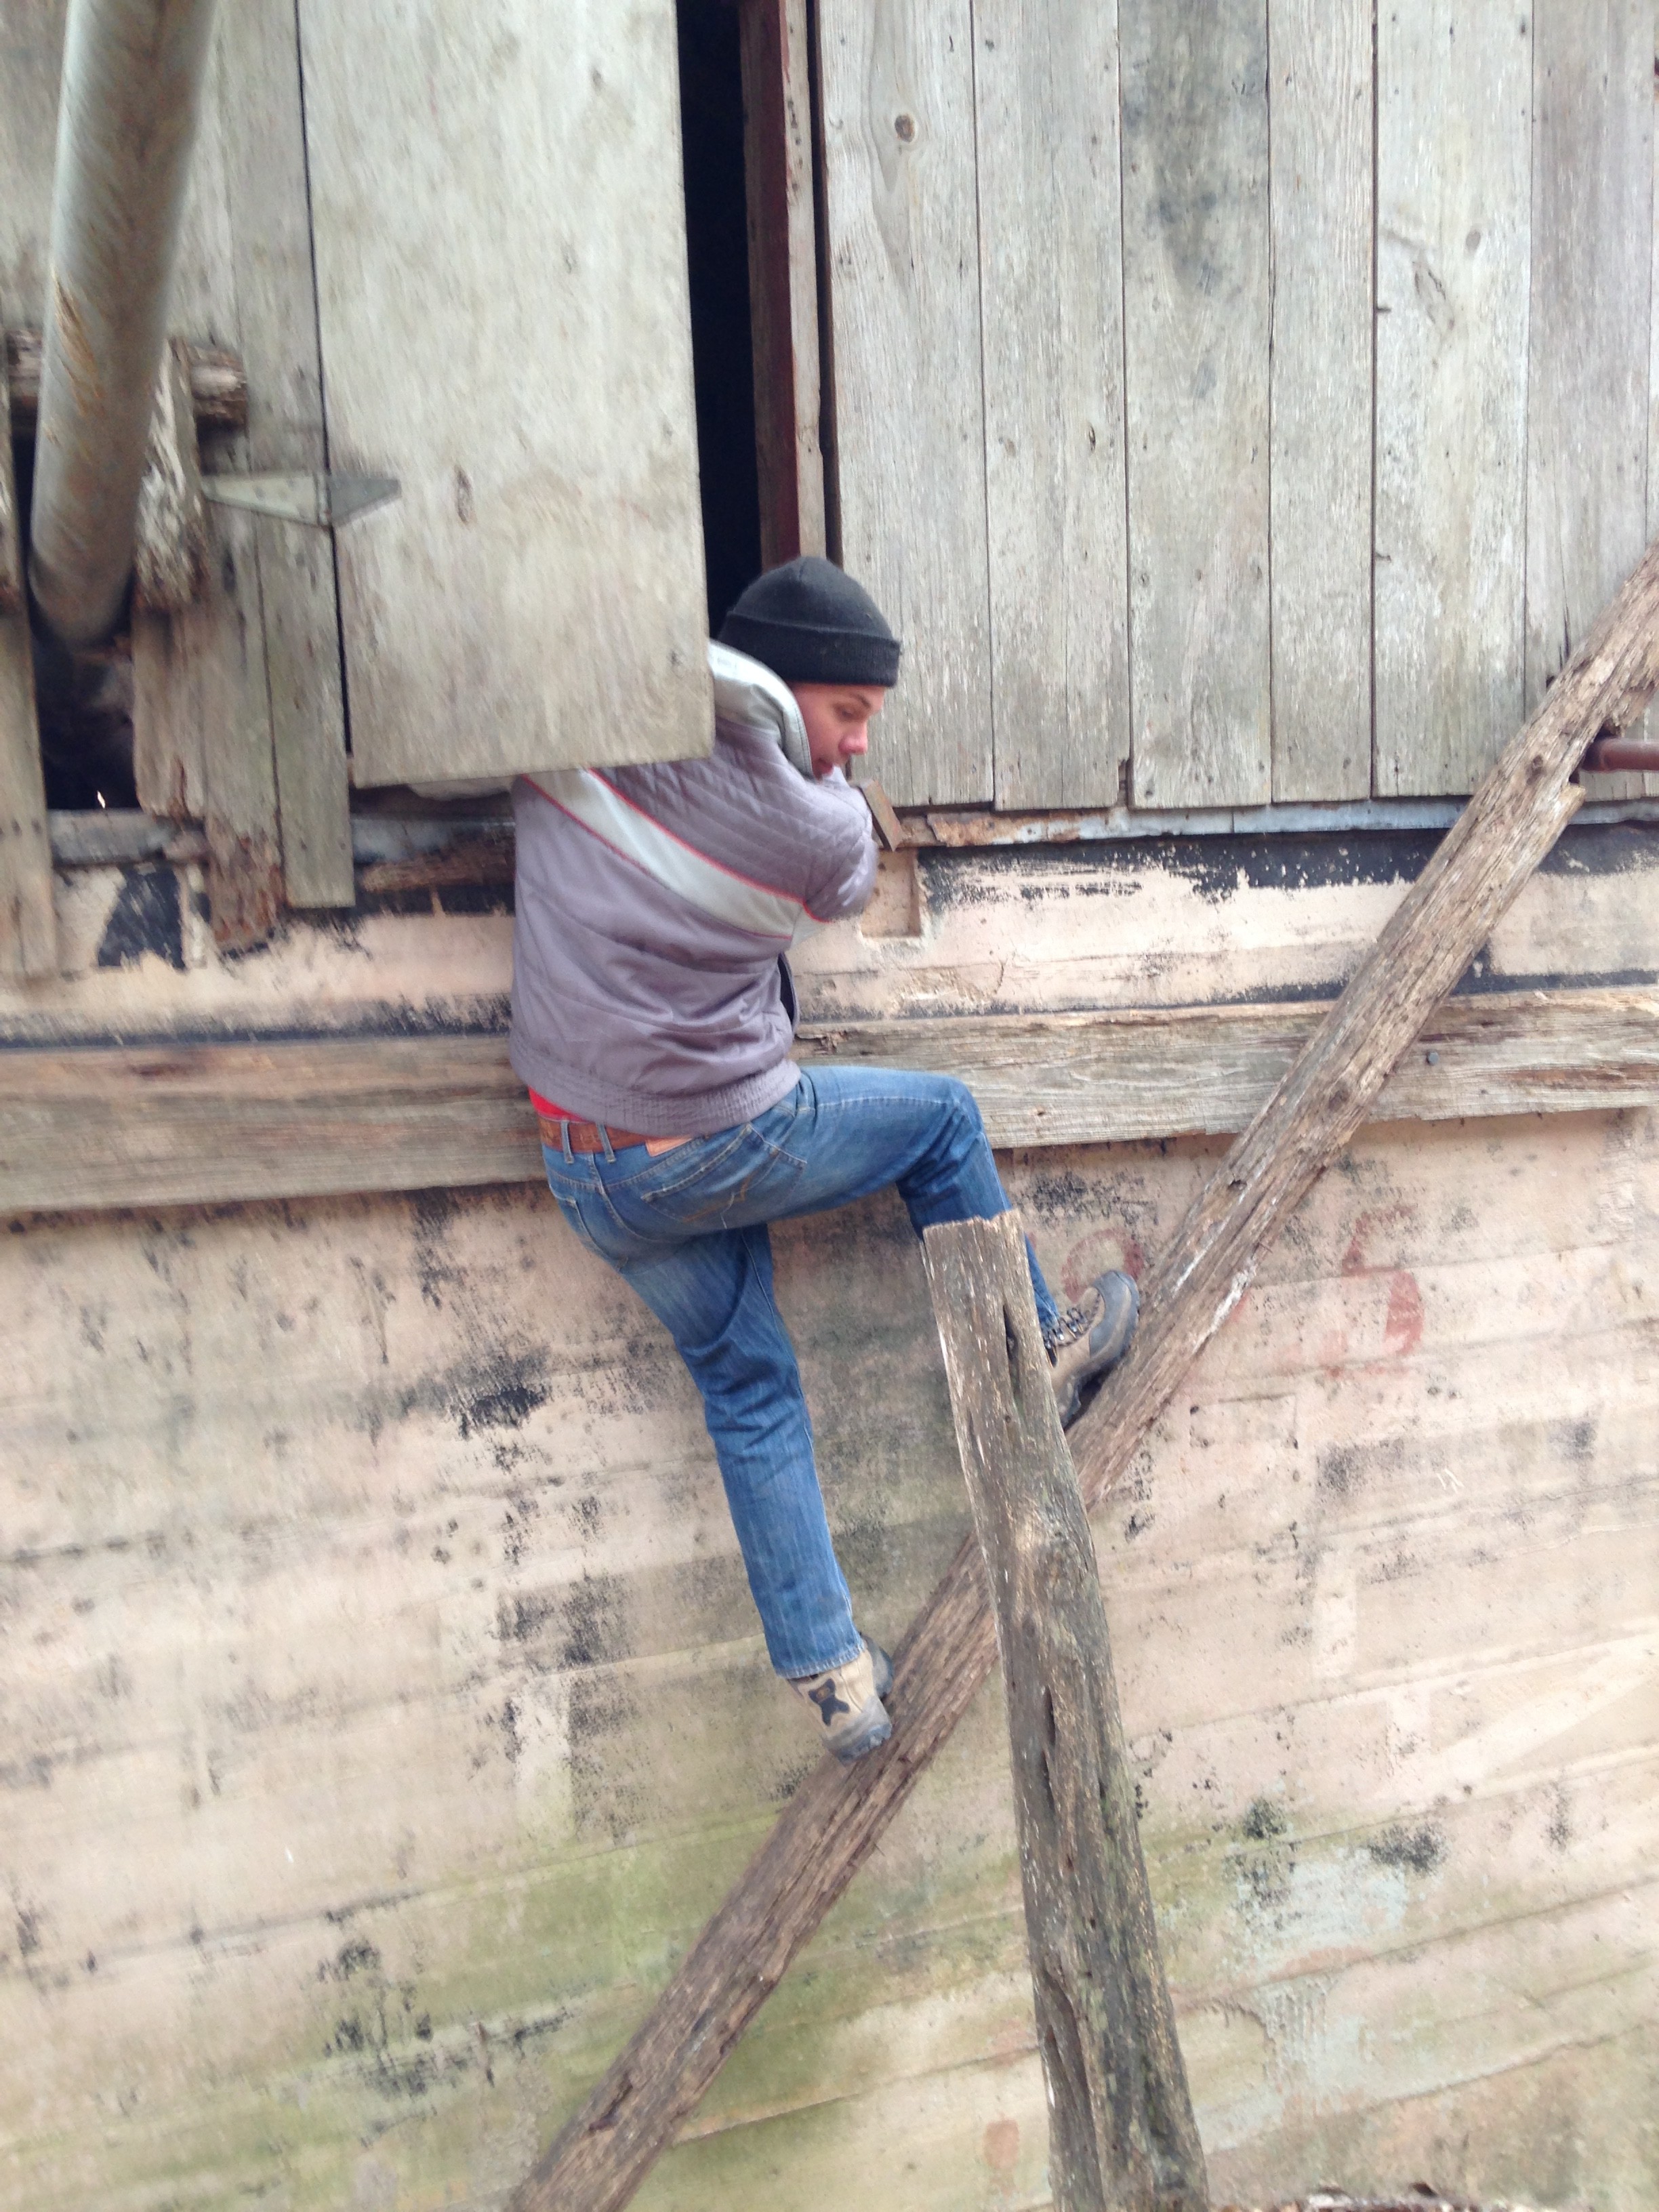
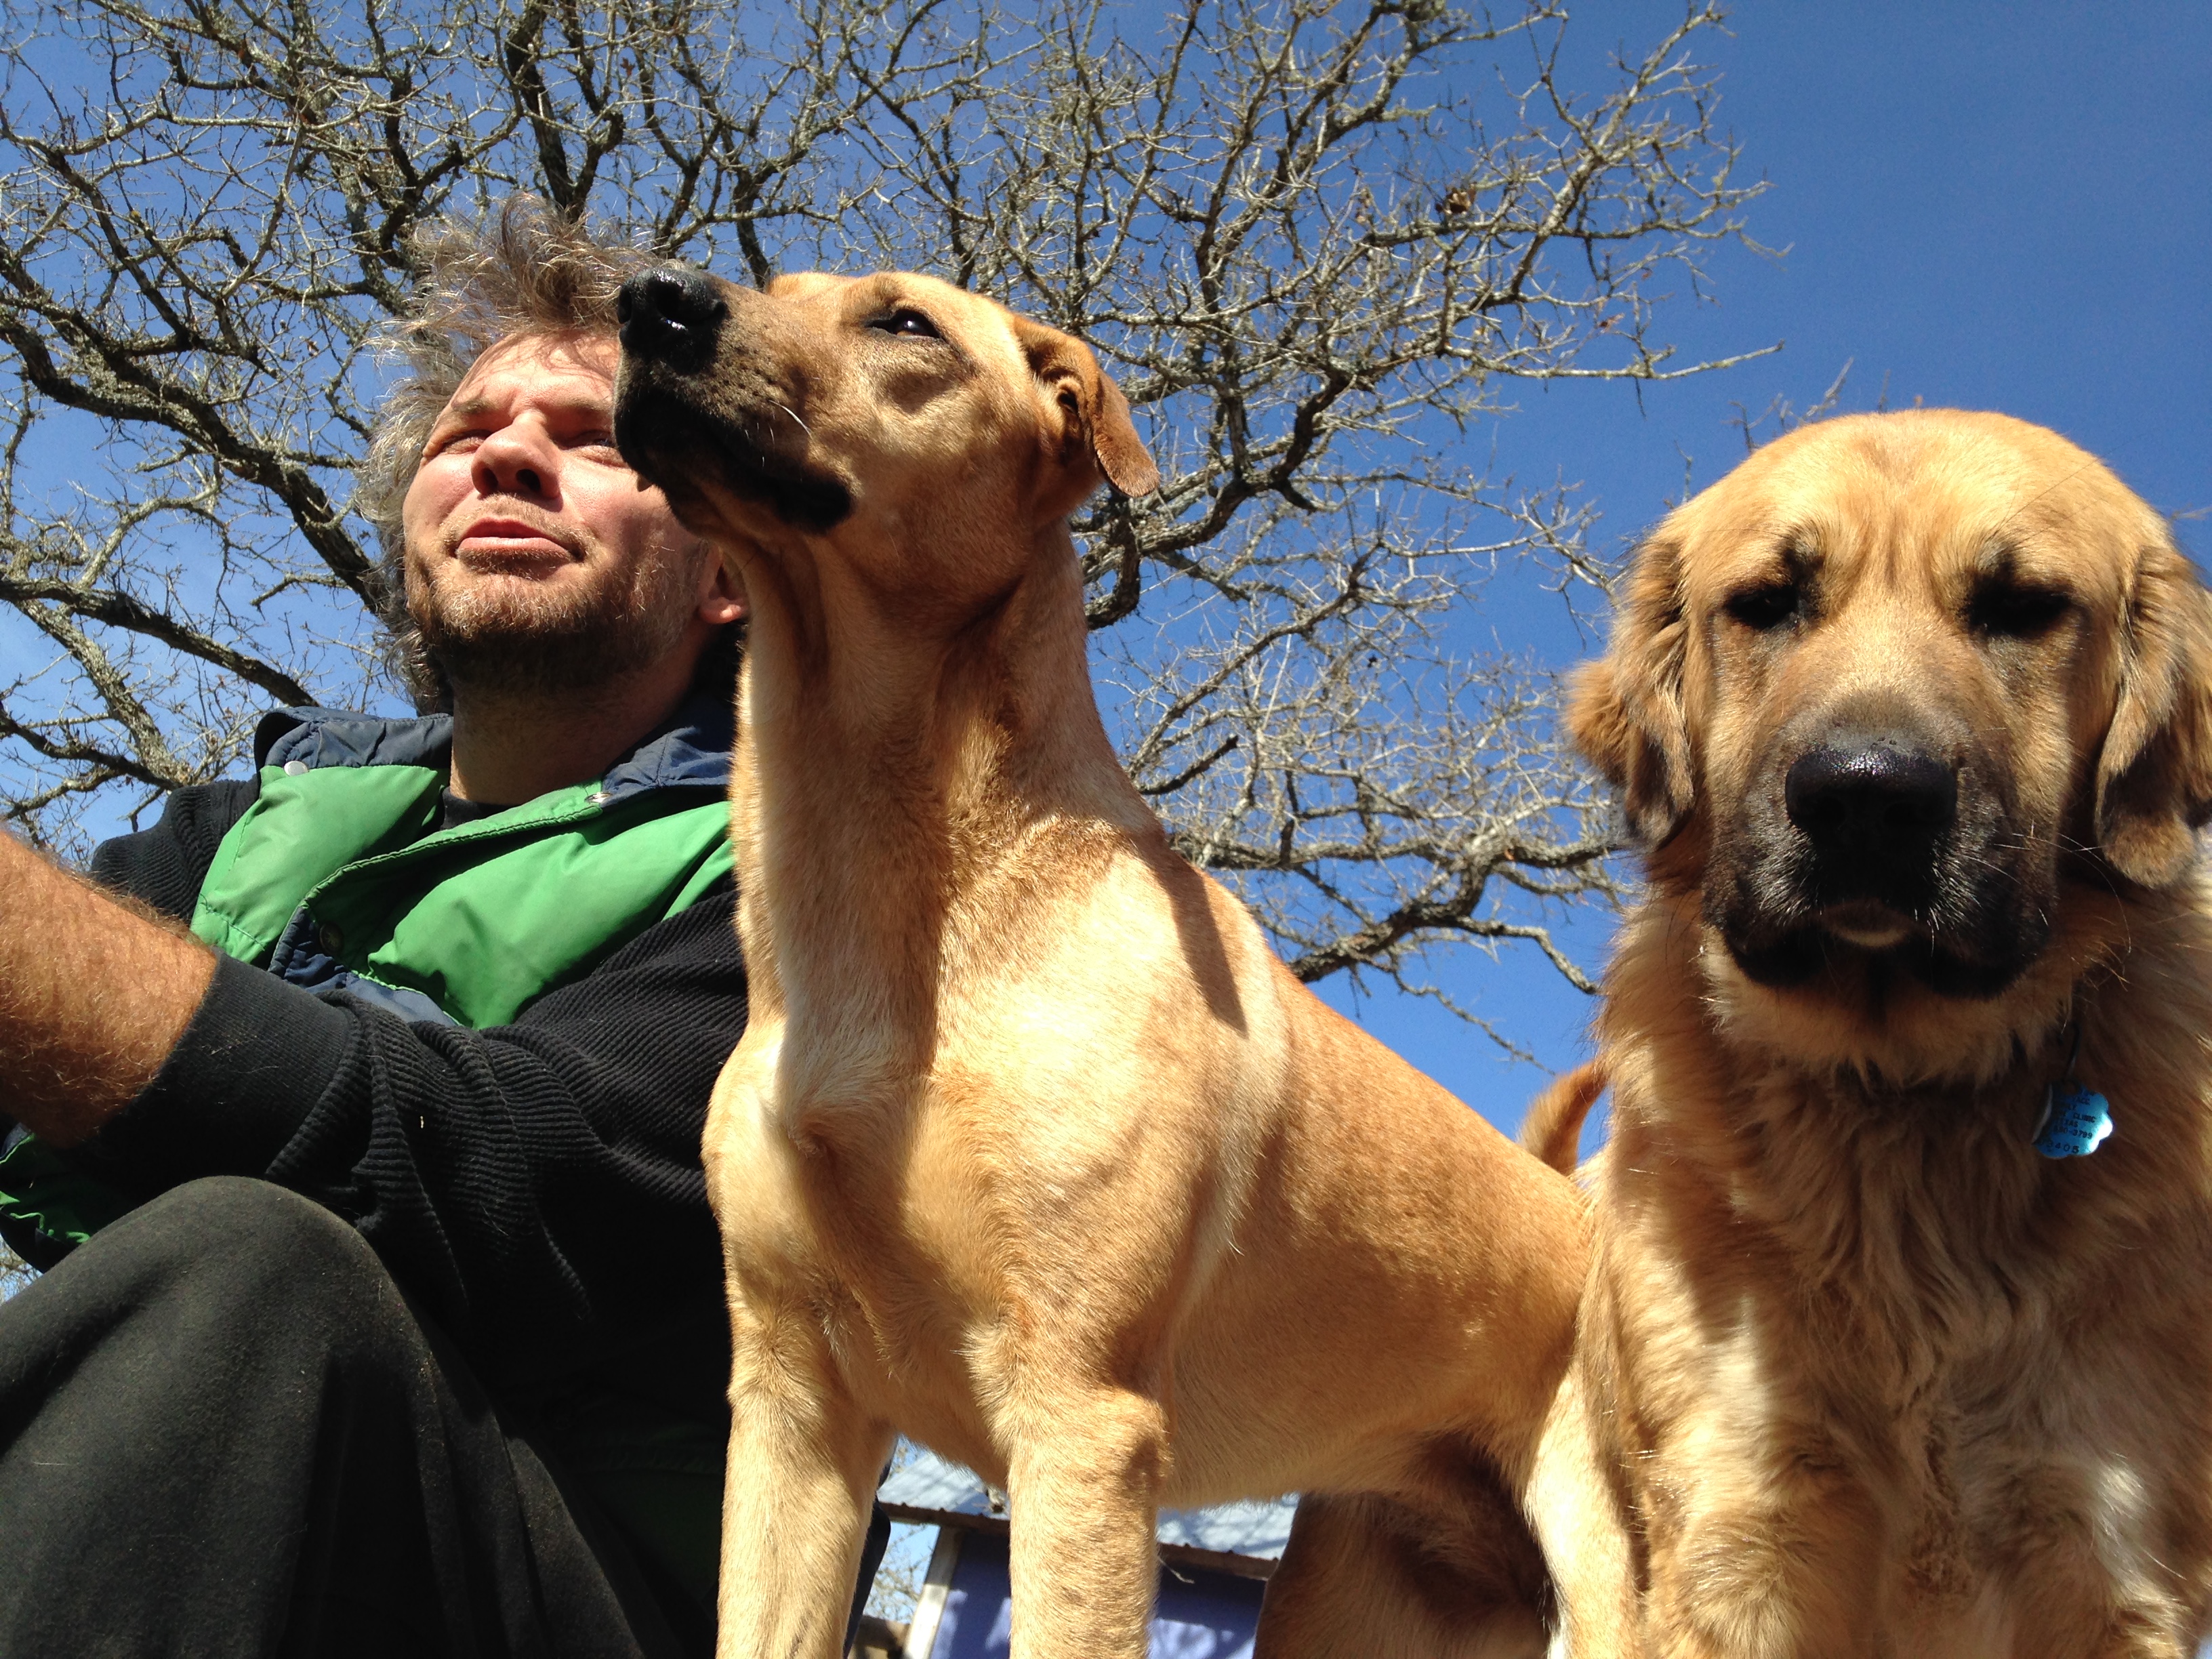
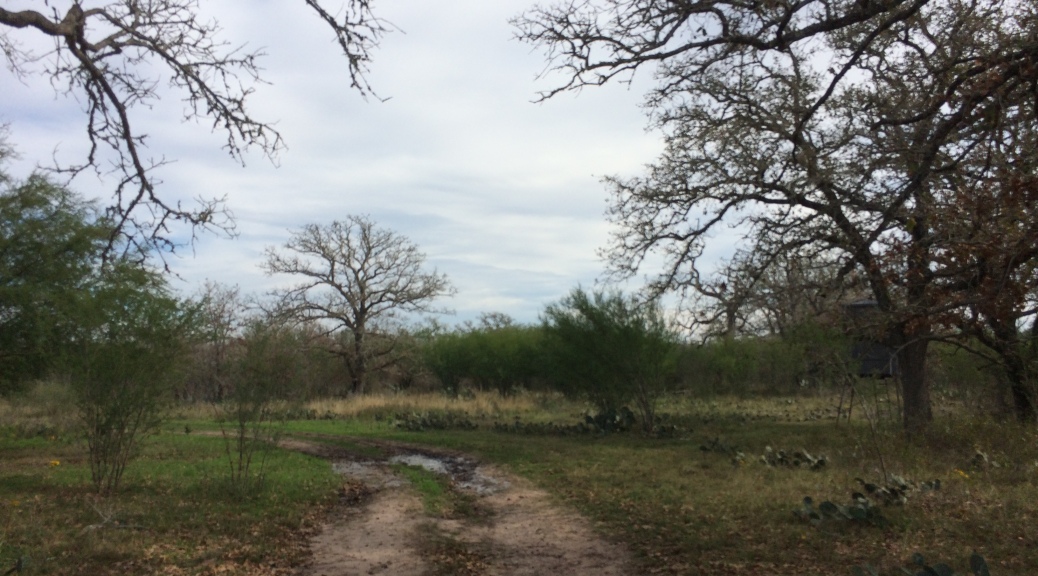
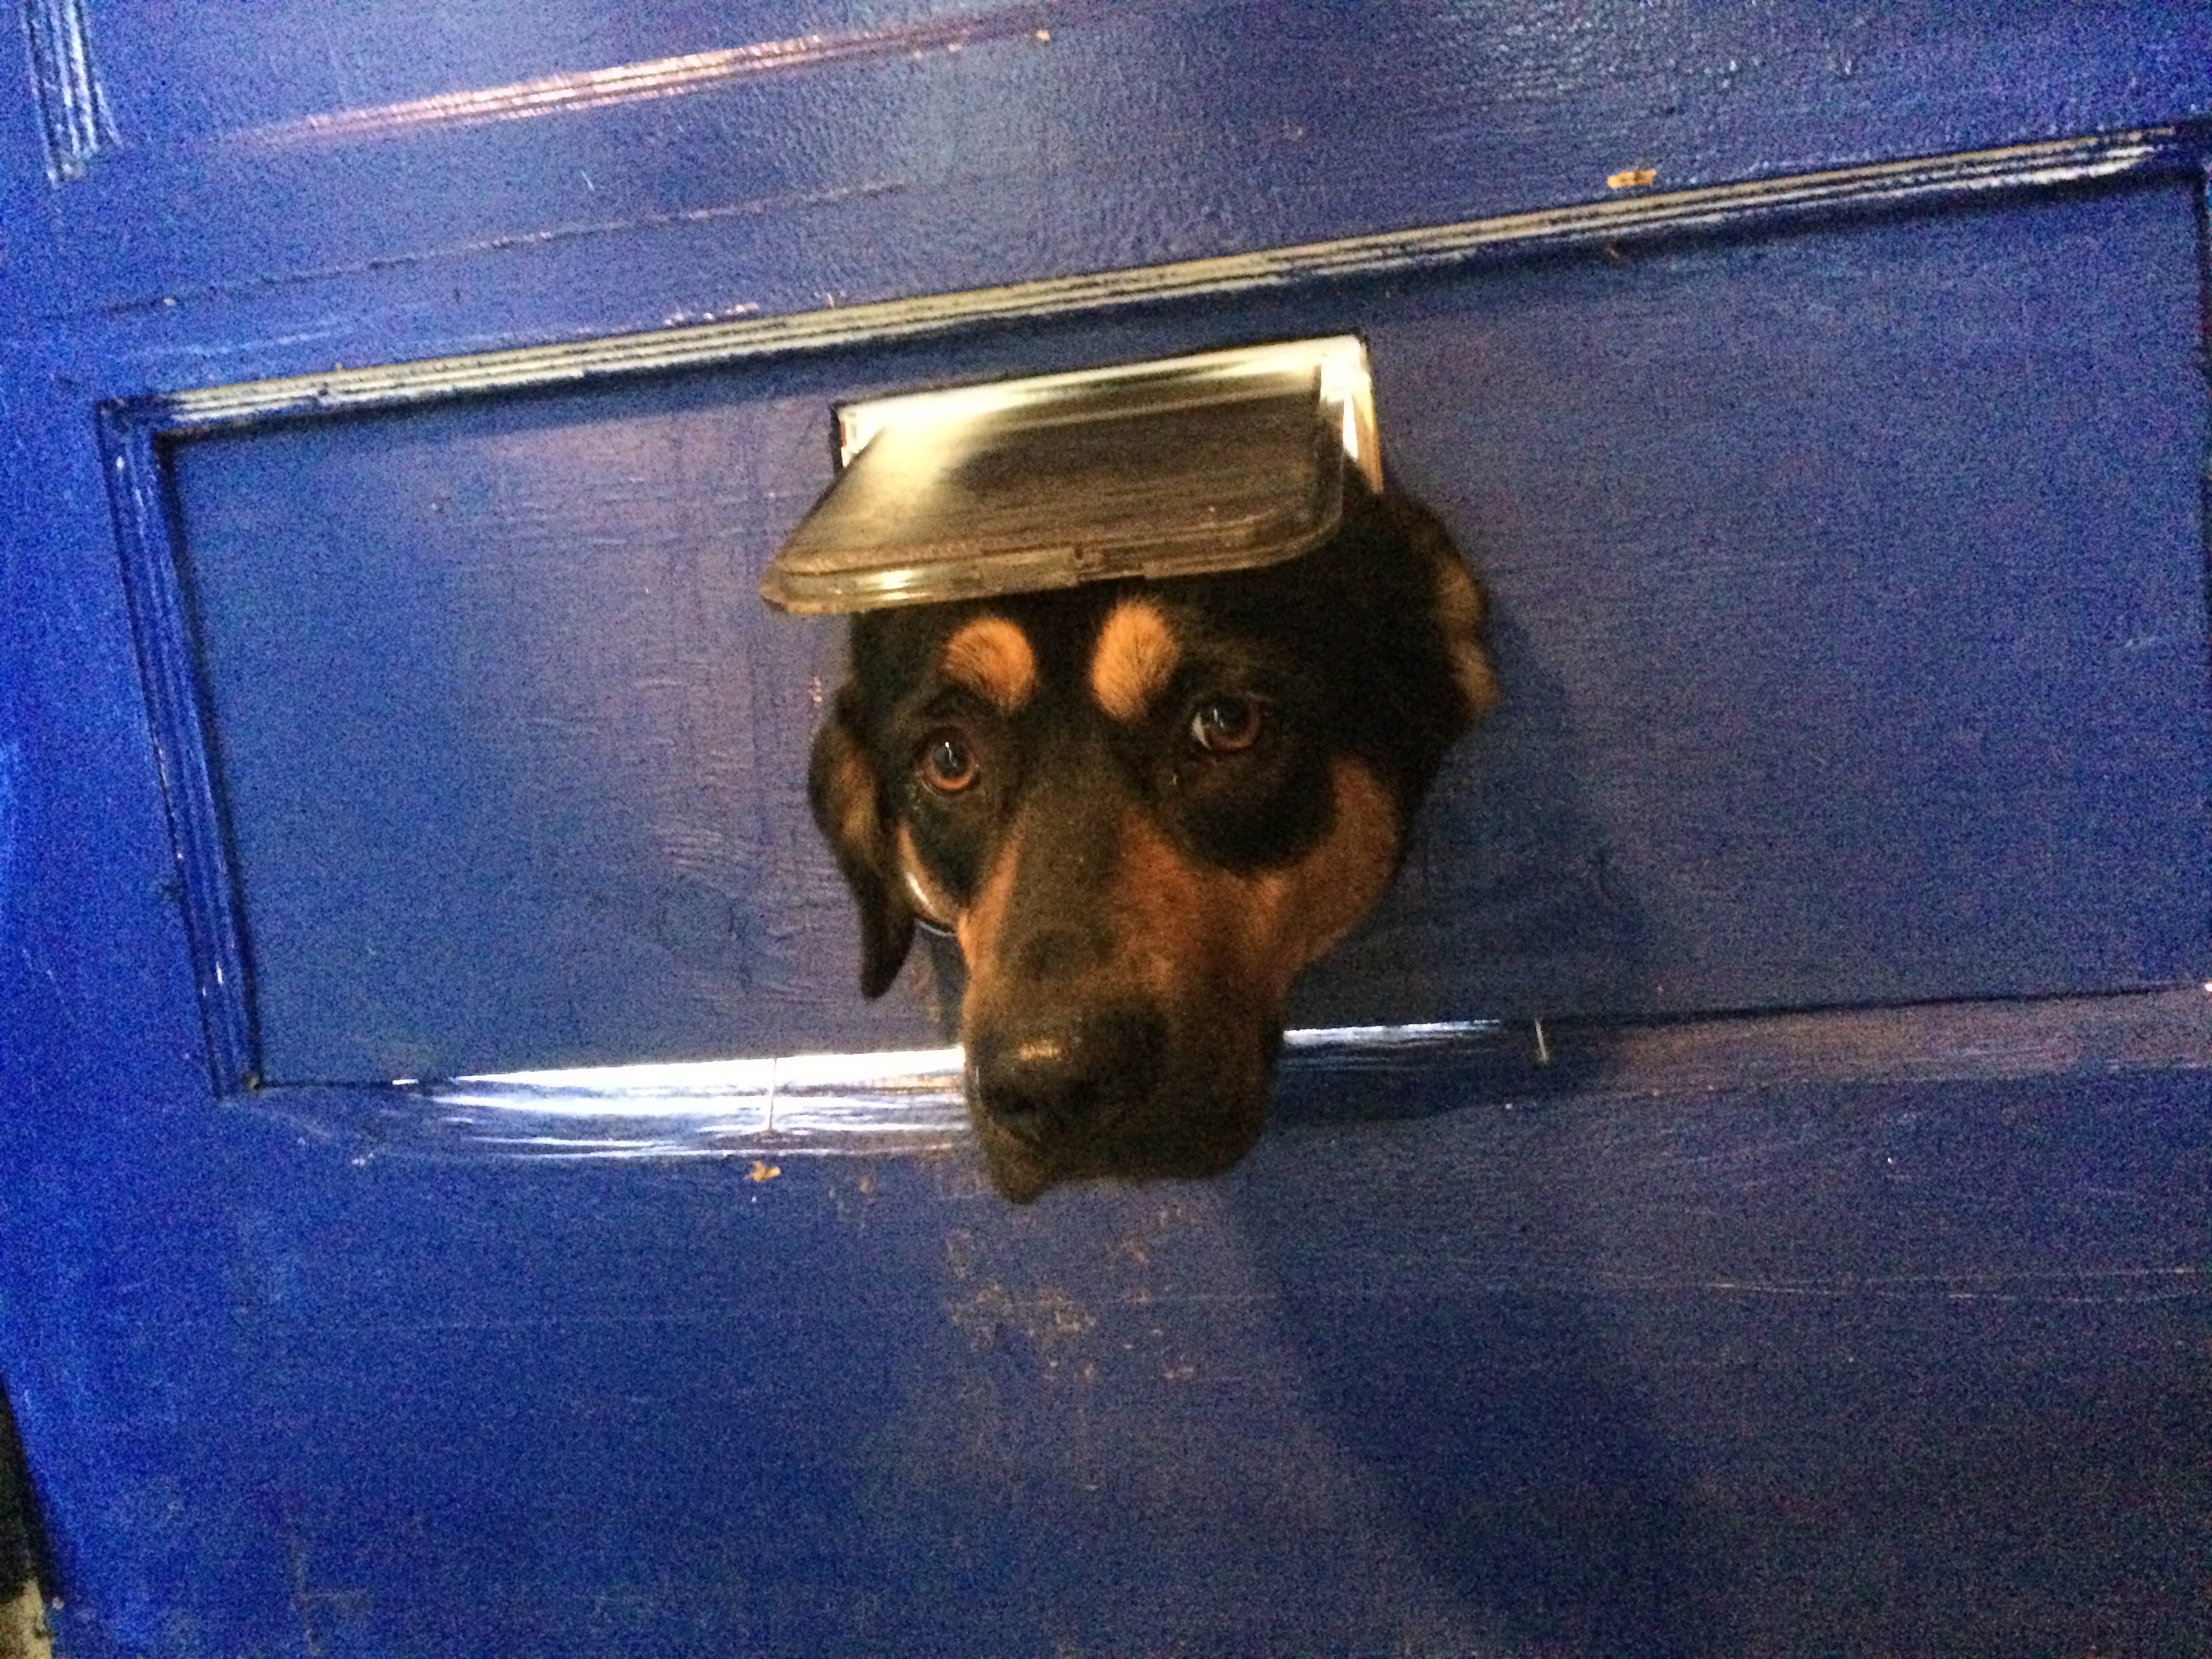
We’ve been back on the Farm since mid-March, getting things started for the year …
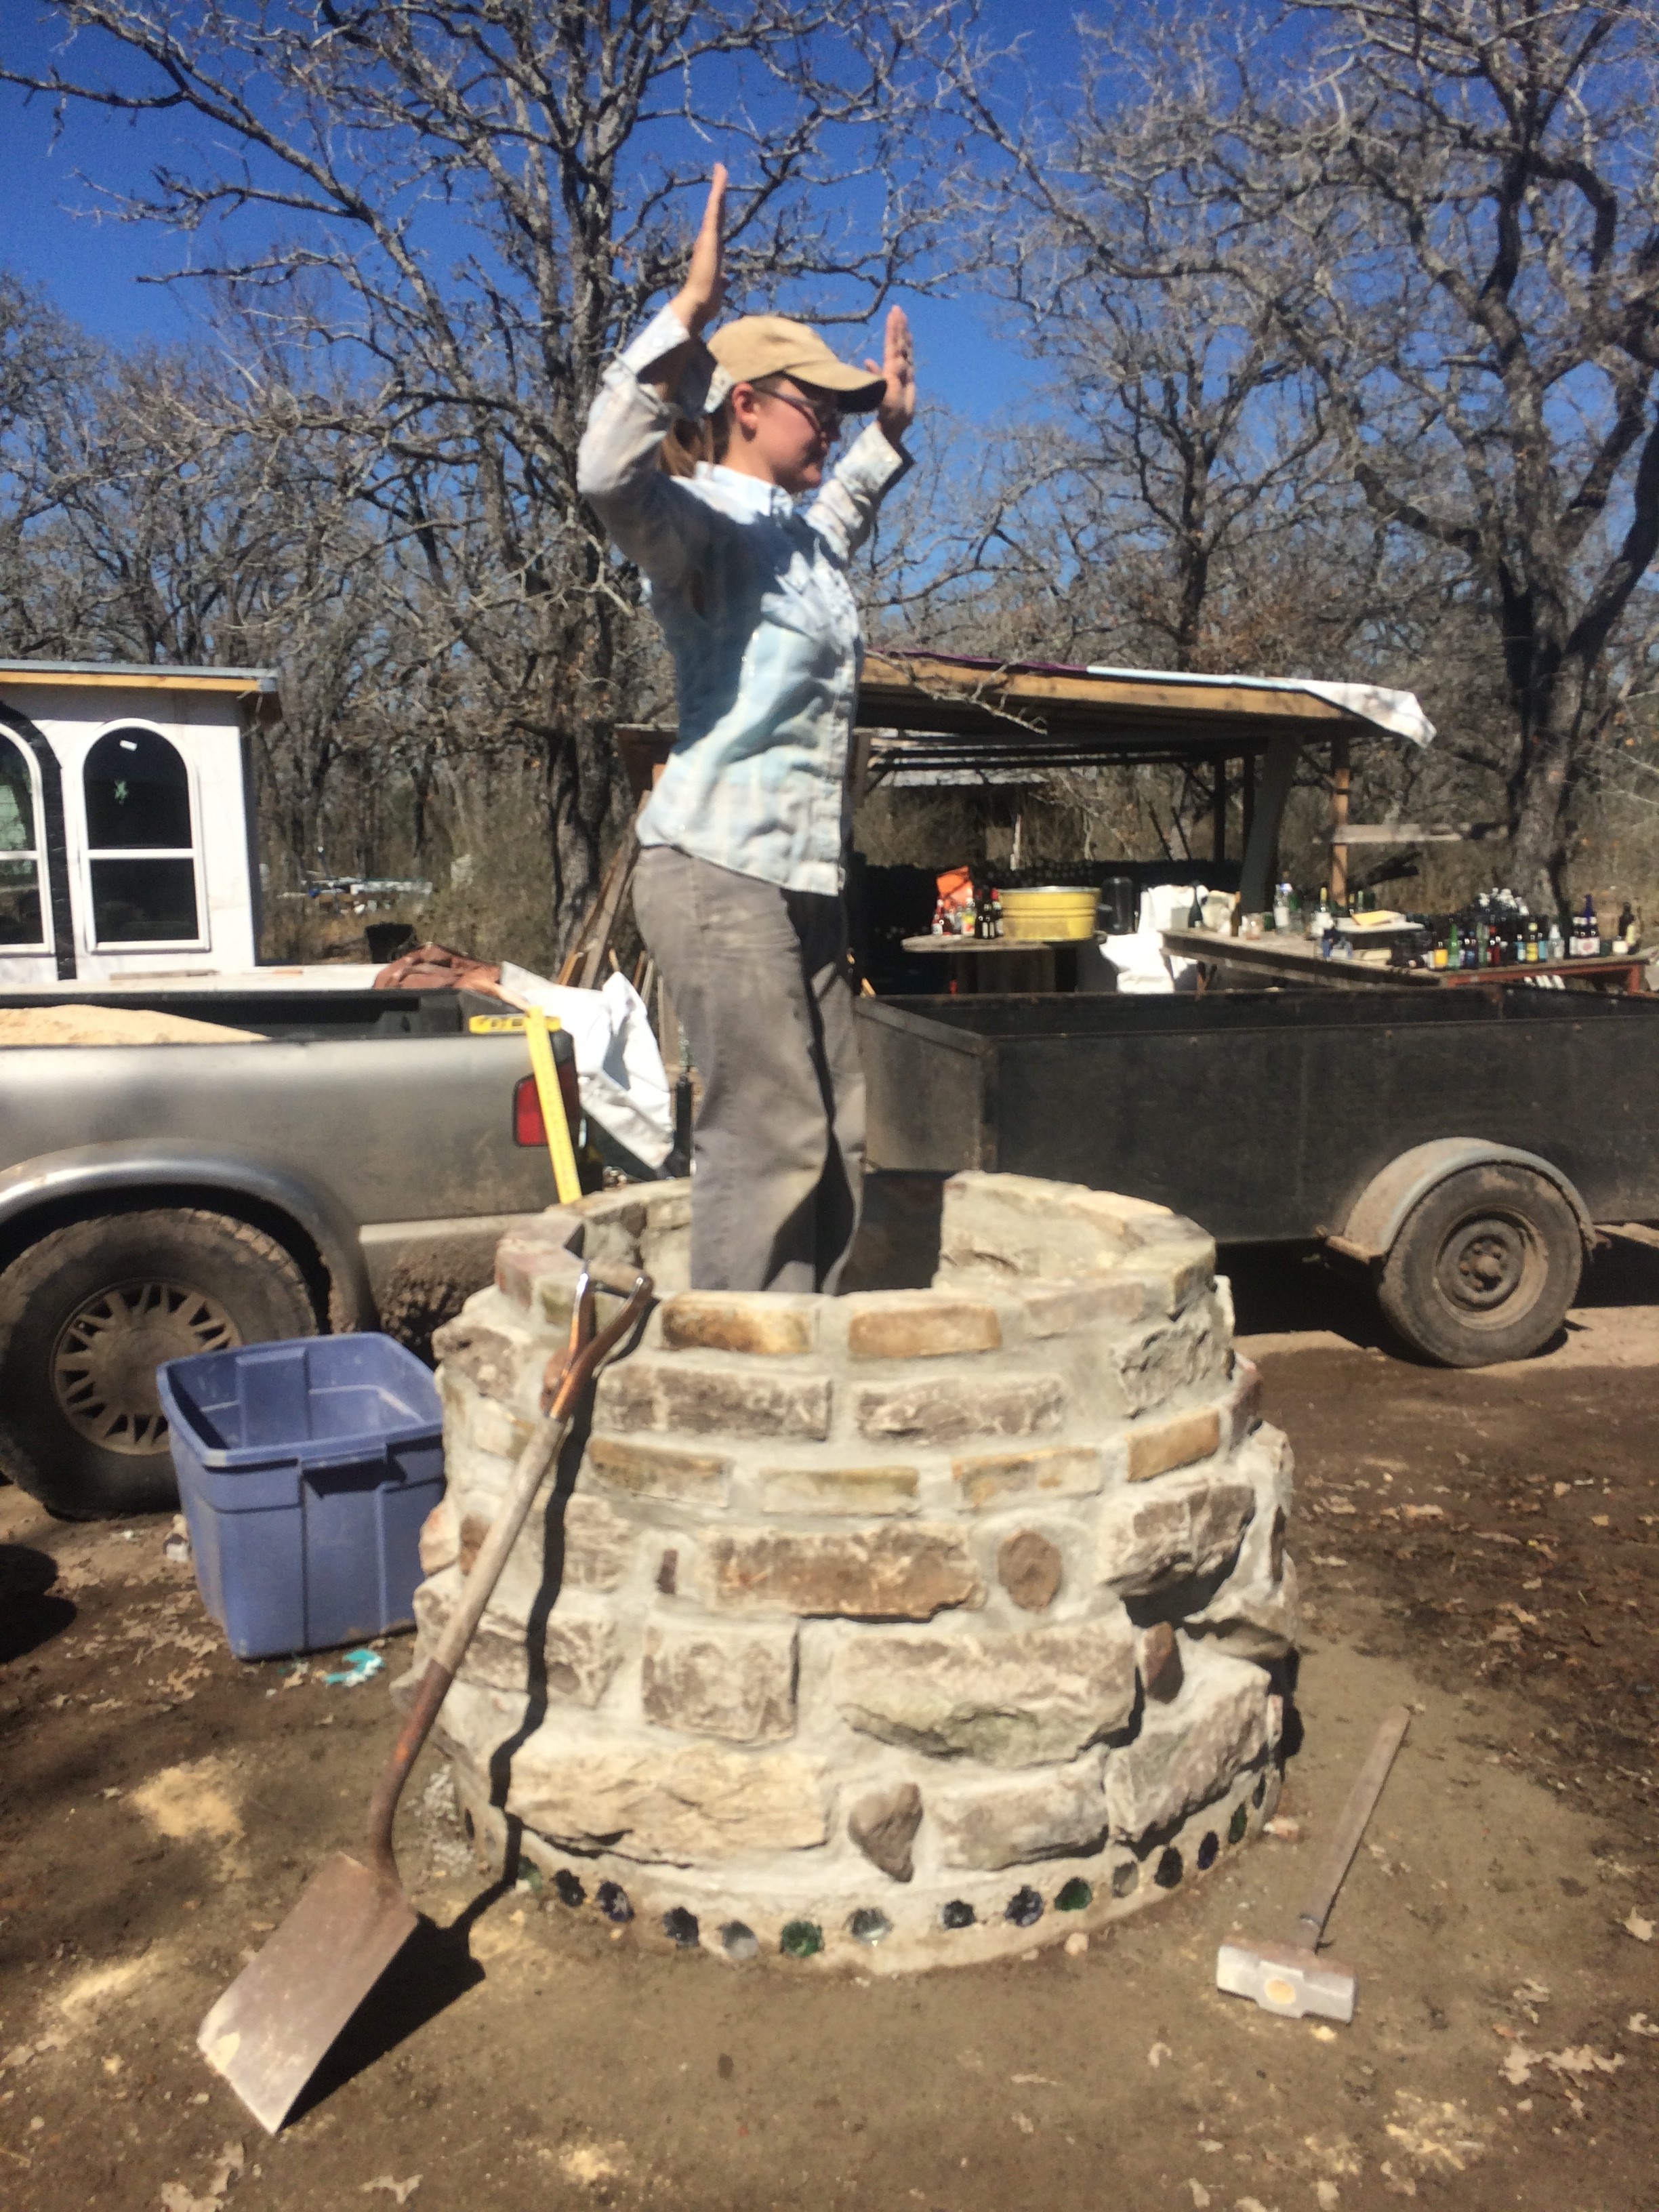
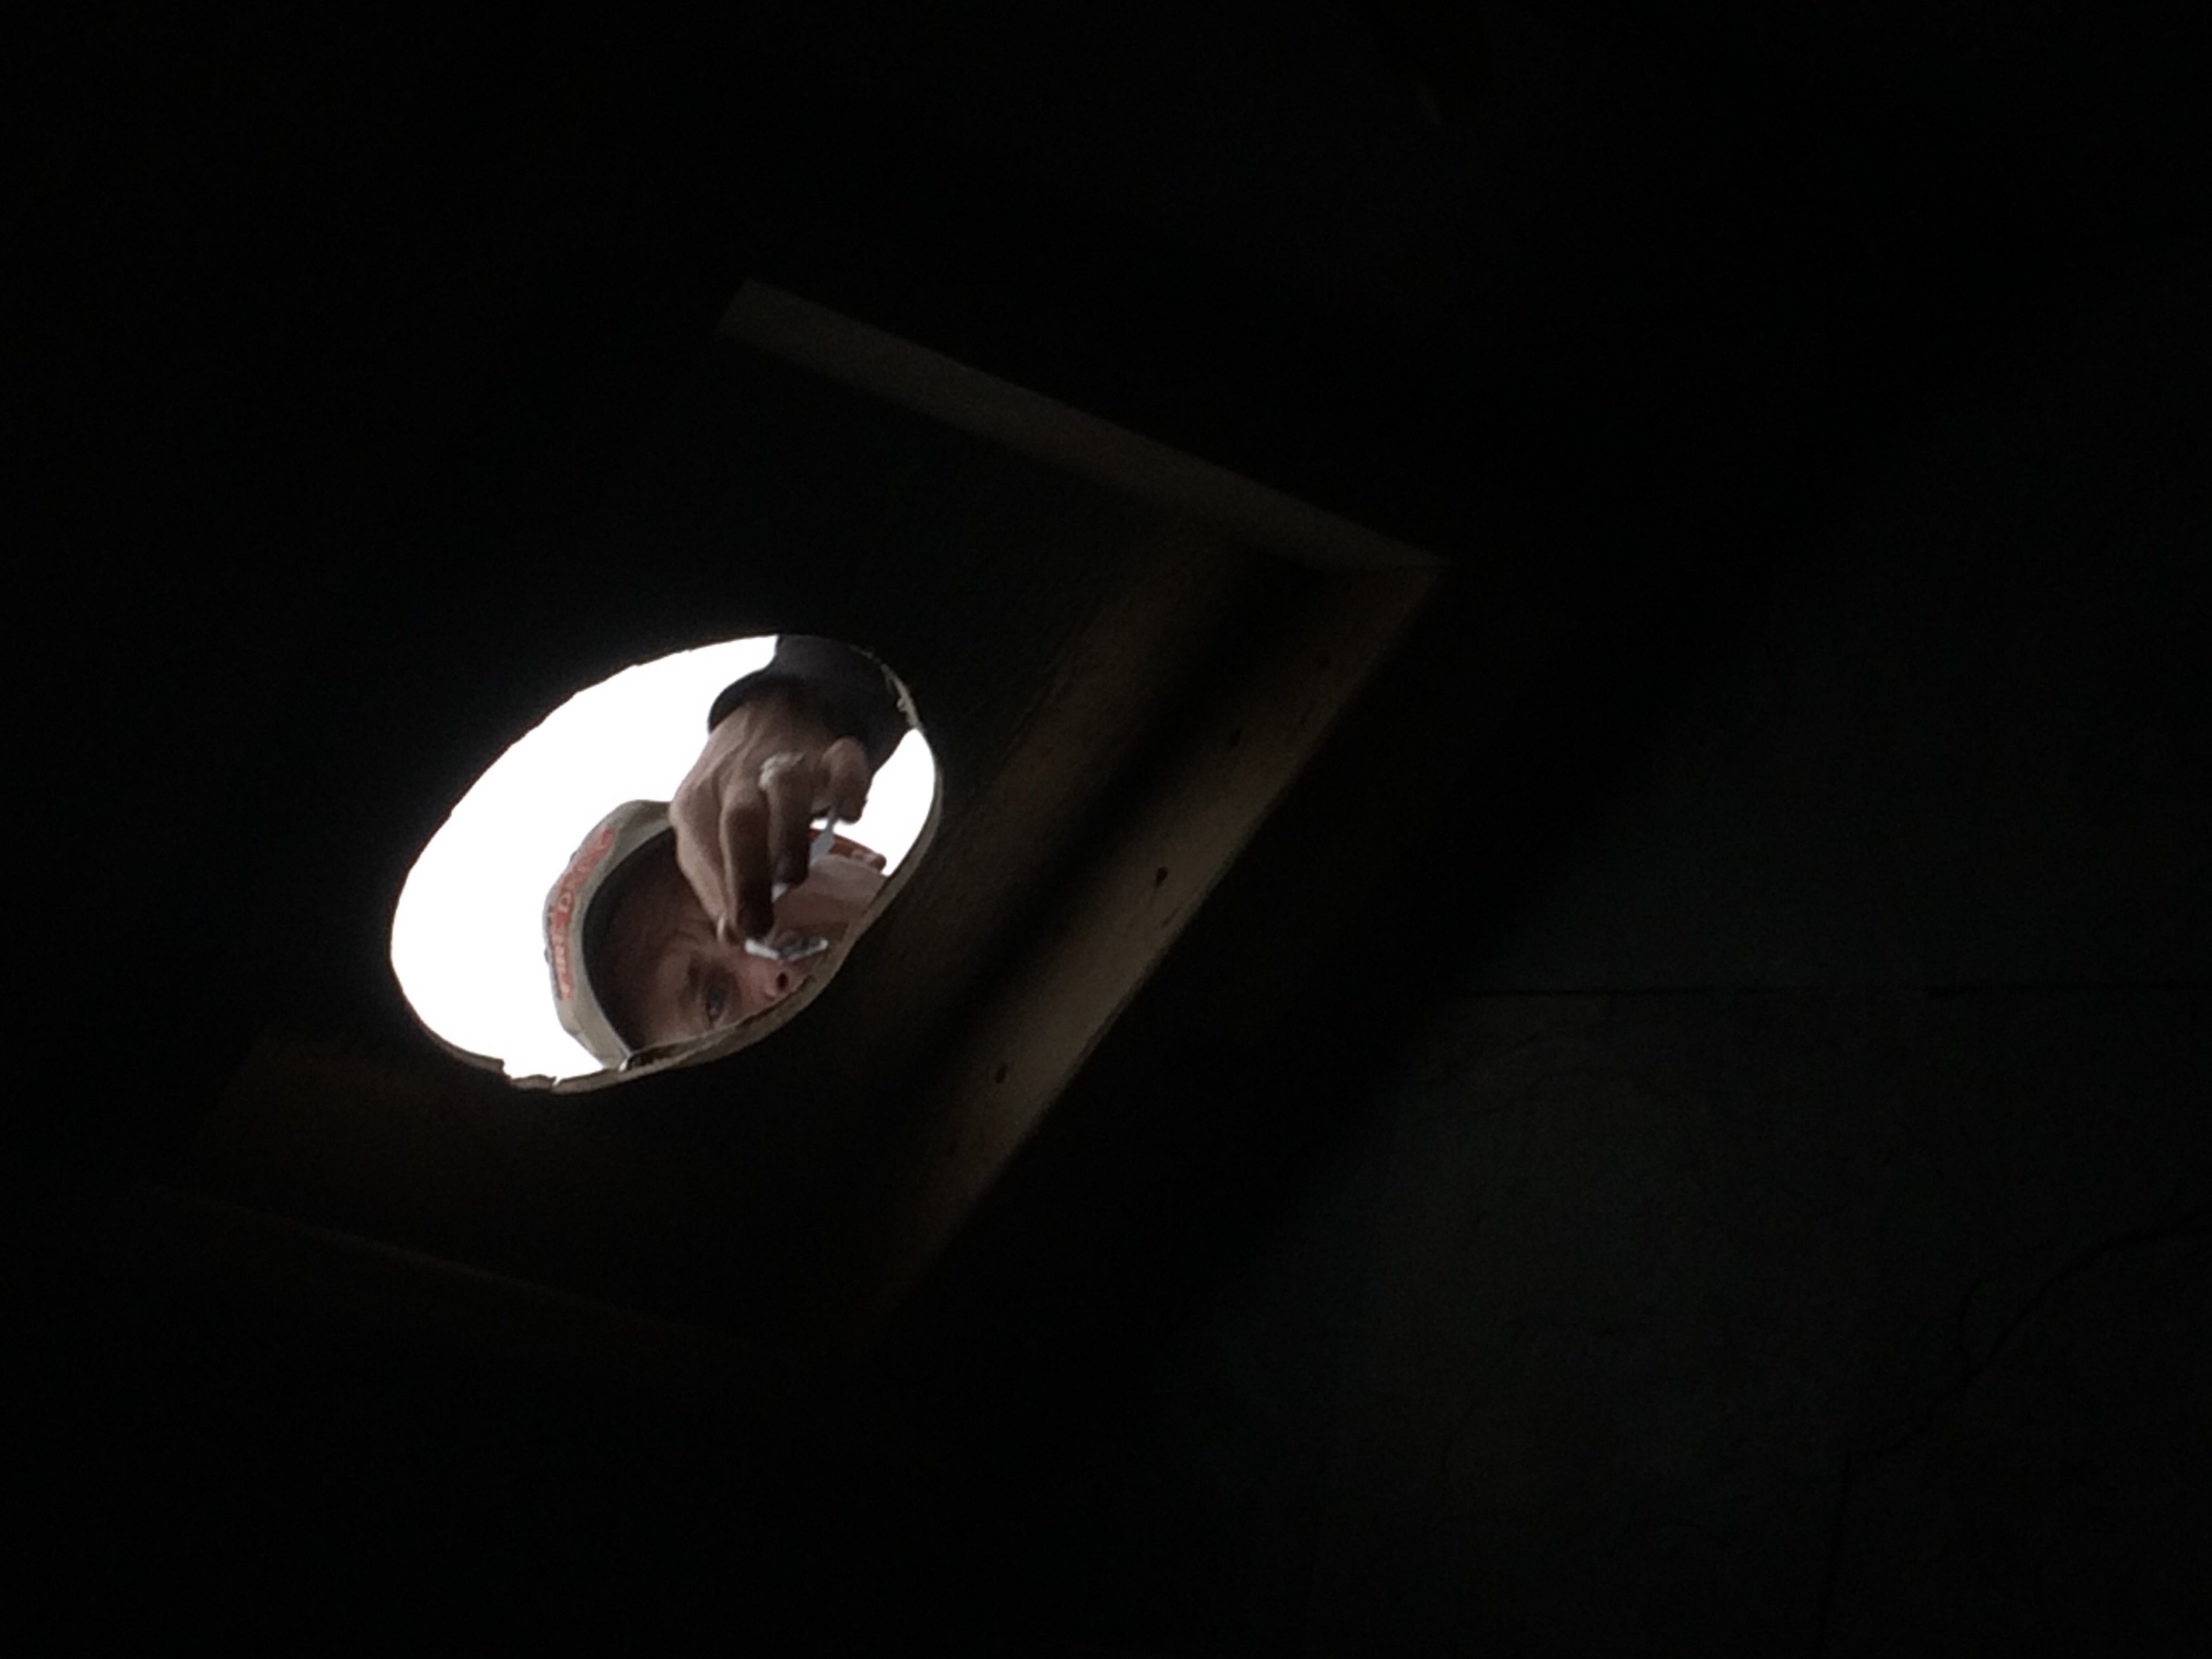
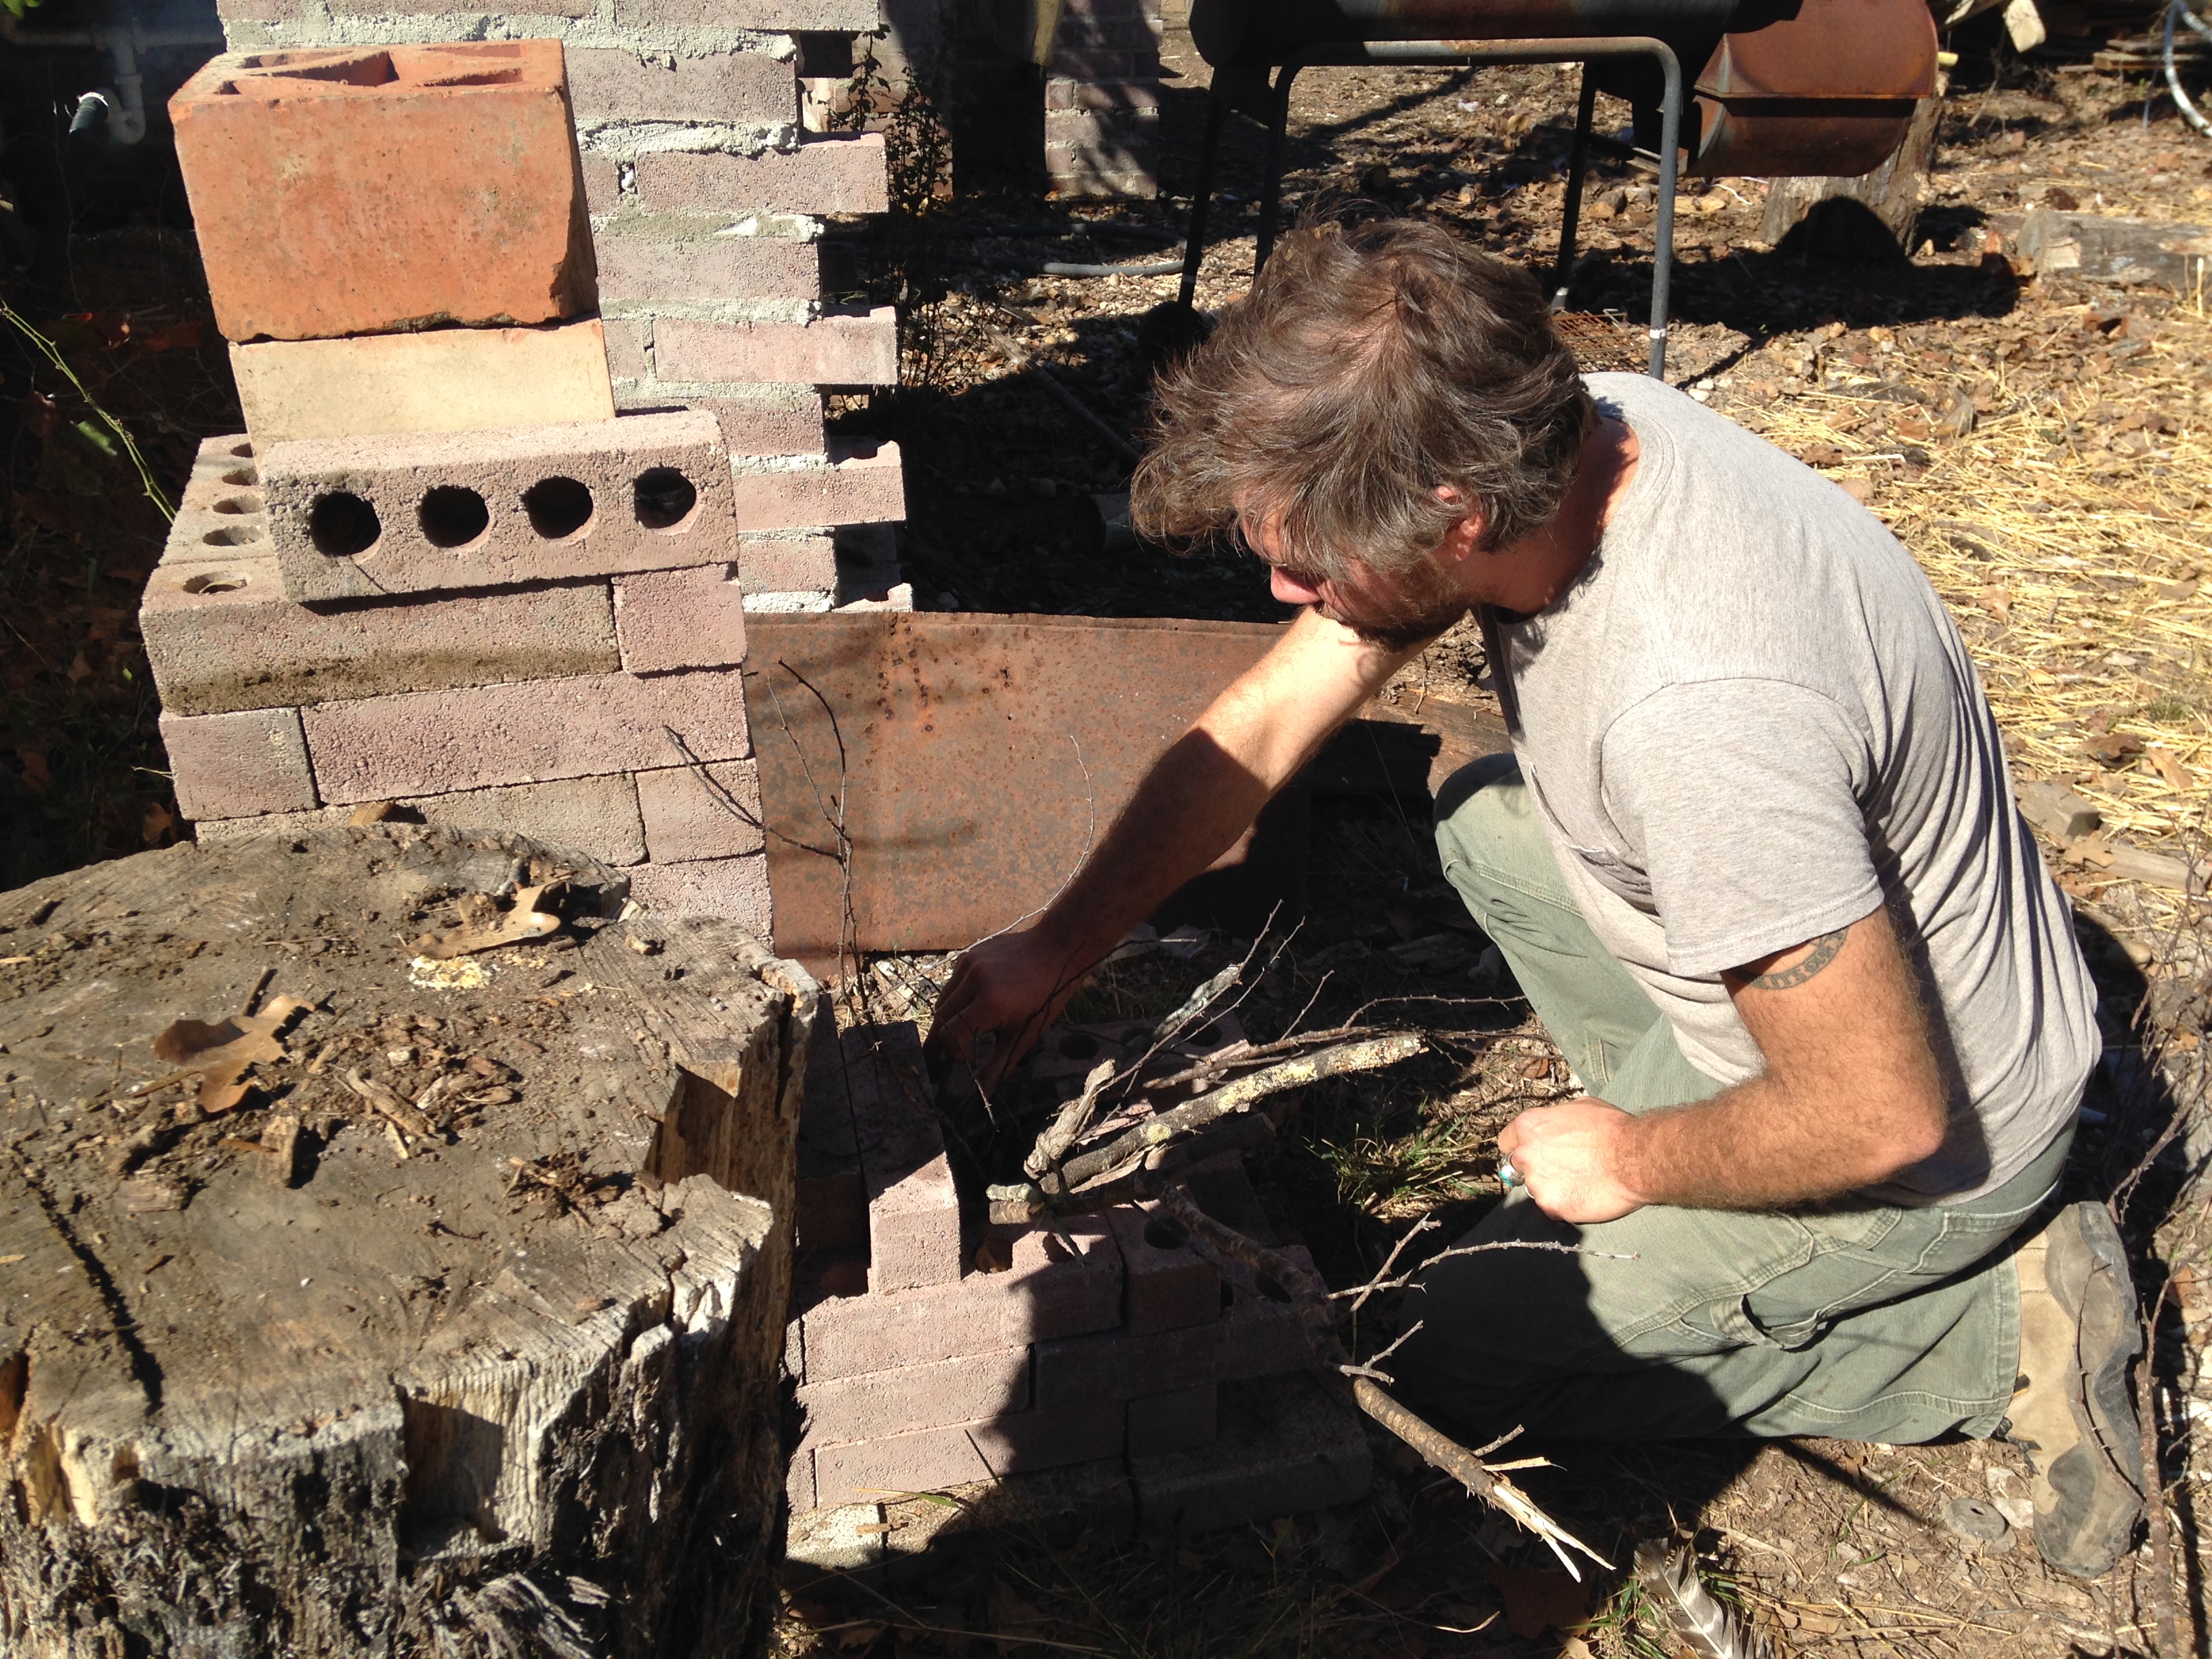
cleaning out the chimney cap
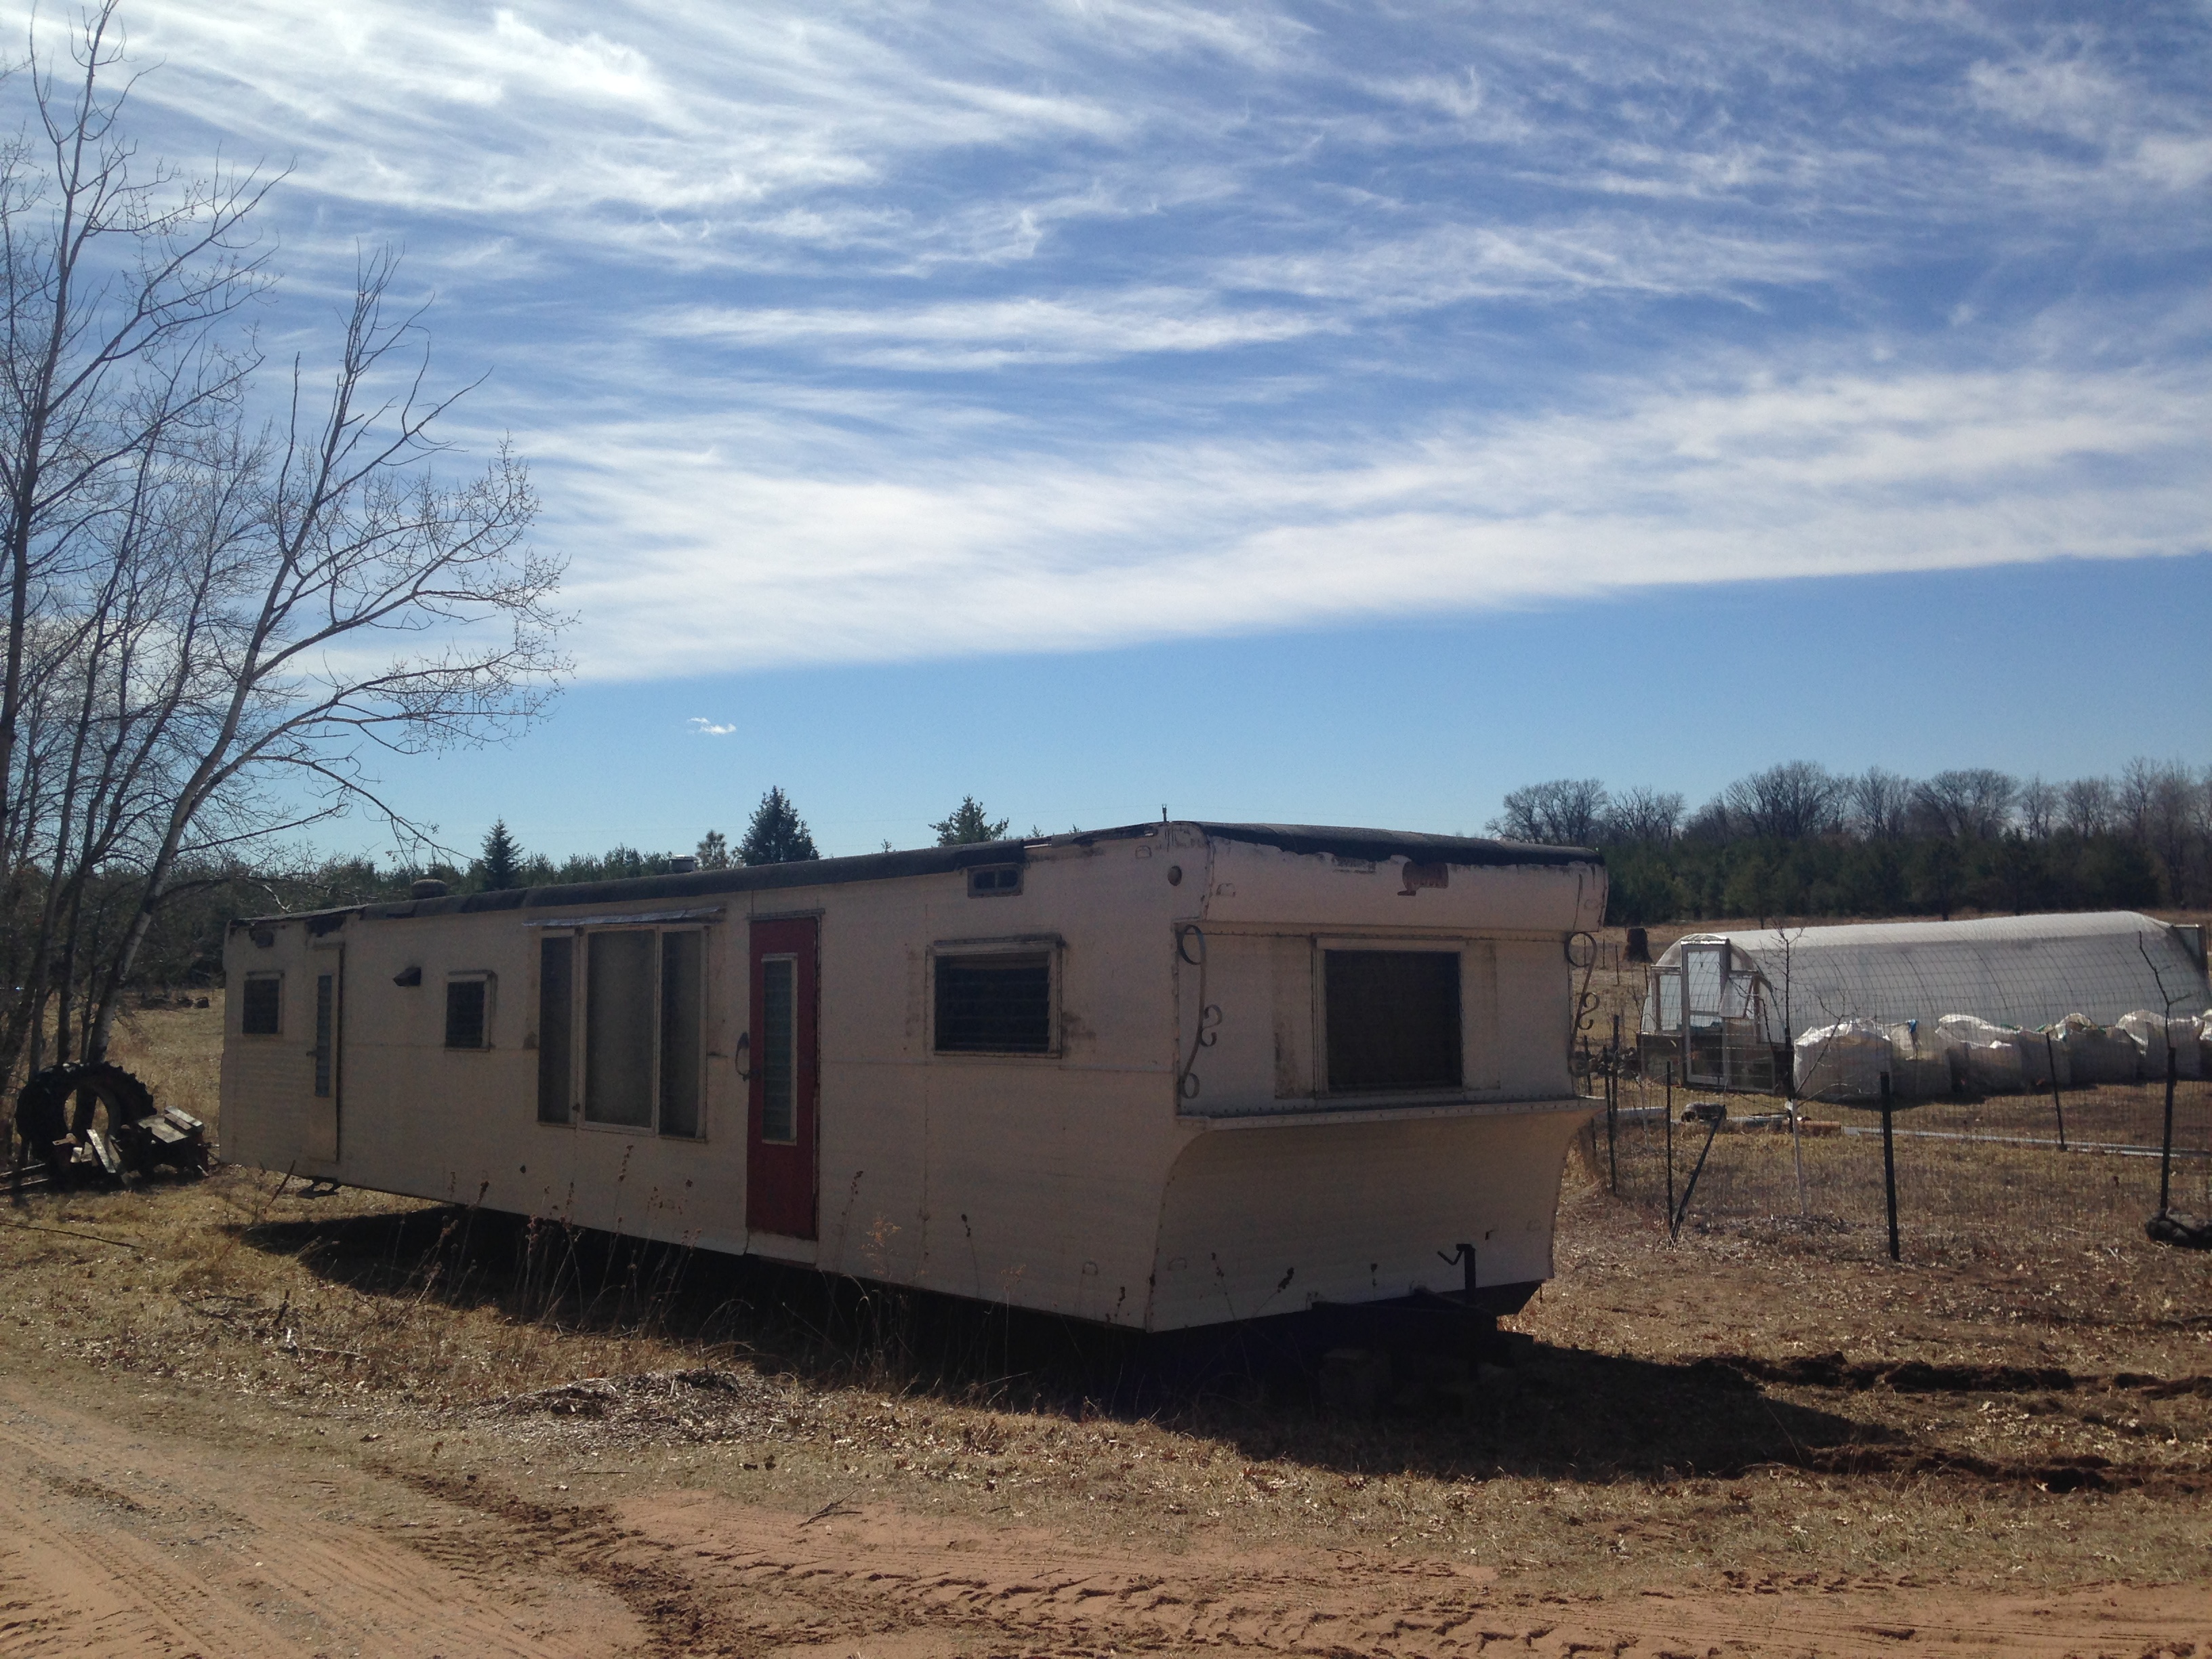
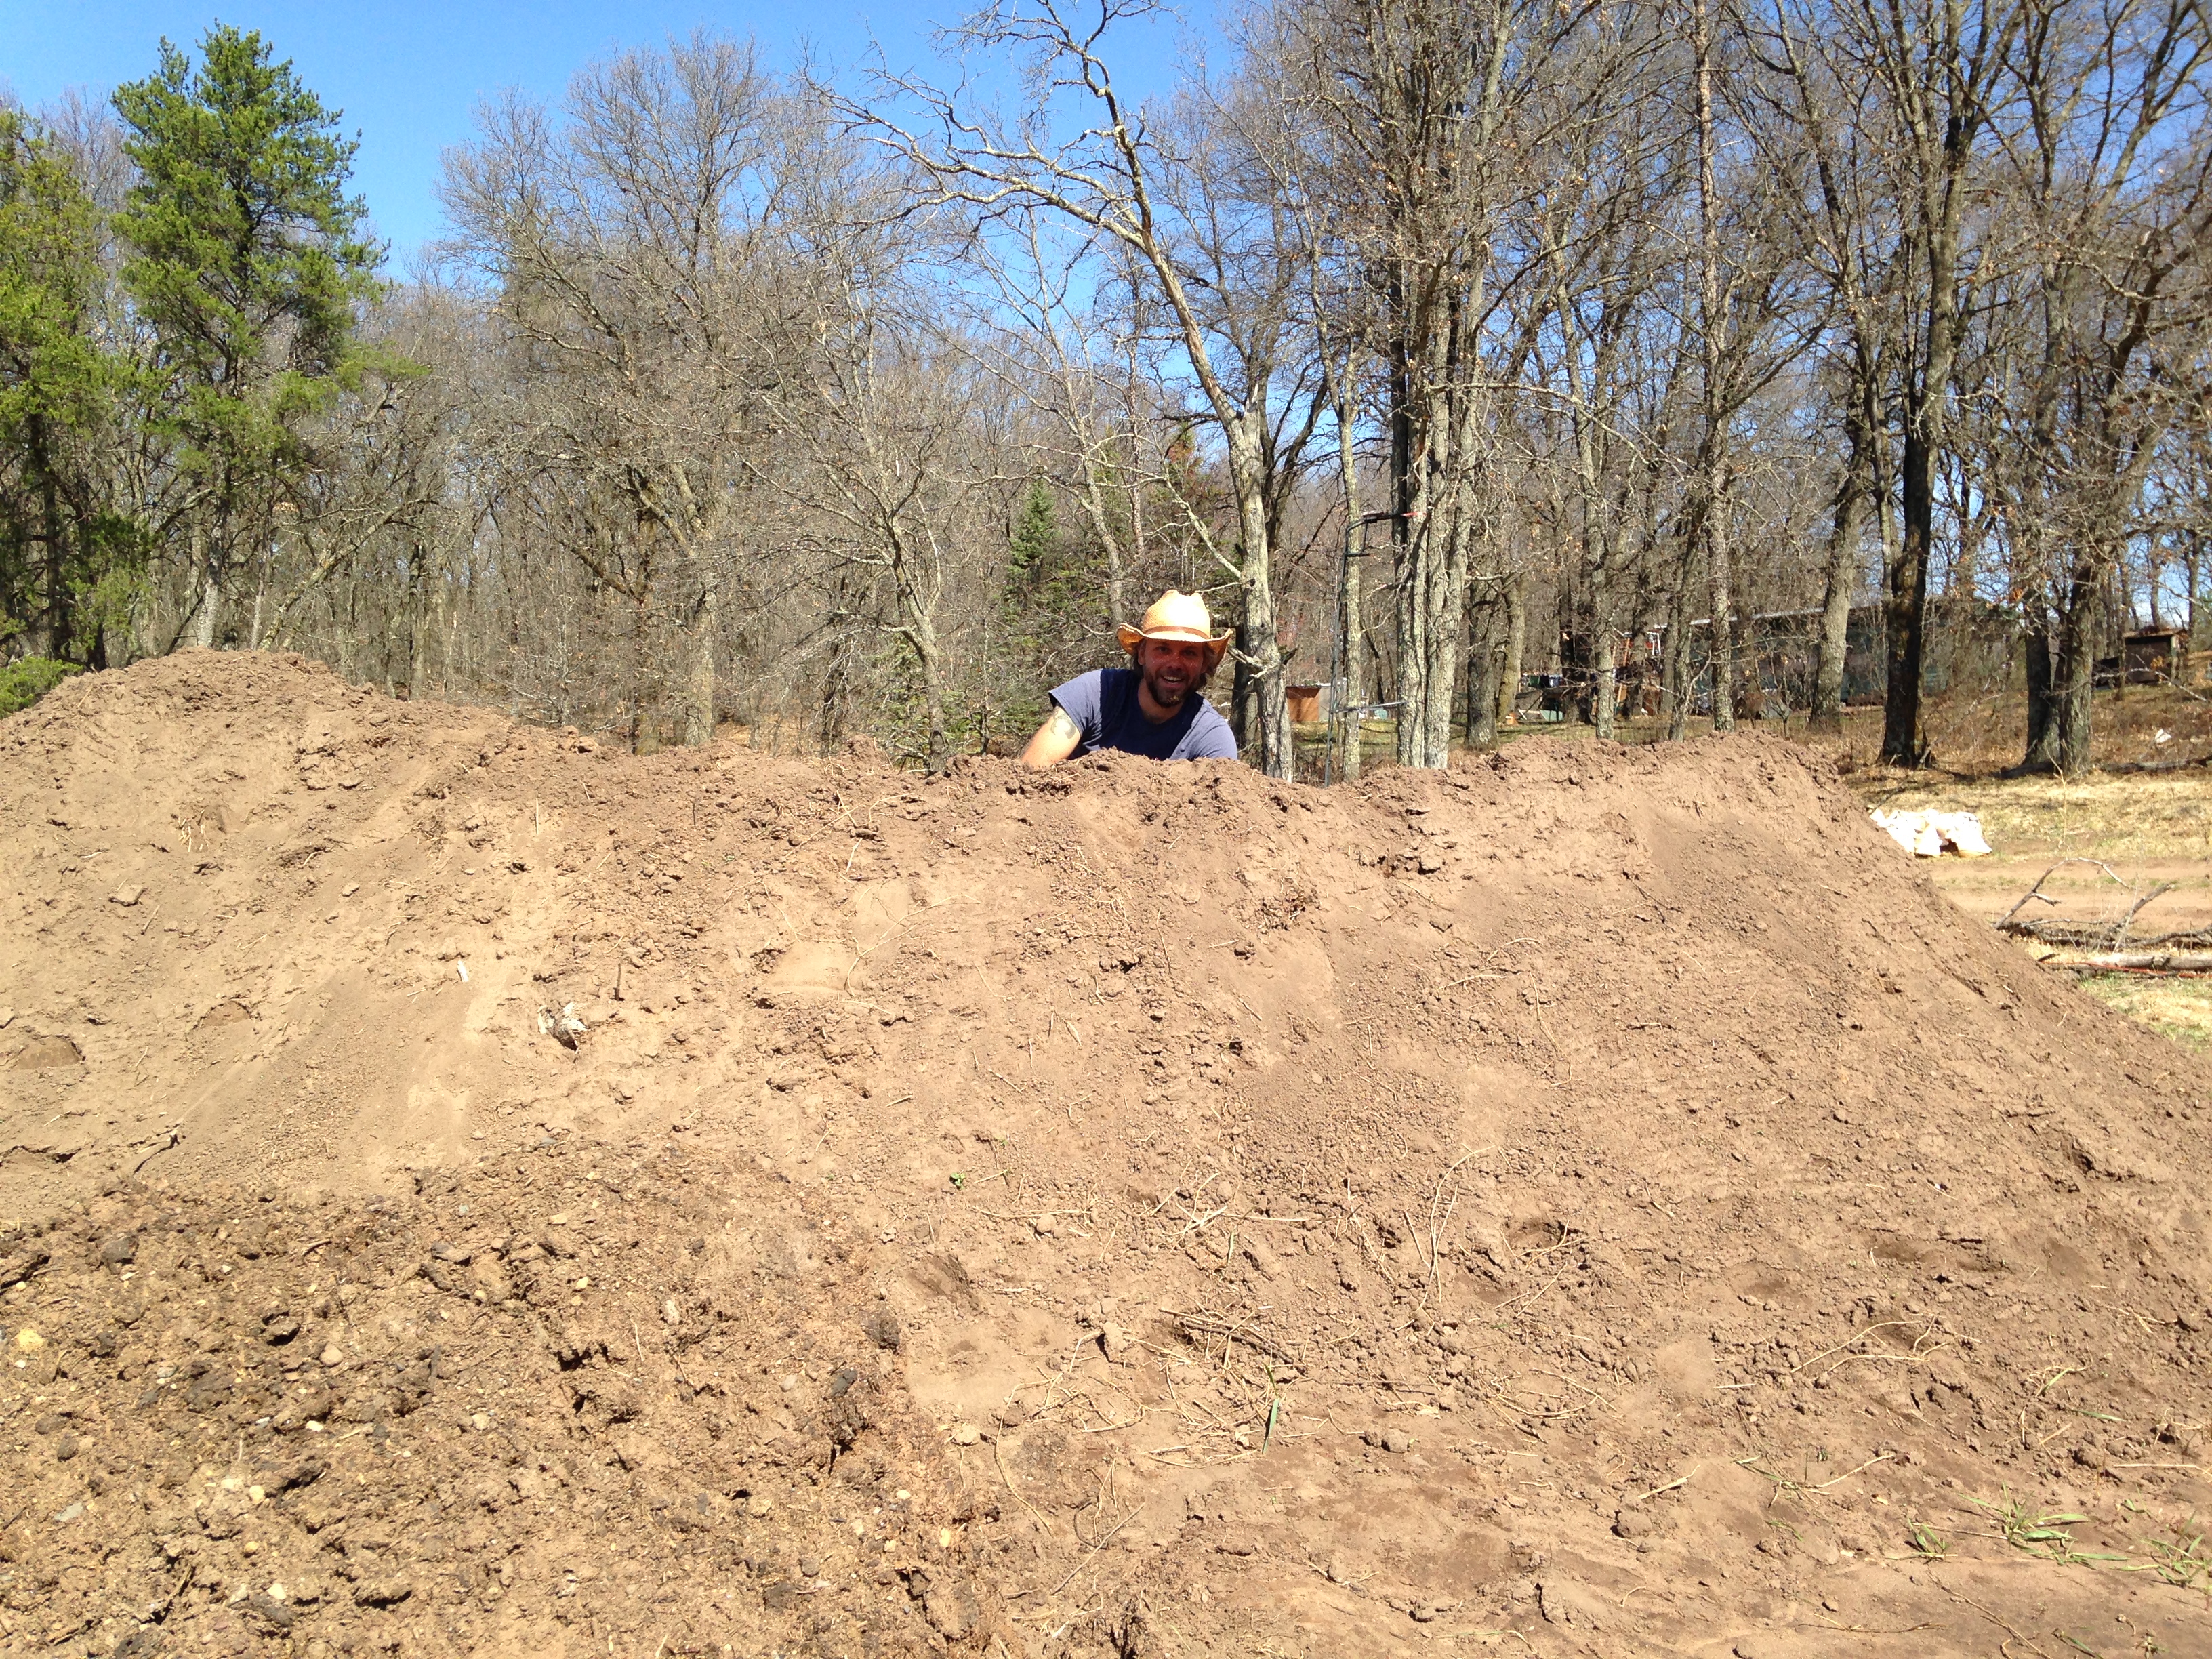
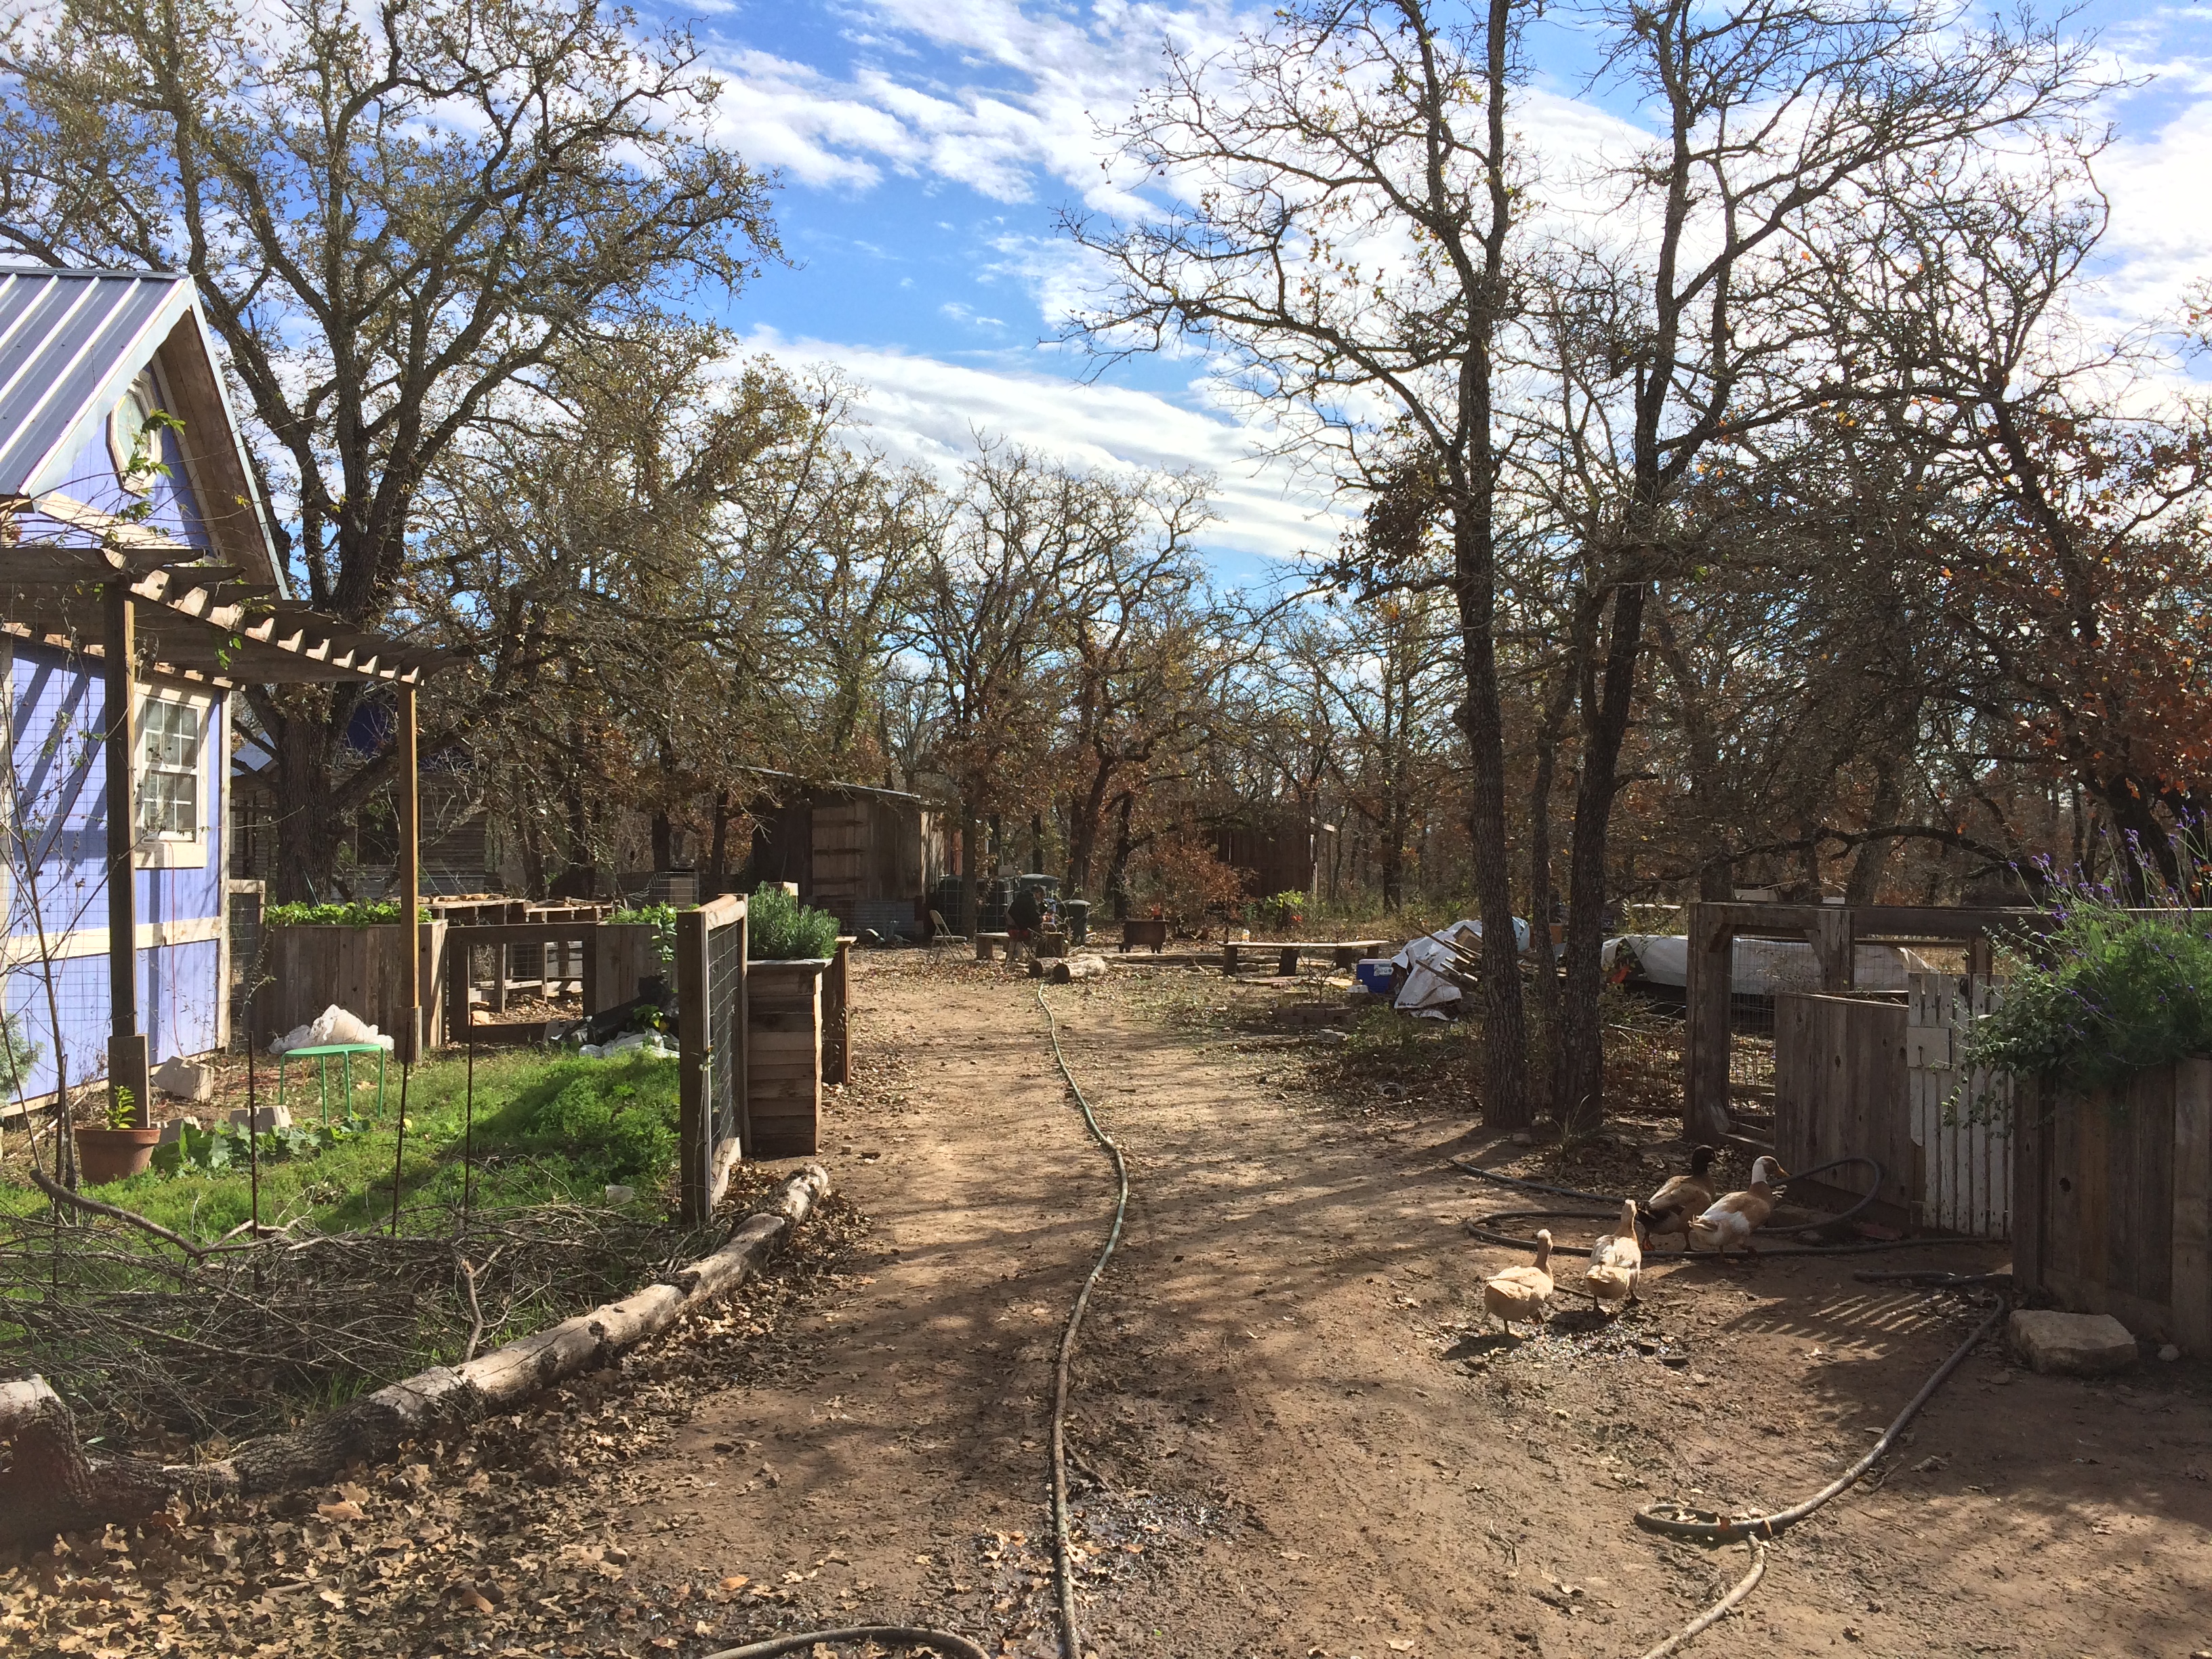
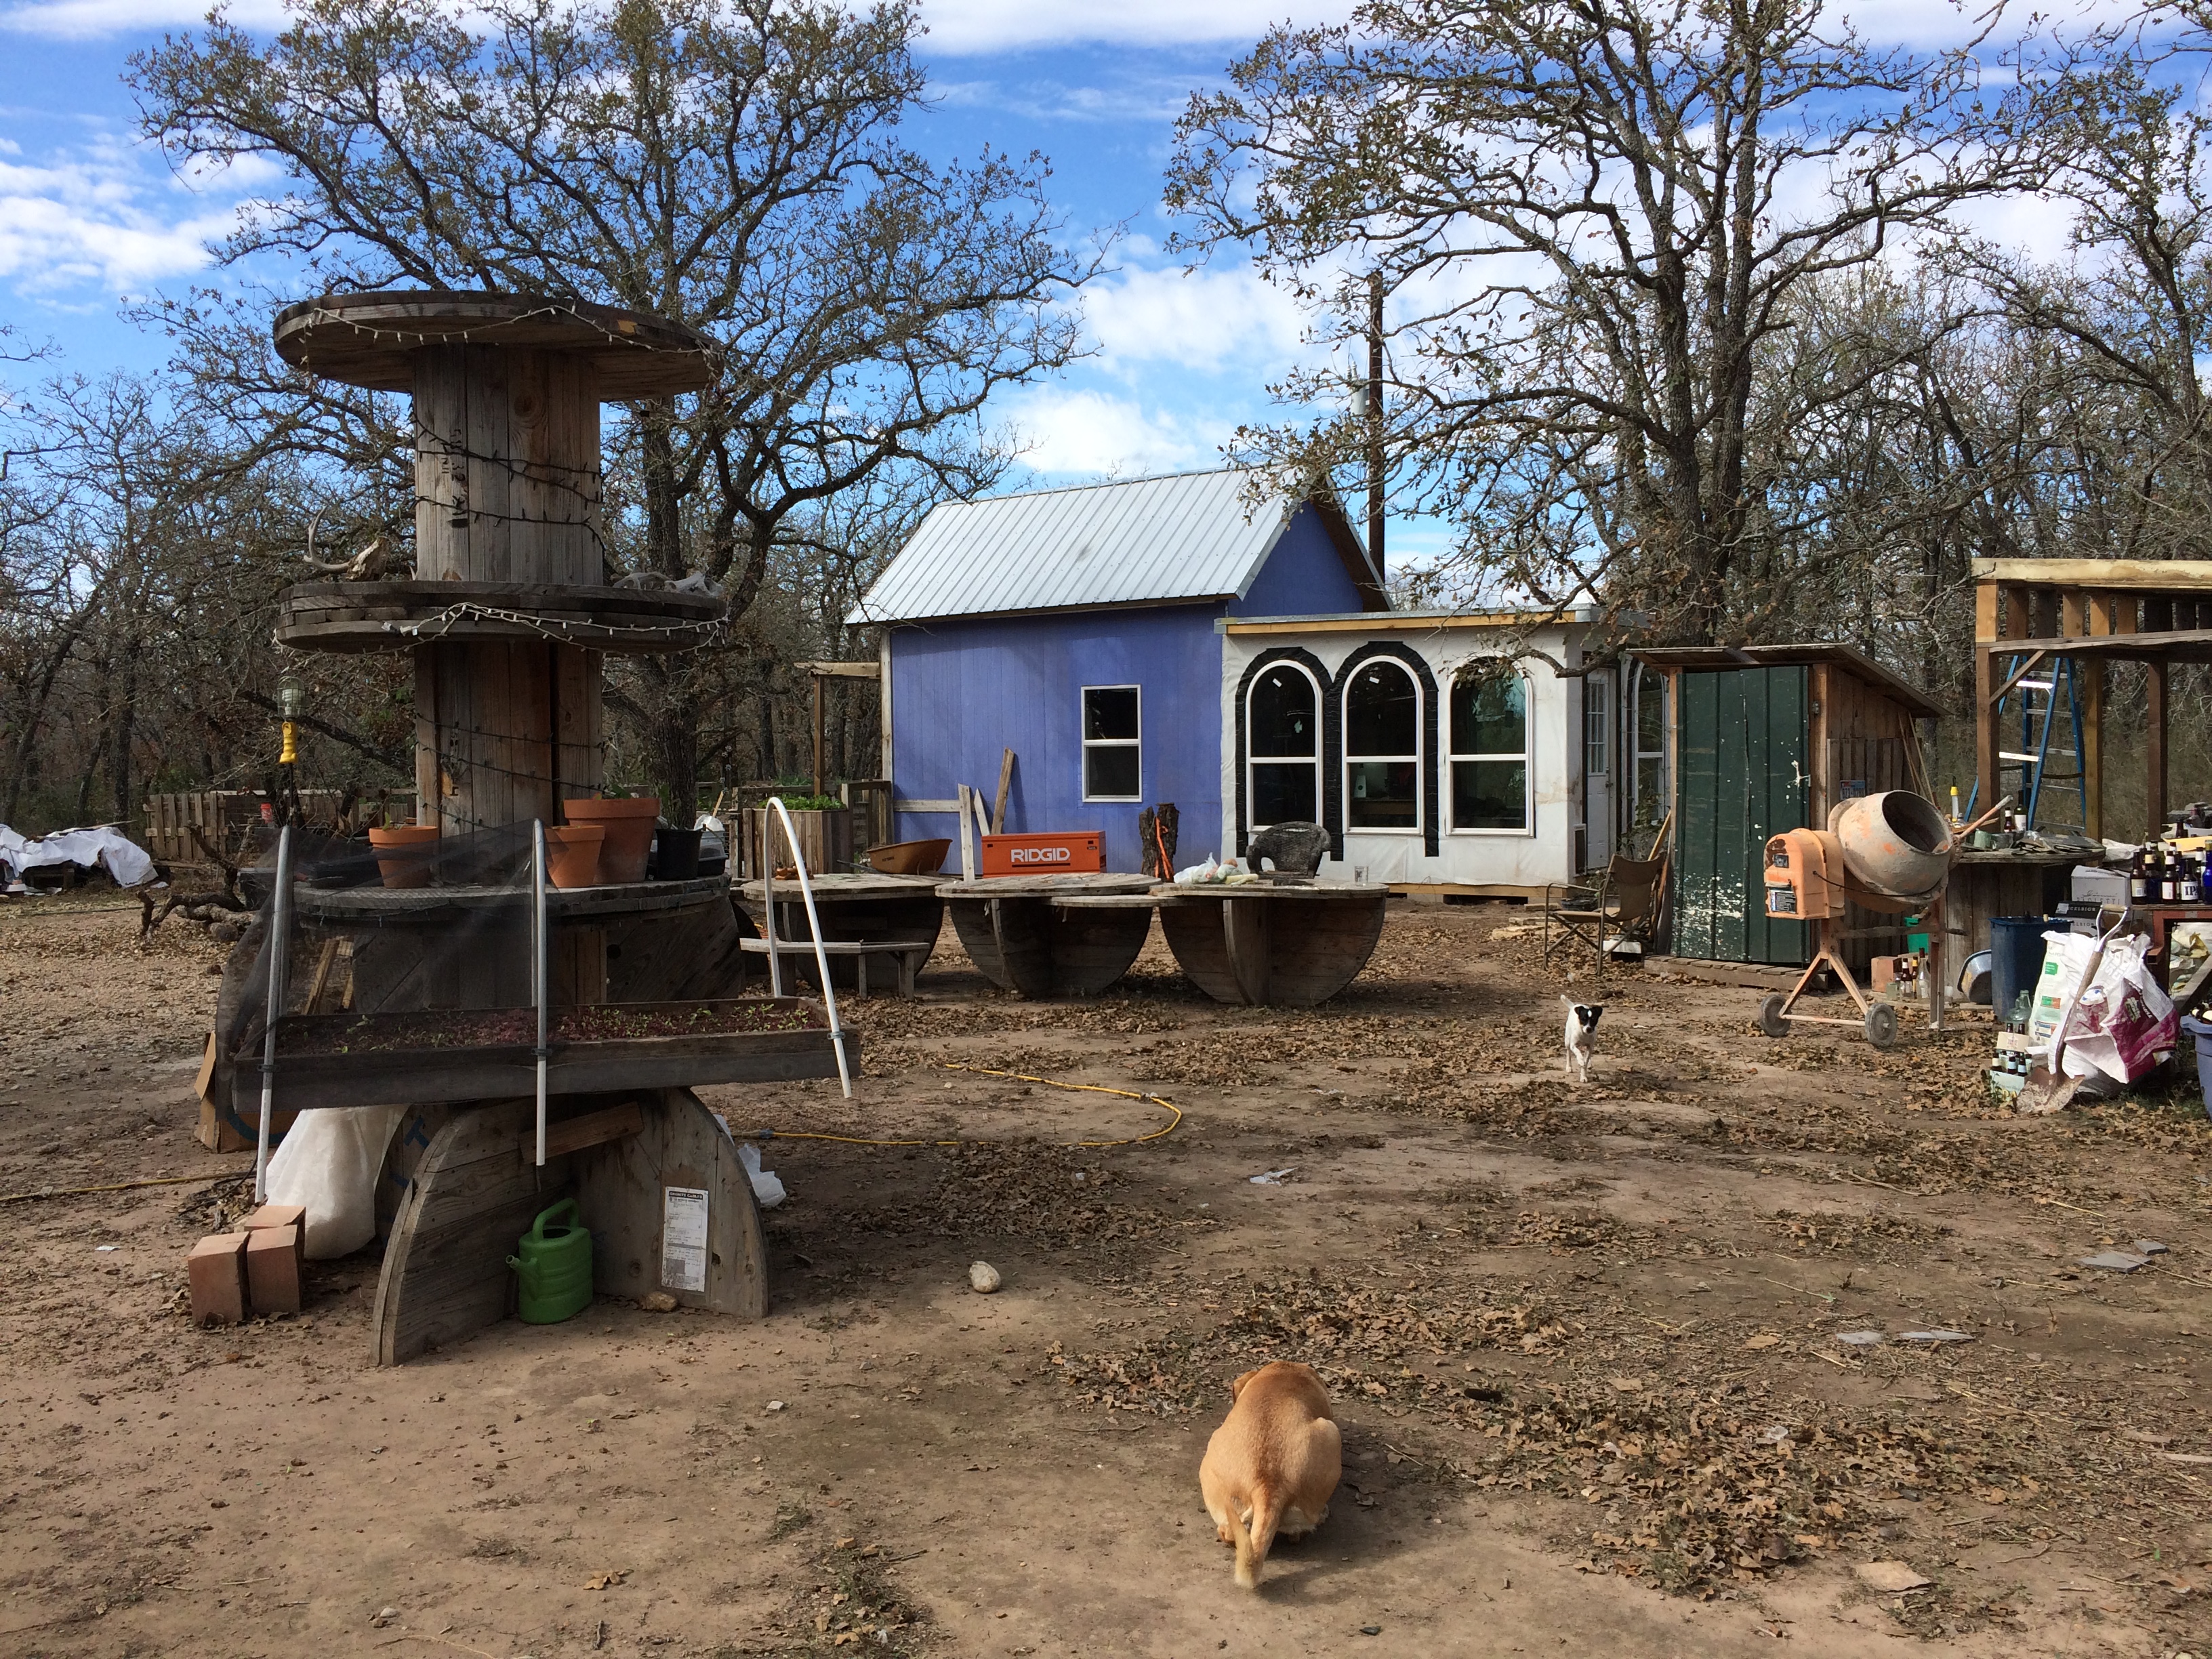
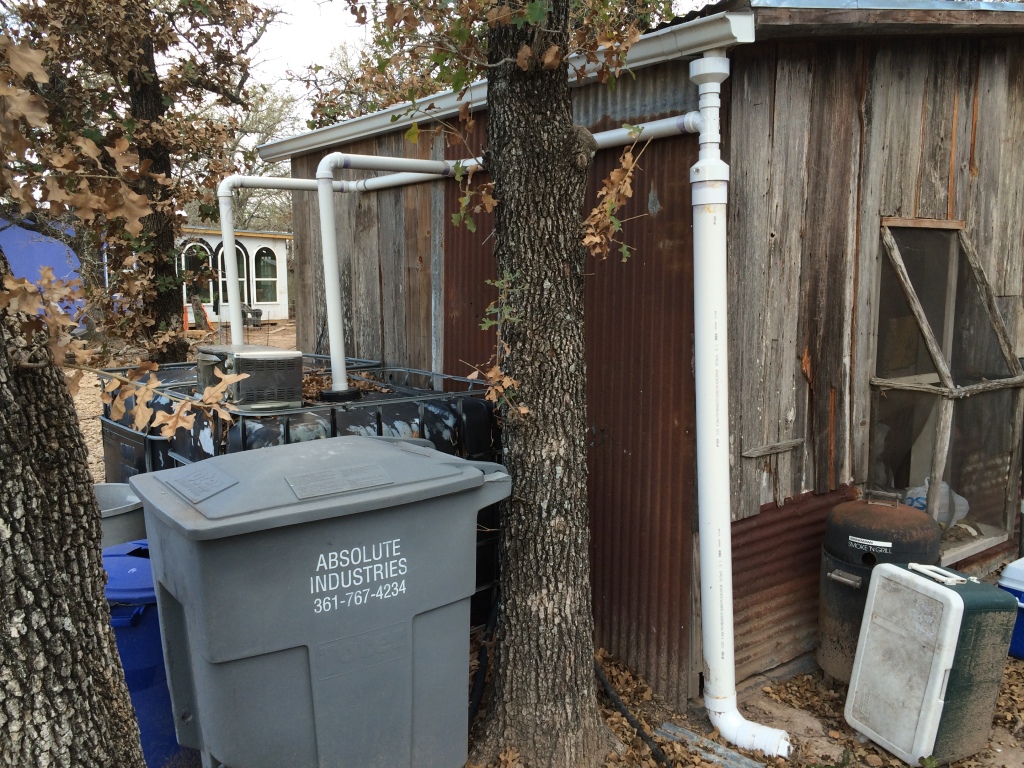
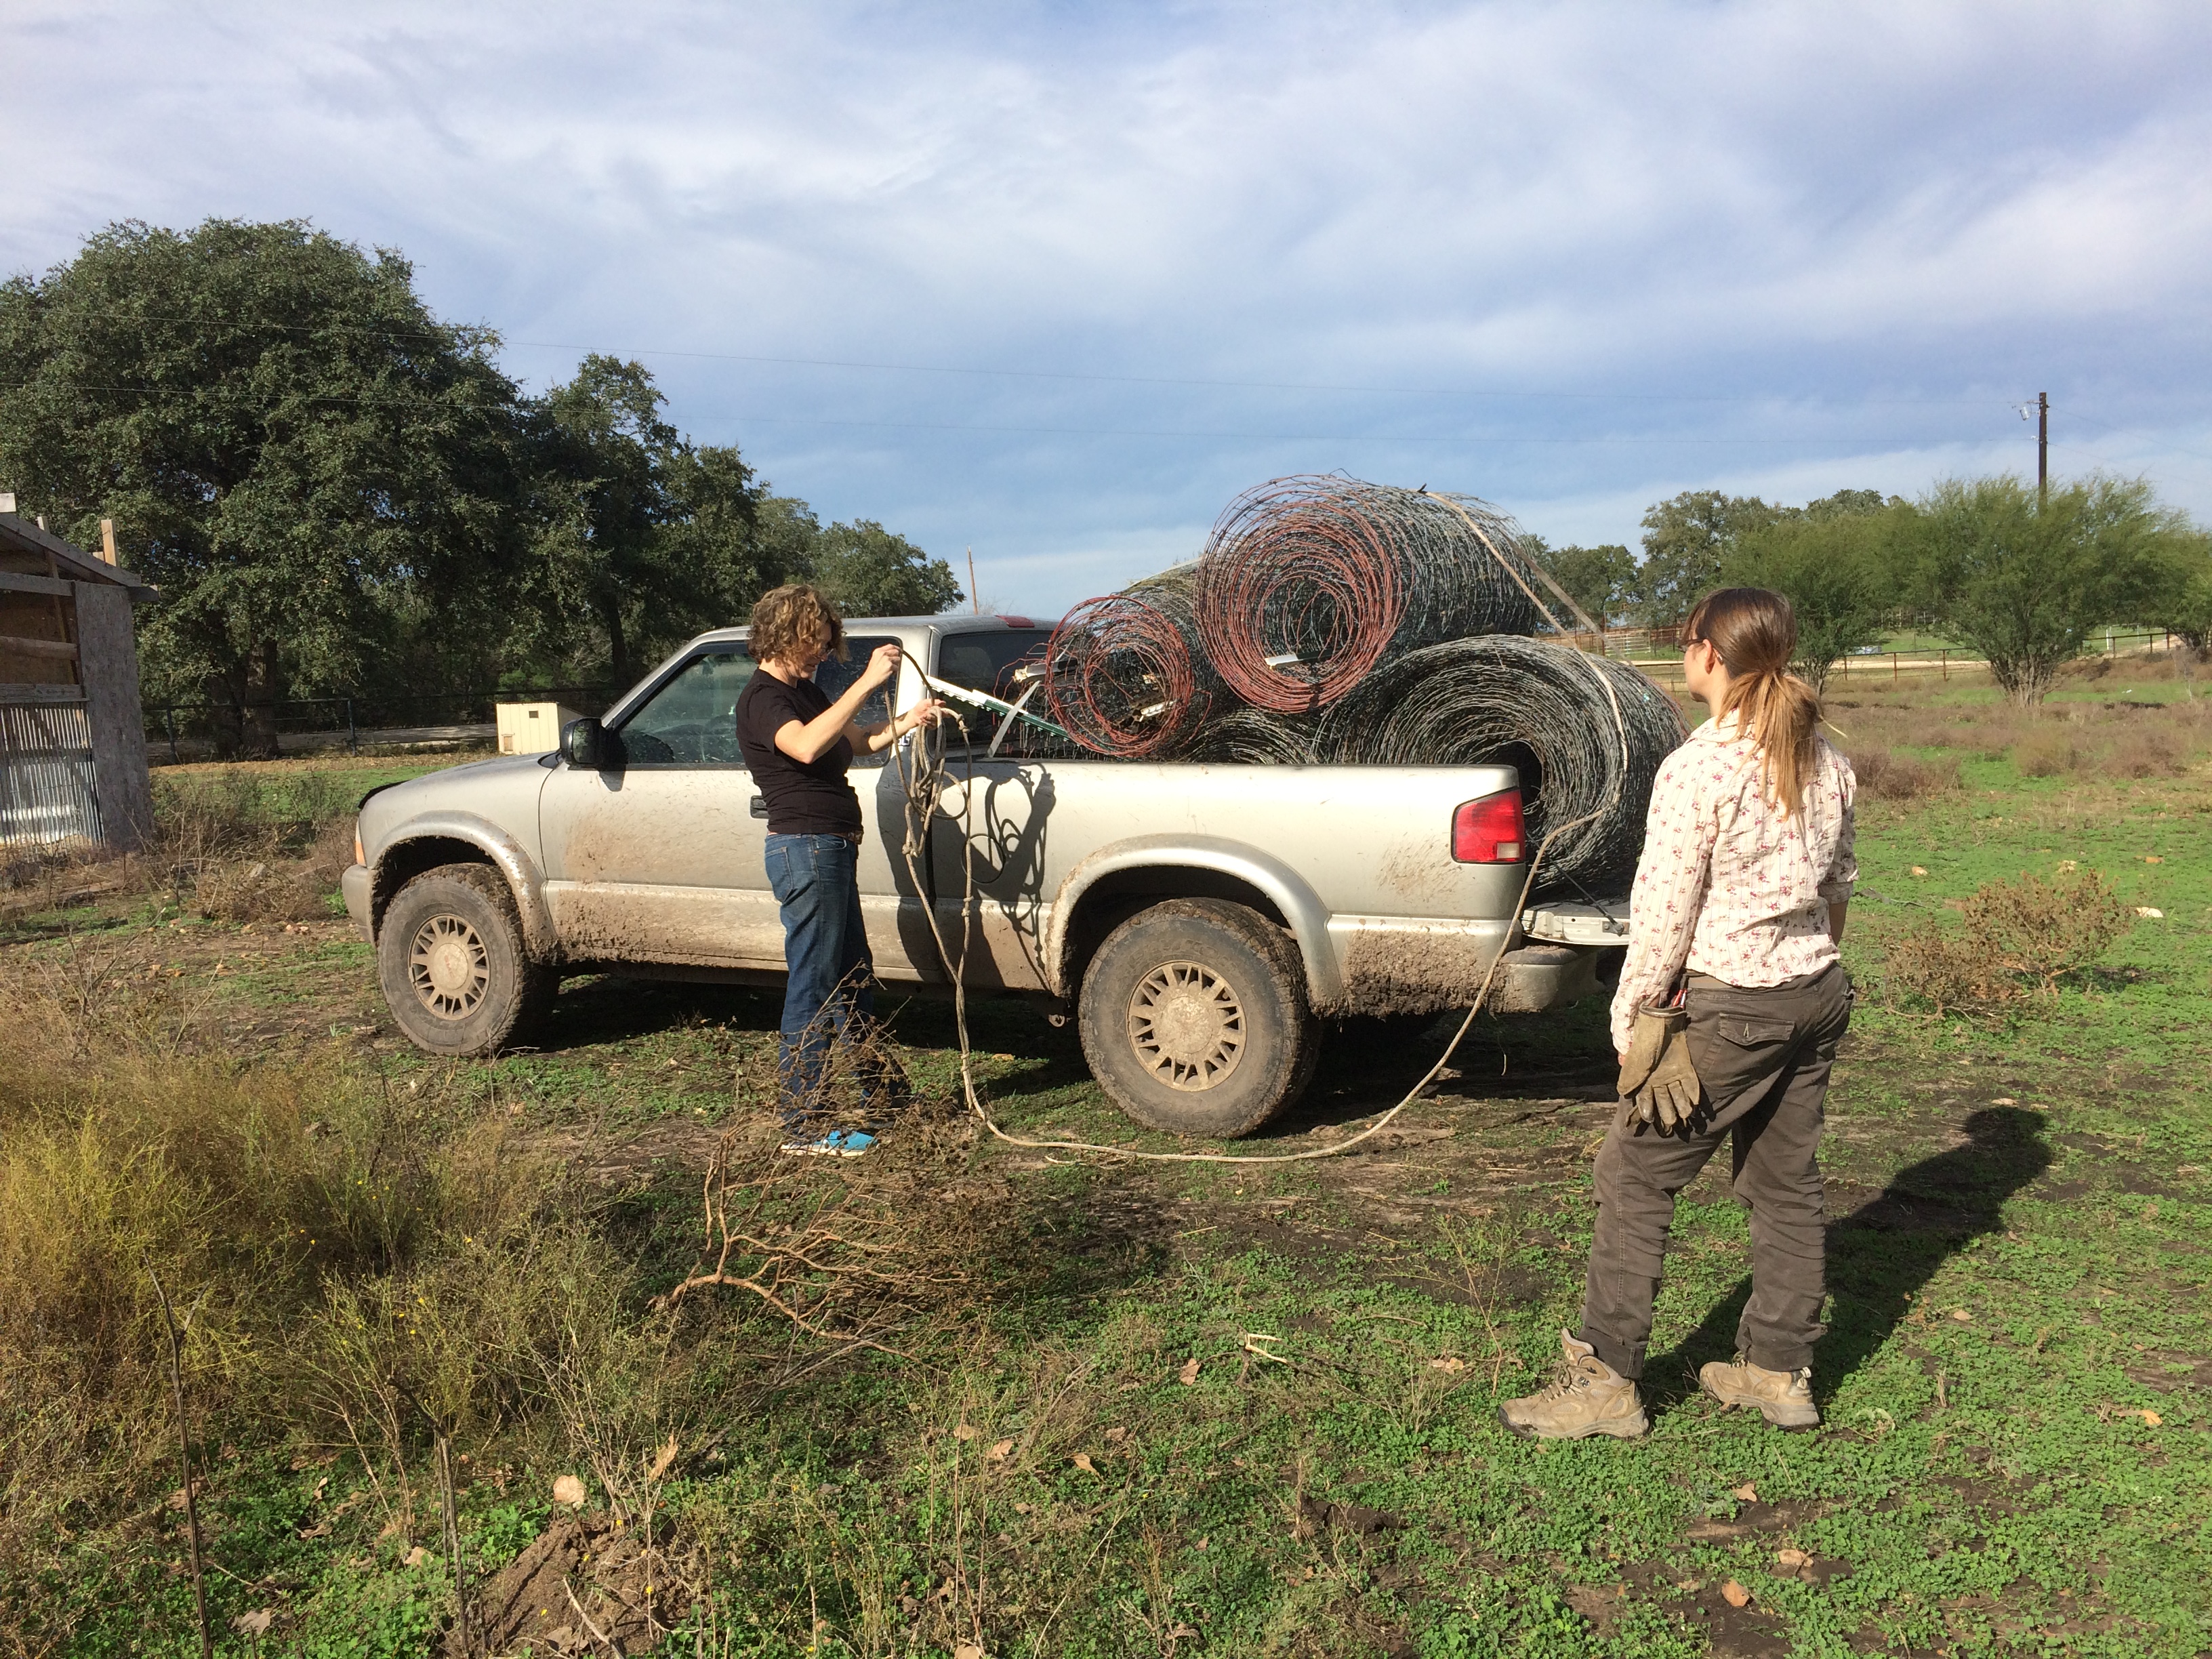
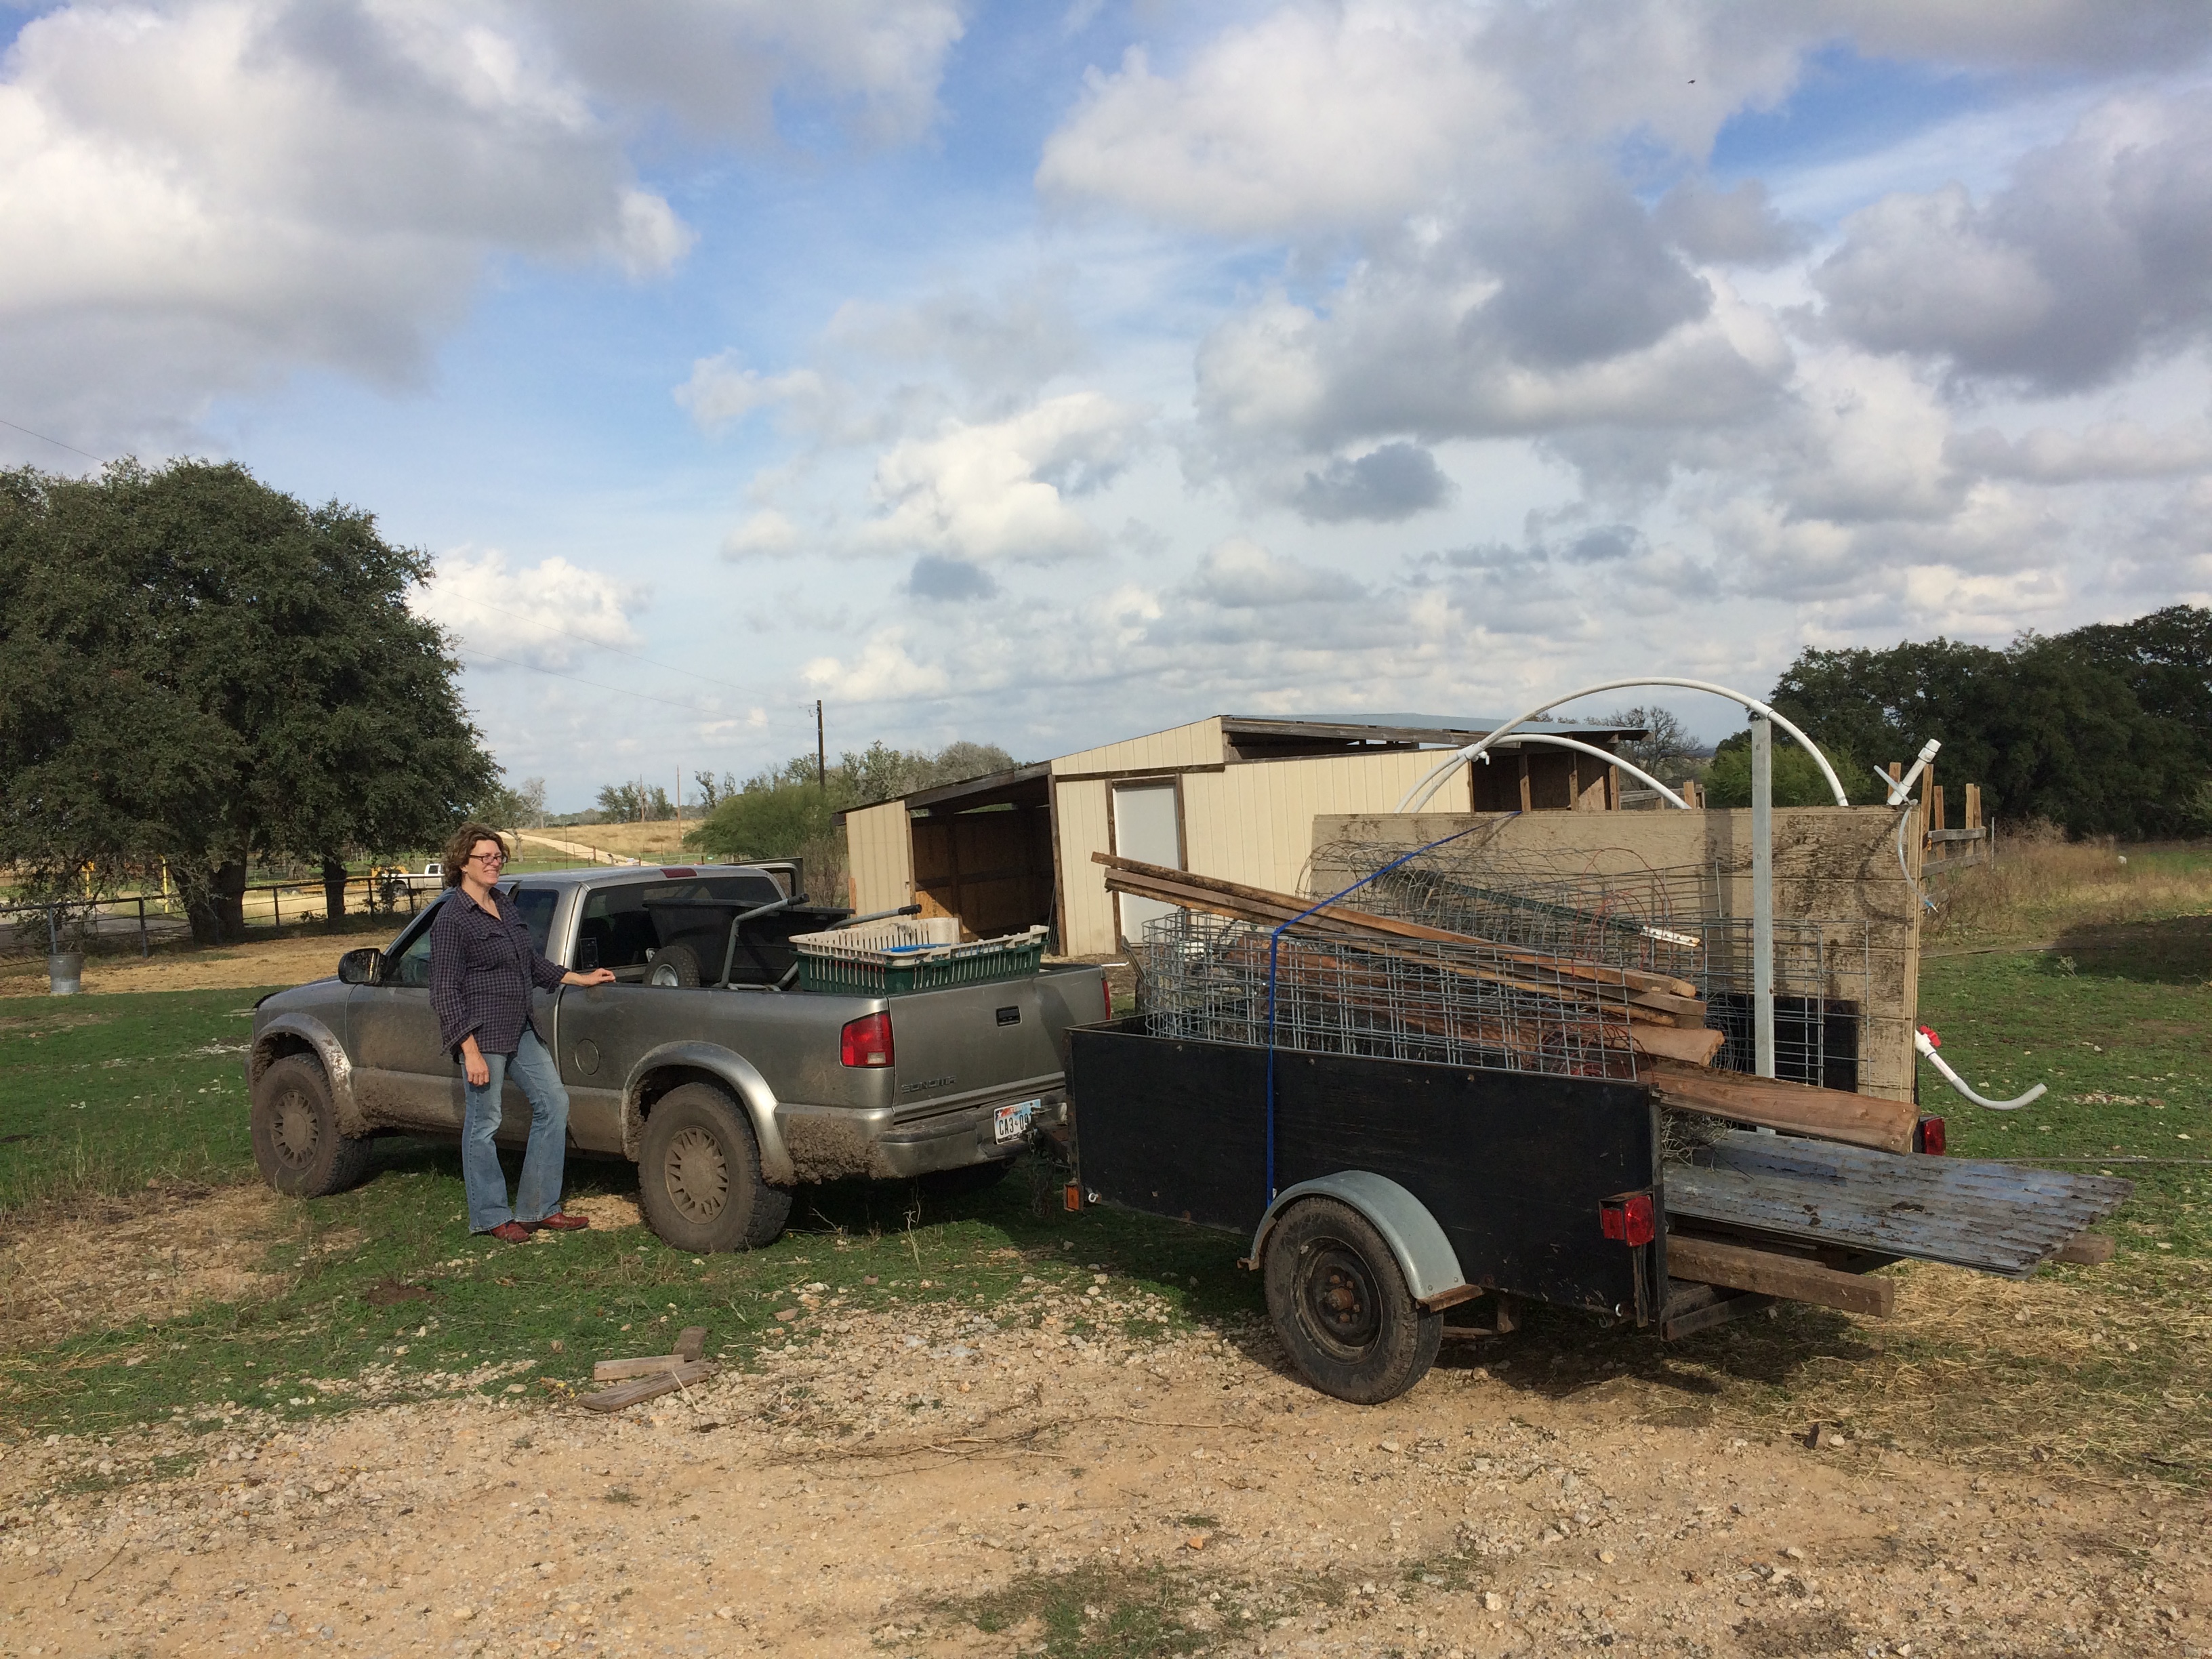
It’s been a month of preparation: hooking the solar power and rainwater collection systems back up, moving and fixing up the new guesthouse (a ’58 mobile home we got free on Craigslist), getting a new flock of laying hens, upgrading the nest boxes, turning dead trees into firewood, setting up fences, planning upgrades to the rainwater system, paying taxes, layering the hugelkultur mound, preparing for the coming 70×30′ high tunnel, and, of course, soaking in the hillbilly hot tubs.
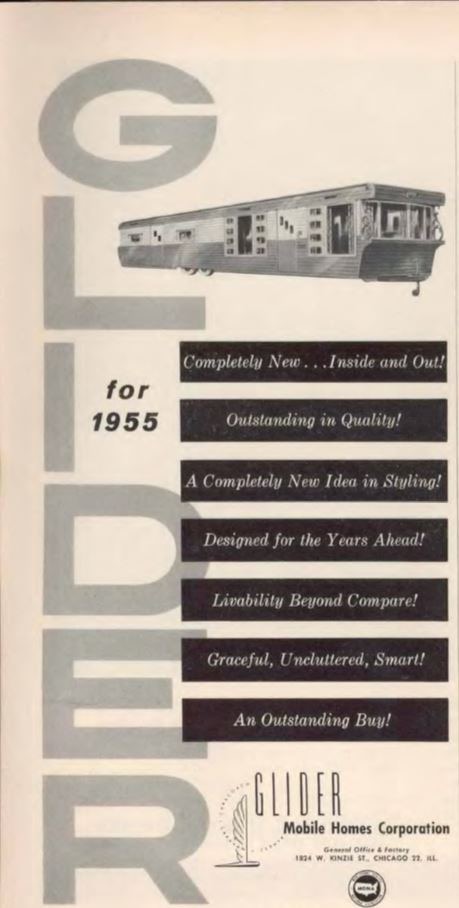
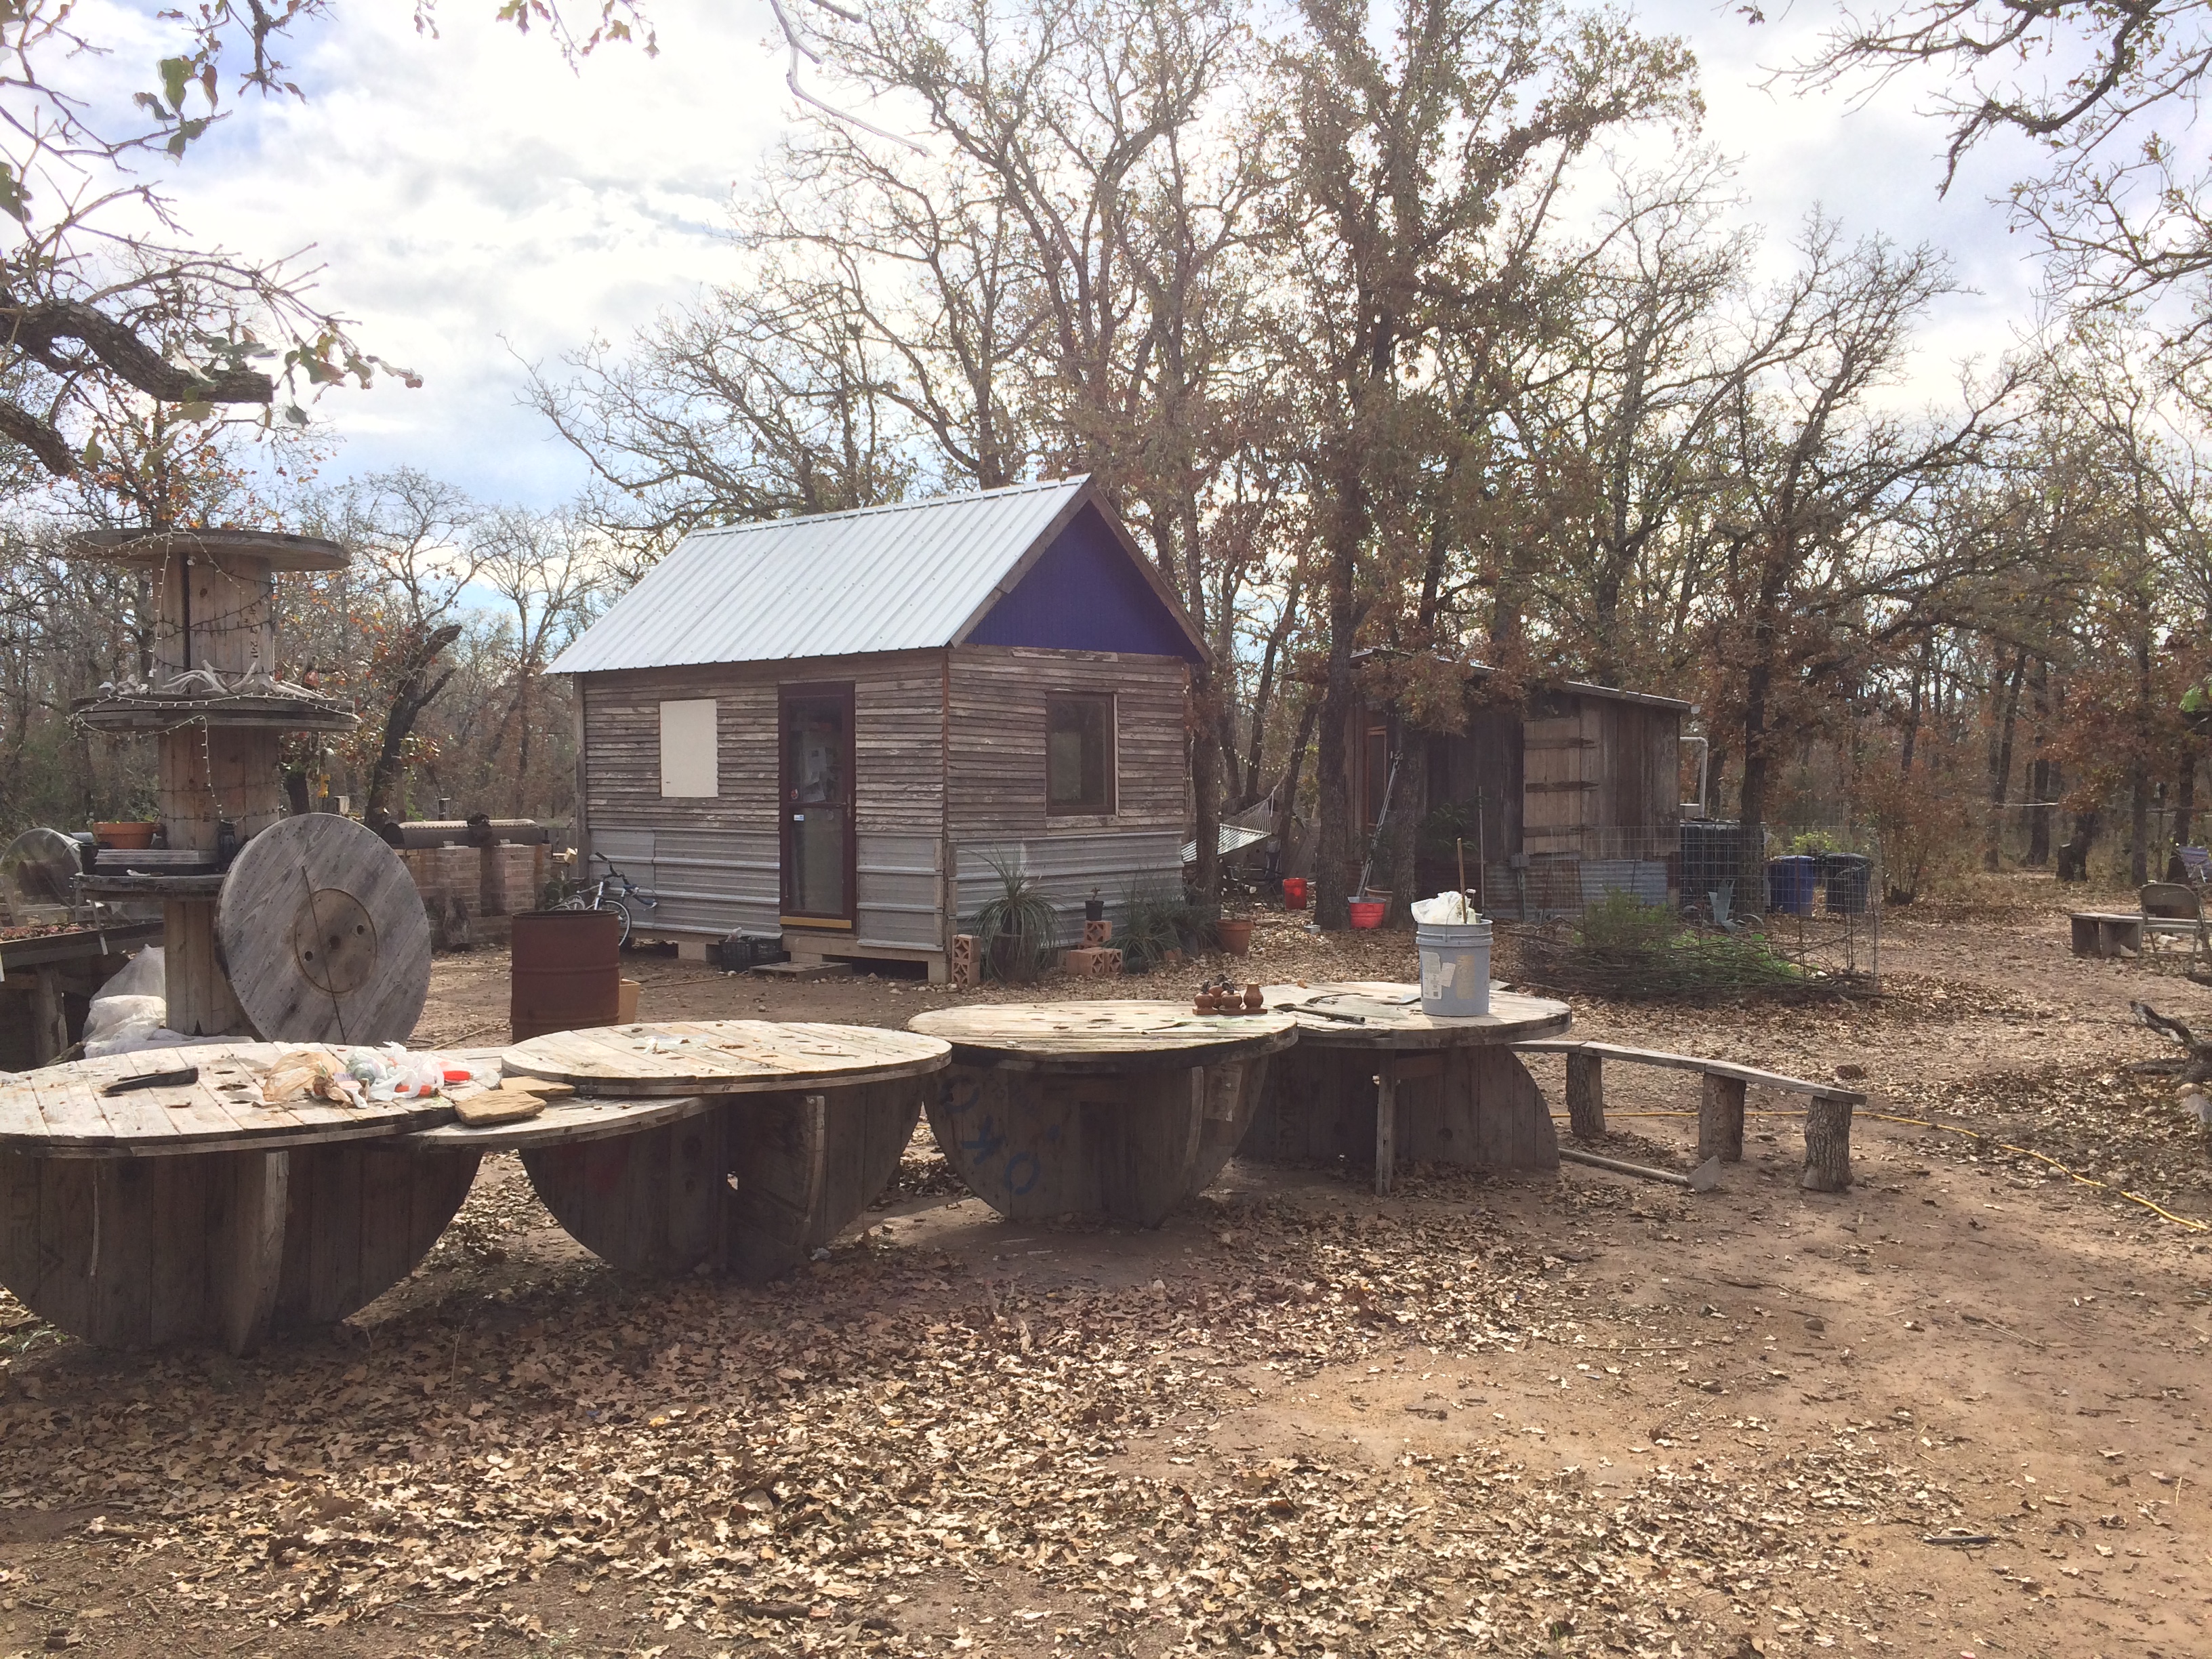
the 1958 Glider Albatross – our new guest cabin
old tractor tires & former tabletop repurposed as front steps on the Albatross
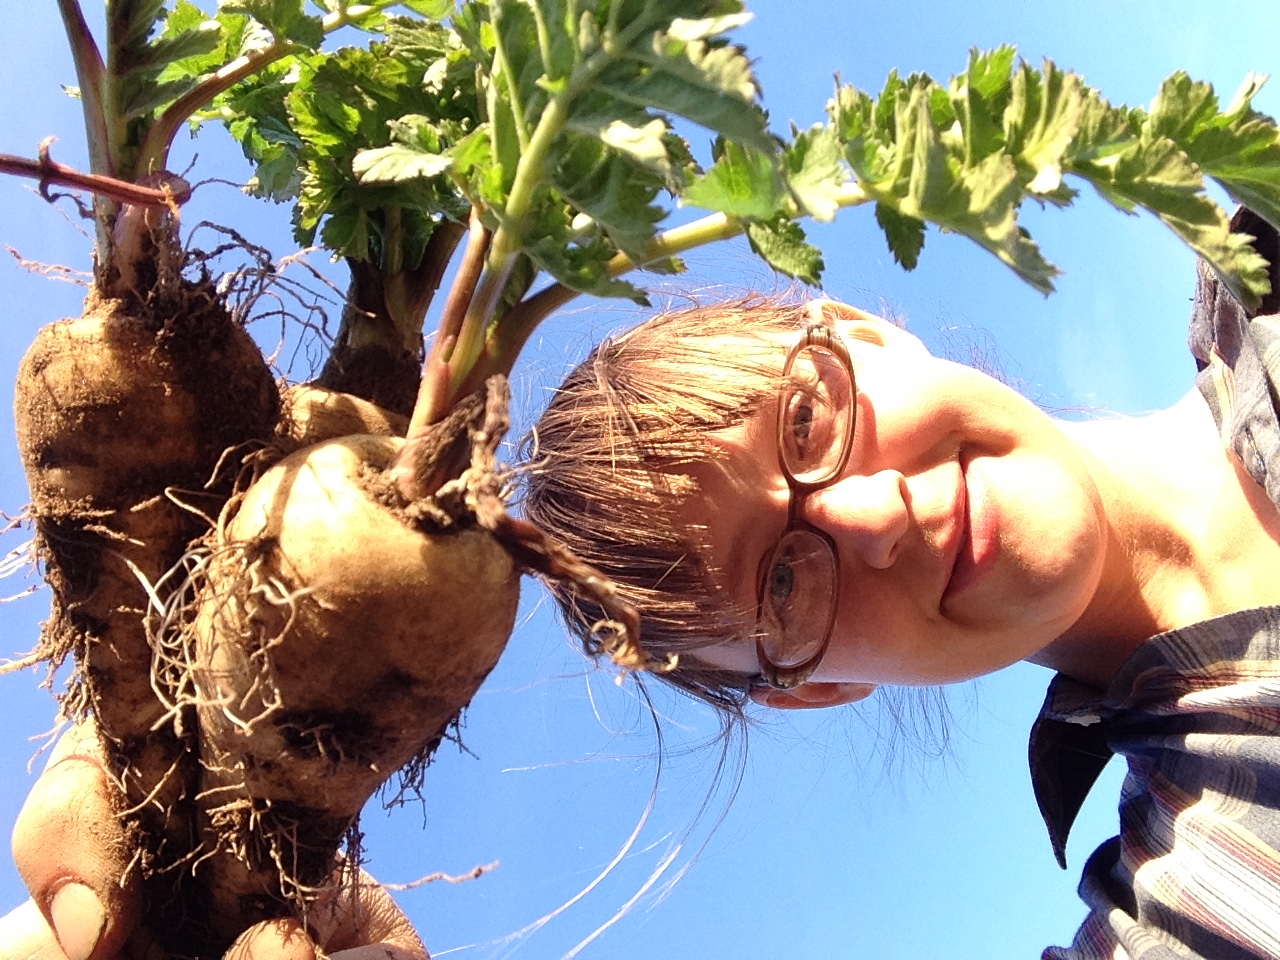
harvesting dinner from the field – parsnips that survived the winter
Gabe Sehr: Rhizome Hunter of the Hugelkultur, Destroyer of Crab Grass
this pine tree blew partway over in a spring windstorm – we made a sling from an old tractor tire tube and anchored it back upright to re-root
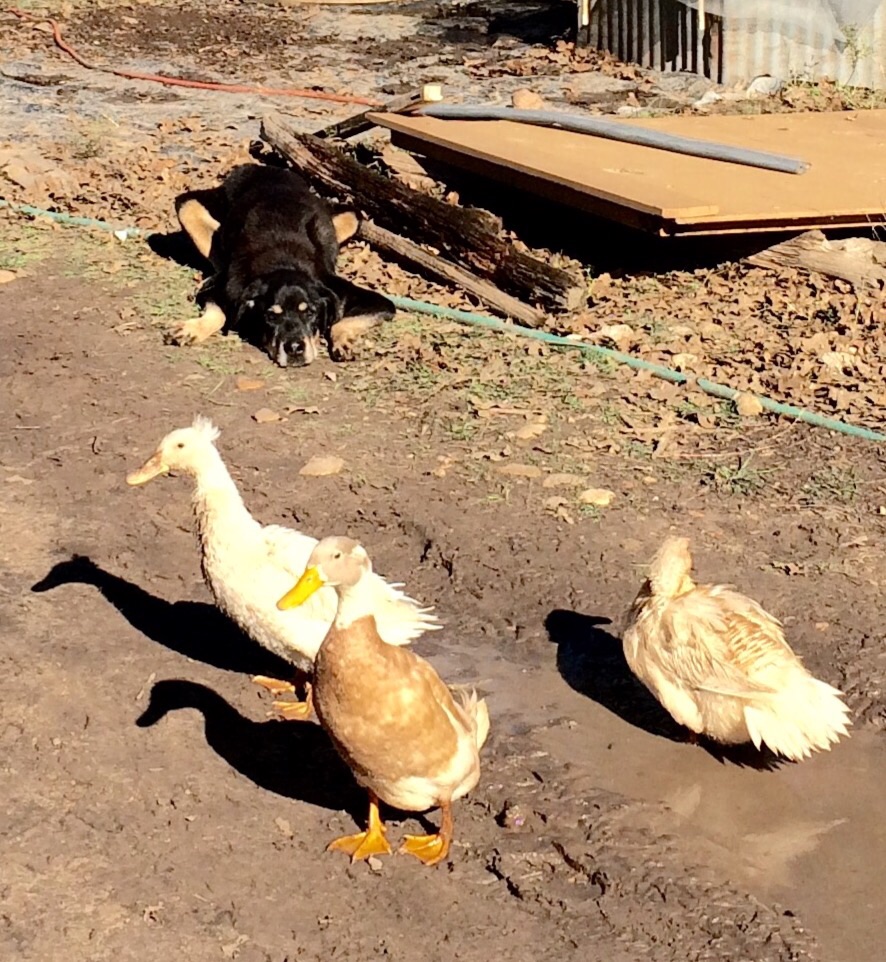
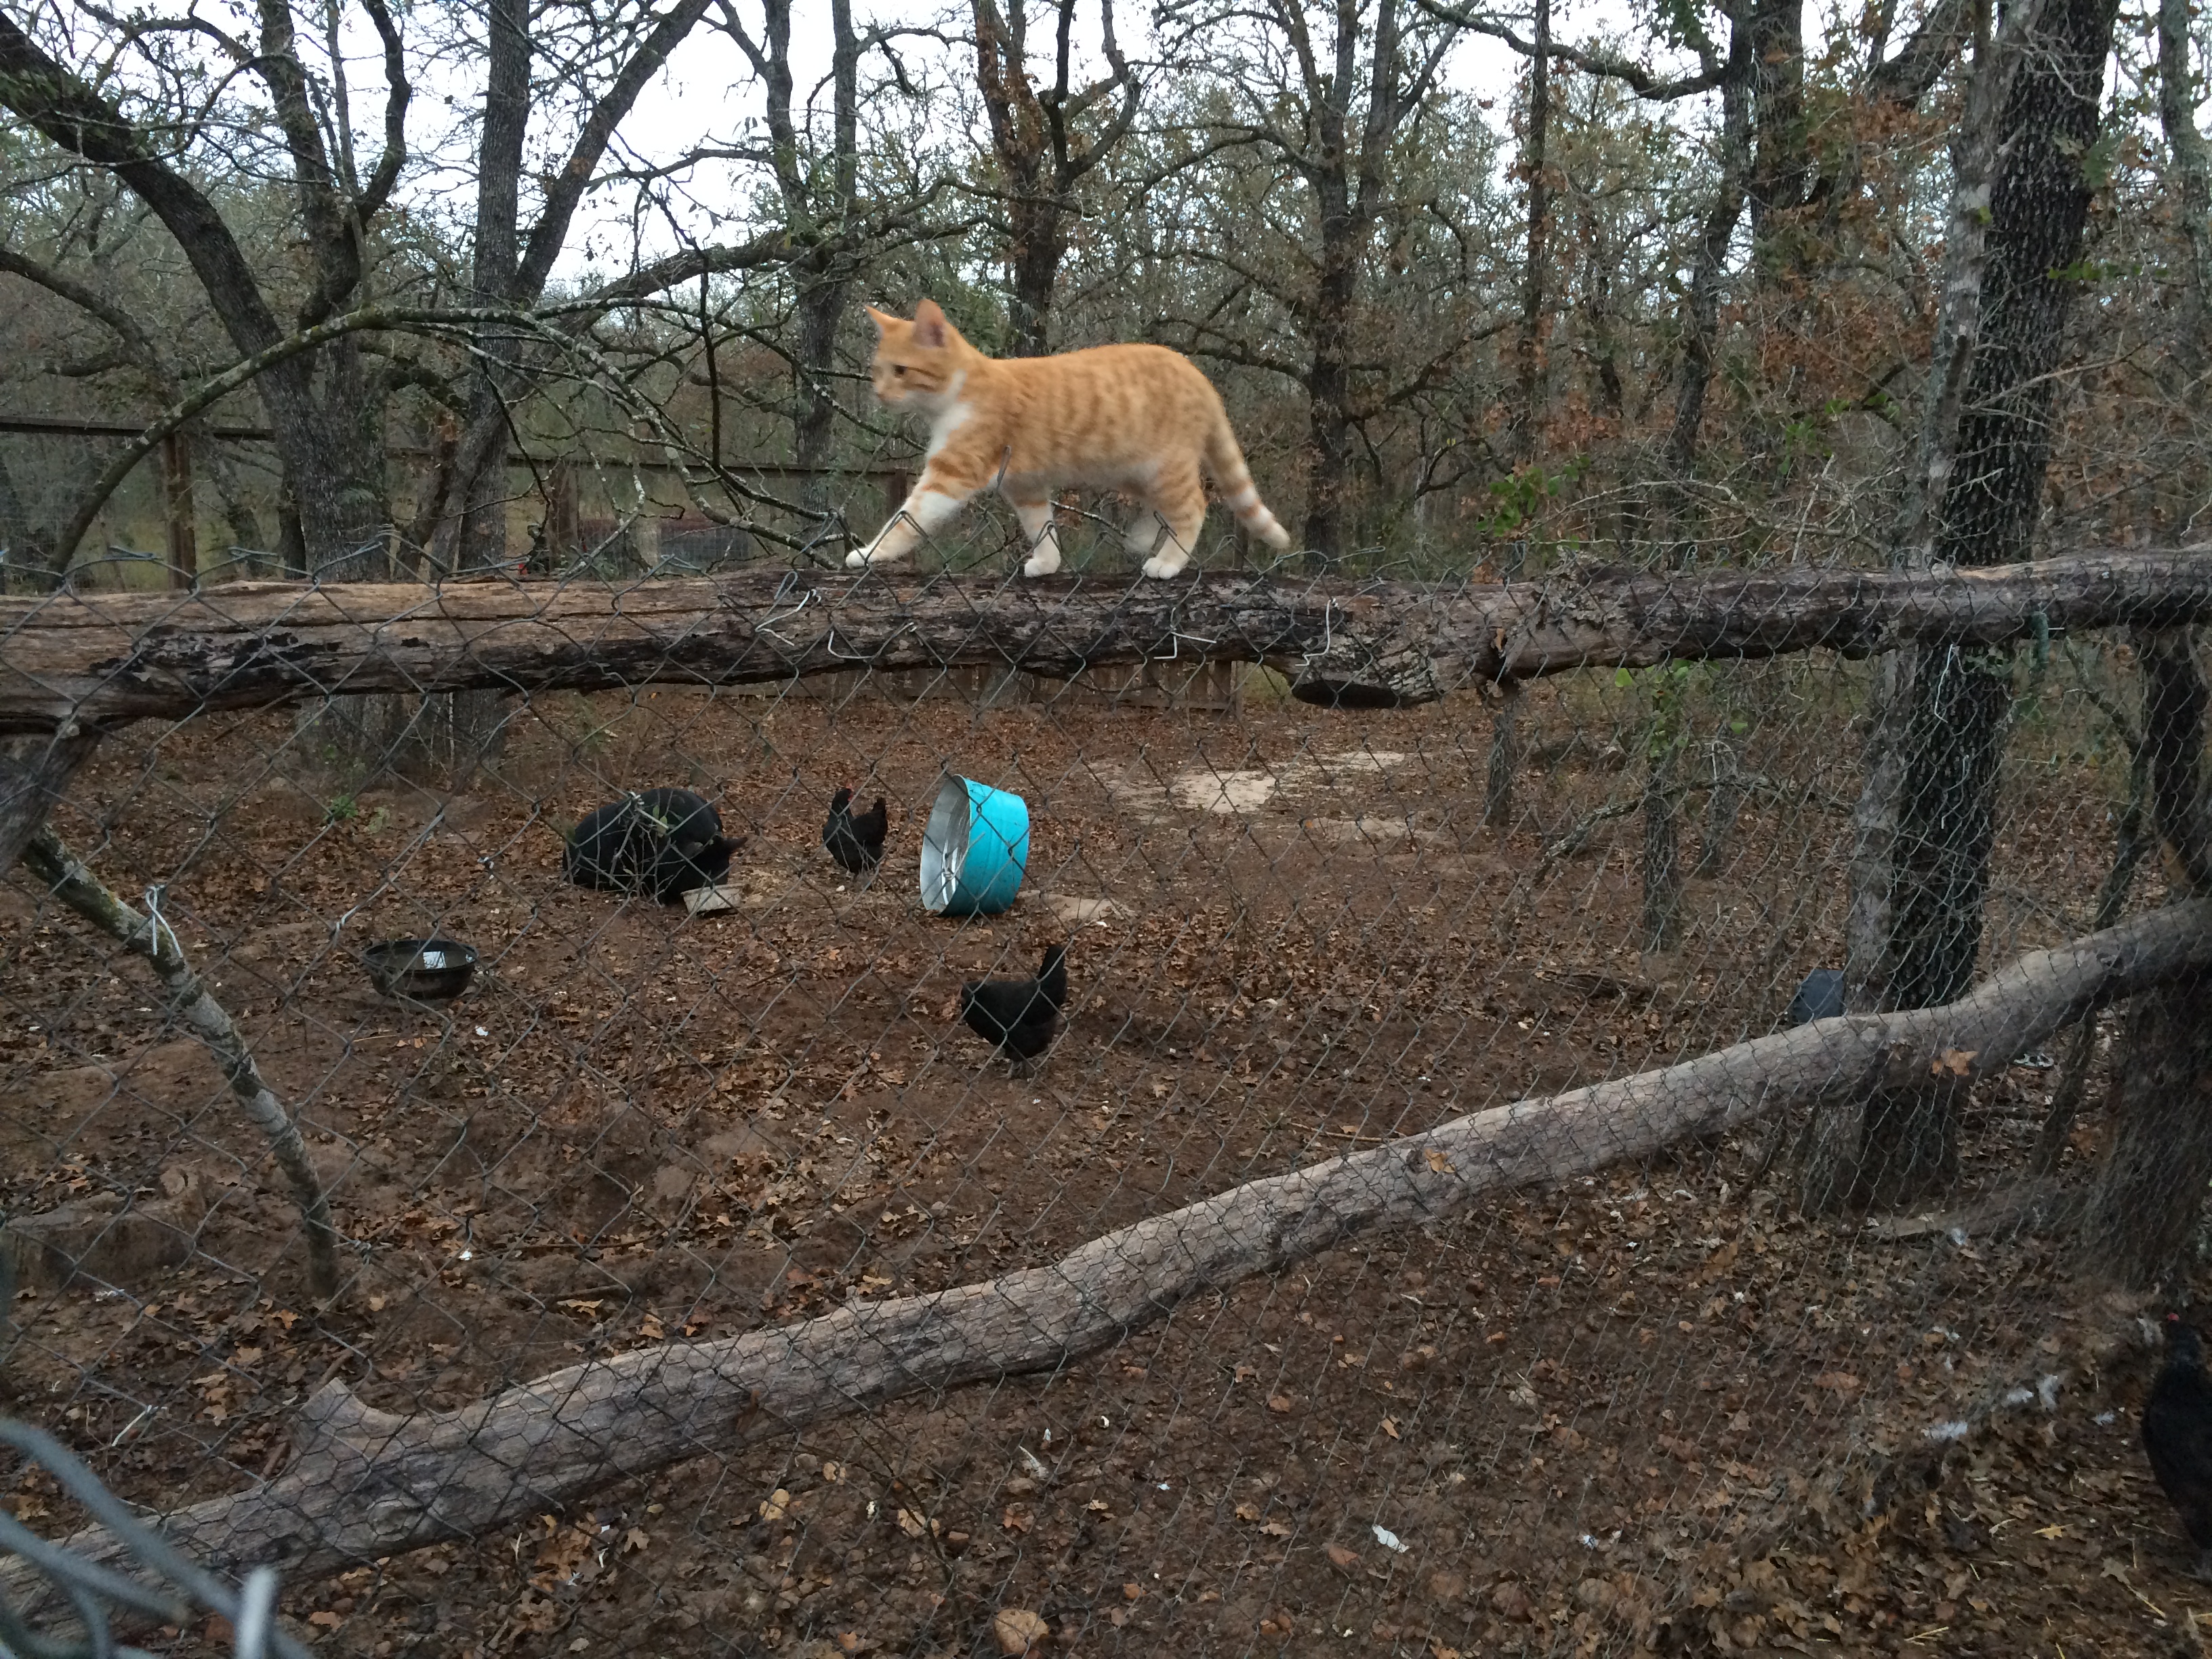
we got ten 2-year old hens; they provide about 7 jumbo-sized eggs a daythe hens run toward the axe on our farm – because it means we’re breaking some carpenter ant treats out of a log
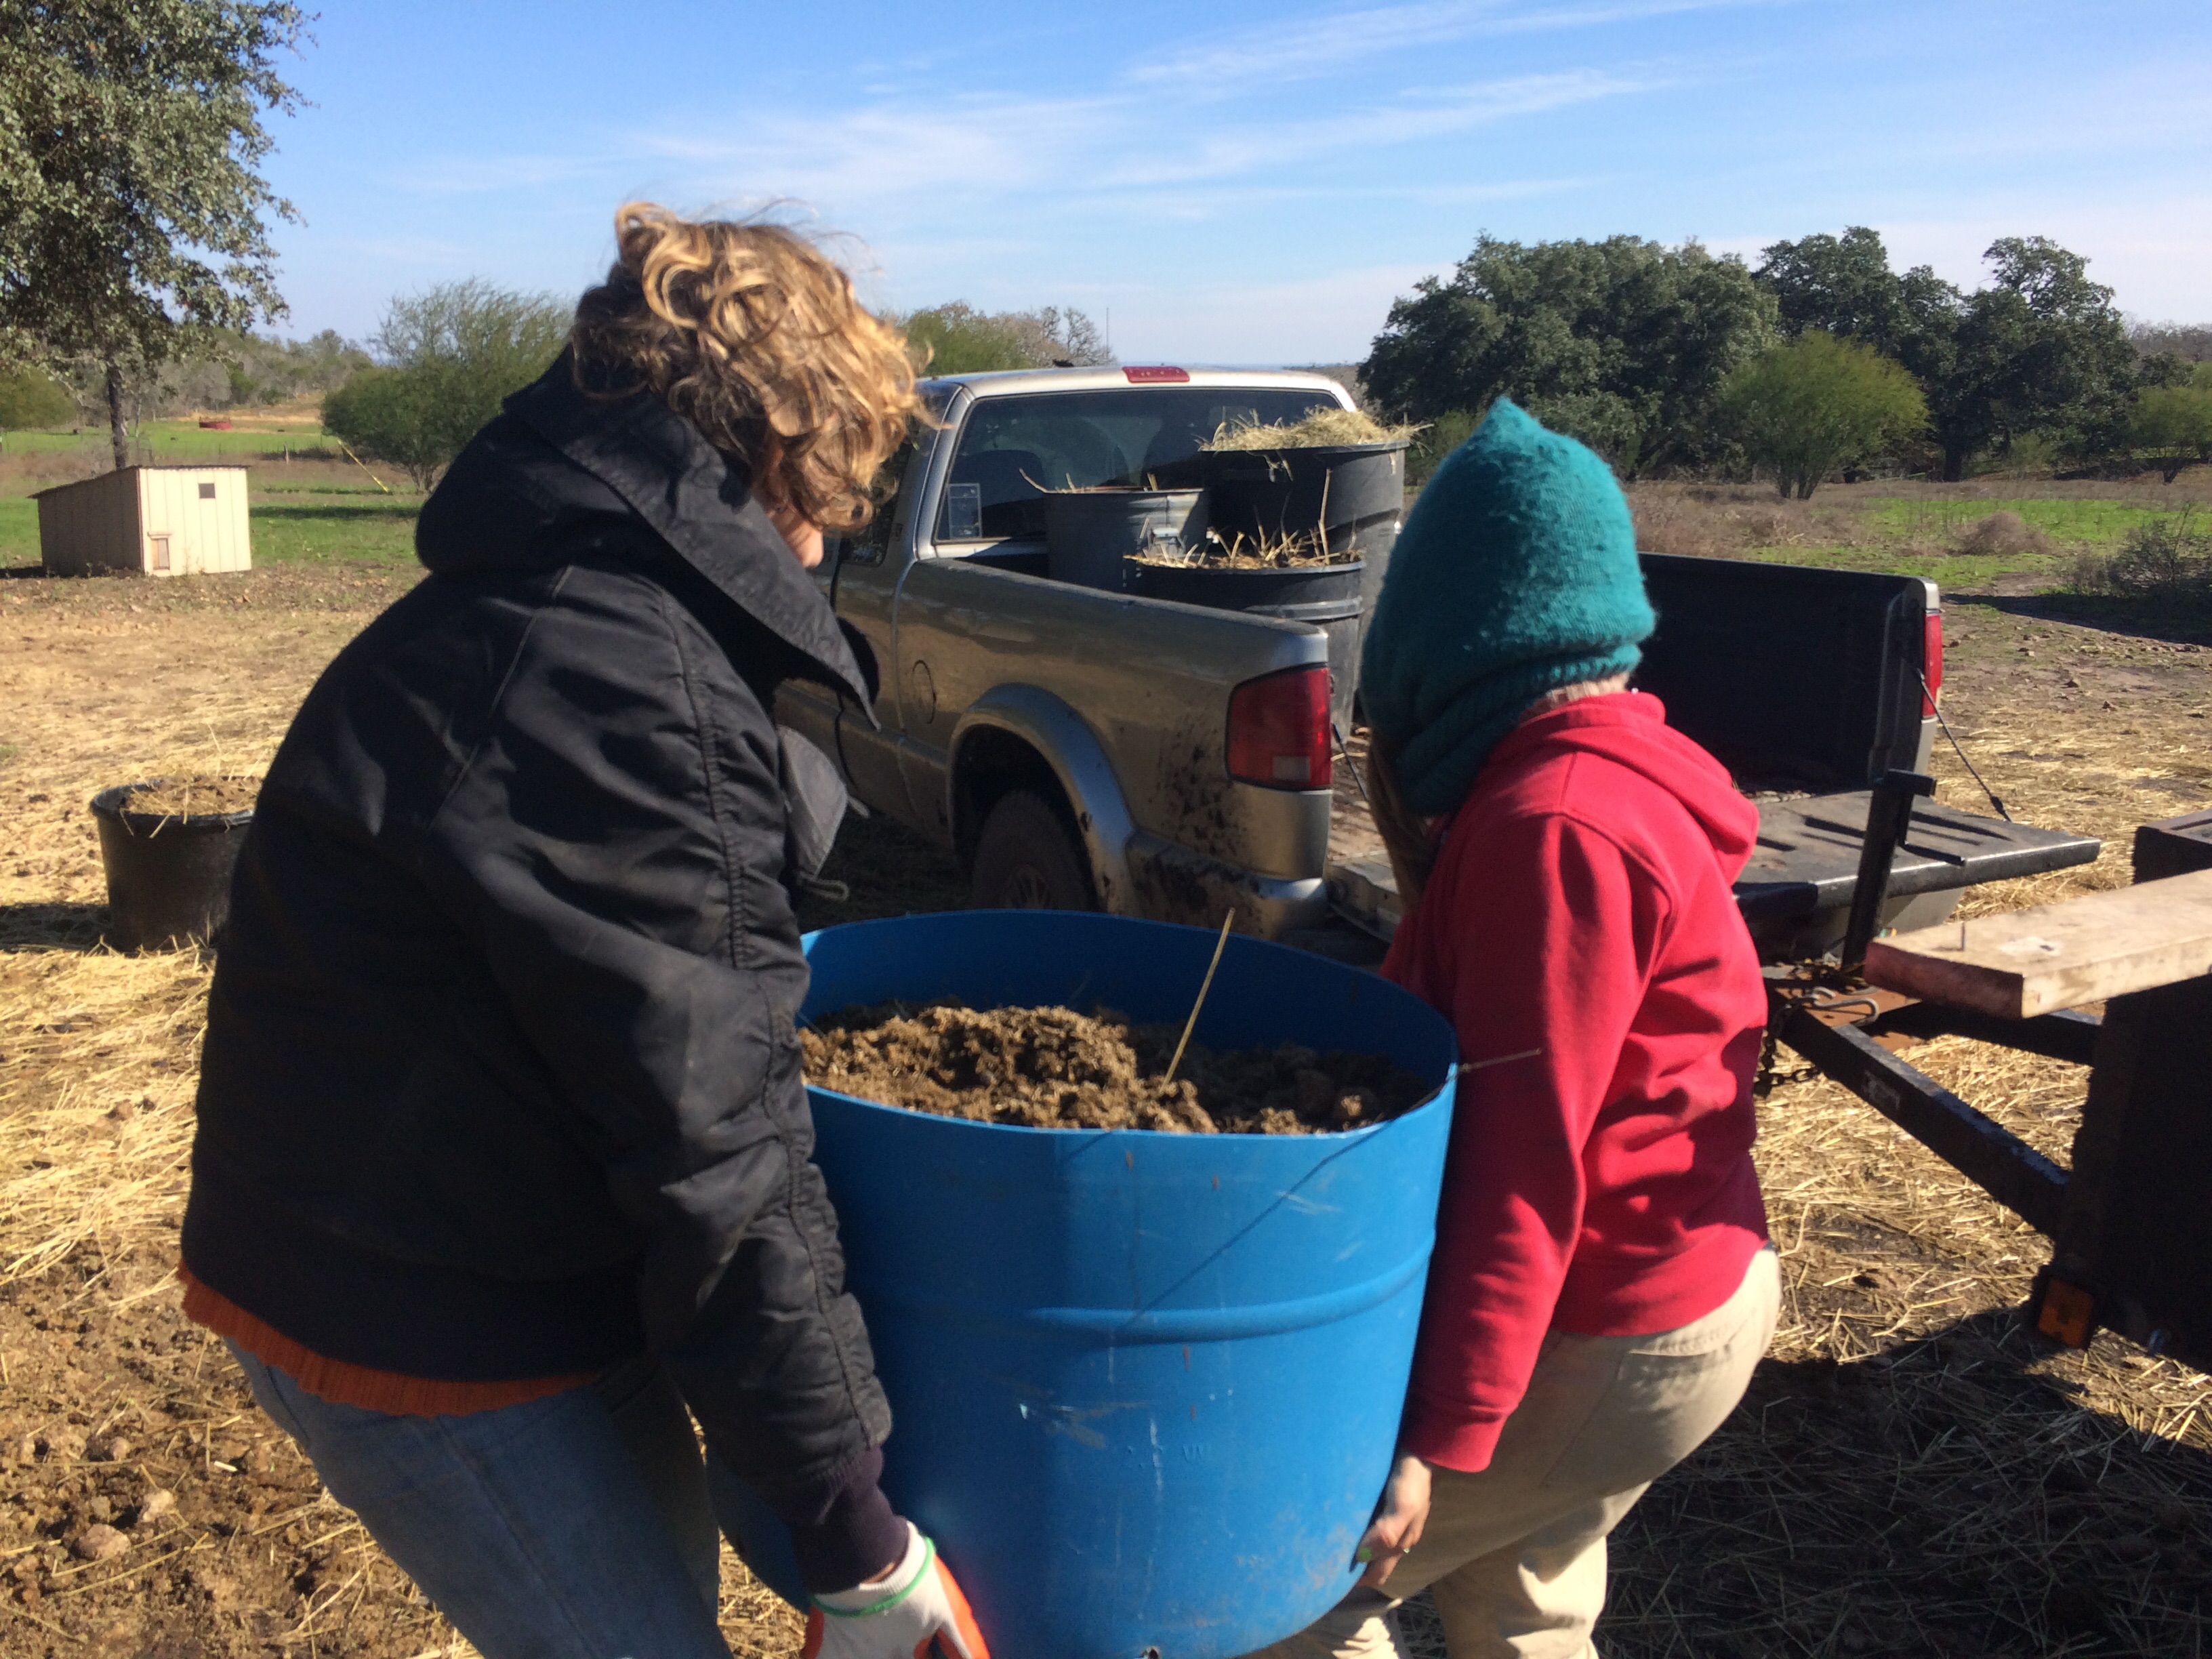
Neighbor Dave doing some tractormancy on a pile of aged horse manure, to prepare the soil for the new high tunnel greenhouse
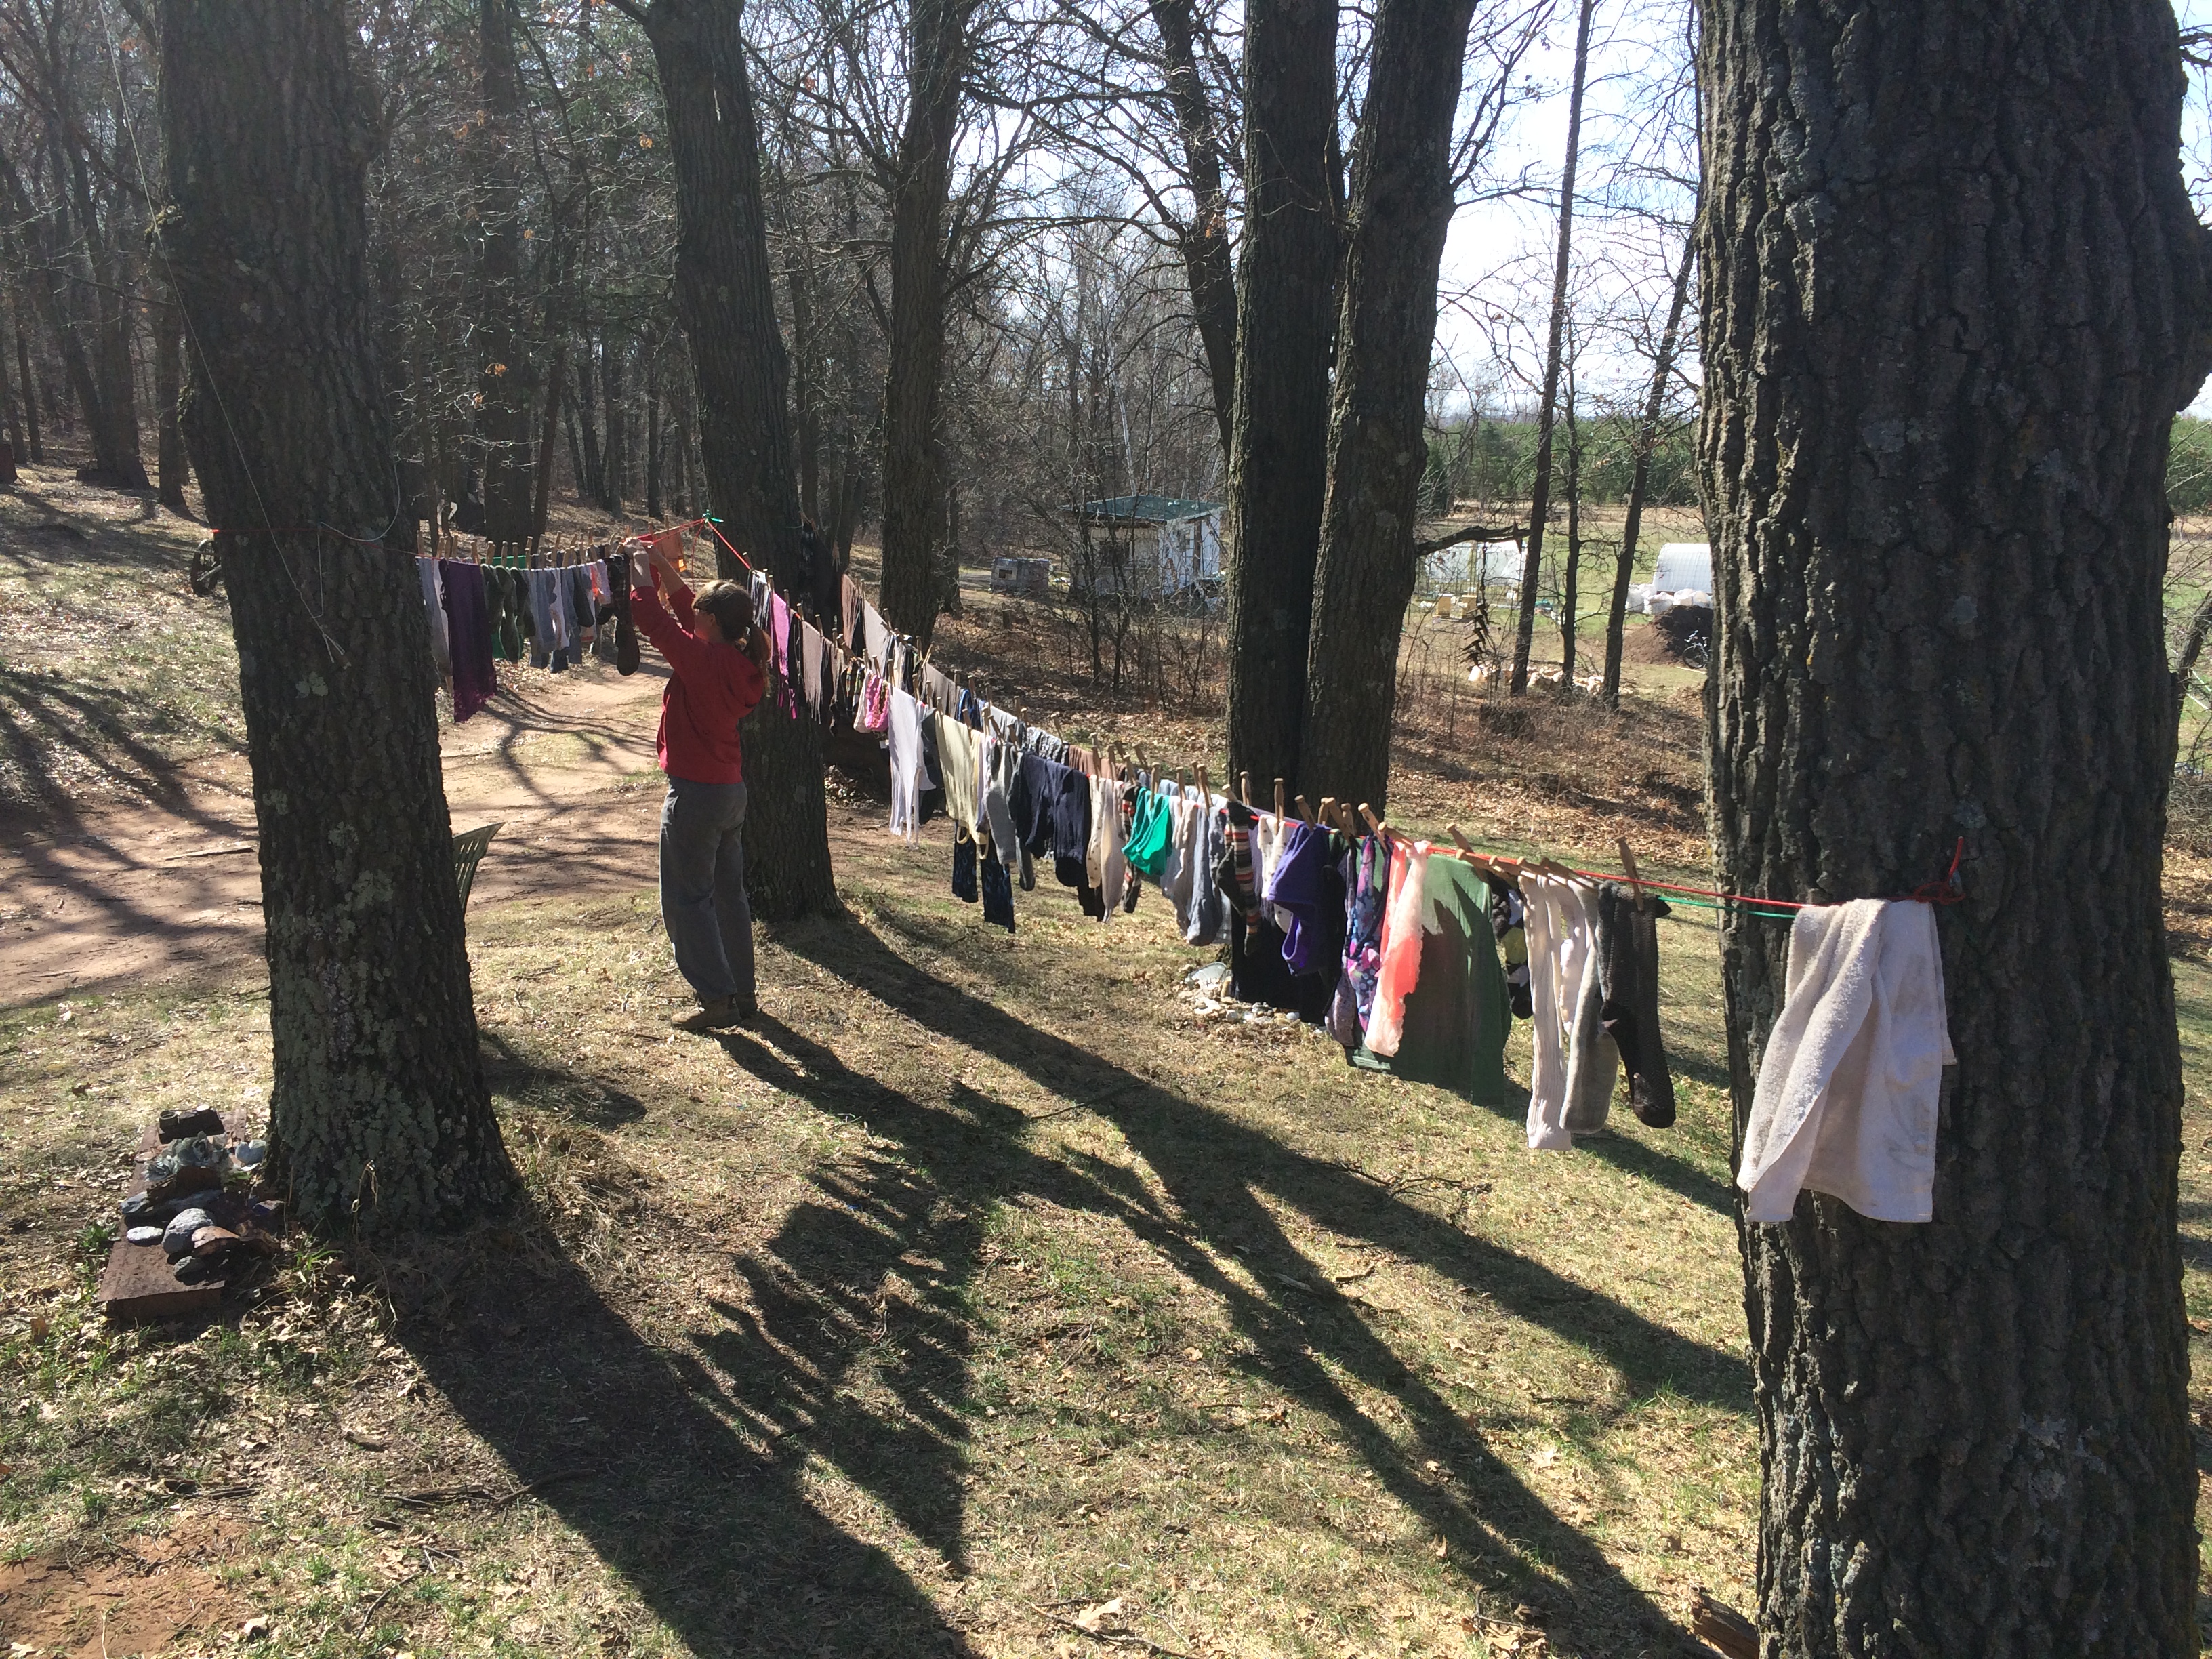
handwashing and line drying; not too bad, but the wringing part is a pain.
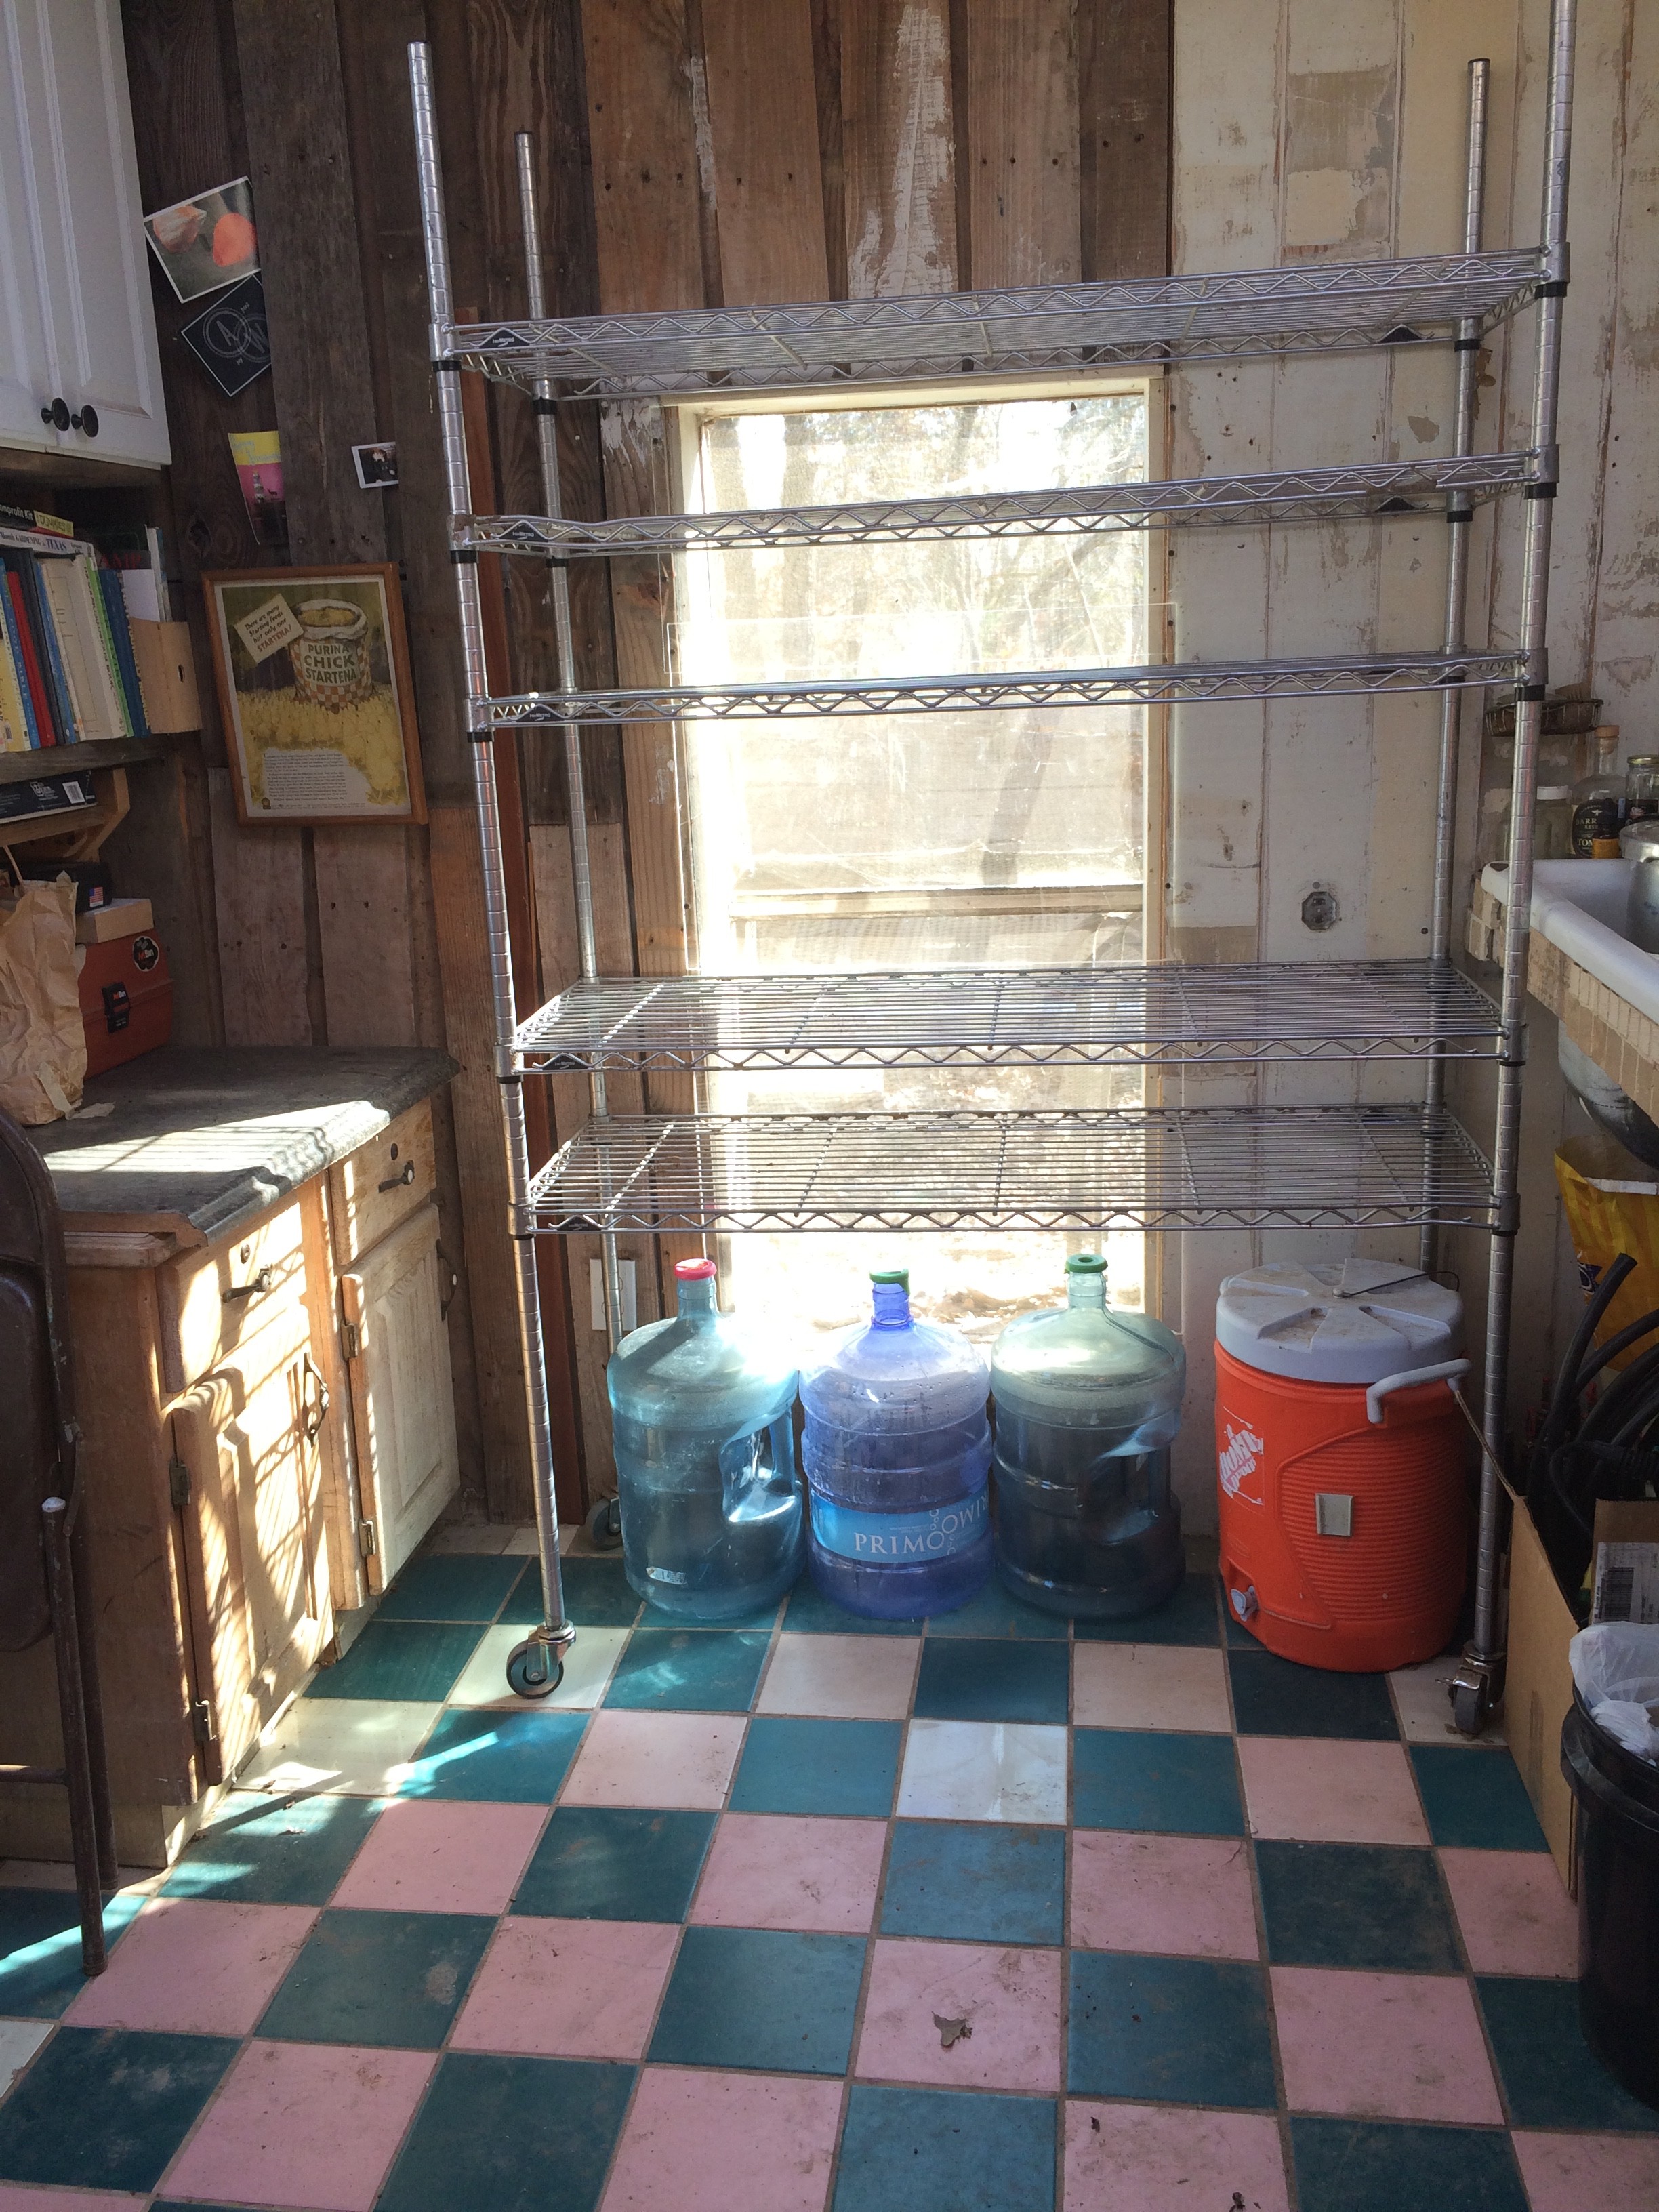
Cleo may be almost 15 & a bit limpy, but she still loves life on the farm“Science,” the free deeeep freezer we got on Craigslist to use as our fridge (in conjunction w/ the buried chest freezer pseudo-root cellar) – it once went down to 120 below. The alarm still works.
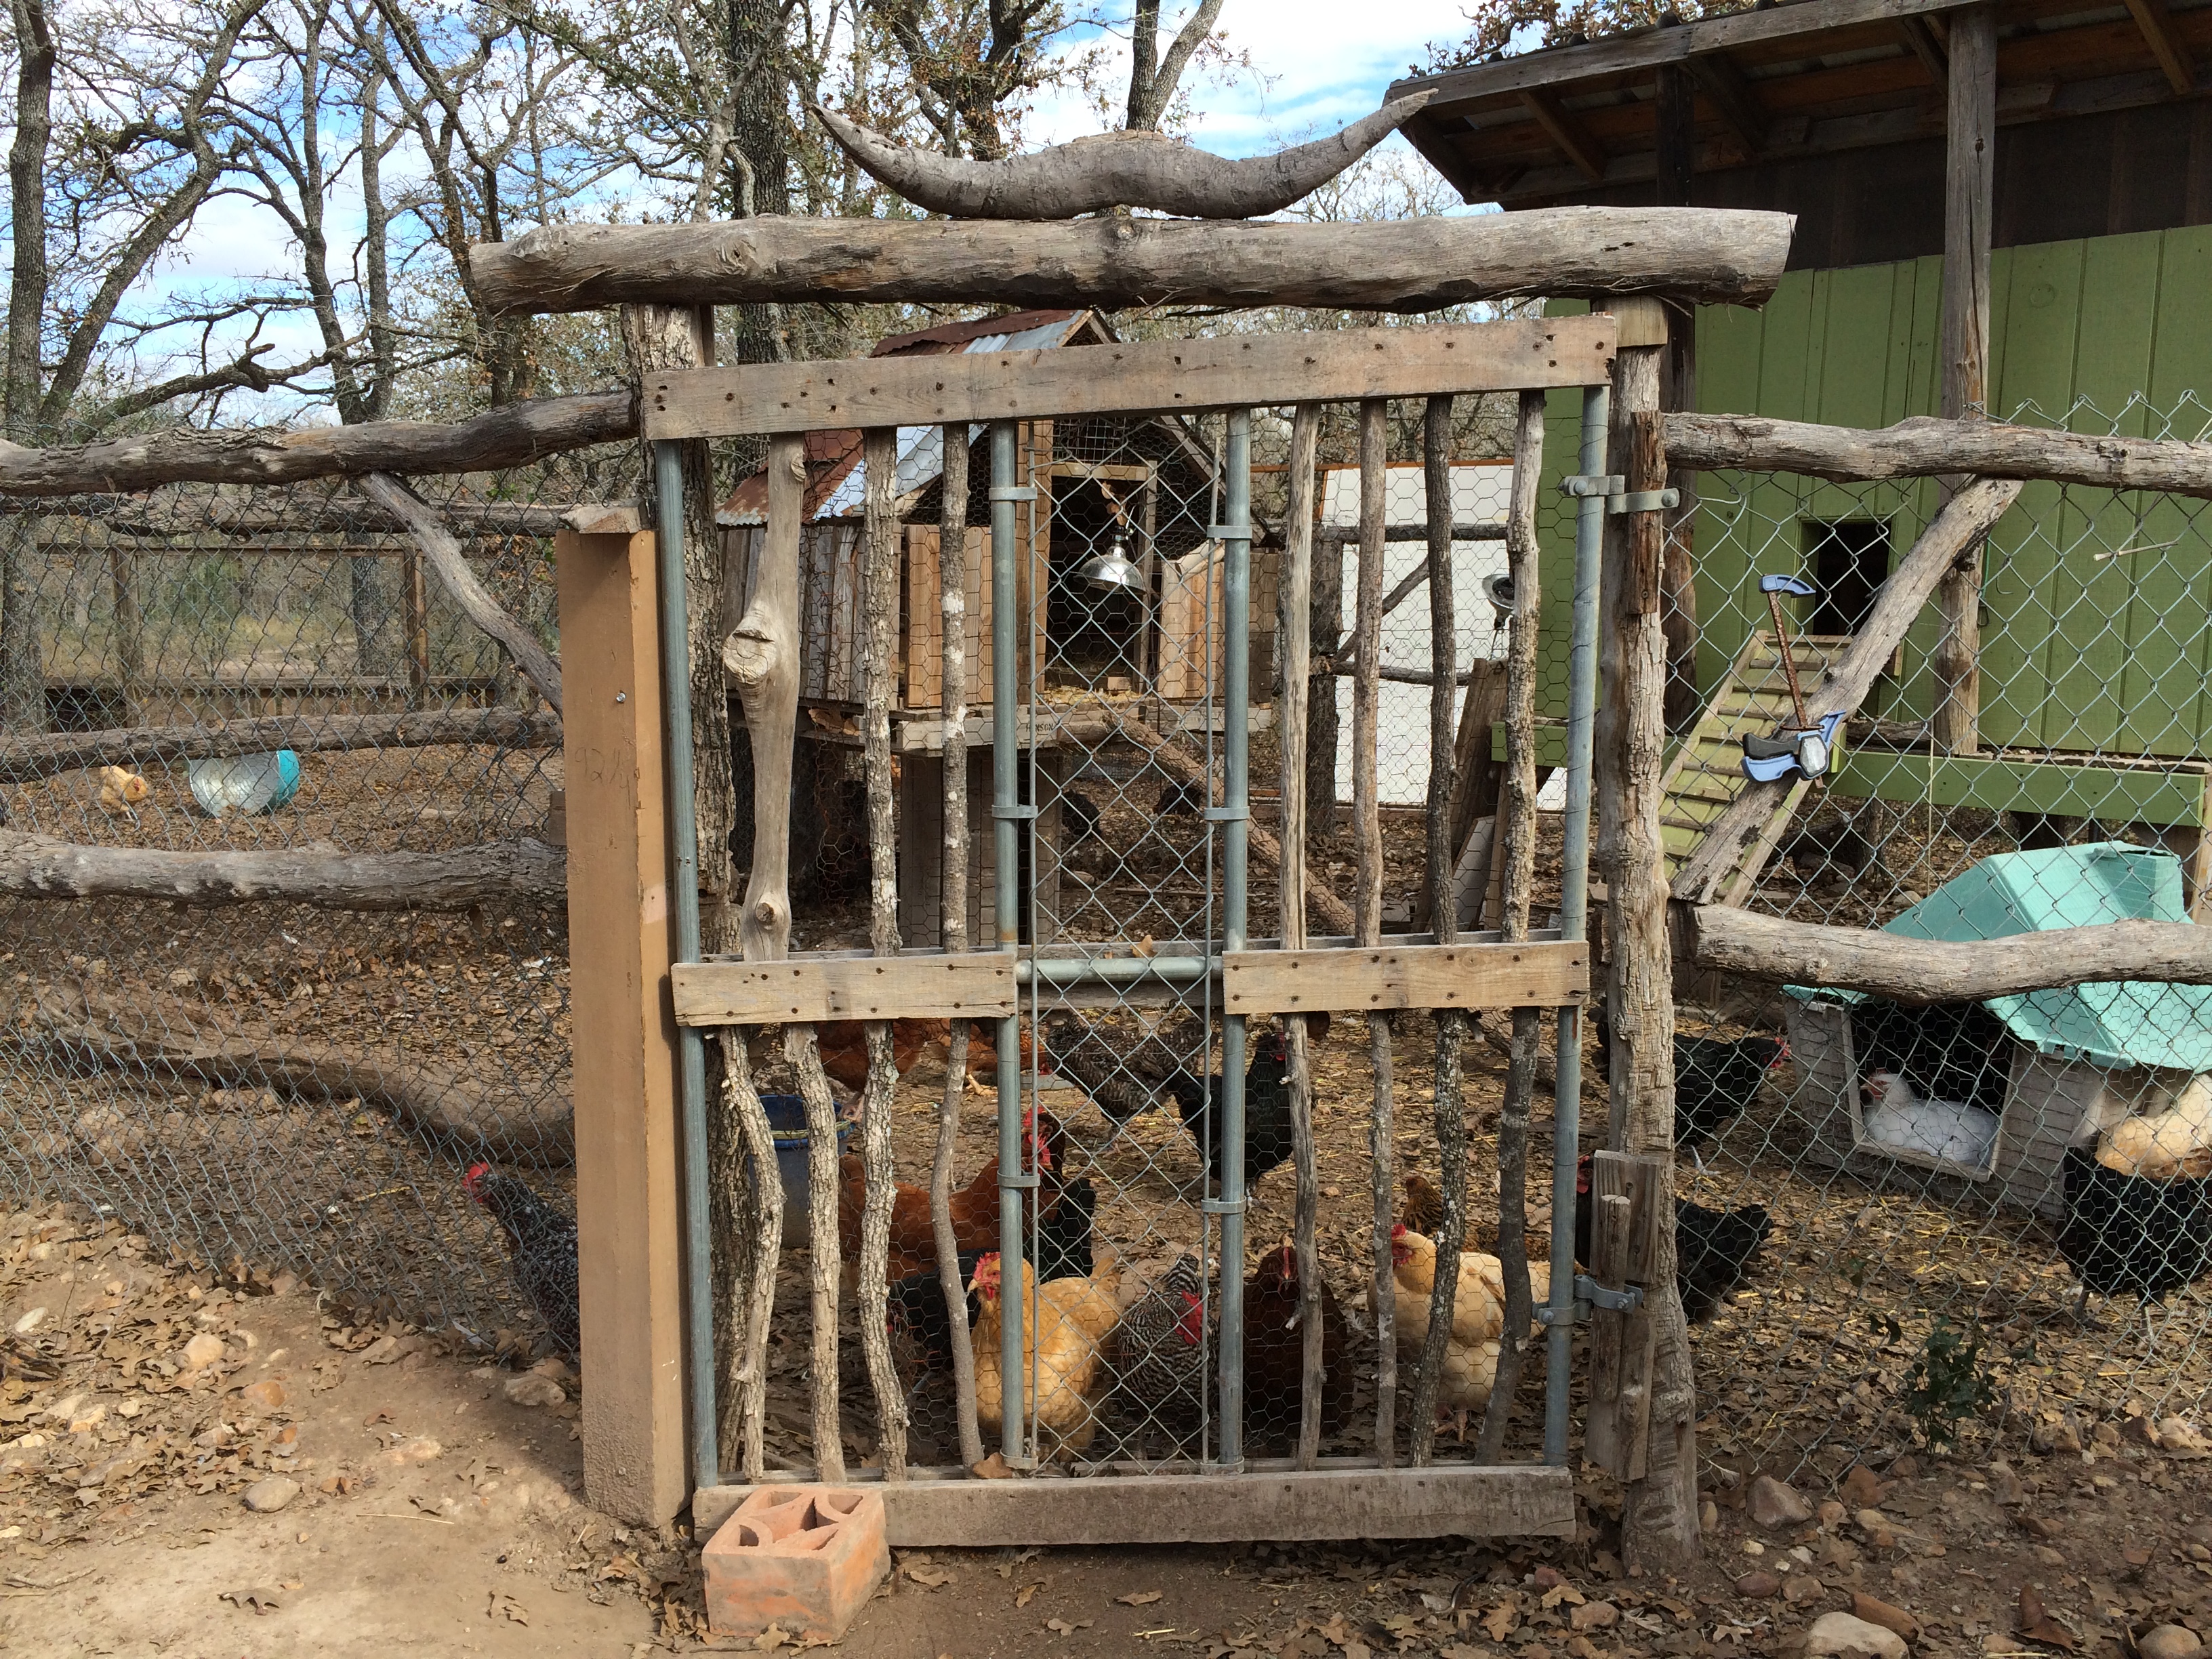
new nesting boxes from inside the coop
the Albatross came with some weird plastic cabinet things; we used their sliding doors for eas,y egg-gathering from outside, with the female edge of cheap pine paneling as the tracks
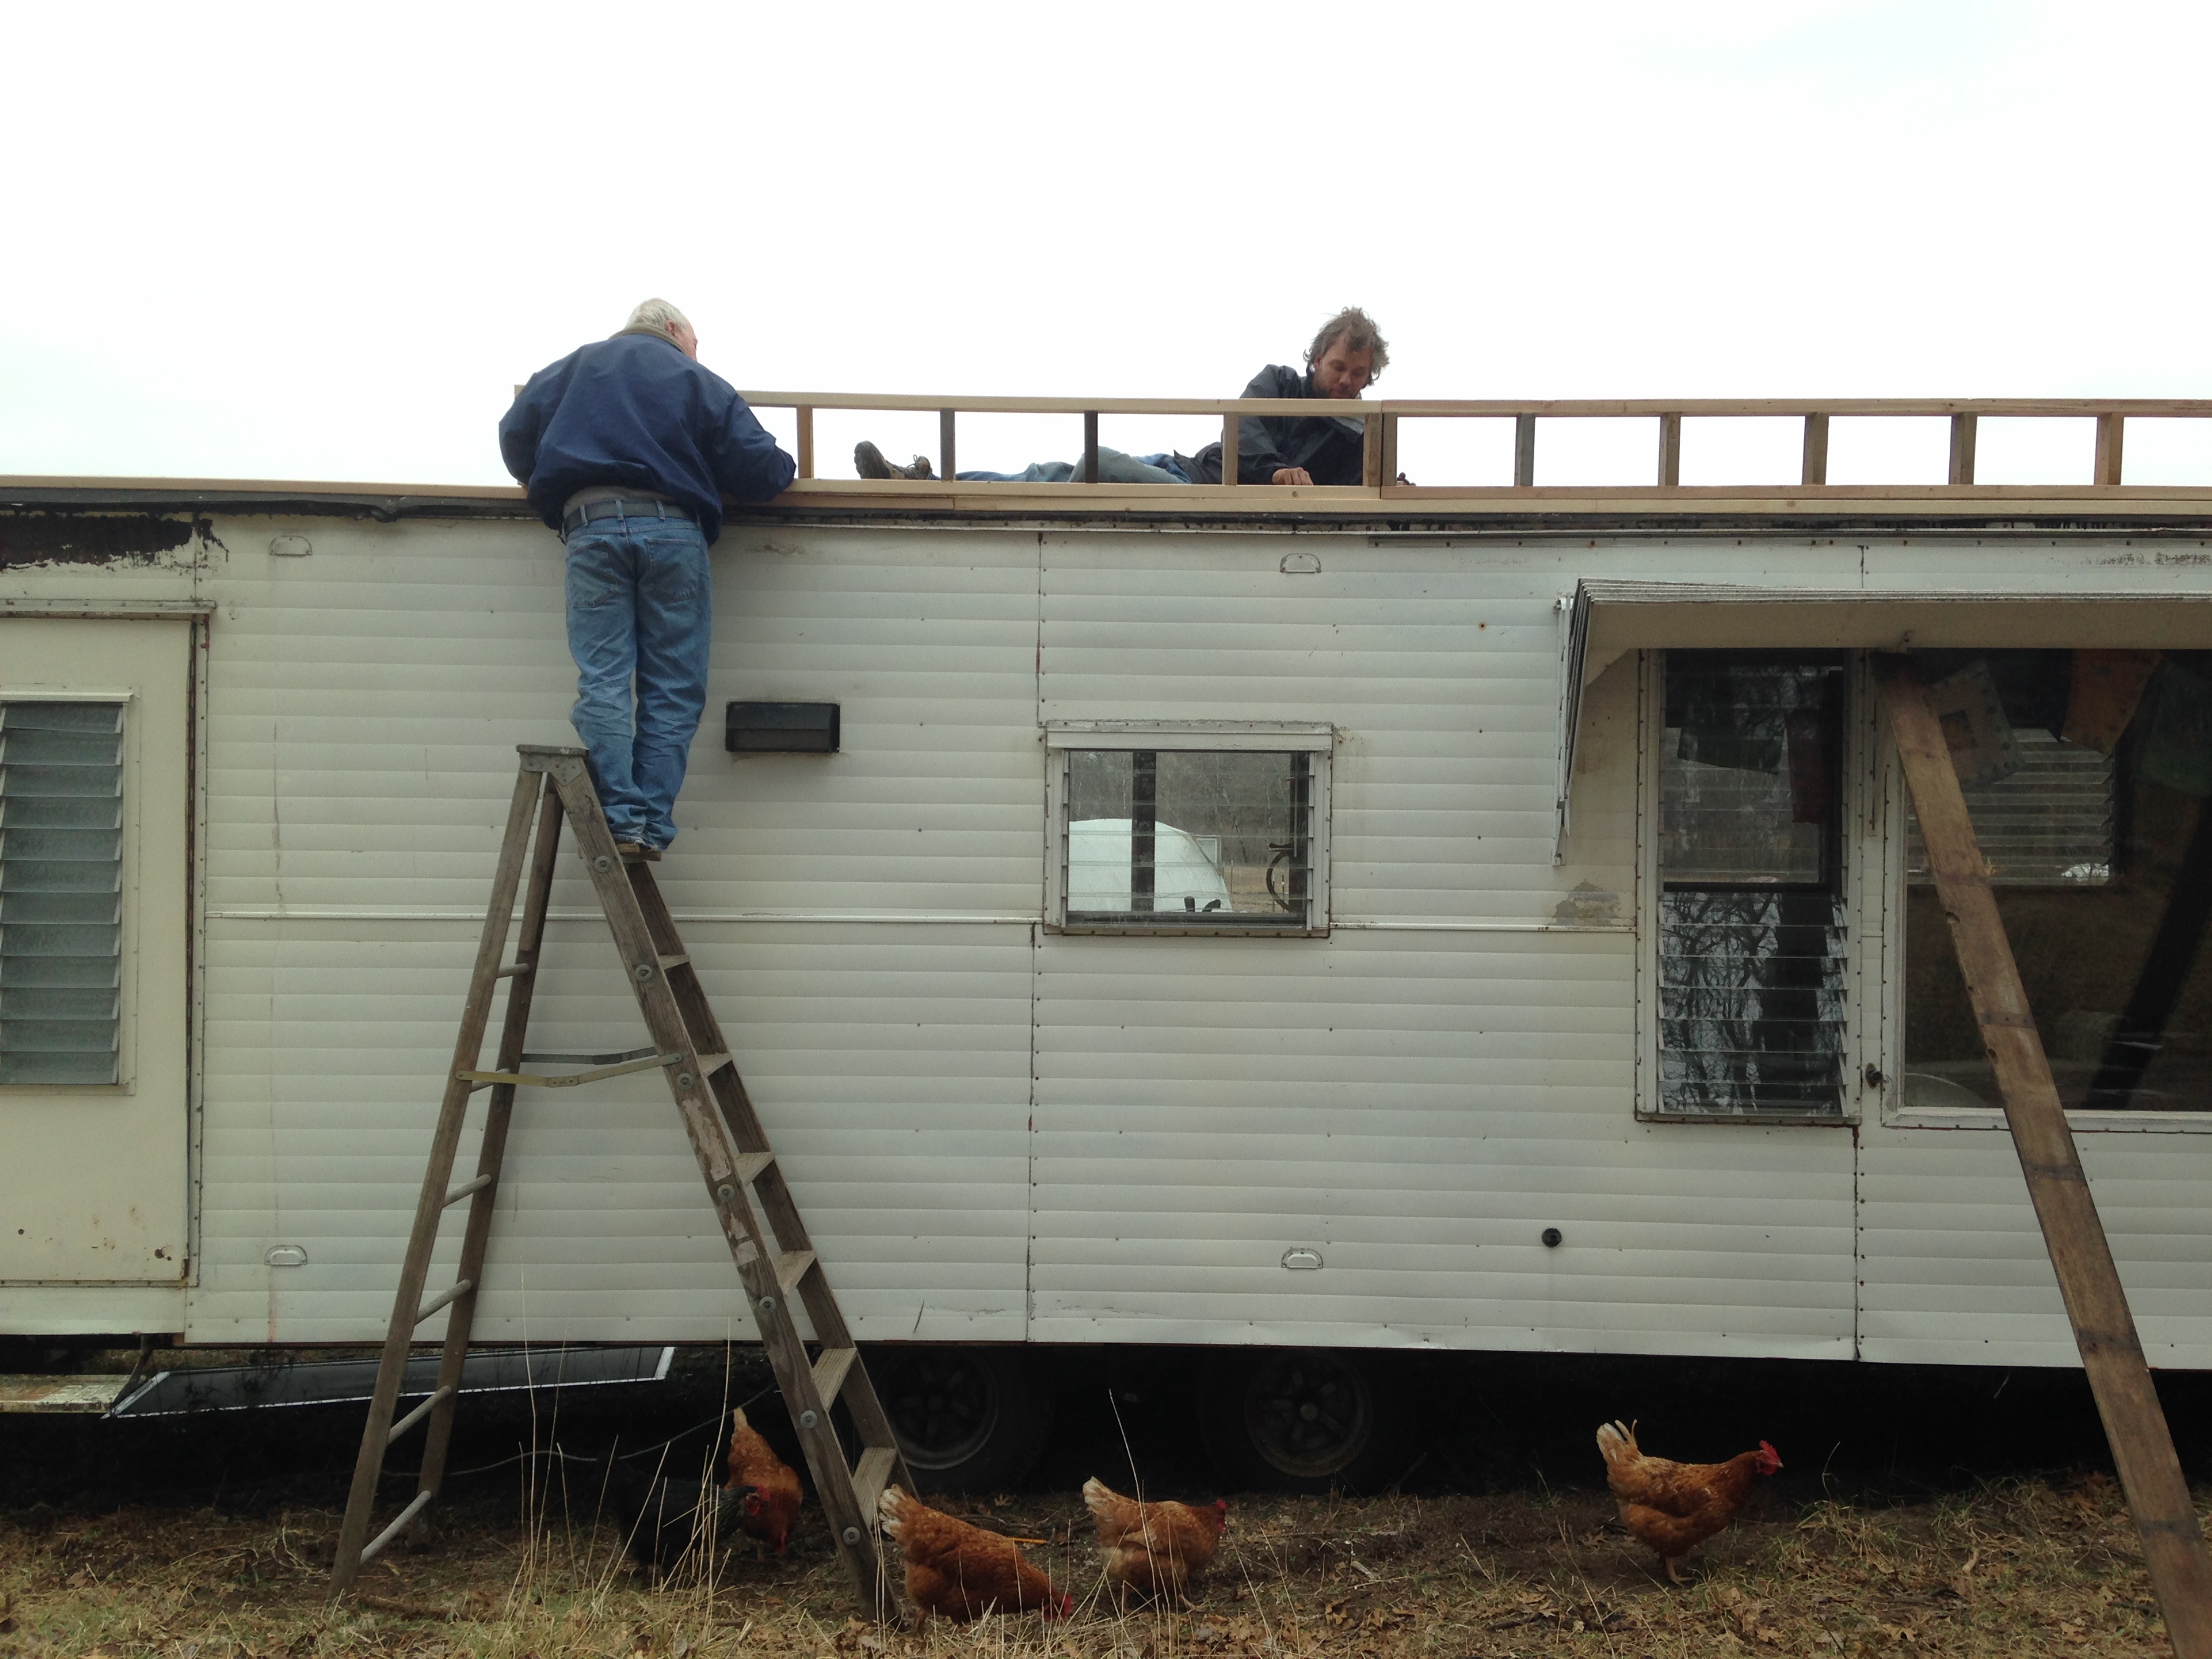
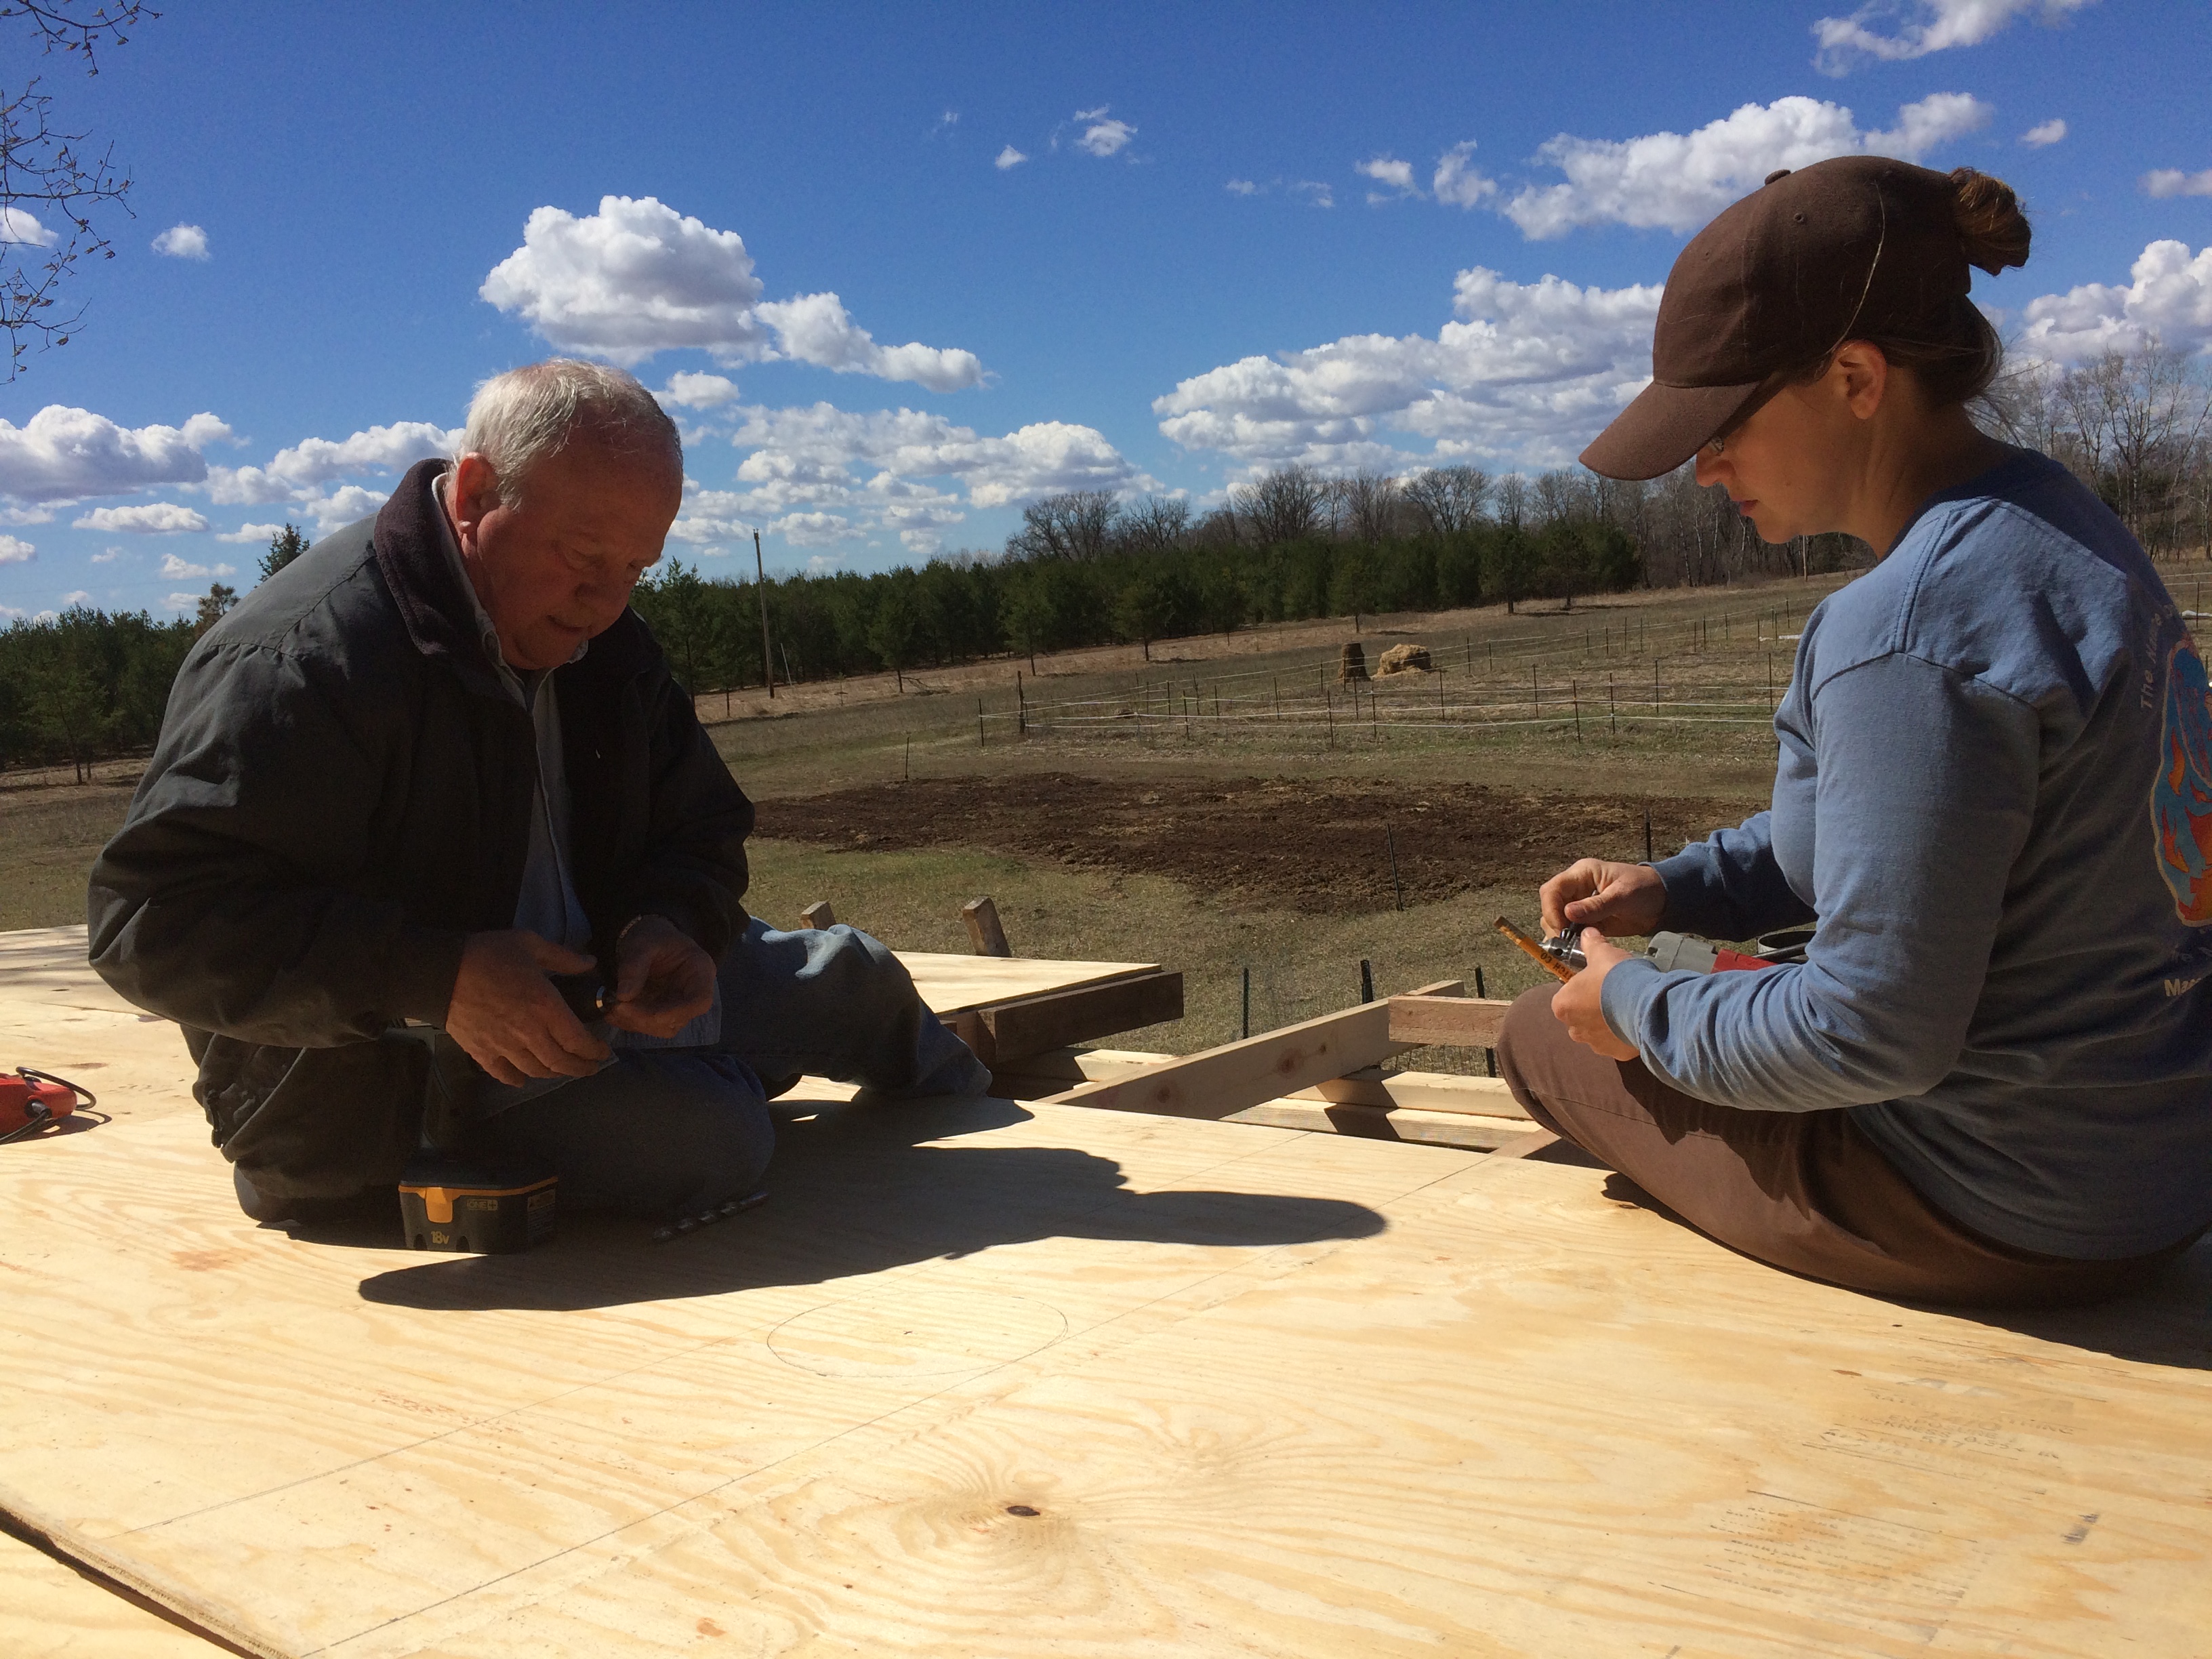
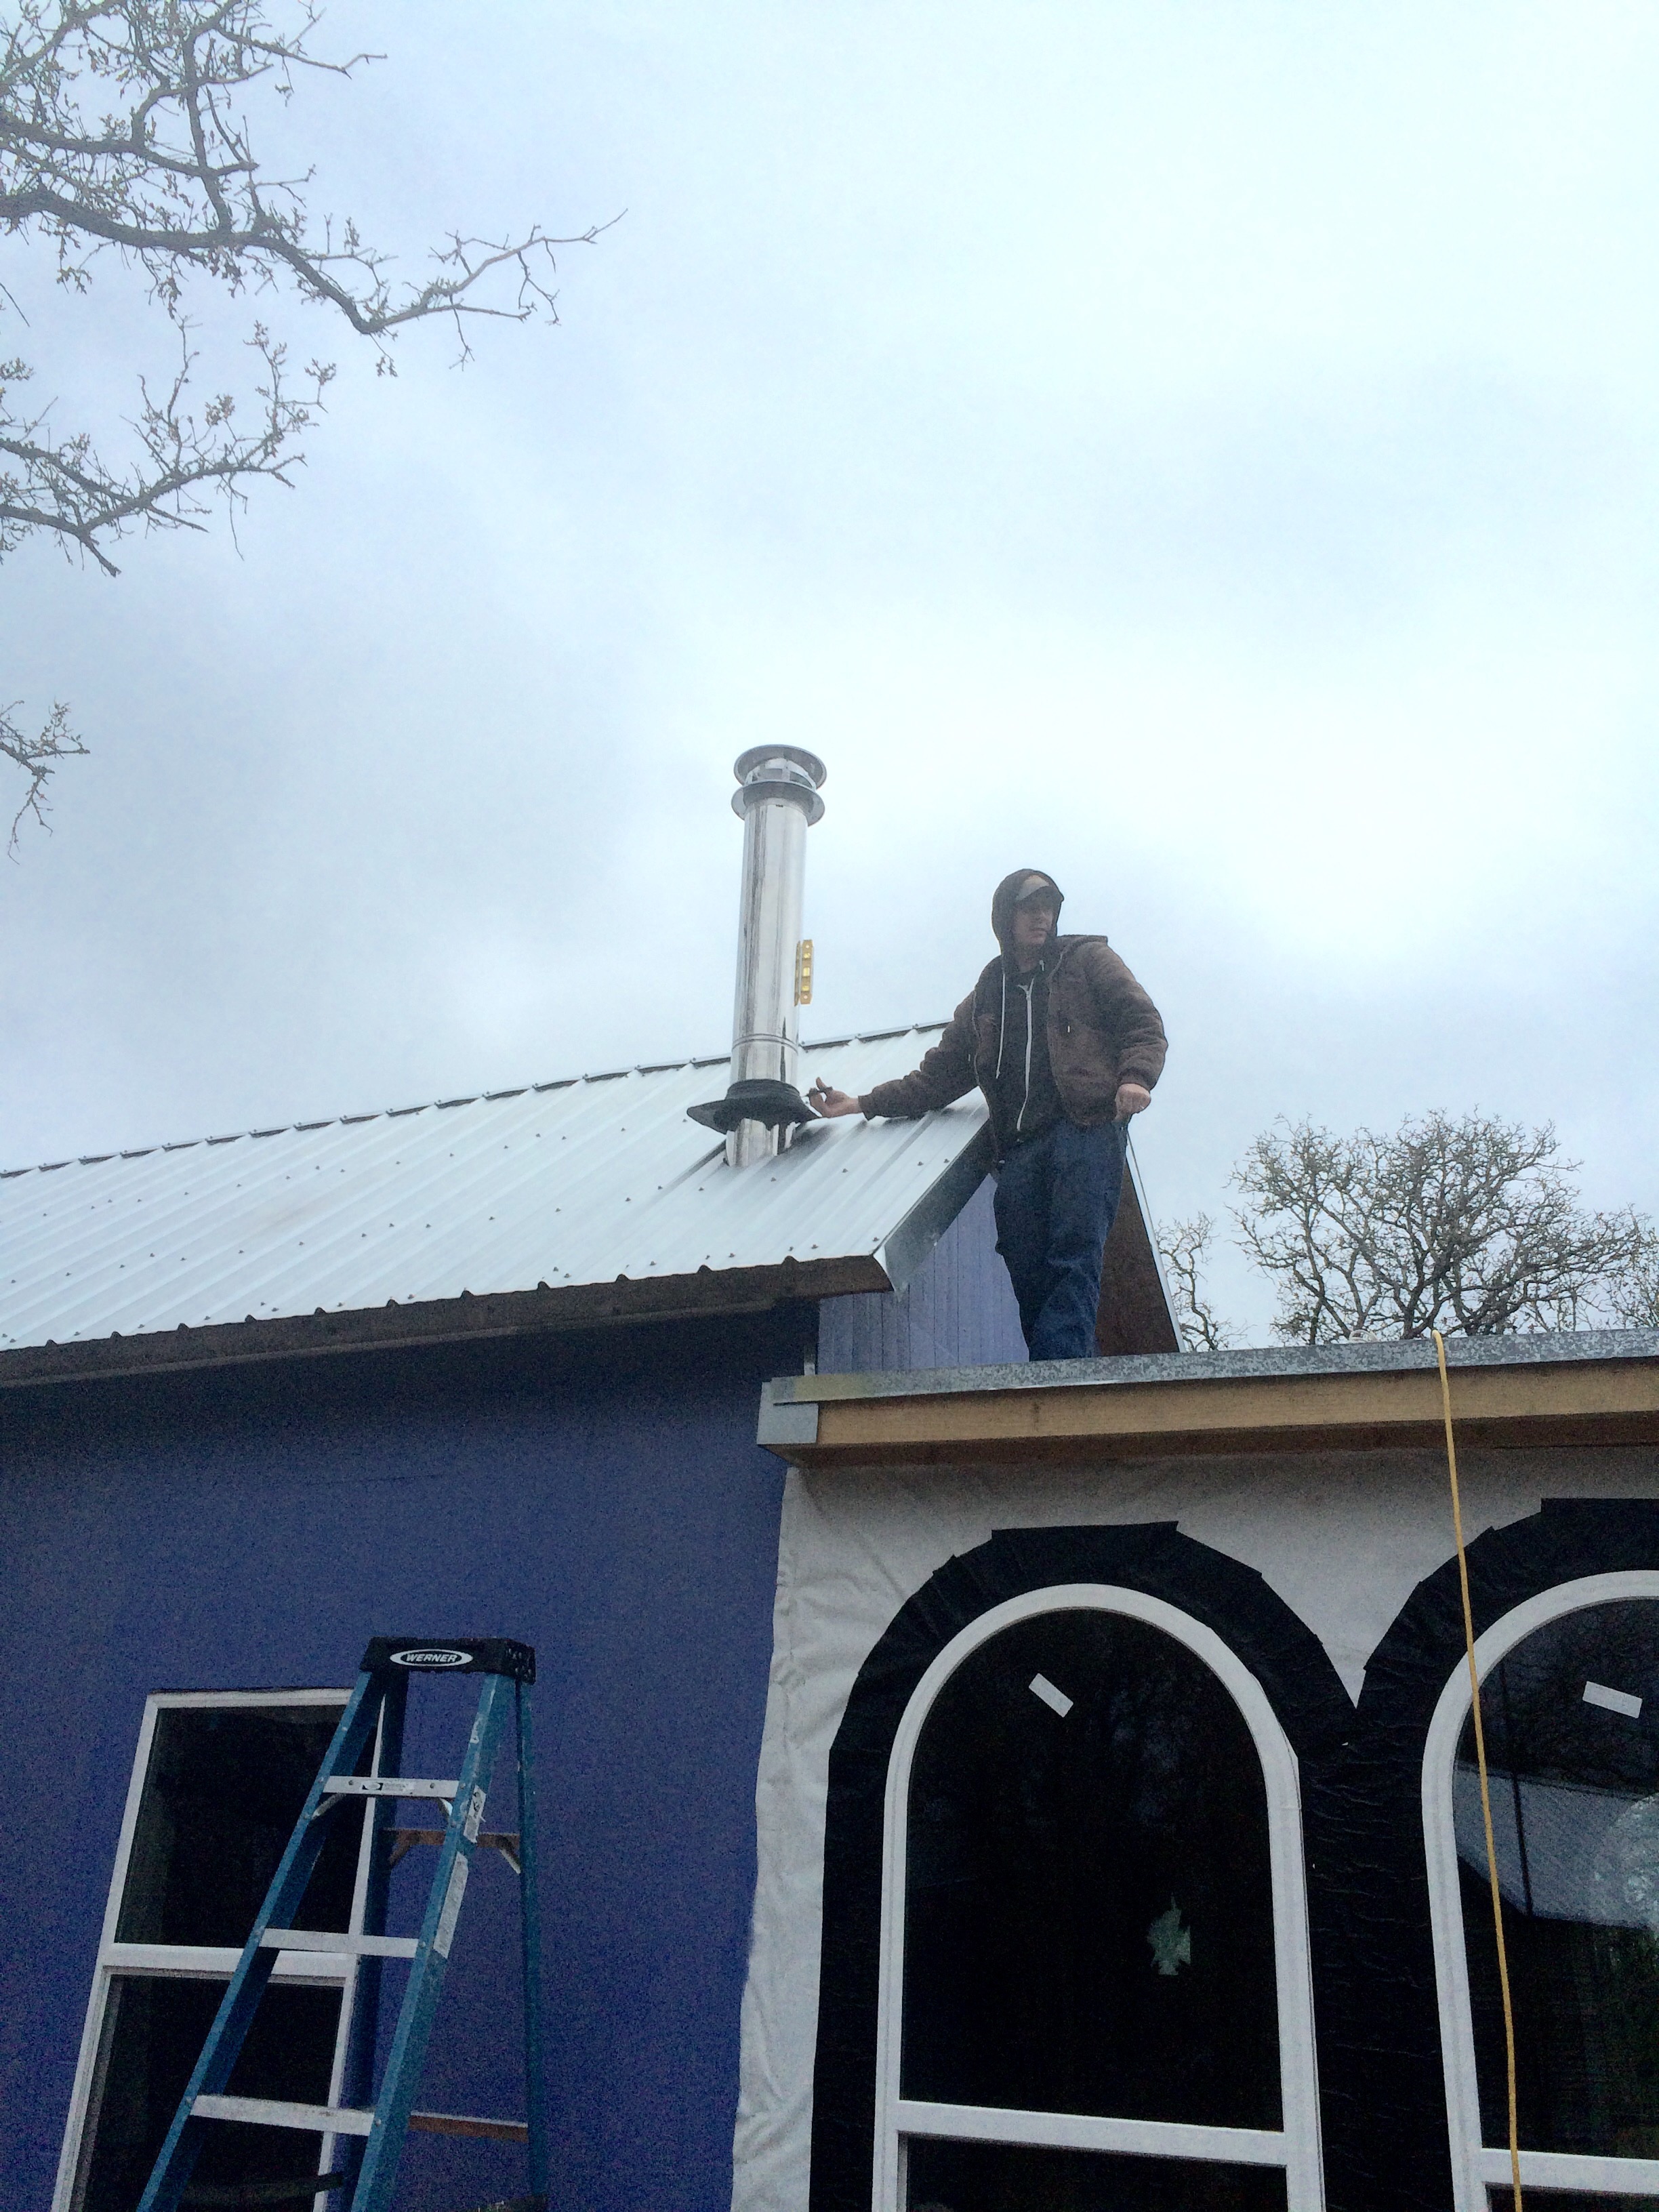
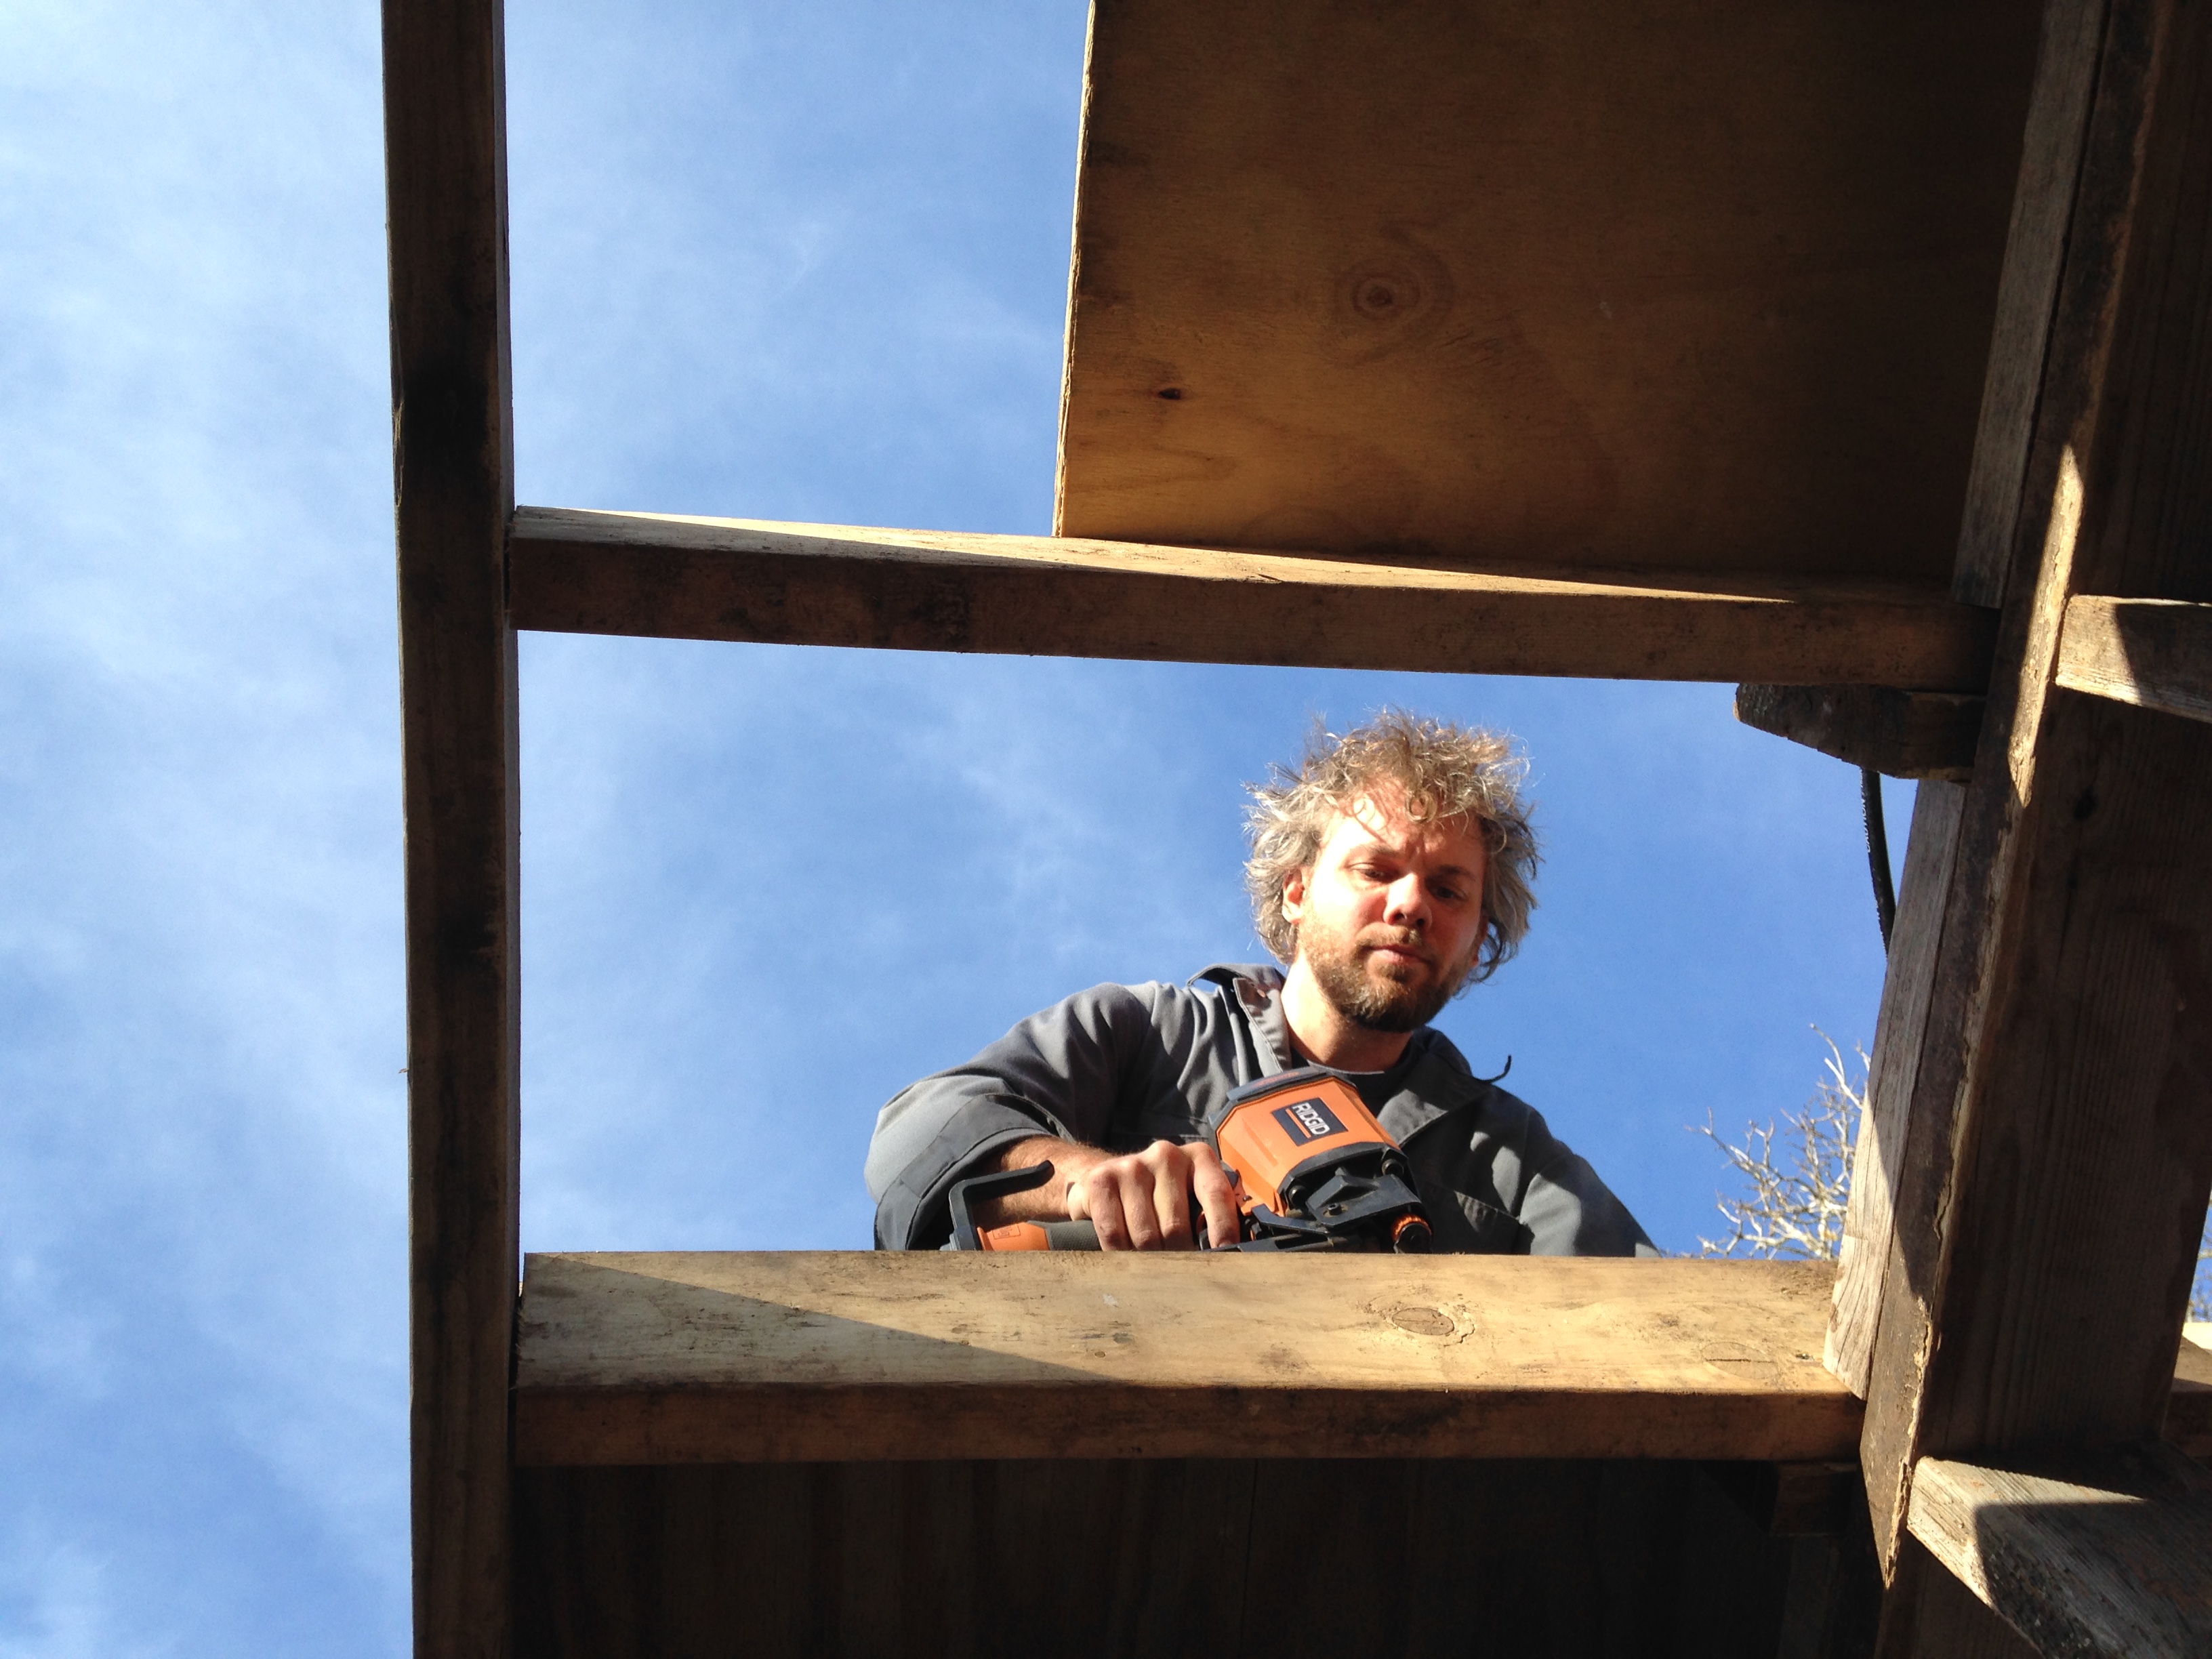
Foreman Jim and Kristin starting work on the new waterproof Albatross roof
the hens, minus Broody McBrooderson who hangs out alone on her own perch, off camerachickens considering free-ranging right up the ladder with Jim
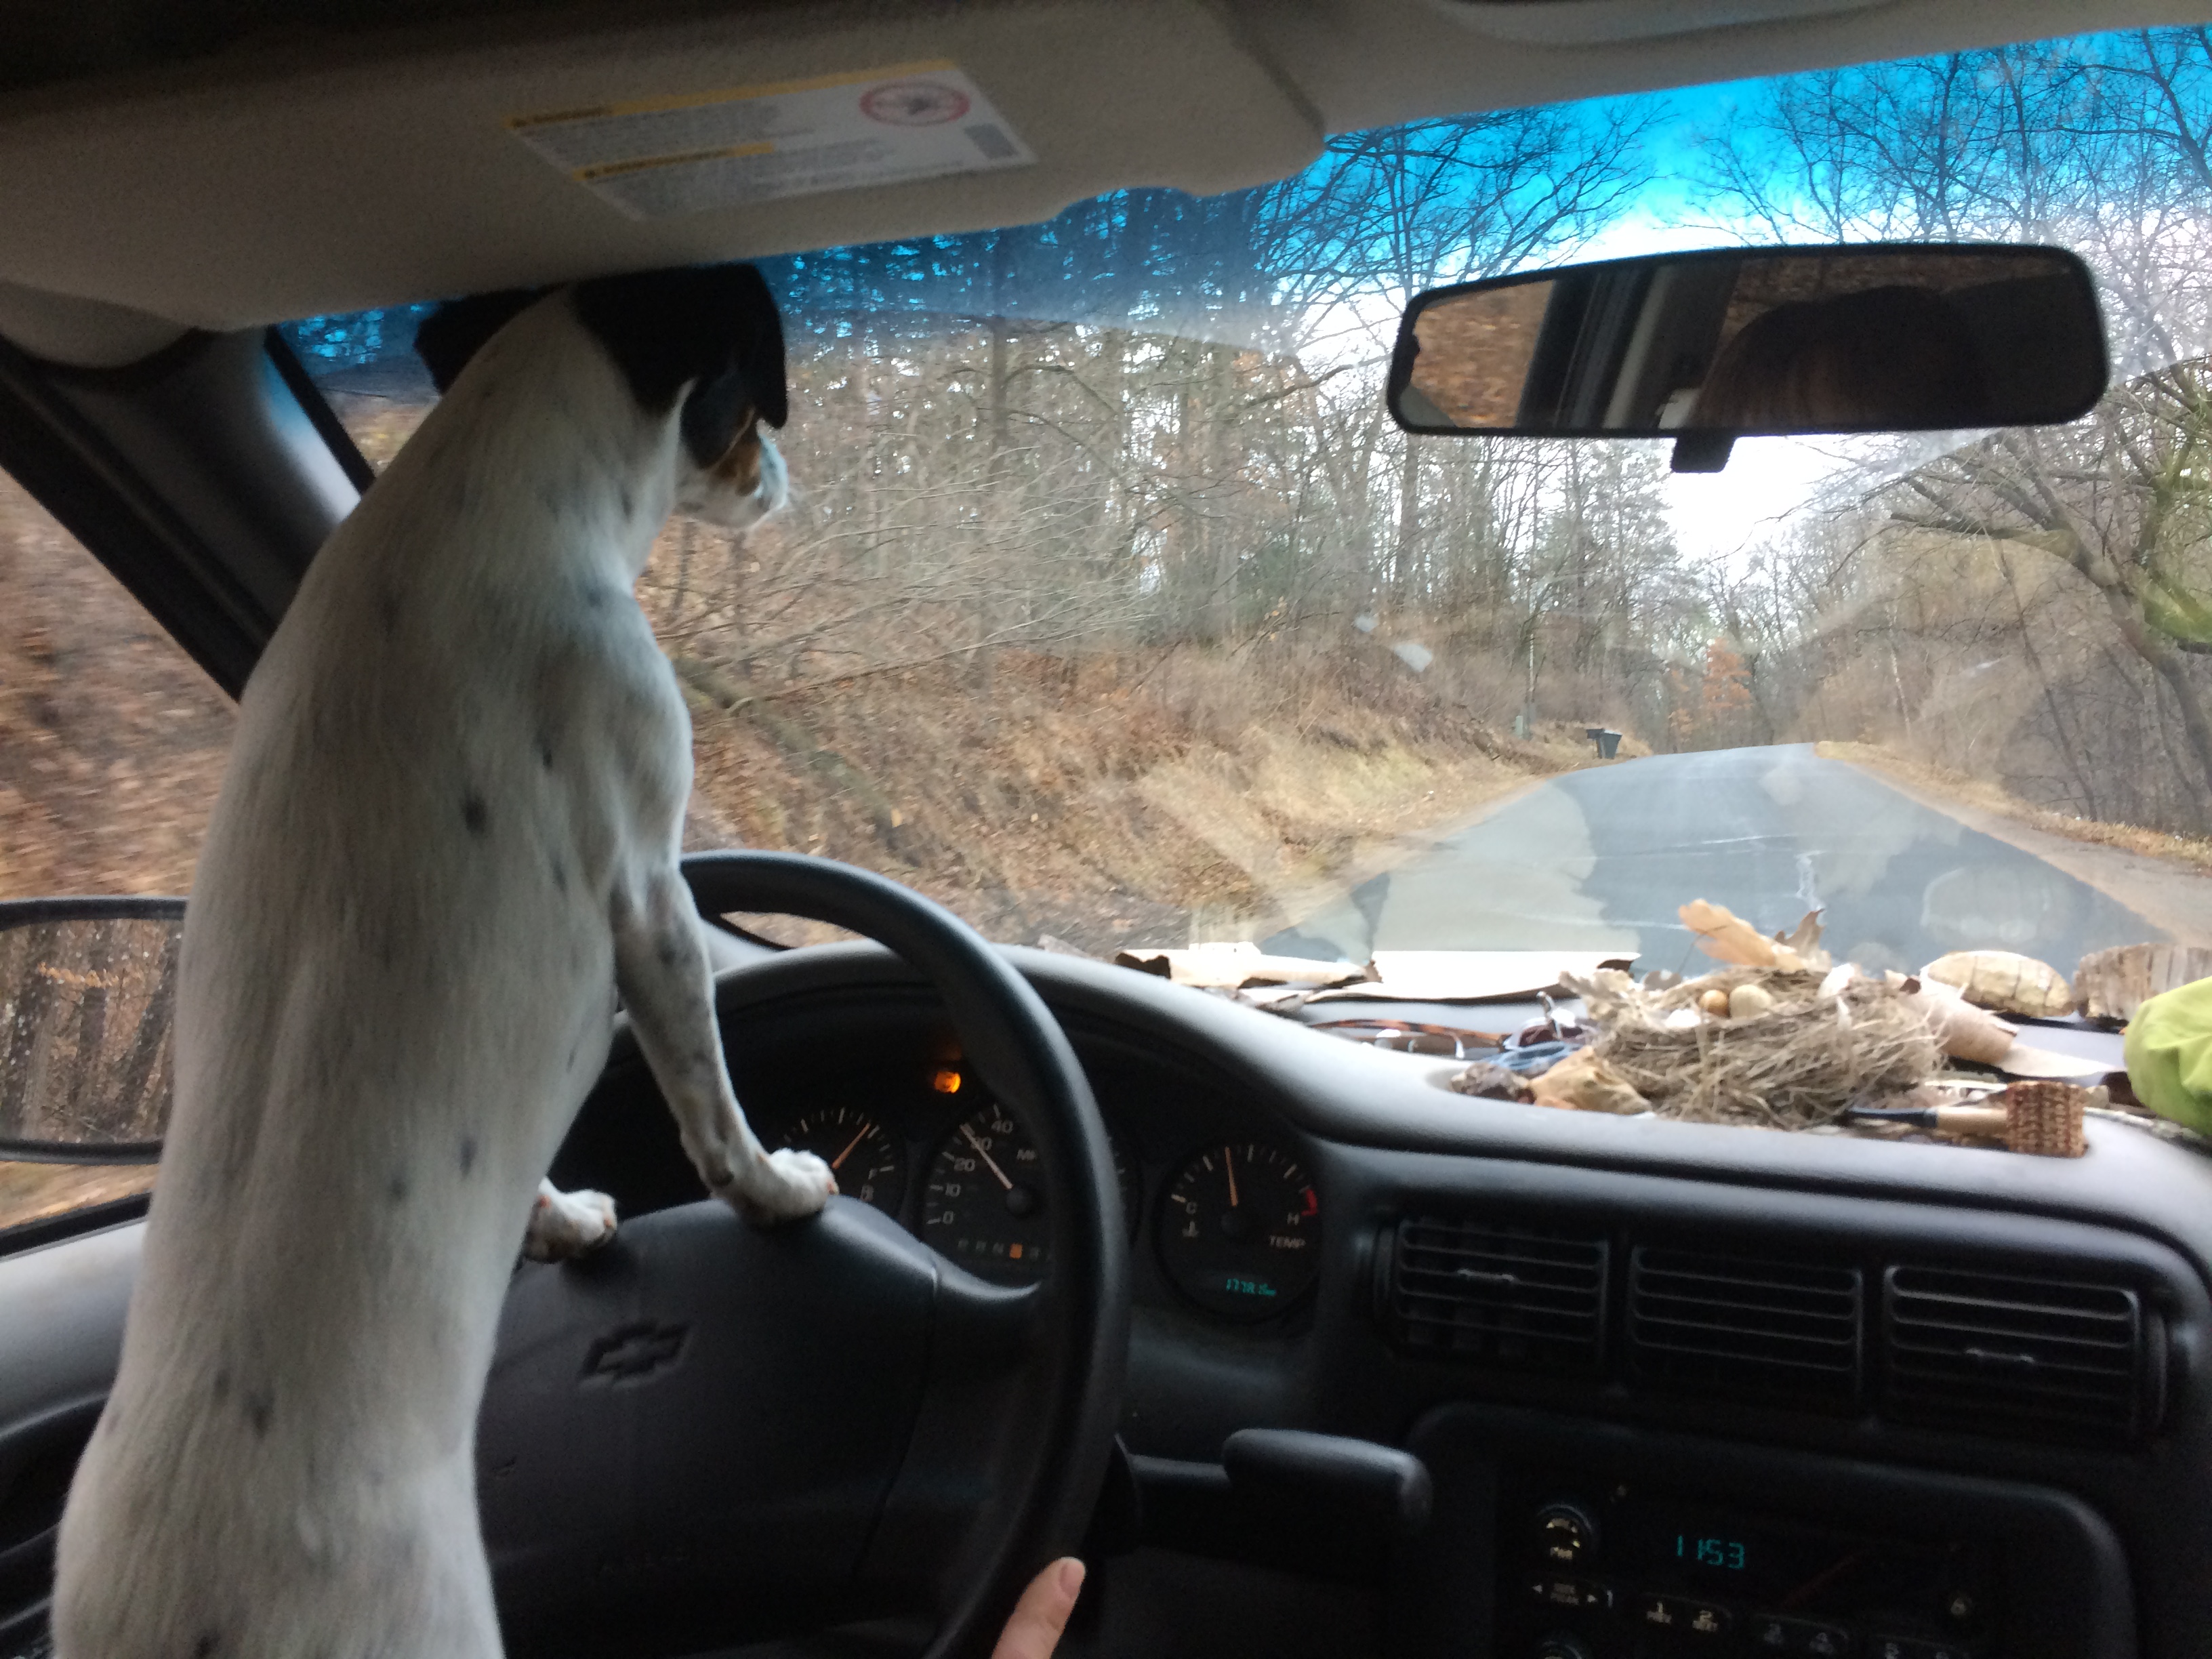
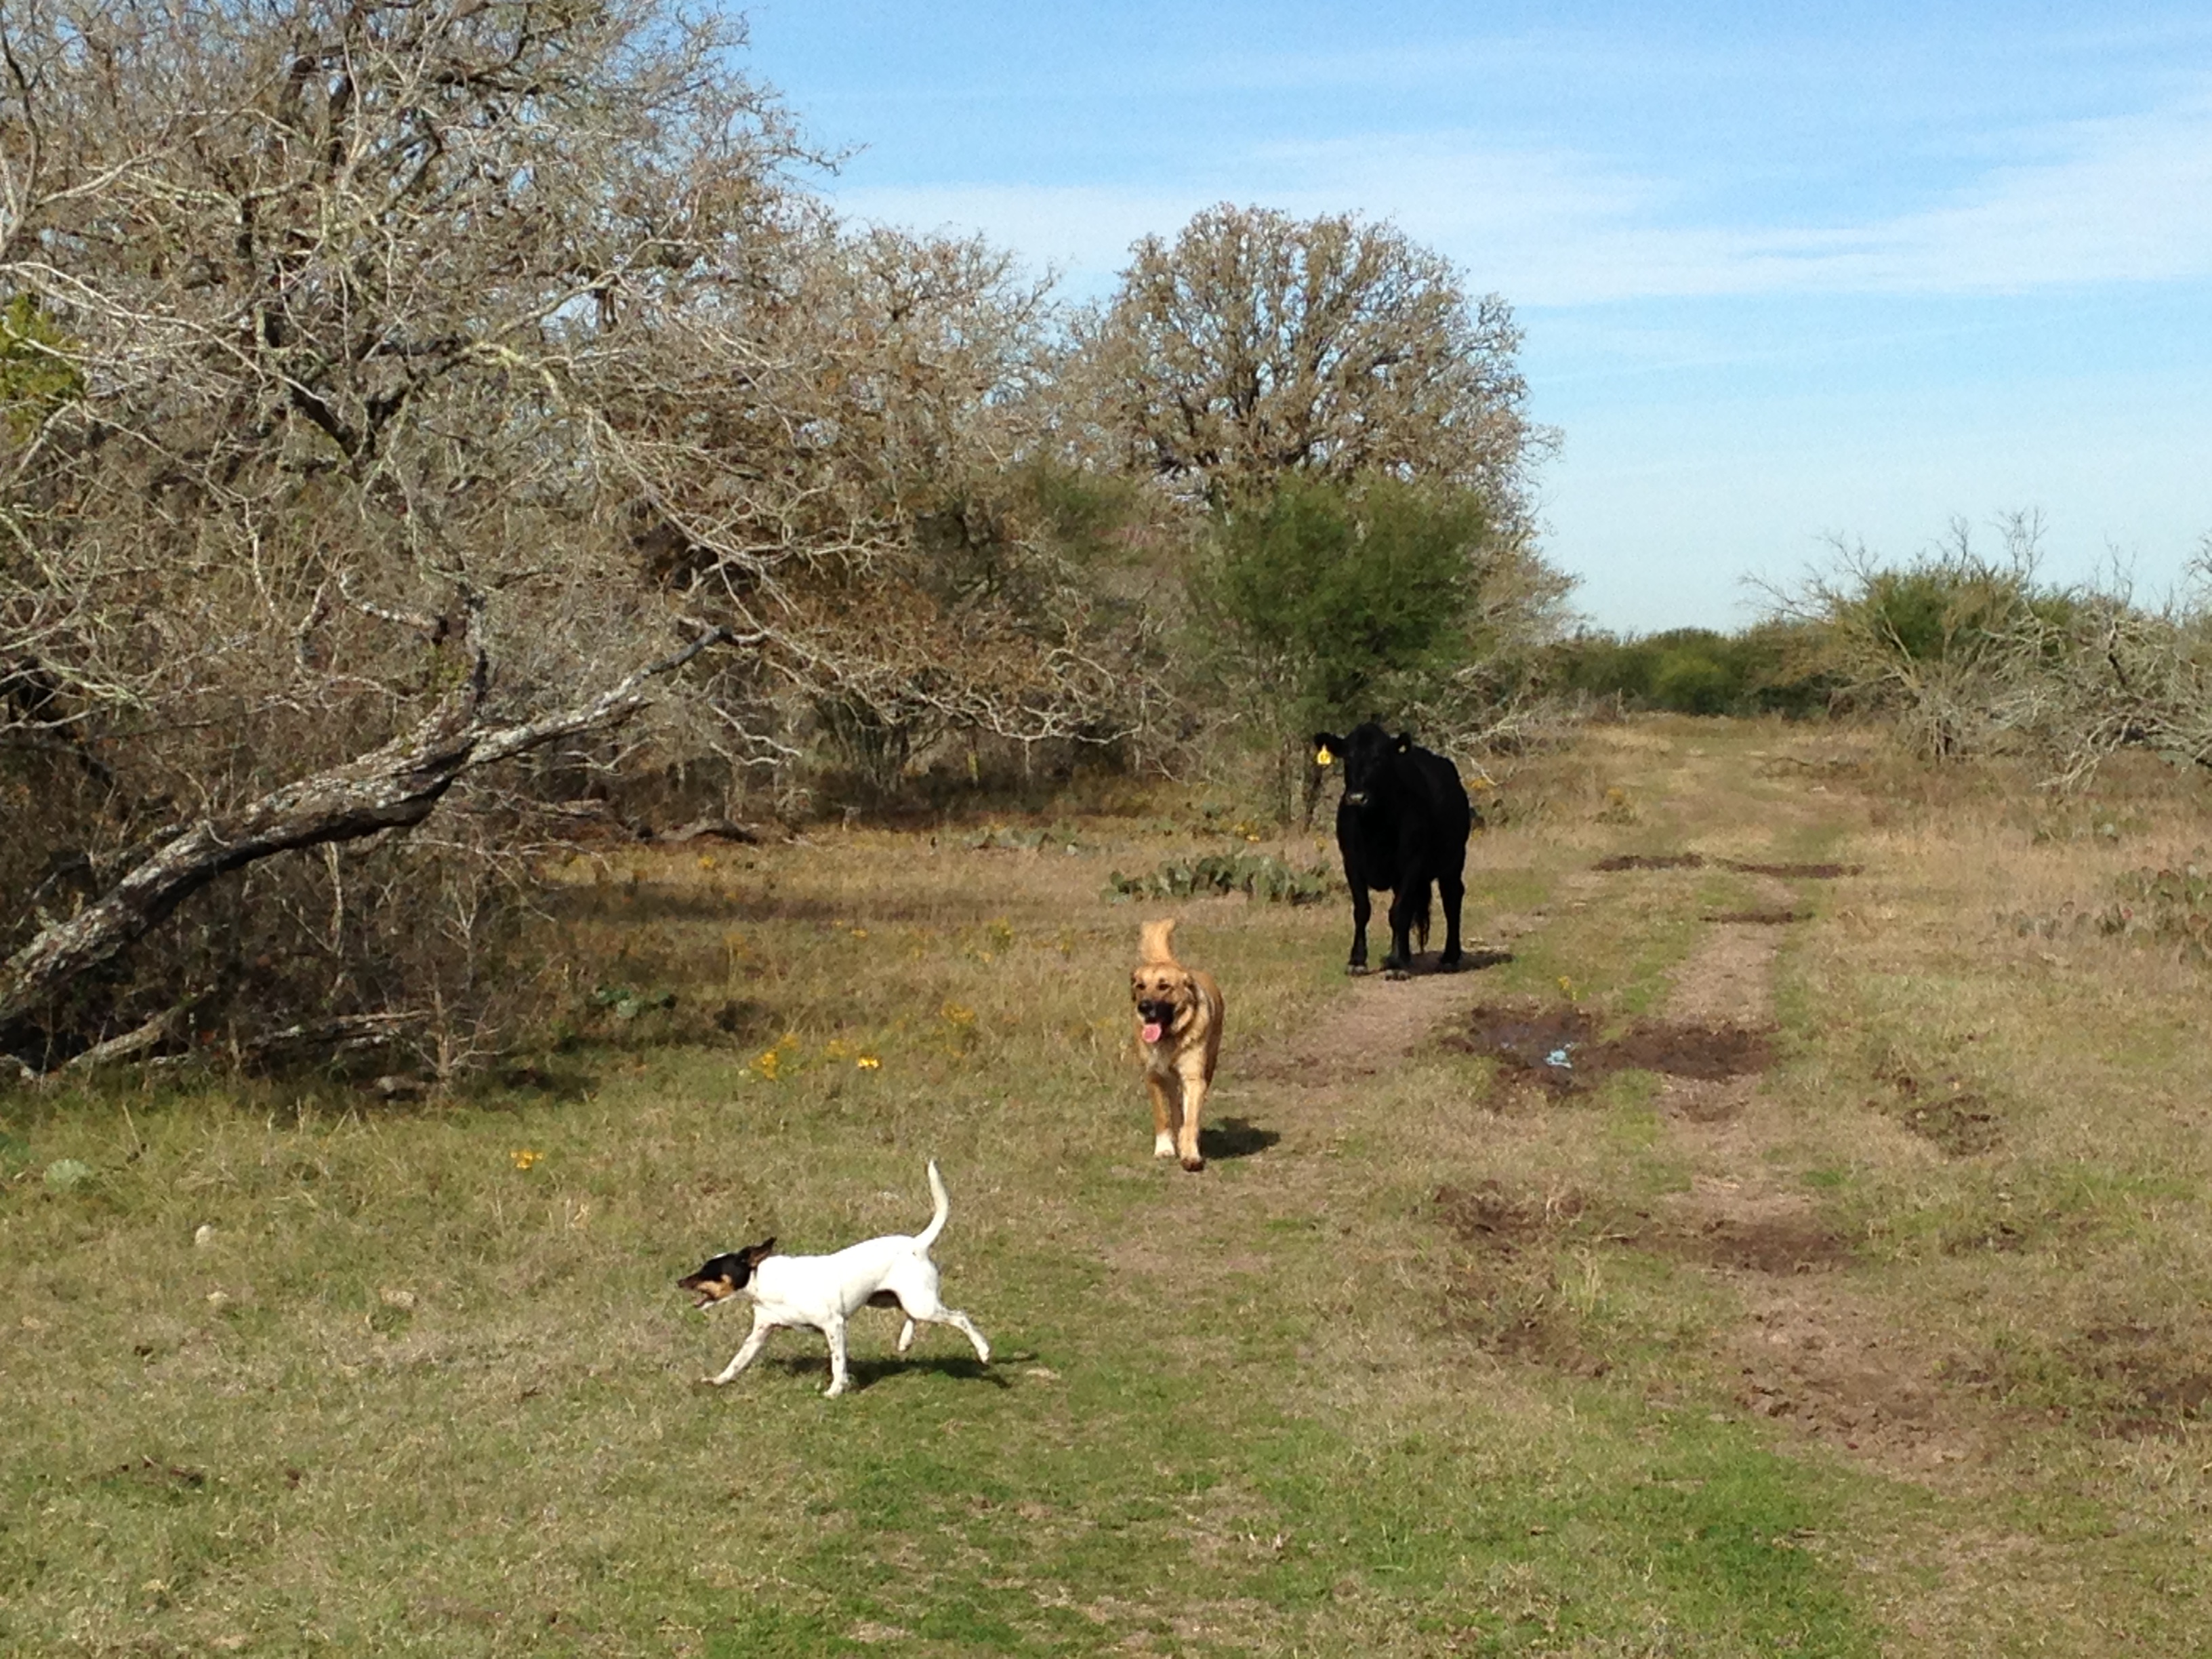
Widget knows the River Road well enough by this point
suspected double-yolker, and the biggest egg we’ve ever seen. Scientists theorize this was the consequence of Broody McBrooderson eating a bunch of venison sausage.
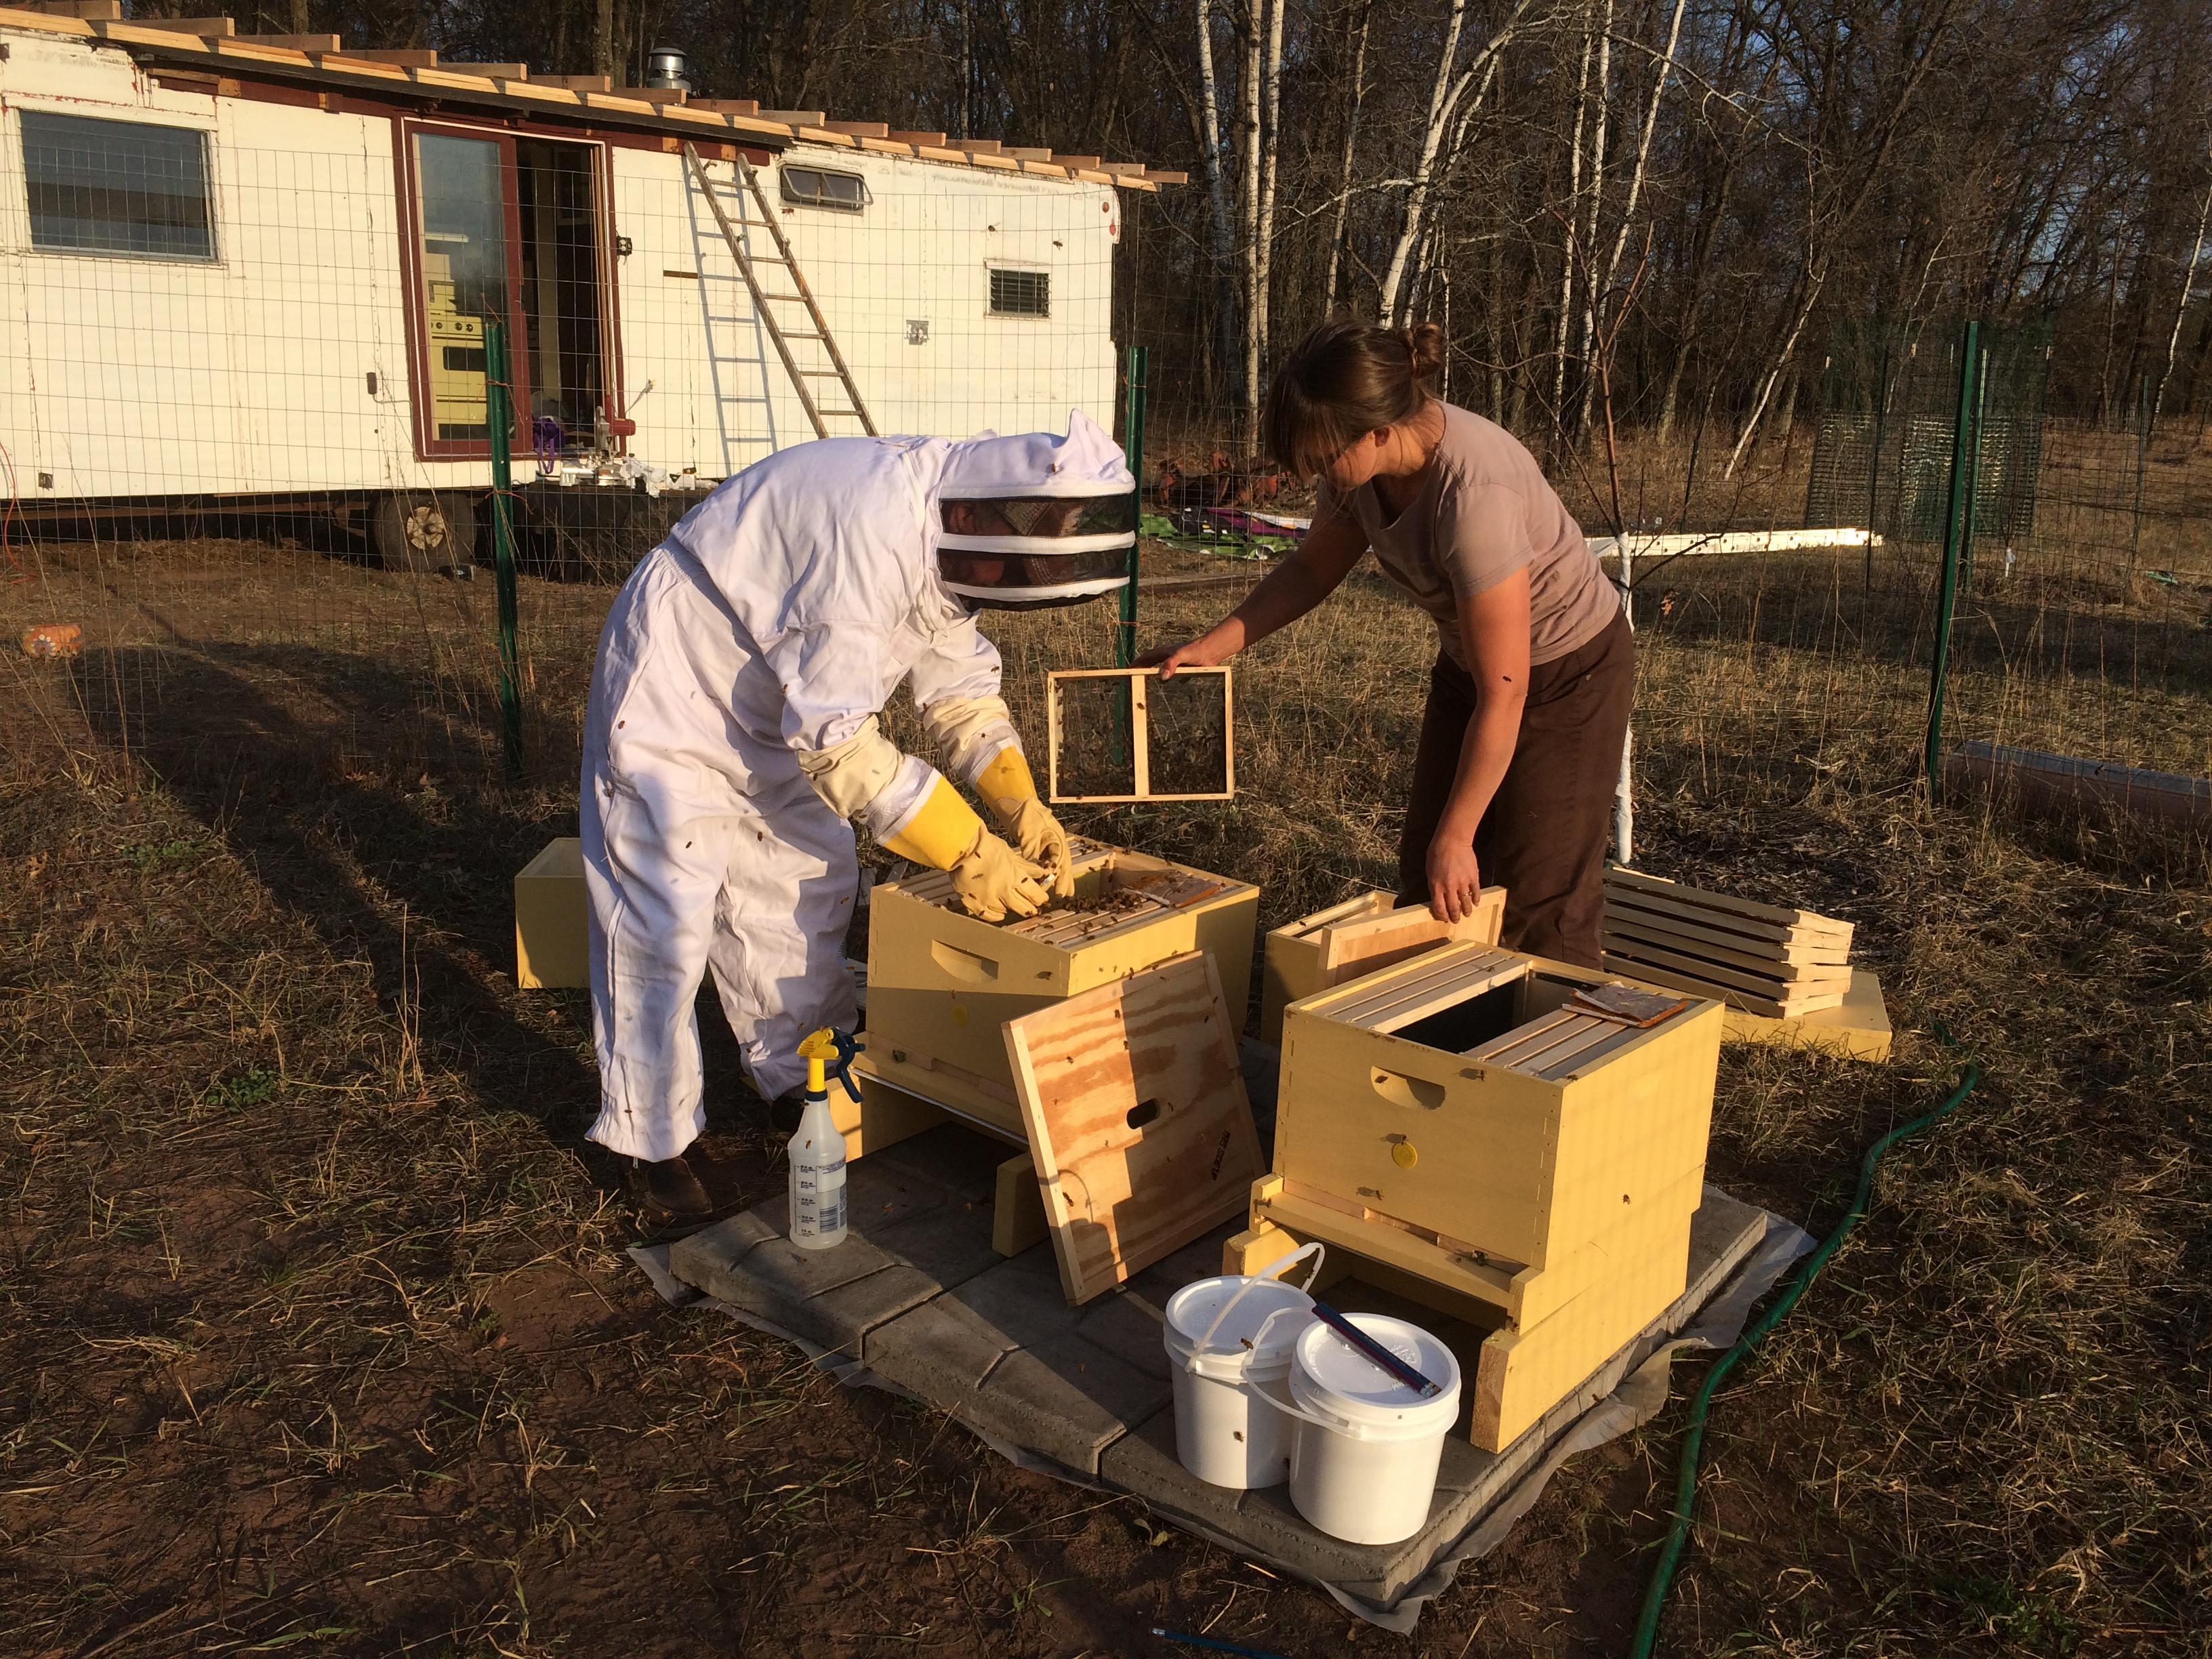
We got Jim some bee-keeping gear for Christmas, and he took a class … next thing you know, he’s in a bee suit, you’re helping dump a hive of bees into a box, and everyone is getting stung. Except for the man in the suit of course …
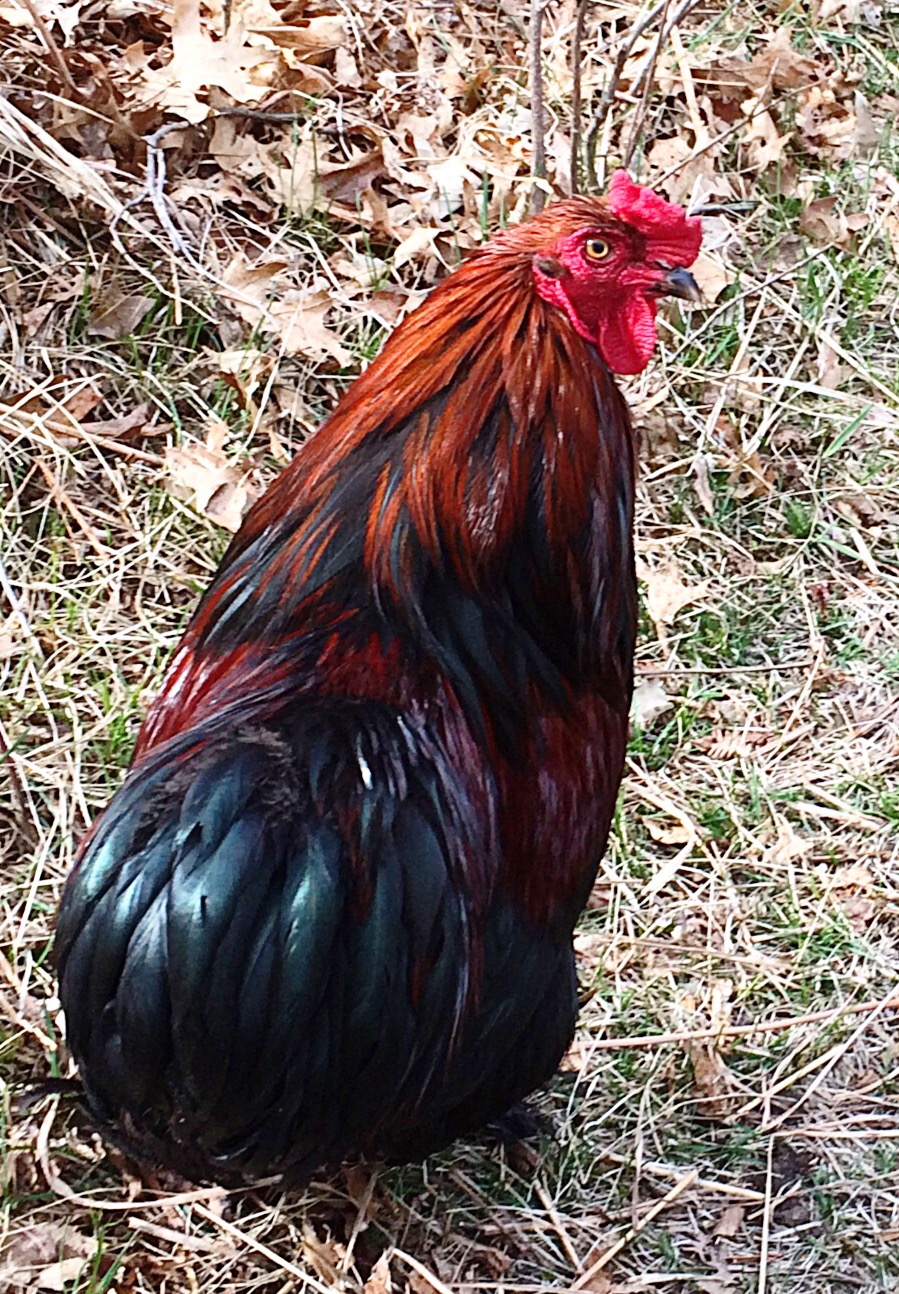
Jim & Kristin up on the new roofPepe, our new rooster – he’s in heaven here
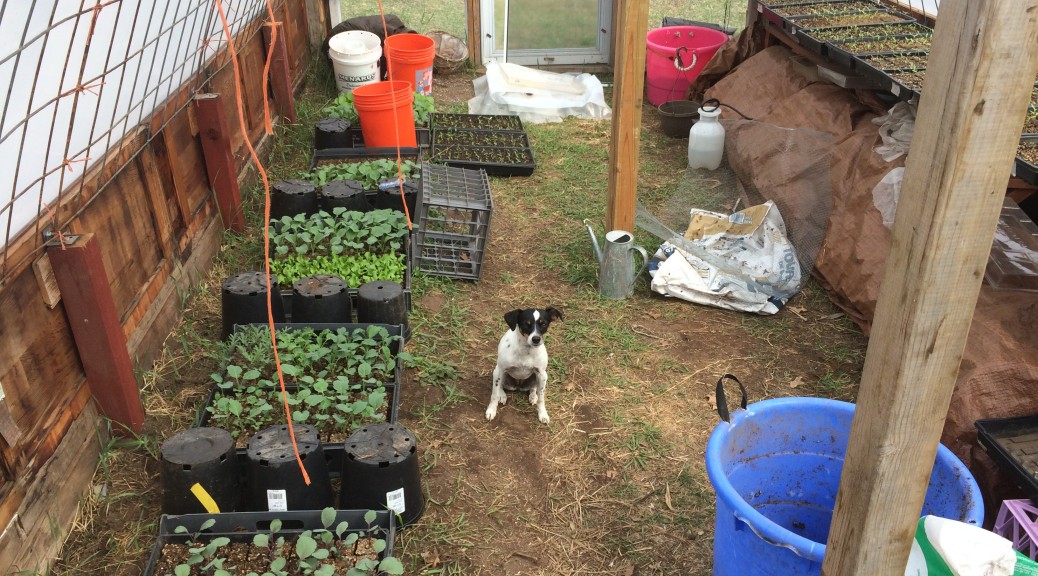
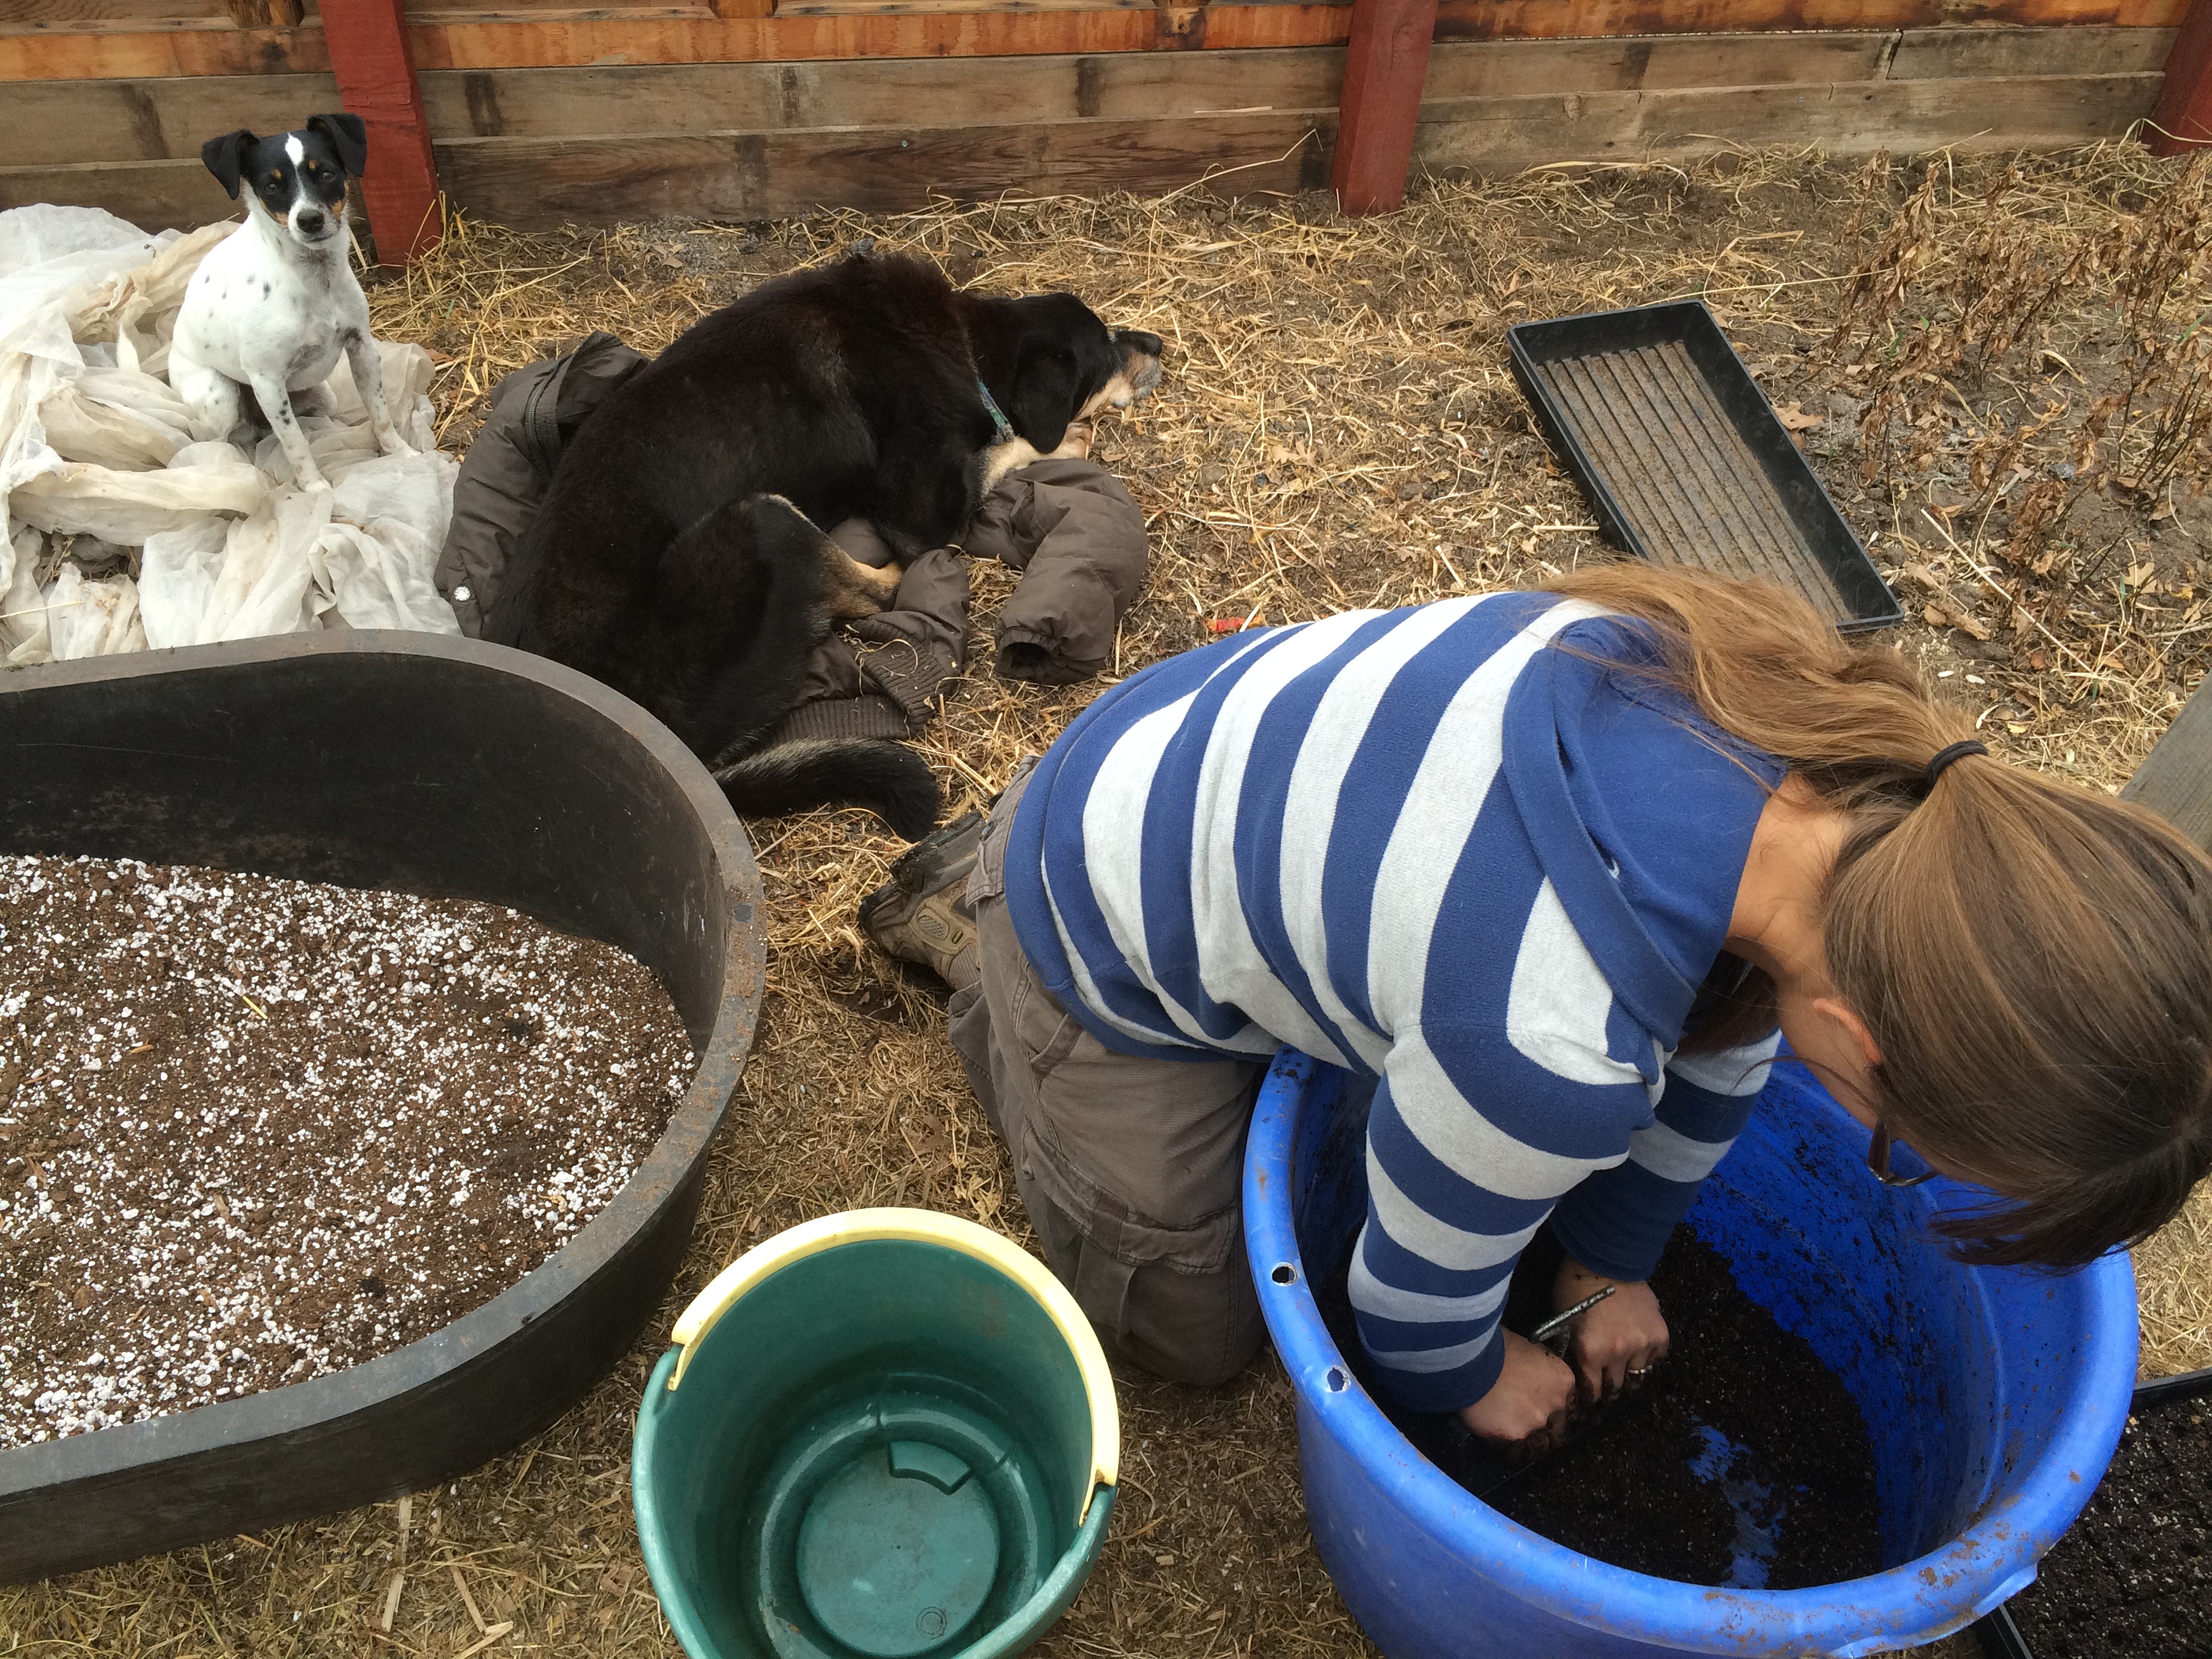
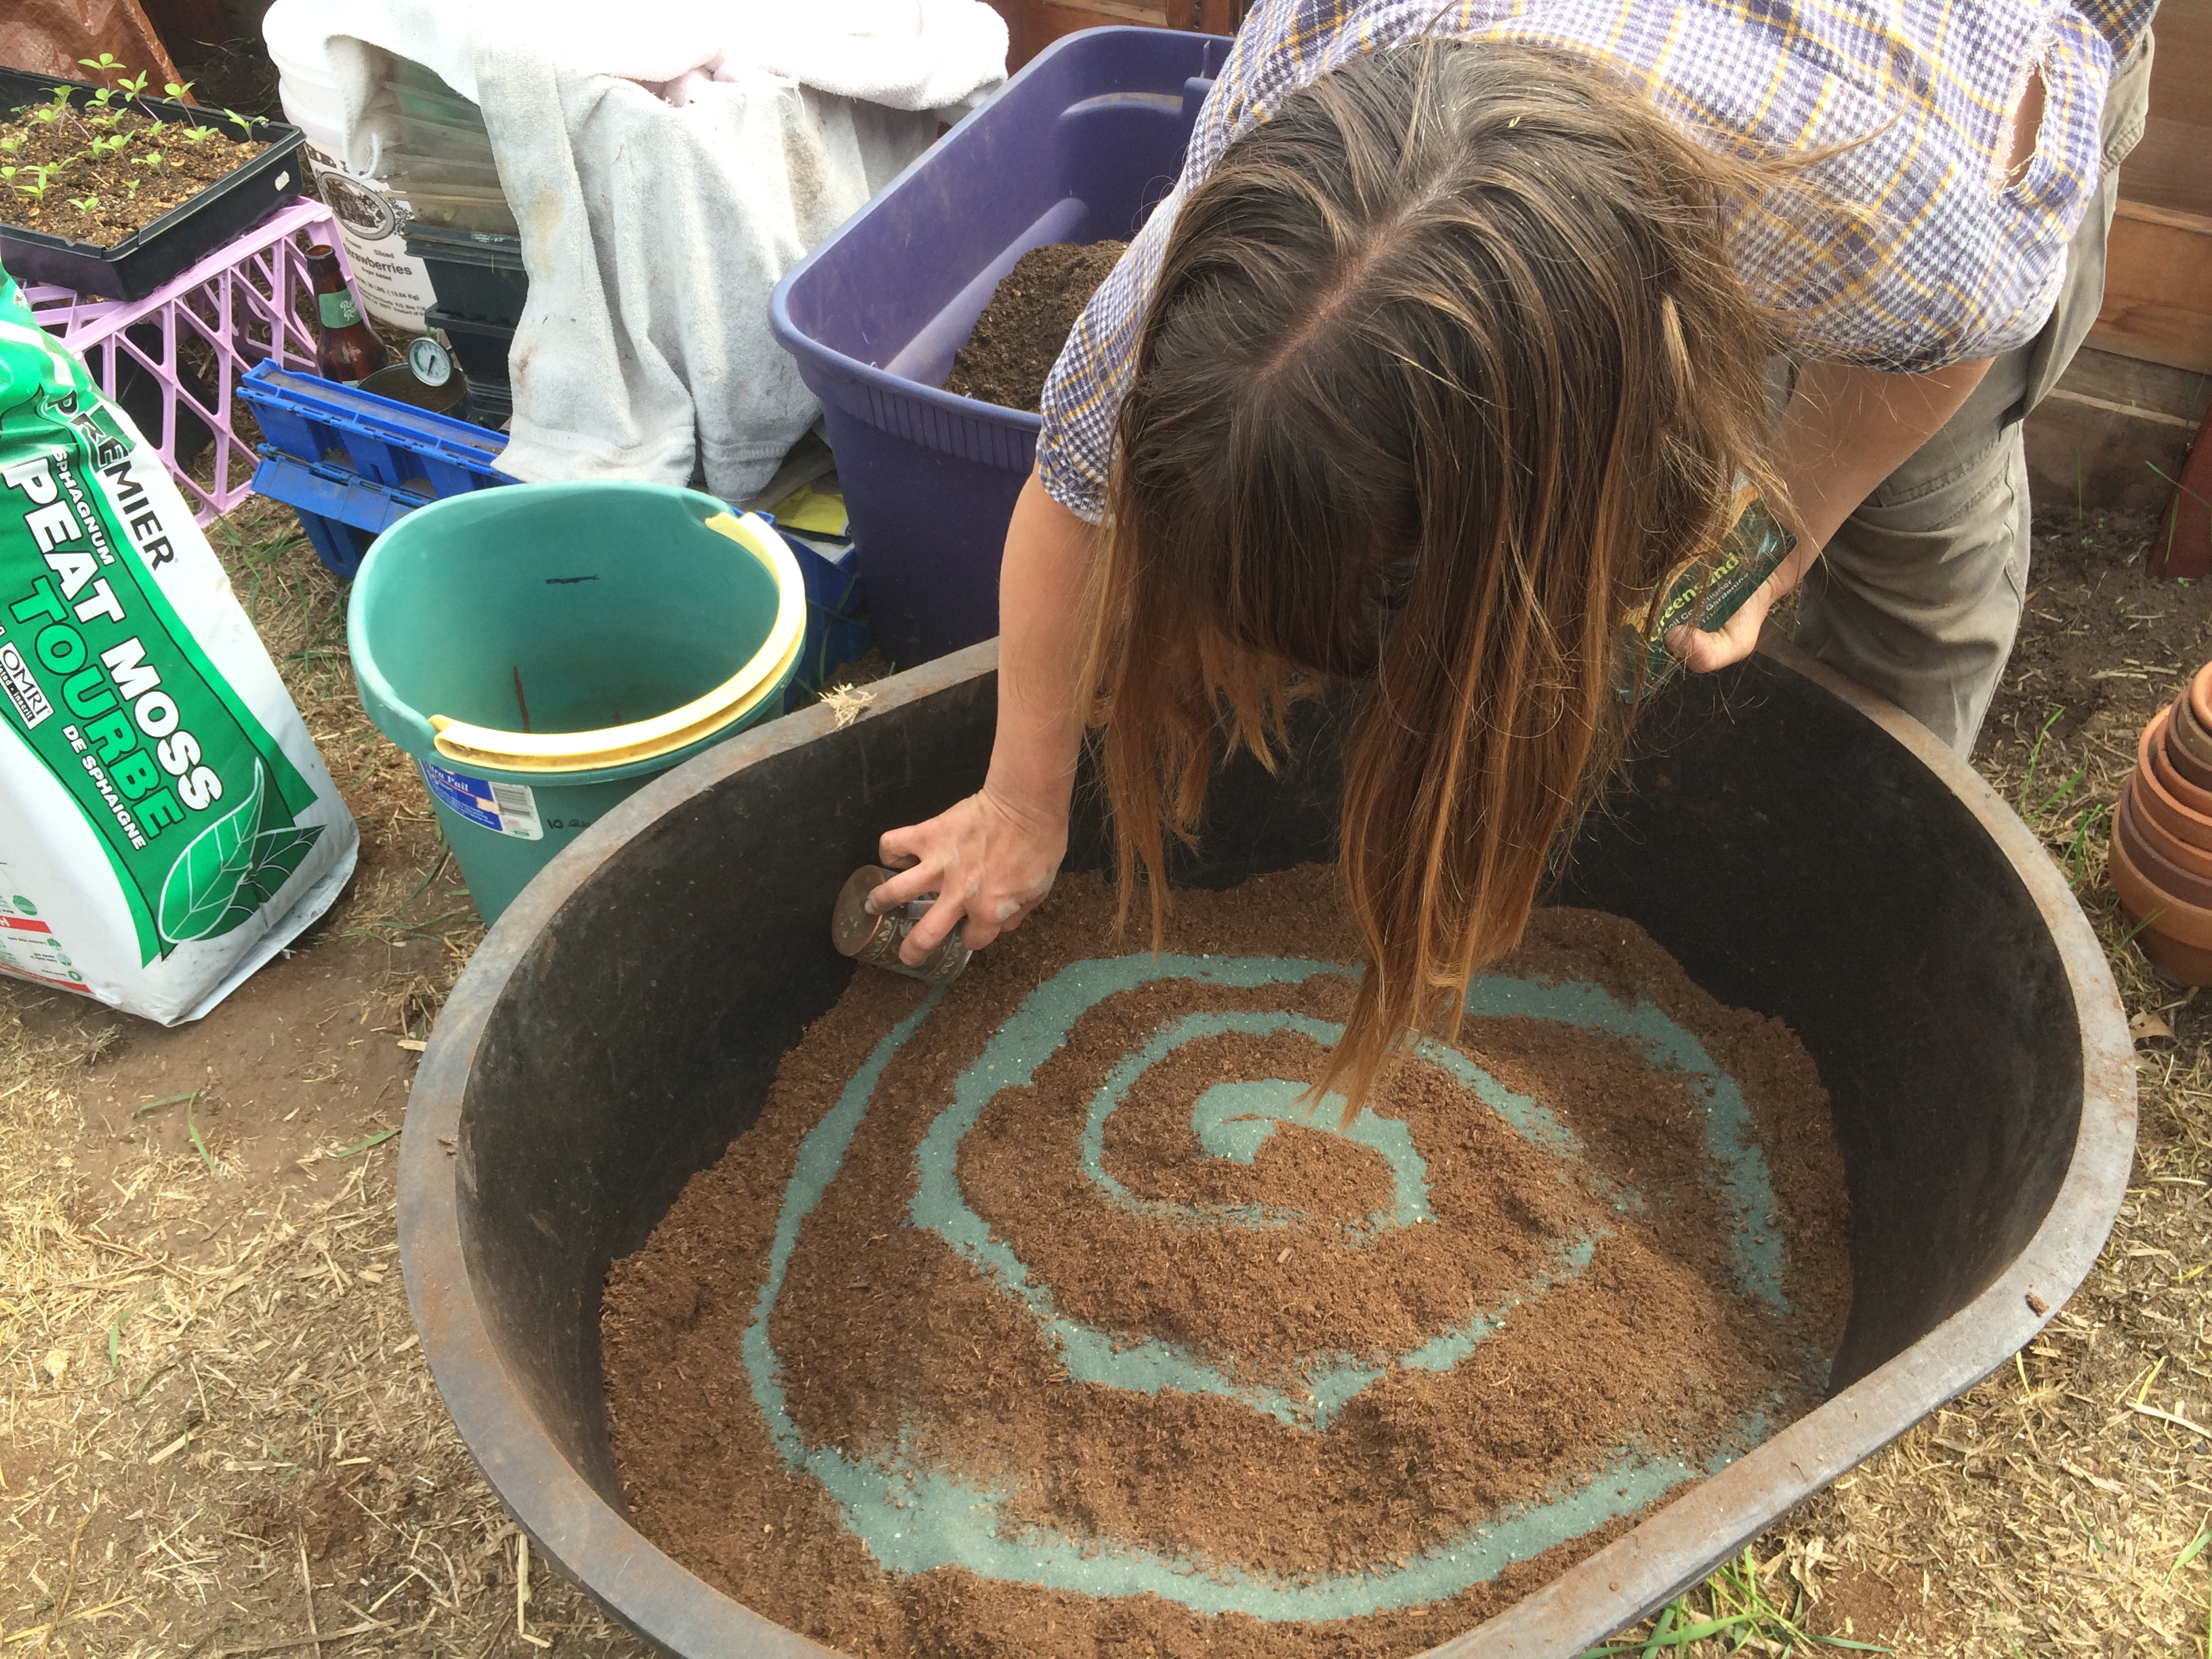
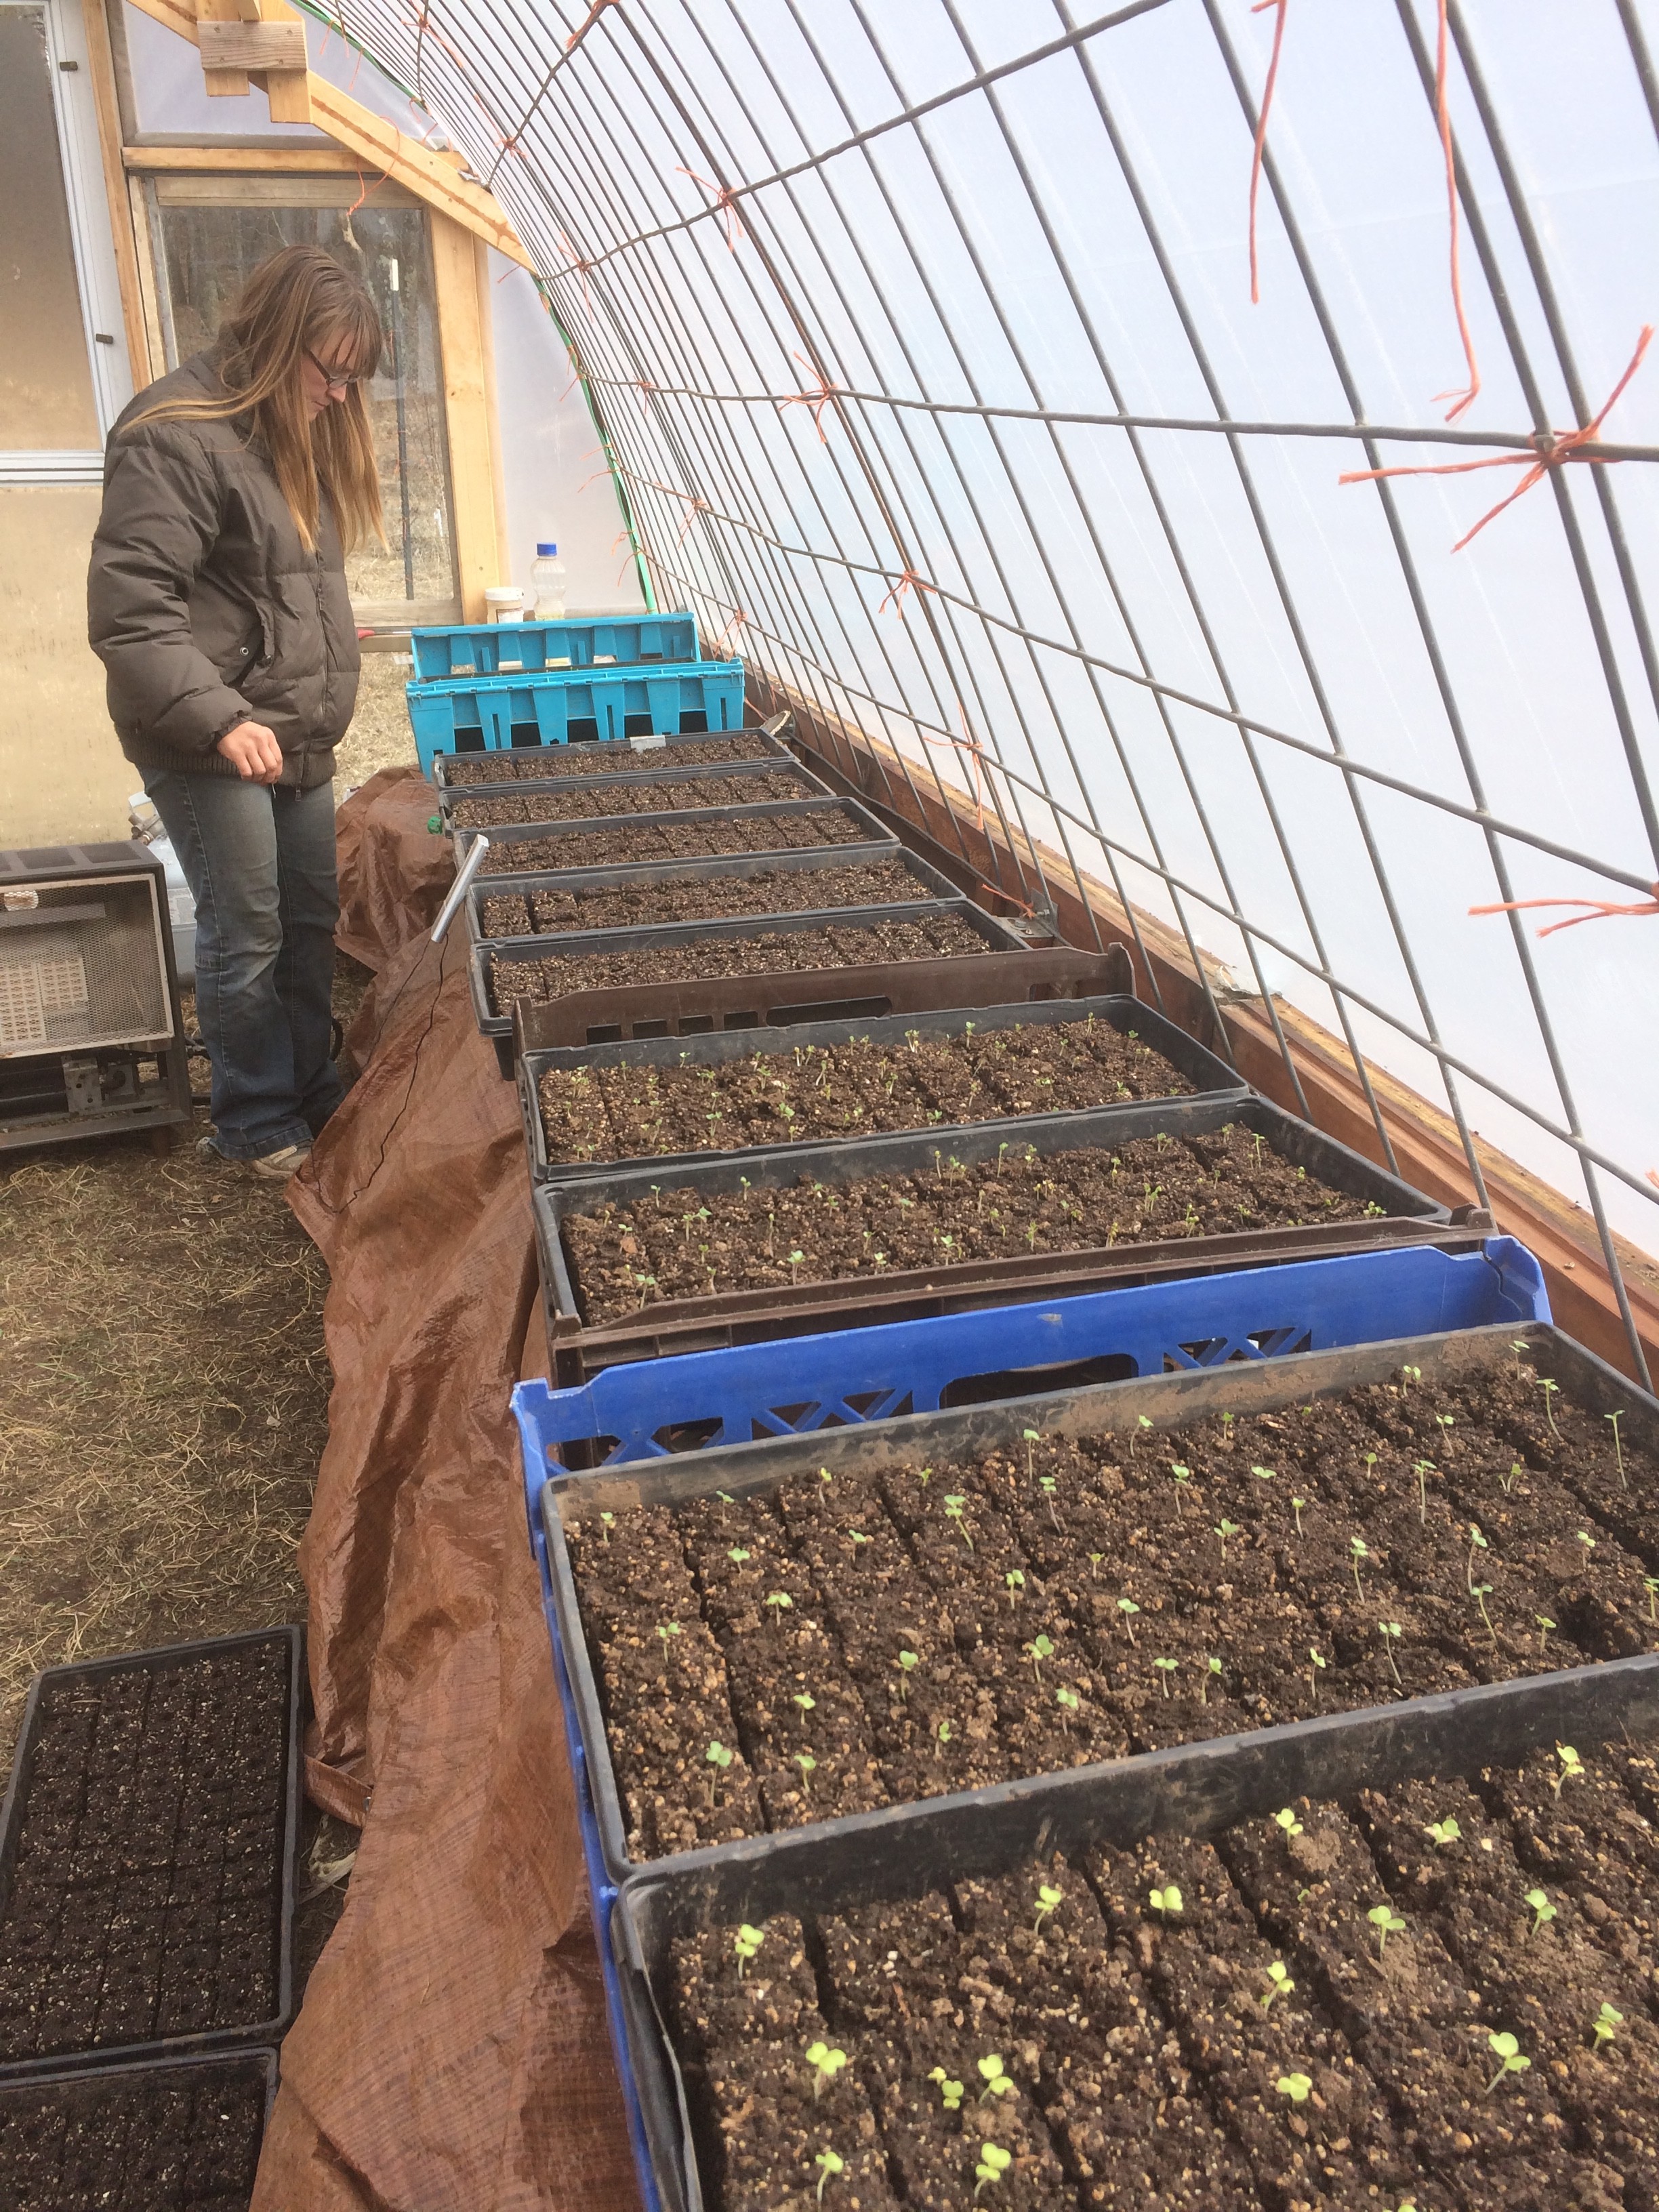
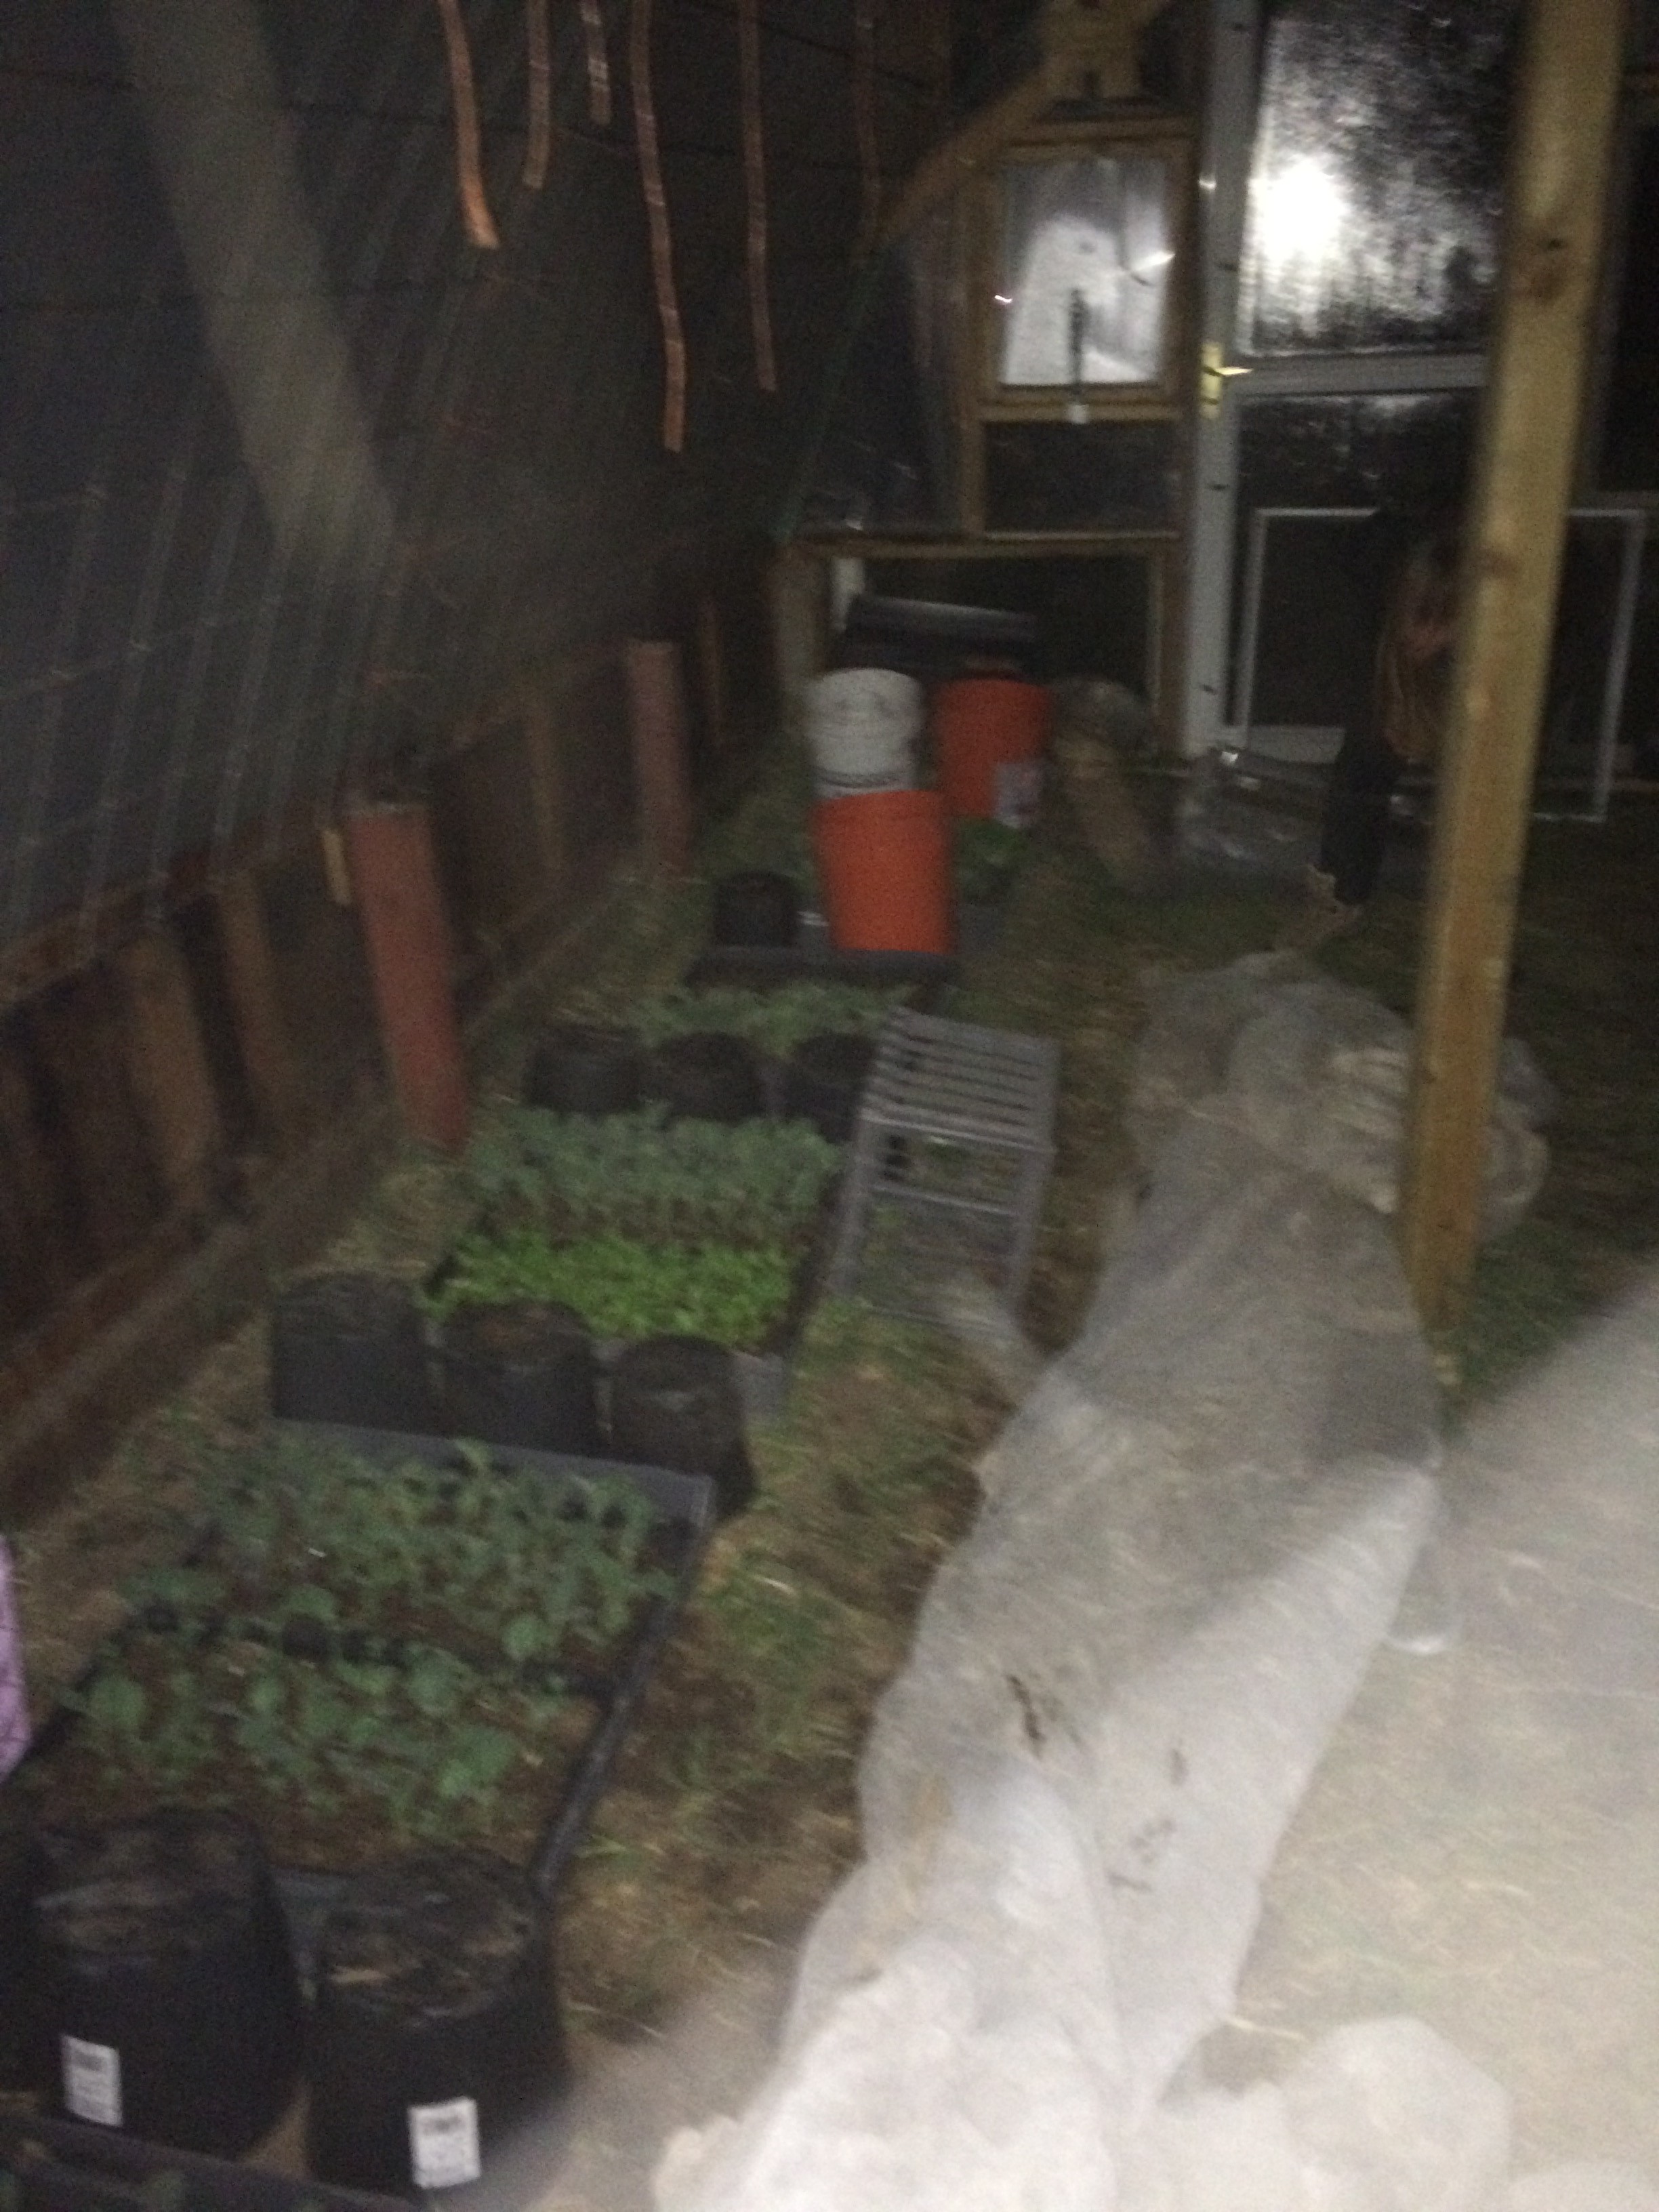
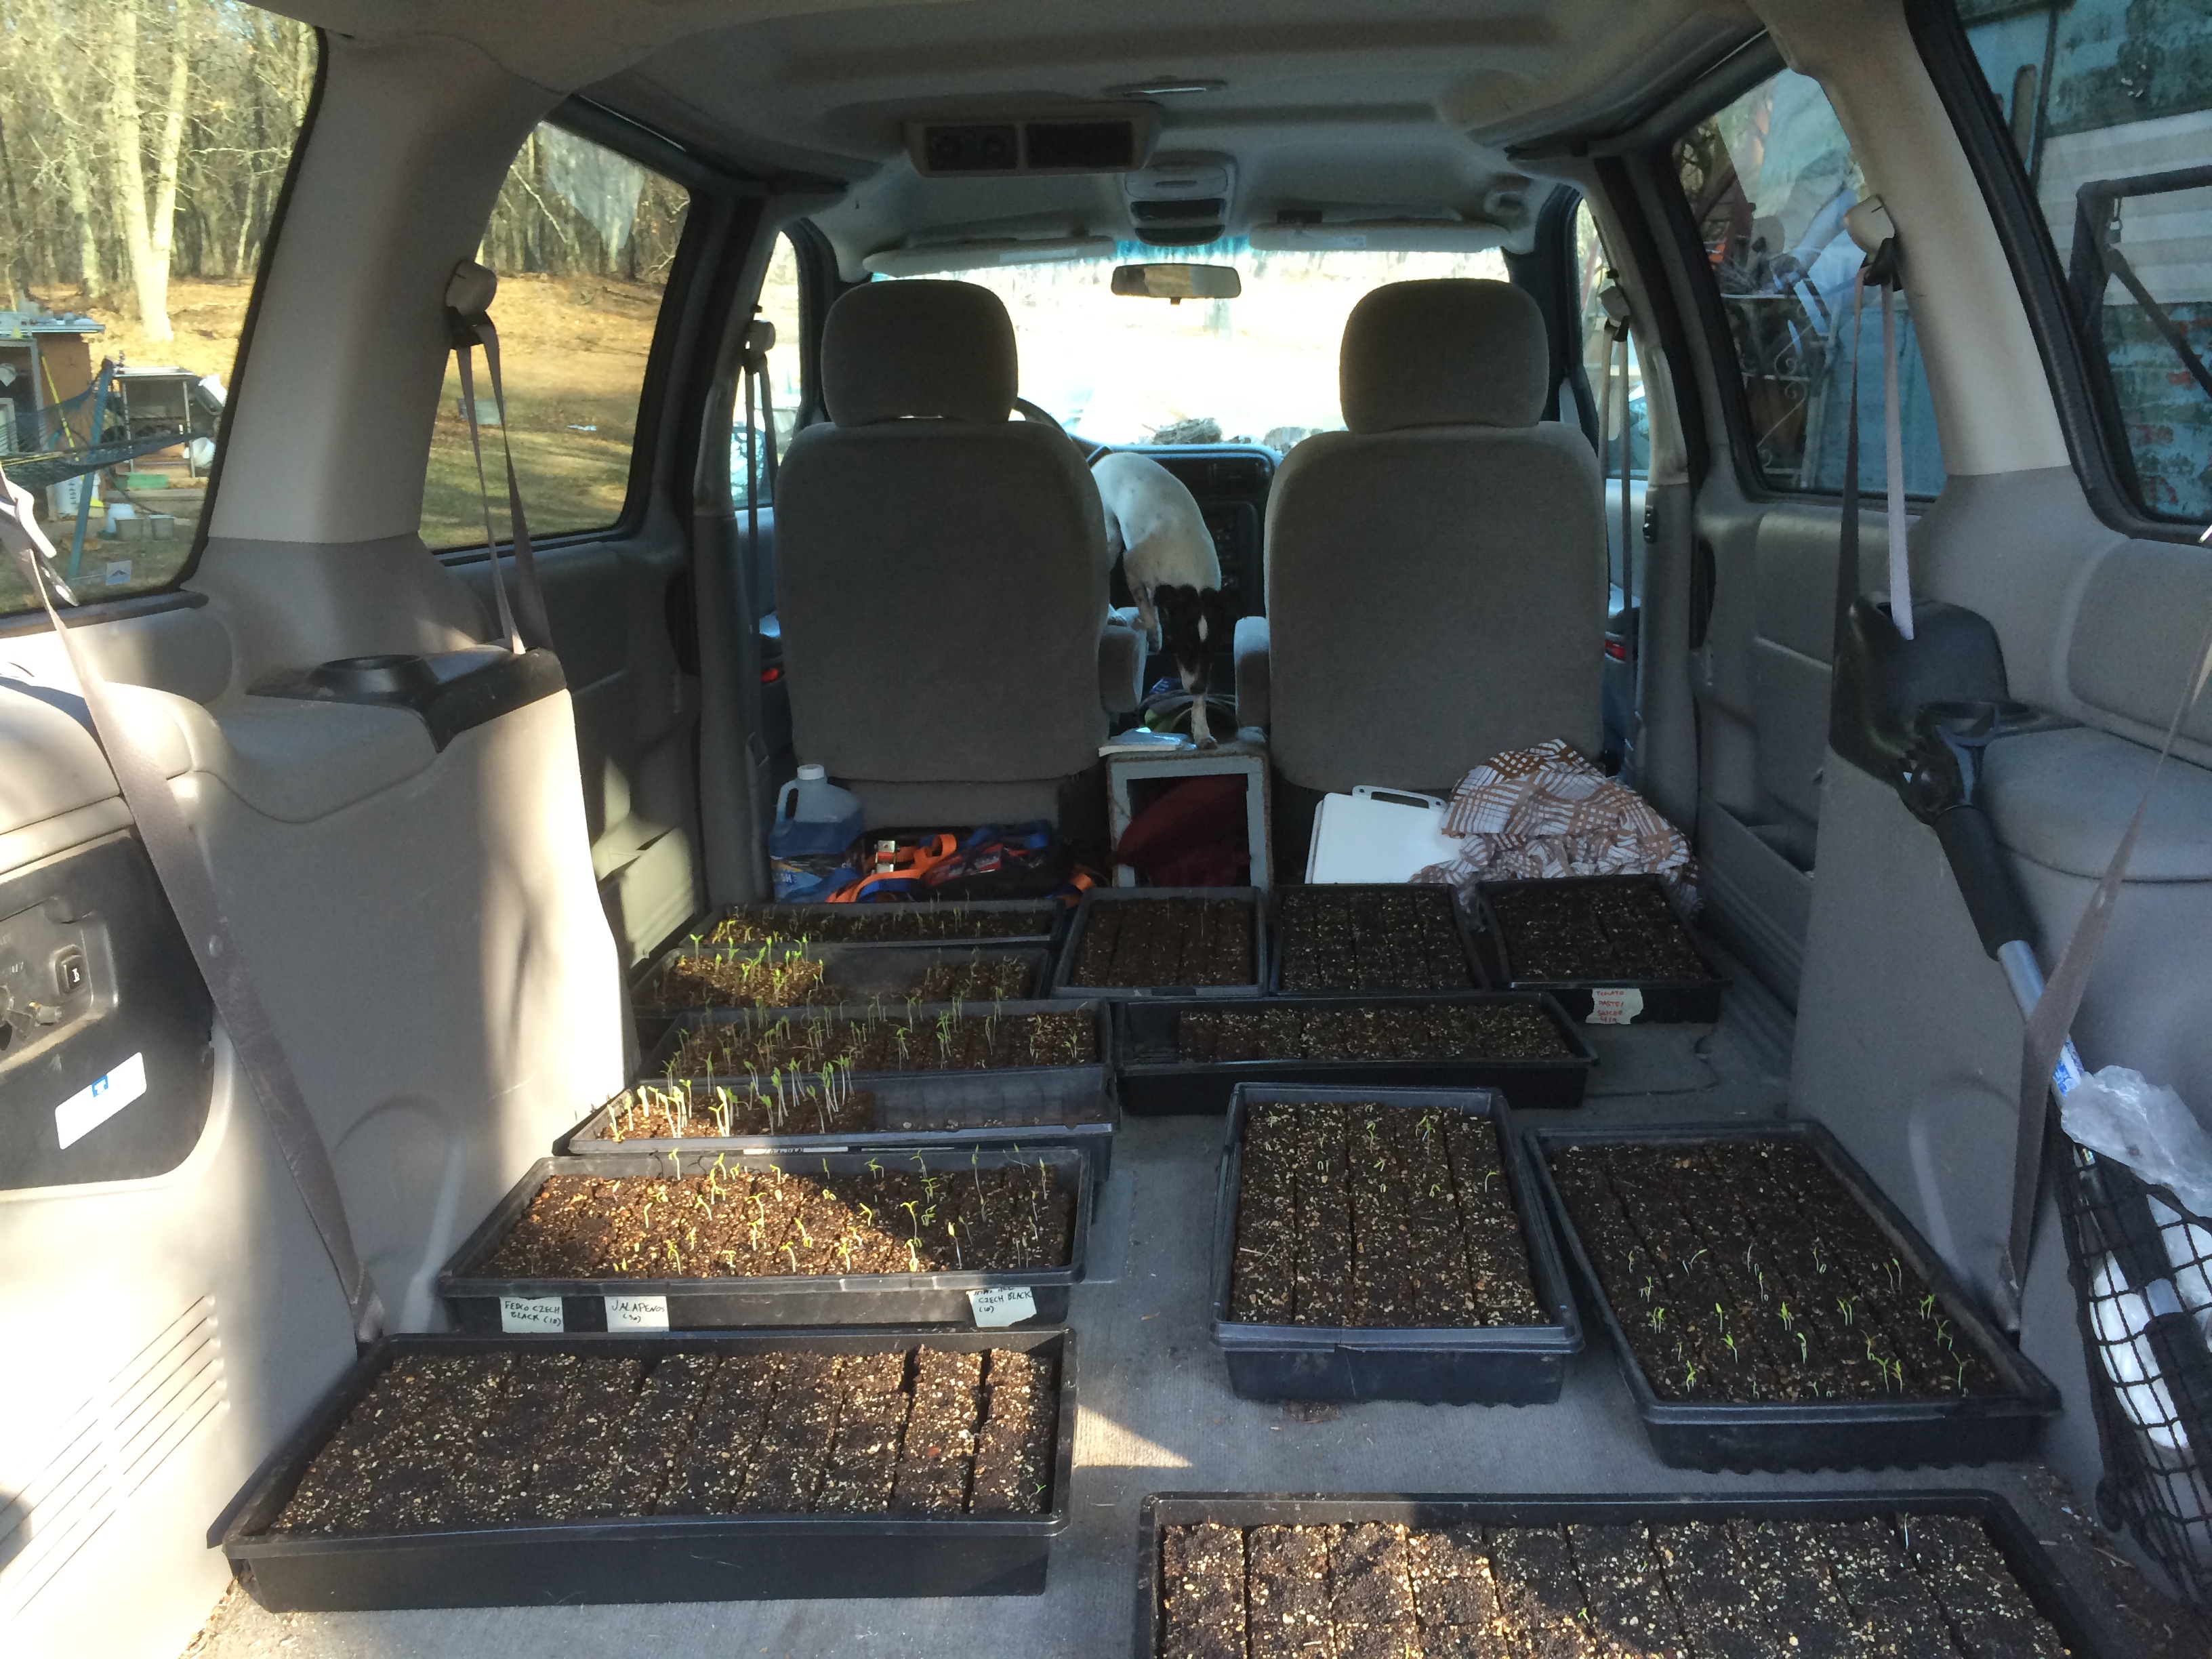
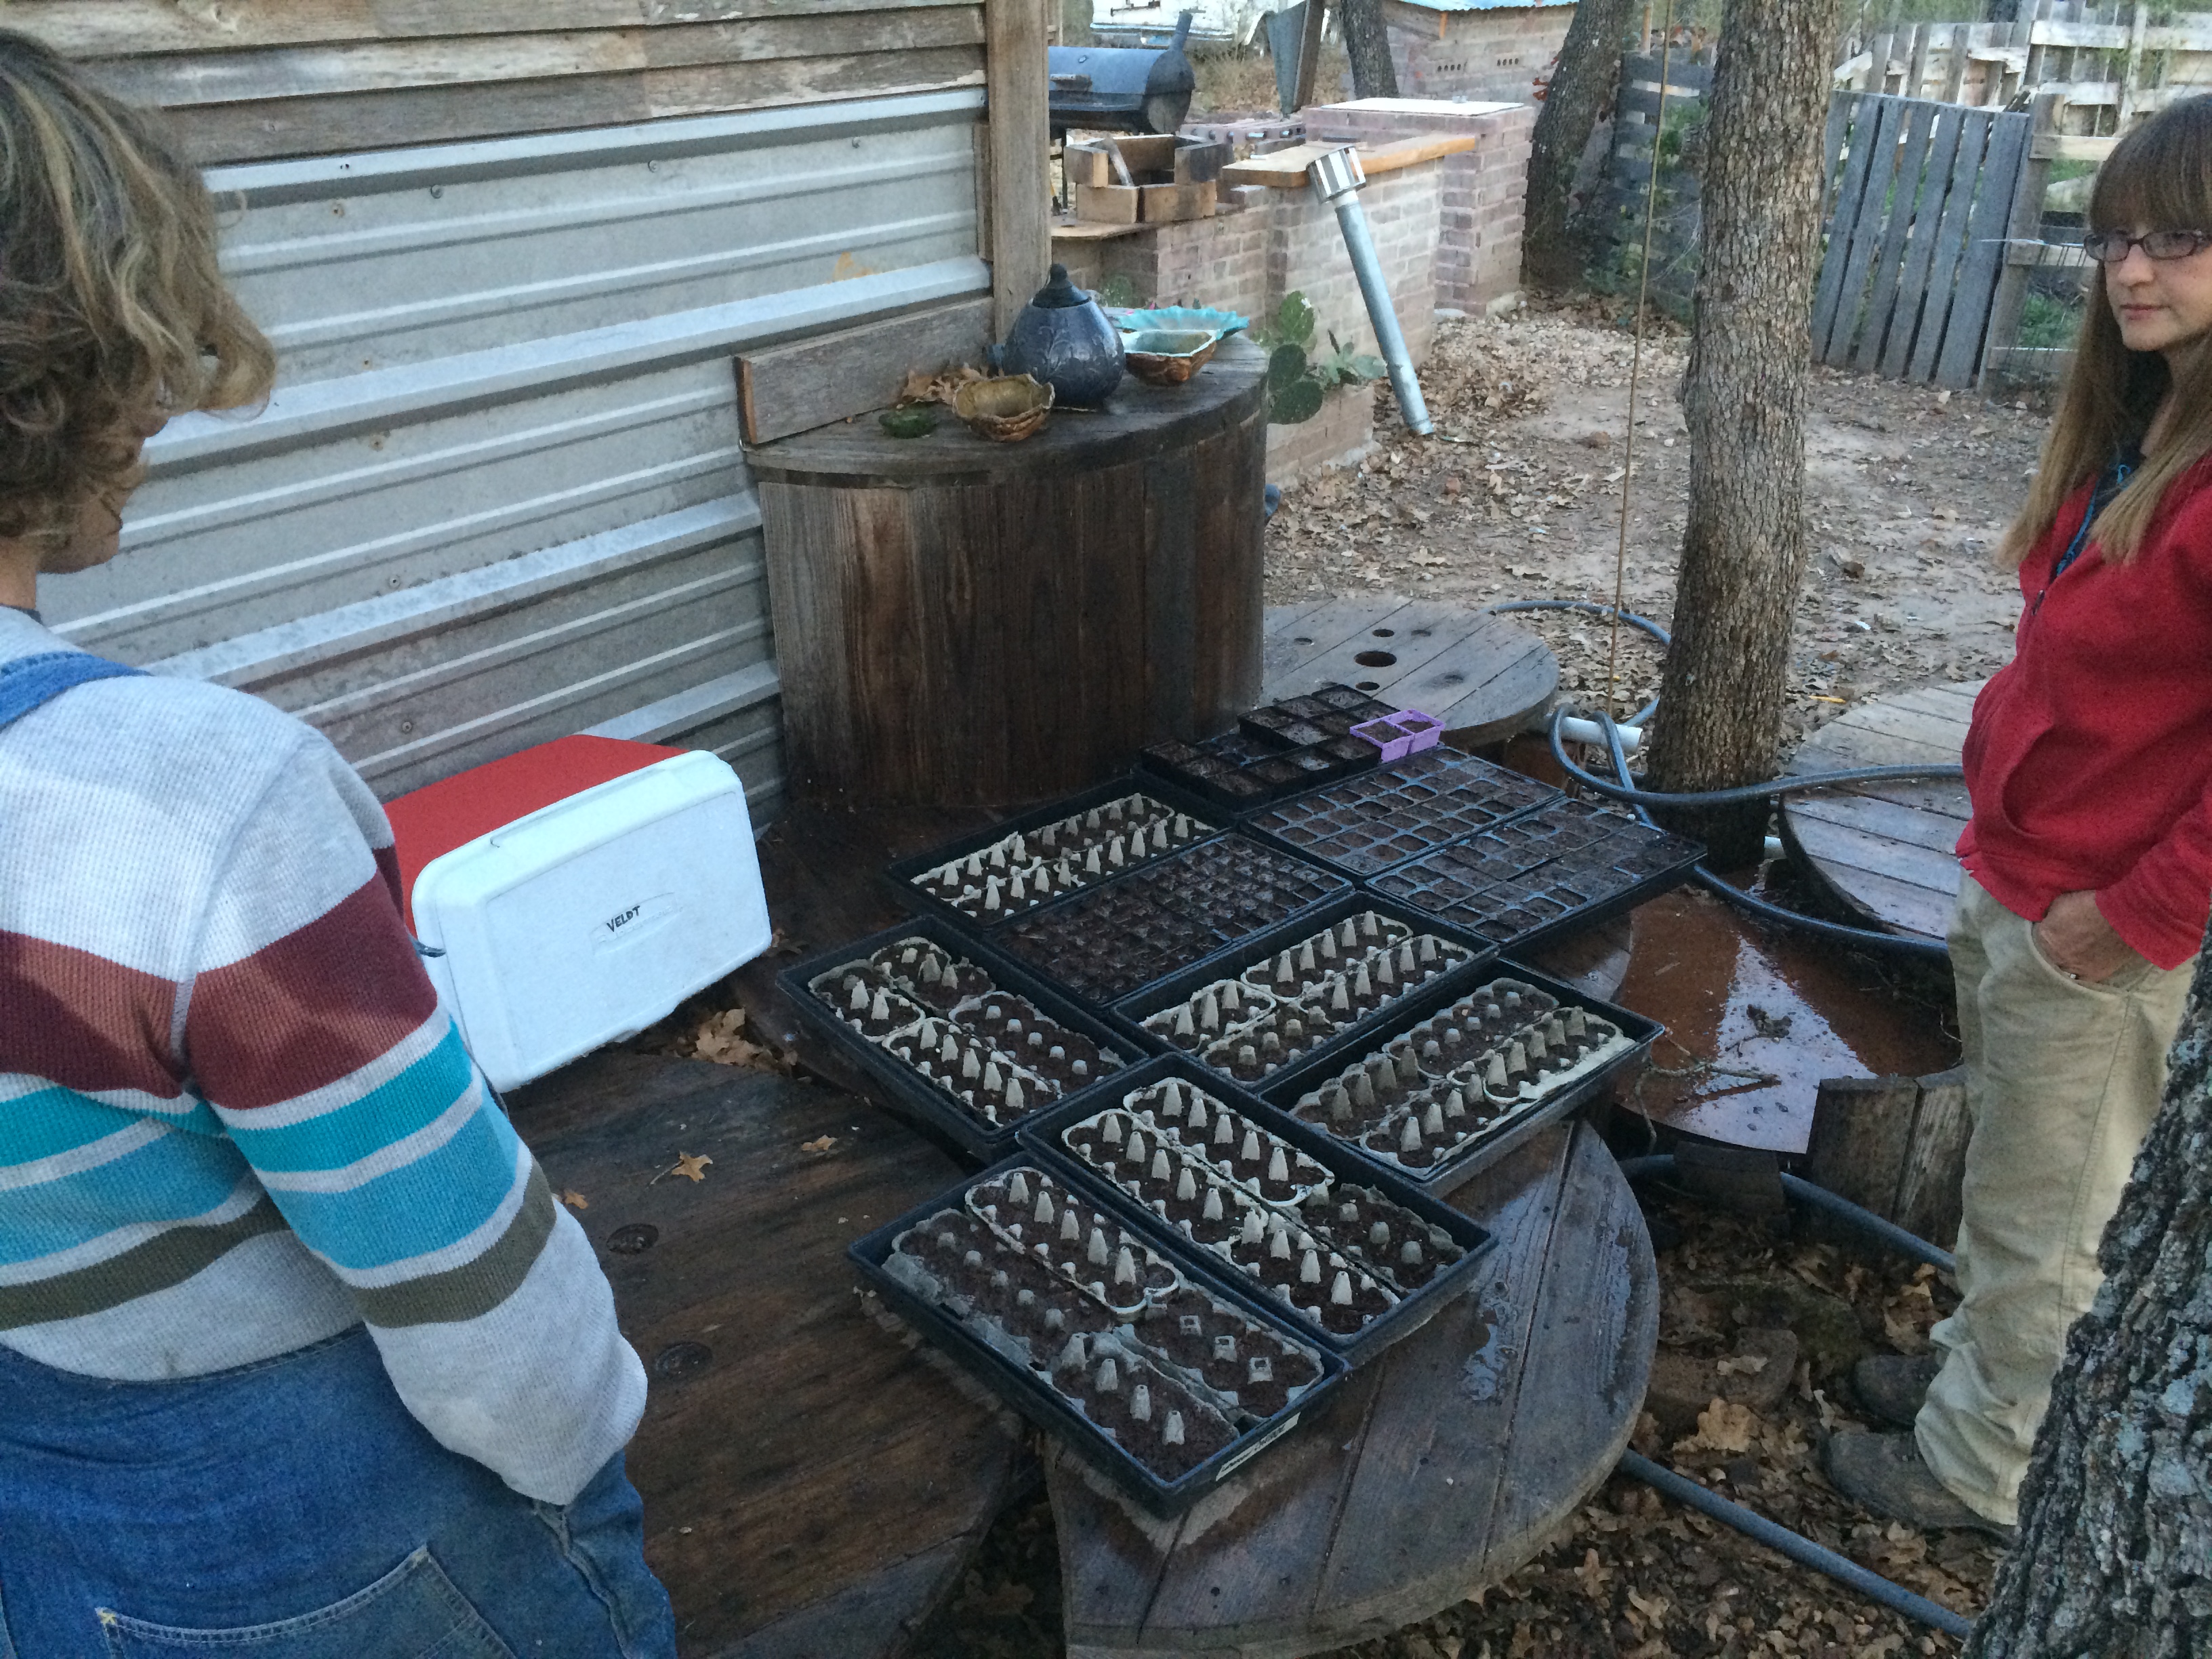
But primarily, it’s been all about the seeds. This is our first year starting seedlings off grid, without either the electricity to run banks of lights or the controlled heat of a modern home – so we’ve had to do some improvising.
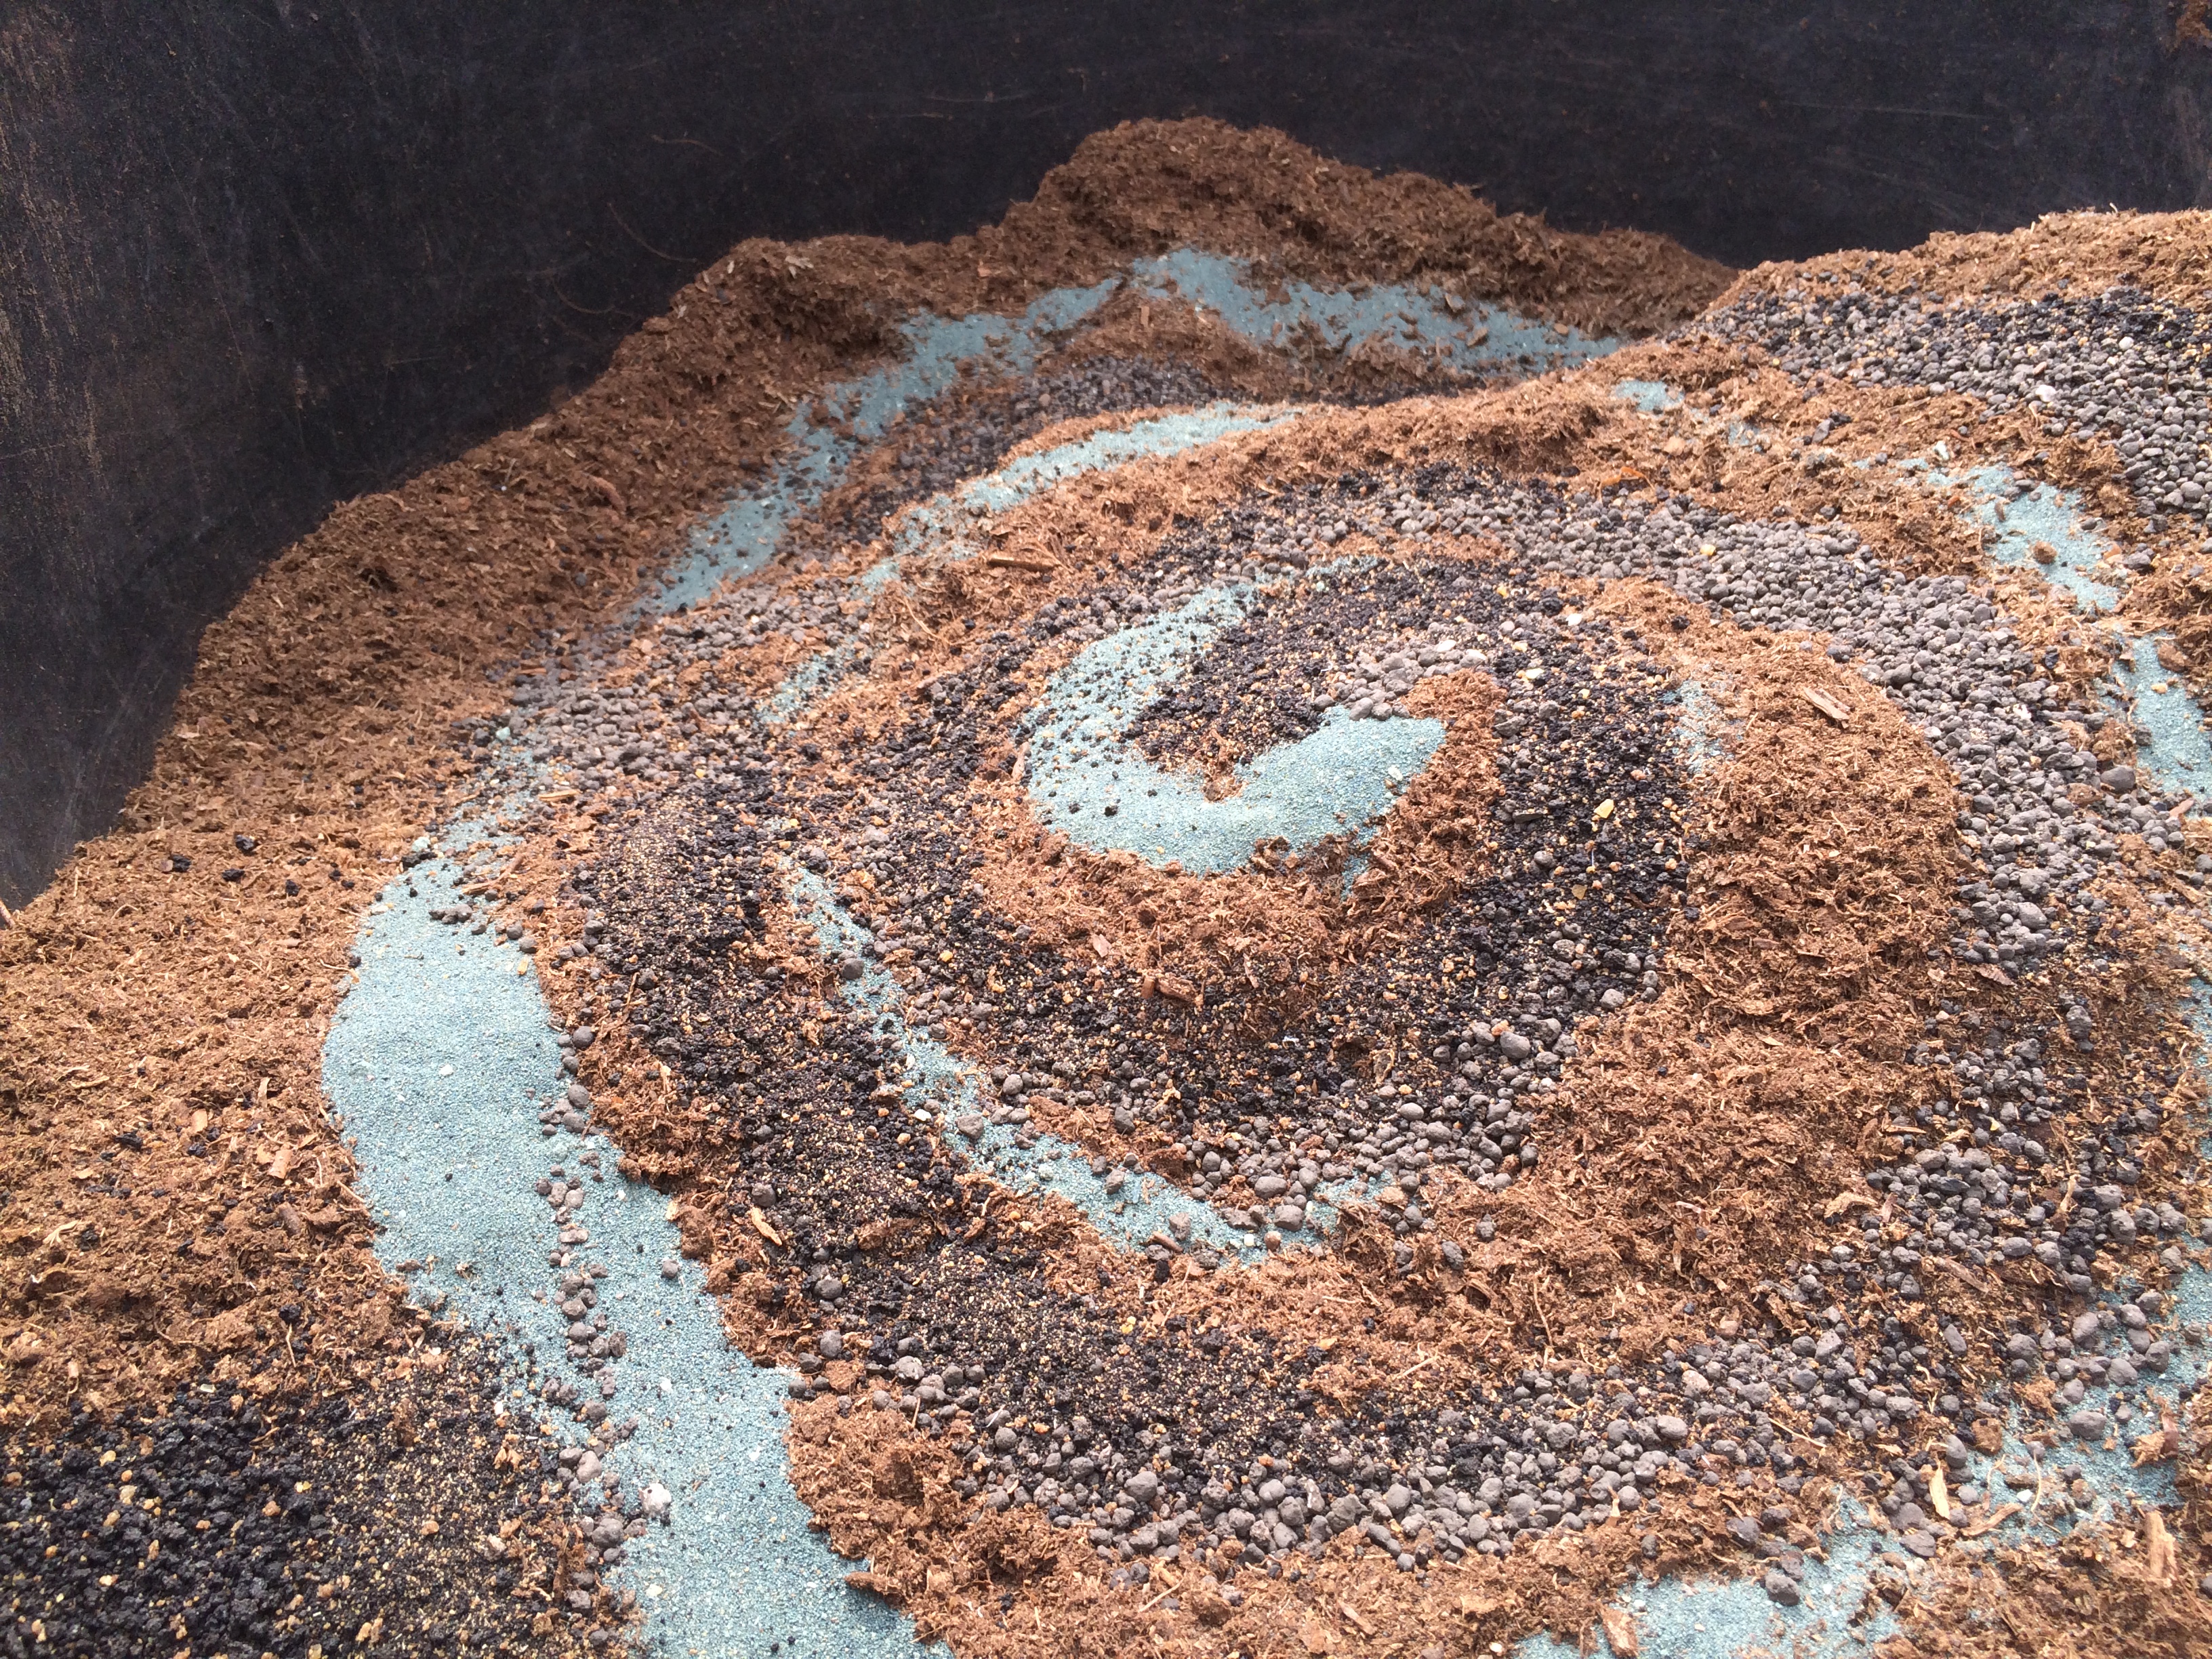
making soil blocks for seed starting – a mix made from compost we made last year, Perlite, peat moss, lime, blood meal, green sand, and rock phosphate
For next spring, we plan to have a wood fired, slow-release heating system installed in the greenhouse – a “rocket mass heater” that stores heat in a clay and stone bench running the length of the greenhouse, which we can germinate seeds on and leave plants overnight when temps drop down. But for this year, there was no time to build it …
So at first, we tried propane heat. We quickly discovered that it is far too expensive to try to maintain temperatures overnight in a structure that is not really made to hold heat – the thin plastic is great for letting sunlight in and holding the heat briefly, but when there is no sun and the temps are below freezing, a 200 square foot hoophouse will quickly drain your bank account – as well as leave you stressing about a propane cylinder going empty in the middle of the night and costing you everything you’ve worked so hard to start.
the dogs grazing on the crab grass coming up in the greenhouse, long before it appeared outdoors
Cleo is over the cold & ready to enjoy the Greenhouse Effect
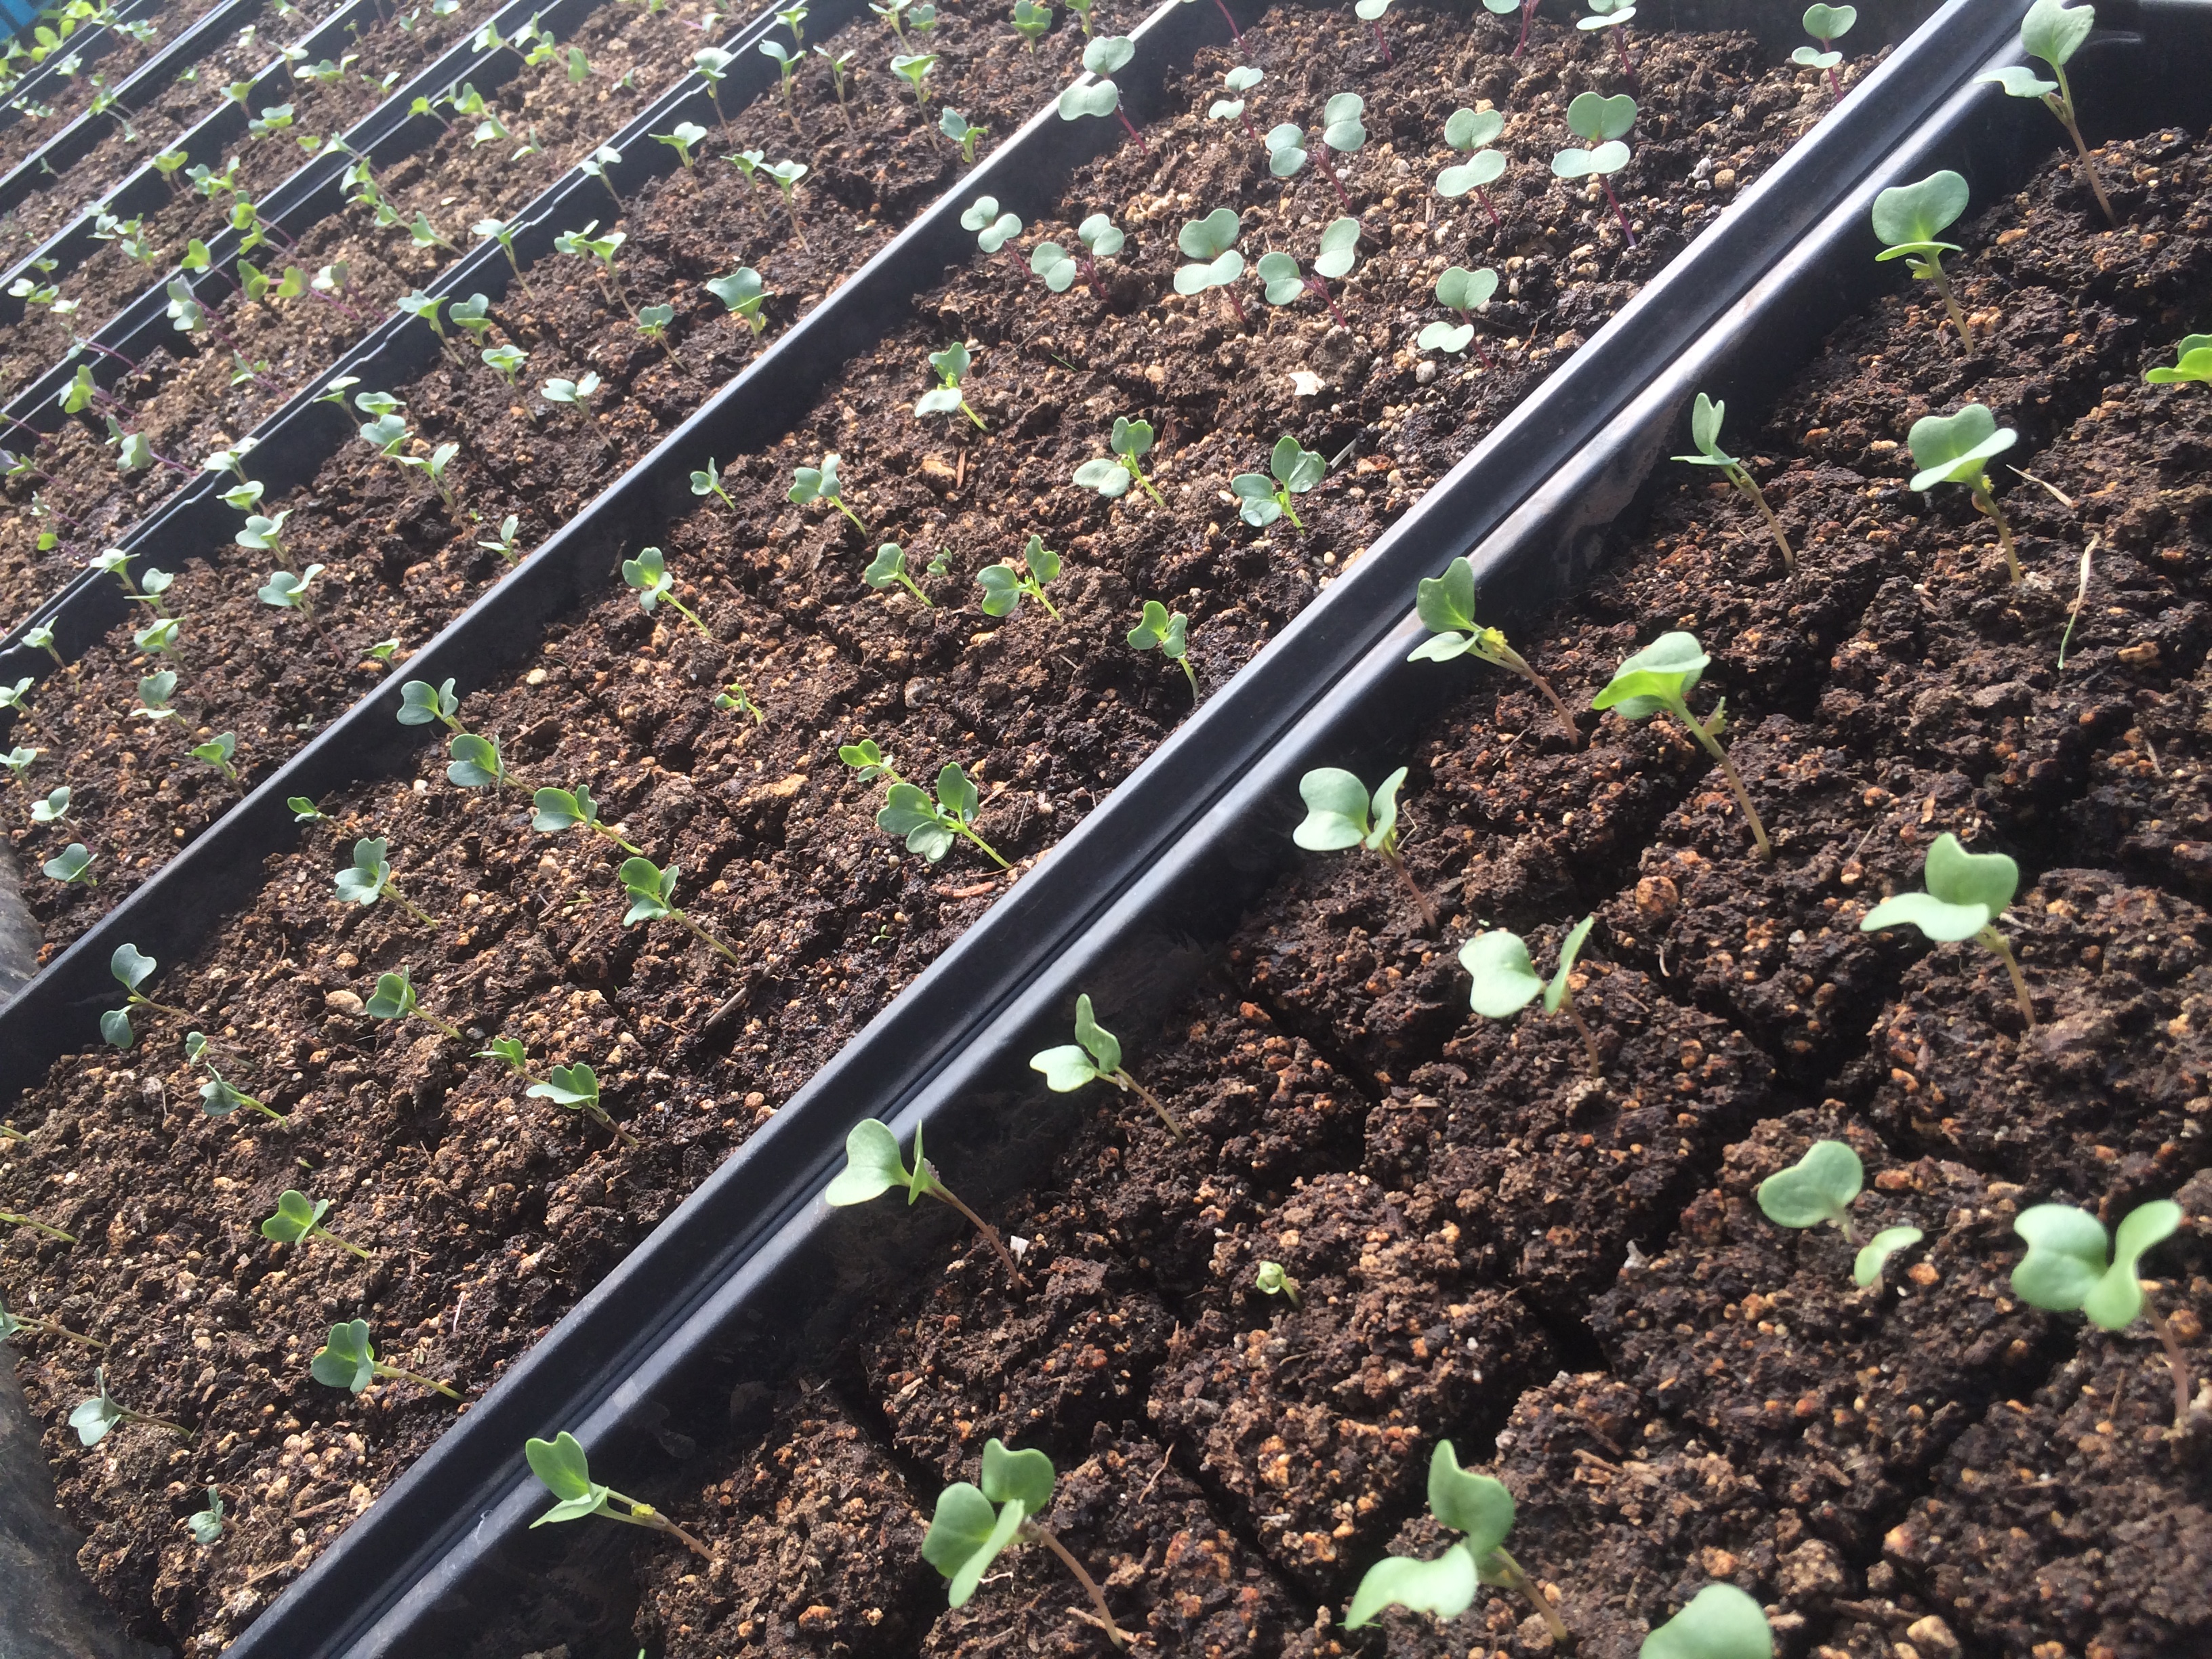
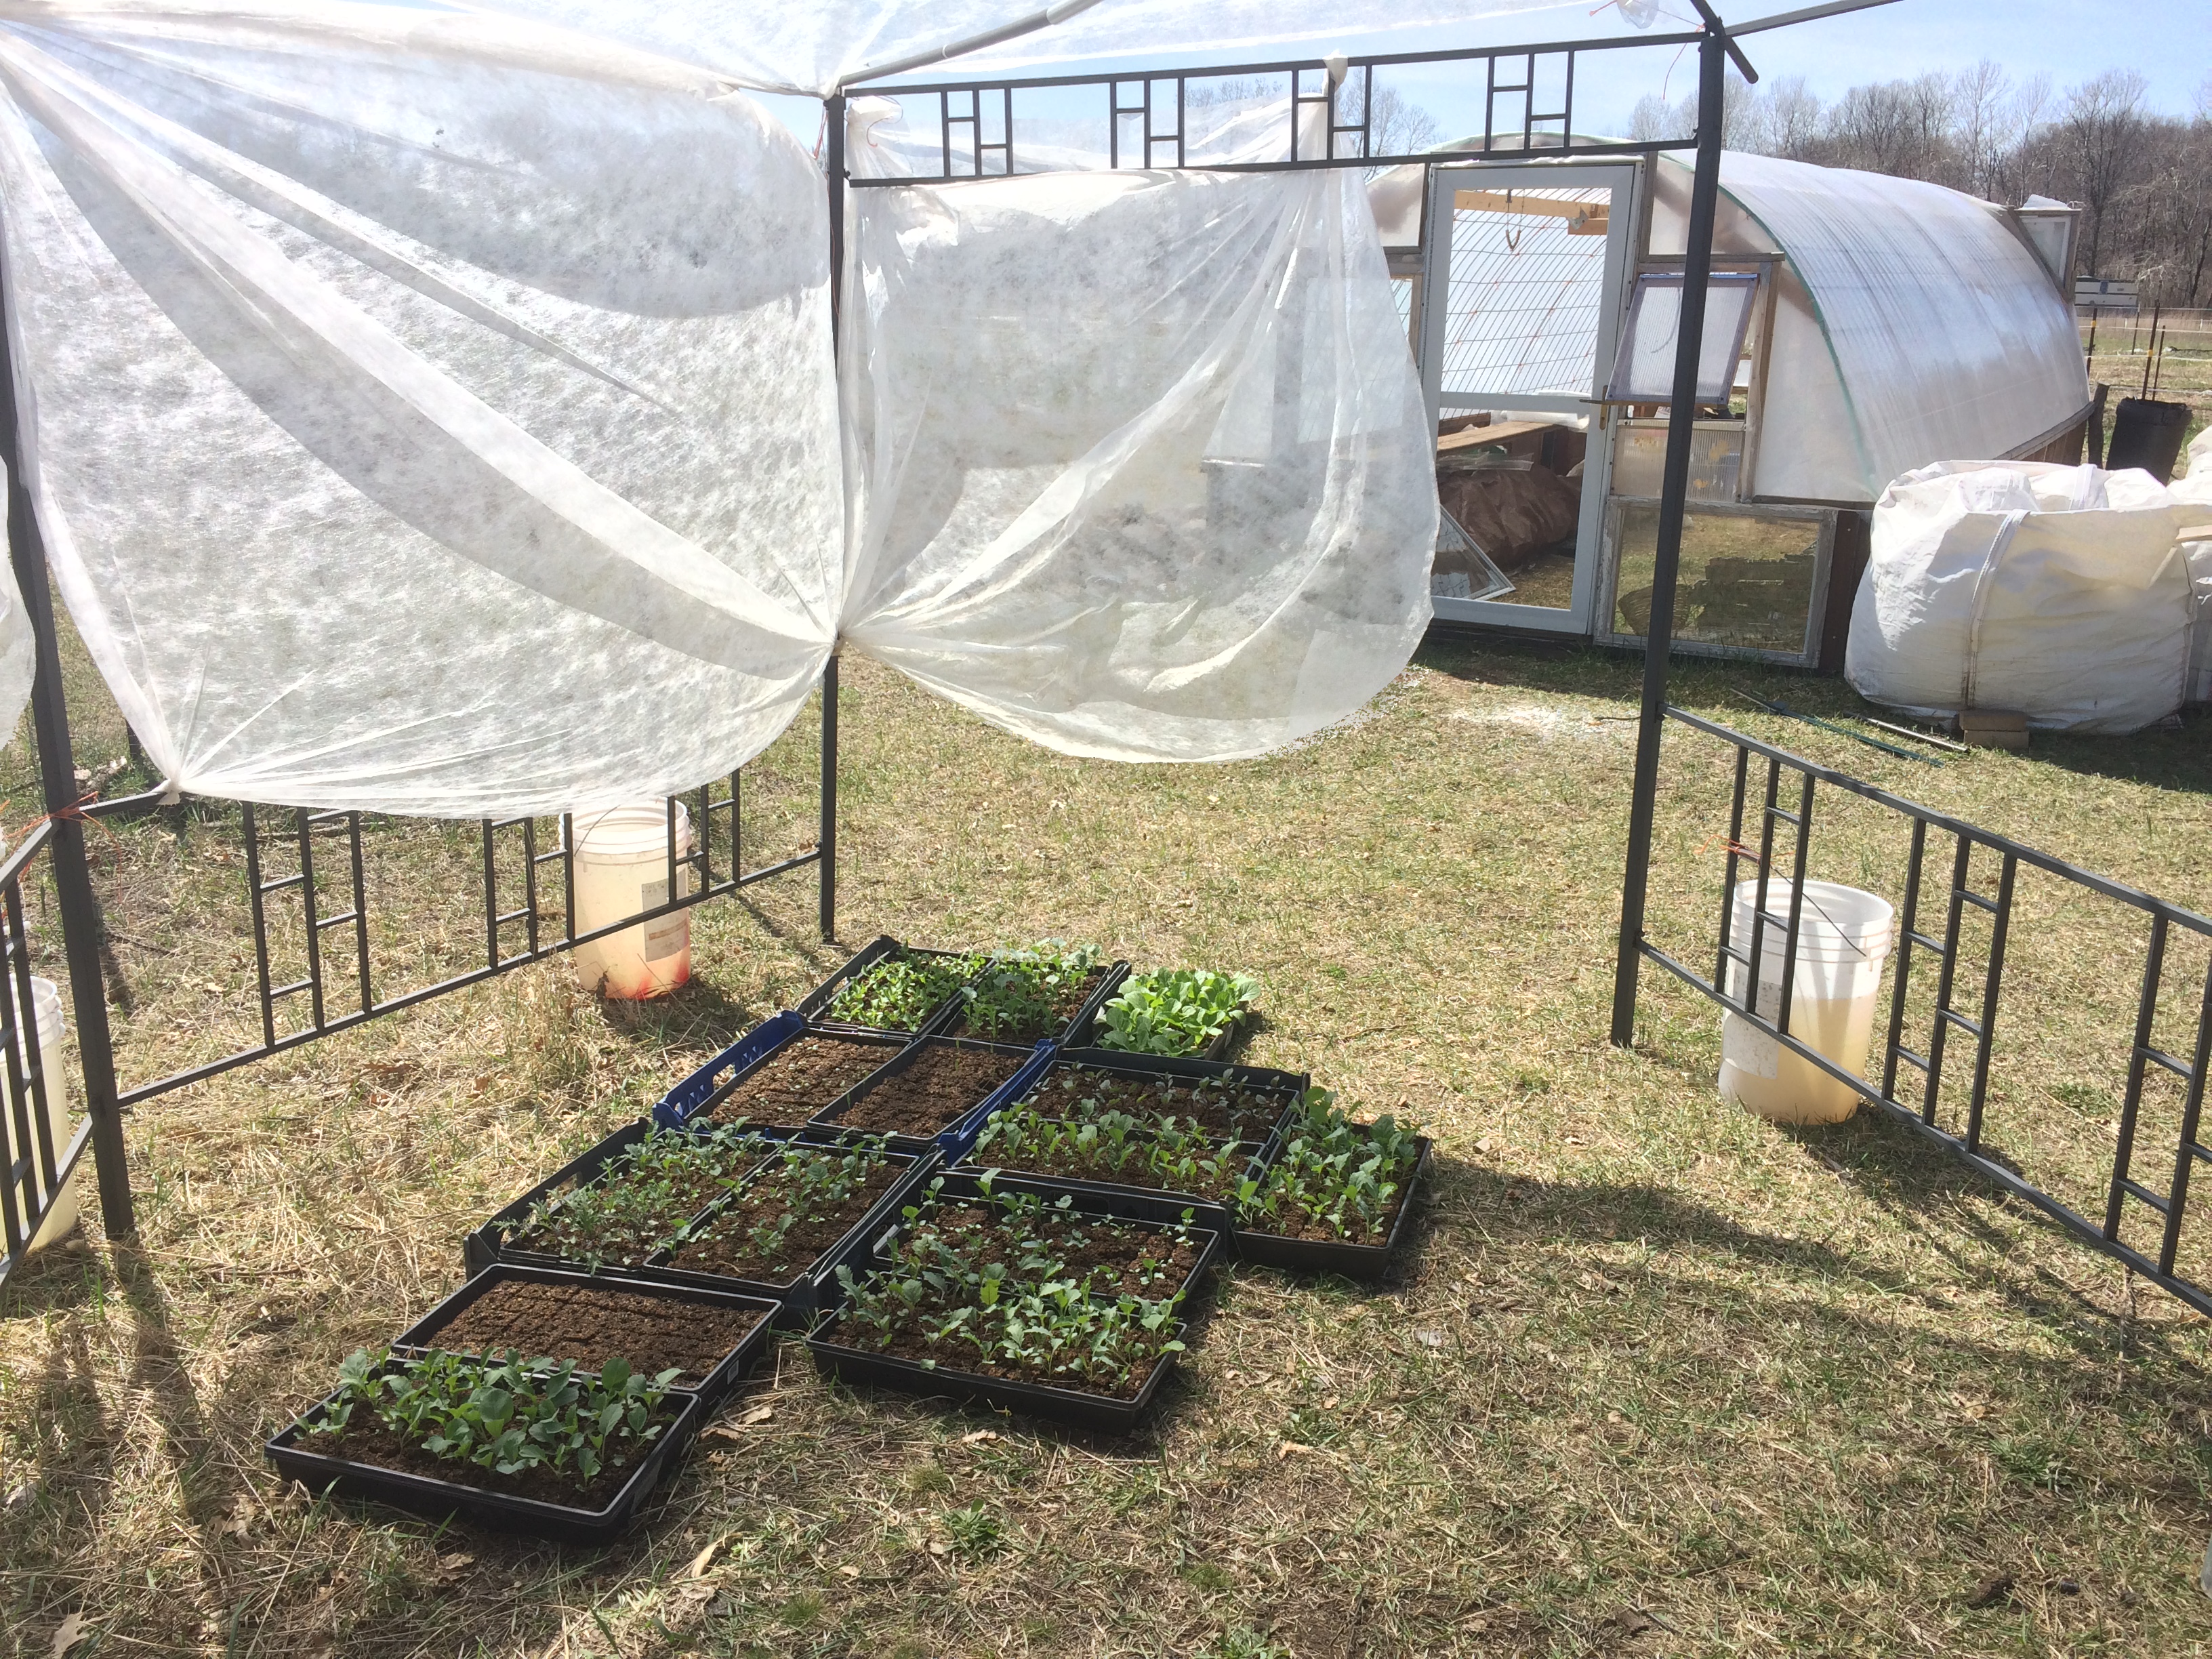
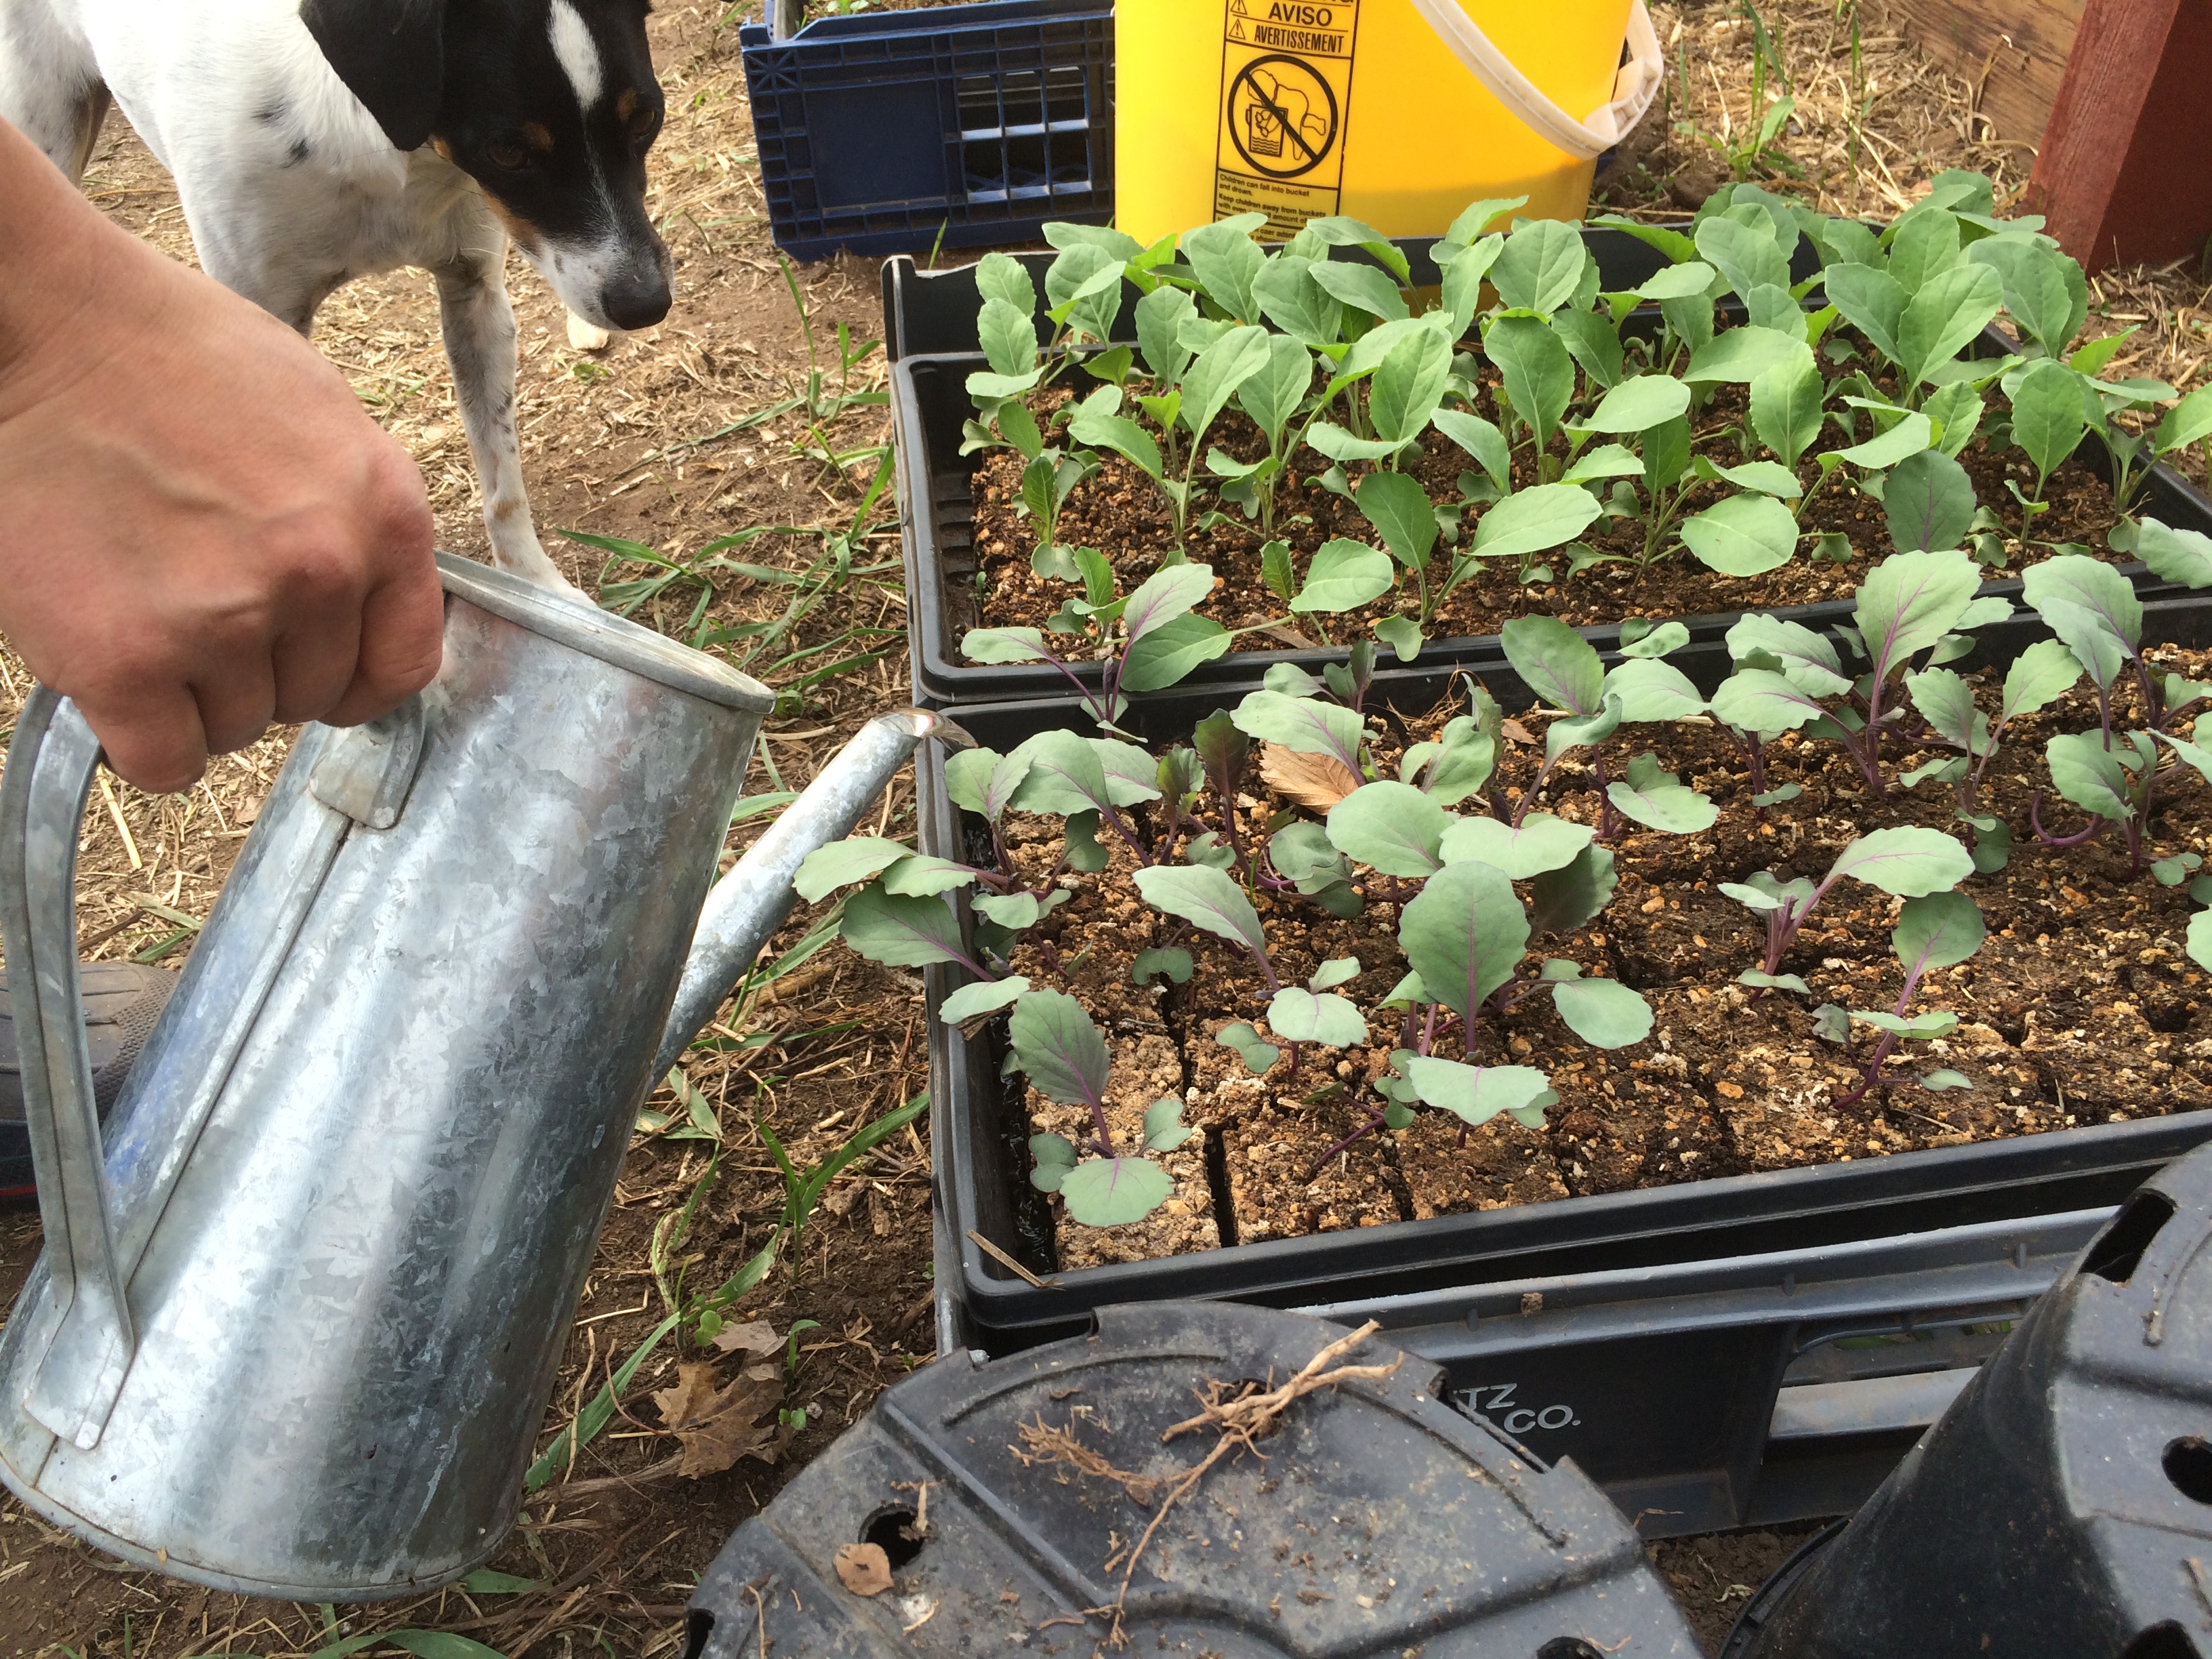
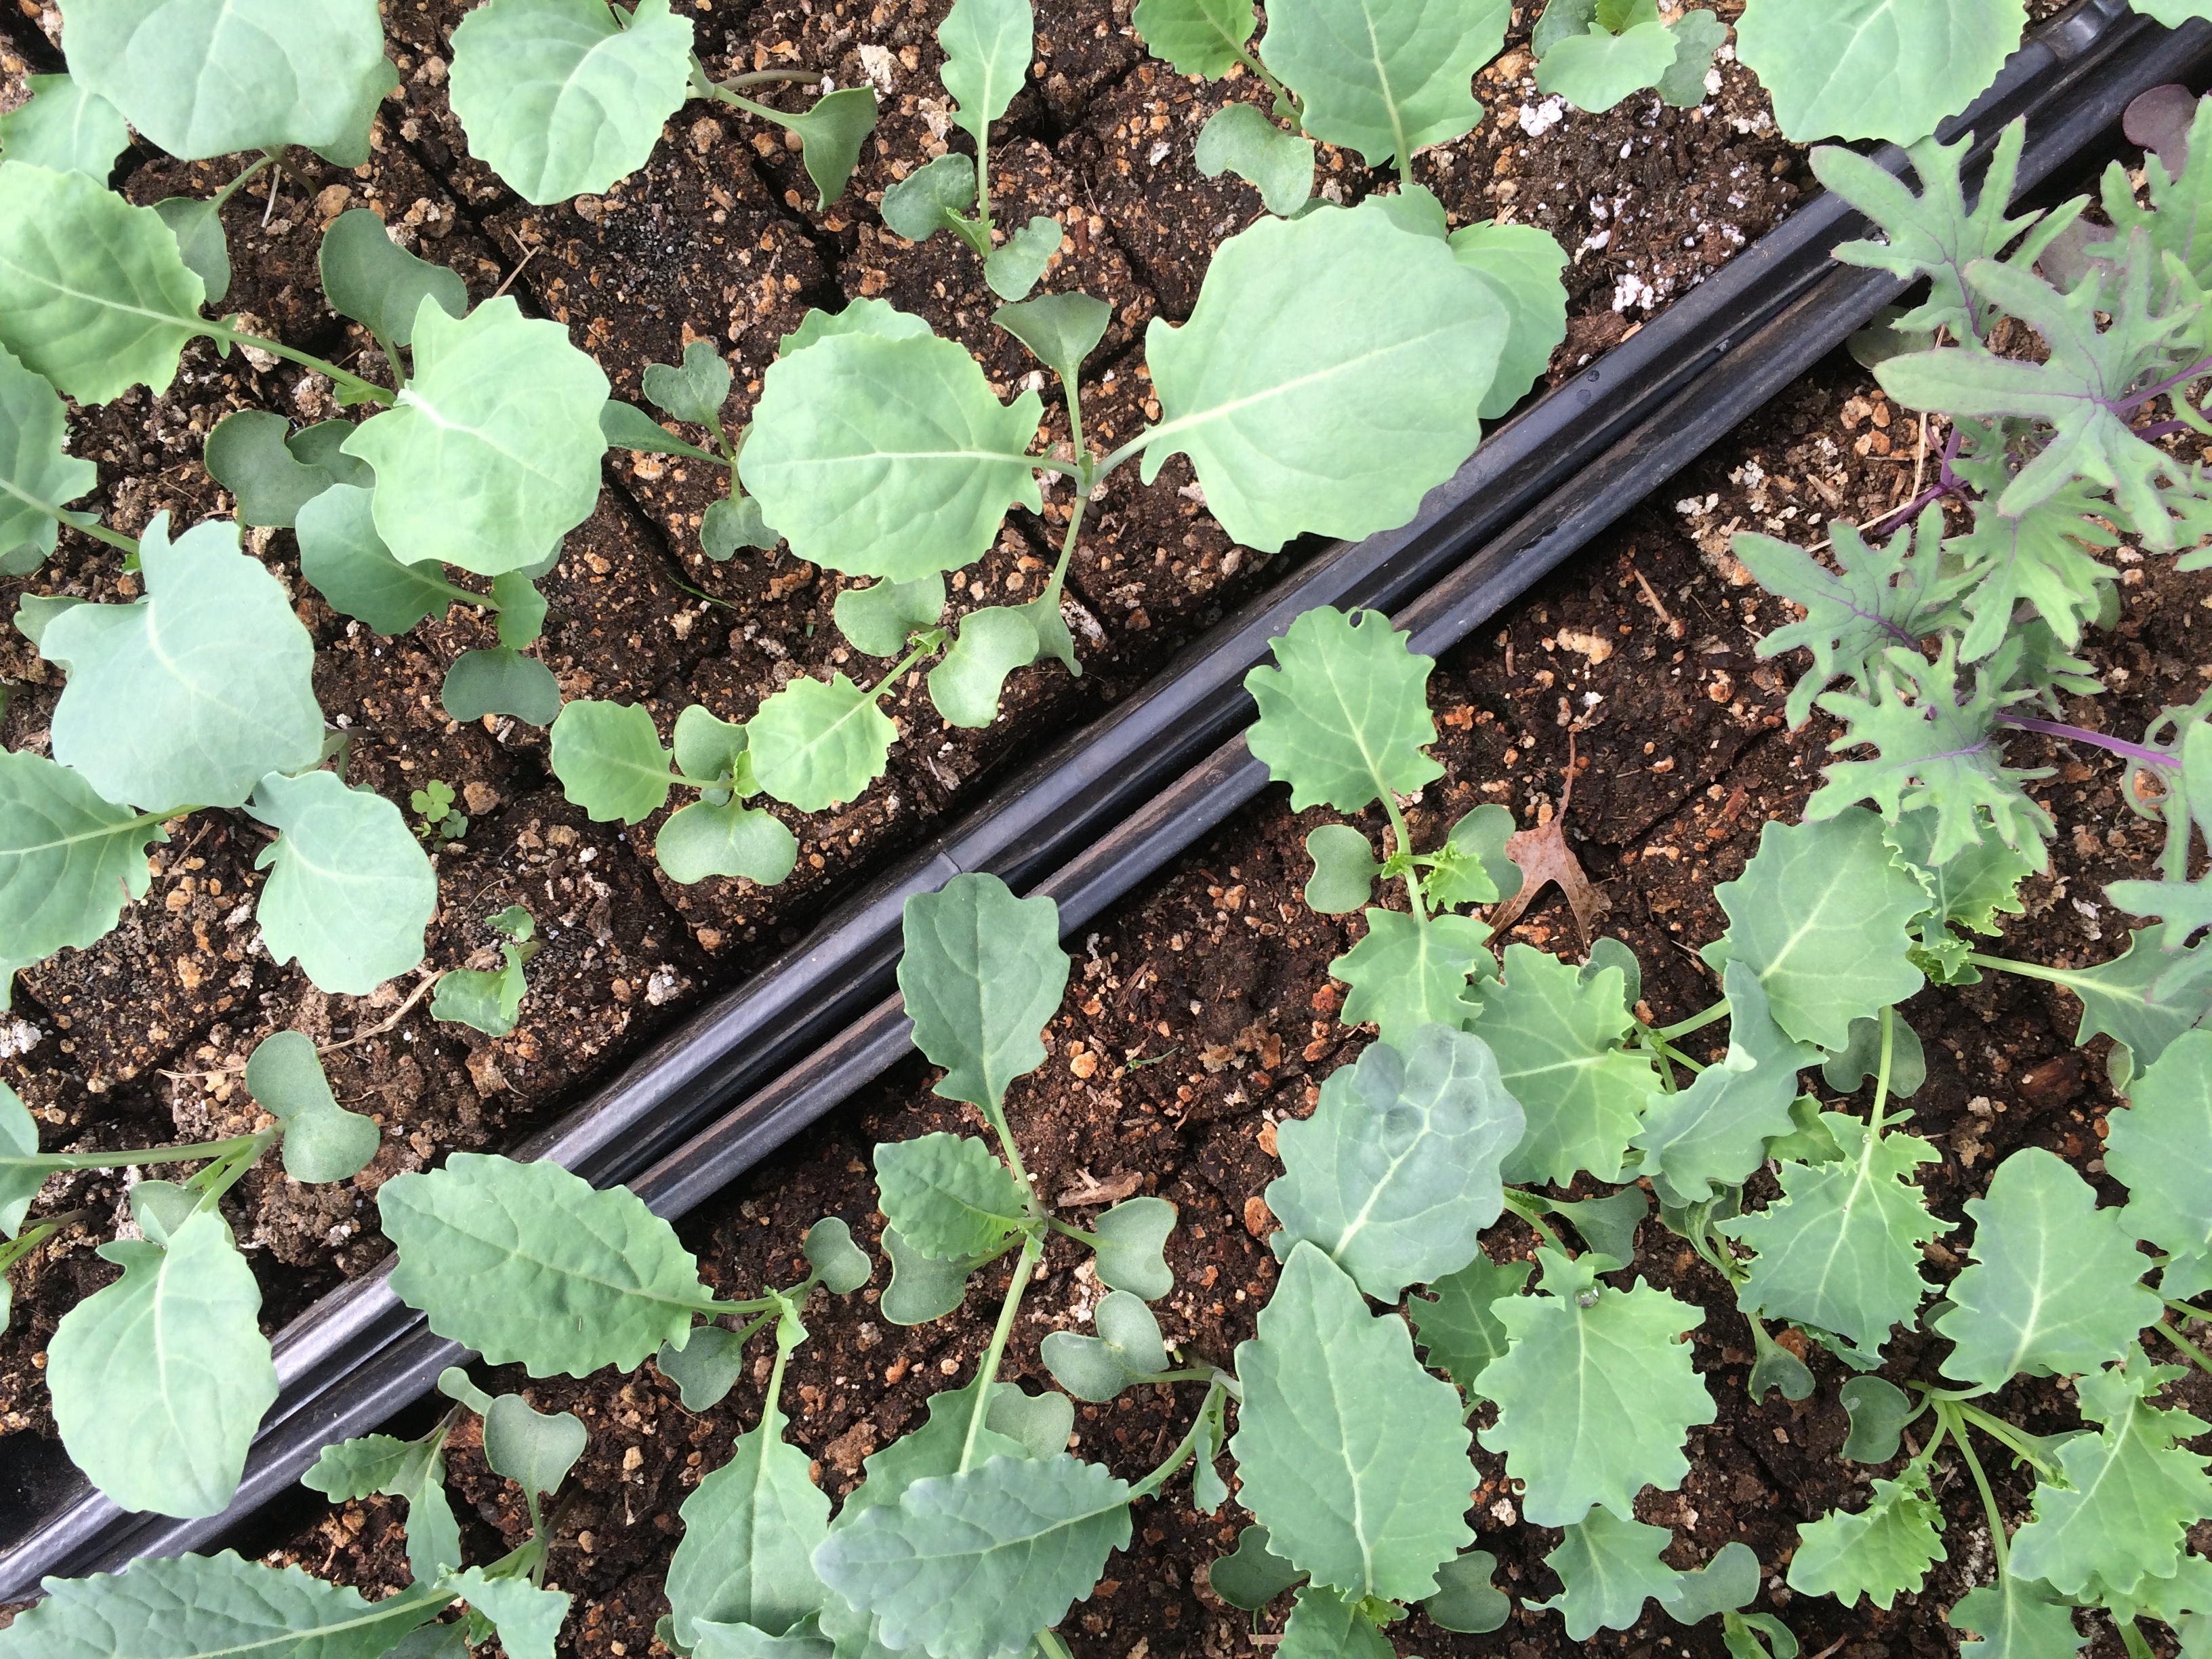
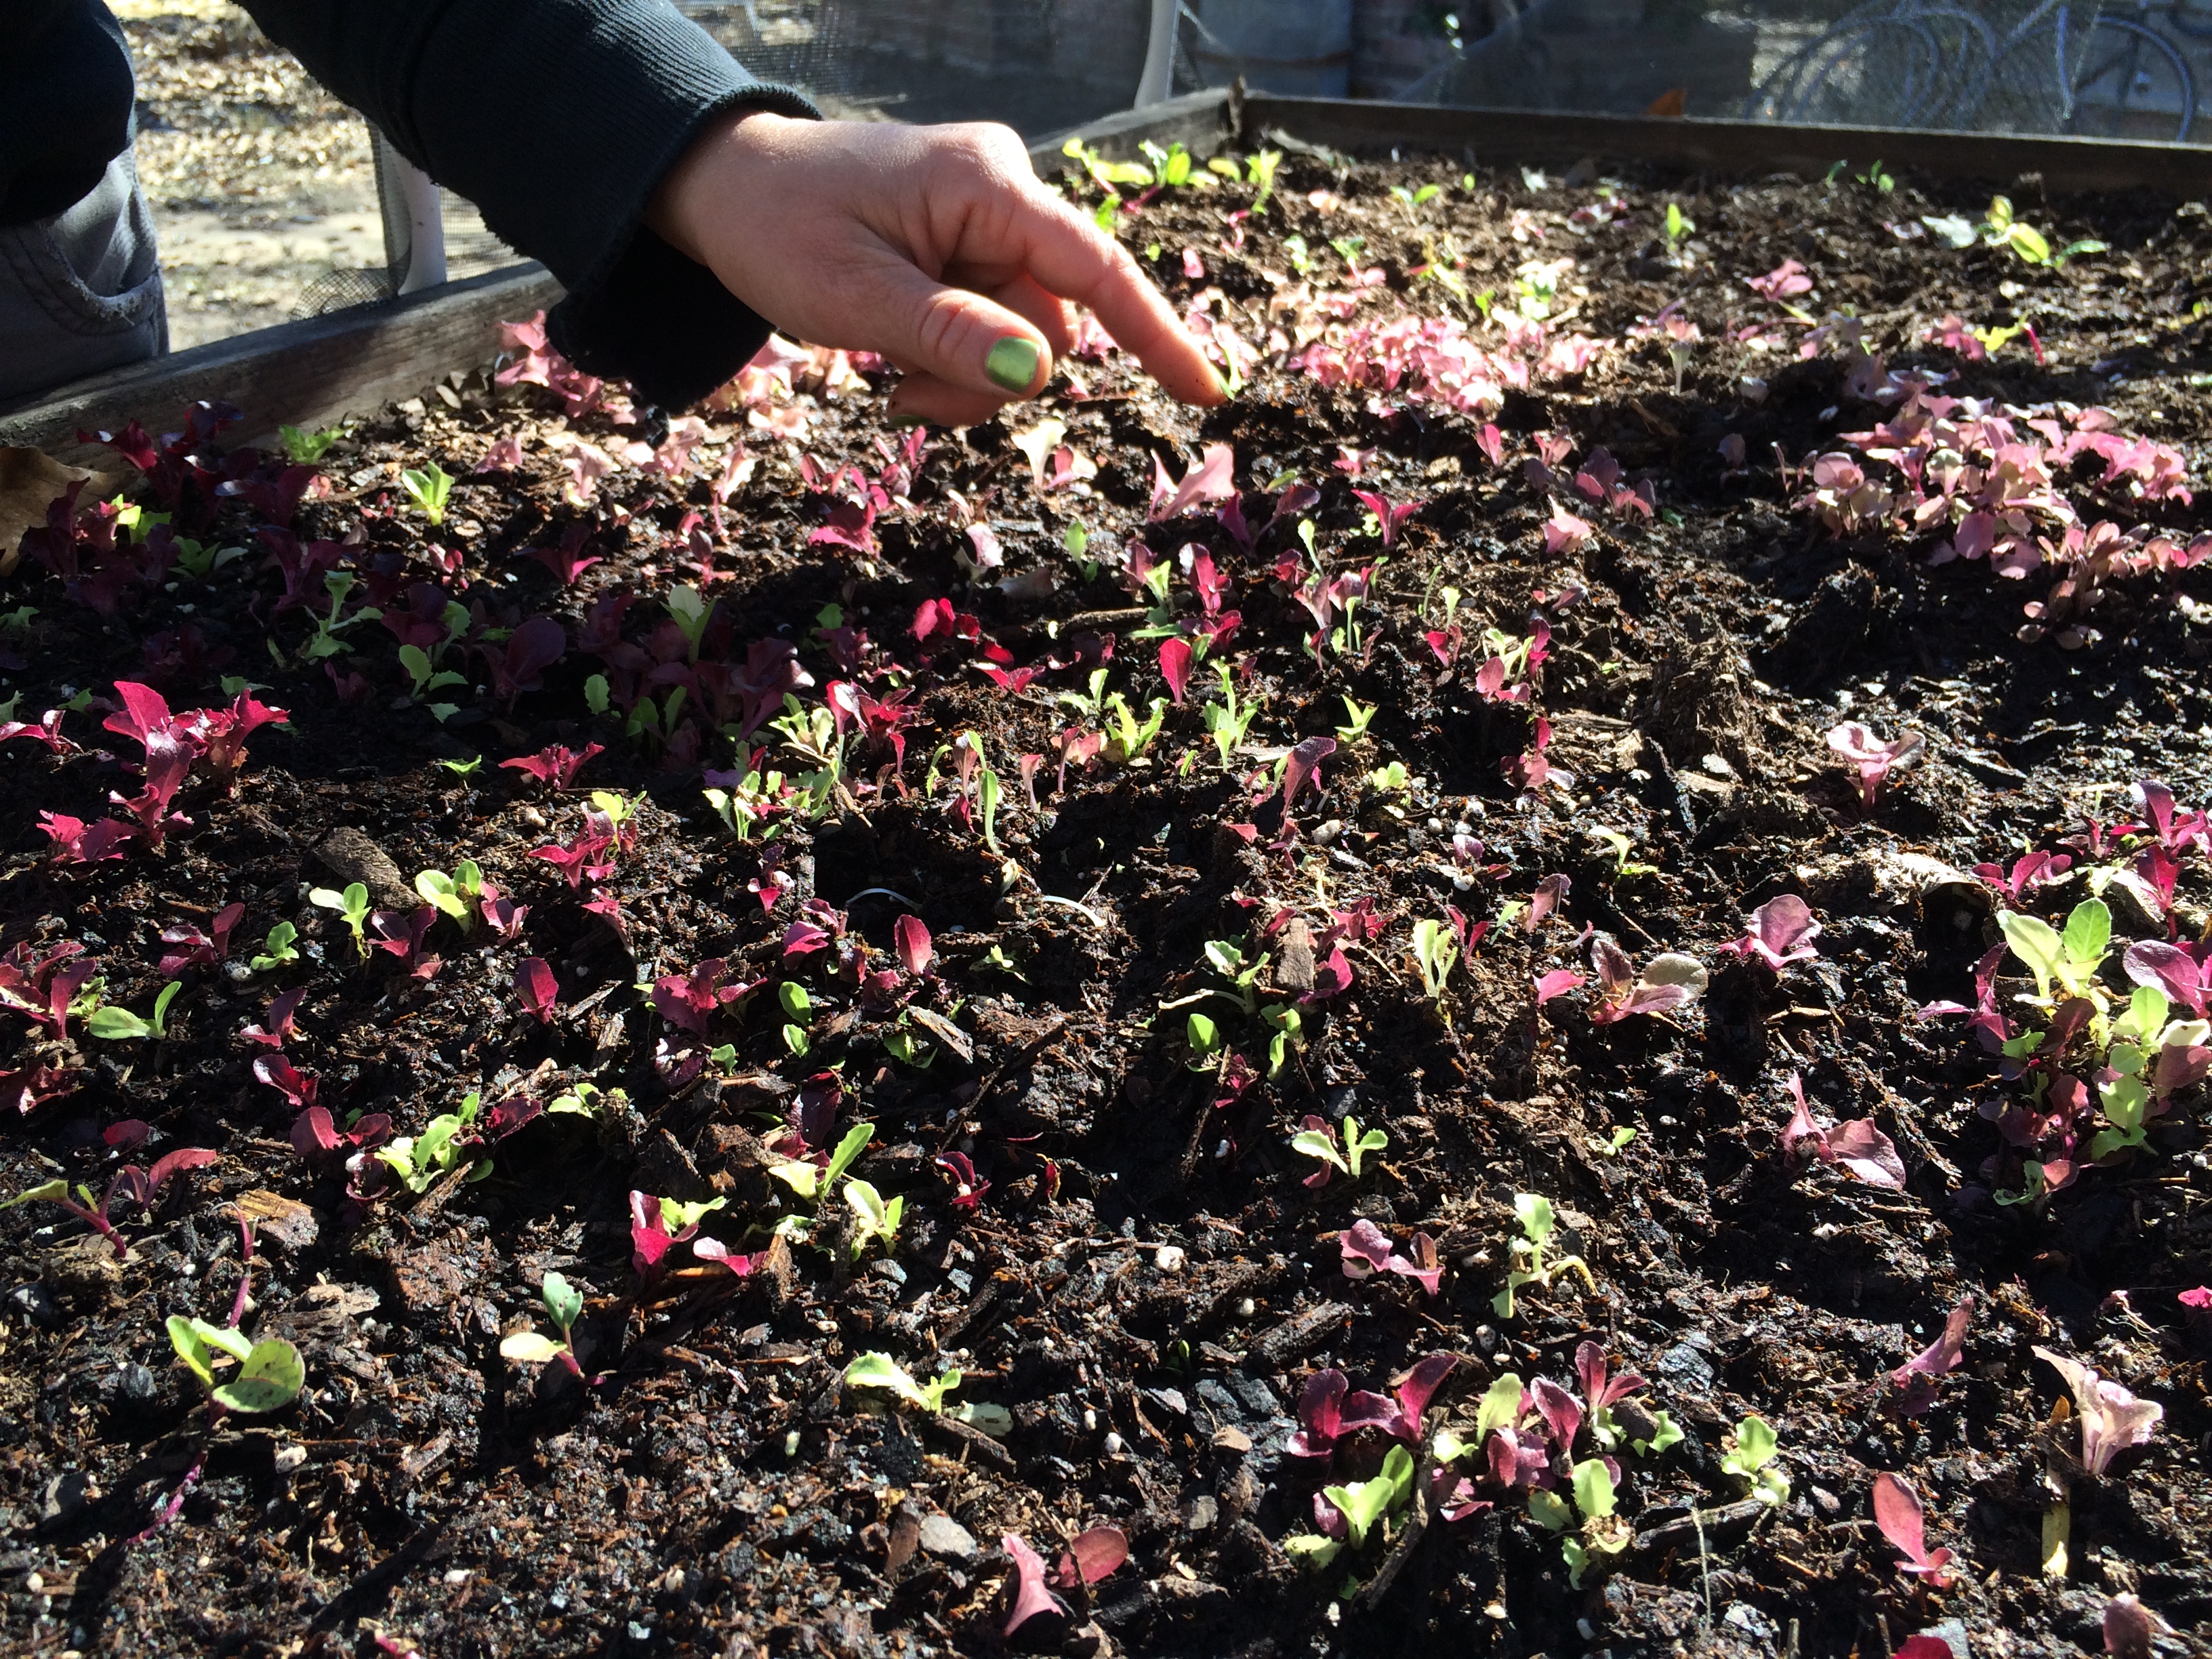
The first seedlings started were the cool weather crops – hardy specimens that can survive chilly air and soil, such as lettuce, broccoli, and kale. We also got some more perennials going – asparagus and rhubarb.
you’ve heard of Baby Kale – this is Newborn Kale …
Using a handy digital thermometer with a probe (which lets us take readings in two separate locations), we experimented with different techniques for maintaining adequate temperature, and discovered that if we put the flats on the ground of the greenhouse at night and layered them with row cover fabric, the warmth of the earth keeps the trays several degrees warmer than the rest of the greenhouse.
using cold climate greenhouse tactics similar to those promoted by Eliot Coleman and Helen and Scott Nearing
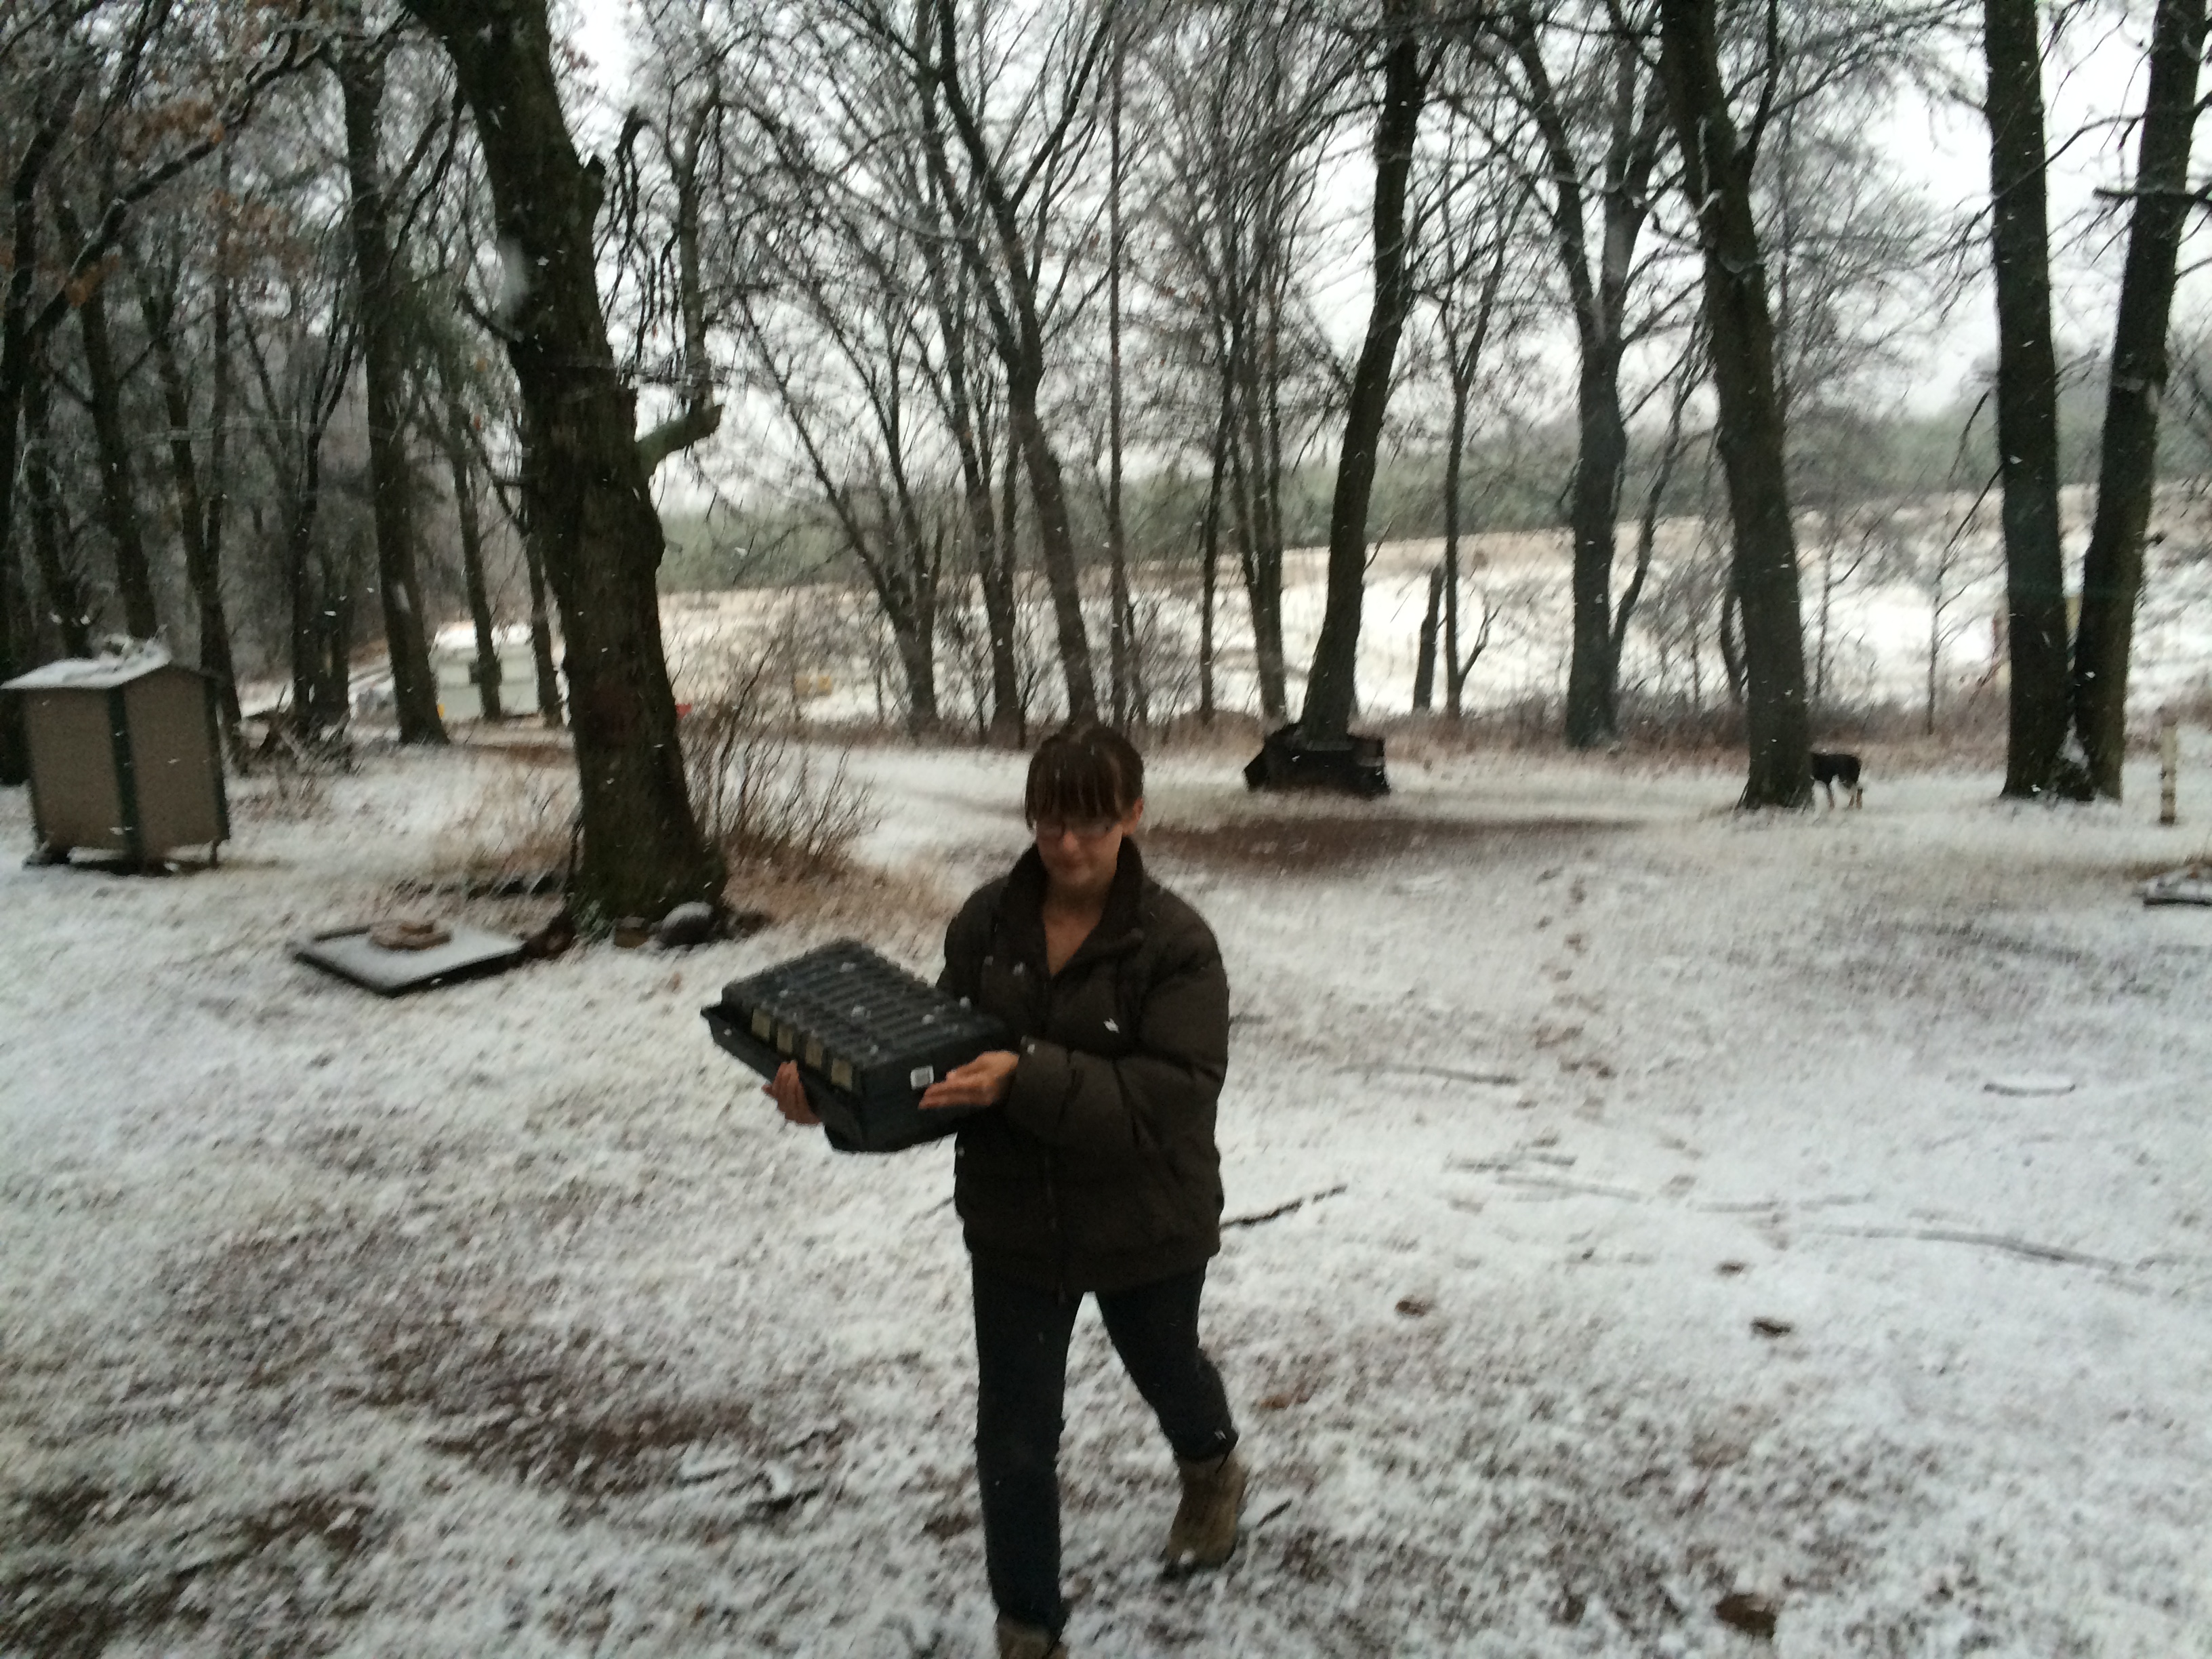
When it is very cold, we bring them up into the trailer with us, to stay toasty with the heat from our wood stove.
This set the stage for the next wave of seedlings – the much more sensitive hot weather plants such as tomatoes, peppers, and eggplants.
These seeds will not germinate well unless soil temperatures are at least 80 degrees – and once they finally do emerge, the plants don’t like it much cooler than that, either – no lower than 50. So, we started a new regimen to accommodate them.
On clear days, when the sun warms the greenhouse up in the 80 to 100 degree range, we set up the warm-weather plants on the greenhouse shelves, to benefit from both the heat and the sunlight.
During these times, the cool weather crops are moved outside, to temperatures more to their liking, as well as into the wind and more direct sunlight that they need to get, in preparation for being transplanted into the open field.
We used the storm-ravaged mosquito gazebo frame and some row cover to build them a shelter, which keeps the sunlight moderated during the strongest times of day.
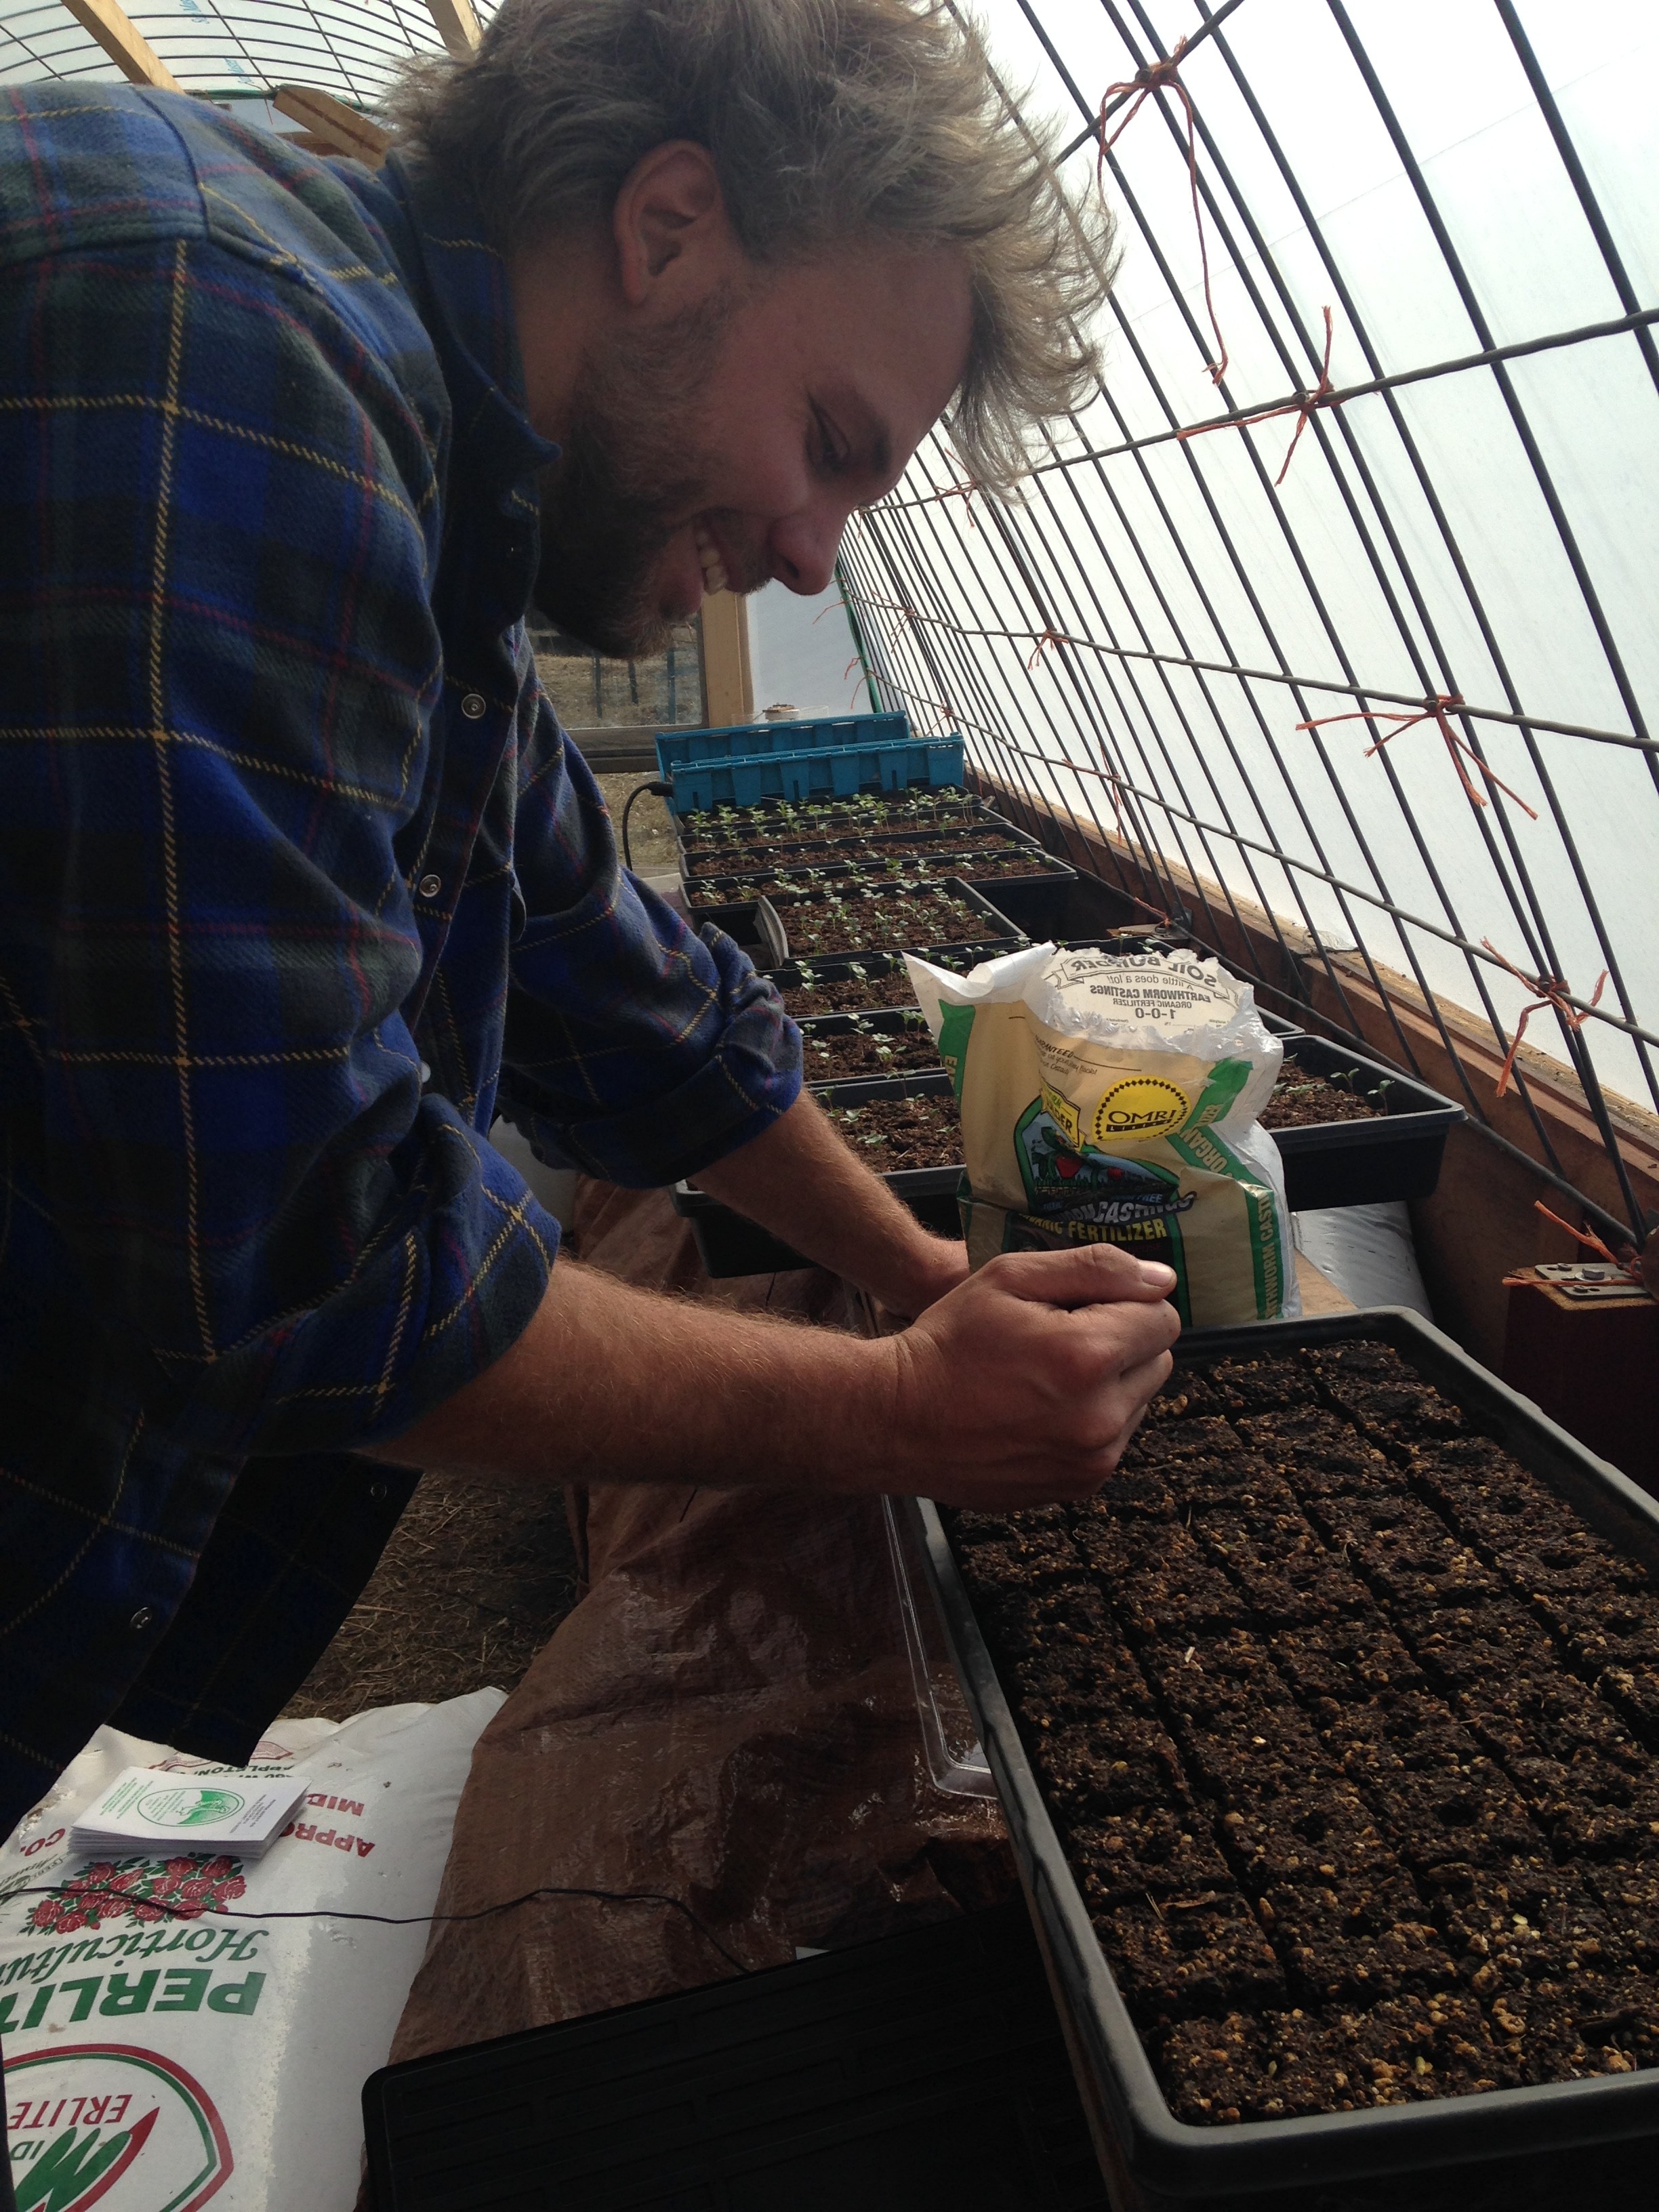
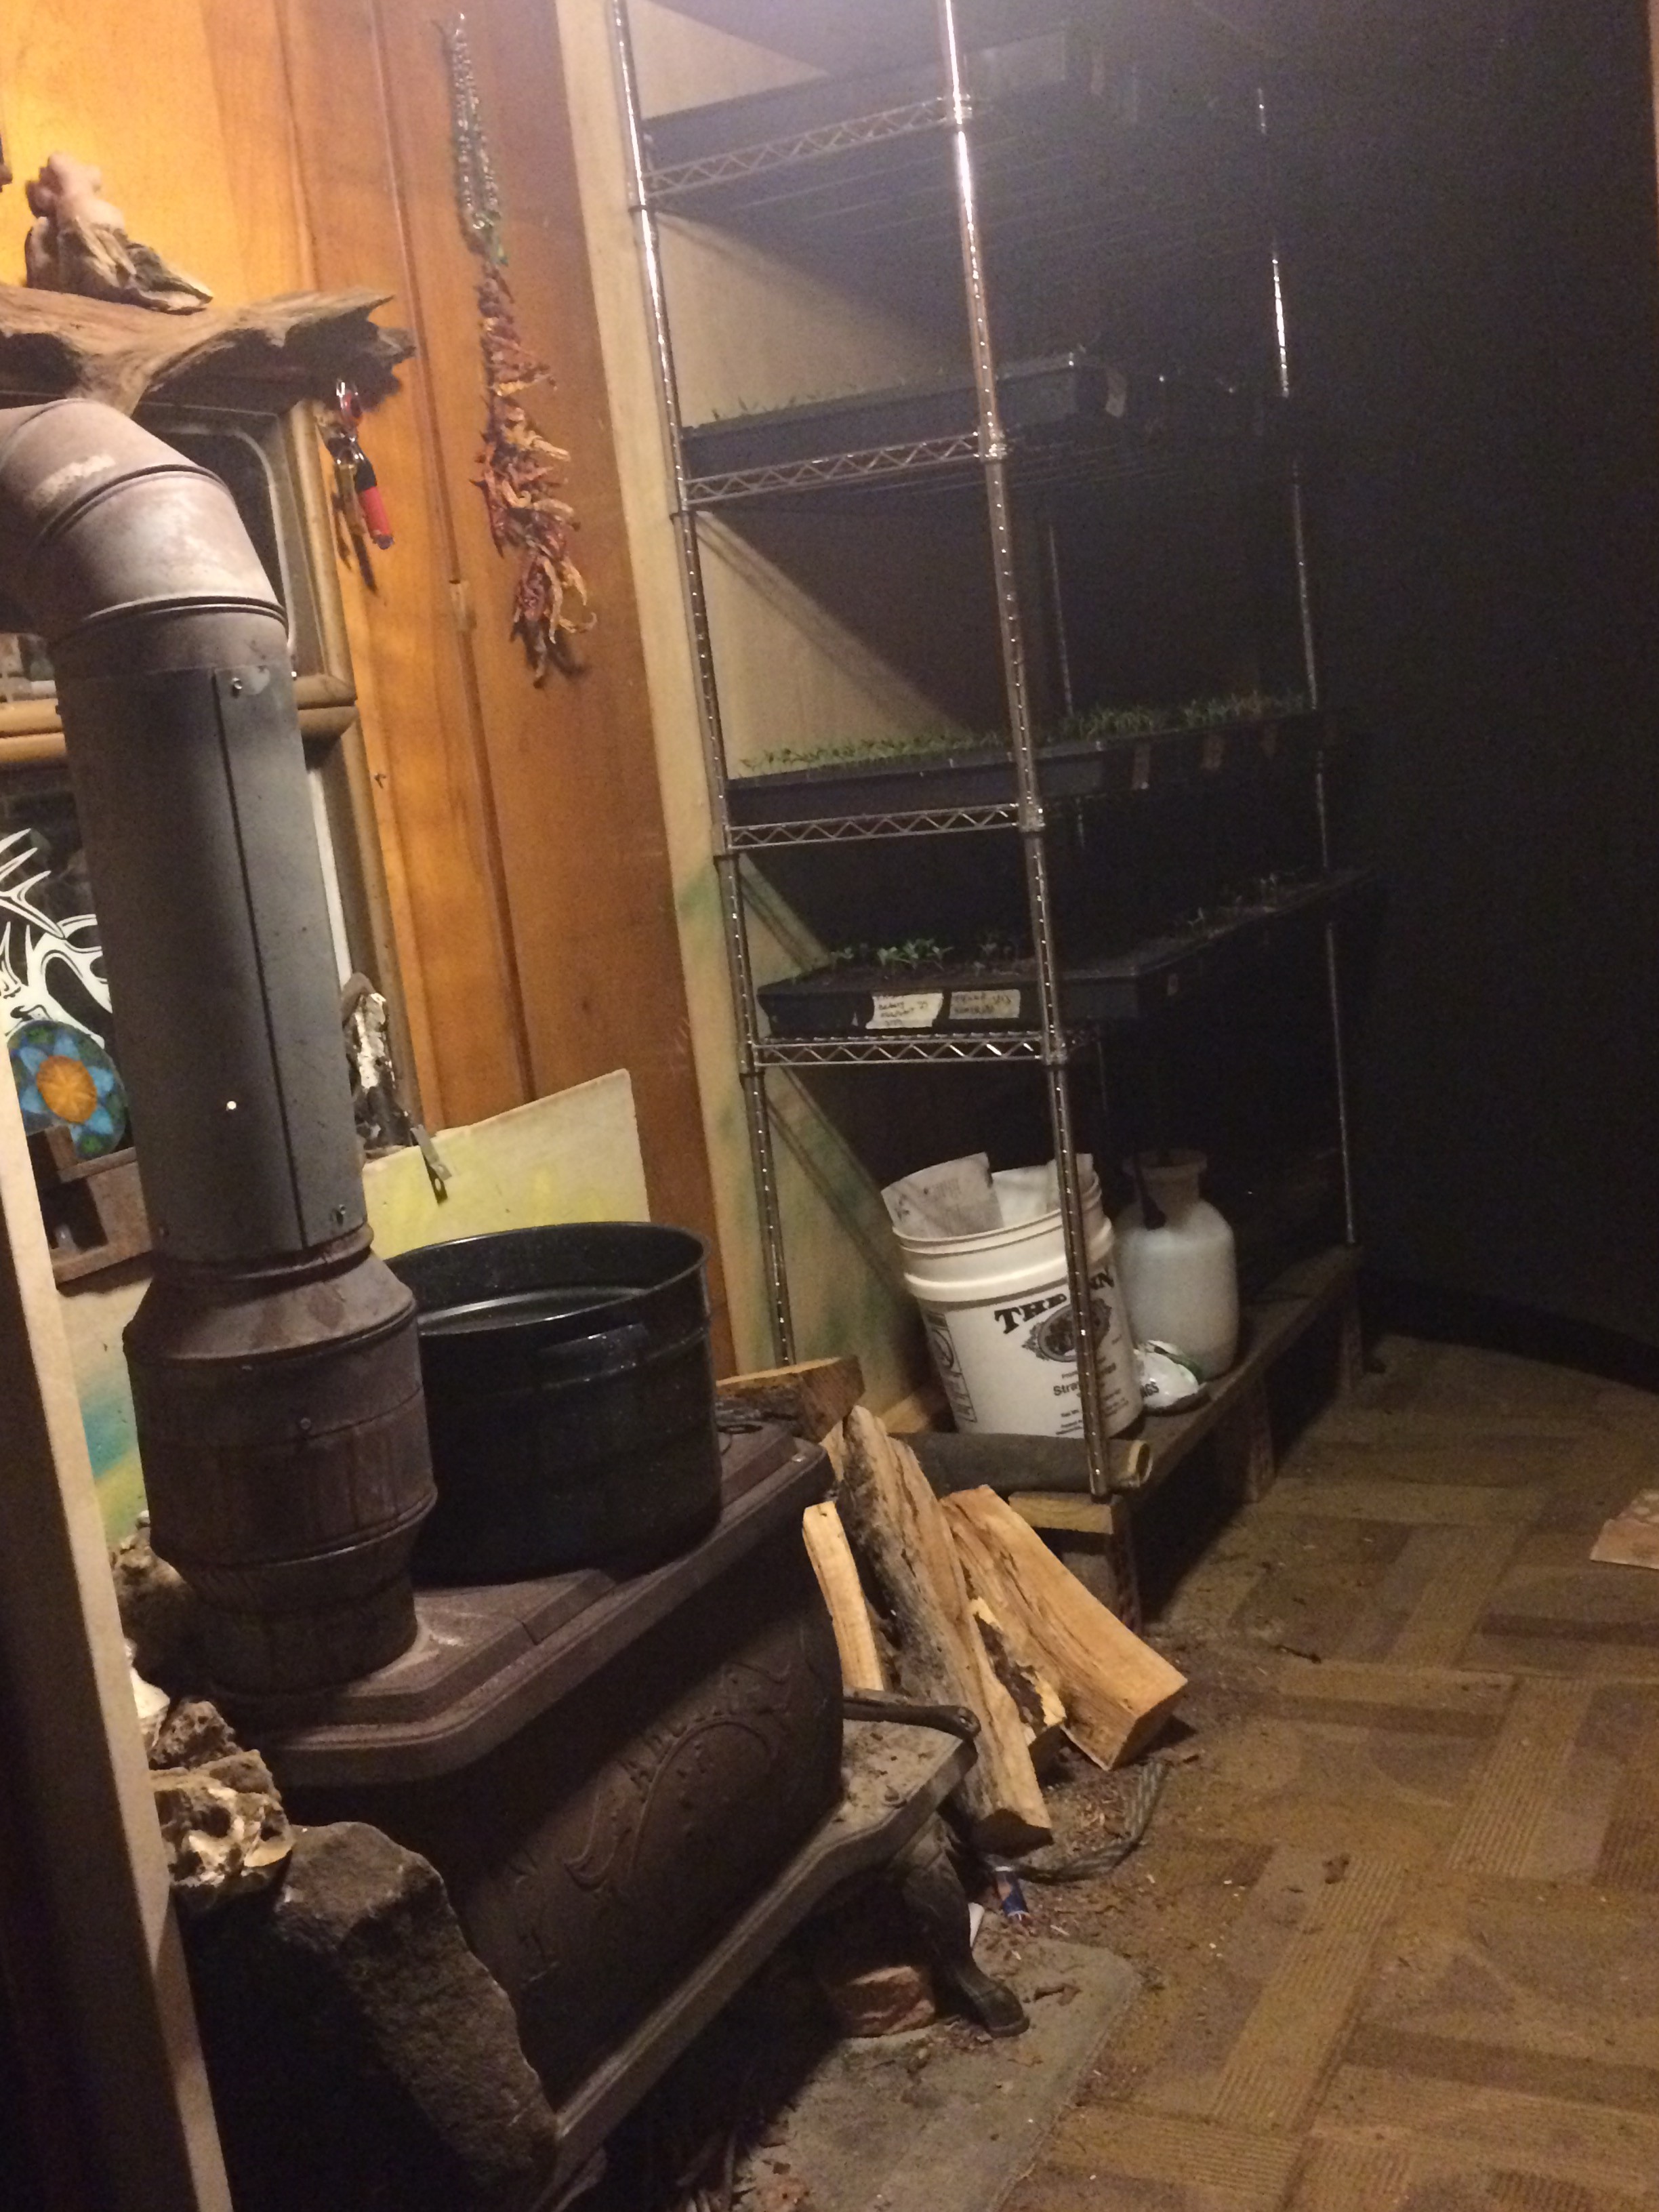
For nighttime and for still-germinating seeds (which require no sun and more heat), we hung ceiling-to-floor curtains in our trailer, dividing it into three areas: the living room with its big bright windows (which lose heat at night), the kitchen in the middle with the woodstove, and the bedroom in the rear of the trailer. Rearranging the furniture allowed us to set up a big wire shelving rack in the middle zone, capable of holding almost 20 flats of seedlings. The uppermost (warmest) shelves became our germination area – the curtains trap much of the heat from the woodstove, allowing us to easily maintain temperatures between 70 and 100 degrees overnight for the seeds to germinate within, without roasting ourselves to death while we sleep in the rear.
In the mornings, we load the sprouted trays into the van and move them “downstairs” into the protected sunny greenhouse. If it’s warm enough, the cool weather crops (which spend the nights on the greenhouse floor) get moved outside into the gazebo shelter. And then when the sun goes down, we bring them back into the greenhouse, and load the hot weather plants back into the van for a trip “upstairs” to their woodheated shelving in the trailer with us.
It’s a lot of shuffling trays back and forth and all around, but we’ve gotten pretty good at the process, handing the trays off from one person to the other at the doorways, using bread trays to move two flats at once, and making it a smooth and painless habit, a simple and quick routine. And because we’re here with the seedlings full-time (last year we did our germination in Kristin’s folks’ basement), we can pay close attention to maintaining consistent moisture levels, avoiding extremes of dry or wet soil that cause problems.
Not only does it work for us – it seems to be working great for the plants. This year we have the strongest and healthiest looking seedlings we’ve had yet – strong stems, glowing leaves, high germination rates, and no sign of damping off, yellow leaves, or other signs of stressed or unhappy seedlings.
Of course, just as it gets easier and feeling under control, it’s time for the next phase of things – this week we started planting seeds out in the field – so far, onions and snap peas, with lettuce and spinach on the to-do list next.
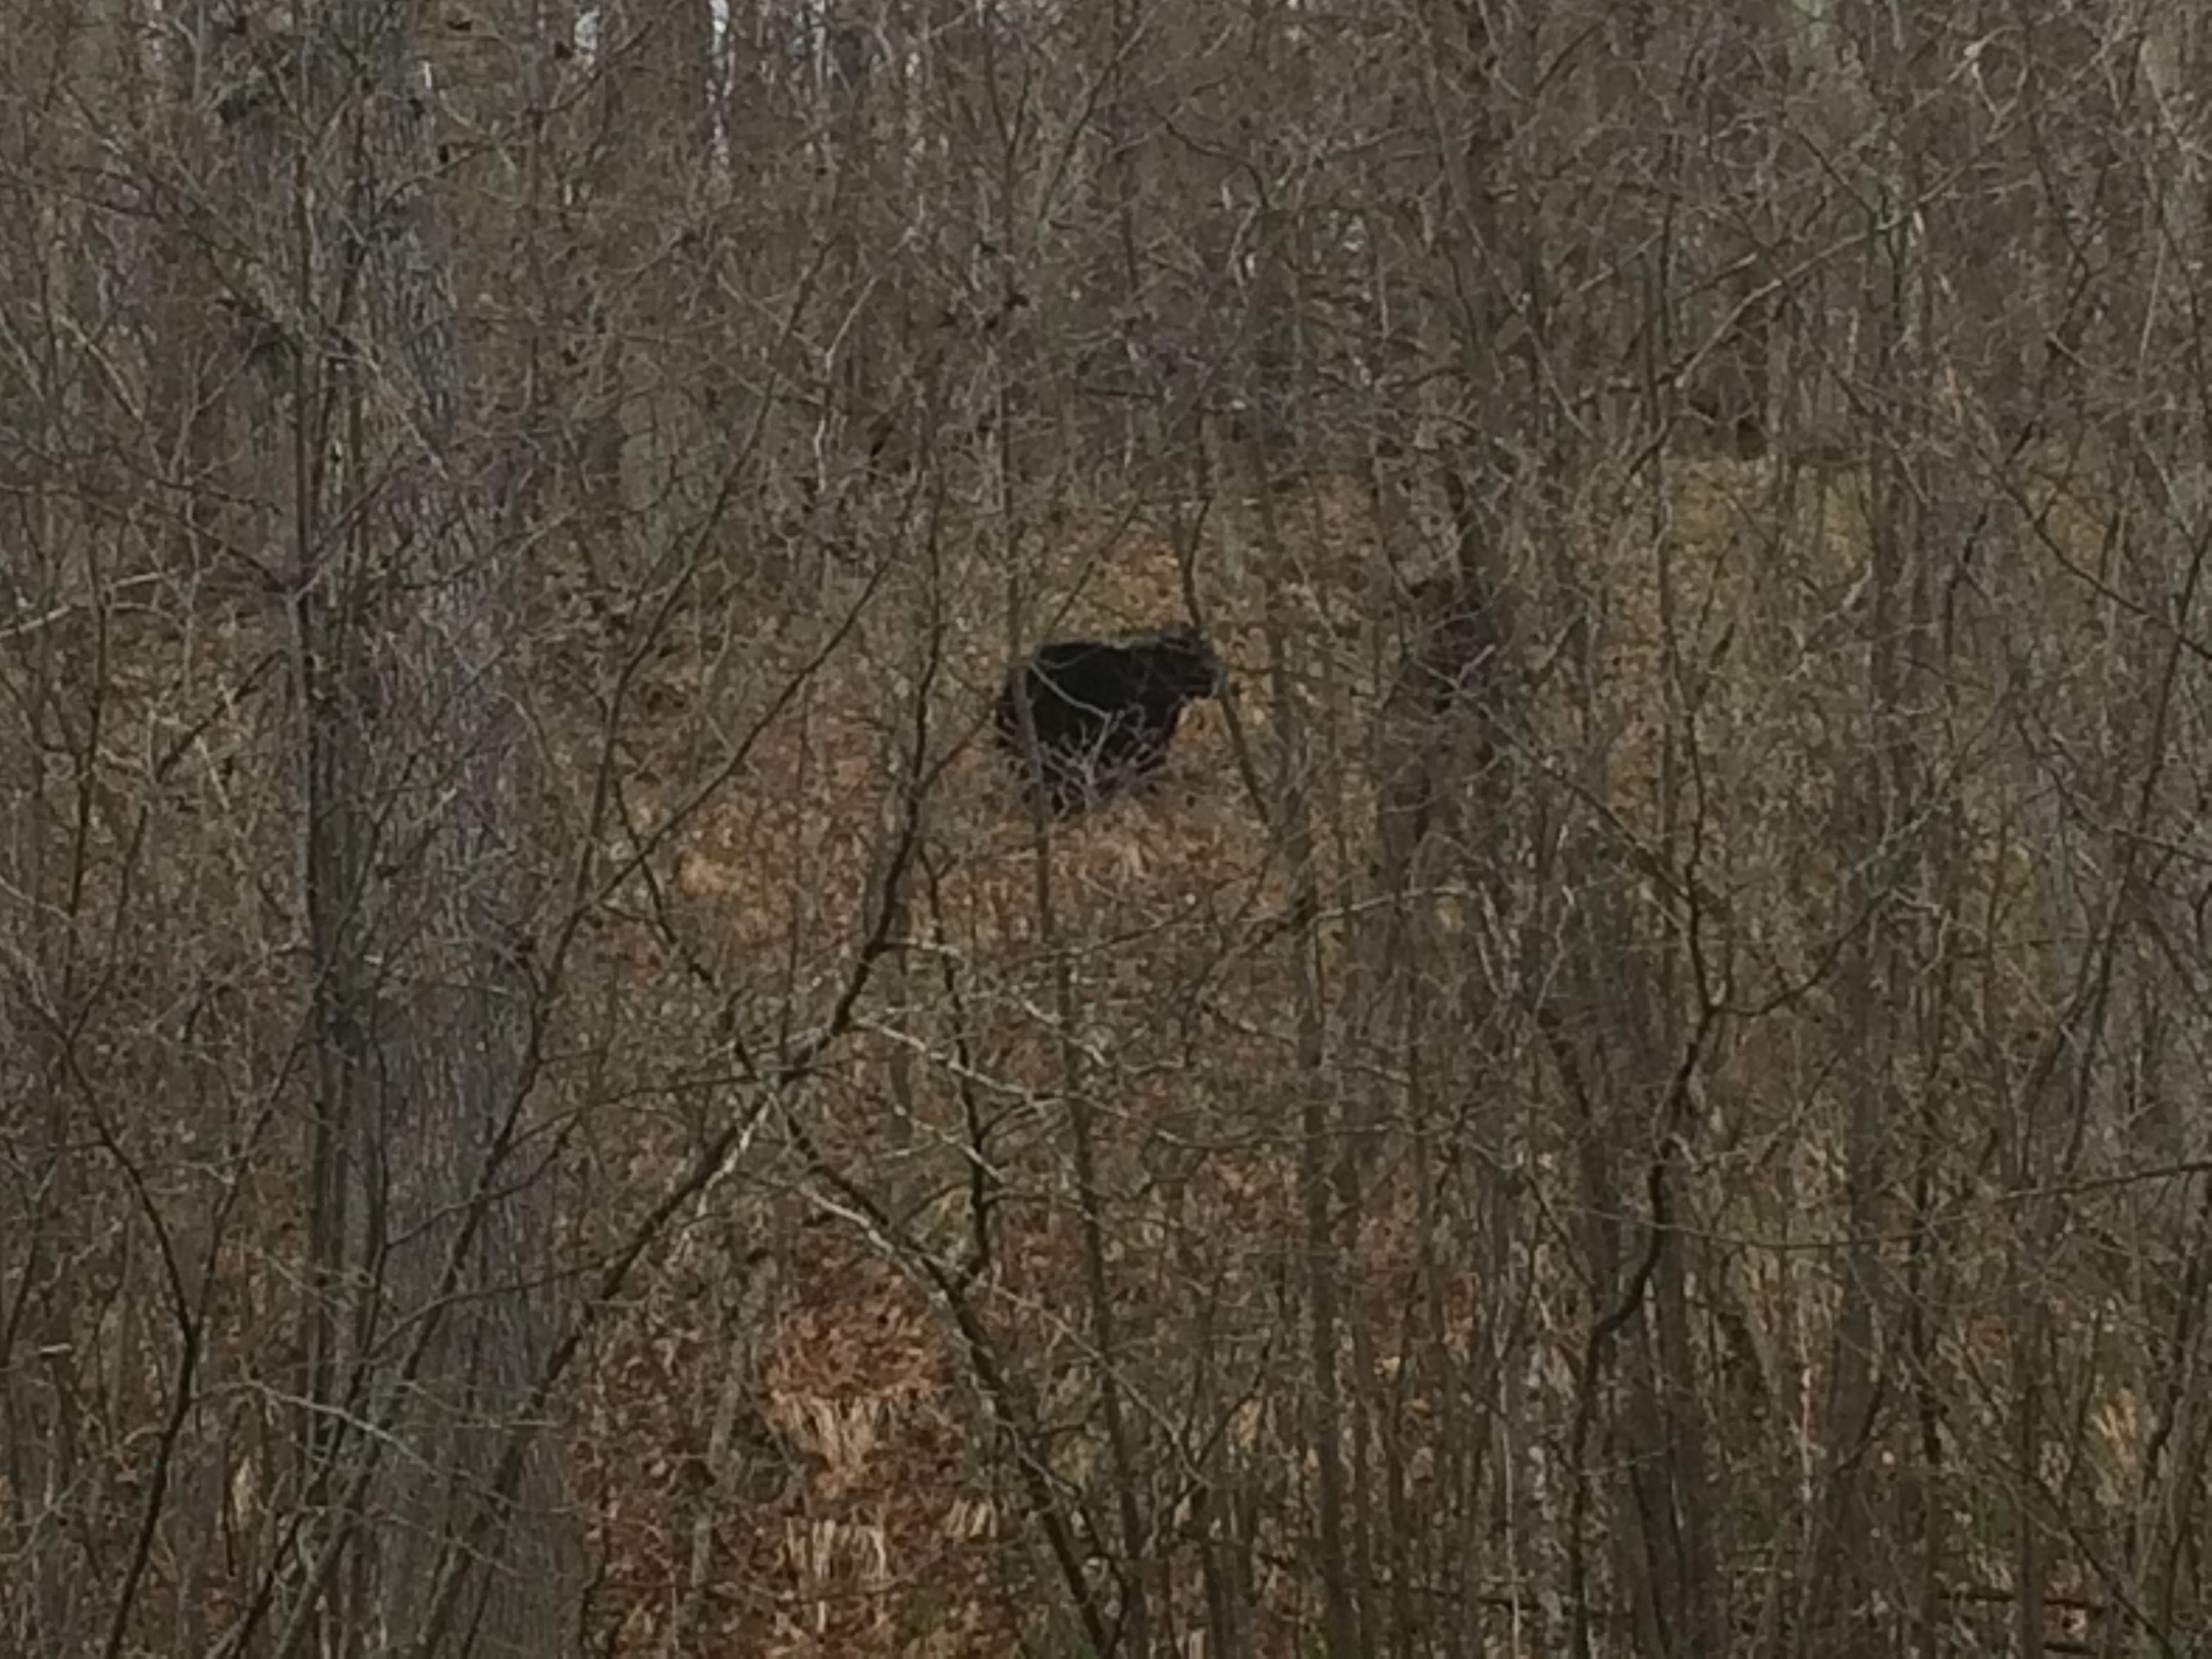
This means weeding rows and beds, planting, and mulching … making this a great time of year to come out and help if you’re interested in volunteering; there’s a lot to do, but it’s not hot and there aren’t any mosquitoes, gnats, or flies to speak of … yet!
no mosquitoes, but maybe a bear or two
2015 is off to an awesome start – I know there is no certainty when it comes to the future especially in farming, and ‘whatever will be, will be’ – but I’m predicting the best year yet!
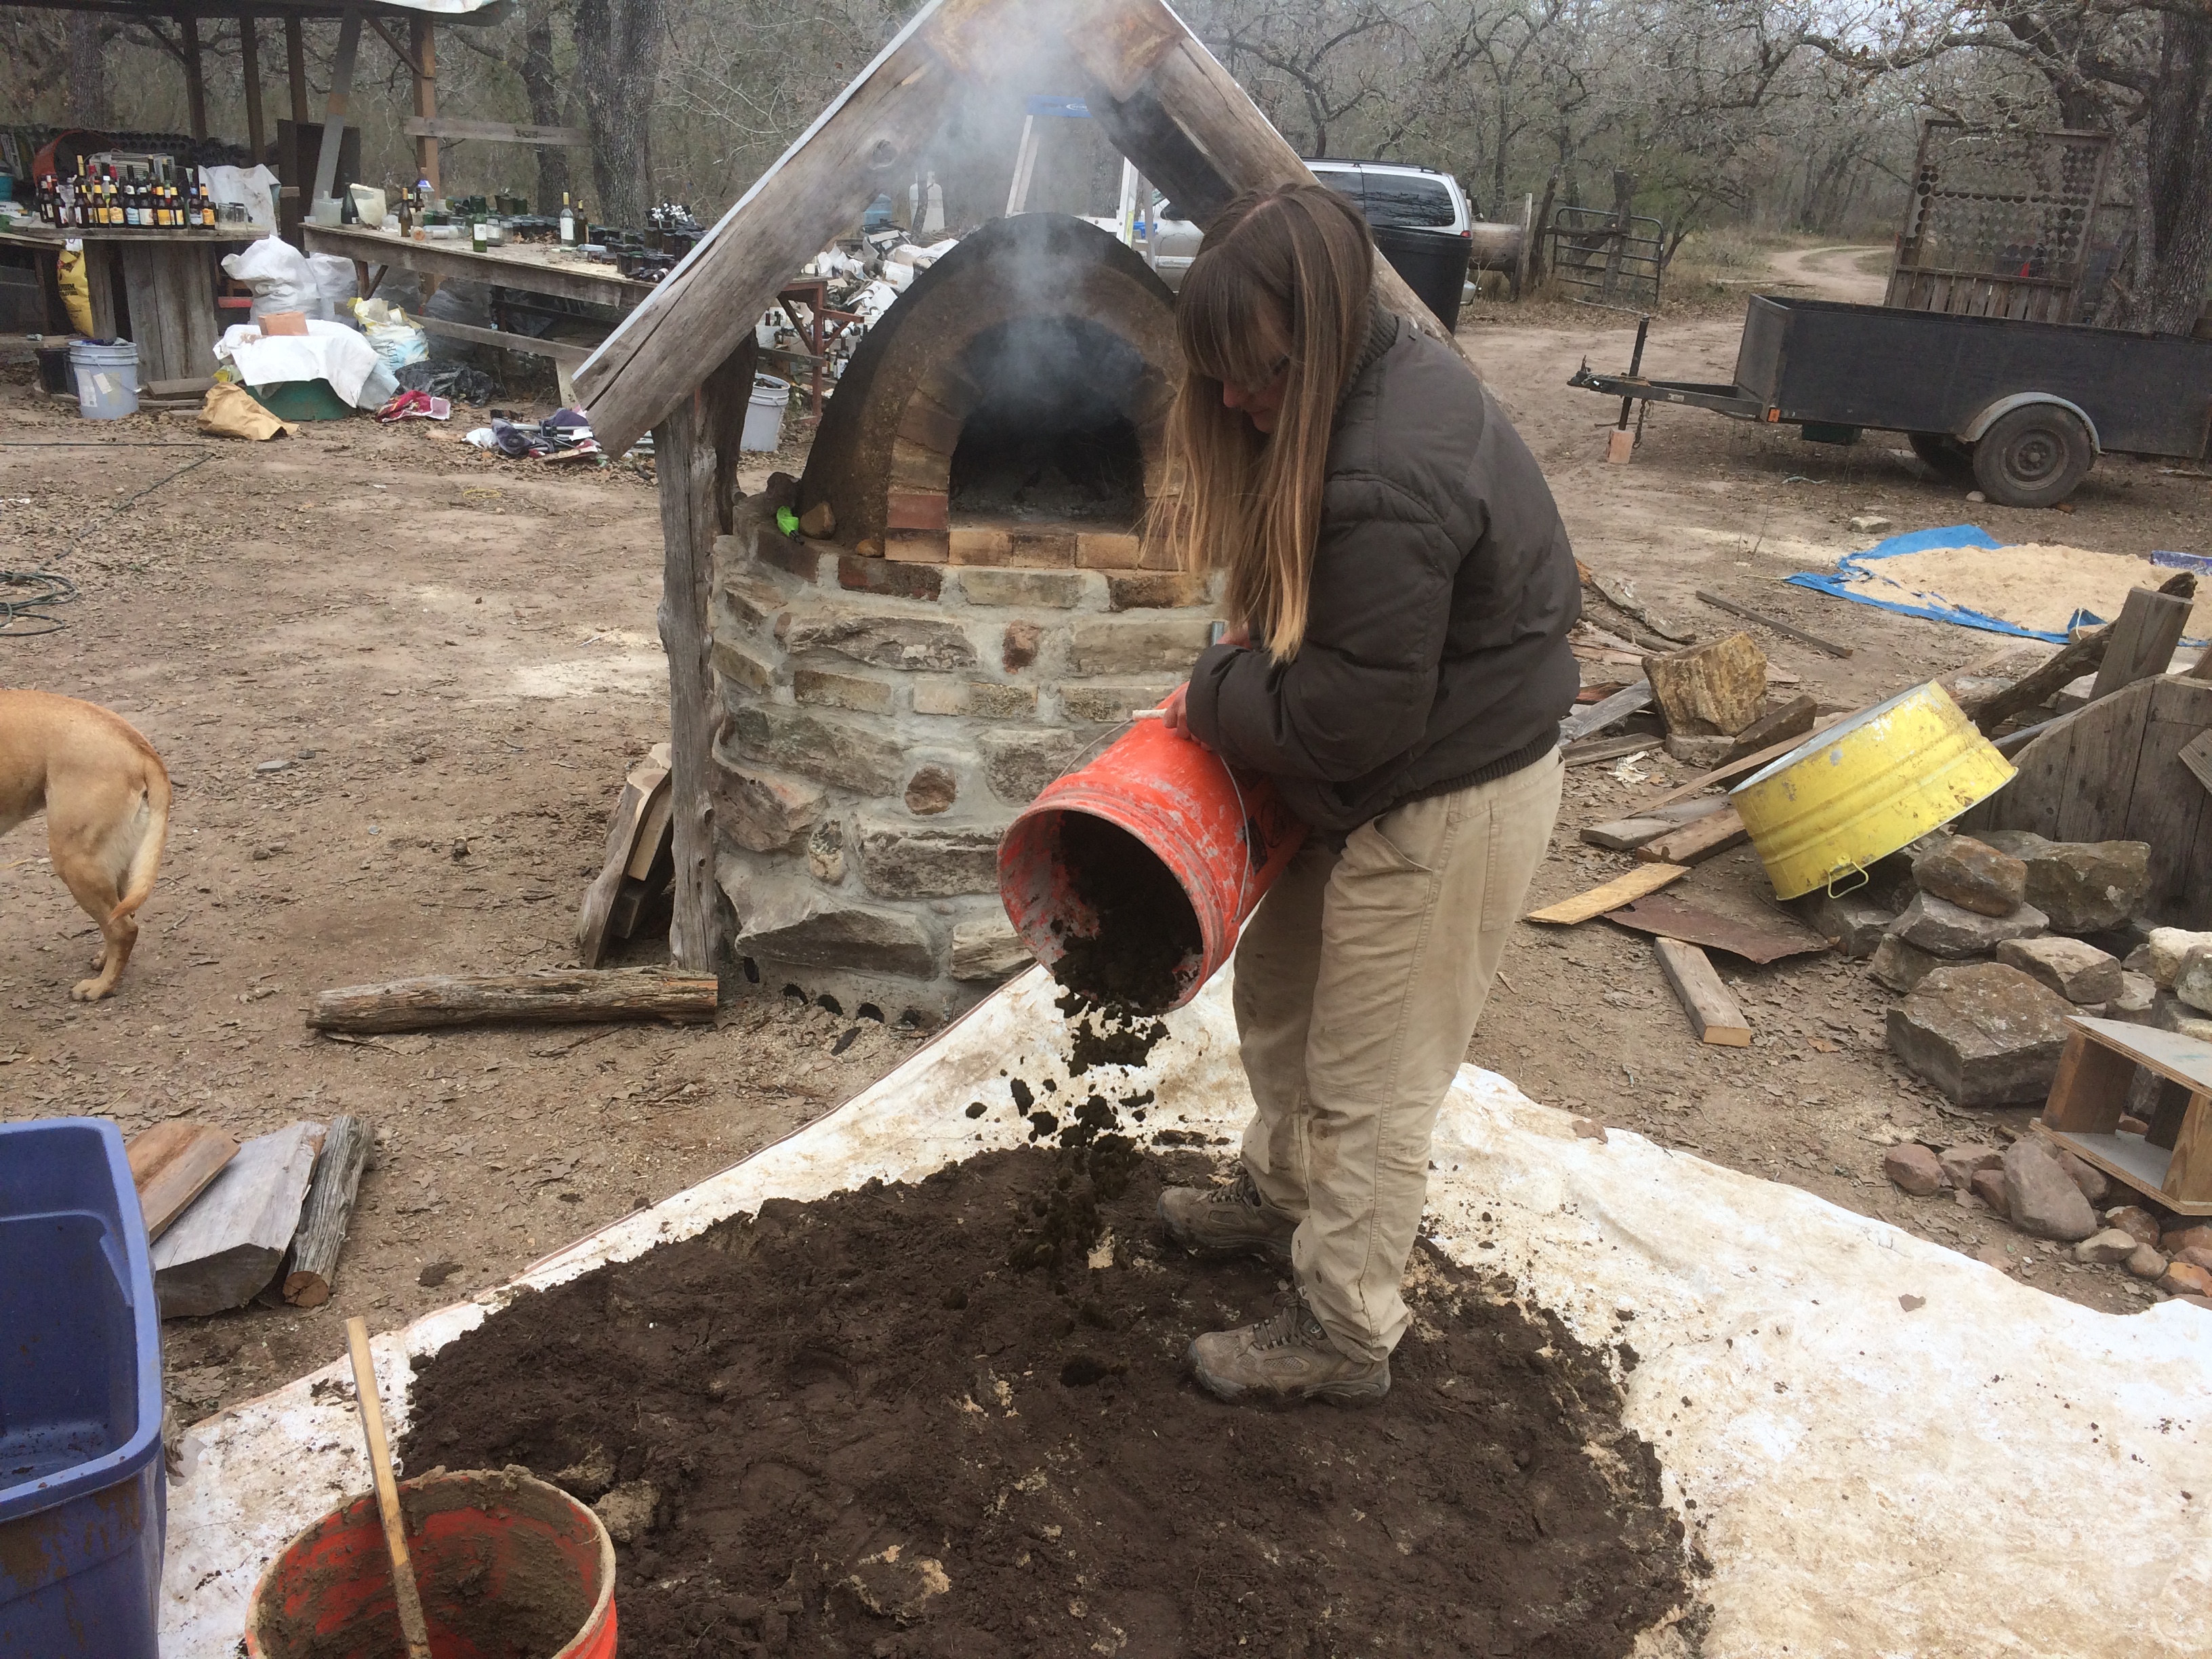
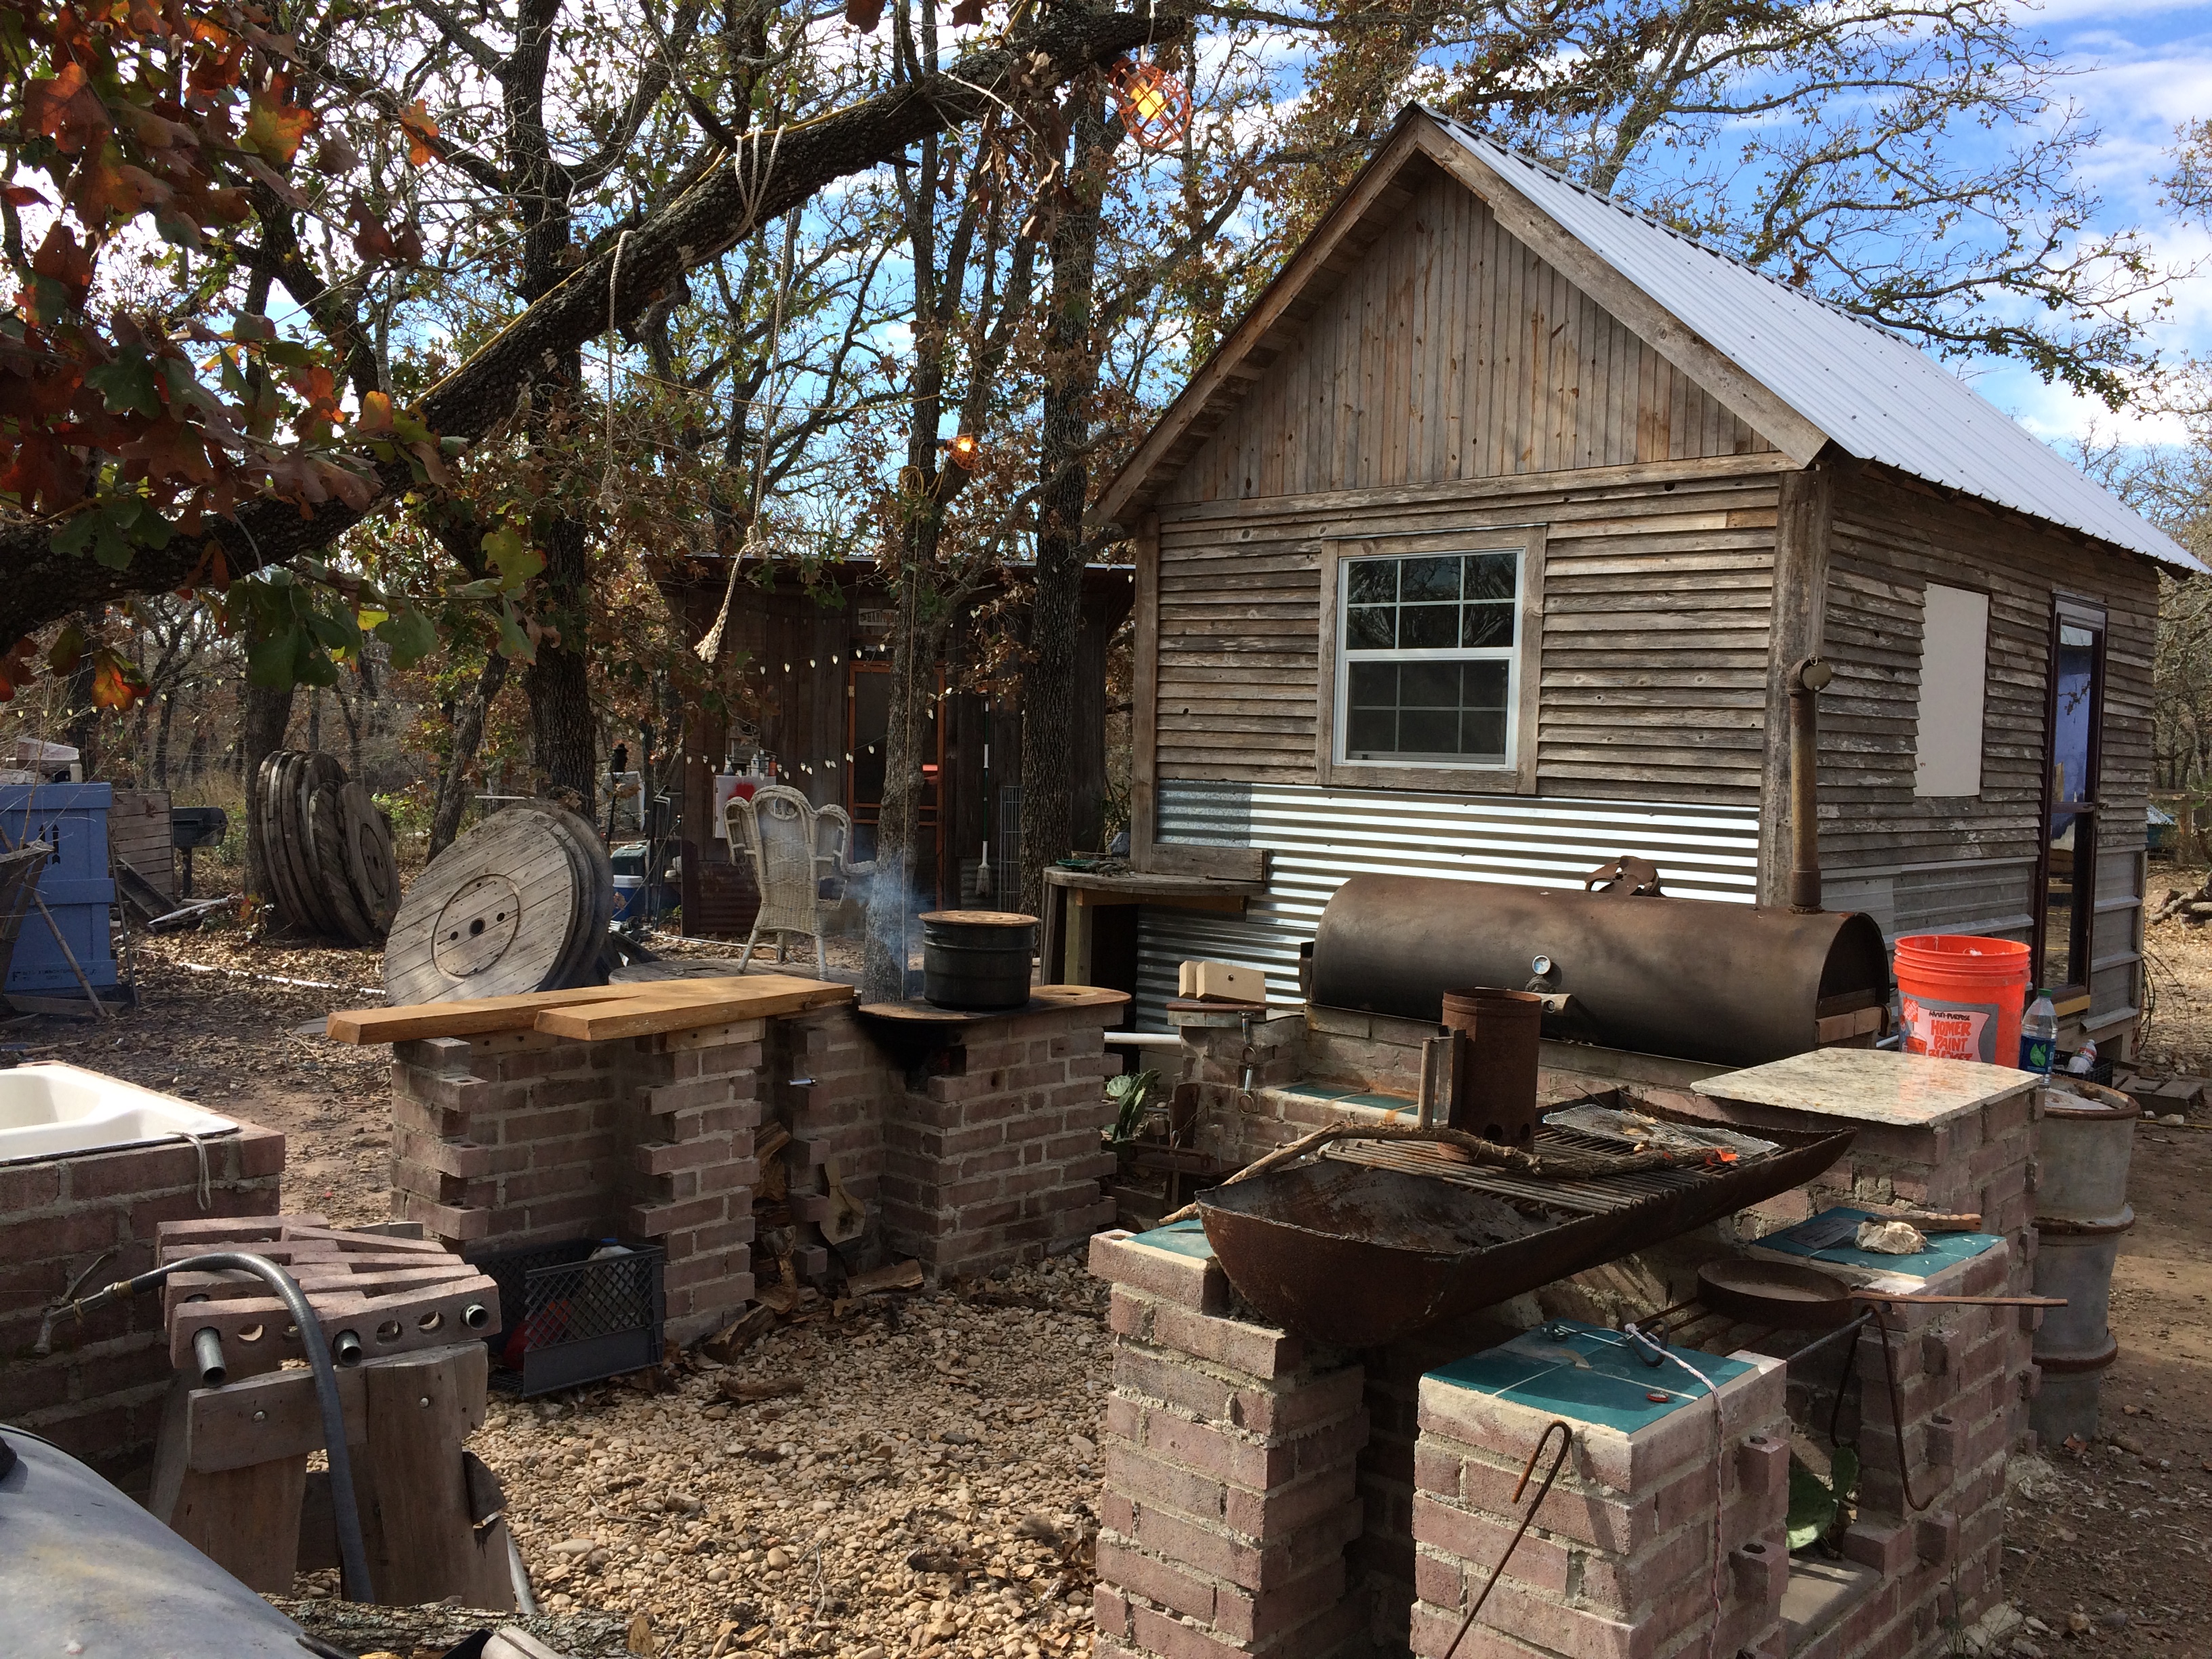
We’ve wanted to build an earth oven for some time now – we have a small camper oven, but it doesn’t really work that well, and we like to use the abundant free oak wood for fuel when we can, rather than pay for propane. We finally got our chance to try our hands at it at Habitable Spaces – where they encouraged us to build some kind of structure before we left.
Three unrelated projects that we’d helped with in December & January led us to decide on the earth oven build:
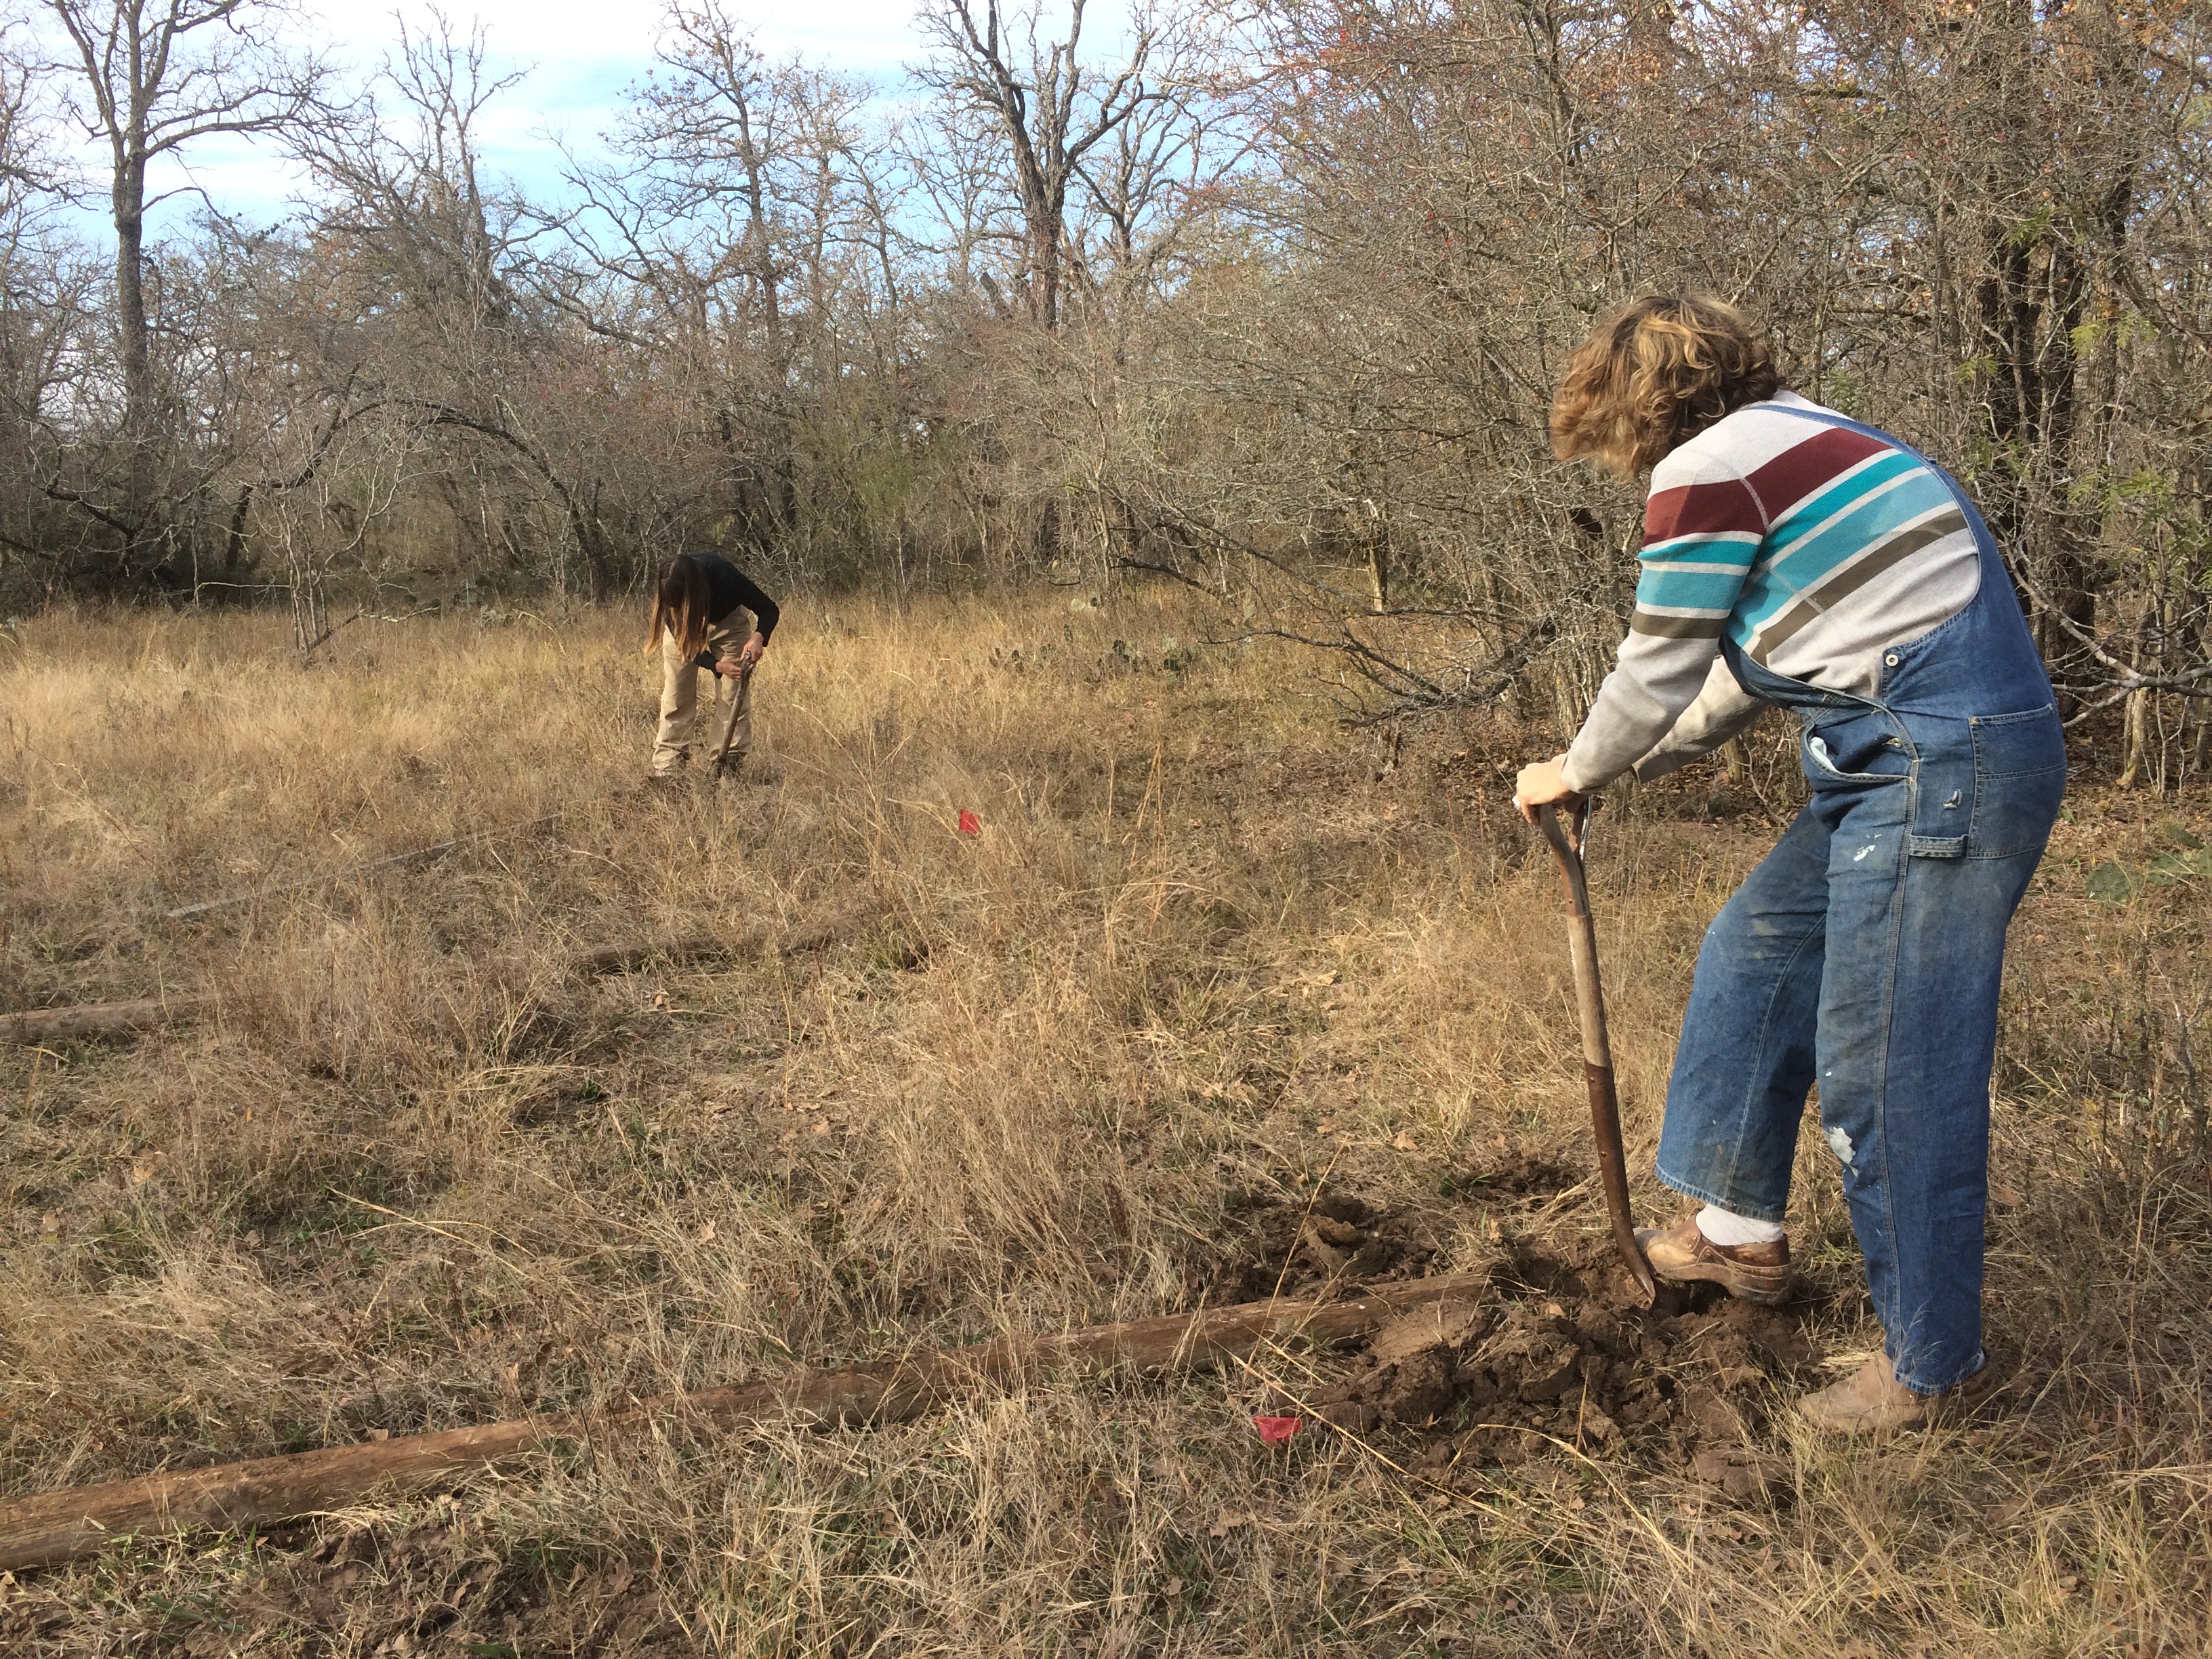
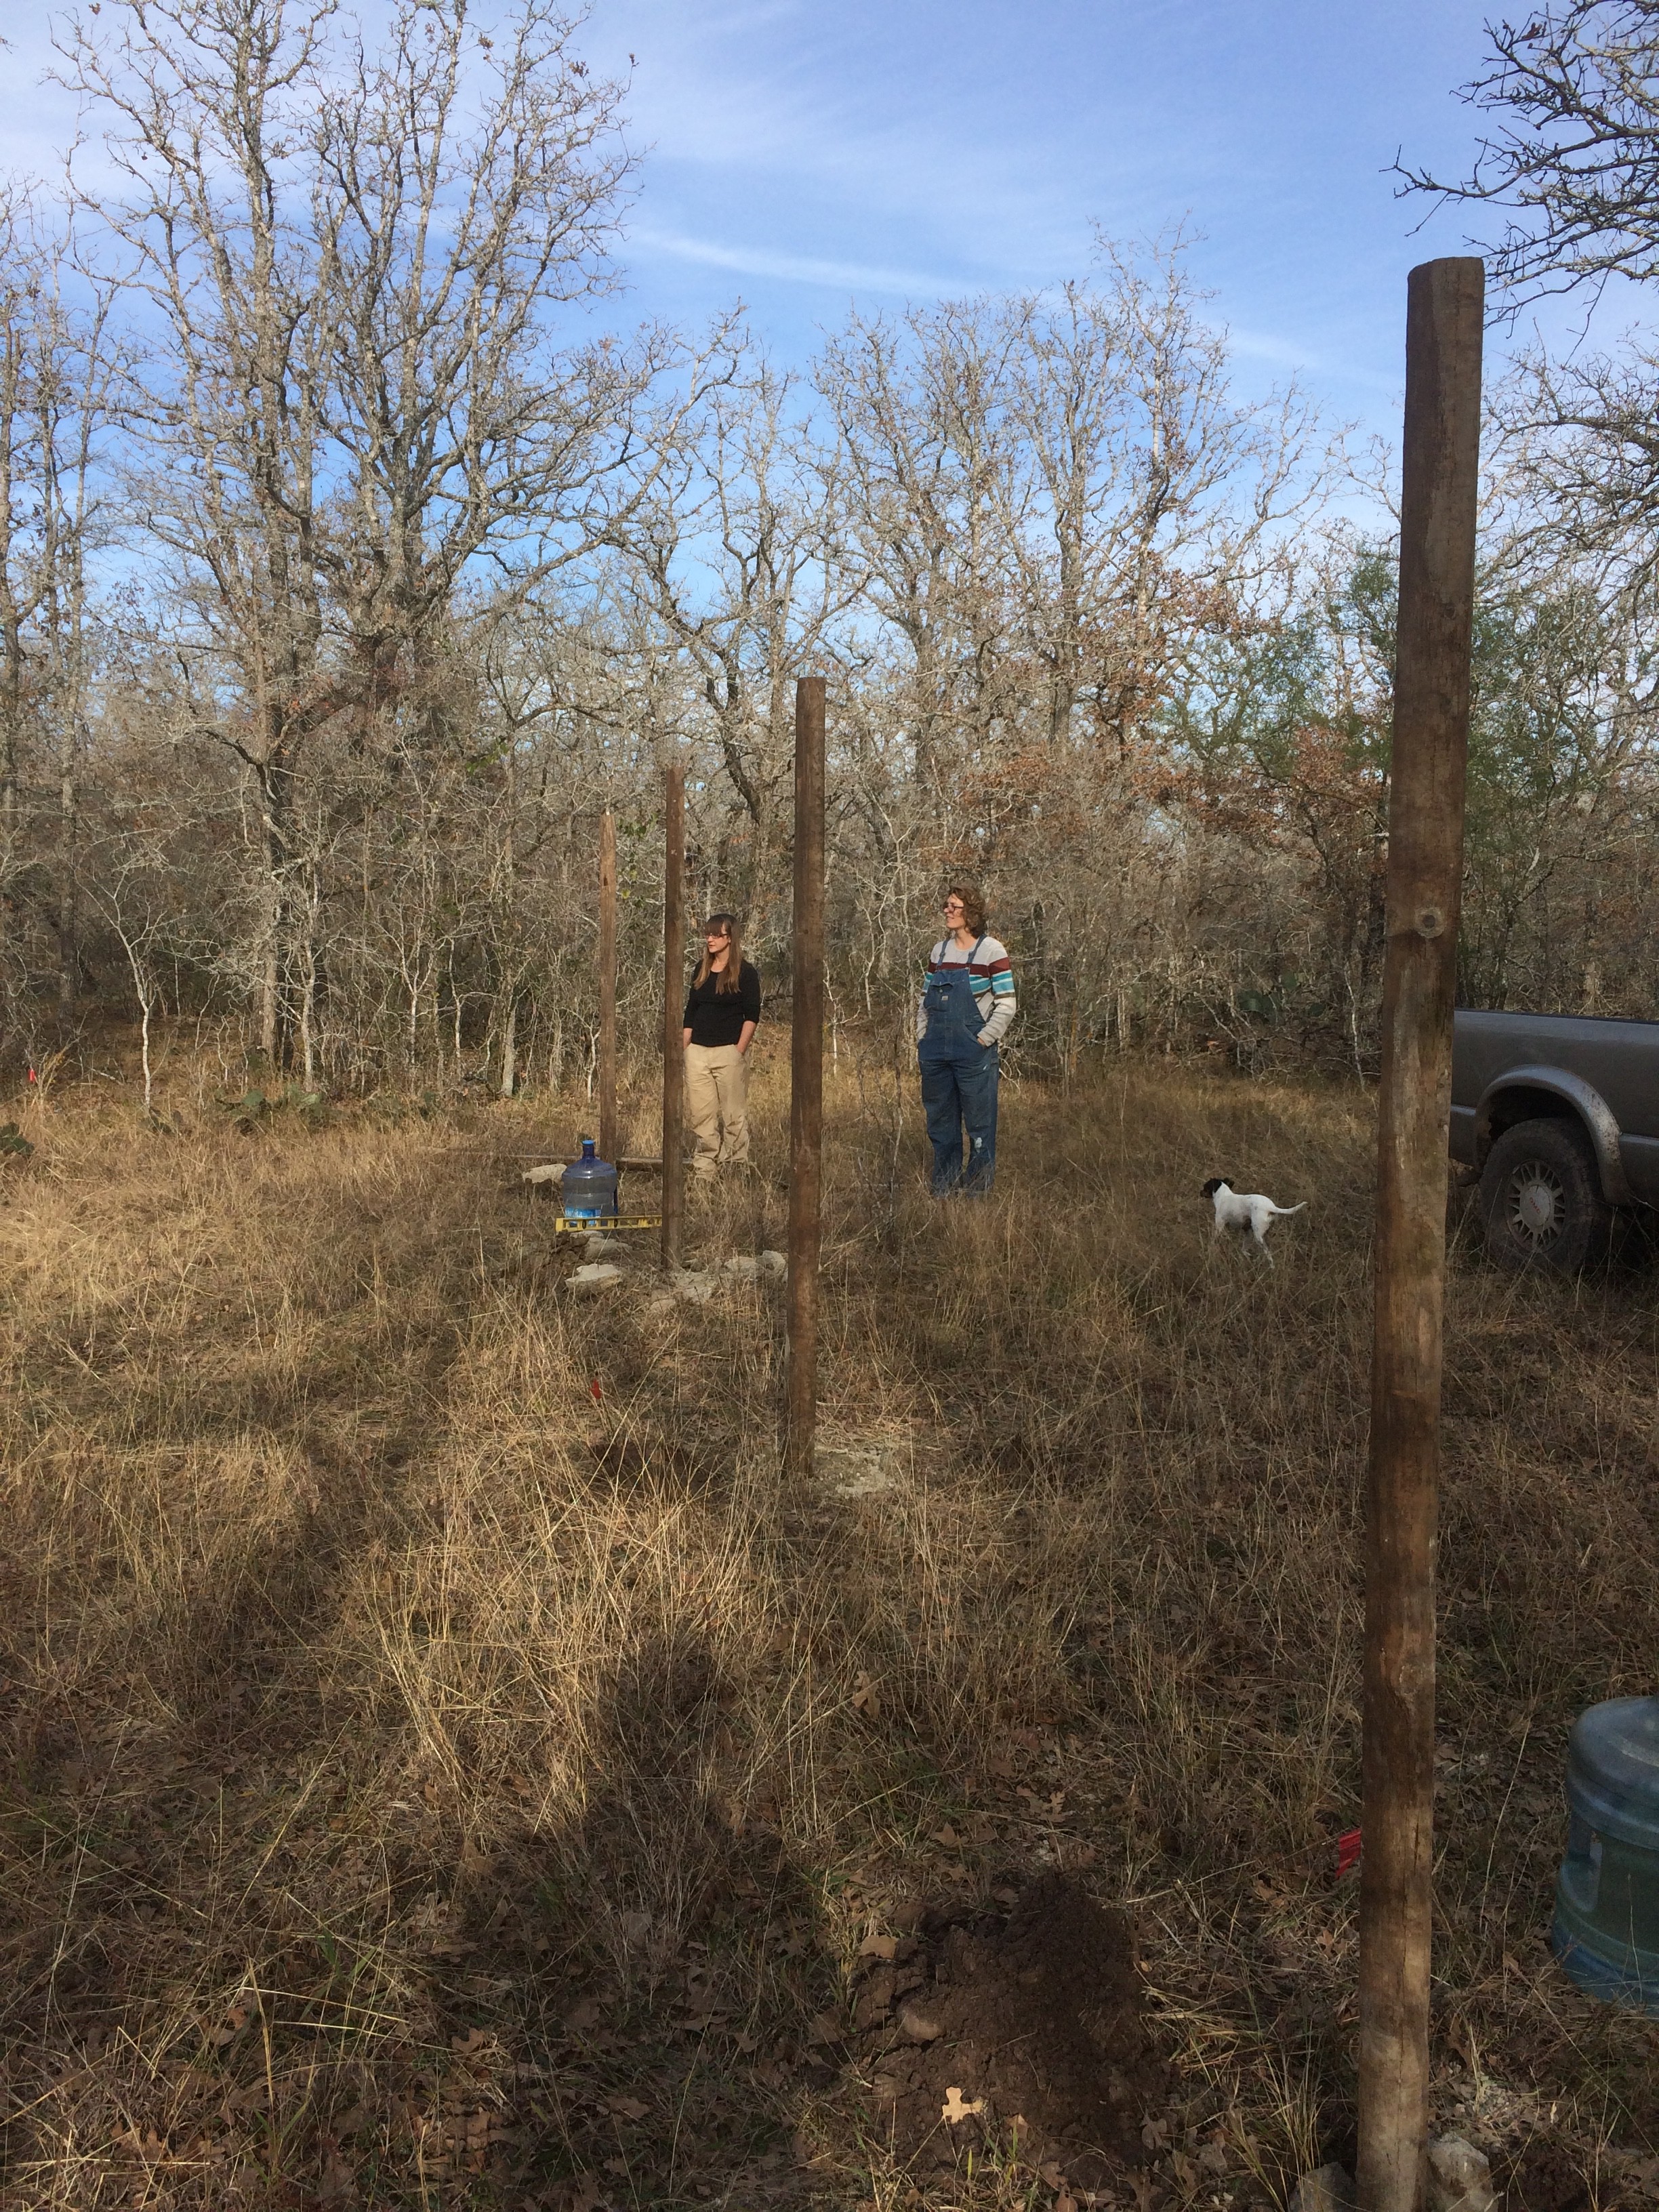
First, when we were digging postholes to fence off their first major field, we discovered that the subsoil was a rich, malleable clay, perfect for sculpting and building with.
Kristin & Ali digging post holes
Secondly, we dismantled and felled the giant tower, made from three massive cable spools stacked upon one another – revealing a perfectly useable concrete foundation pad beneath.
Lily posing on the tower foundation – the 3 spools can be seen in the background where we rolled them away post-demo
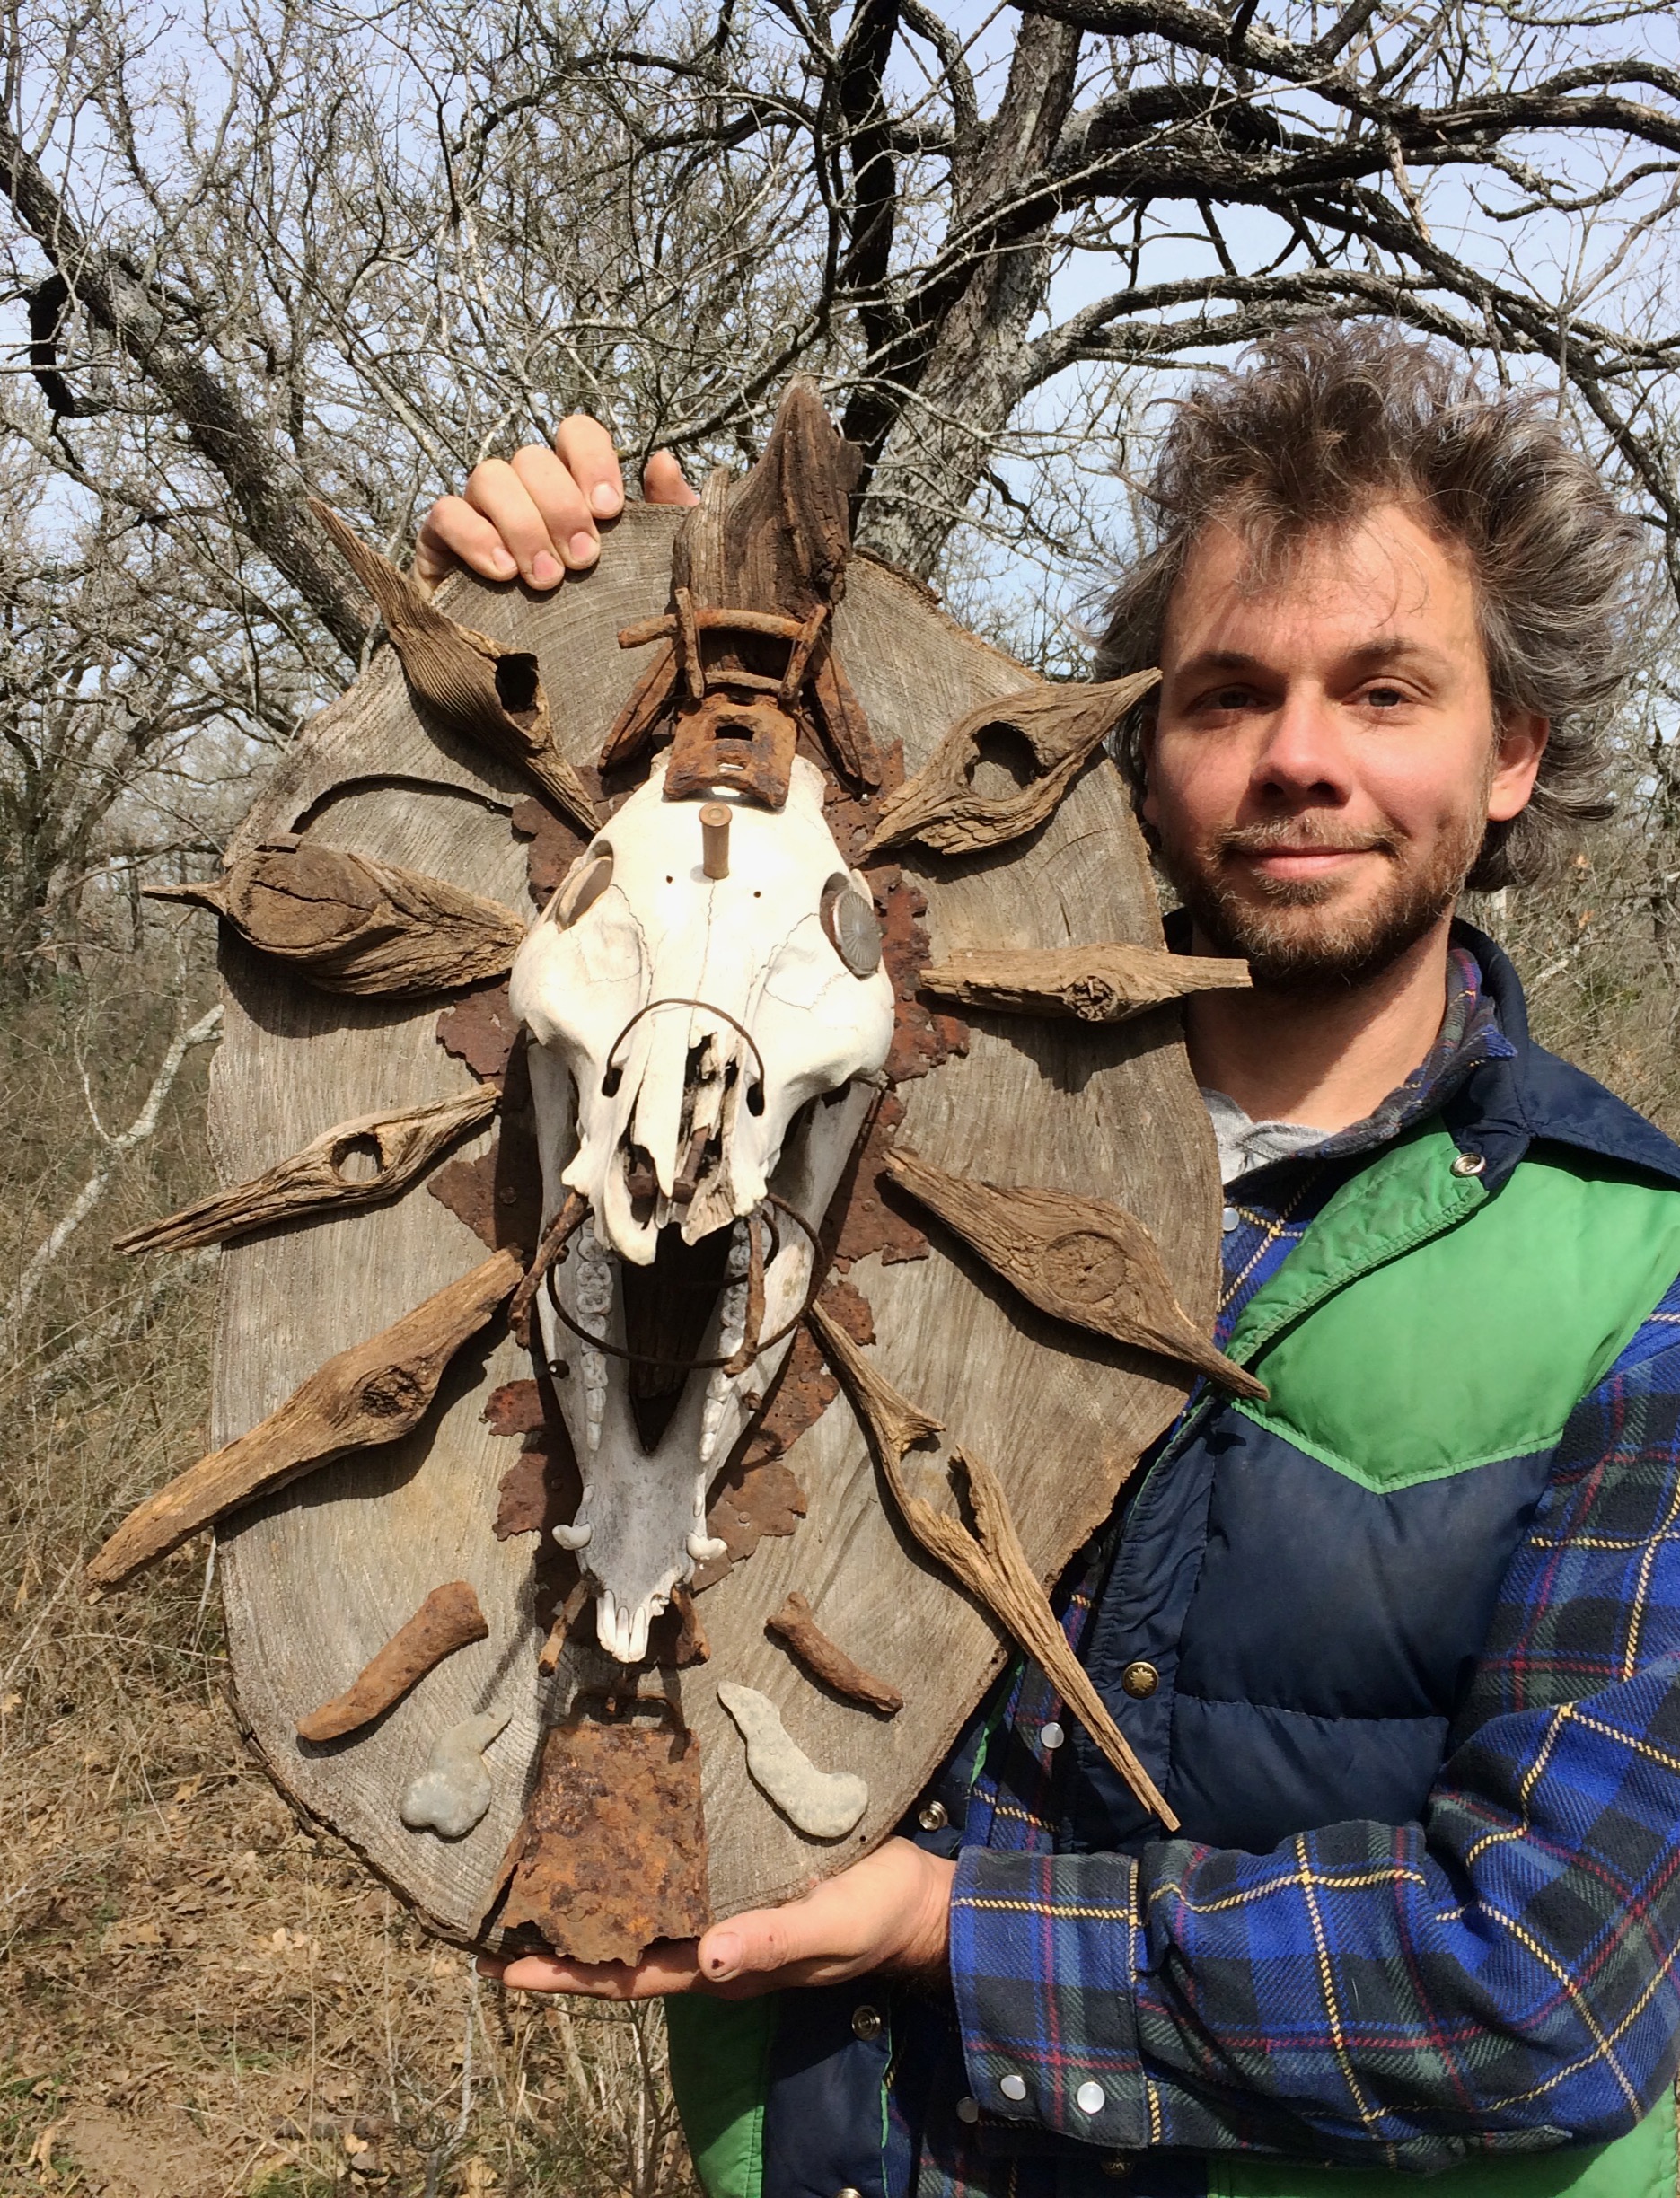
Third, we’d spent a lot of time scavenging the ruins of two old homesteads on their property, which had been home to Shane’s grandmother and other ancestors. We metal detected and scrounged, and Gabe created a skullpture with items we discovered throughout January.
Lola helping Kristin scavenge in the ruins of Shane’s grandmother’s Depression-era homestead
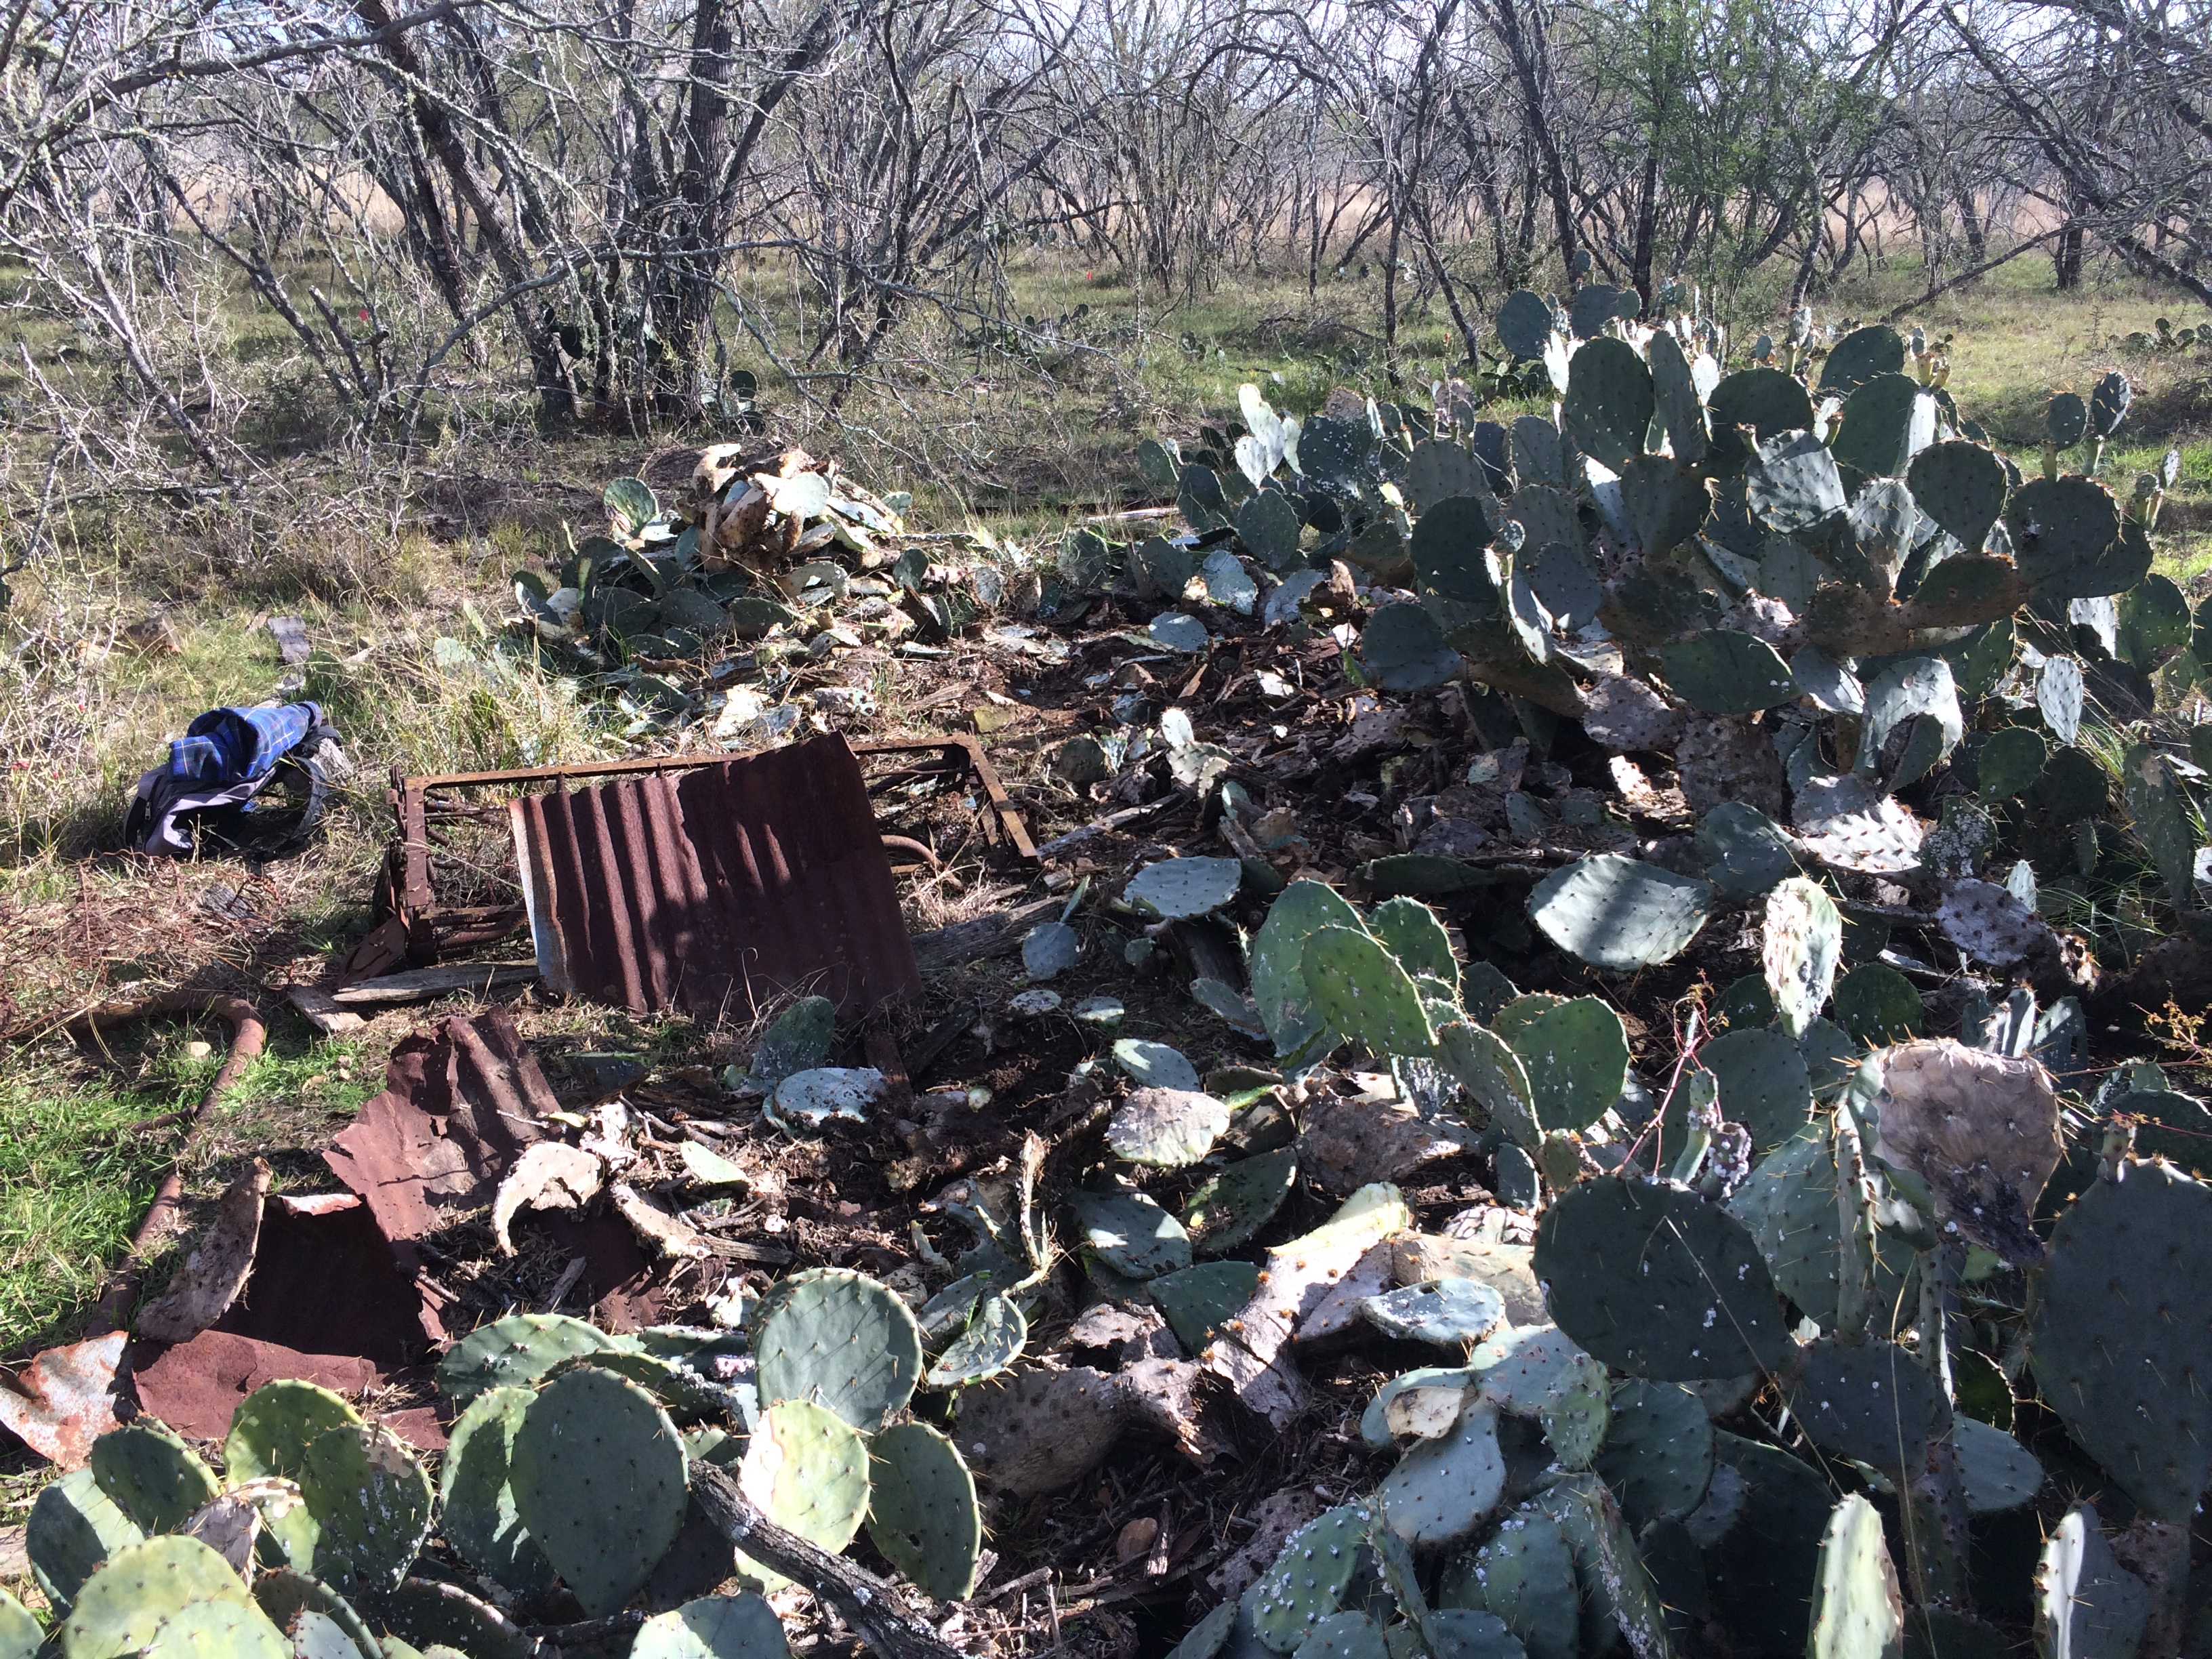
“Homestead #2” required us to chop through a thick stand of cacti to get to … prickly work
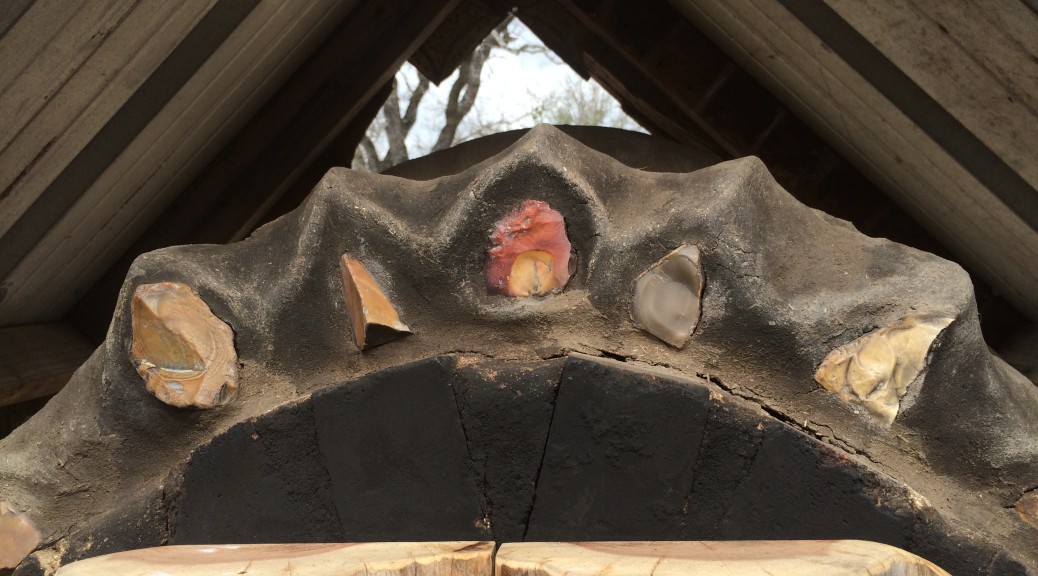
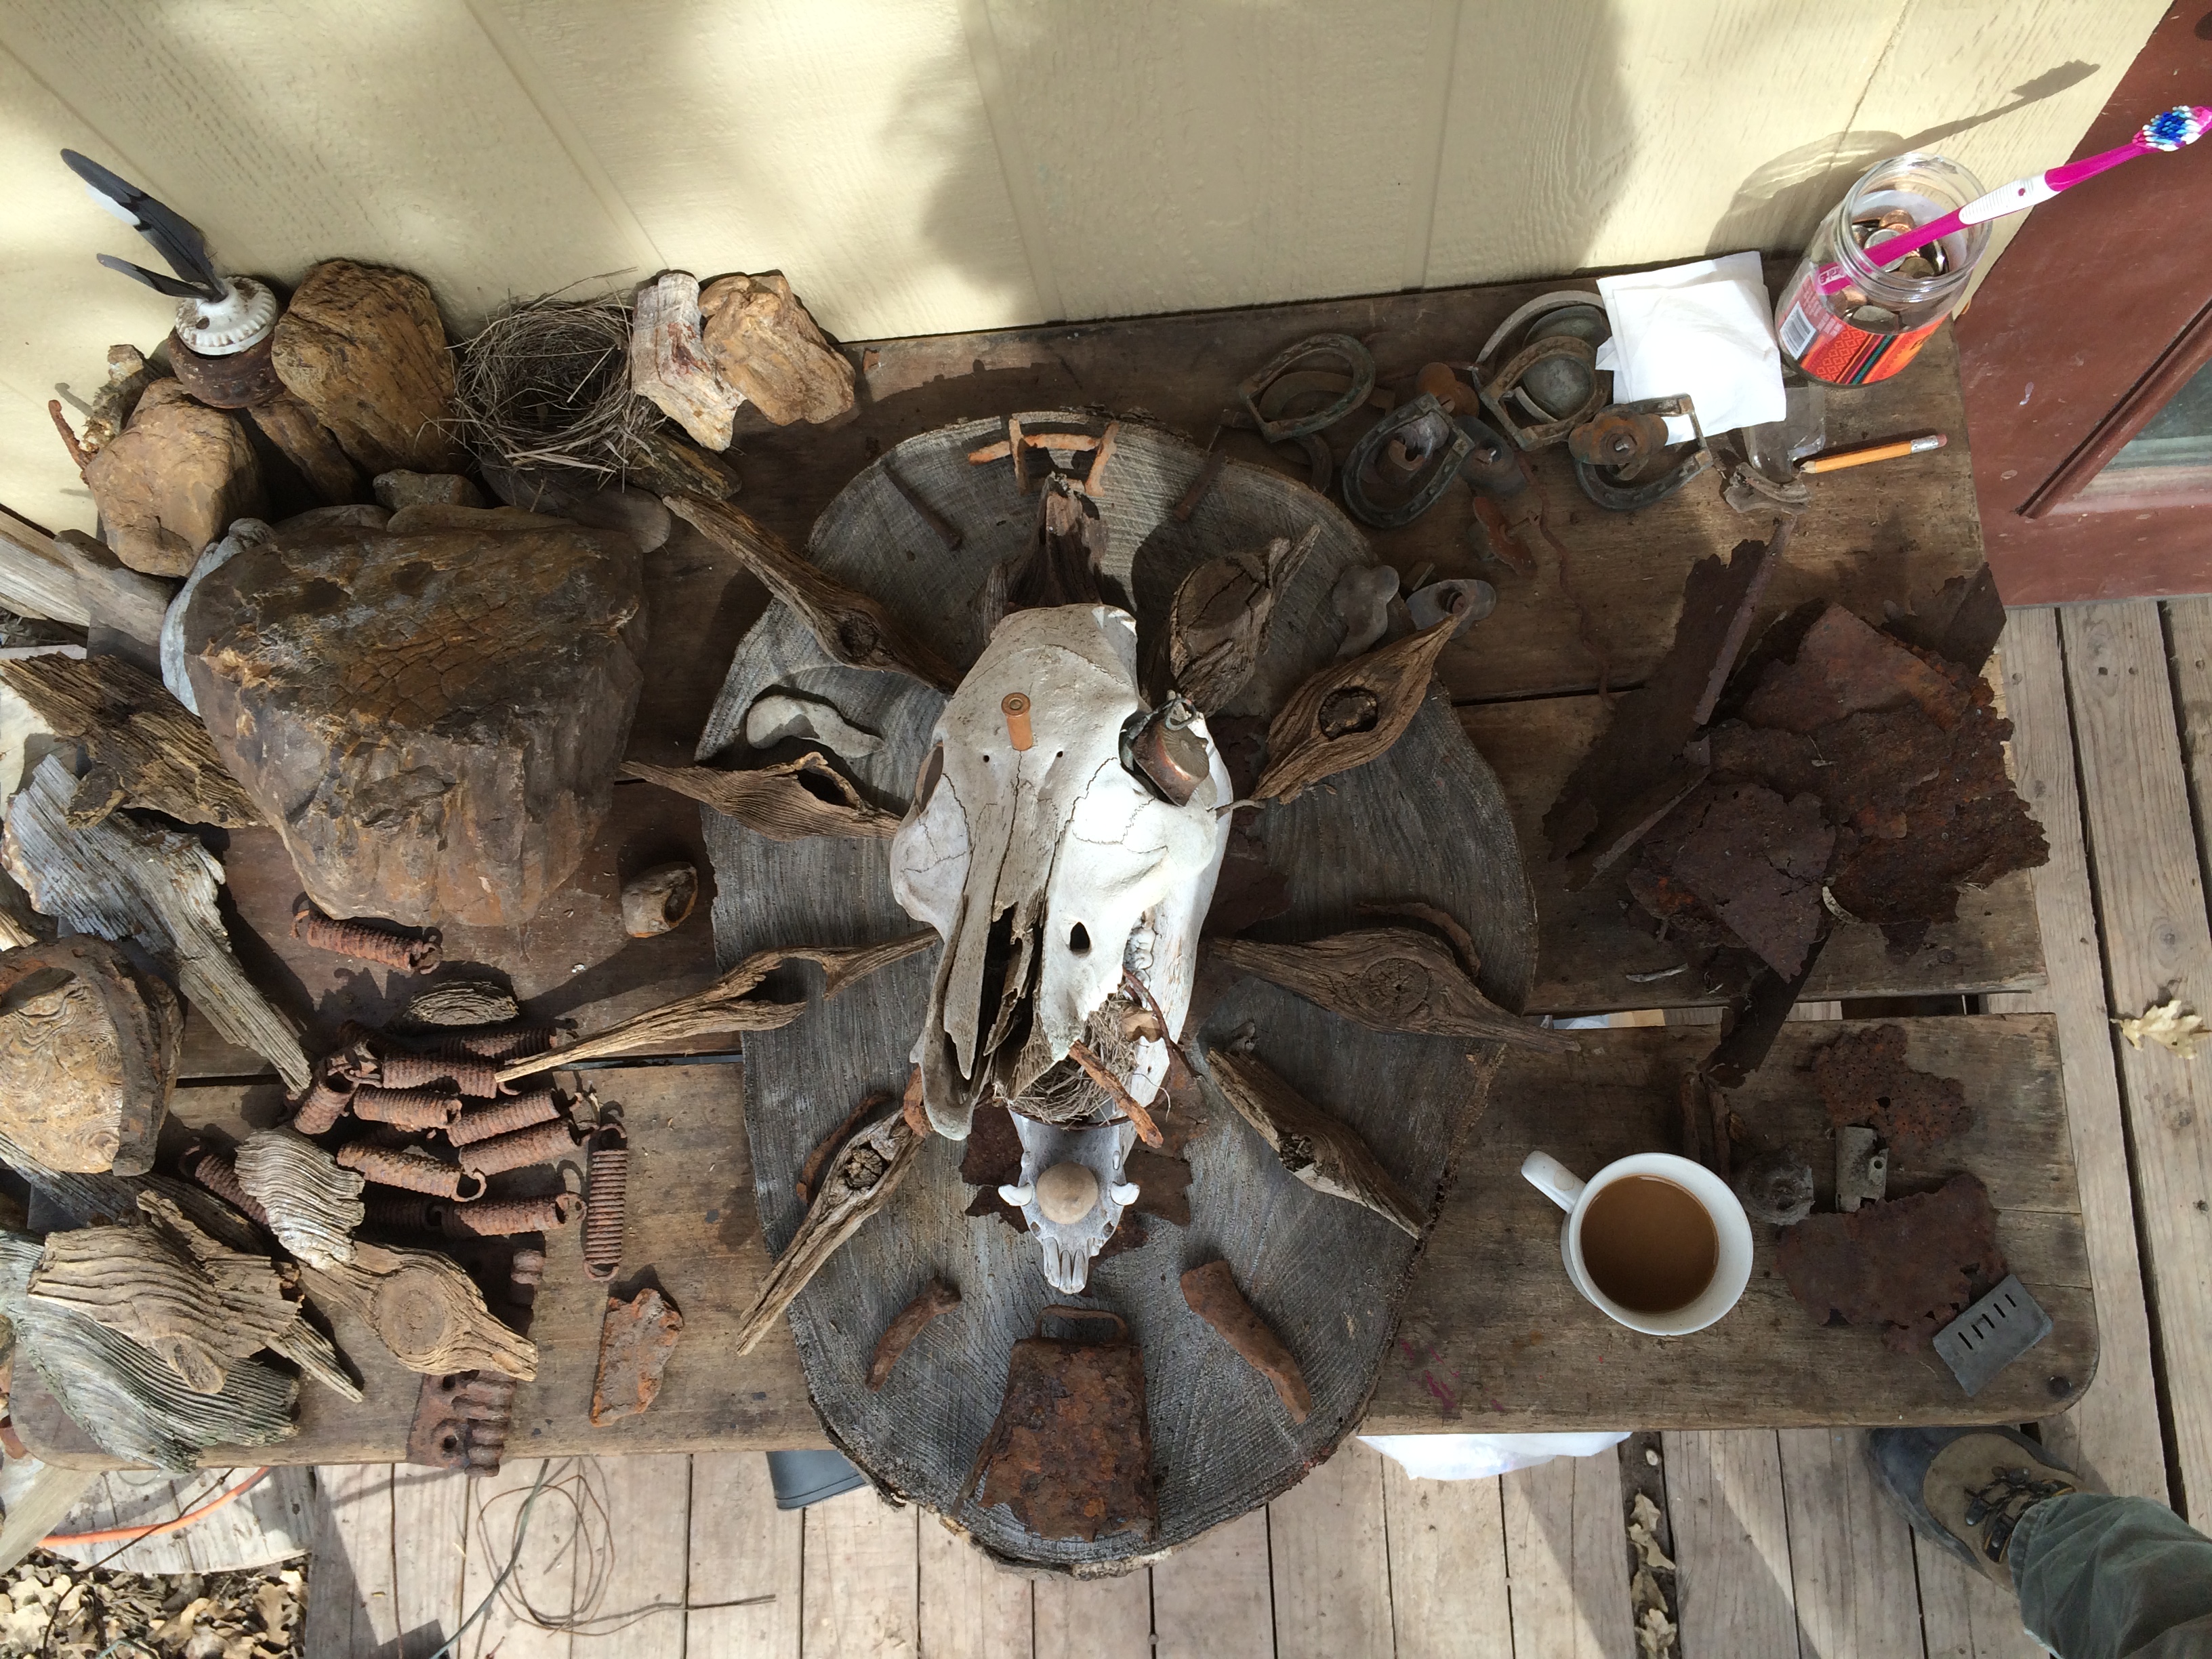
Kingsbury Totem: wild boar skull with homestead bullet, board knots, cow bell, bed spring, melted aluminum blobs, & other artifacts, secured with scraps of old barbed wire etc
In our scavenging, we discovered piles of old bricks, and several dozen partially-buried split limestone blocks, at both sites – these had once been house foundations. We’d excavated them when we found them, and left them propped up on the surface for possible retrieval later on.
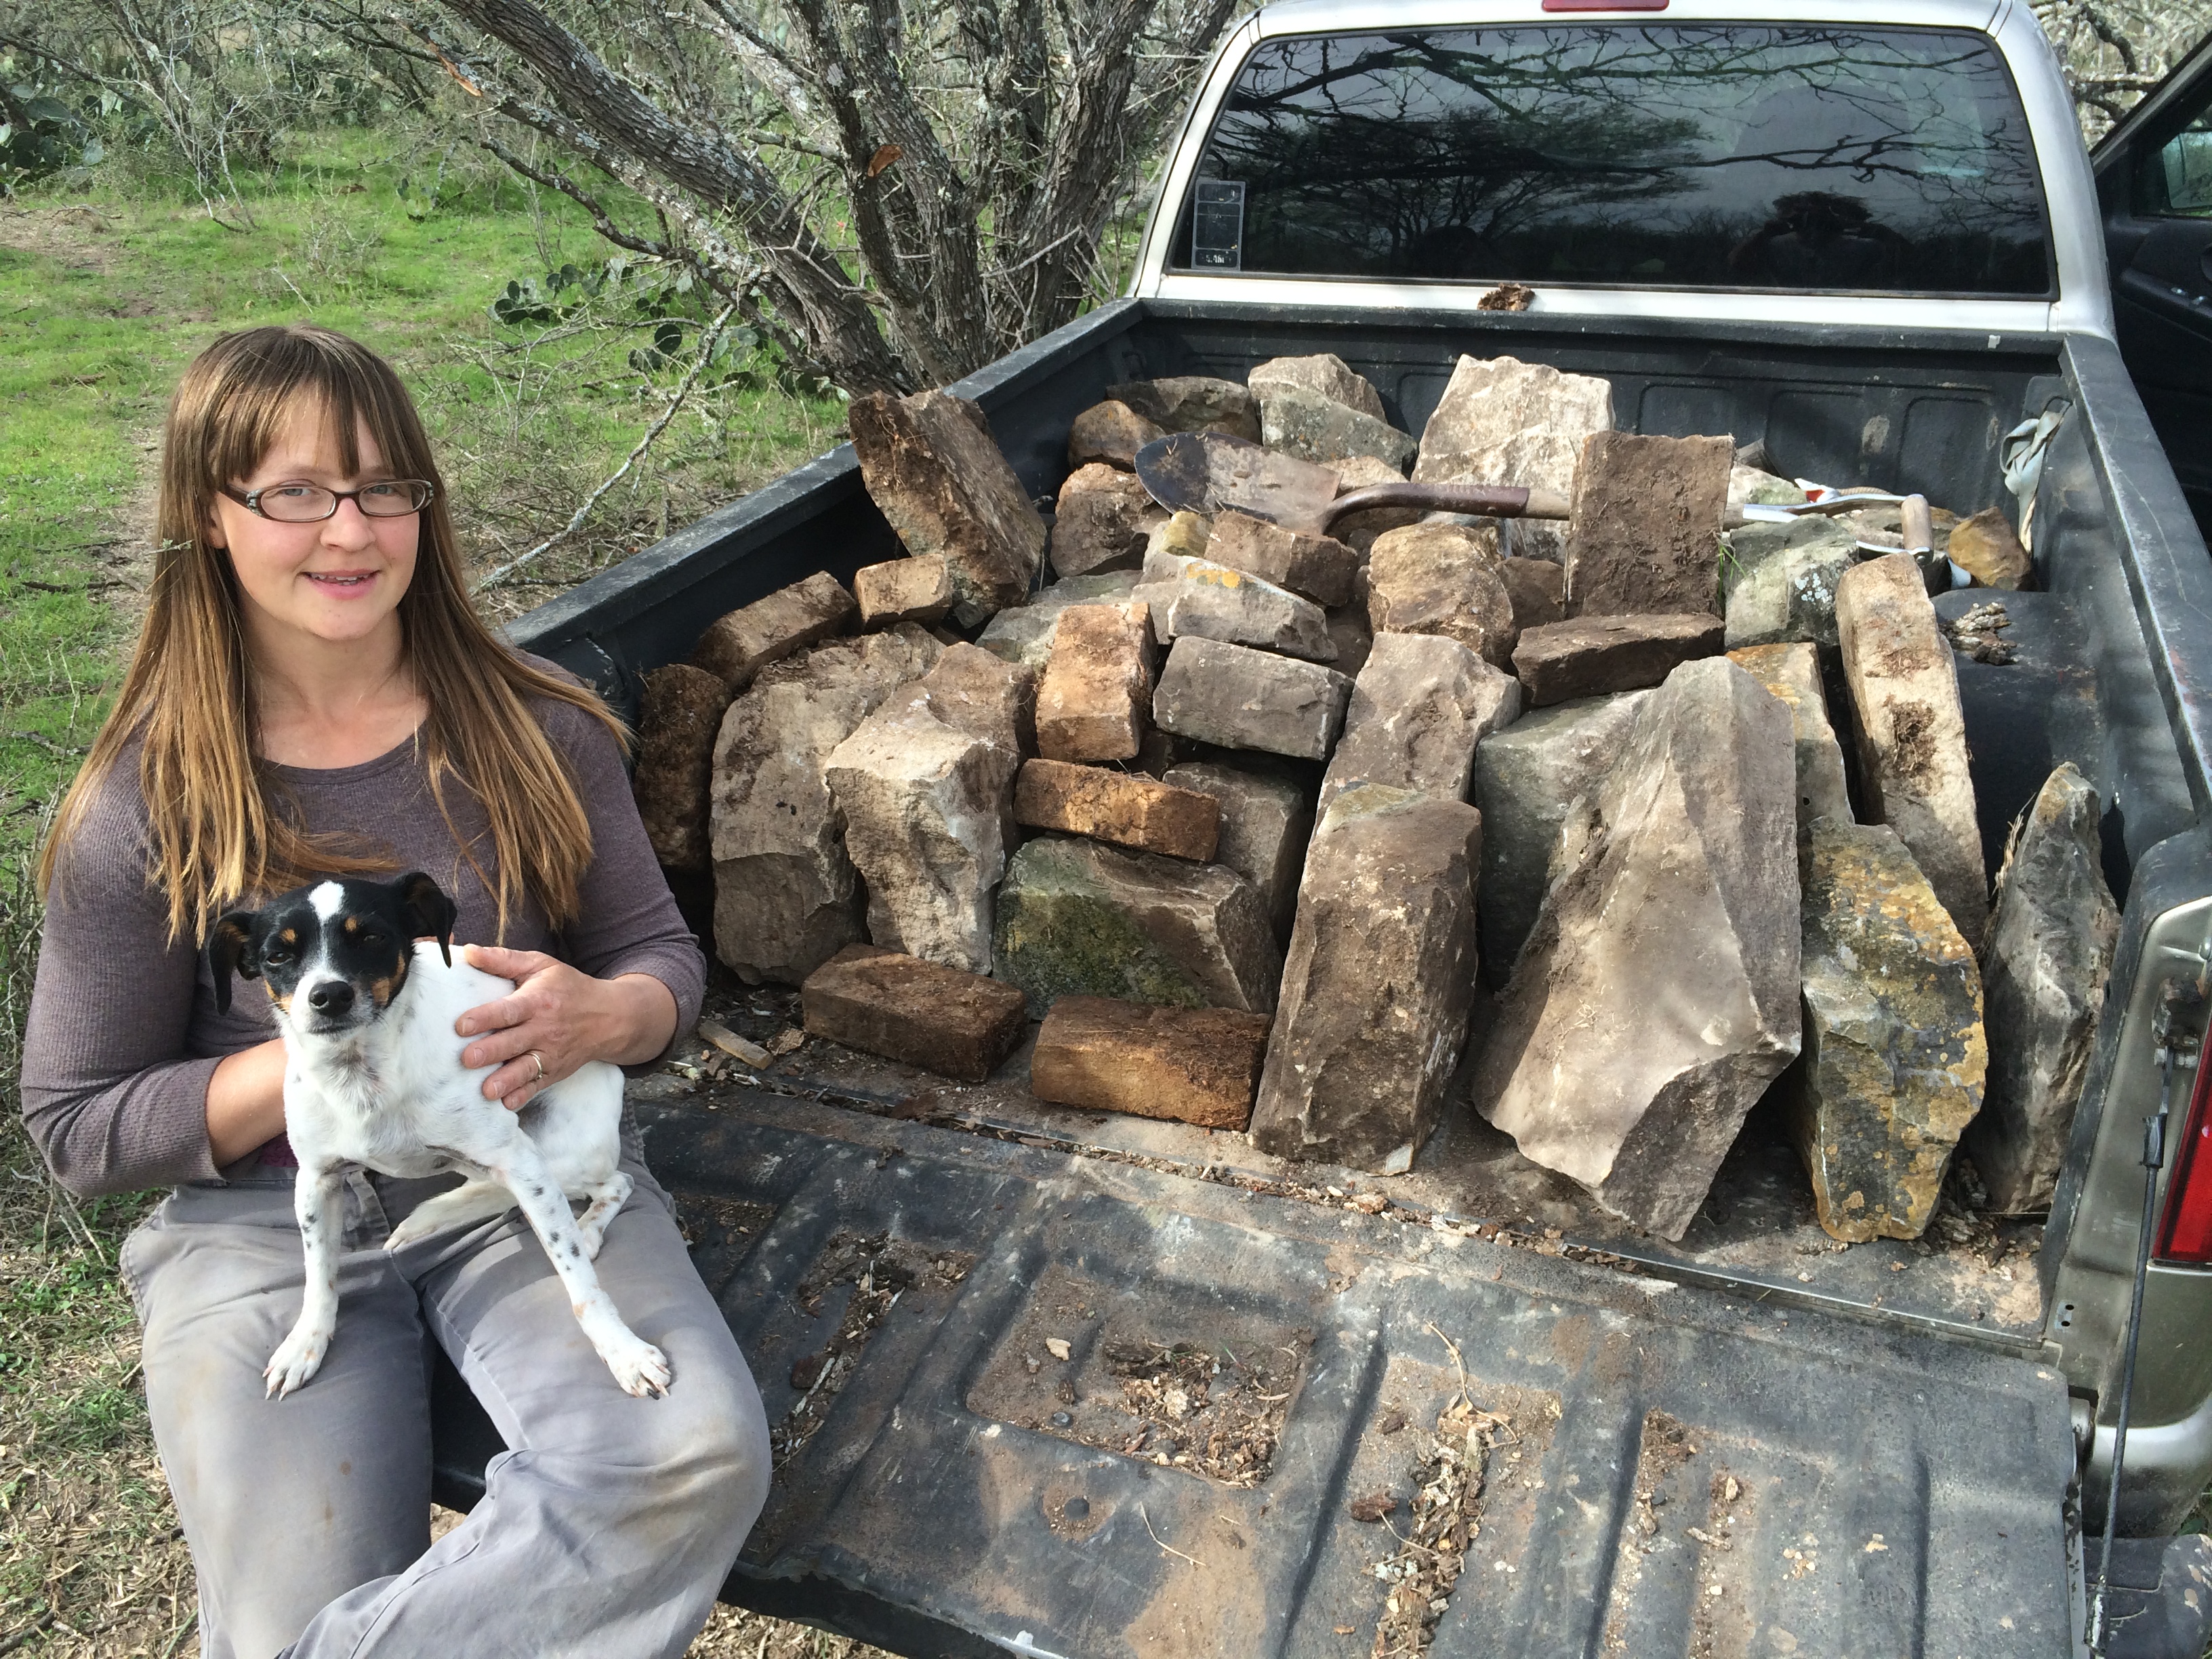
Once we realized we wanted to create an earth oven, we decided these blocks would be the perfect base to build upon – beautiful, free, and full of the character and history of the land. So we borrowed the farm truck and a wheelbarrow, and got to collecting …
all the foundation blocks from Homestead #2 – we got another load the next day from Shane’s Grandma’s place. (we’d brought home a load of bricks from both sites weeks earlier without any specific plan for them)
Kristin ordered a book on earth oven construction – this would be our Bible for the duration of the construction project that we embarked on, not sure if we’d even have time to finish it before we had to head to Austin in three weeks …
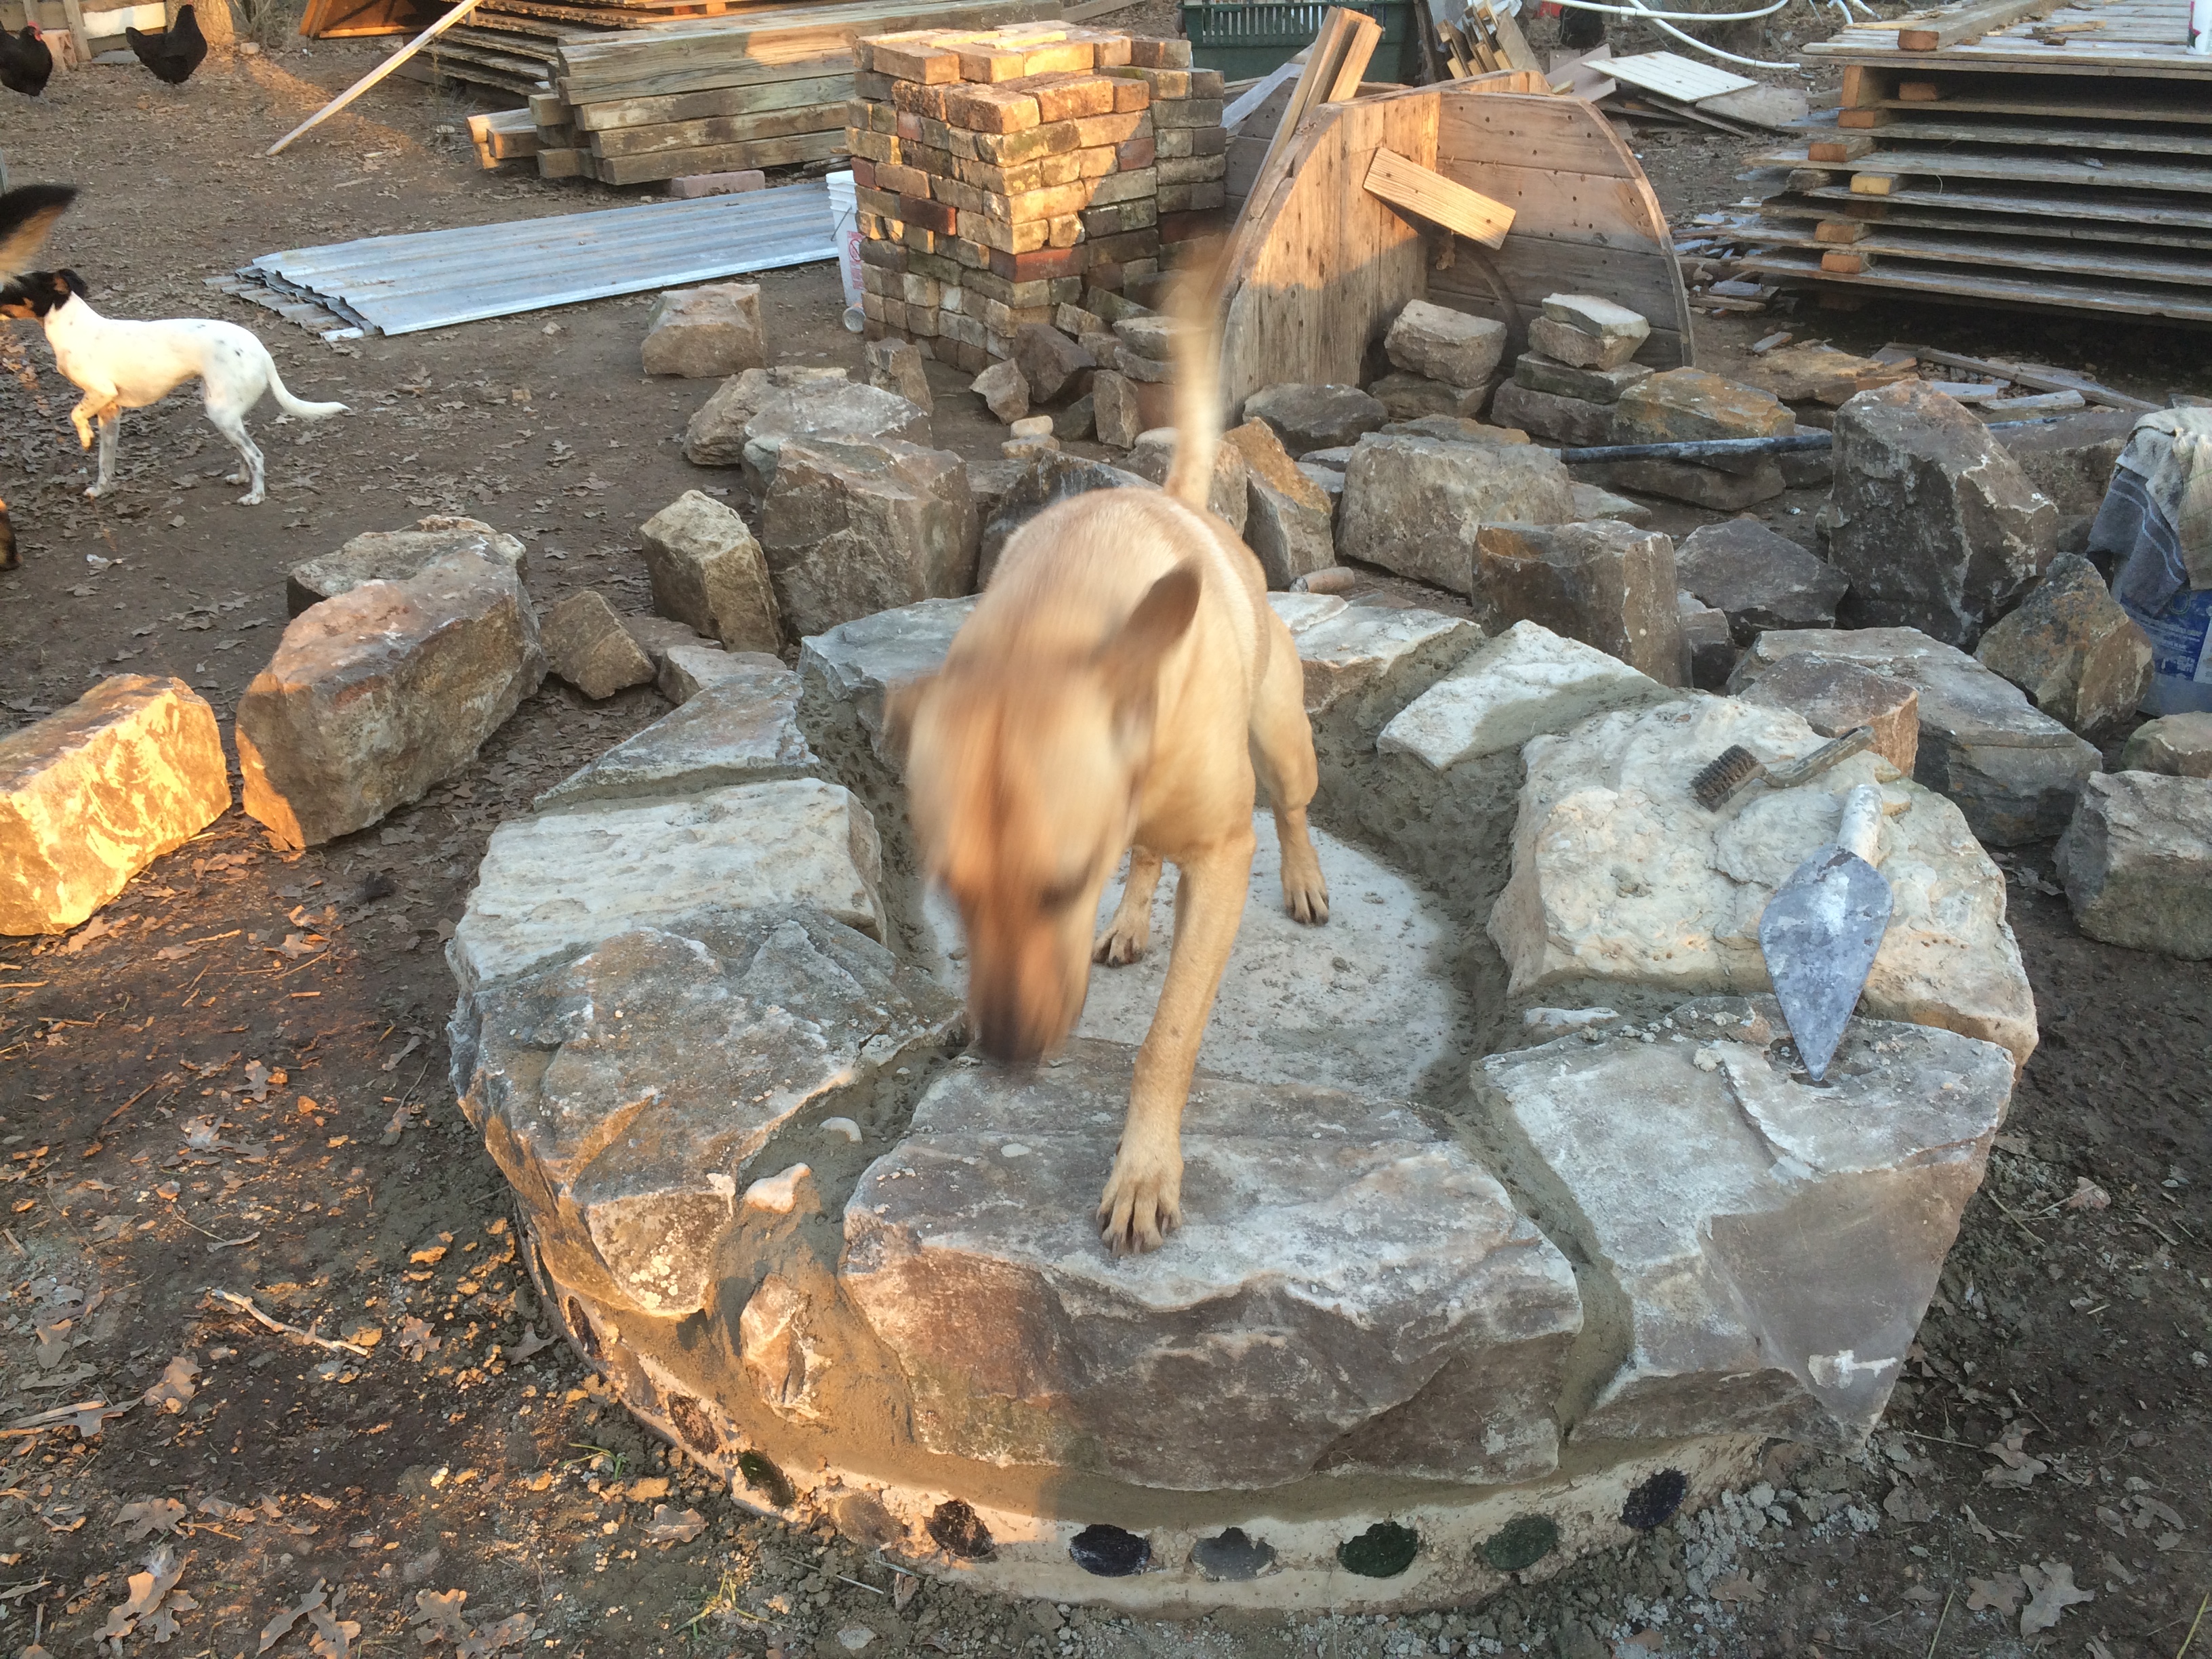
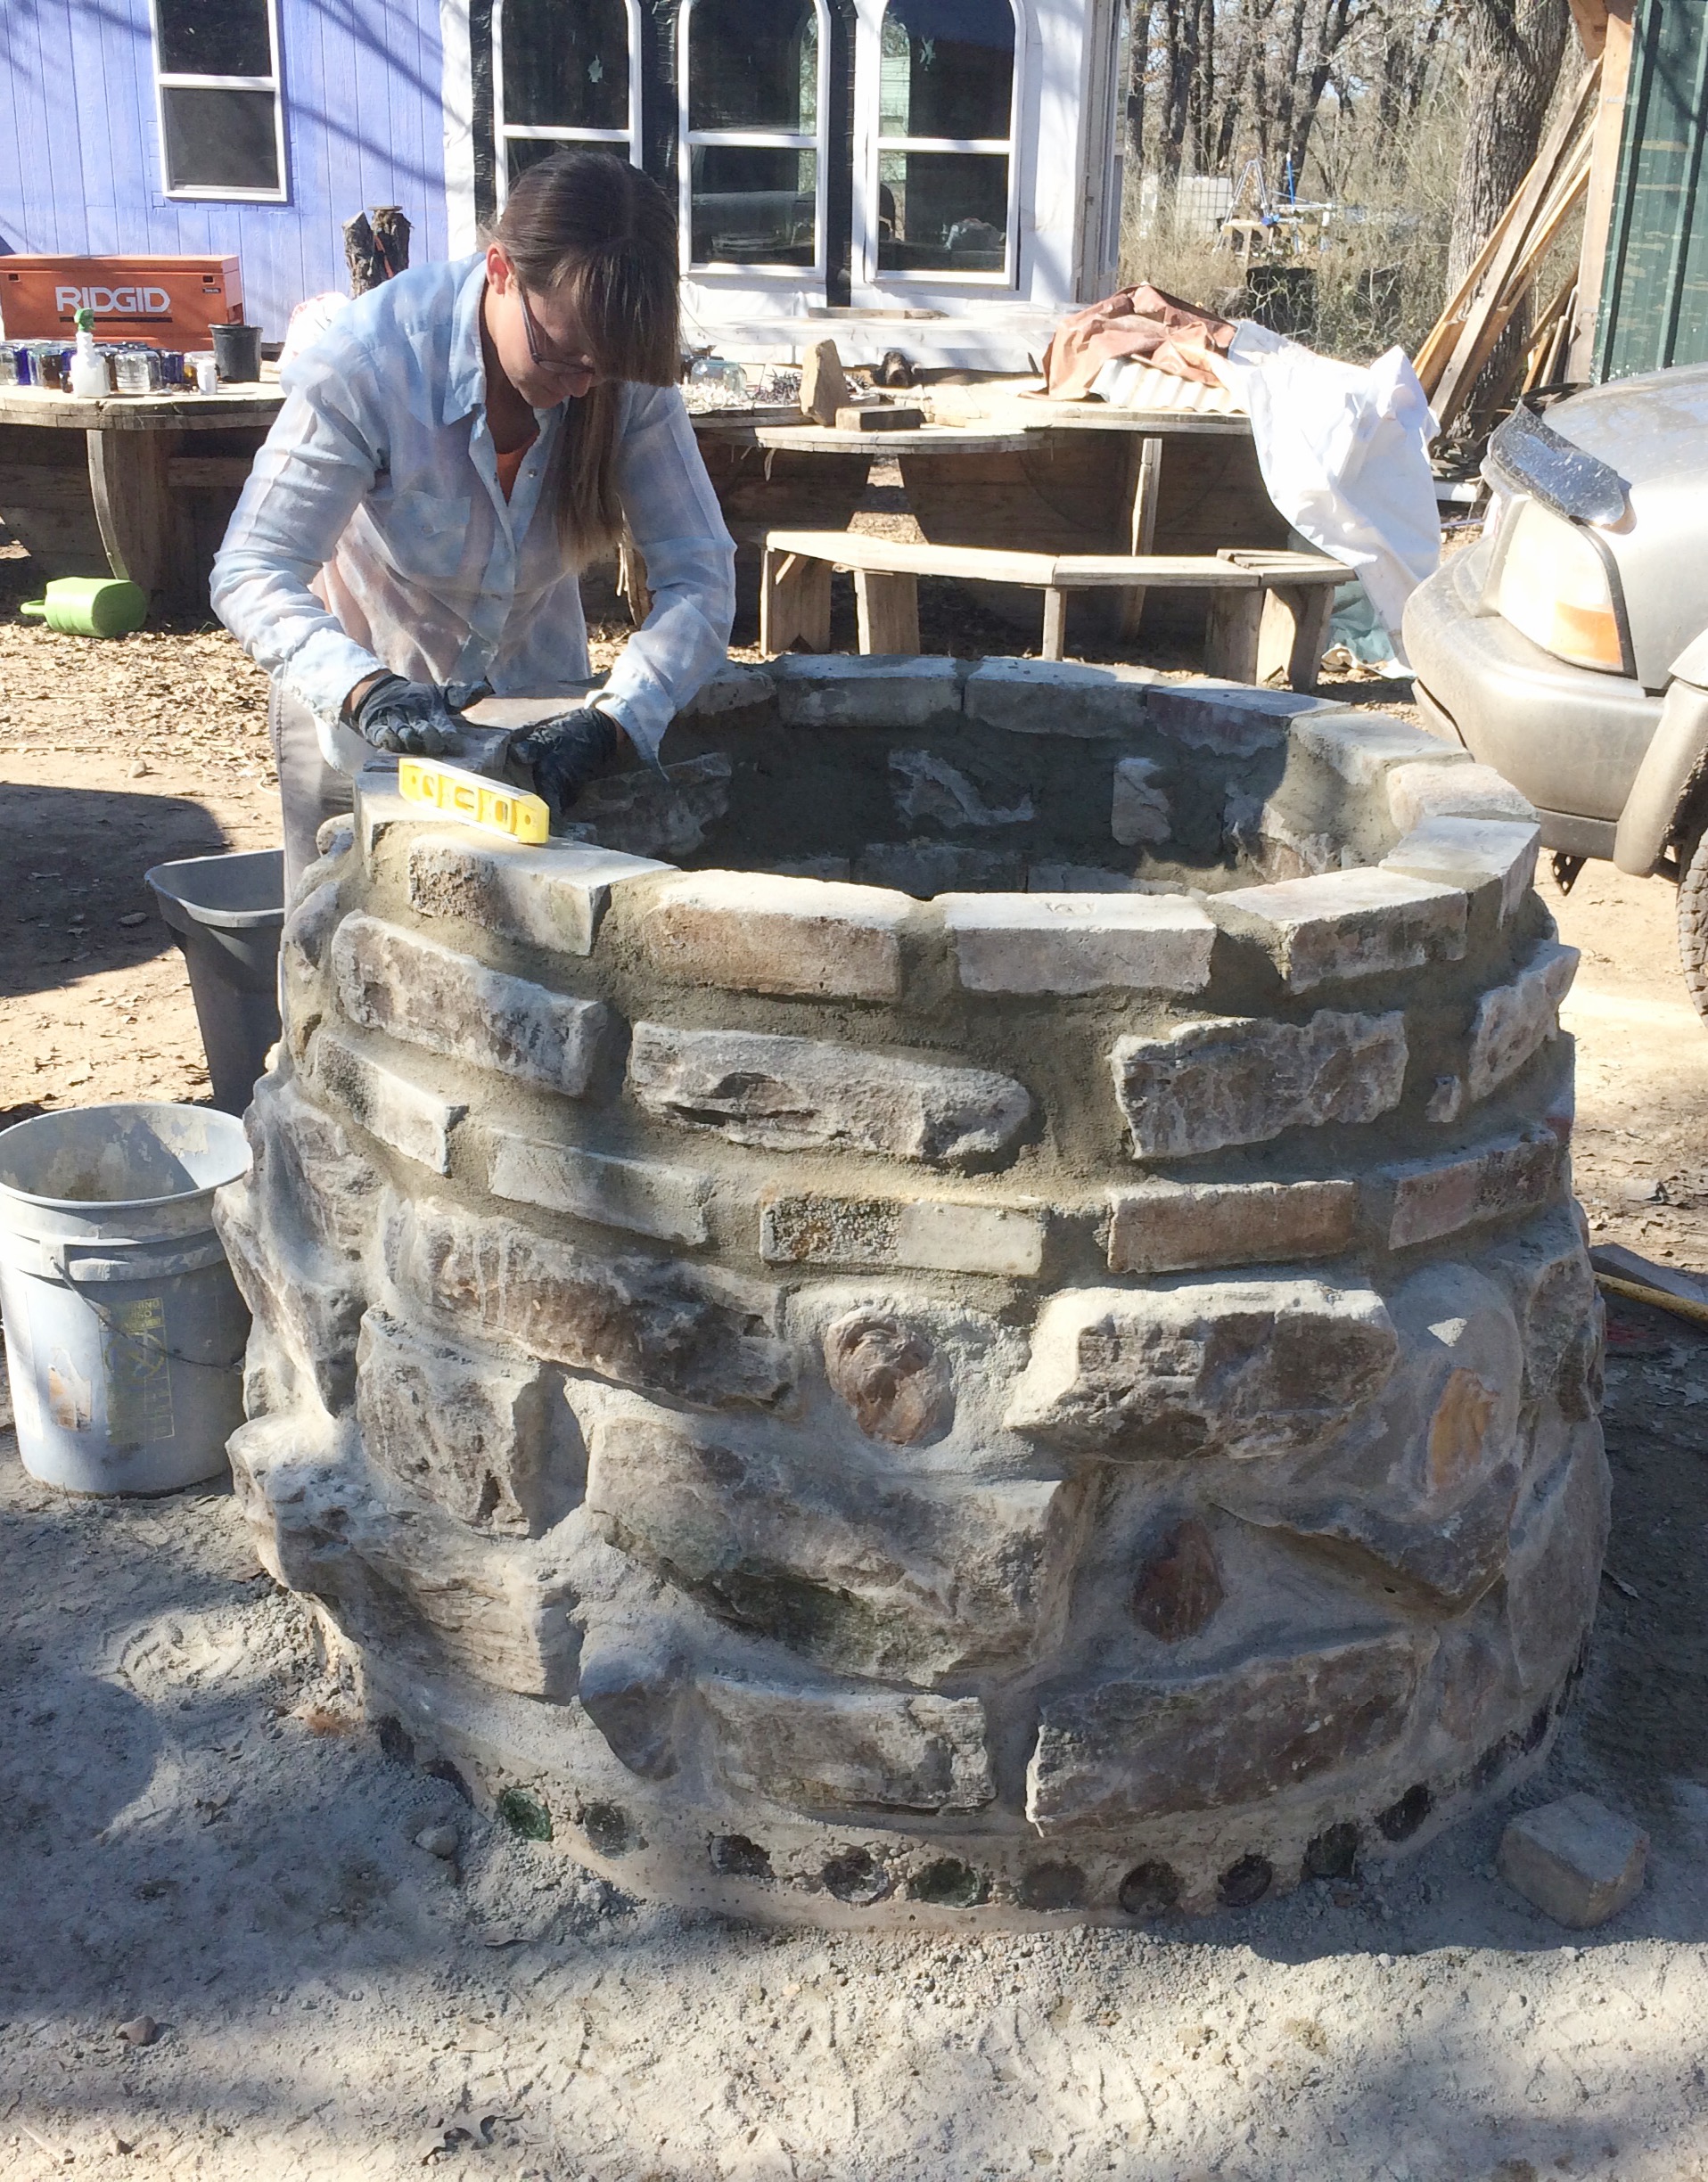
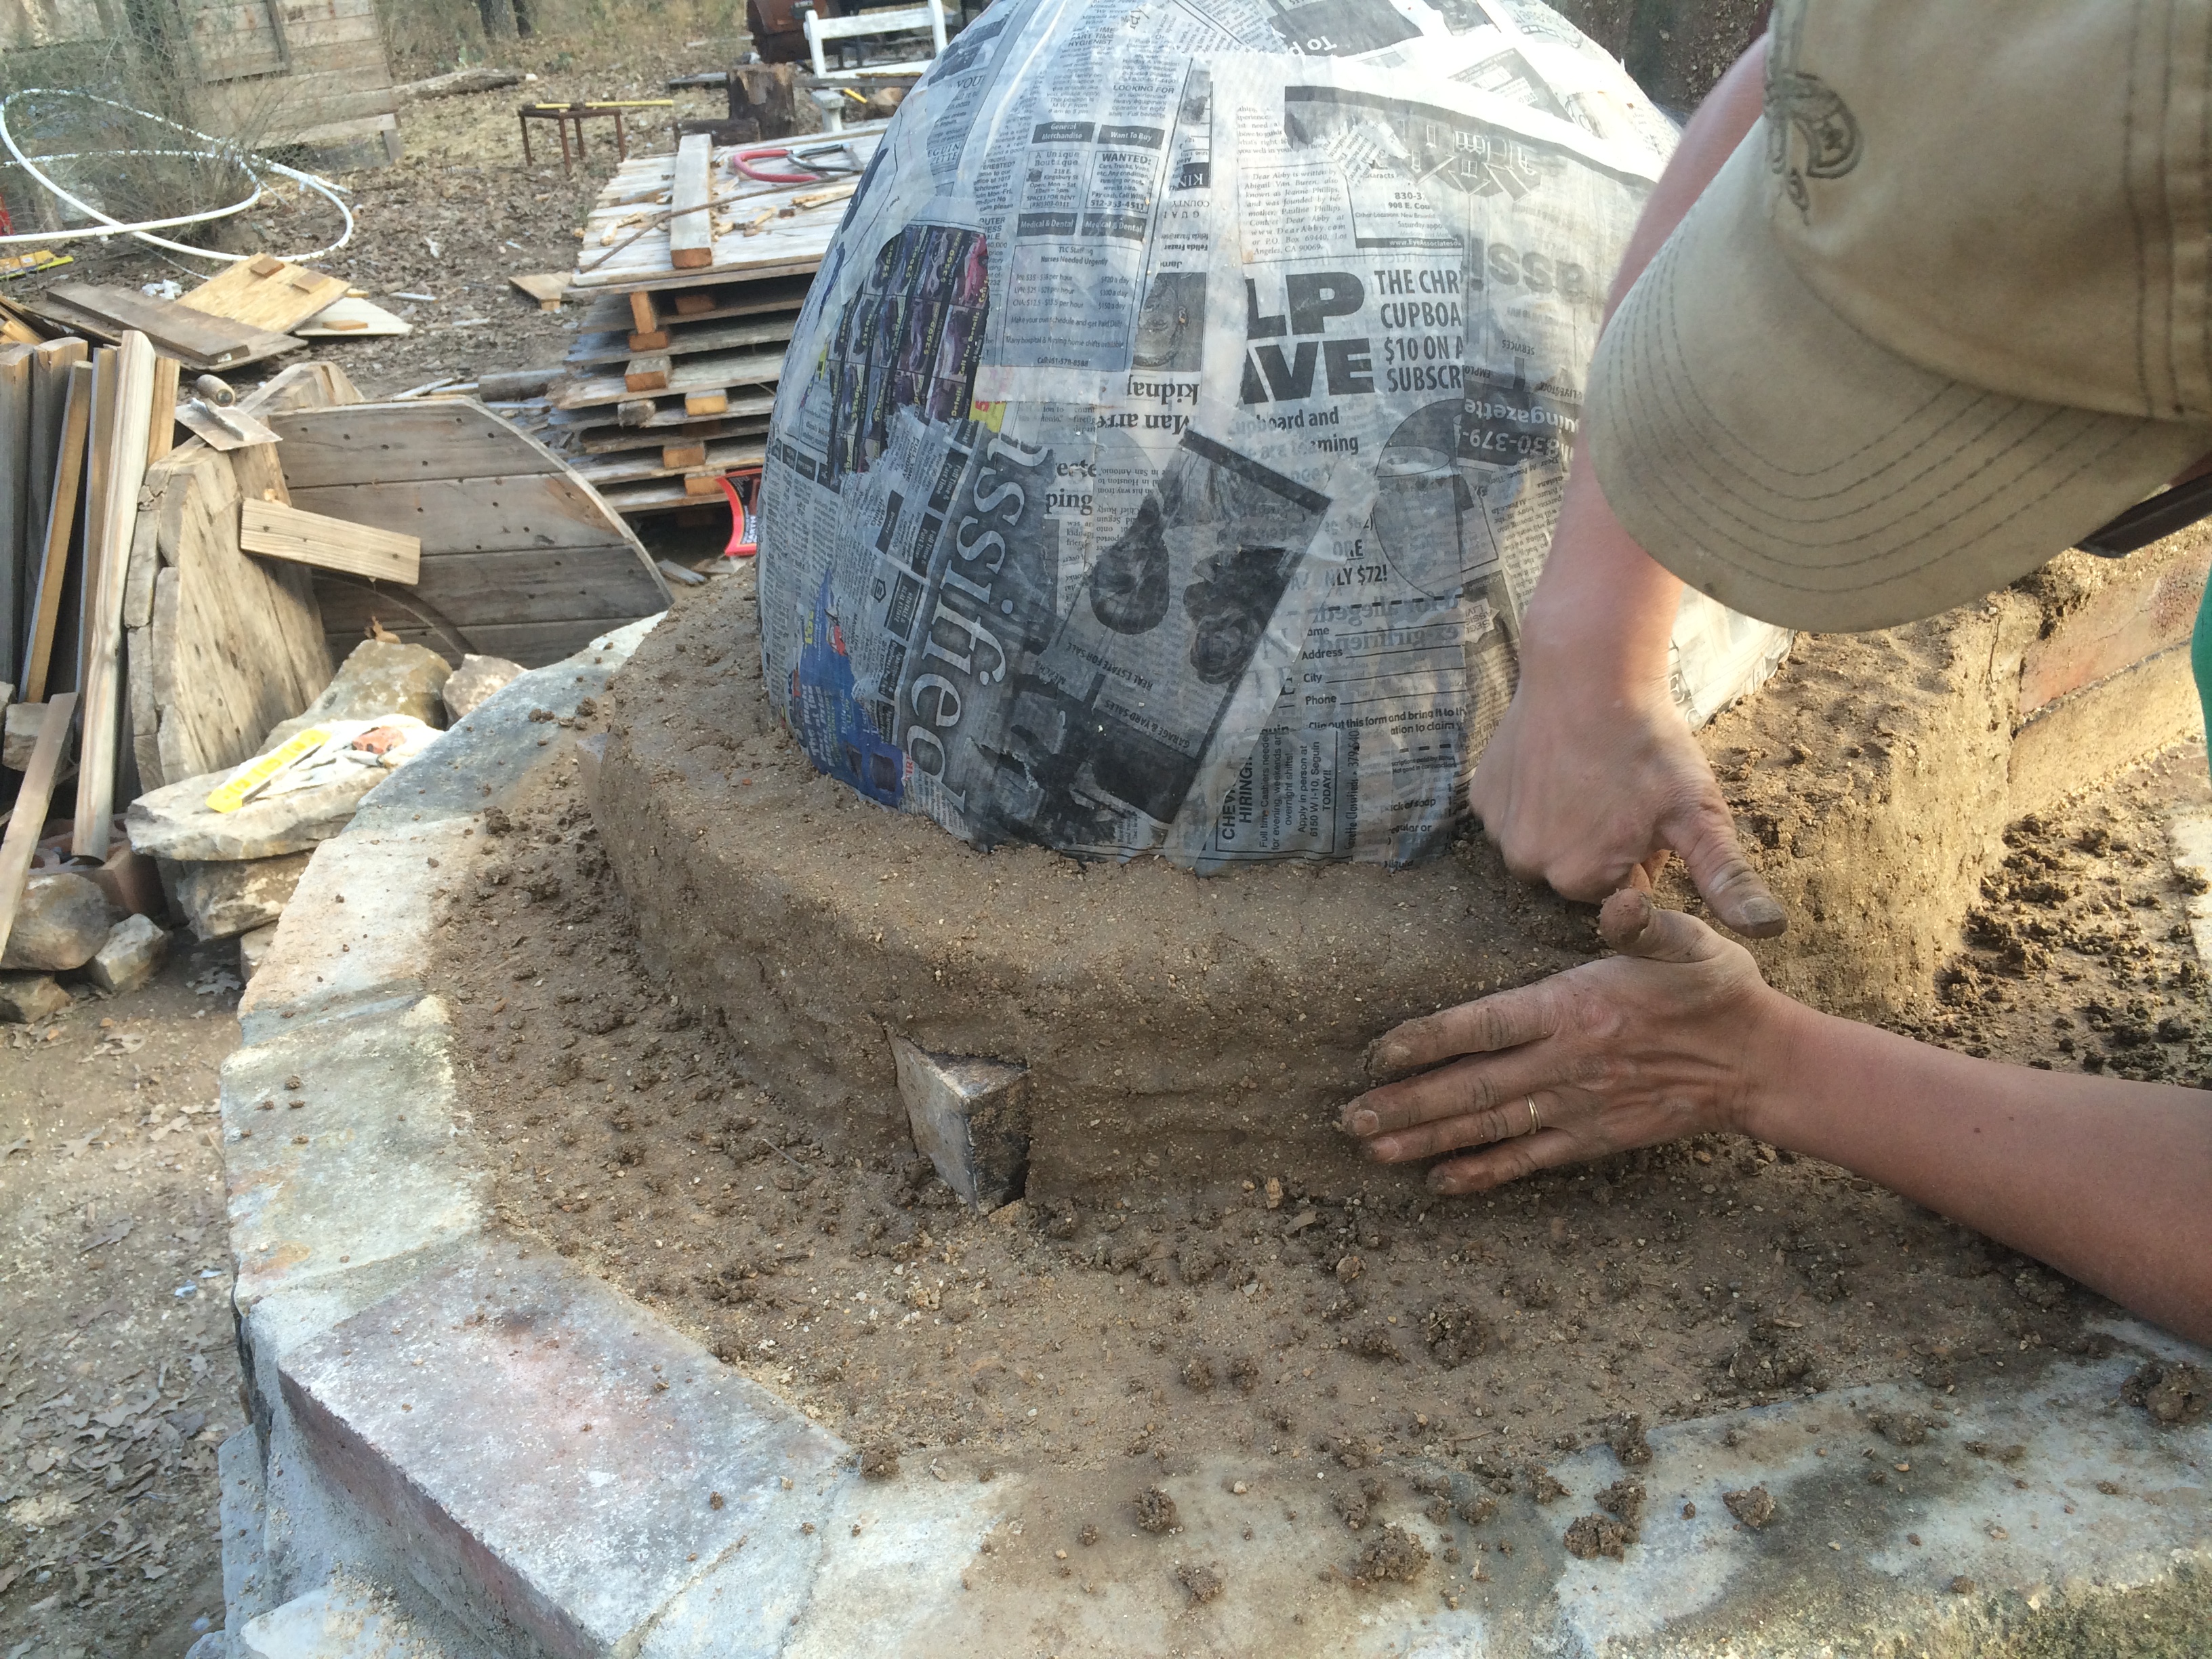
We began mortaring in the blocks, one tier at a time, spending hours fitting the stones together with minimal gaps and maximum stability/levelness.
Lily hanging out inside of tier one – the largest & thickest foundation blocks
as we neared the top, we worked in two tiers of old homestead bricks – and were proud (& sort of amazed!) when the top was level across from side to side in all directions
we filled gaps with flame-colored flint rocks, thinking they looked ember-esque. (The true color of the blocks shows most clearly when wet – it will be some time before the chalky mortar dust finishes washing off)
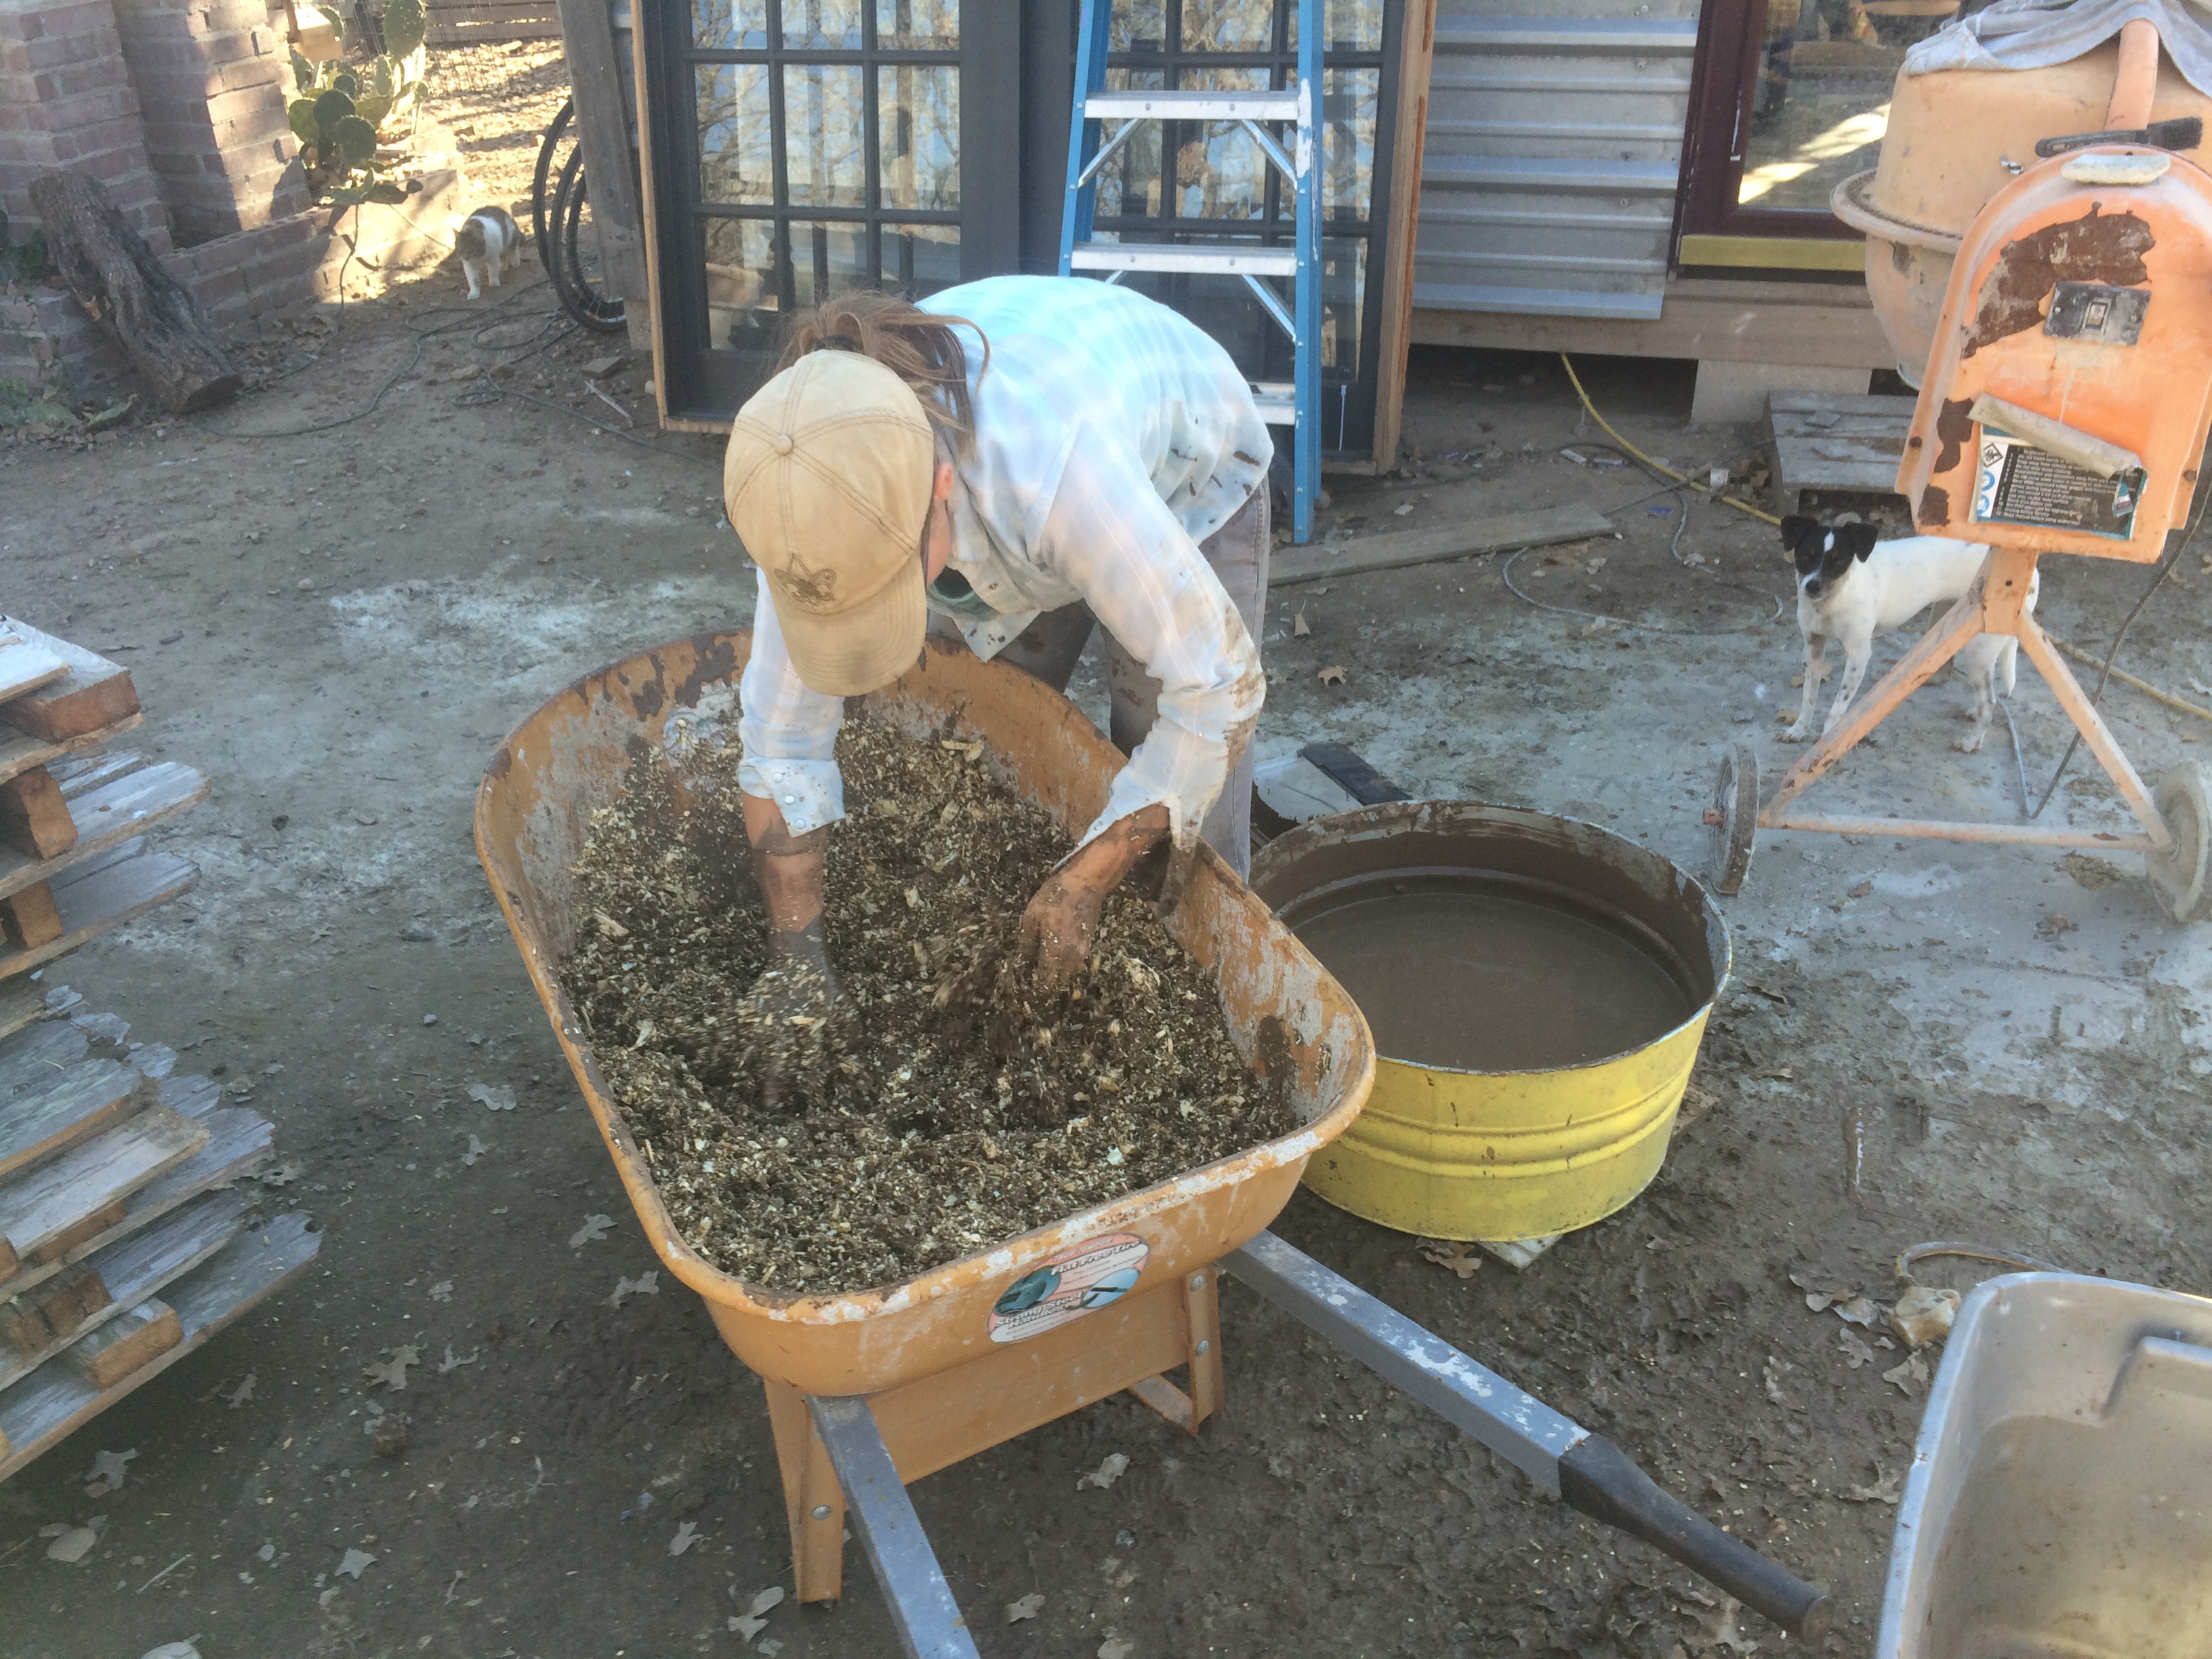
Next we mixed the first batch of insulation – clay slip and pine shavings – the shavings dry up and even burn out completely, leaving air pockets and a clay-foam heat barrier.
mixing insulation from clay slip & pine shavings
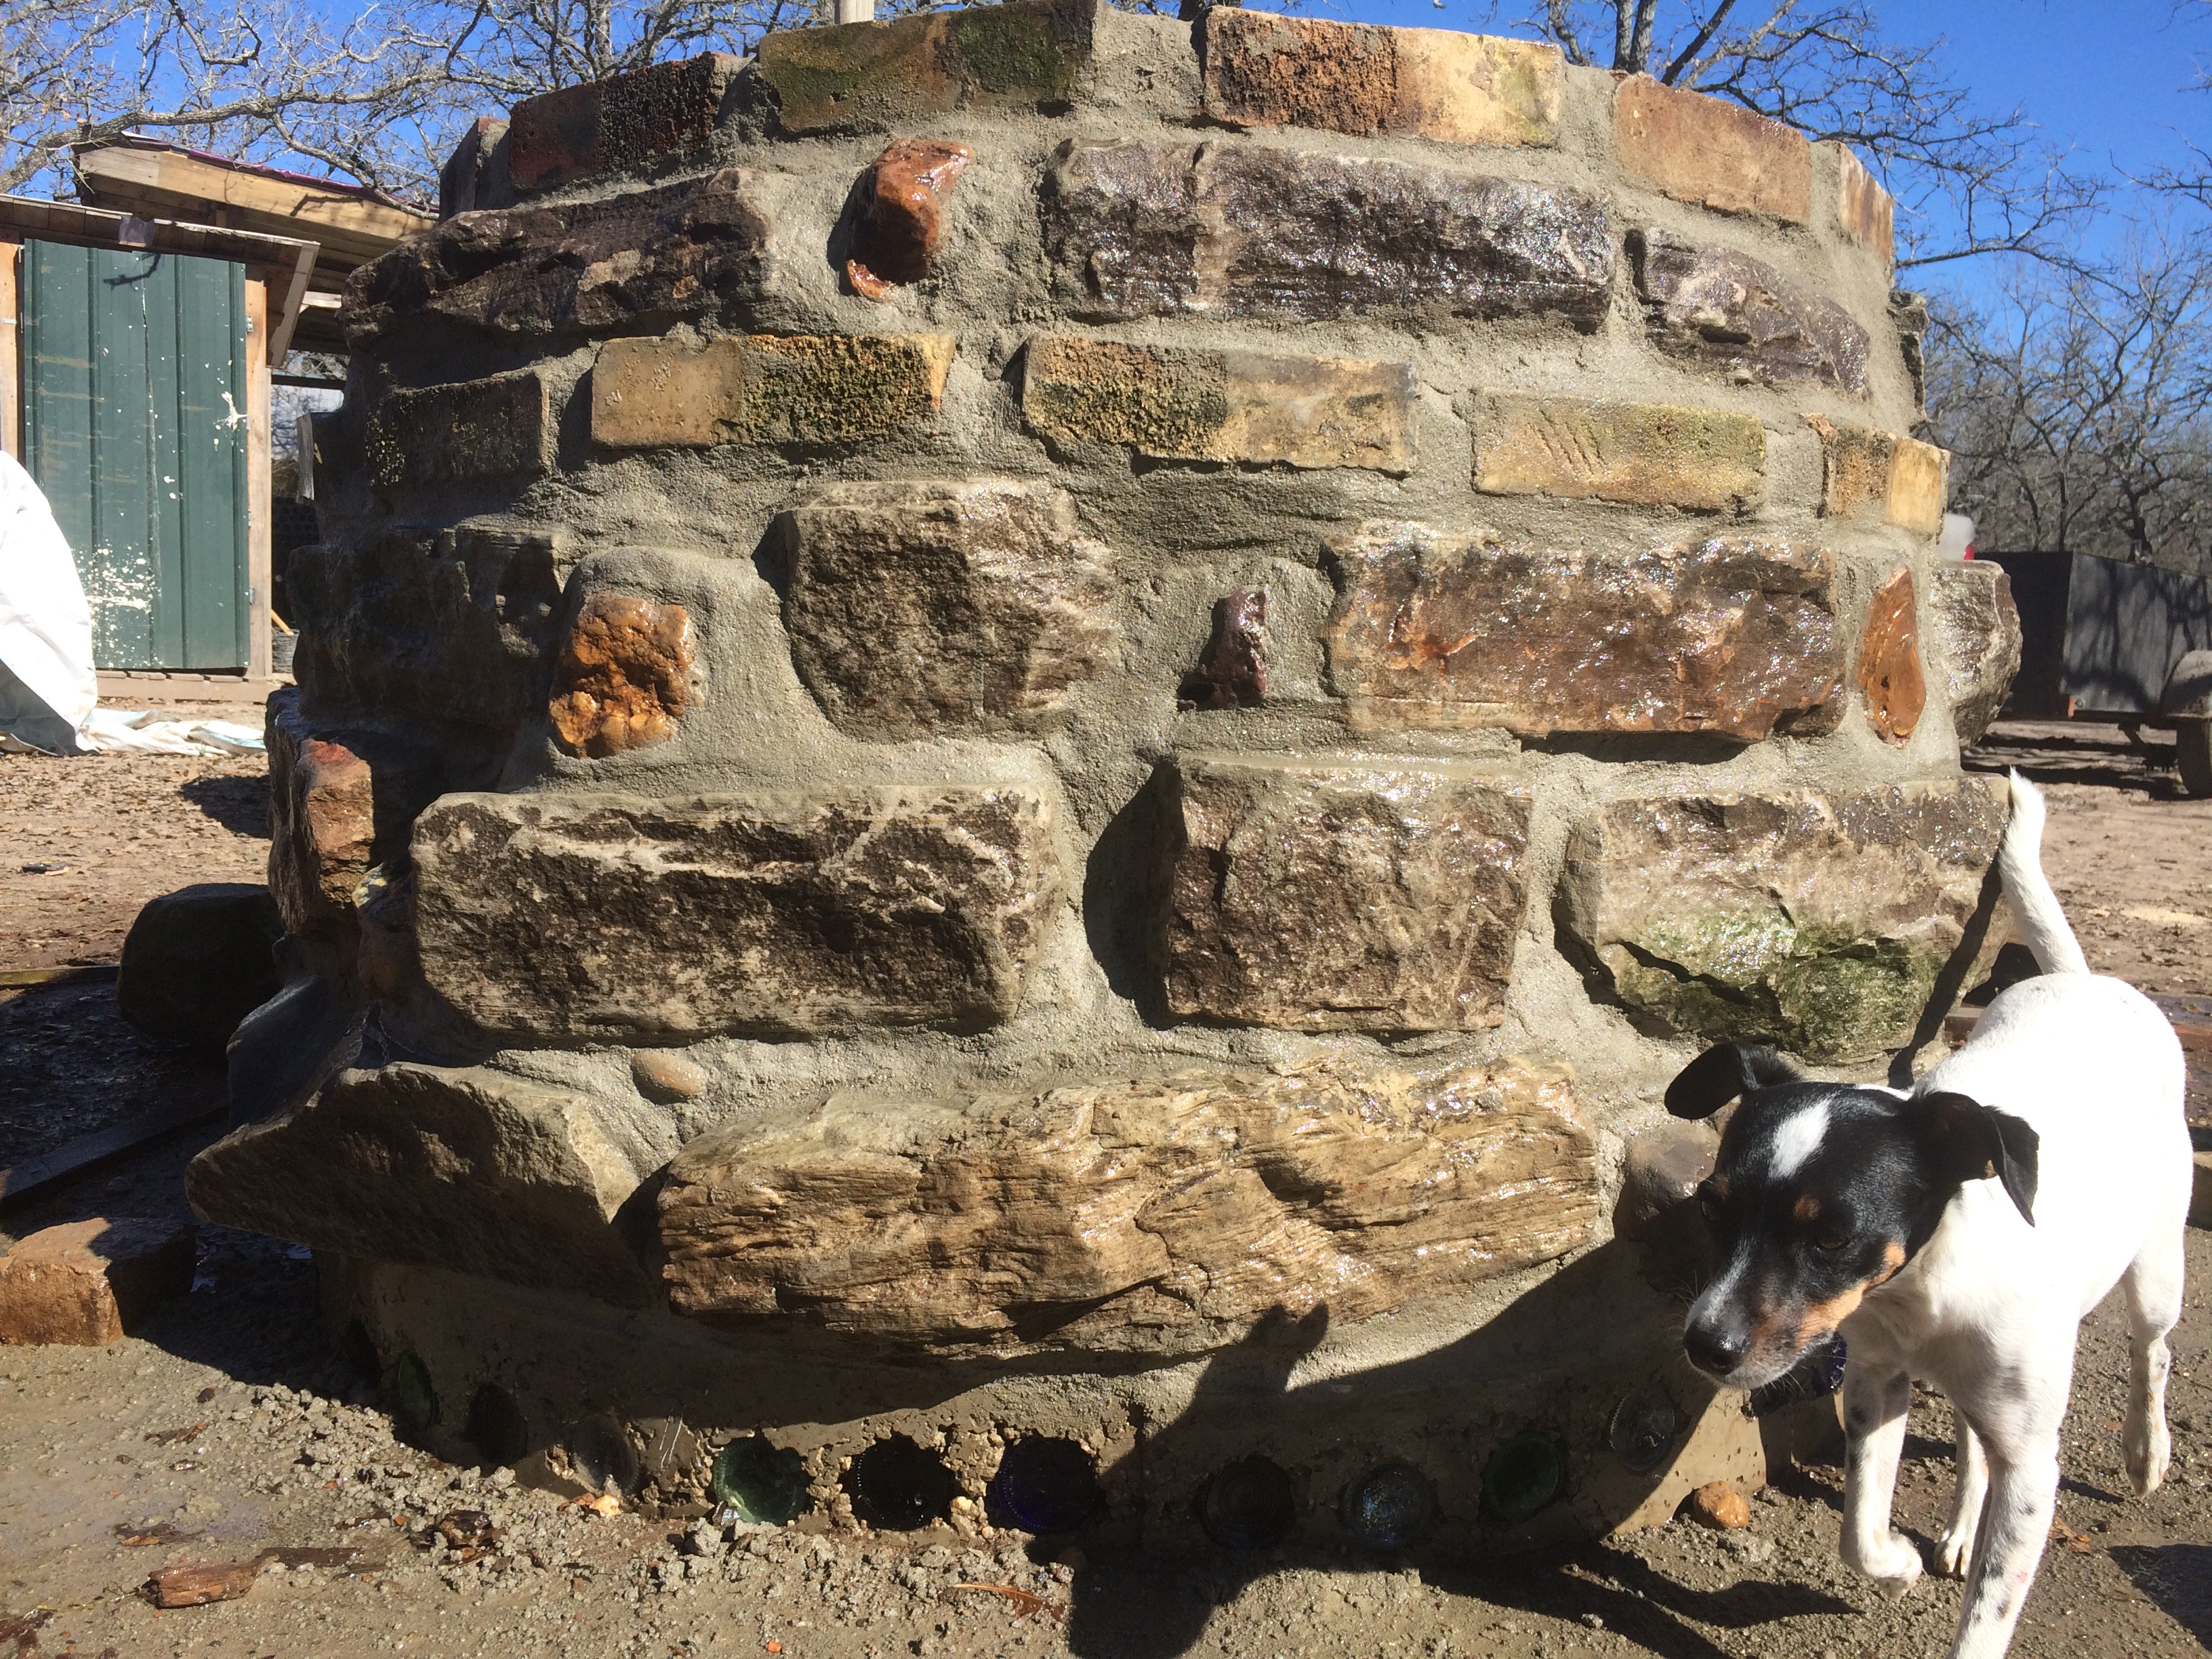
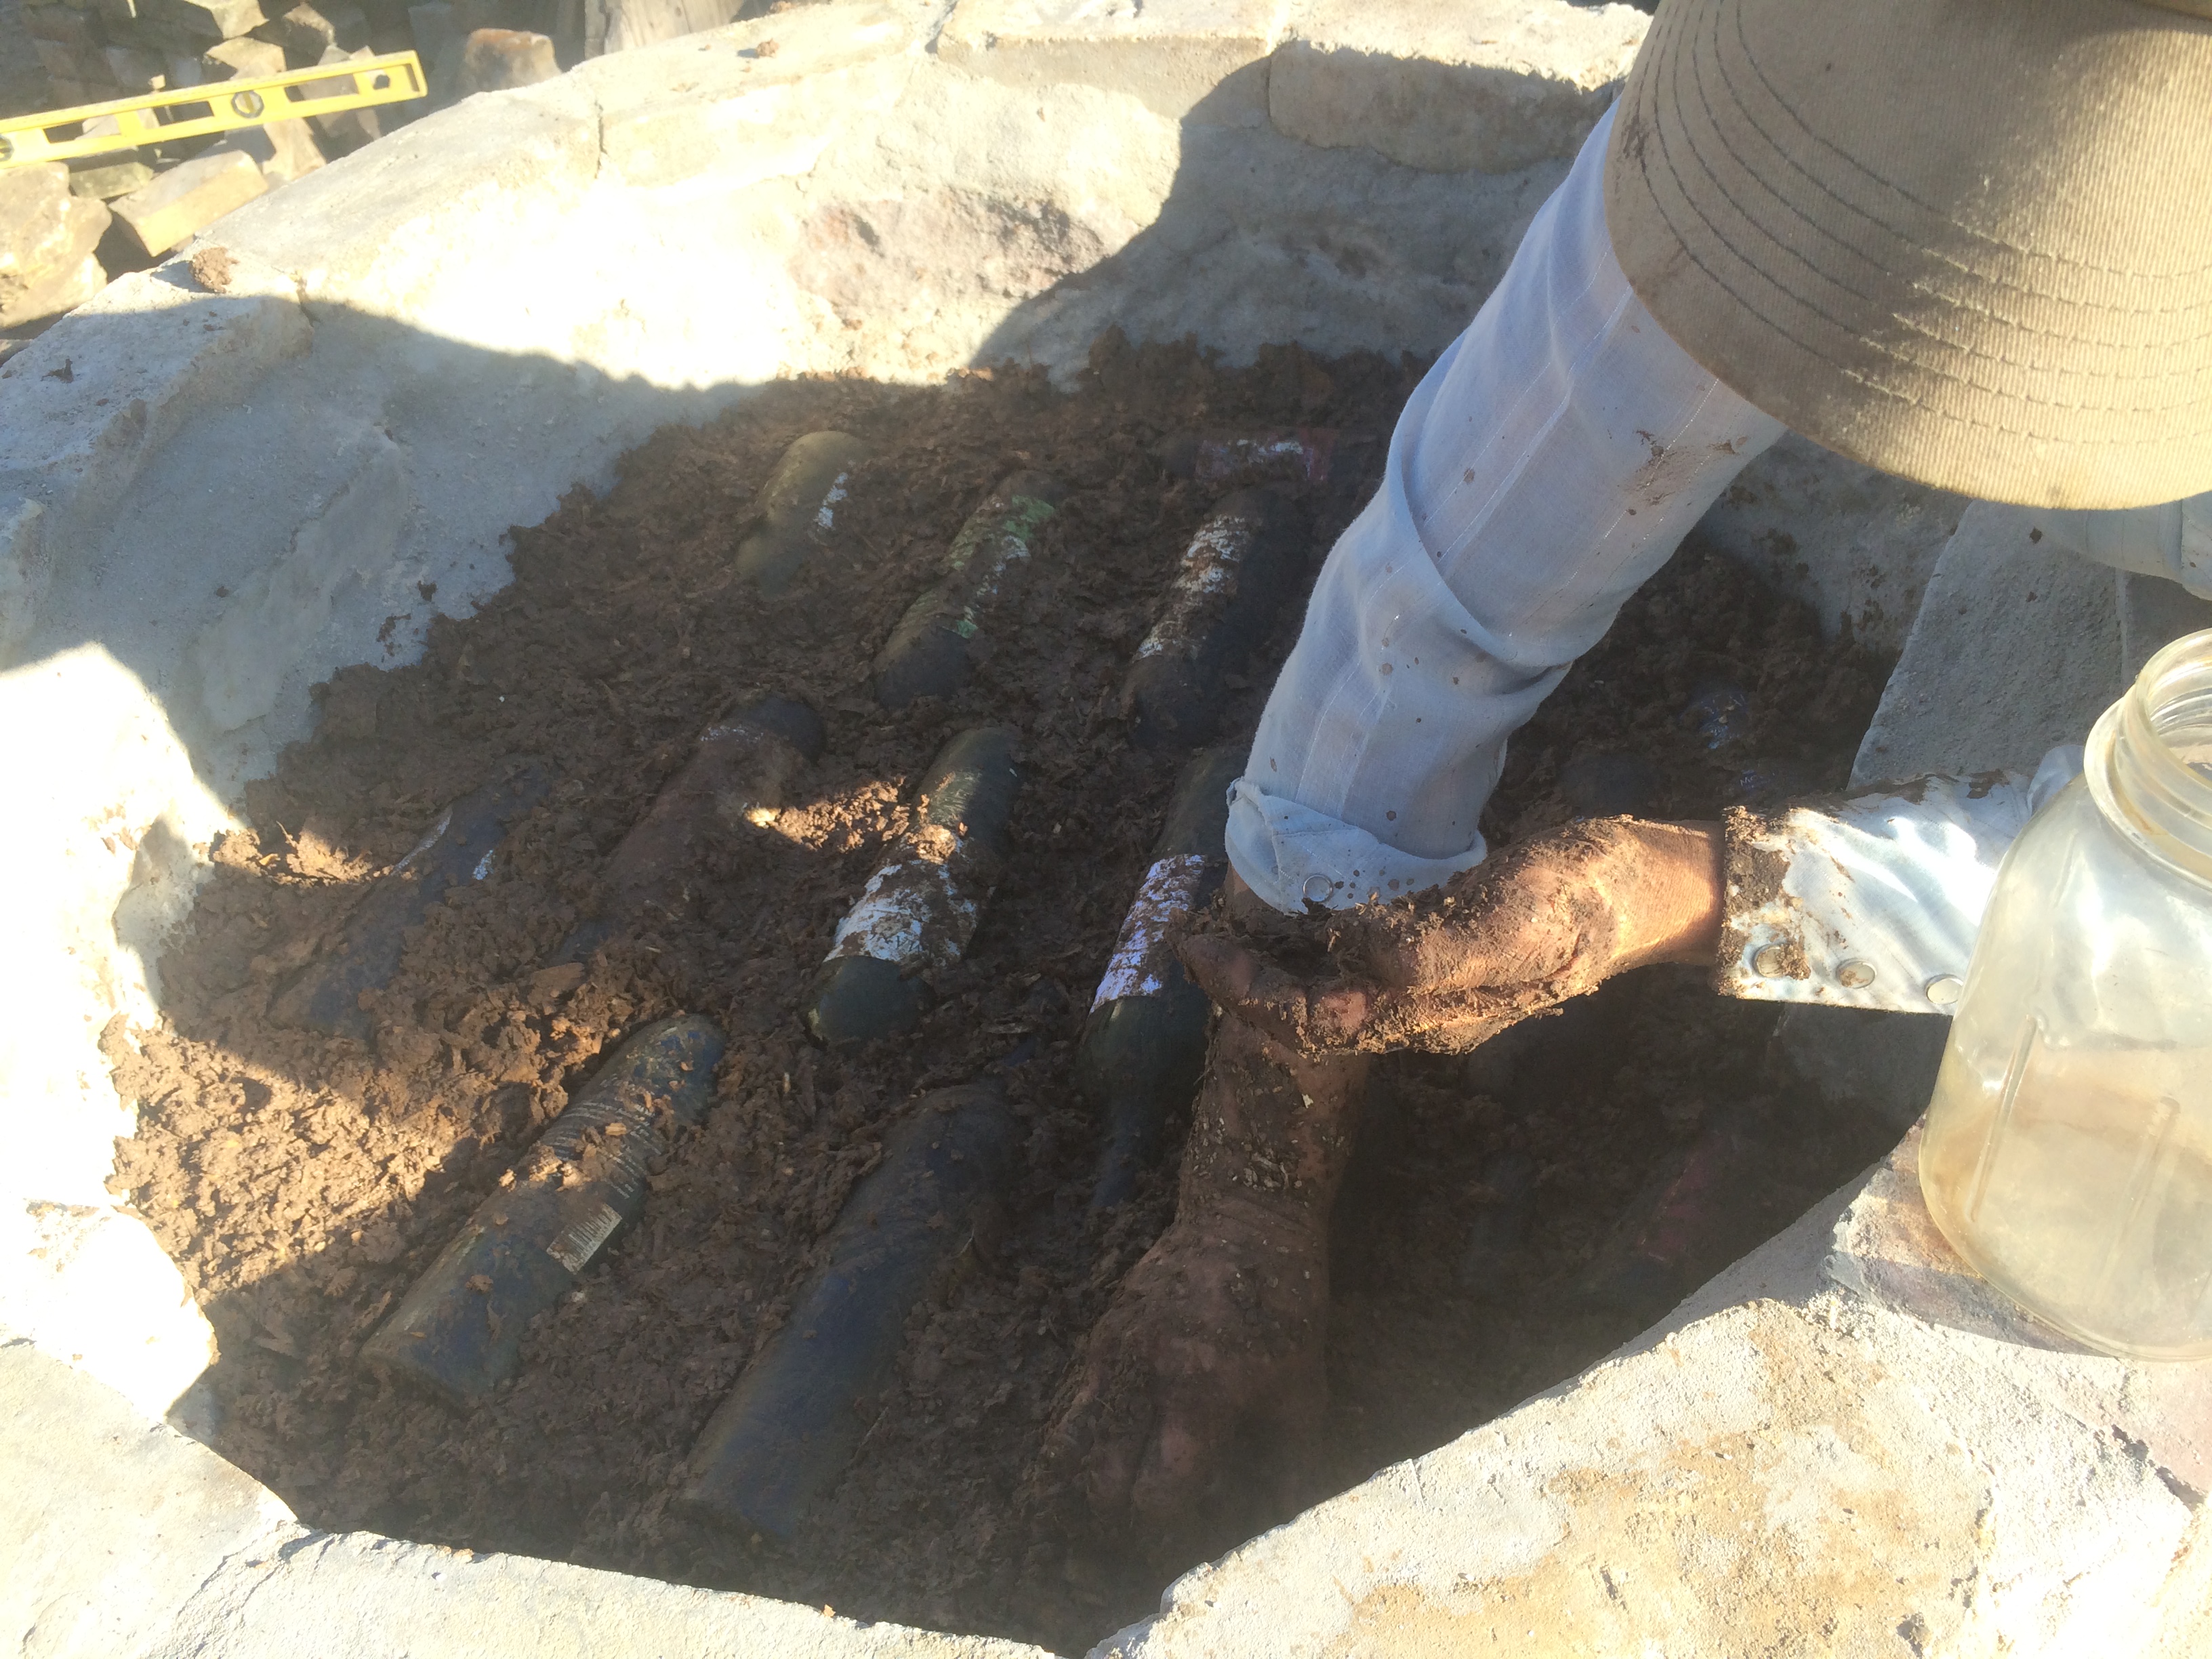
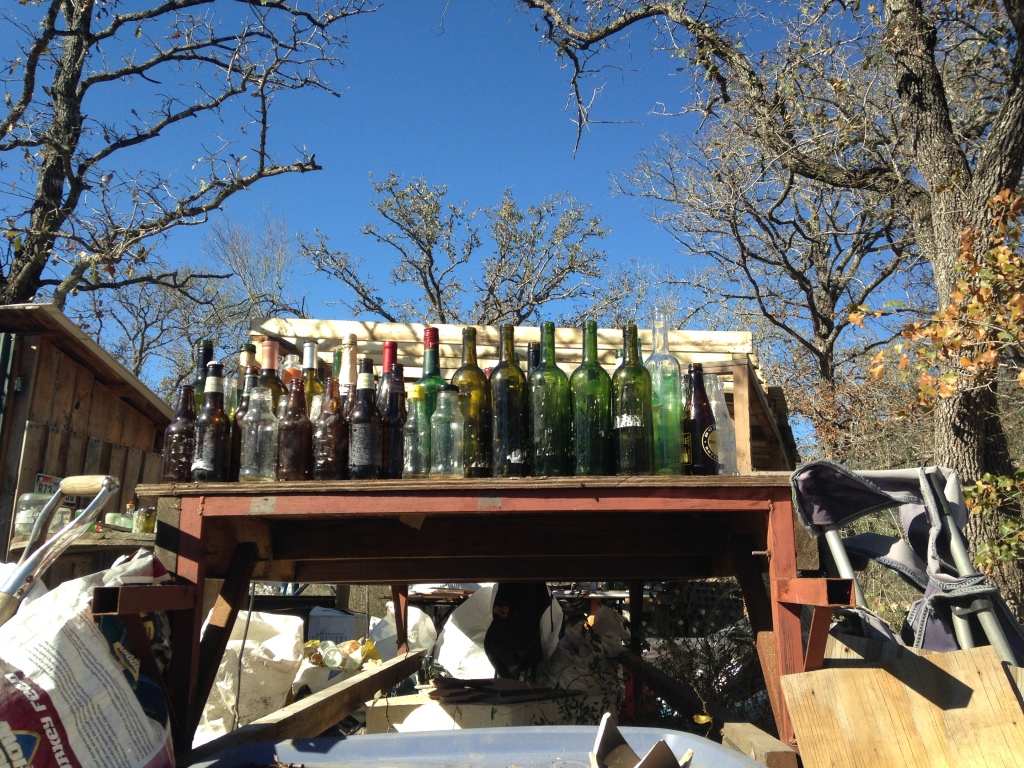
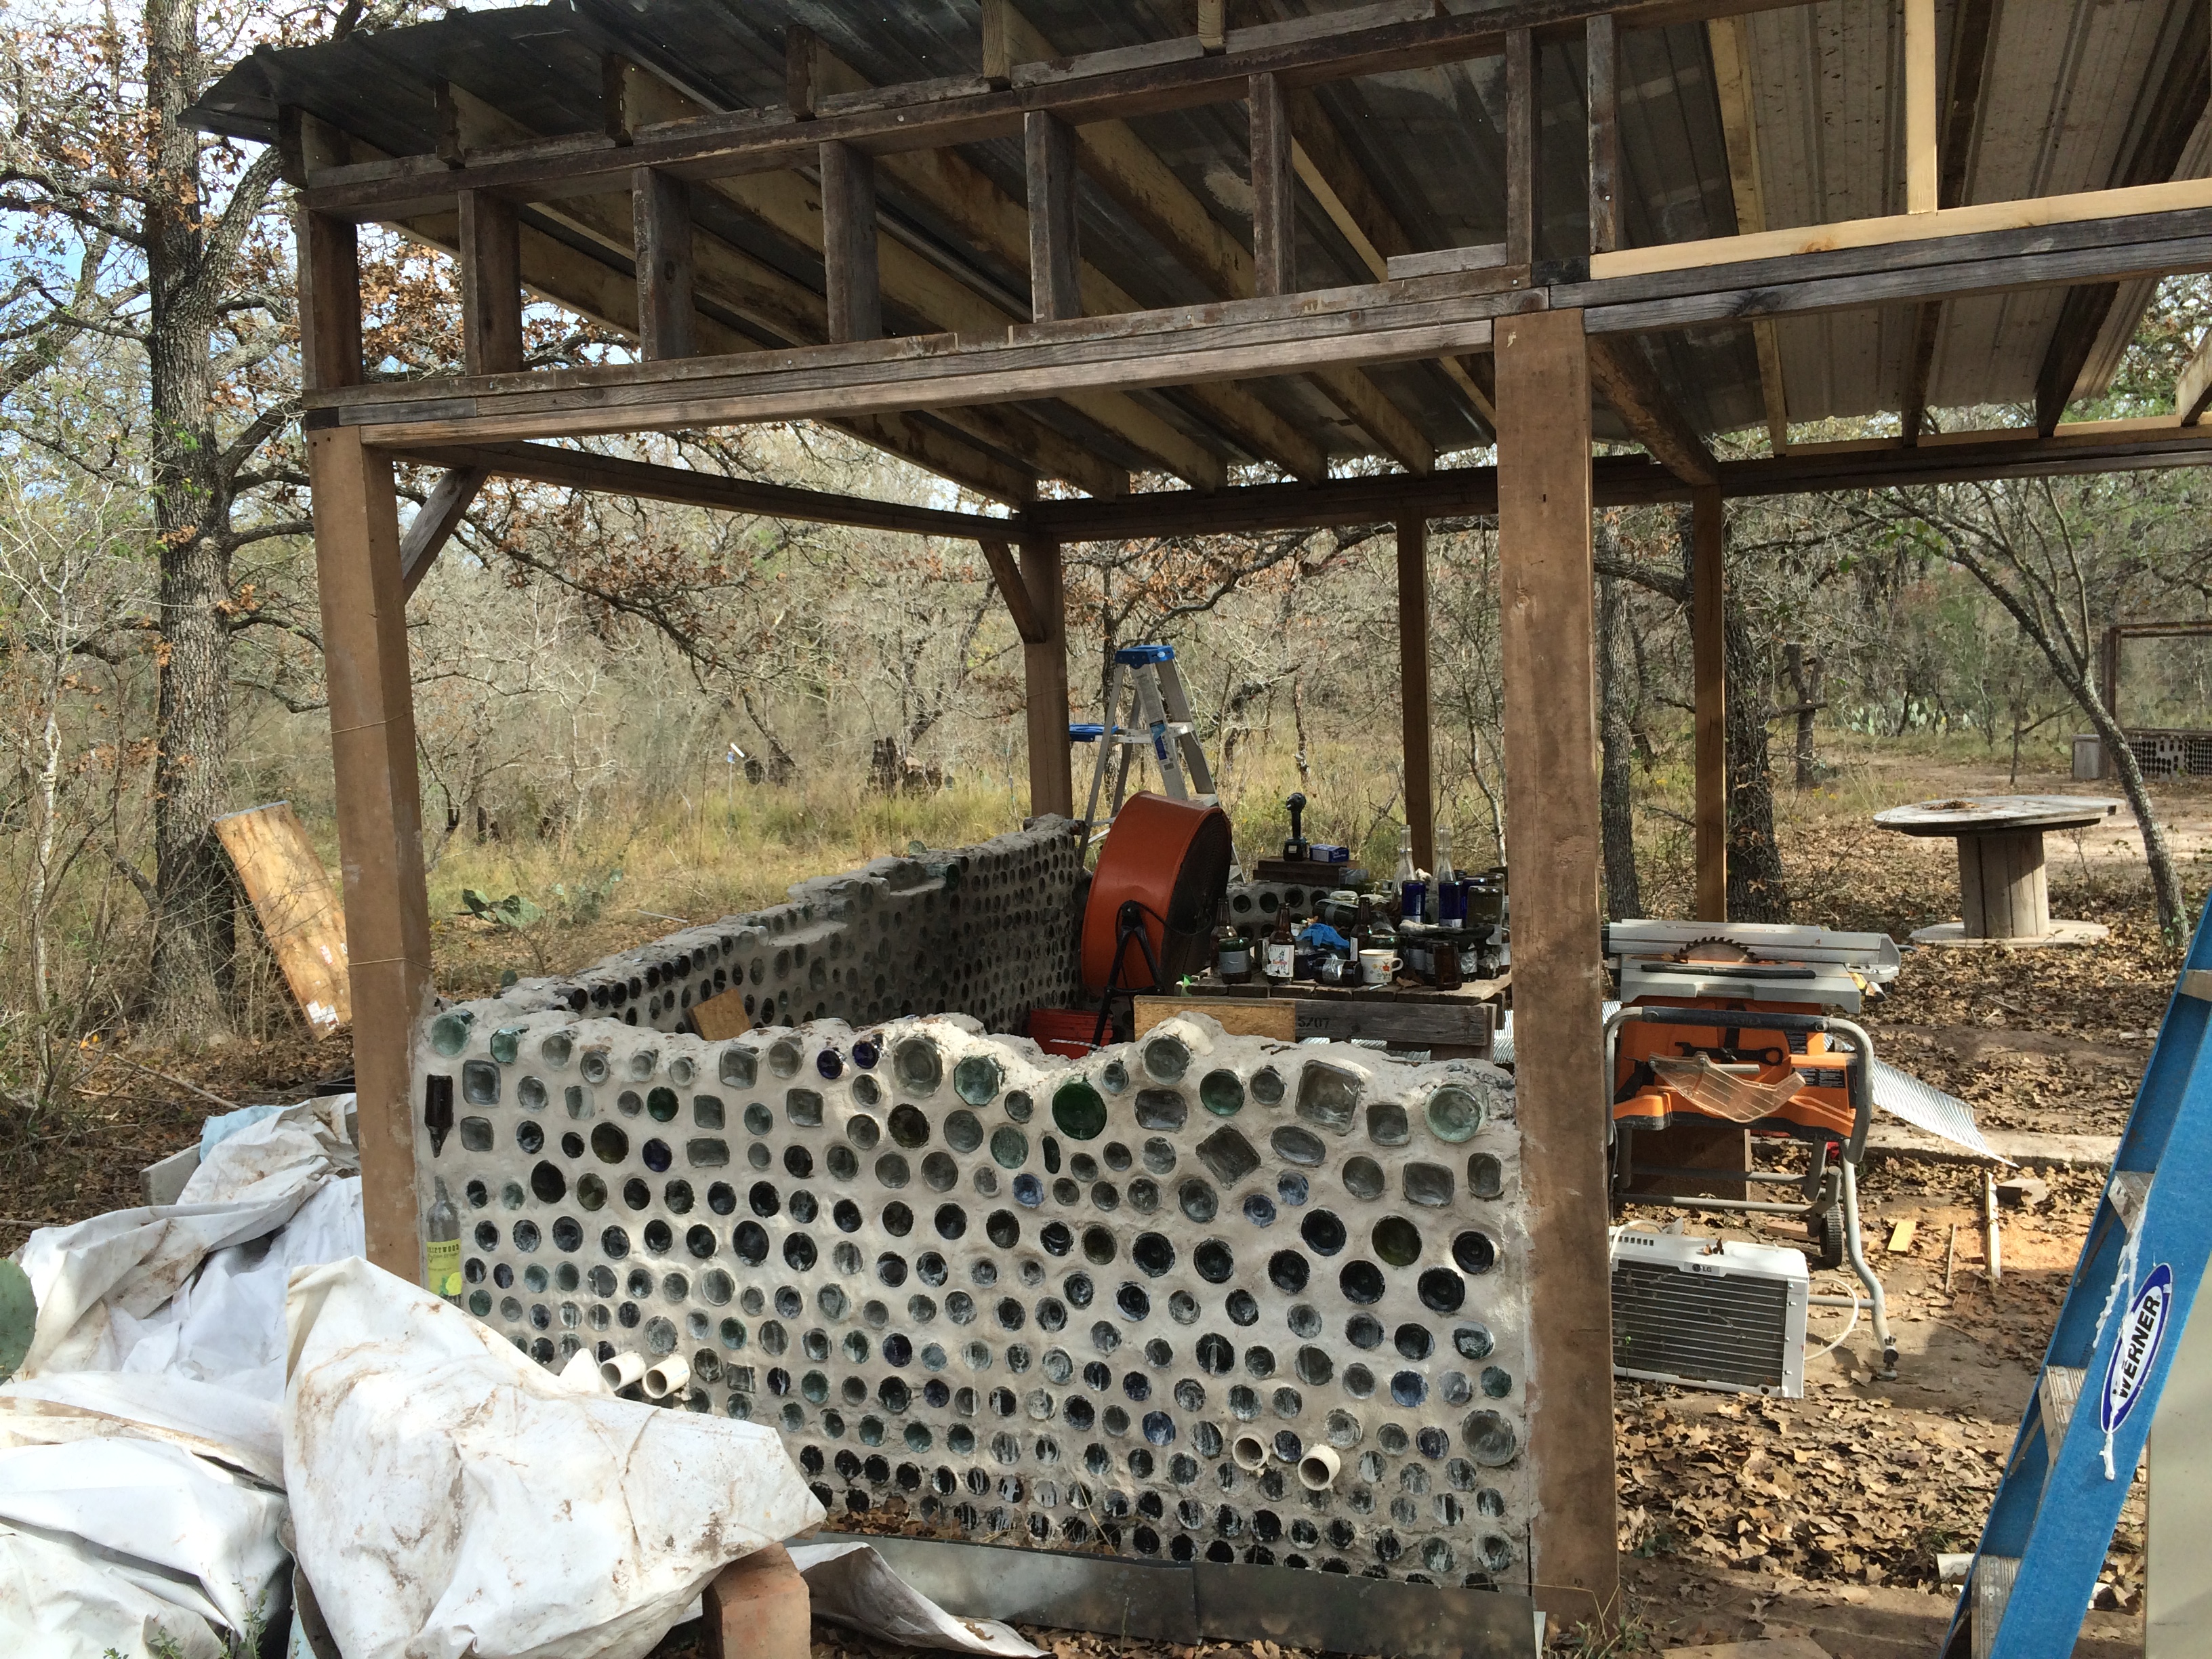
The insulating clay was used to fill a foot-deep layer designed to prevent the infinite thermal heat sink of the ground from leaching away the oven’s heat. We included a layer of wine bottles, and a layer of beer bottles (from the bottle house supply pile) – these would form stable insulating air pockets within the insulation clay.
wine bottle layer being filled in with clay slip/wood shaving insulation mud
we’d found a racoon skull in the woods back in January – the scavenger spirits wanted it included within the base, so we packed it with sand and tucked it in, where it will likely remain for a century or two …
Kristin does the Tamping Dance – we filled the lower base with a mix of sand and crushed glass (necks left over from bottle bricks used in the ongoing bottle-house construction, visible in the background)
Once we got within four inches of the top of the base, we paused to mix up a batch of “oven mud” – clay and coarse sand. Oven mud clay is designed to hold heat for baking – it would be roughly the same clay used to build the interior of the oven dome, later on.
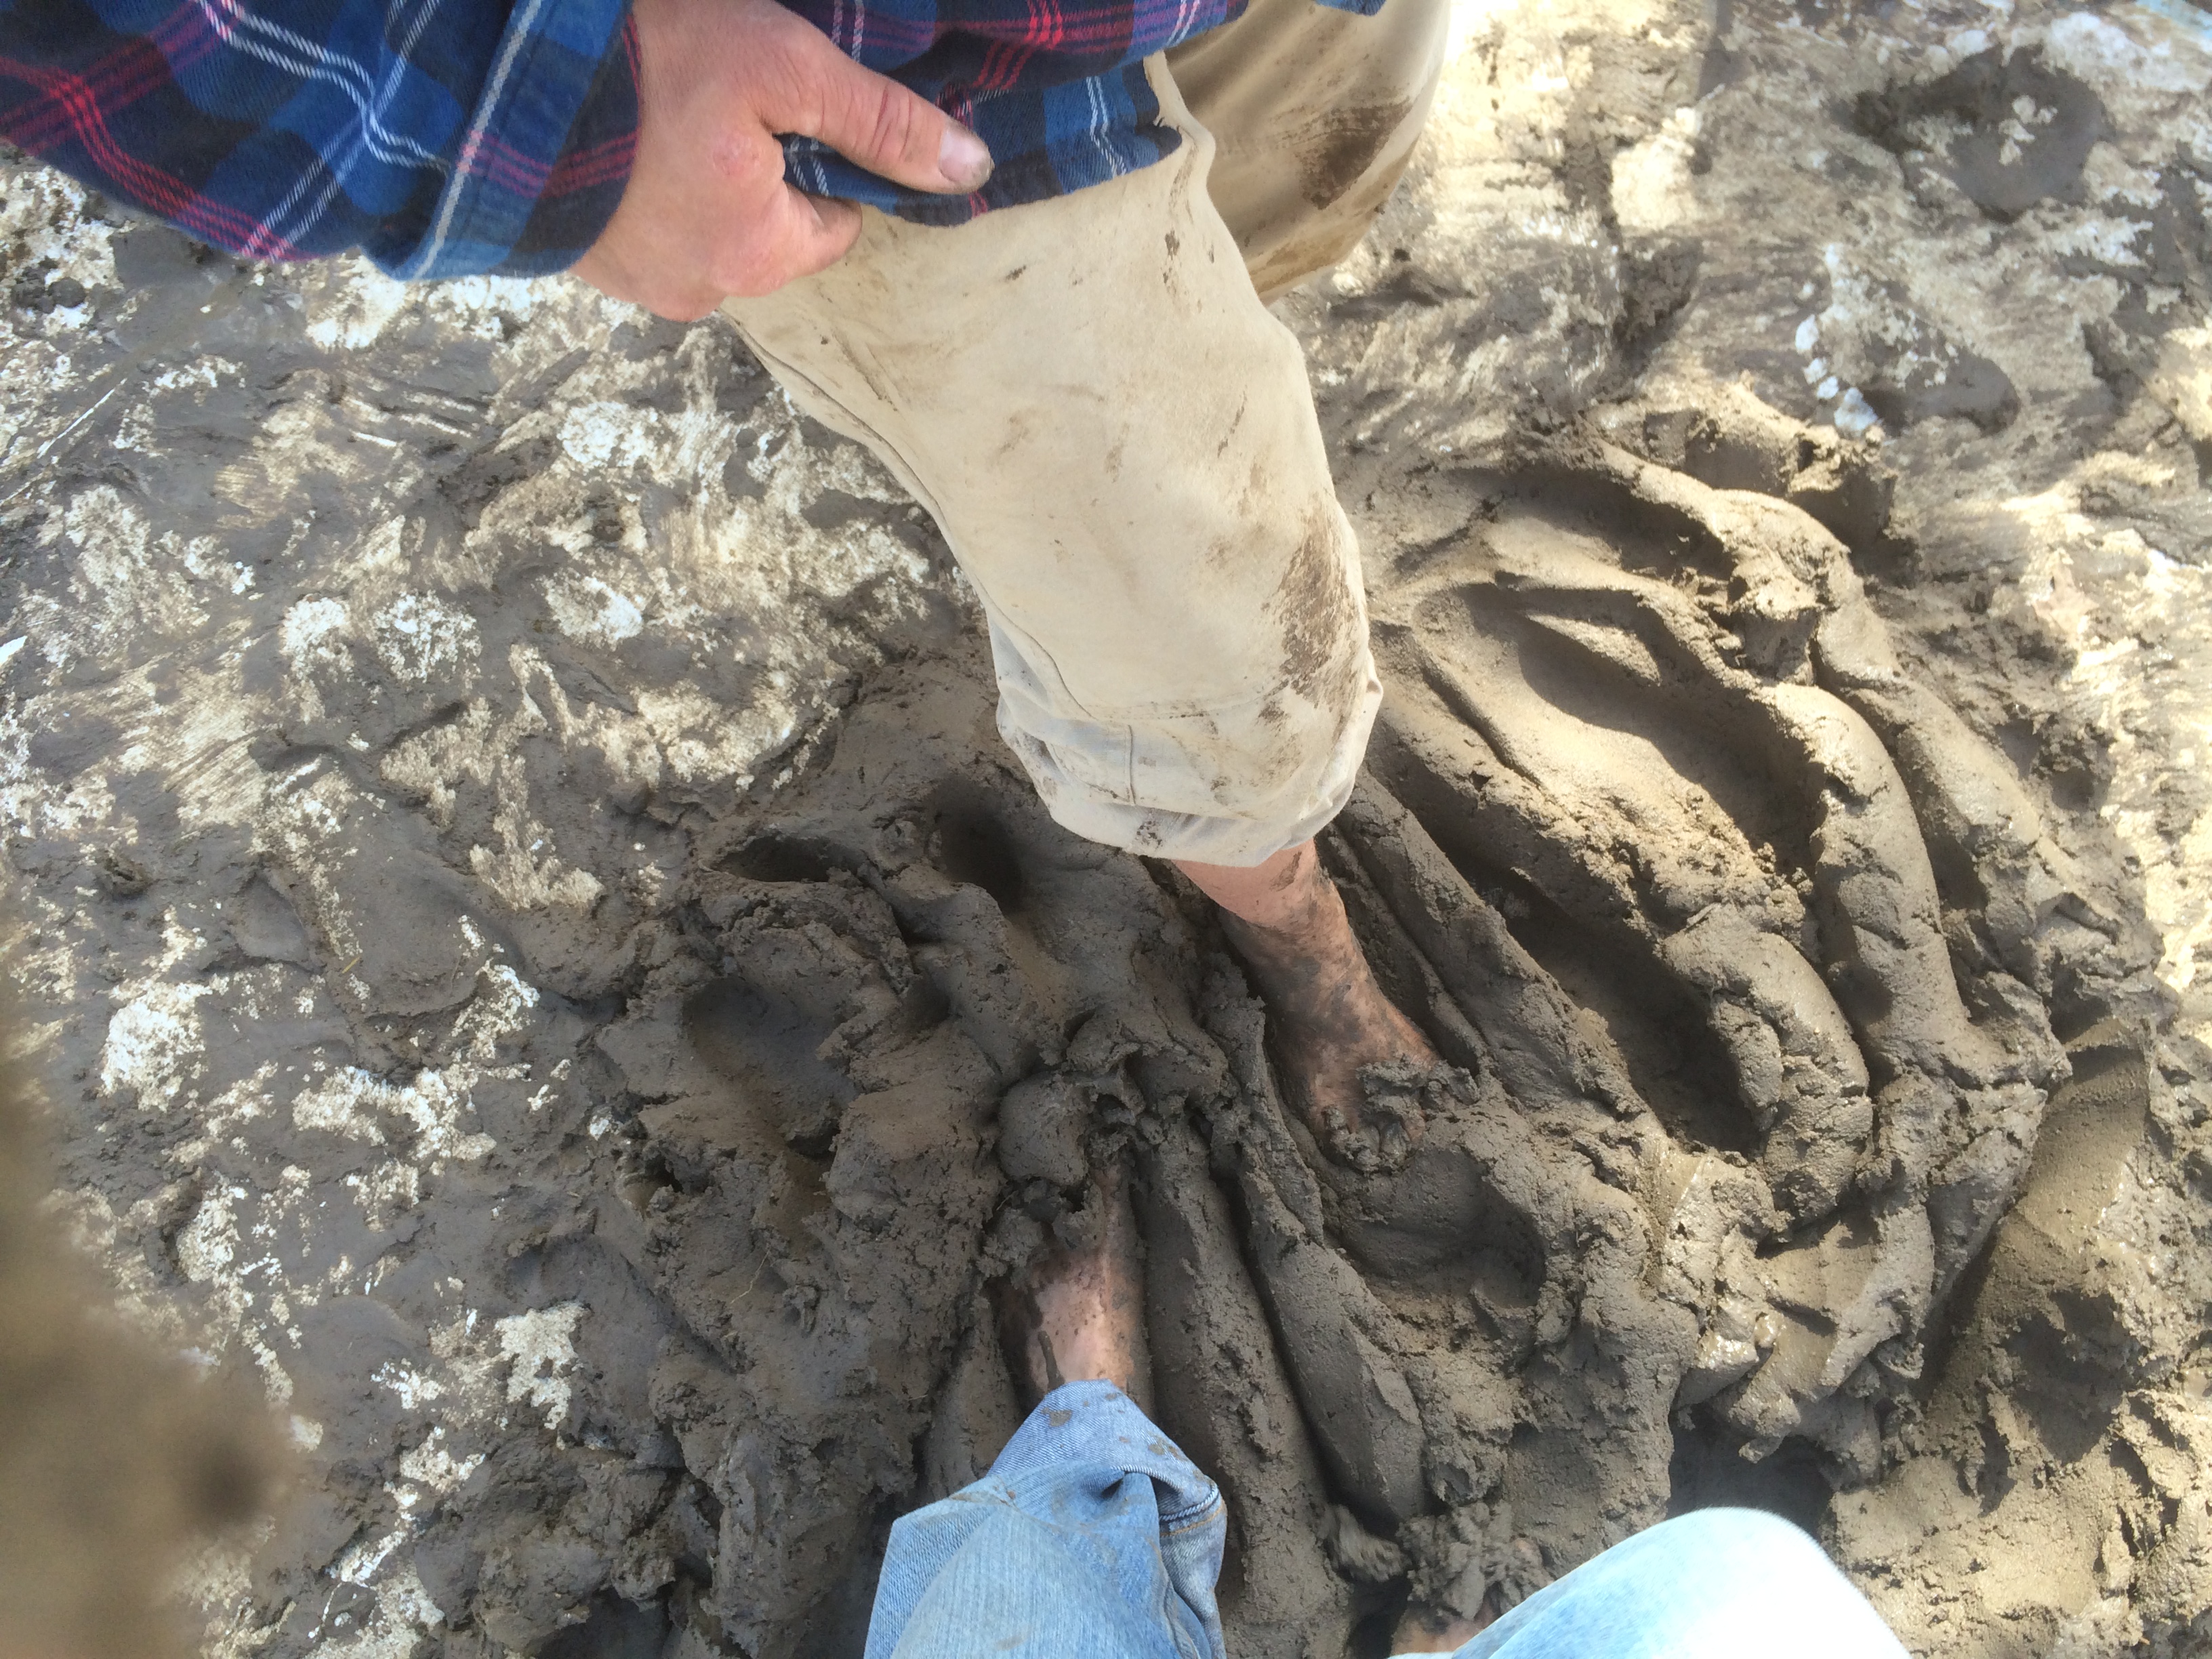
it turned out that mixing oven mud barefoot was not the happy hippie dance party that we’d been led to believe it would be.
The sand we were using was quite rough & coarse – ideal for structural stability, but also quite good at abrading one’s feet completely off. We quickly switched to our rubber muck boots for stomp-mixing. (It might have been easier if the mix was wetter, but we wanted to avoid slumping and long drying times, so we kept it as dry as possible.)
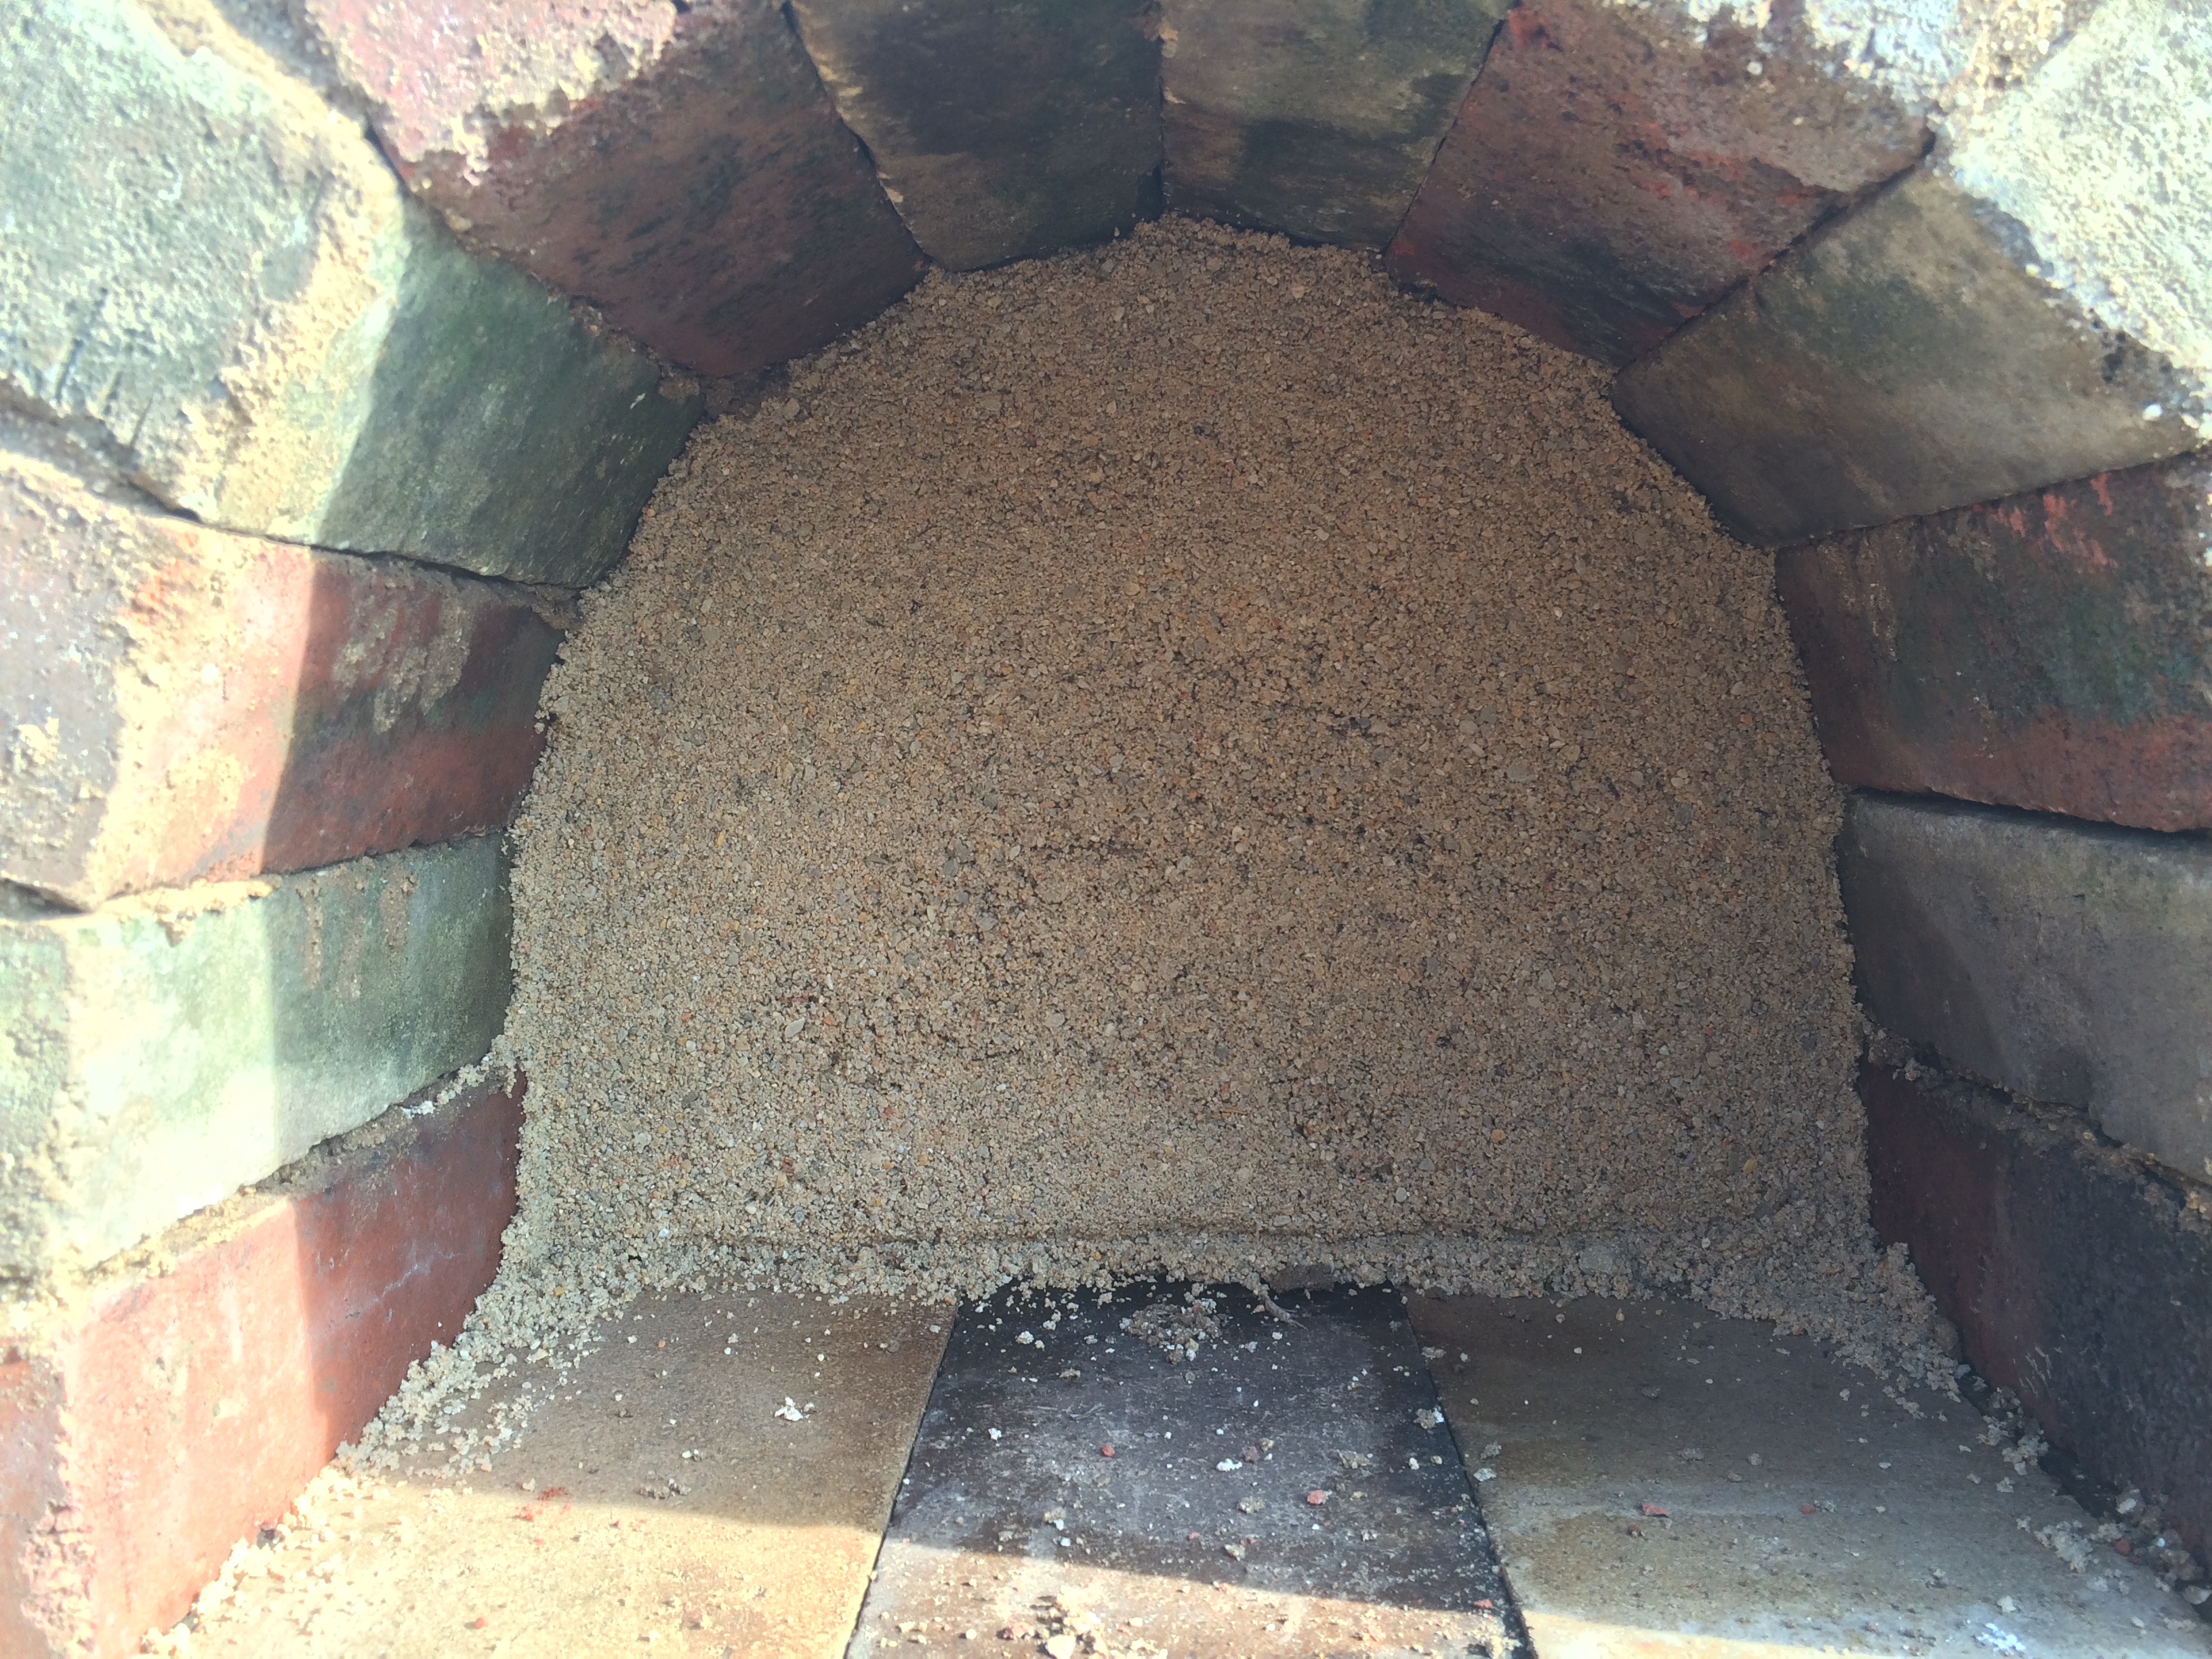
The first batch of oven mud was used to make an oven pad, in the same dimensions as the firebrick interior baking floor would have (we laid out the firebricks on the ground to determine the measurements).
We created a wood frame and packed it with the oven mud to make a subfloor heat pad
Then we filled in the surrounding gaps with more insulation mix, keeping everything level with the top exterior bricks.
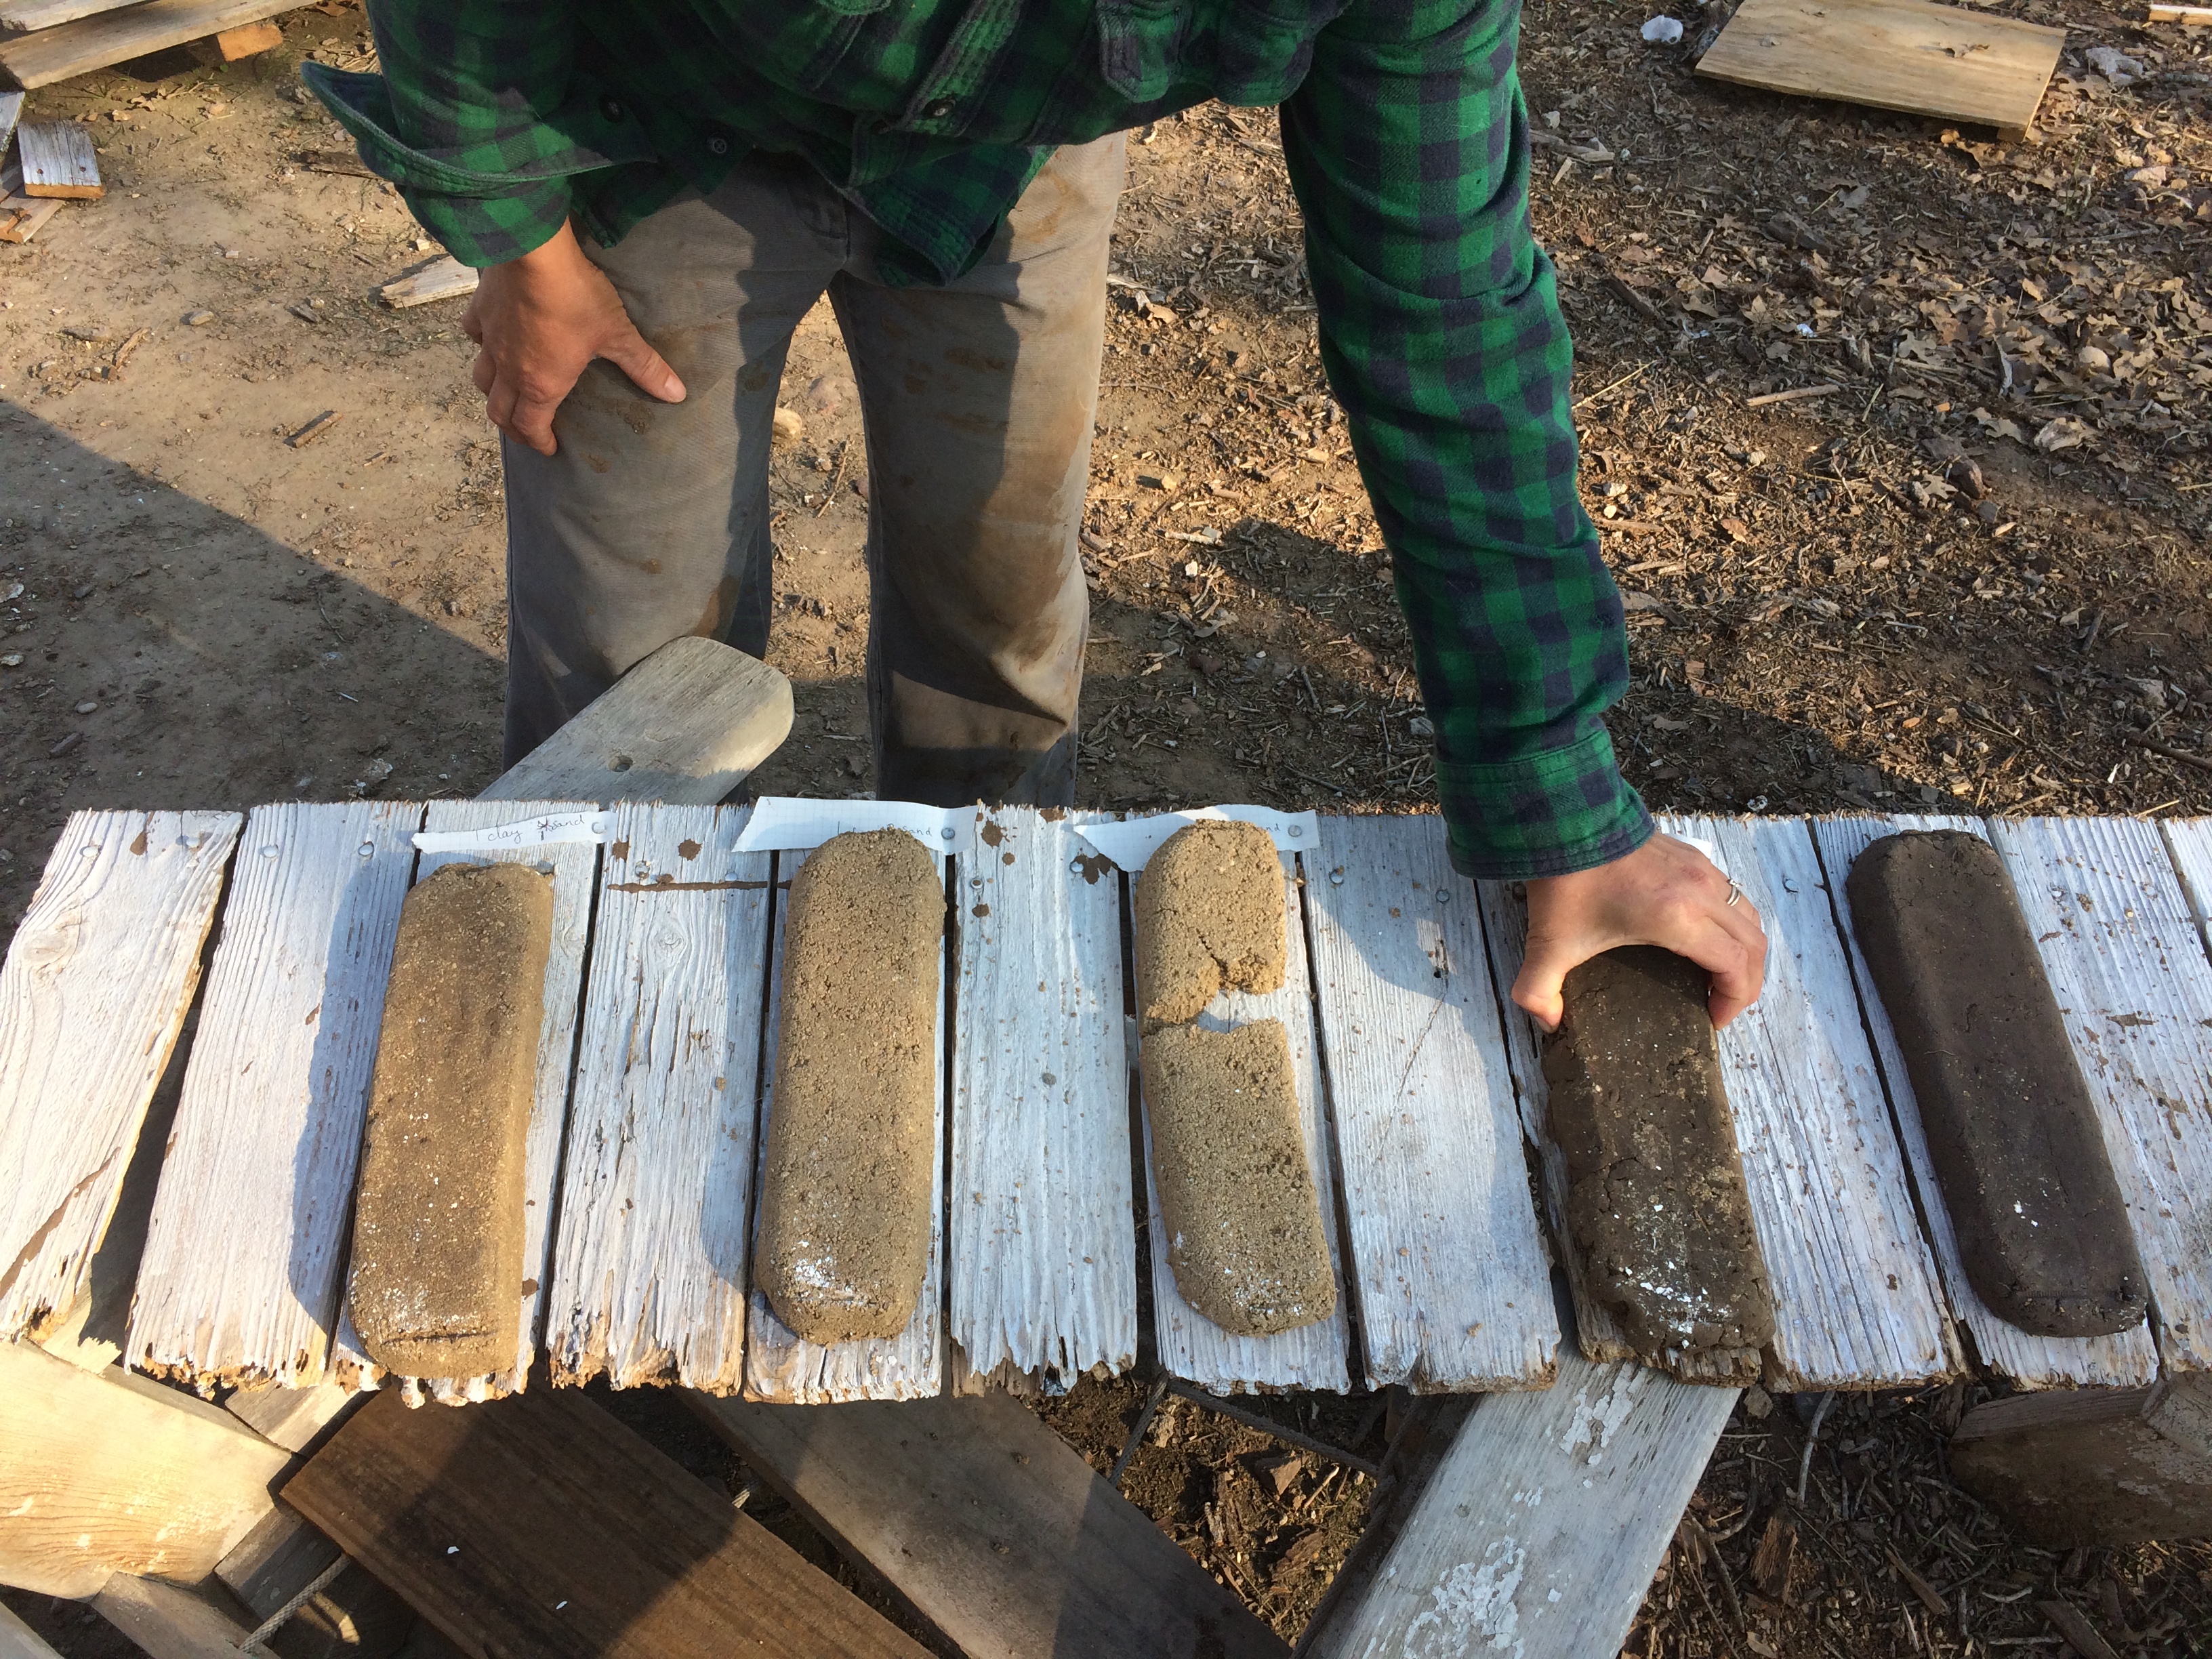
In the meantime, we’d created several “test bricks” with different proportions of sand and clay – as well as one of pure soil (from the layer above the clay, but beneath the topsoil).
For the oven interior dome, we wanted to find what ratio would be strongest, and crack or shrink the least. The bricks dried out over a couple of days while we prepared for next steps and gave the water-soaked base insulation time to dry out some.
We decided that a ratio of 1.5 parts sand to 1 part clay was our ideal target, based on the test bricks
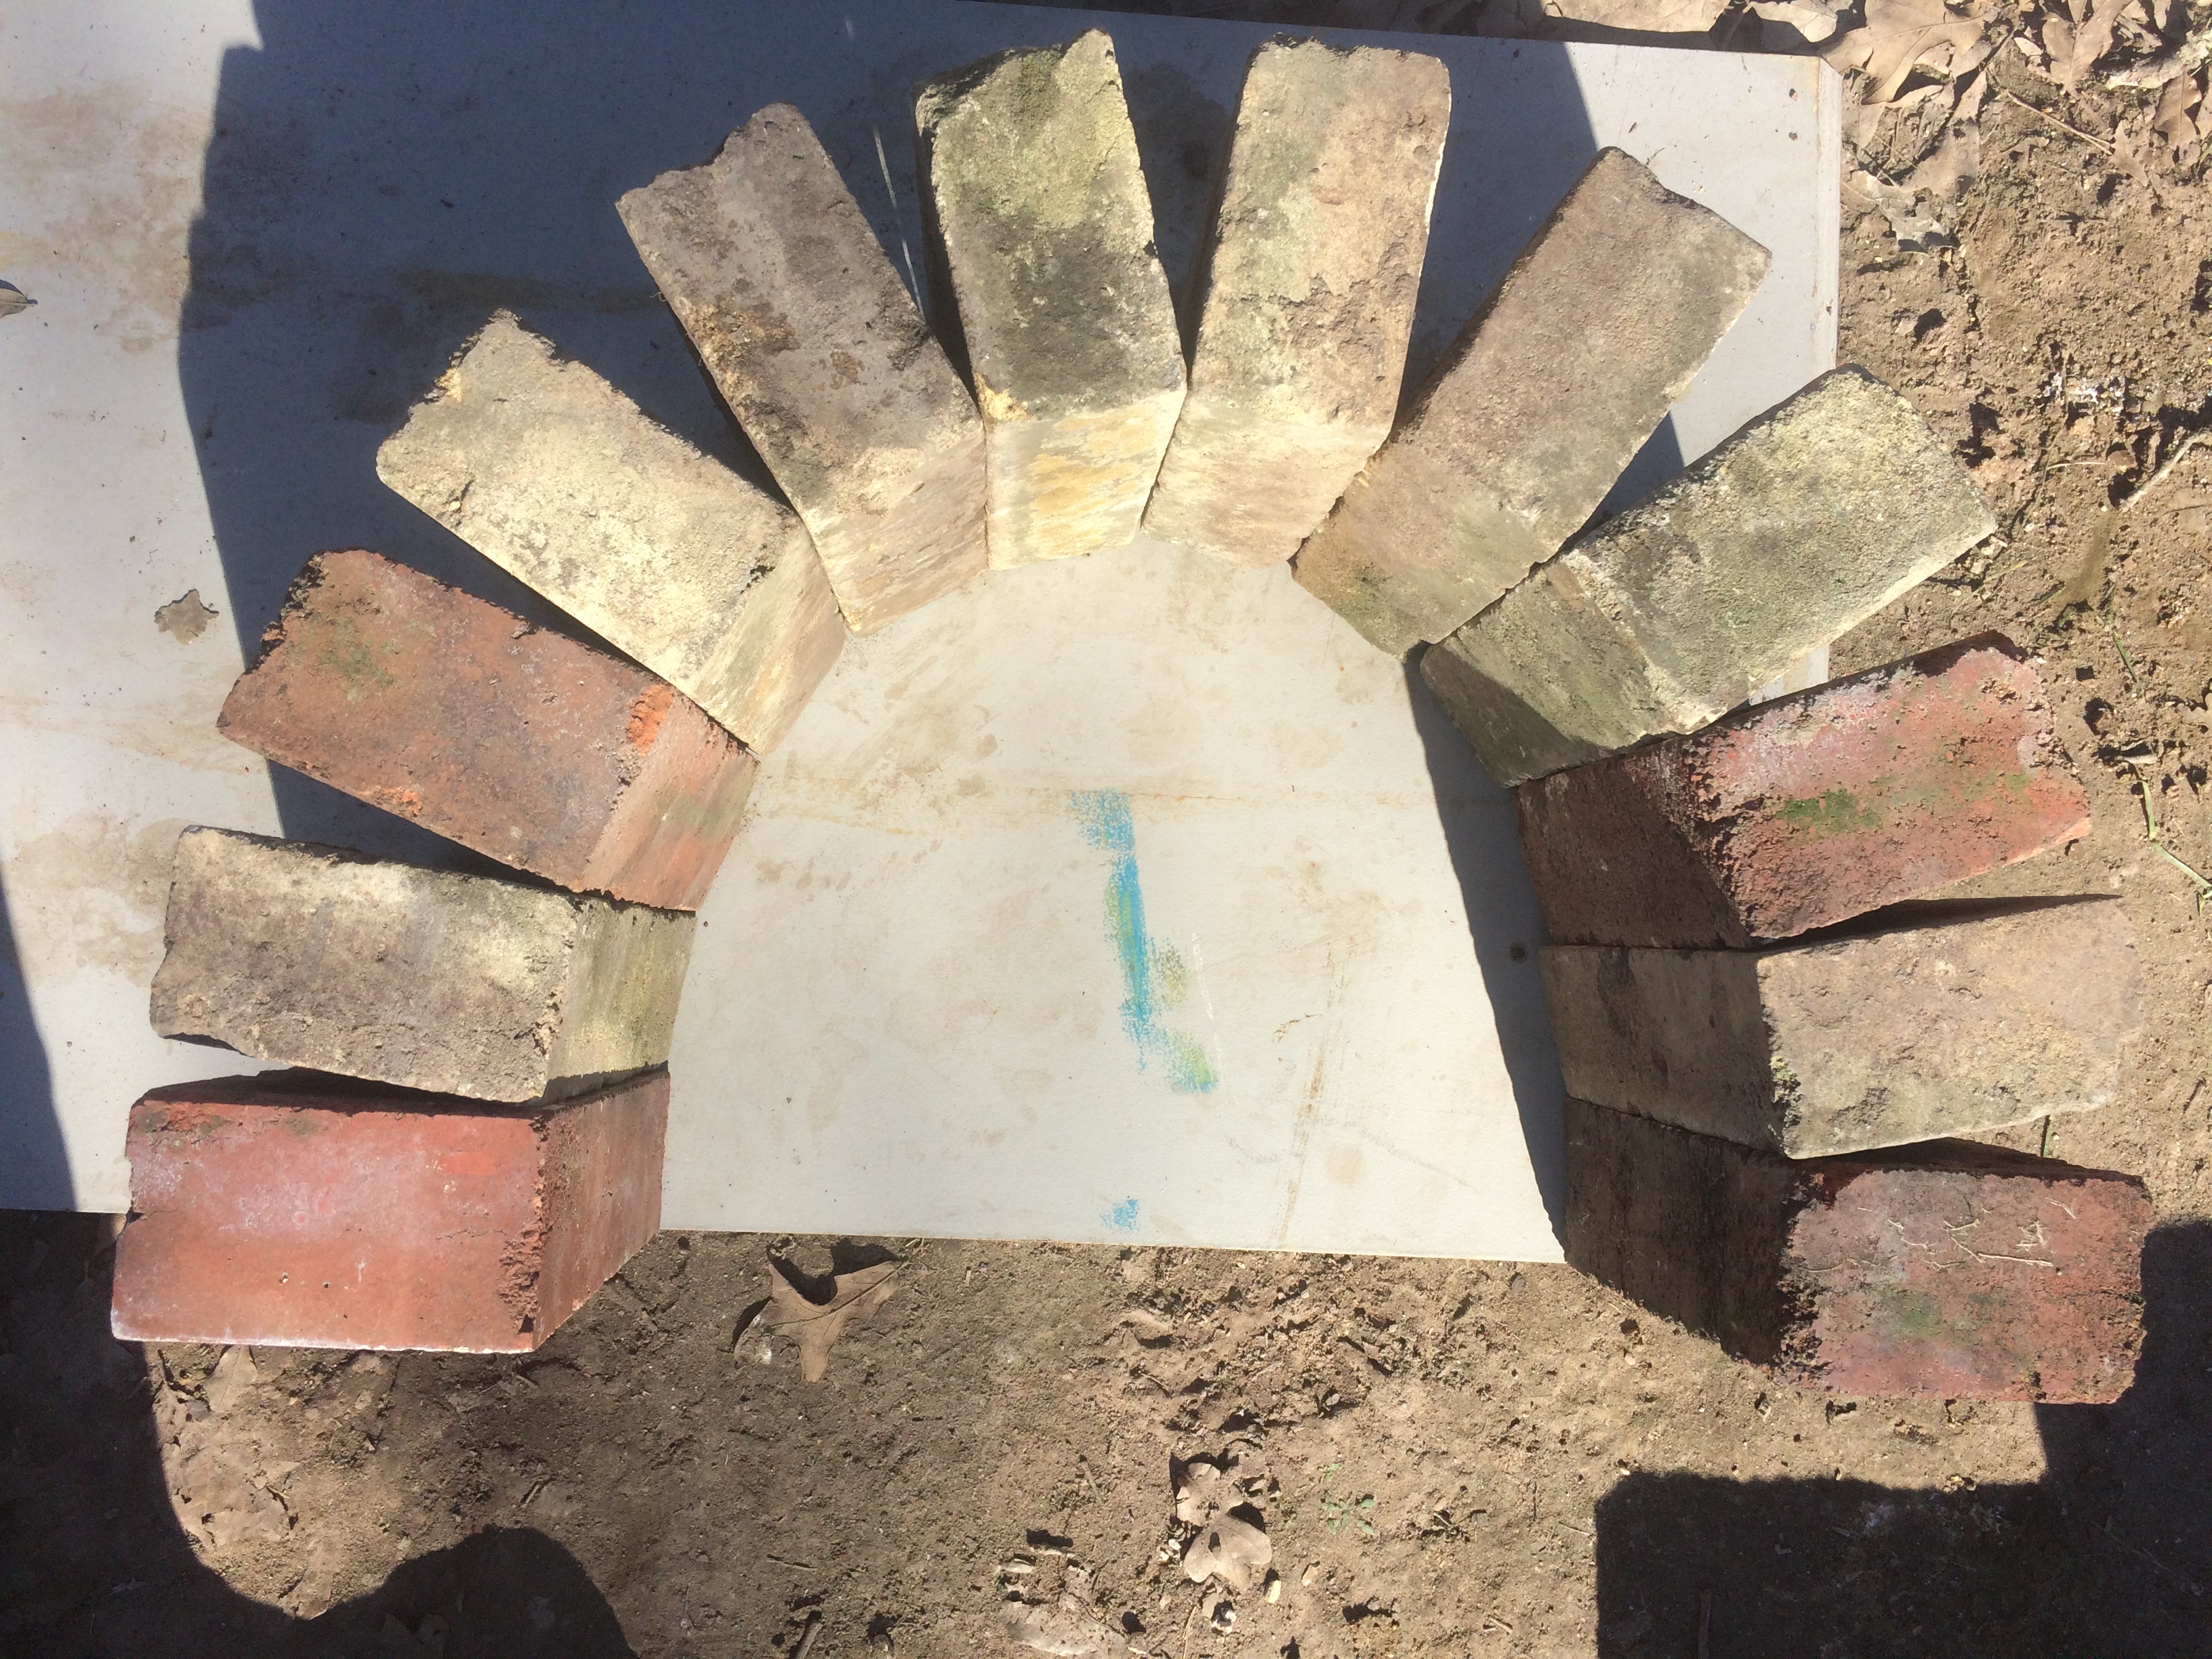
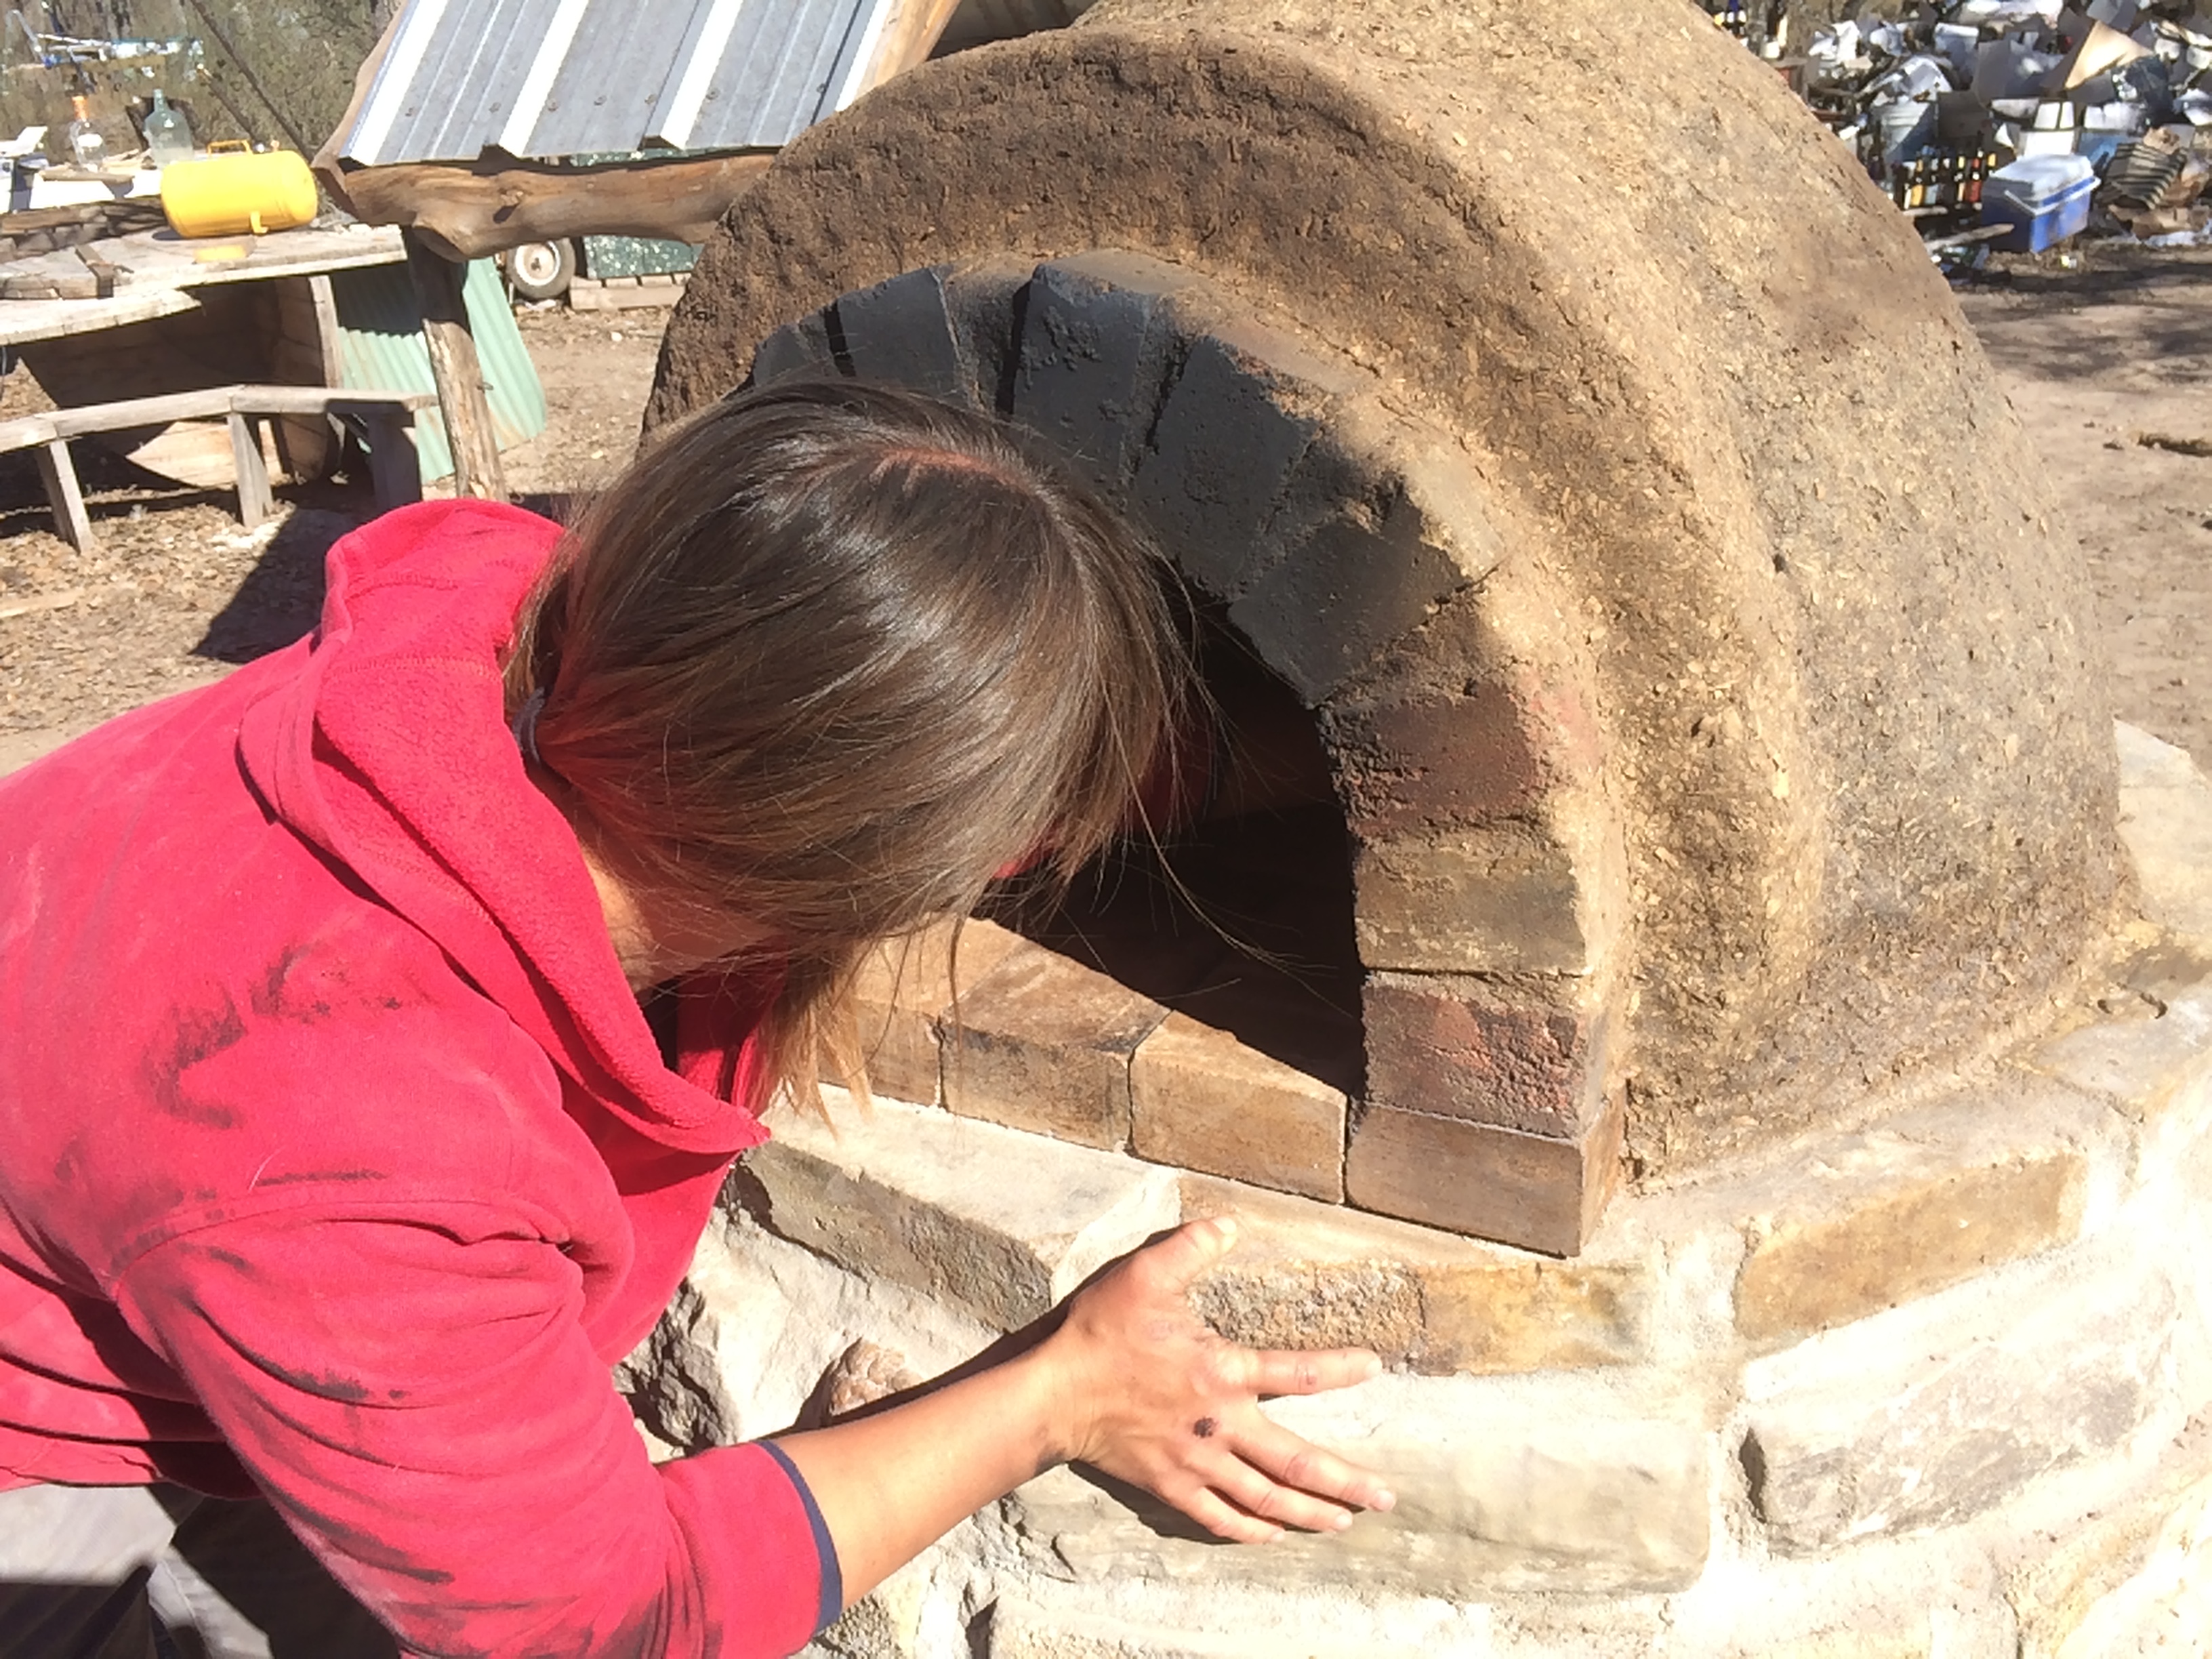
Next we worked on the arch opening. The book said that the ideal opening height was 63% of the interior dome, but we had to go just slightly higher to get a nice stable arch, with good supportive edge-to-edge contact throughout. We also tested to make sure that Habitable Spaces’ pizza peel would fit through (yep, just right!)
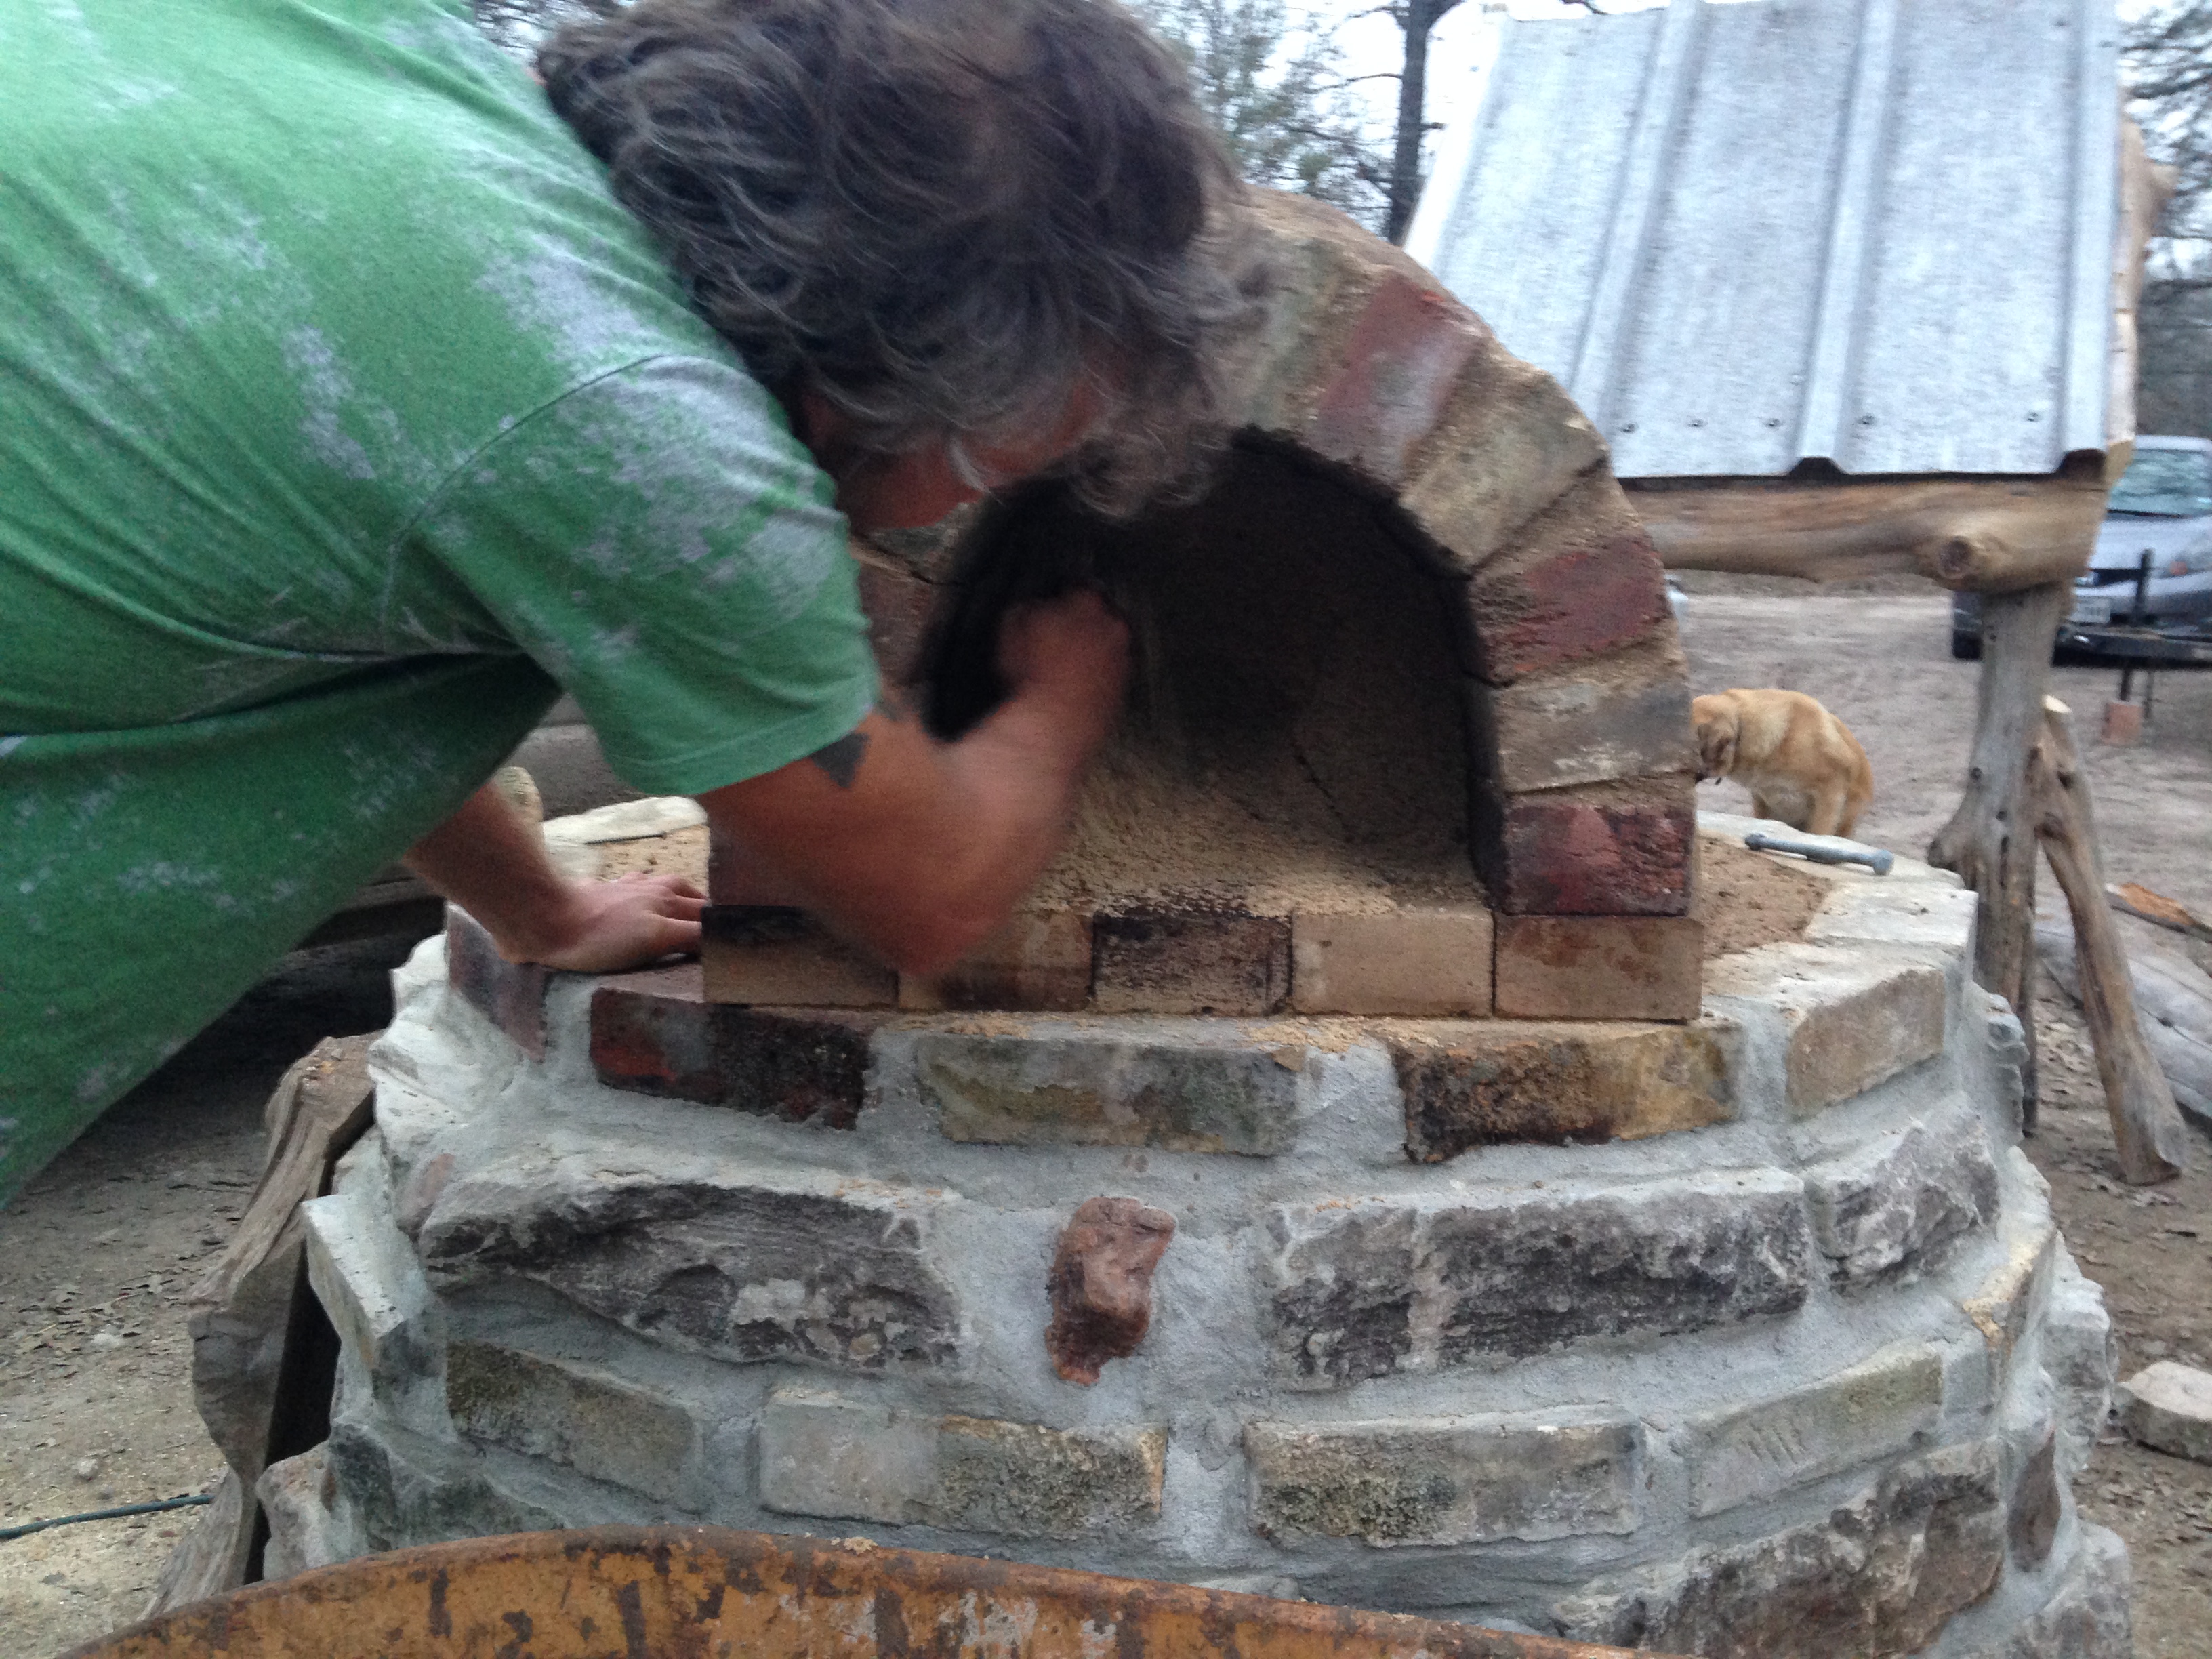
laying out the arch, using scavenged homestead bricks – old bricks are actually better than most modern bricks for durability under heat stress.
The resulting arch shape was traced onto plywood – Ali helped cut out two pieces in the proper shape and build a form by joining them together with 2x4s. This supported the bricks while we spaced them out with pebbles, and filled in the gaps with oven mud mortar.
We had to shave a 1/4″ off the bottom in order to keep the height low while still allowing shims beneath – these shims would allow us to easily remove the form later.
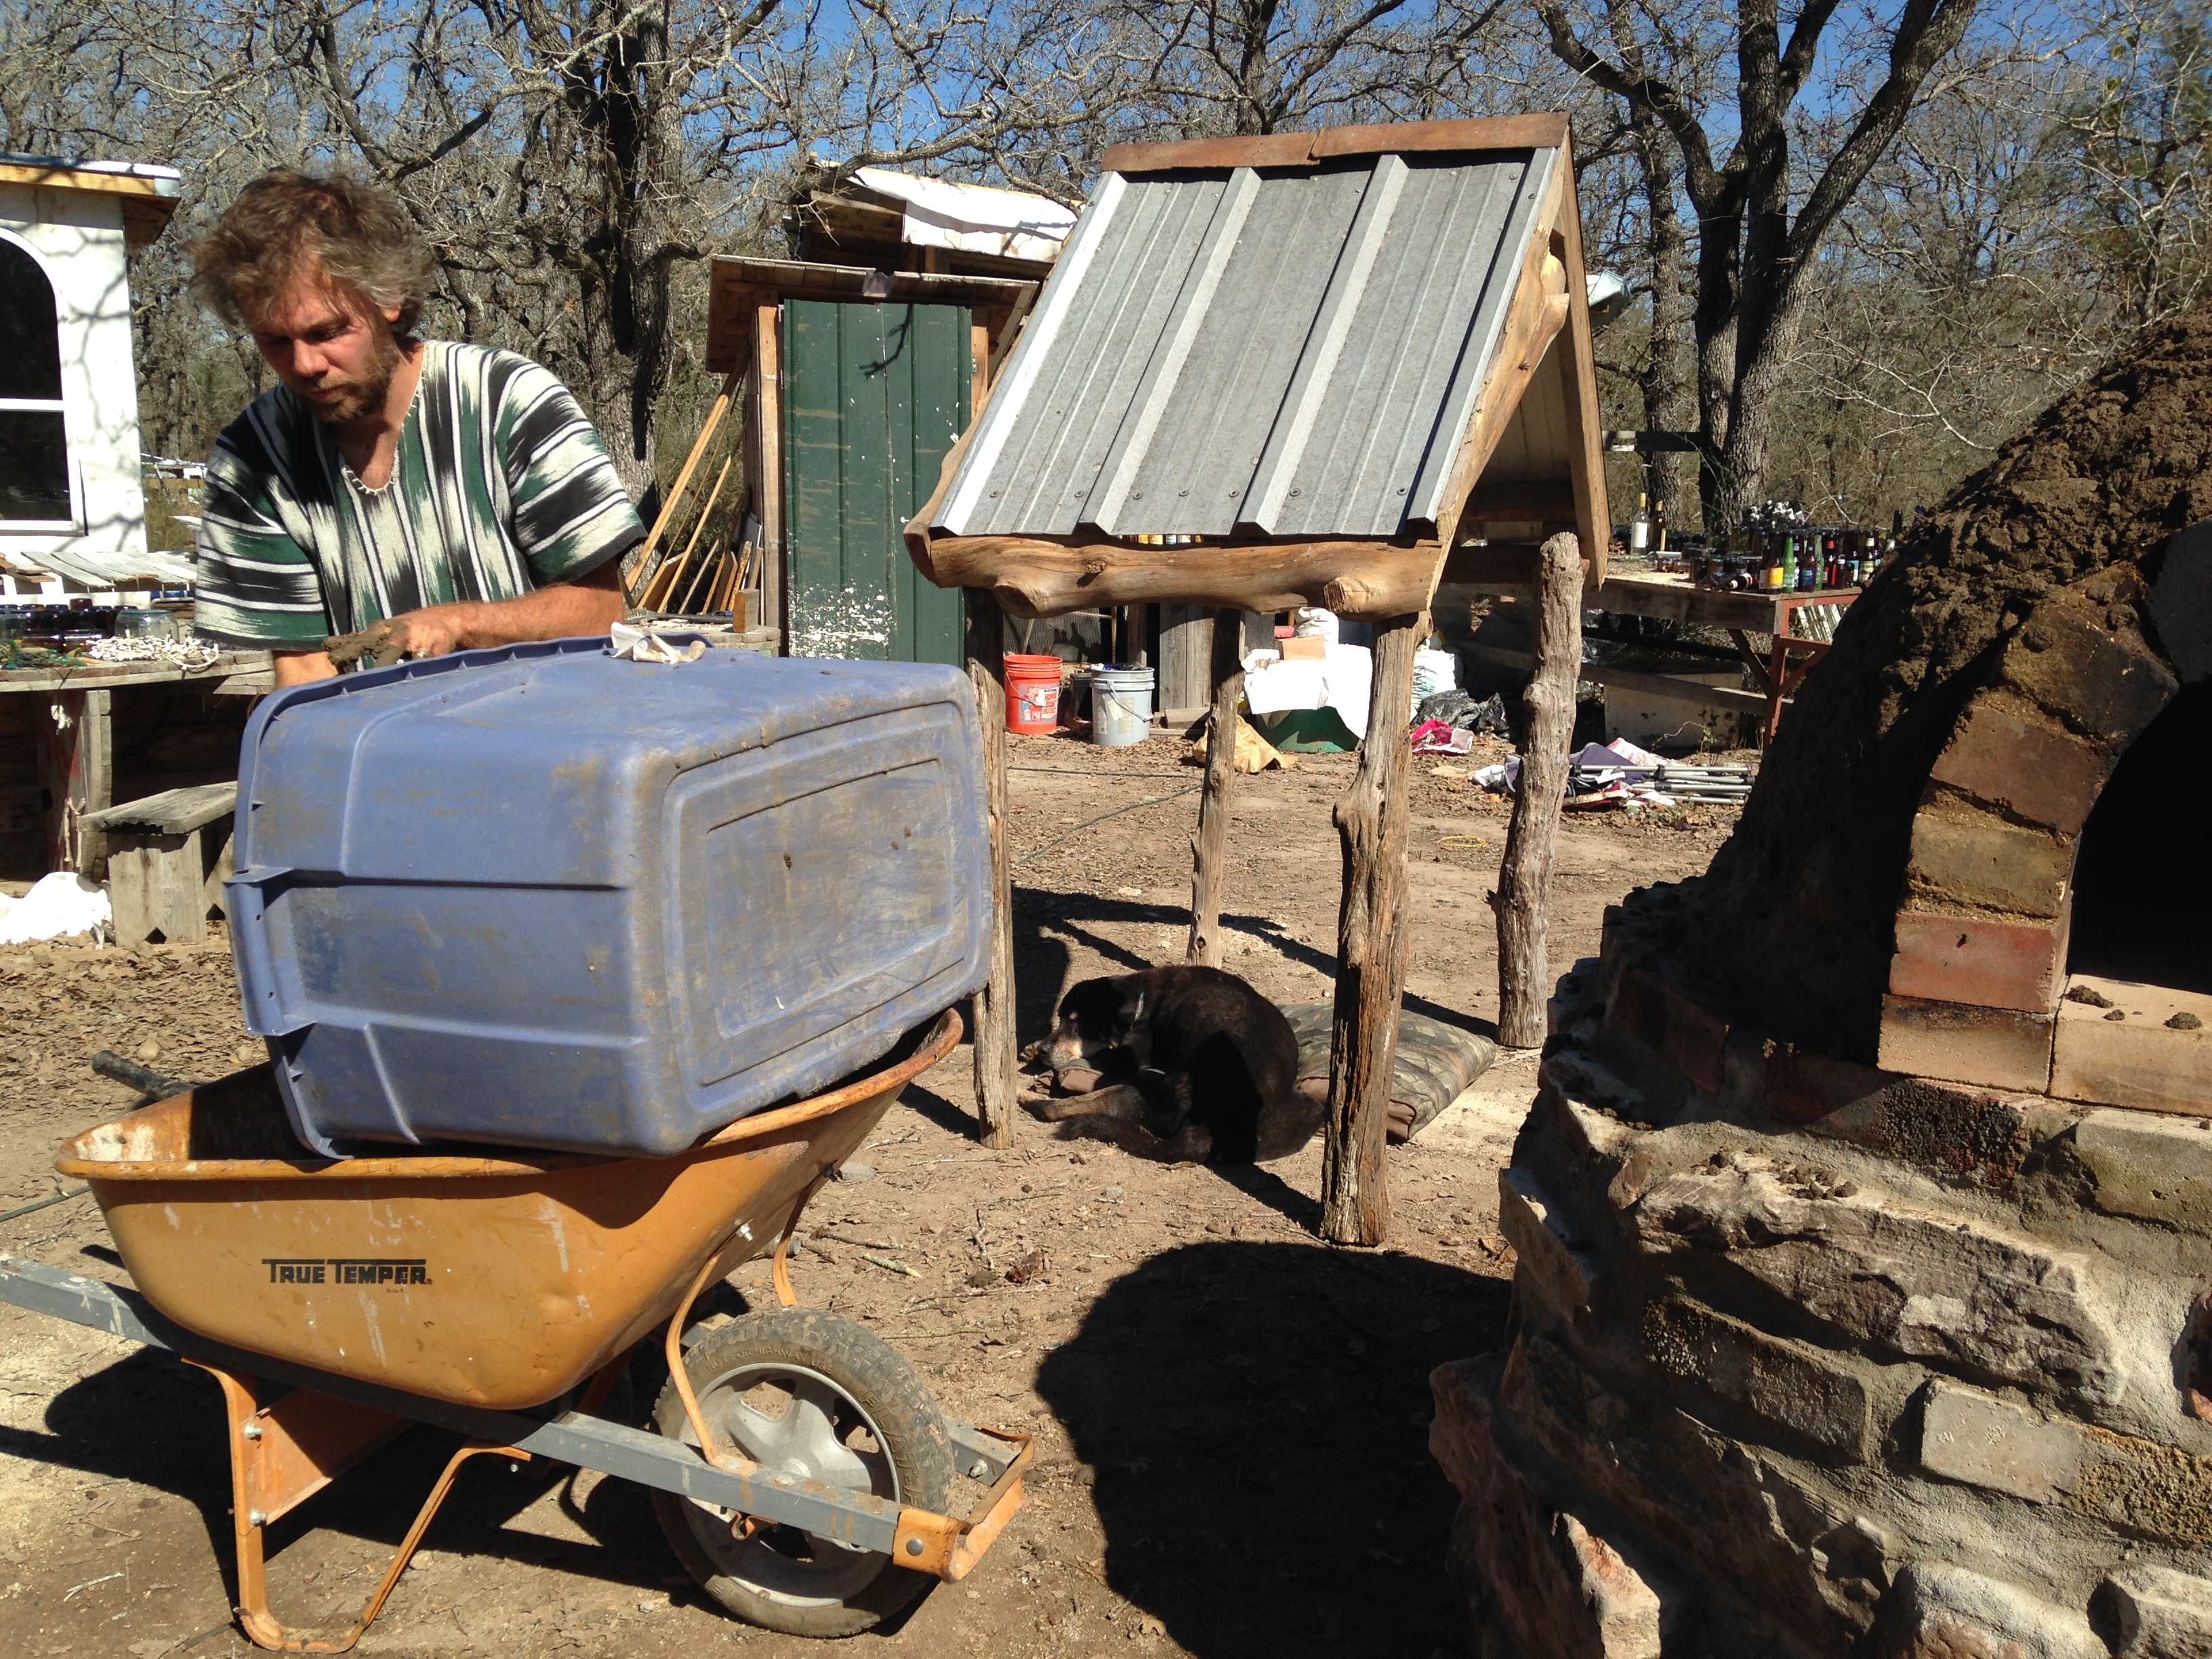
We also started work on the protective roof – while rain wouldn’t destroy the oven, it would saturate the clay, requiring many more hours of firing time to get it up to temp, and shortening the working life of the oven. There were a couple short pieces of roofing left over from the house and kitchen, perfect for our needs. We scavenged together some cedar posts and scraps with lovely knotty character, wanting to make the roof match the organic, natural appeal of the oven’s base.
Before starting the next phase of the build, we mixed up a huge batch of oven mud, making it a little bit wet and leaving time for it to dry out a bit, before we launched the most significant single piece of the construction – the interior dome.
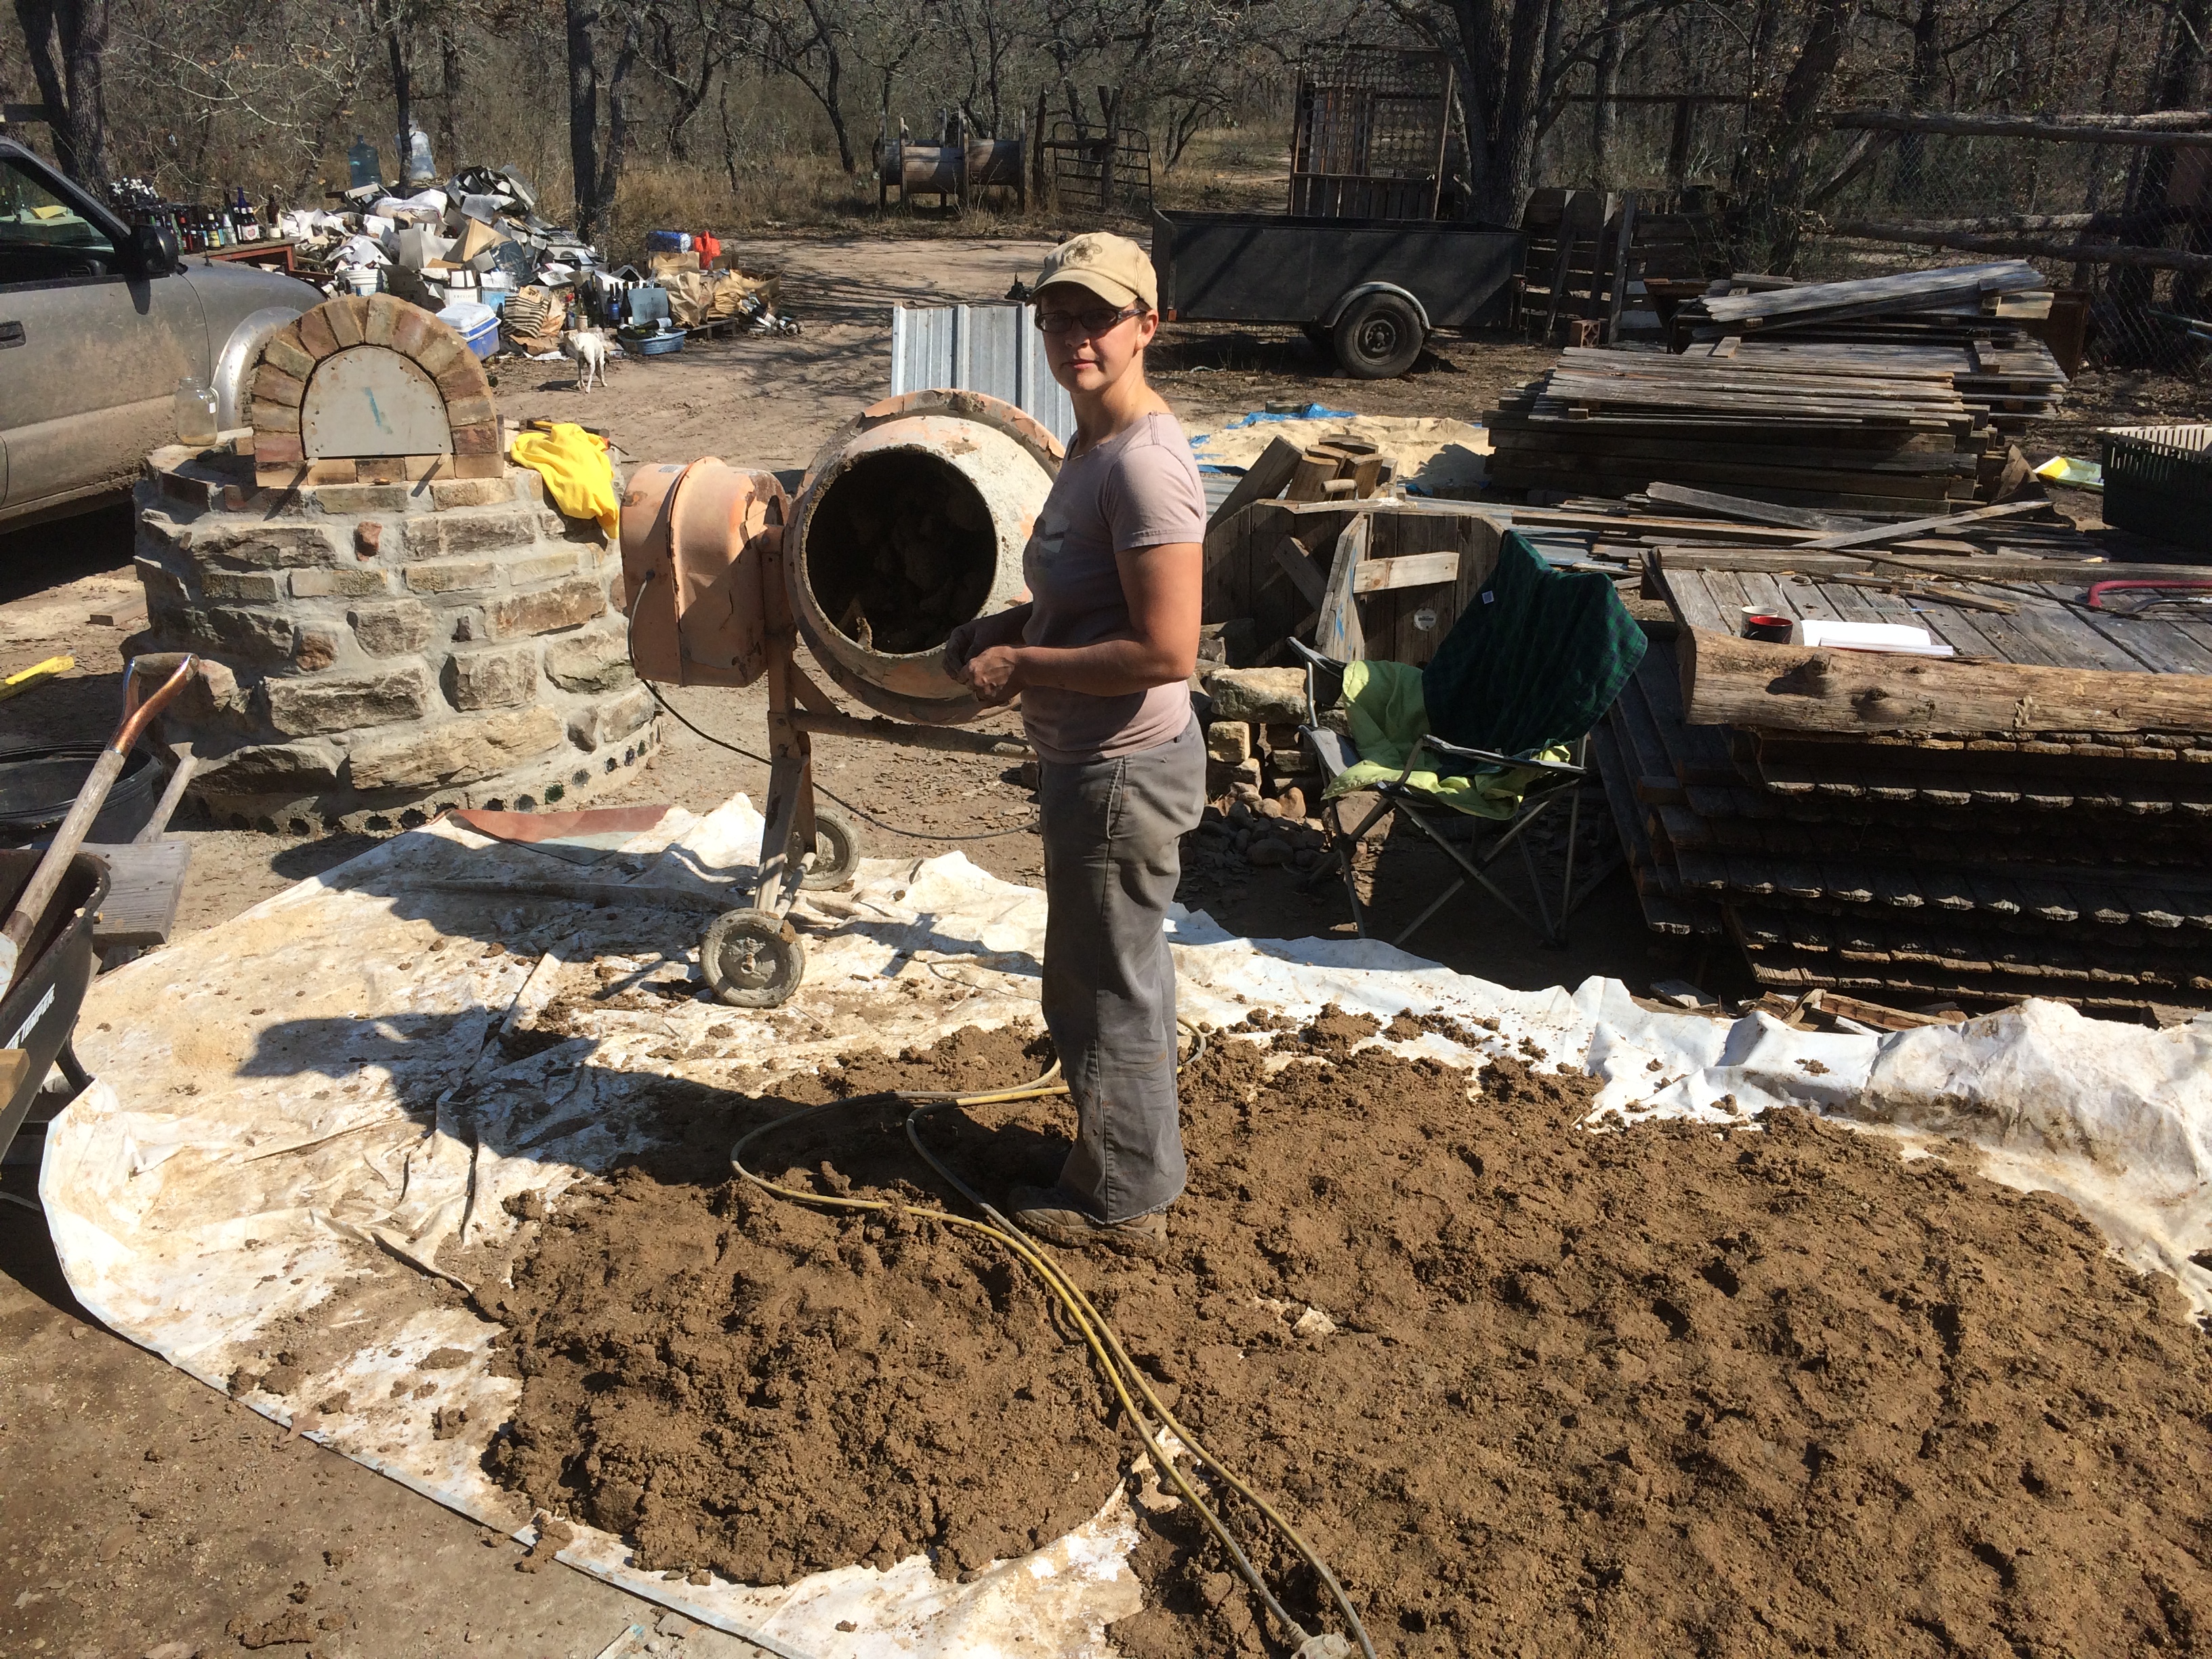
we decided to test out the concrete mixer for making the sand & clay for the oven mud – and boy was it a time and effort saver! (Especially since we wound up making two to three times more than we actually needed …) We still foot/tarp mixed it, but only after a pre-mix tour through the mixer
First, we built the sand mold, like a sandcastle – this was the shape of what would become the void within the oven. We sprayed it with water and patted it tightly as we worked, attempting to create a smooth, flowing interior that fire and hot gas would roll through nicely.
building the void – sand form almost completed (with the beginnings of the roof visible in the background)
The hardest part of the sand form was the newspaper layer, which would help us remove the sand from the clay later – it was frustrating to get it to stay smooth and in place, but we learned as we went, using lots of water, and smaller pieces of paper.
The sand form and the oven mud interior layer had to be done the same day – we we launched immediately into it.
packing the oven mud interior layer
The going was slow, as we carefully packed the oven mud into place, a fist-sized chunk at a time, maintaining a consistent 3″ thickness, and only applying force into existing clay (not into the fragile sand form). A CD we’d bought in Austin from the musician Kiko Villamizar played on repeat for hours – it was not the first or the last time the album provided the soundtrack to our work, but it was the longest continuous stretch.
We each worked from one side of the arch to the back, meeting in the middle – and then switched sides for the next layer, so that any idiosyncrasies in our individual methods would be evenly distributed on either side, and layered with the other’s style.
step by step, blob by blob – higher & higher …
Darkness fell, and we set up lights on each side so we could finish the vital layer.
While the interior oven mud layer dried, we left it alone and spent a day working on the protective roof, not wanting to impatiently cause a collapse.
Once it seemed dry and stable, we filled in a couple of drying cracks with oven mud, and pulled out the arch form to reveal the sand within.
sand behind the arch form – we let it sit open to help the oven mud dry out more from within
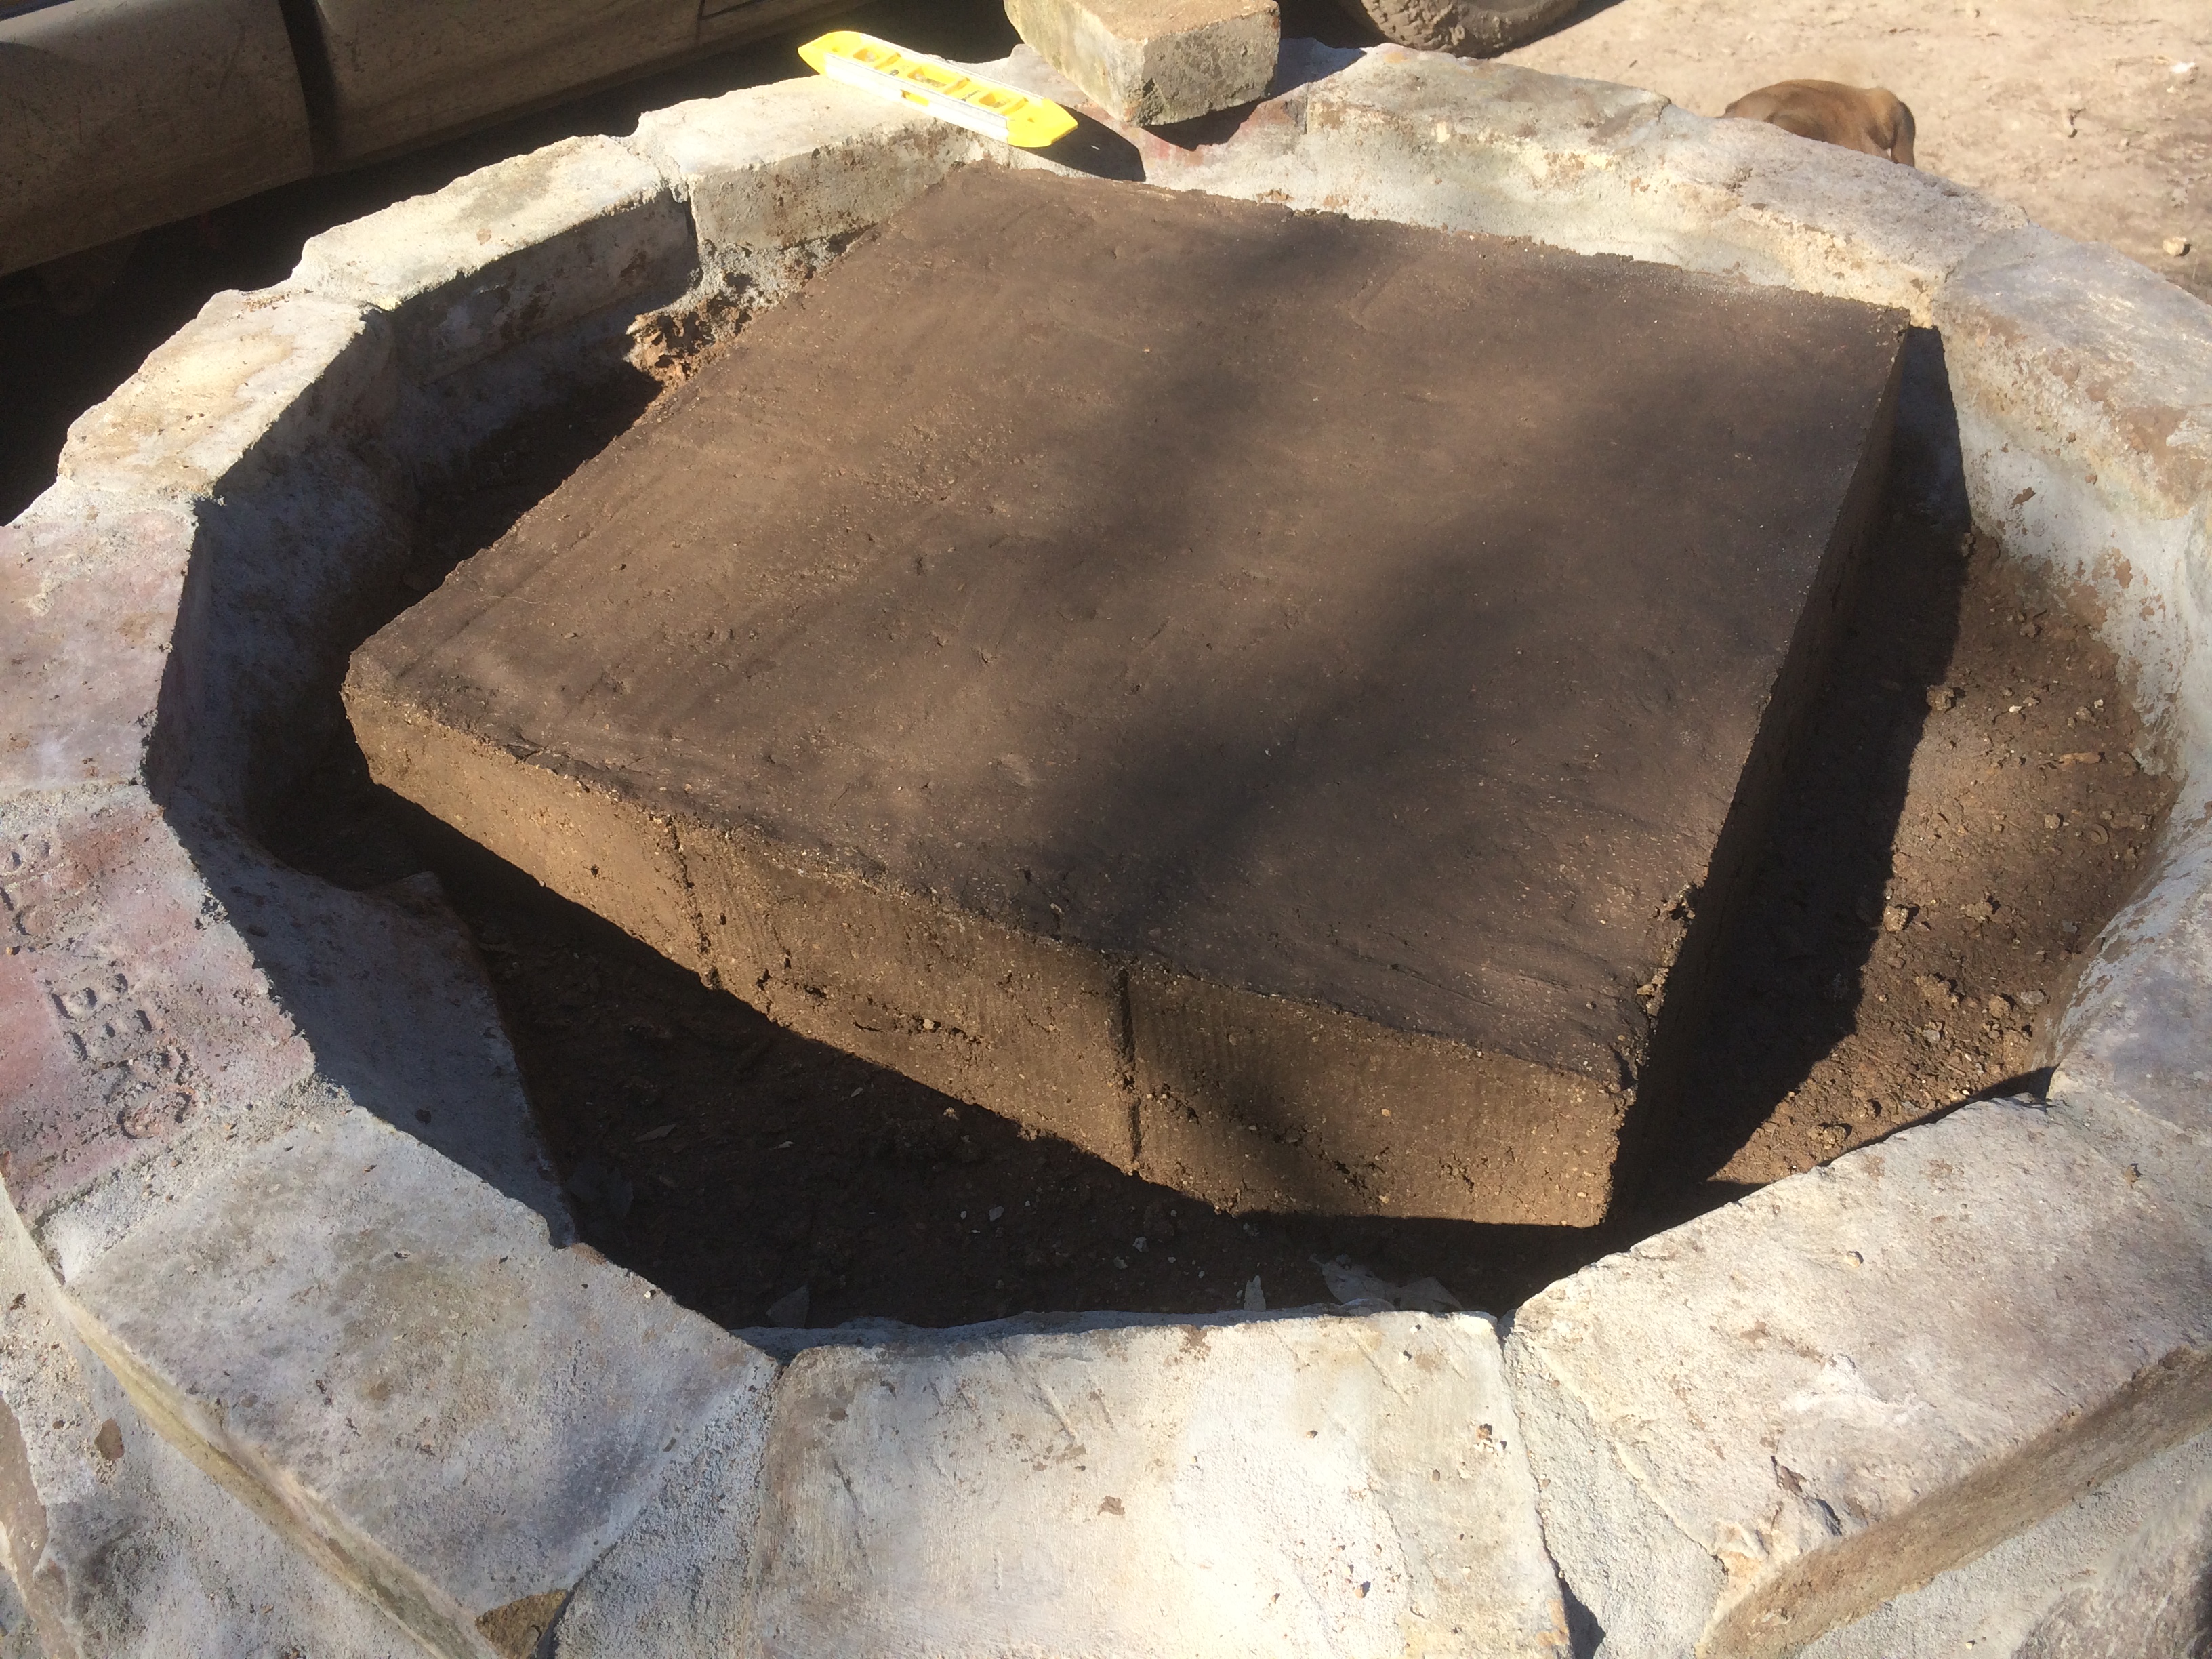
Then it was time to scoop out the sand form, and create the void.
removing sand form, with the roof in the background
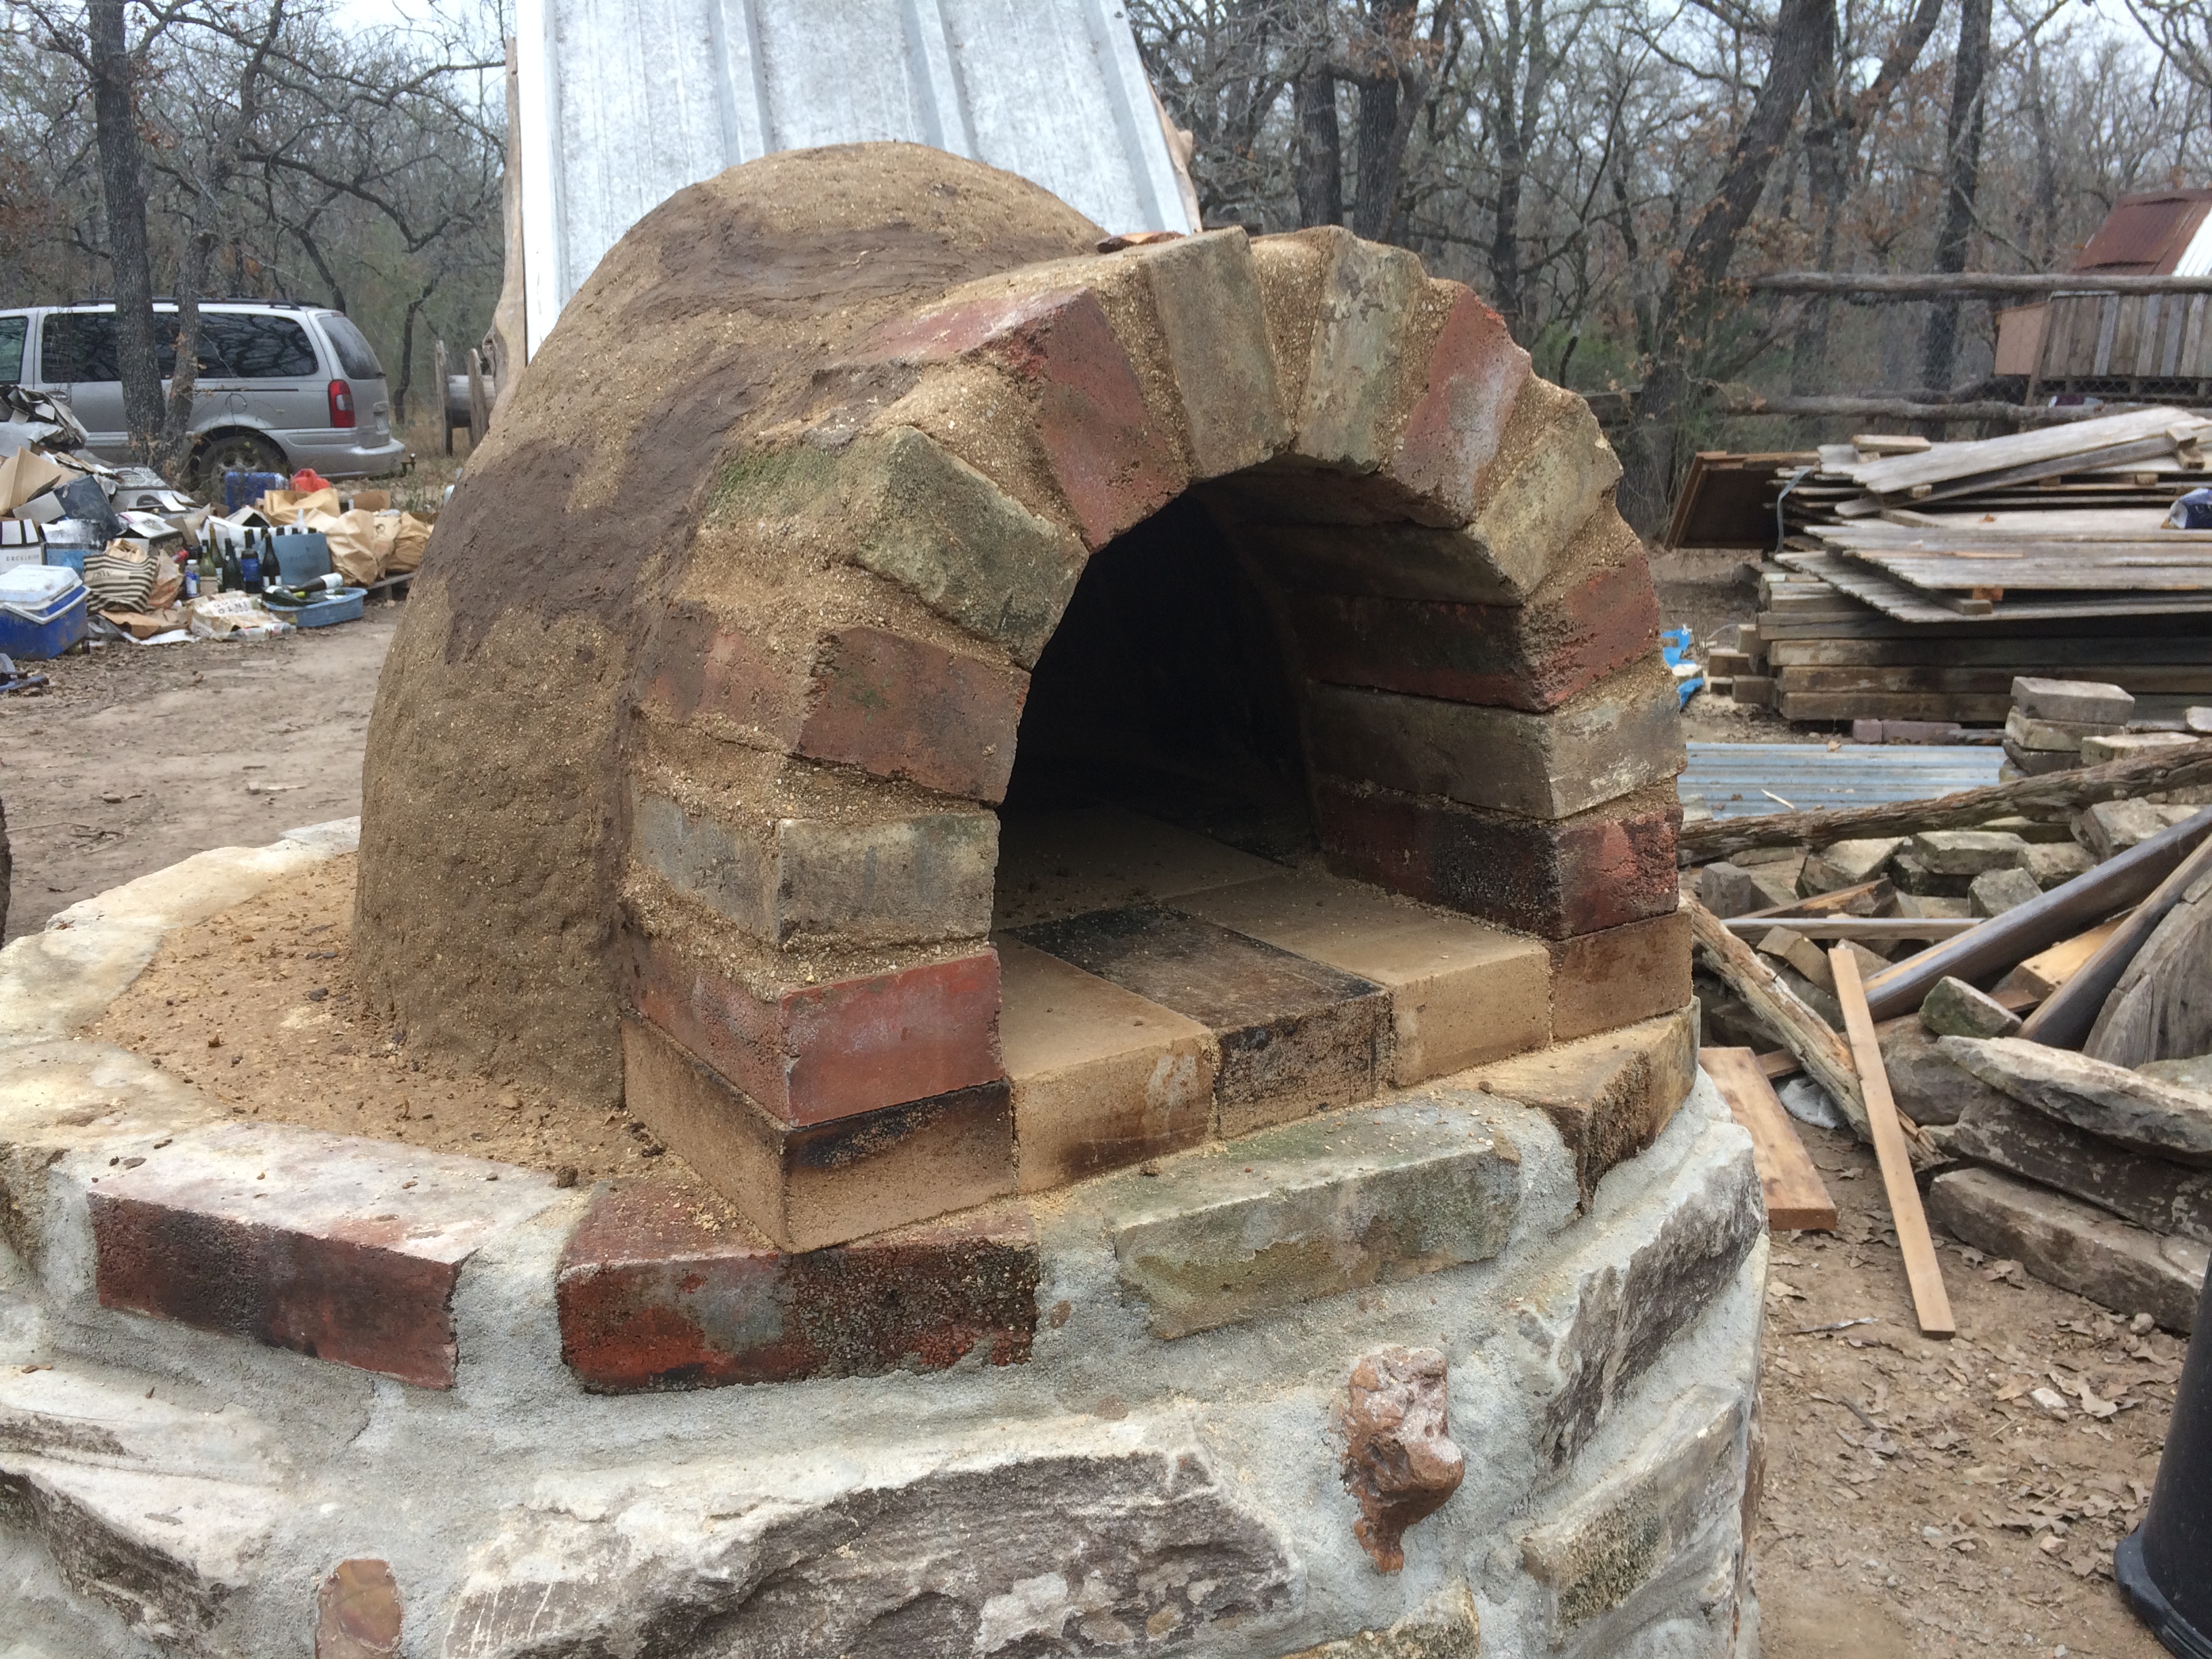
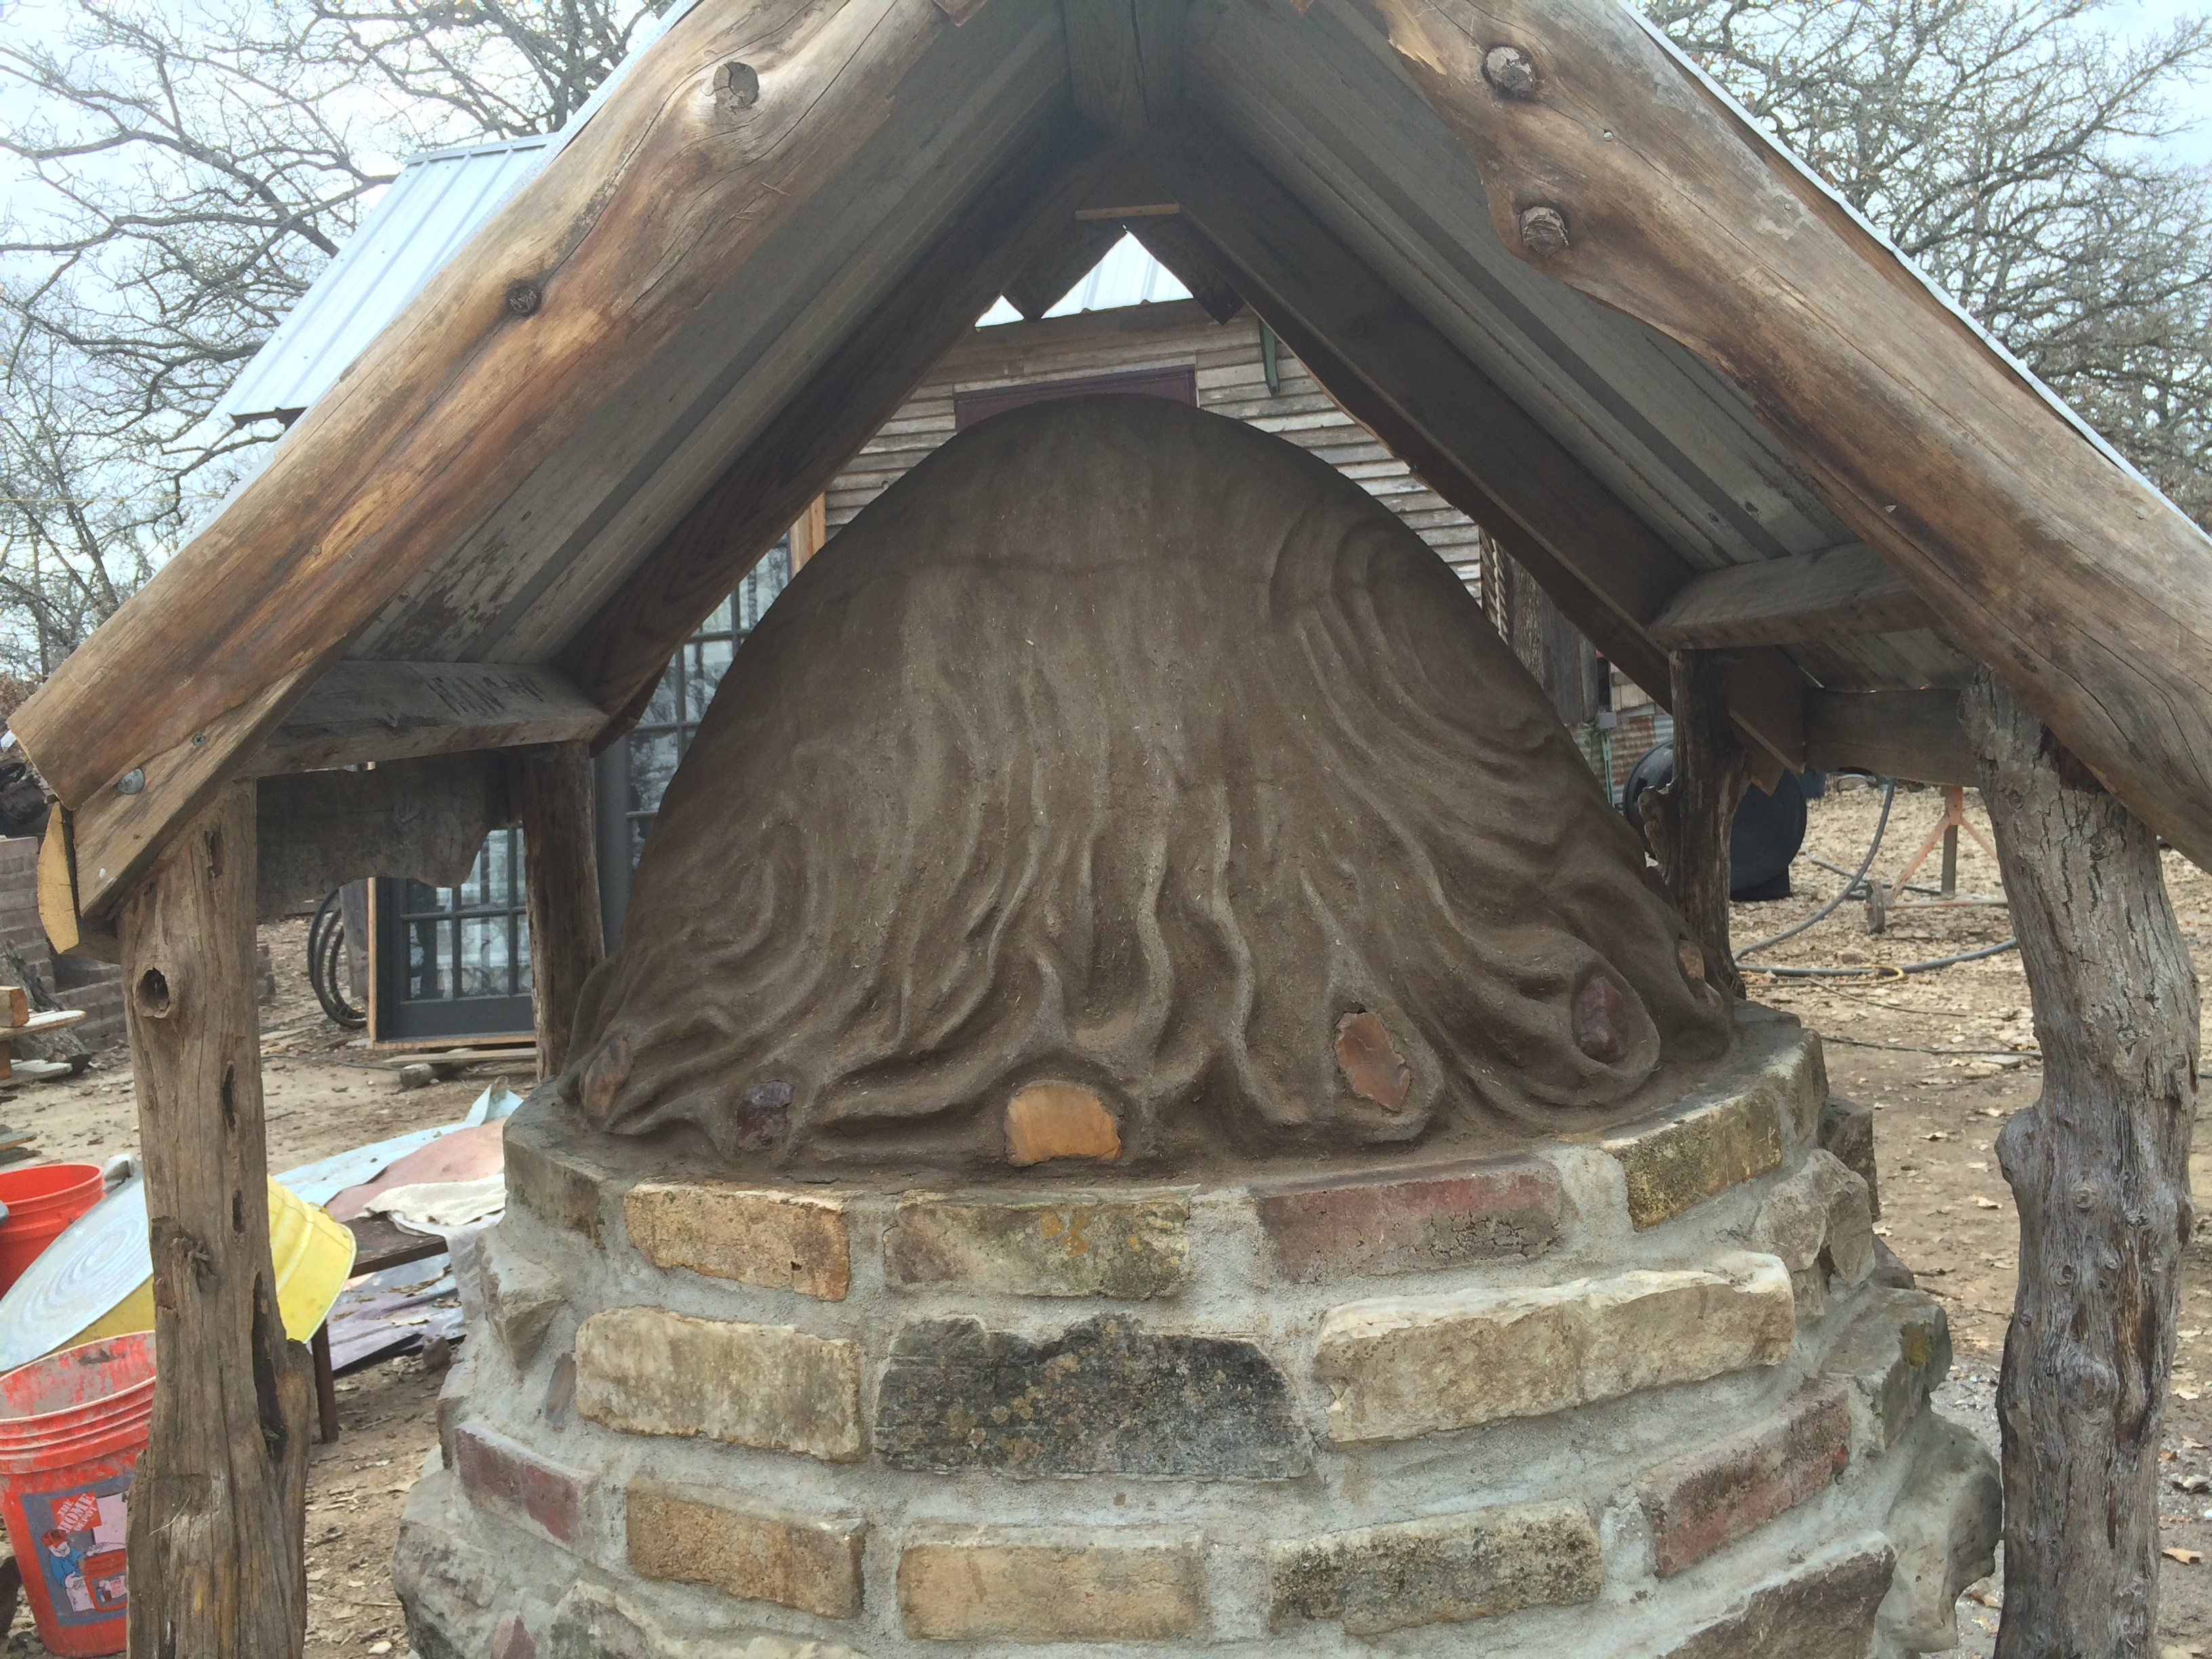
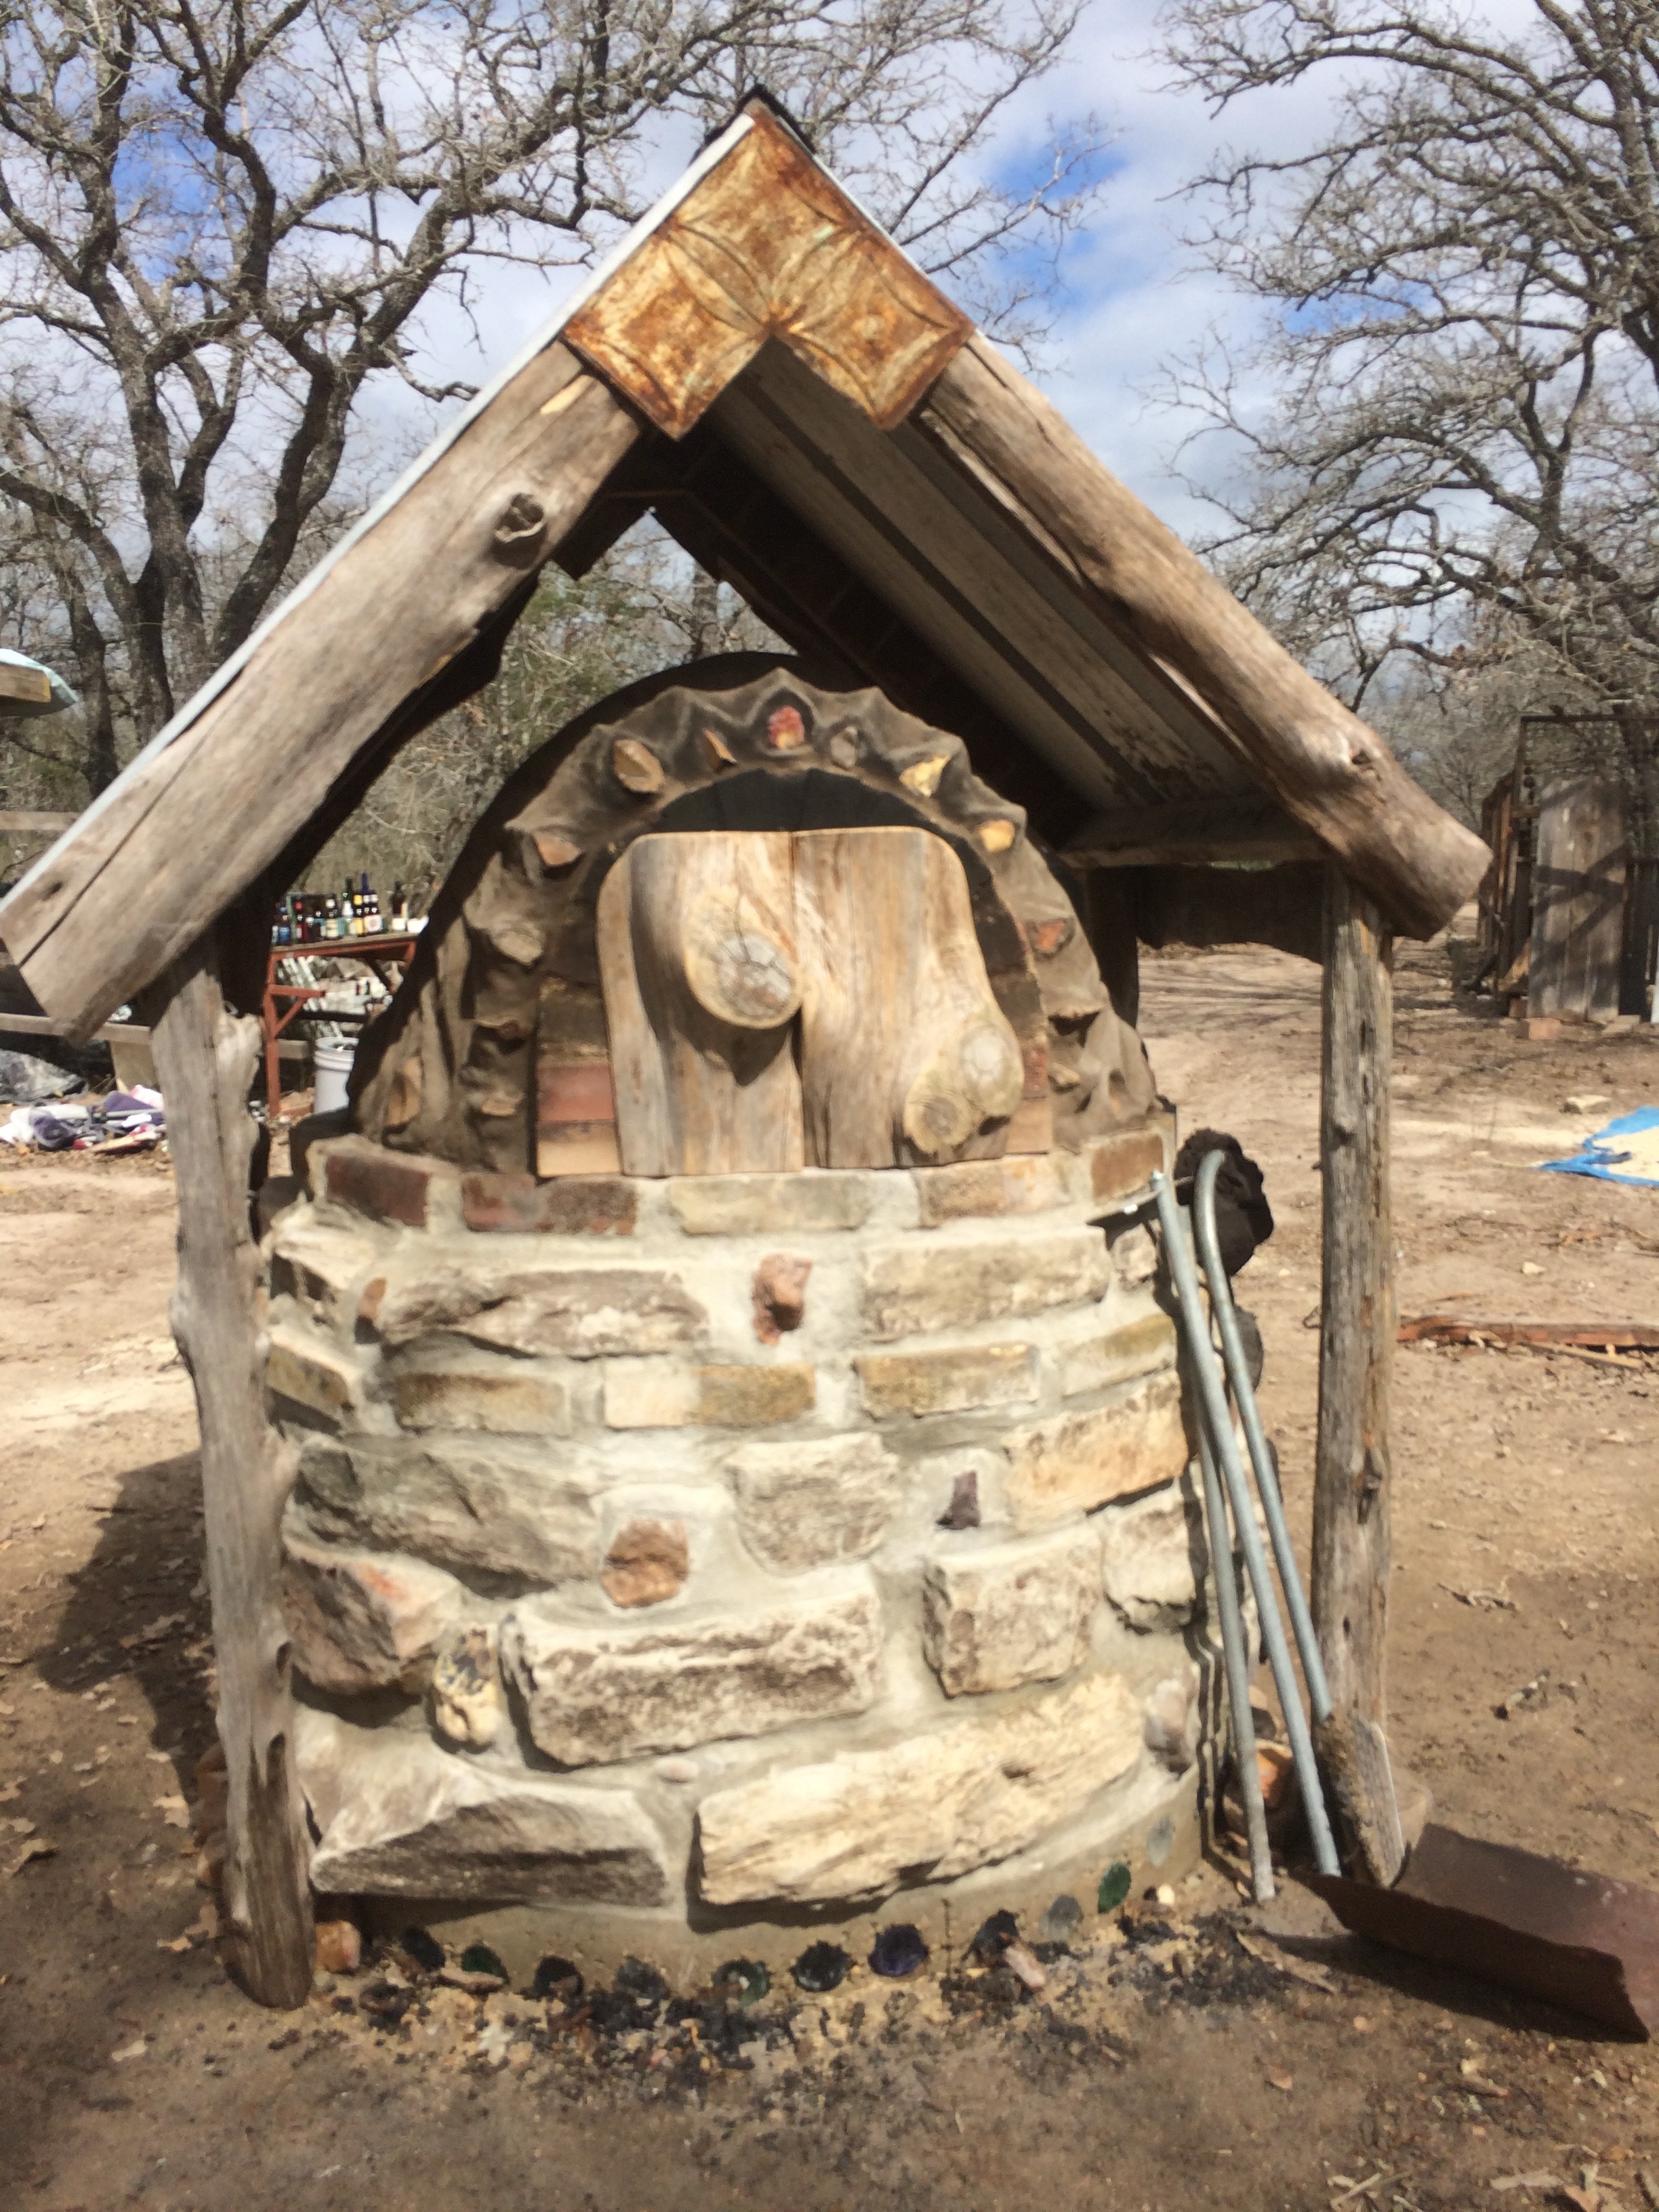
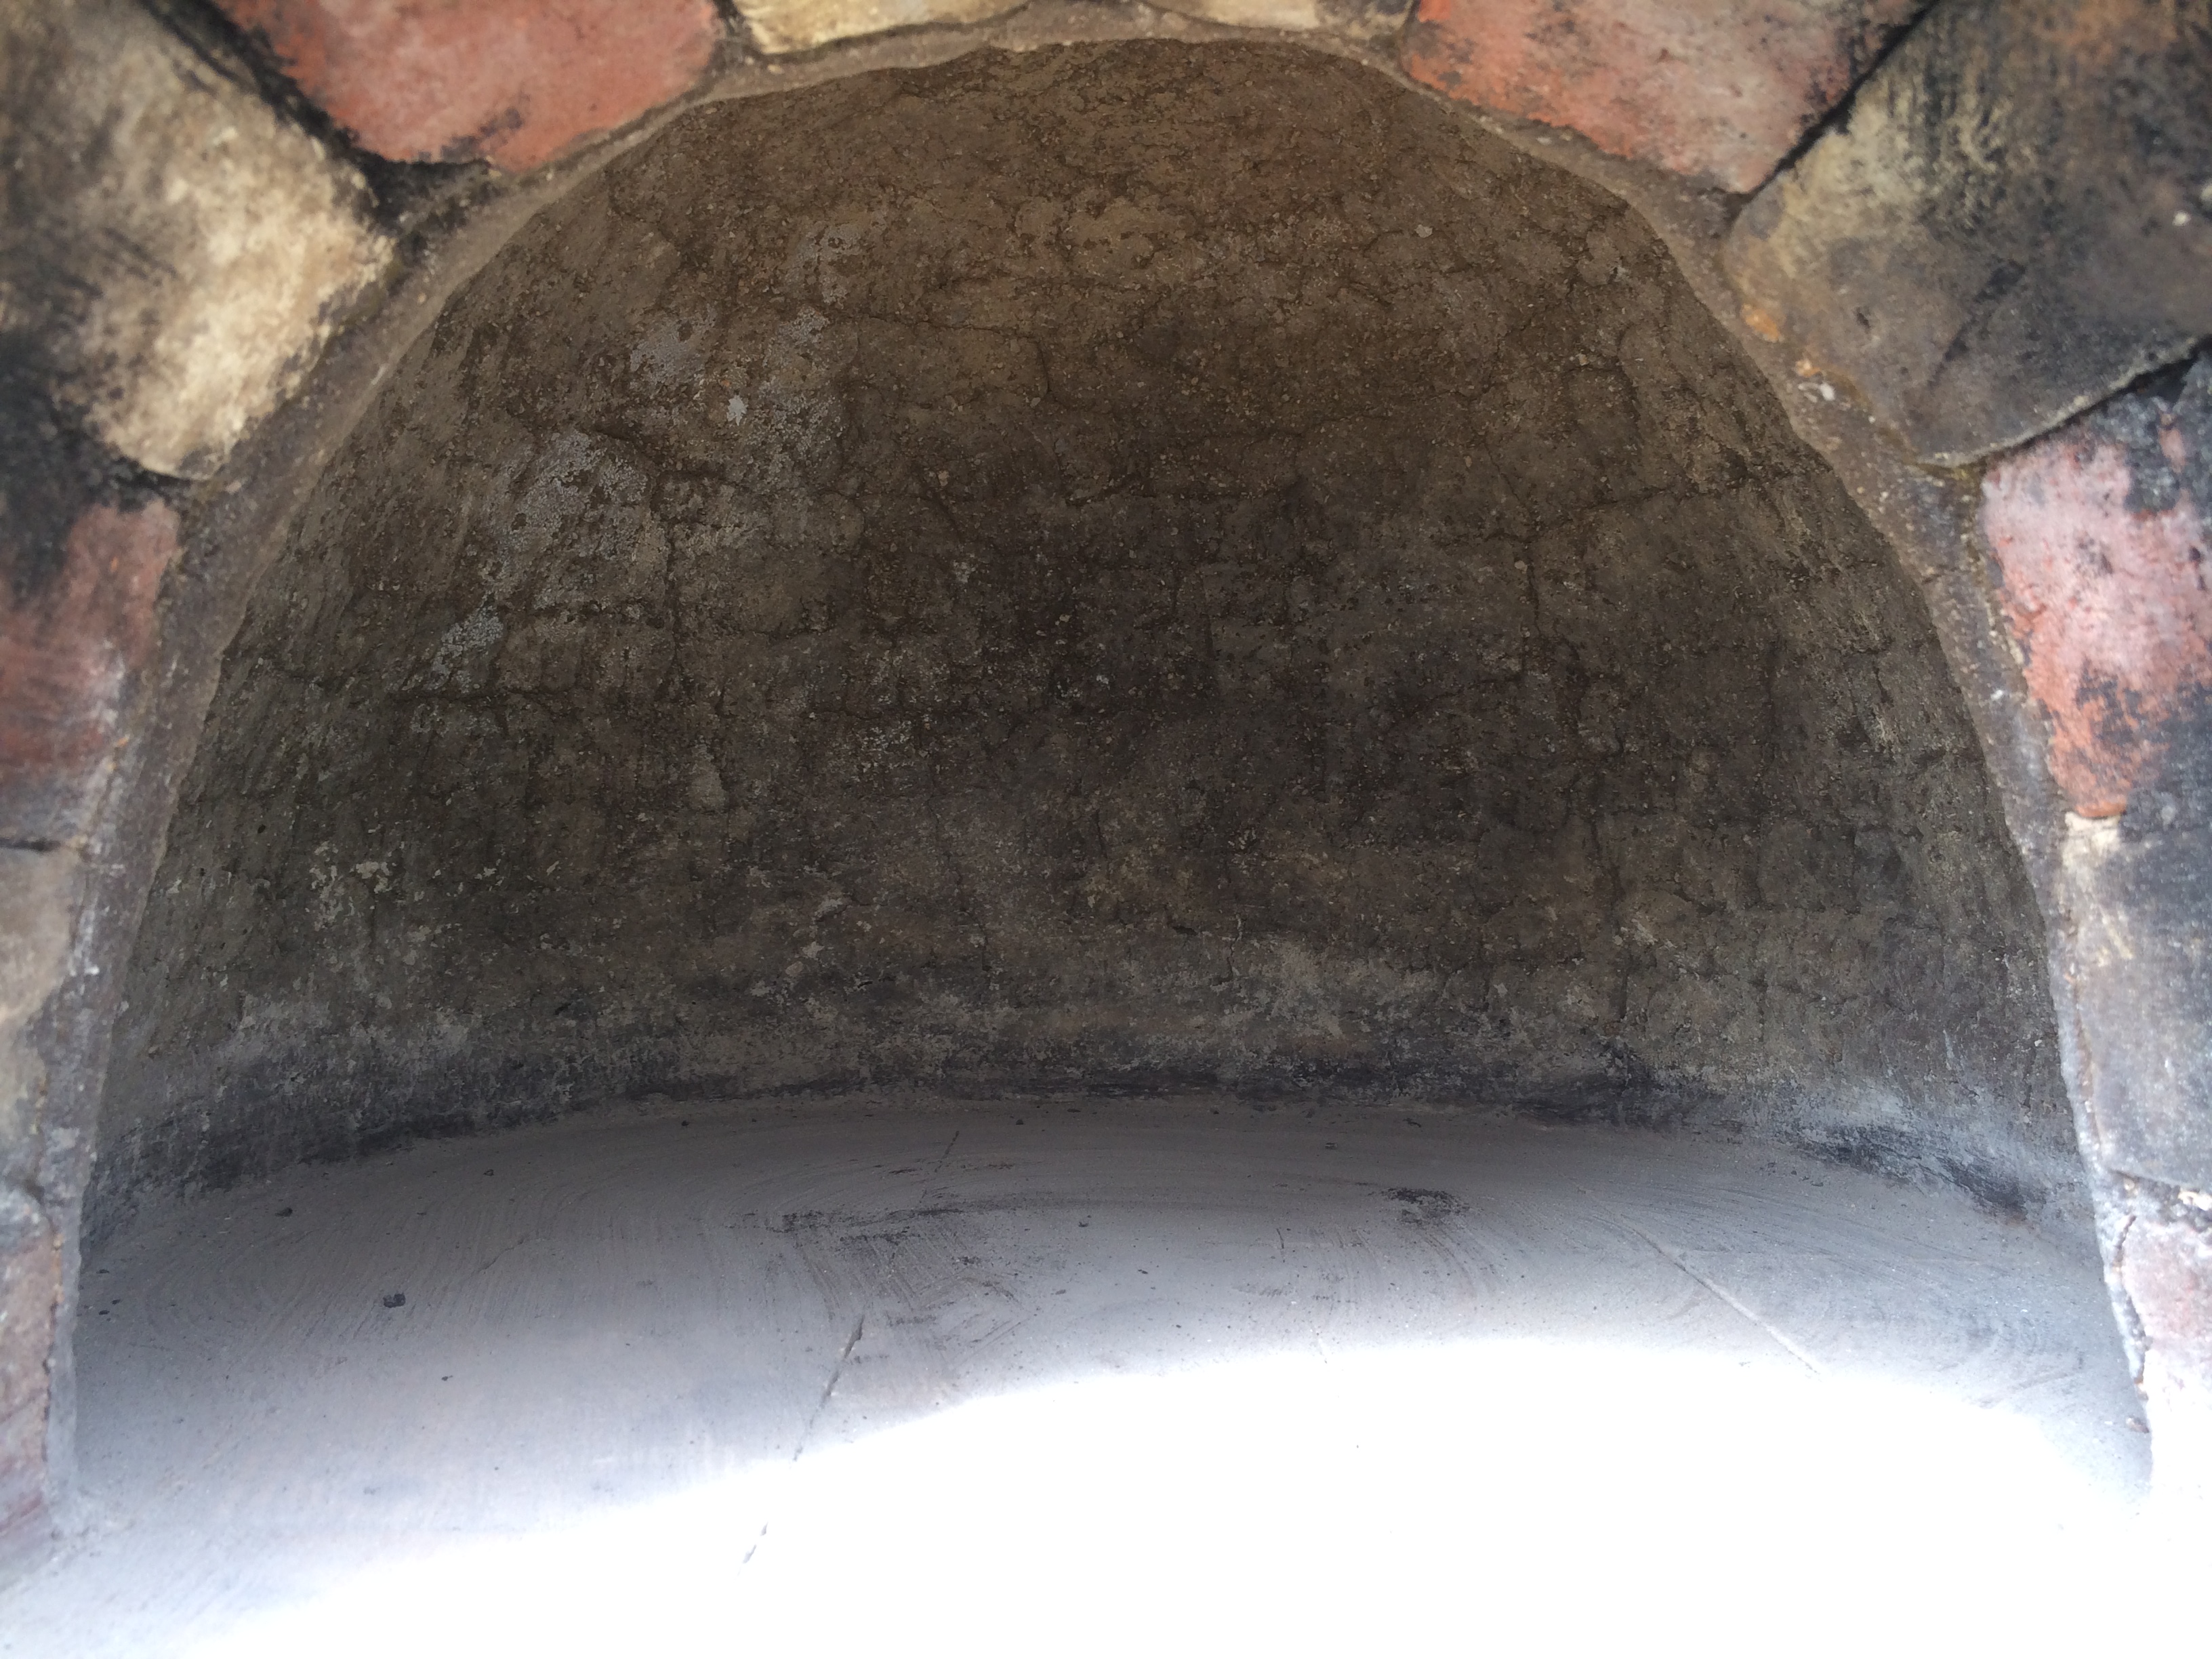
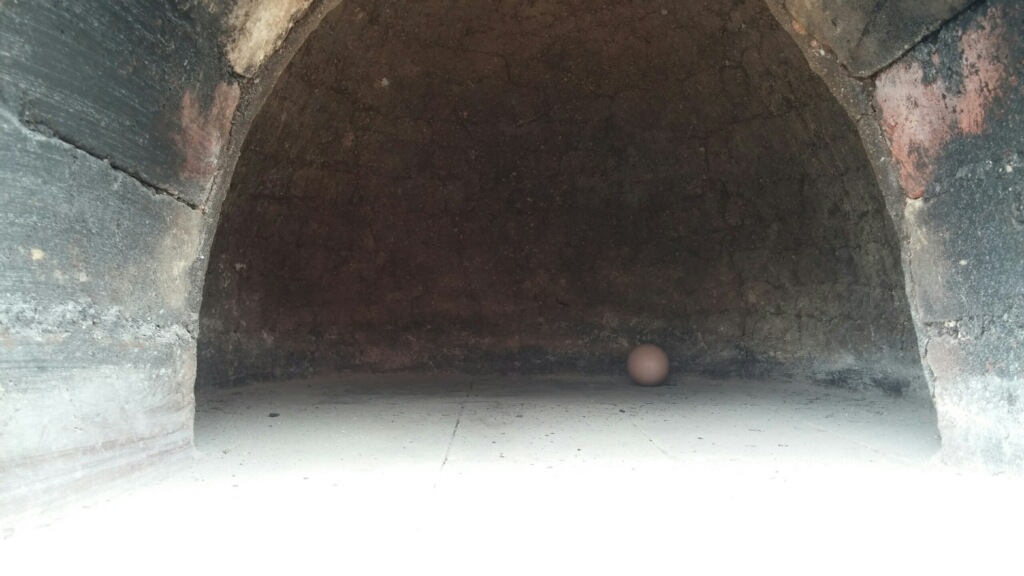
interior layer complete! the five firebricks within and beneath the arch are not for baking (they lack the thick subfloor heat pad – the outer support the arch, and the inner 3 allow bread or pizza to be slid in and out from the baking surface)
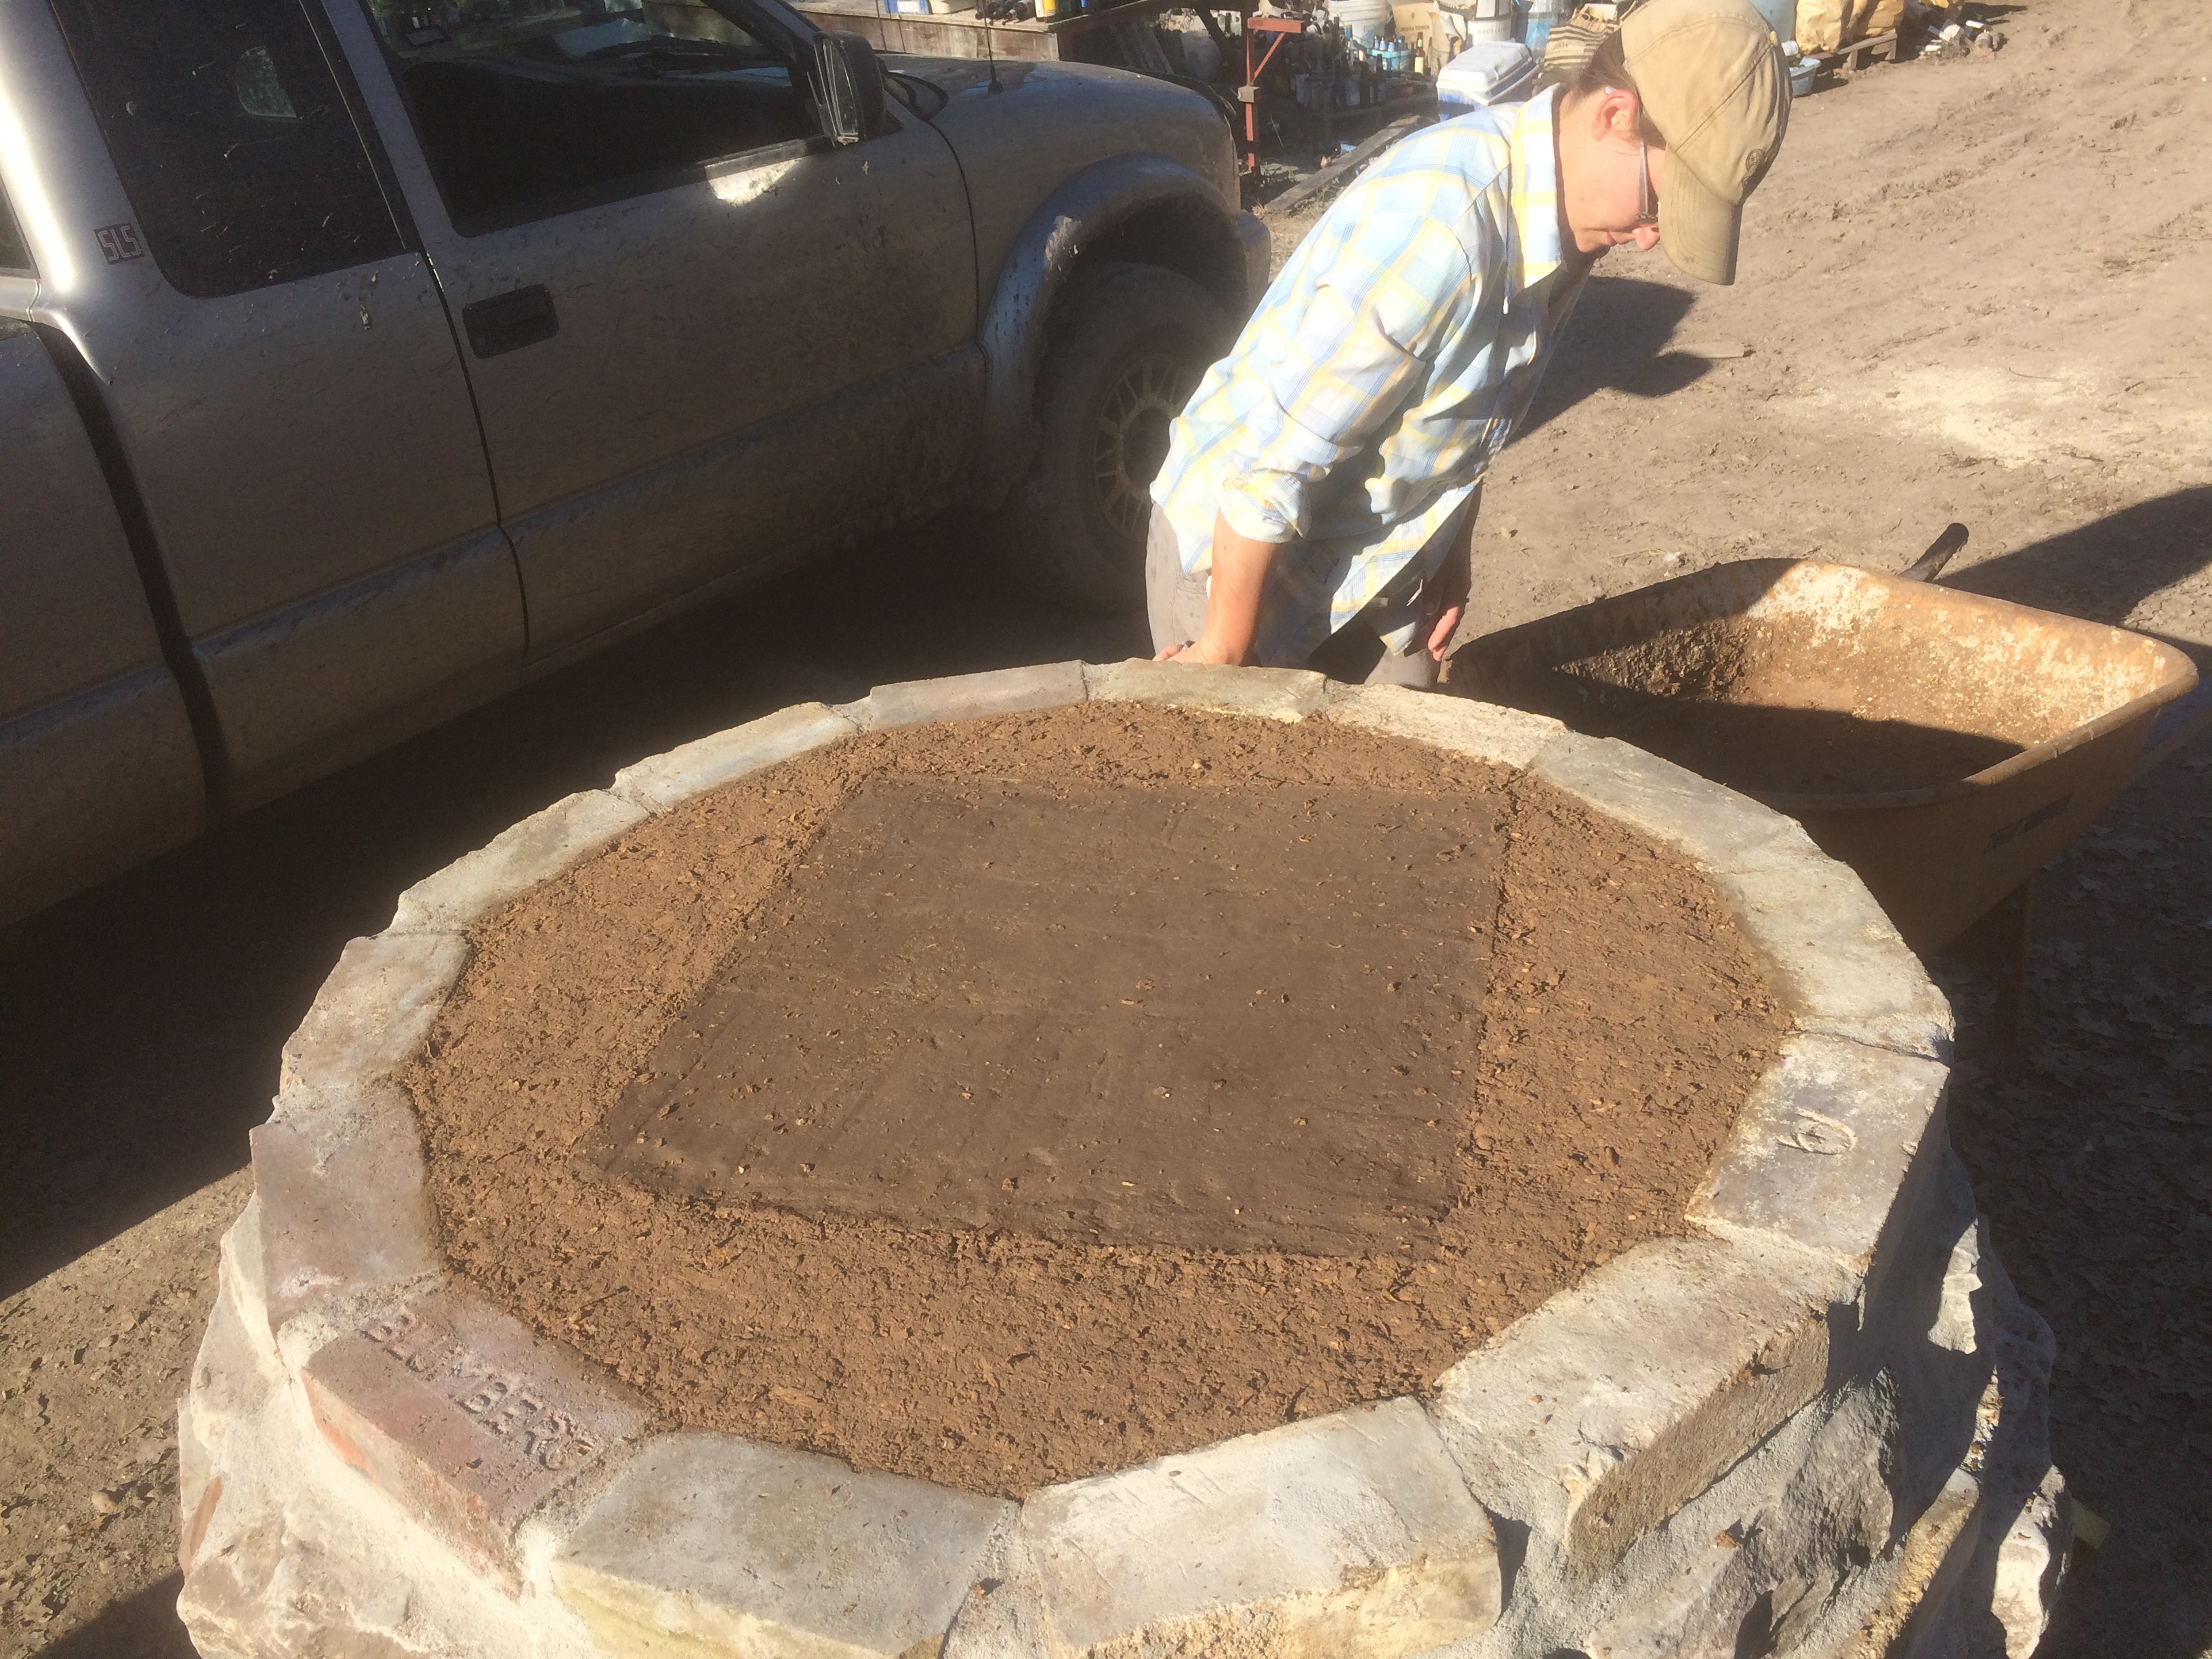
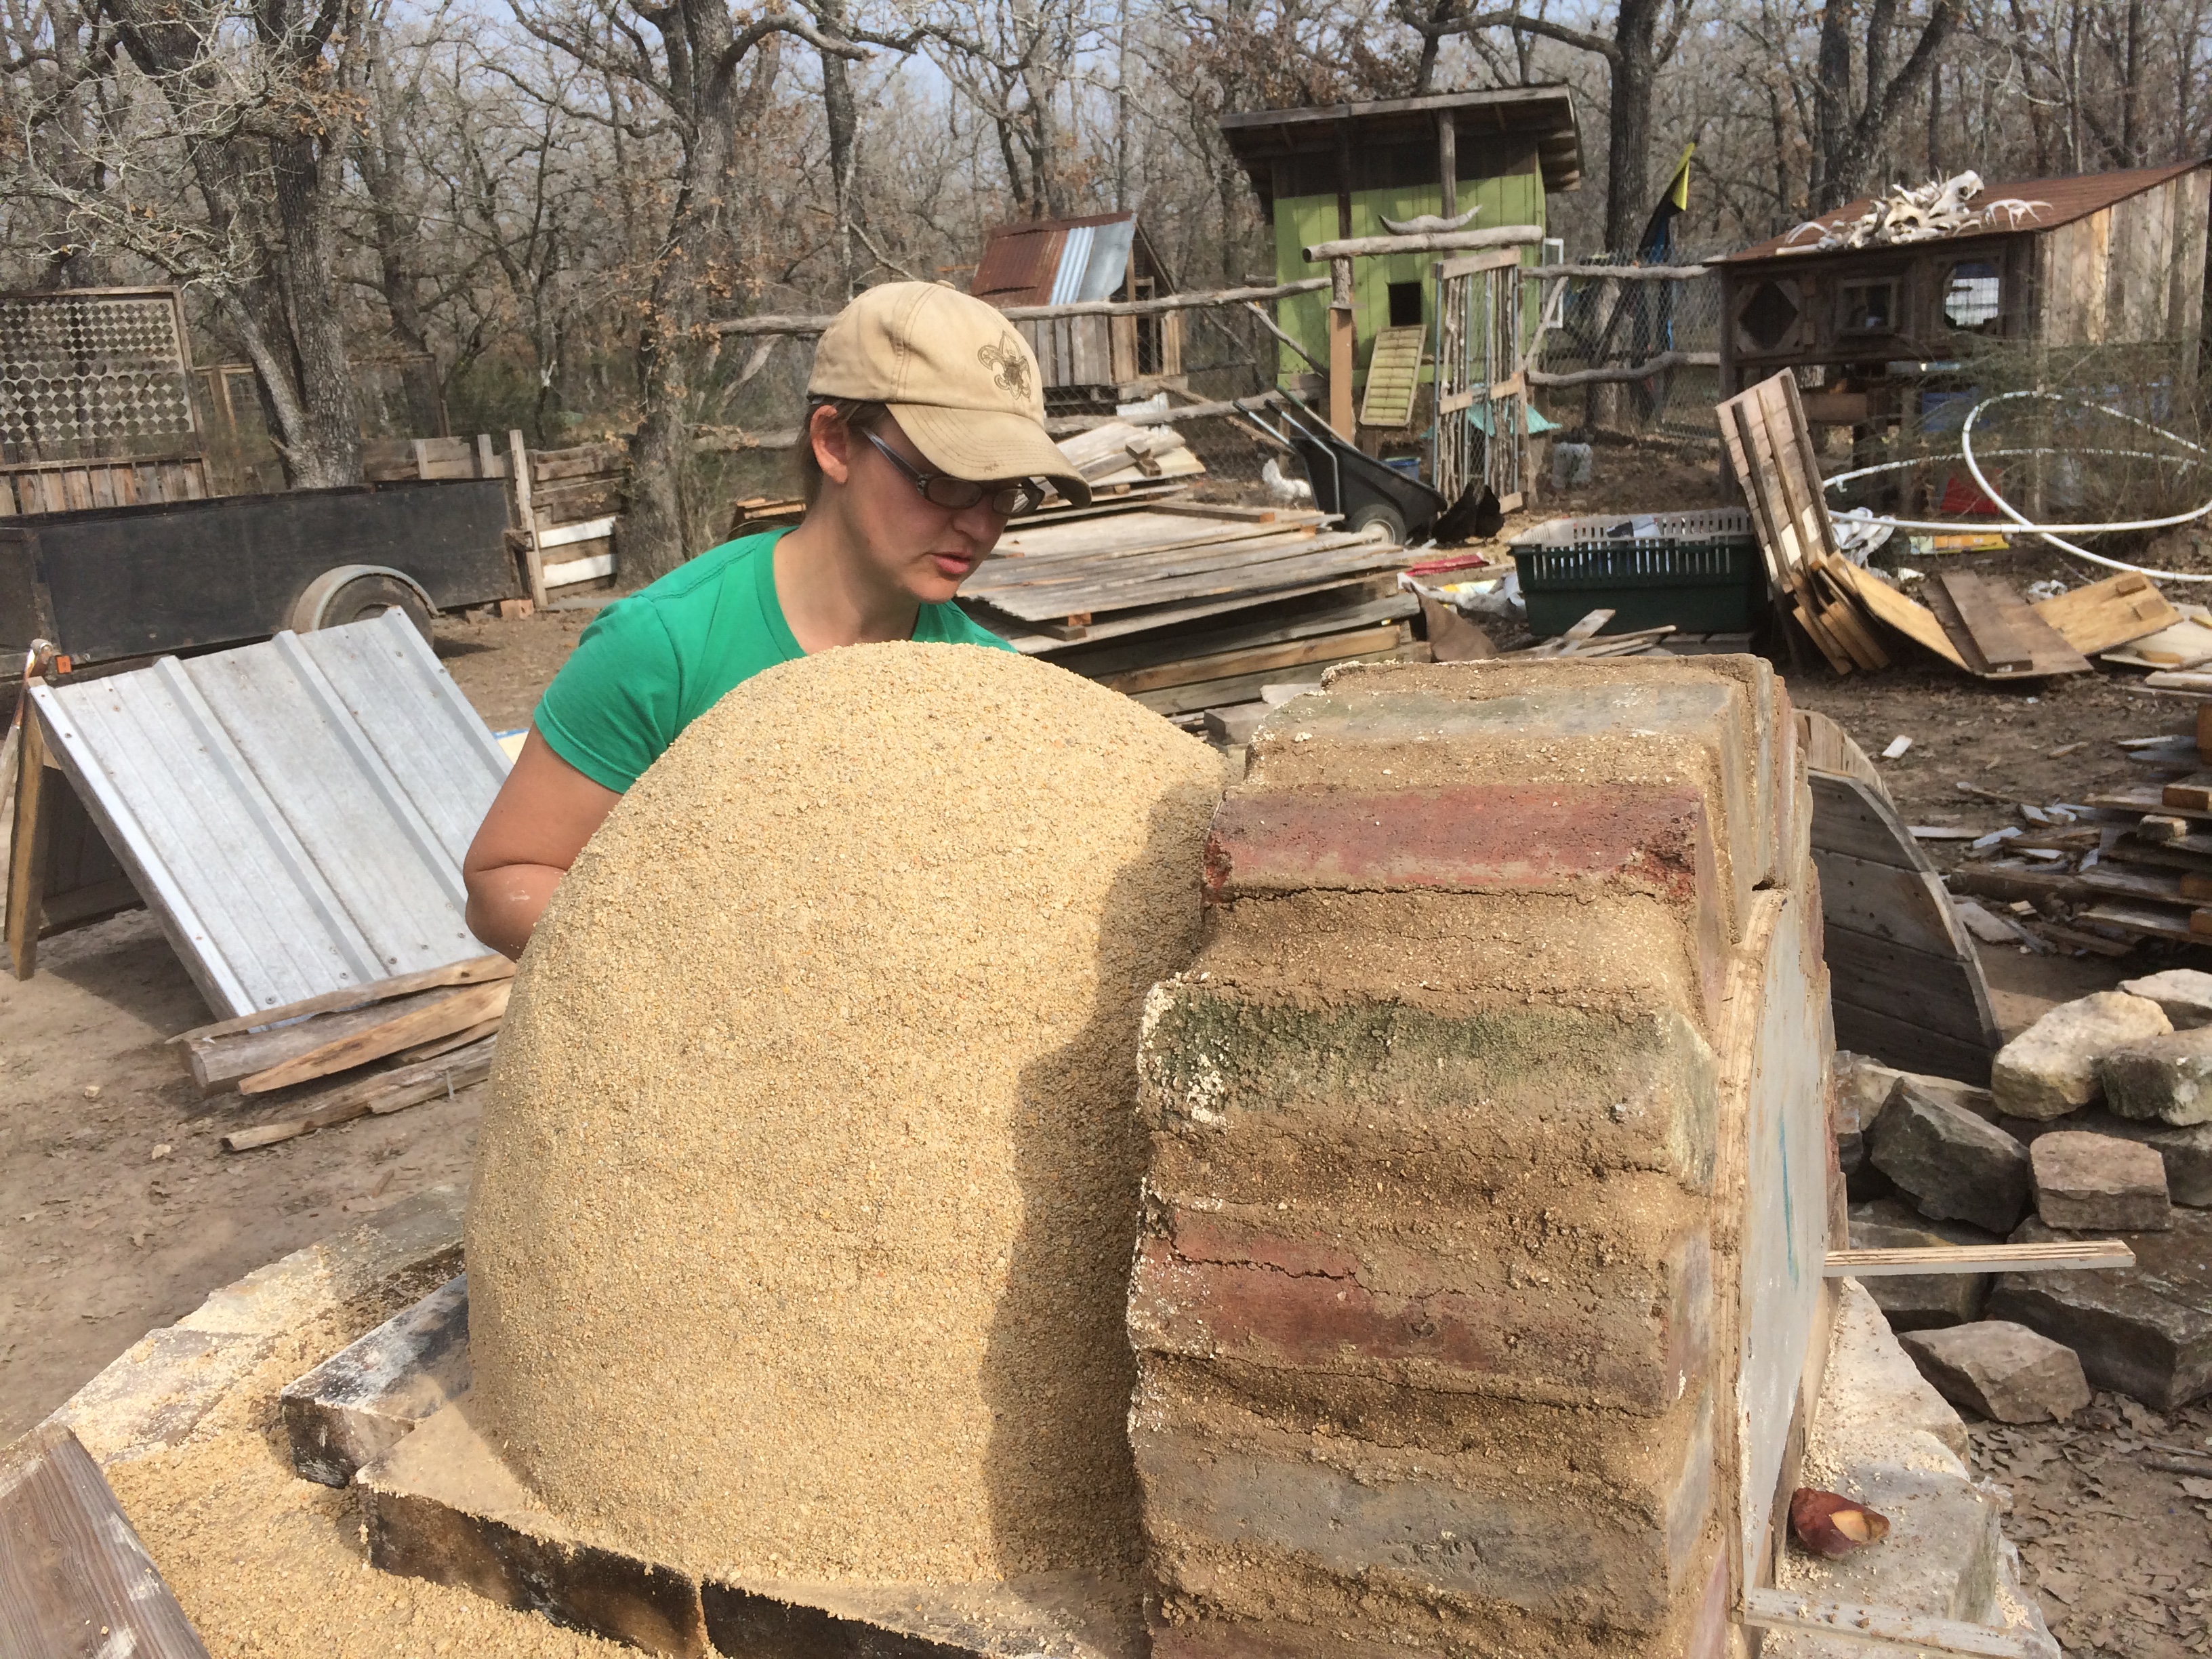
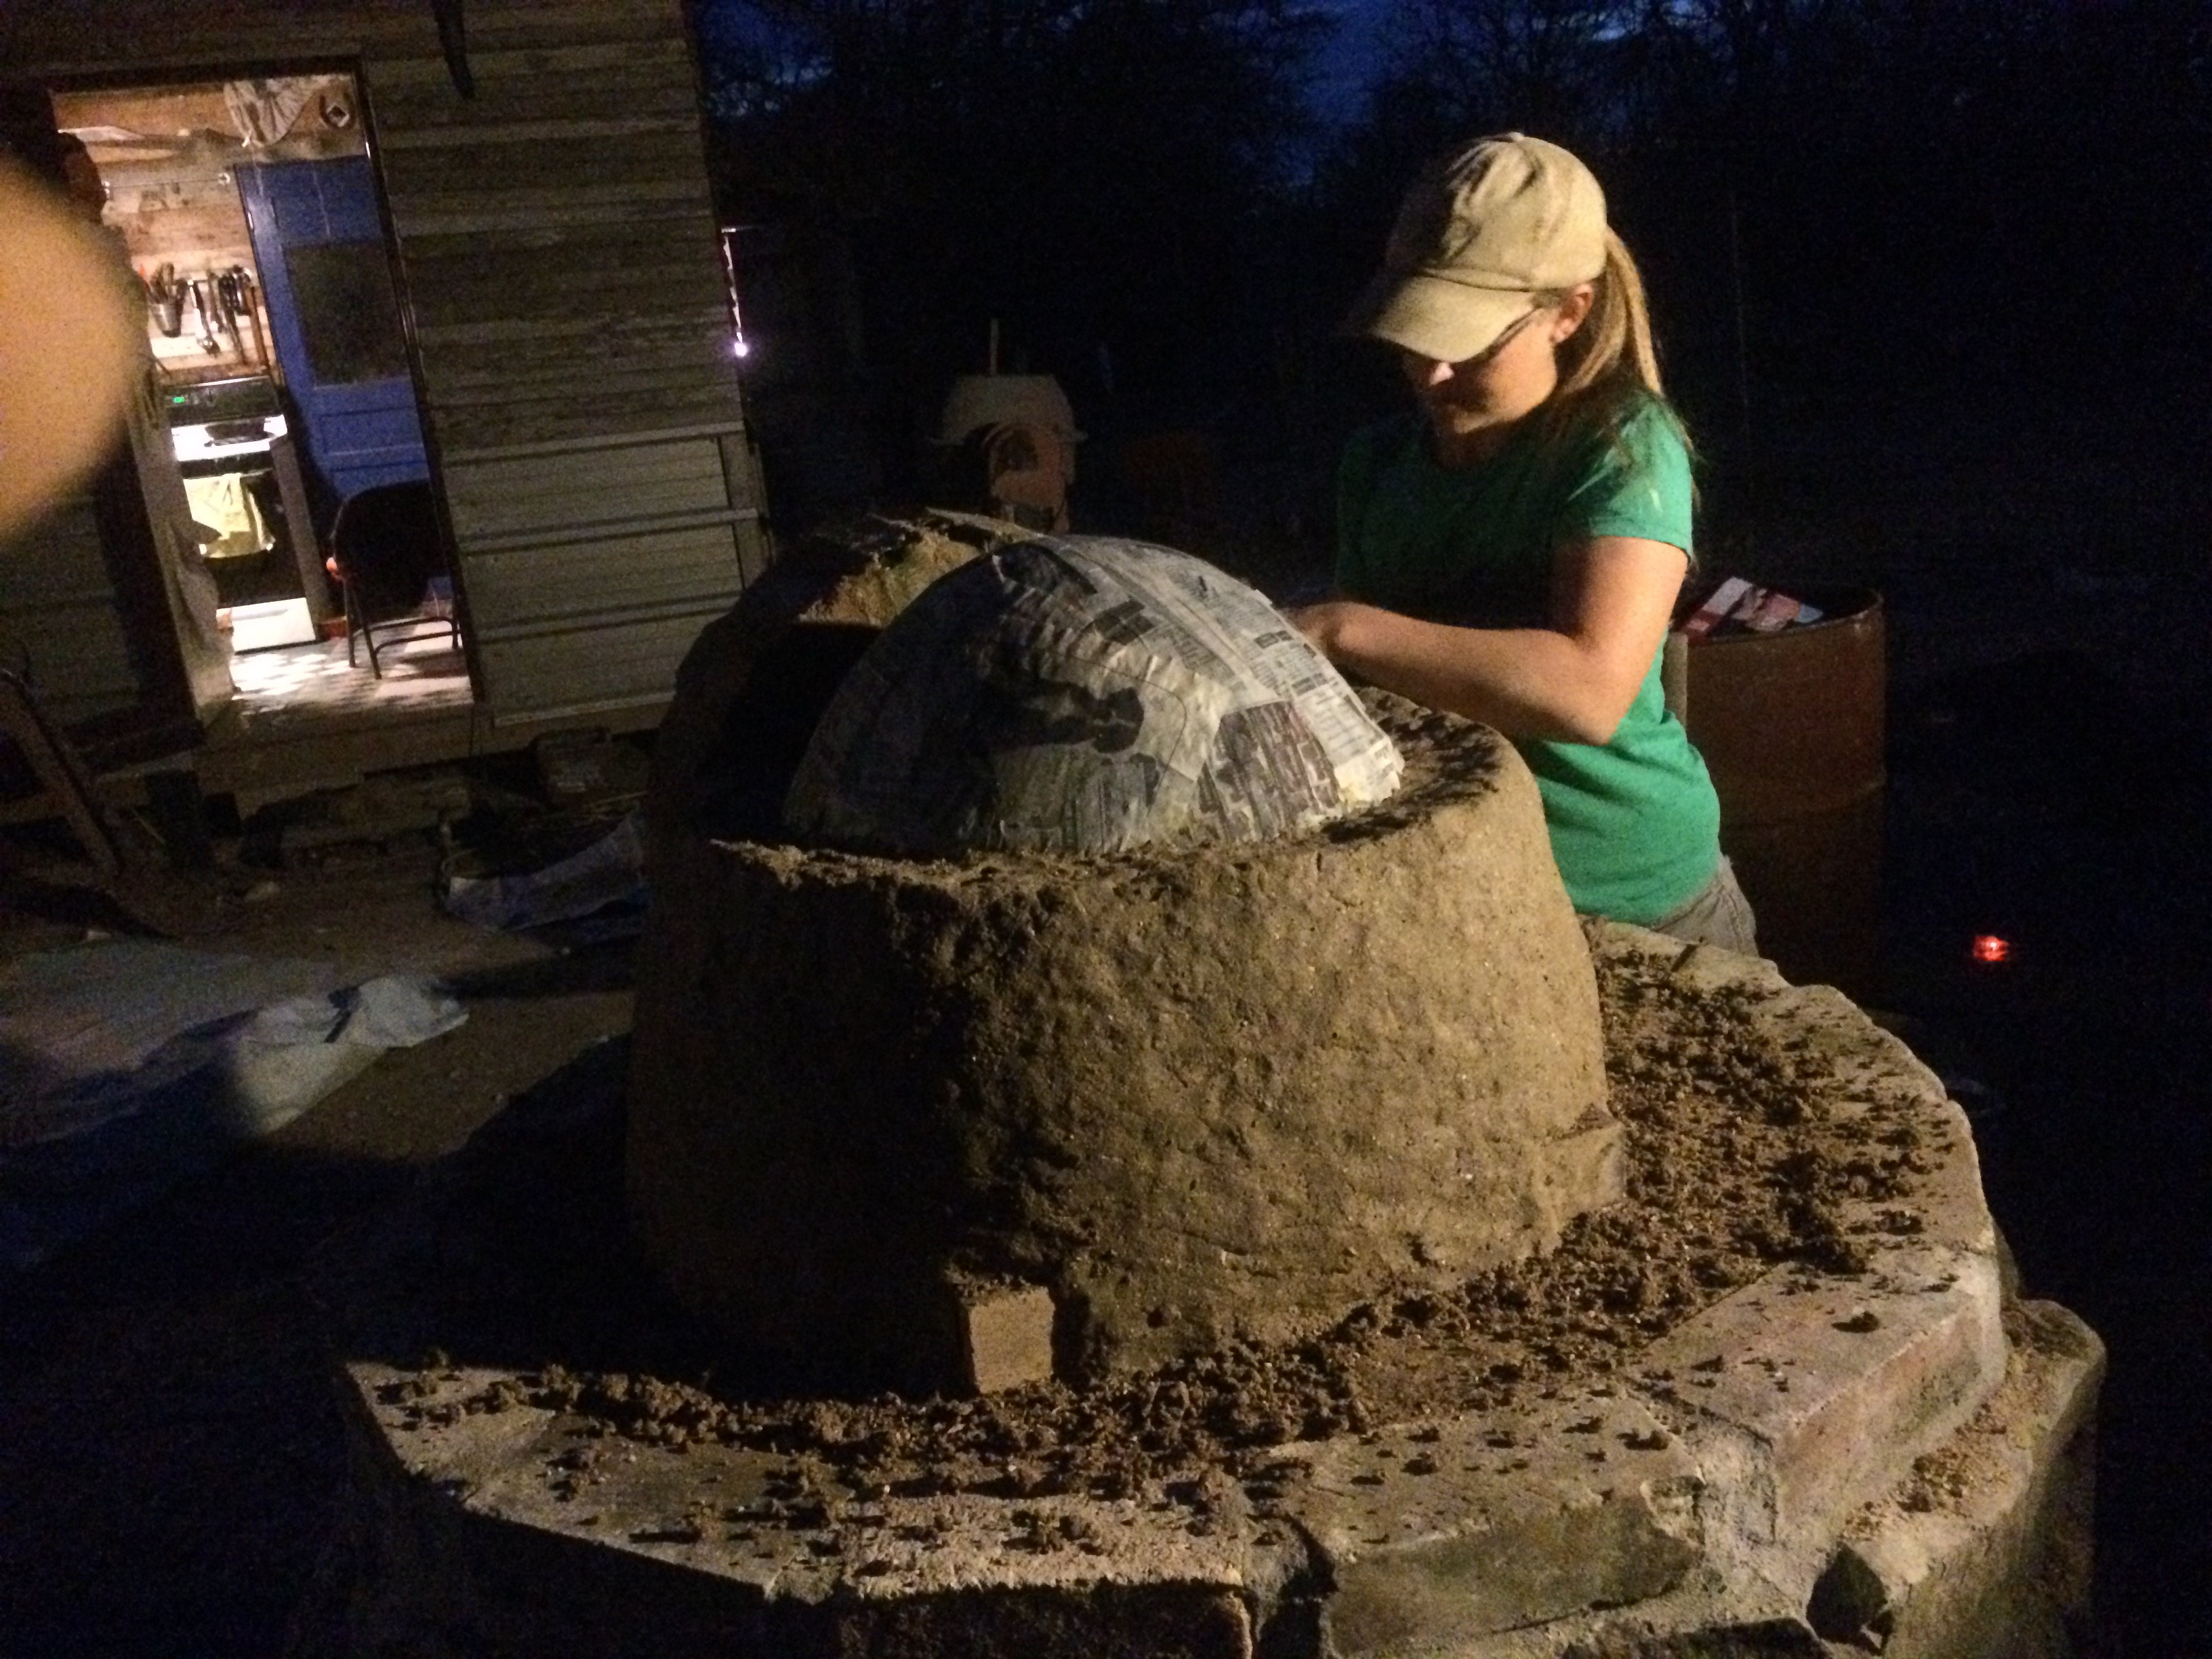
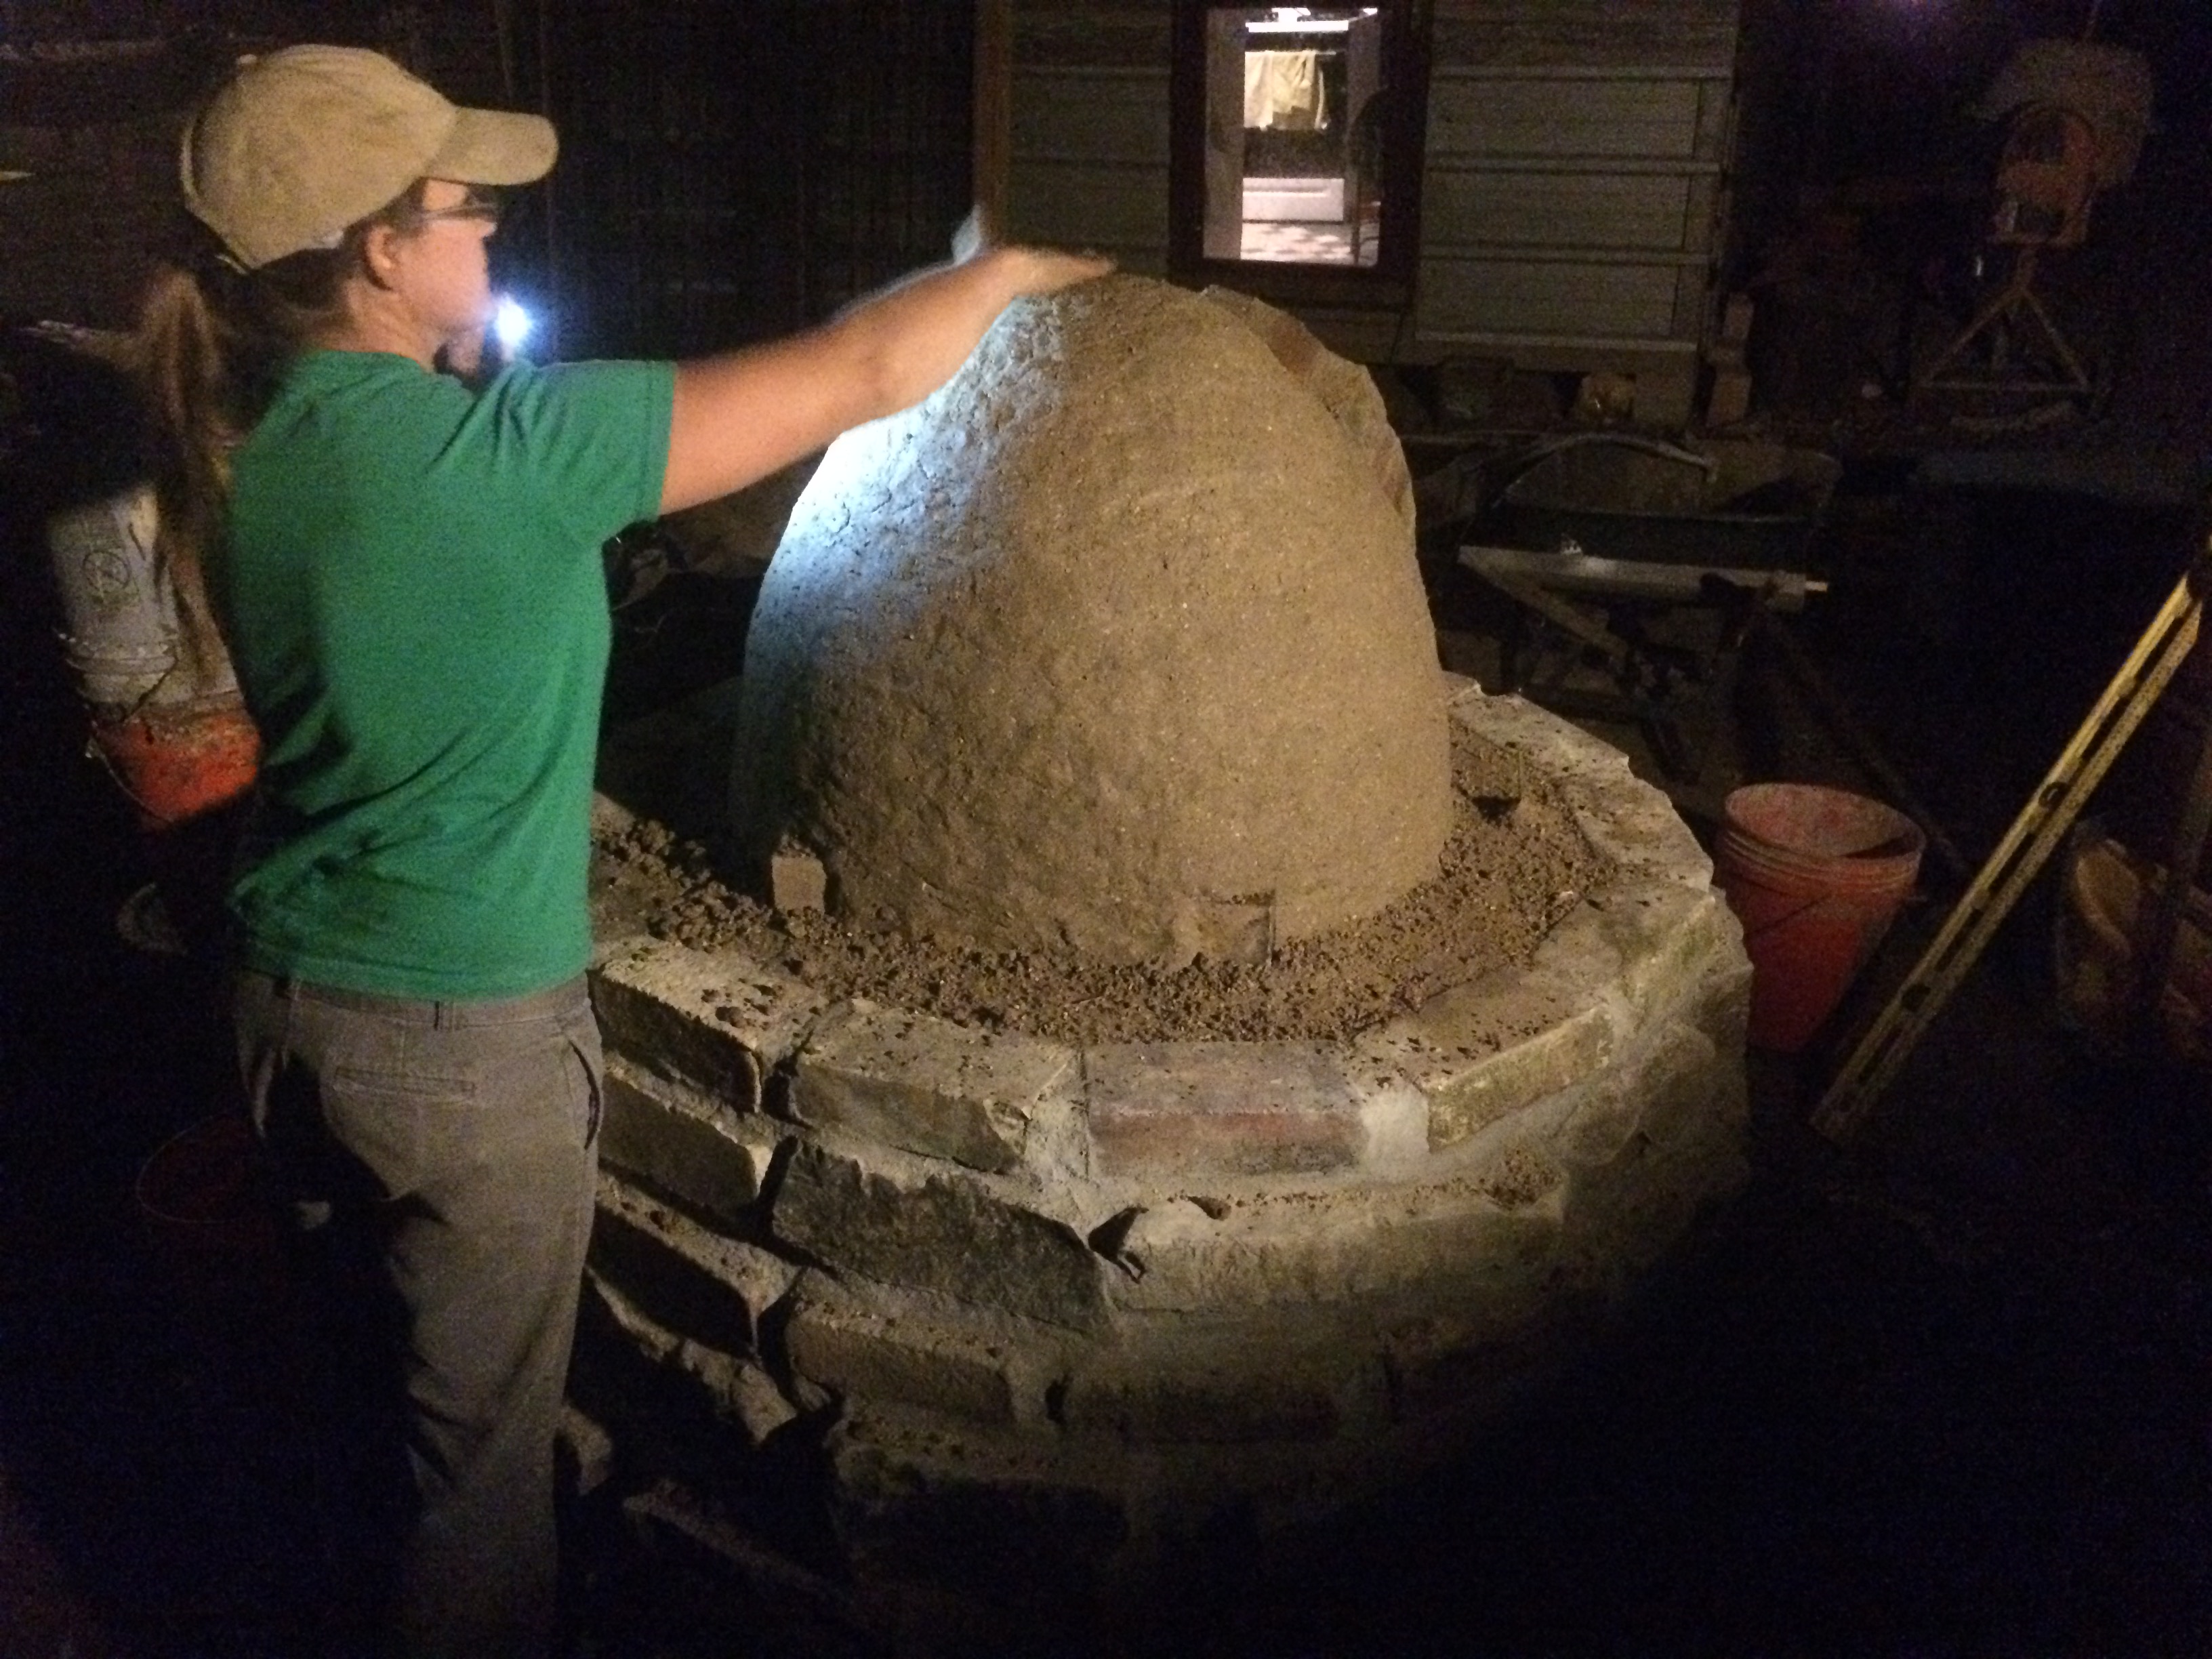
Once the oven mud was stable and we’d pulled the sand out, we started on the next layer – 4 inches of the same wood shaving/clay slip insulation that we’d used in the base. This layer went much more quickly – the insulation was simple to mix, and fast to apply and shape in big double handfuls.
Widget & Cleo loved hanging out beneath the roof-in-progress & watching us work – here, the insulation layer is almost completed
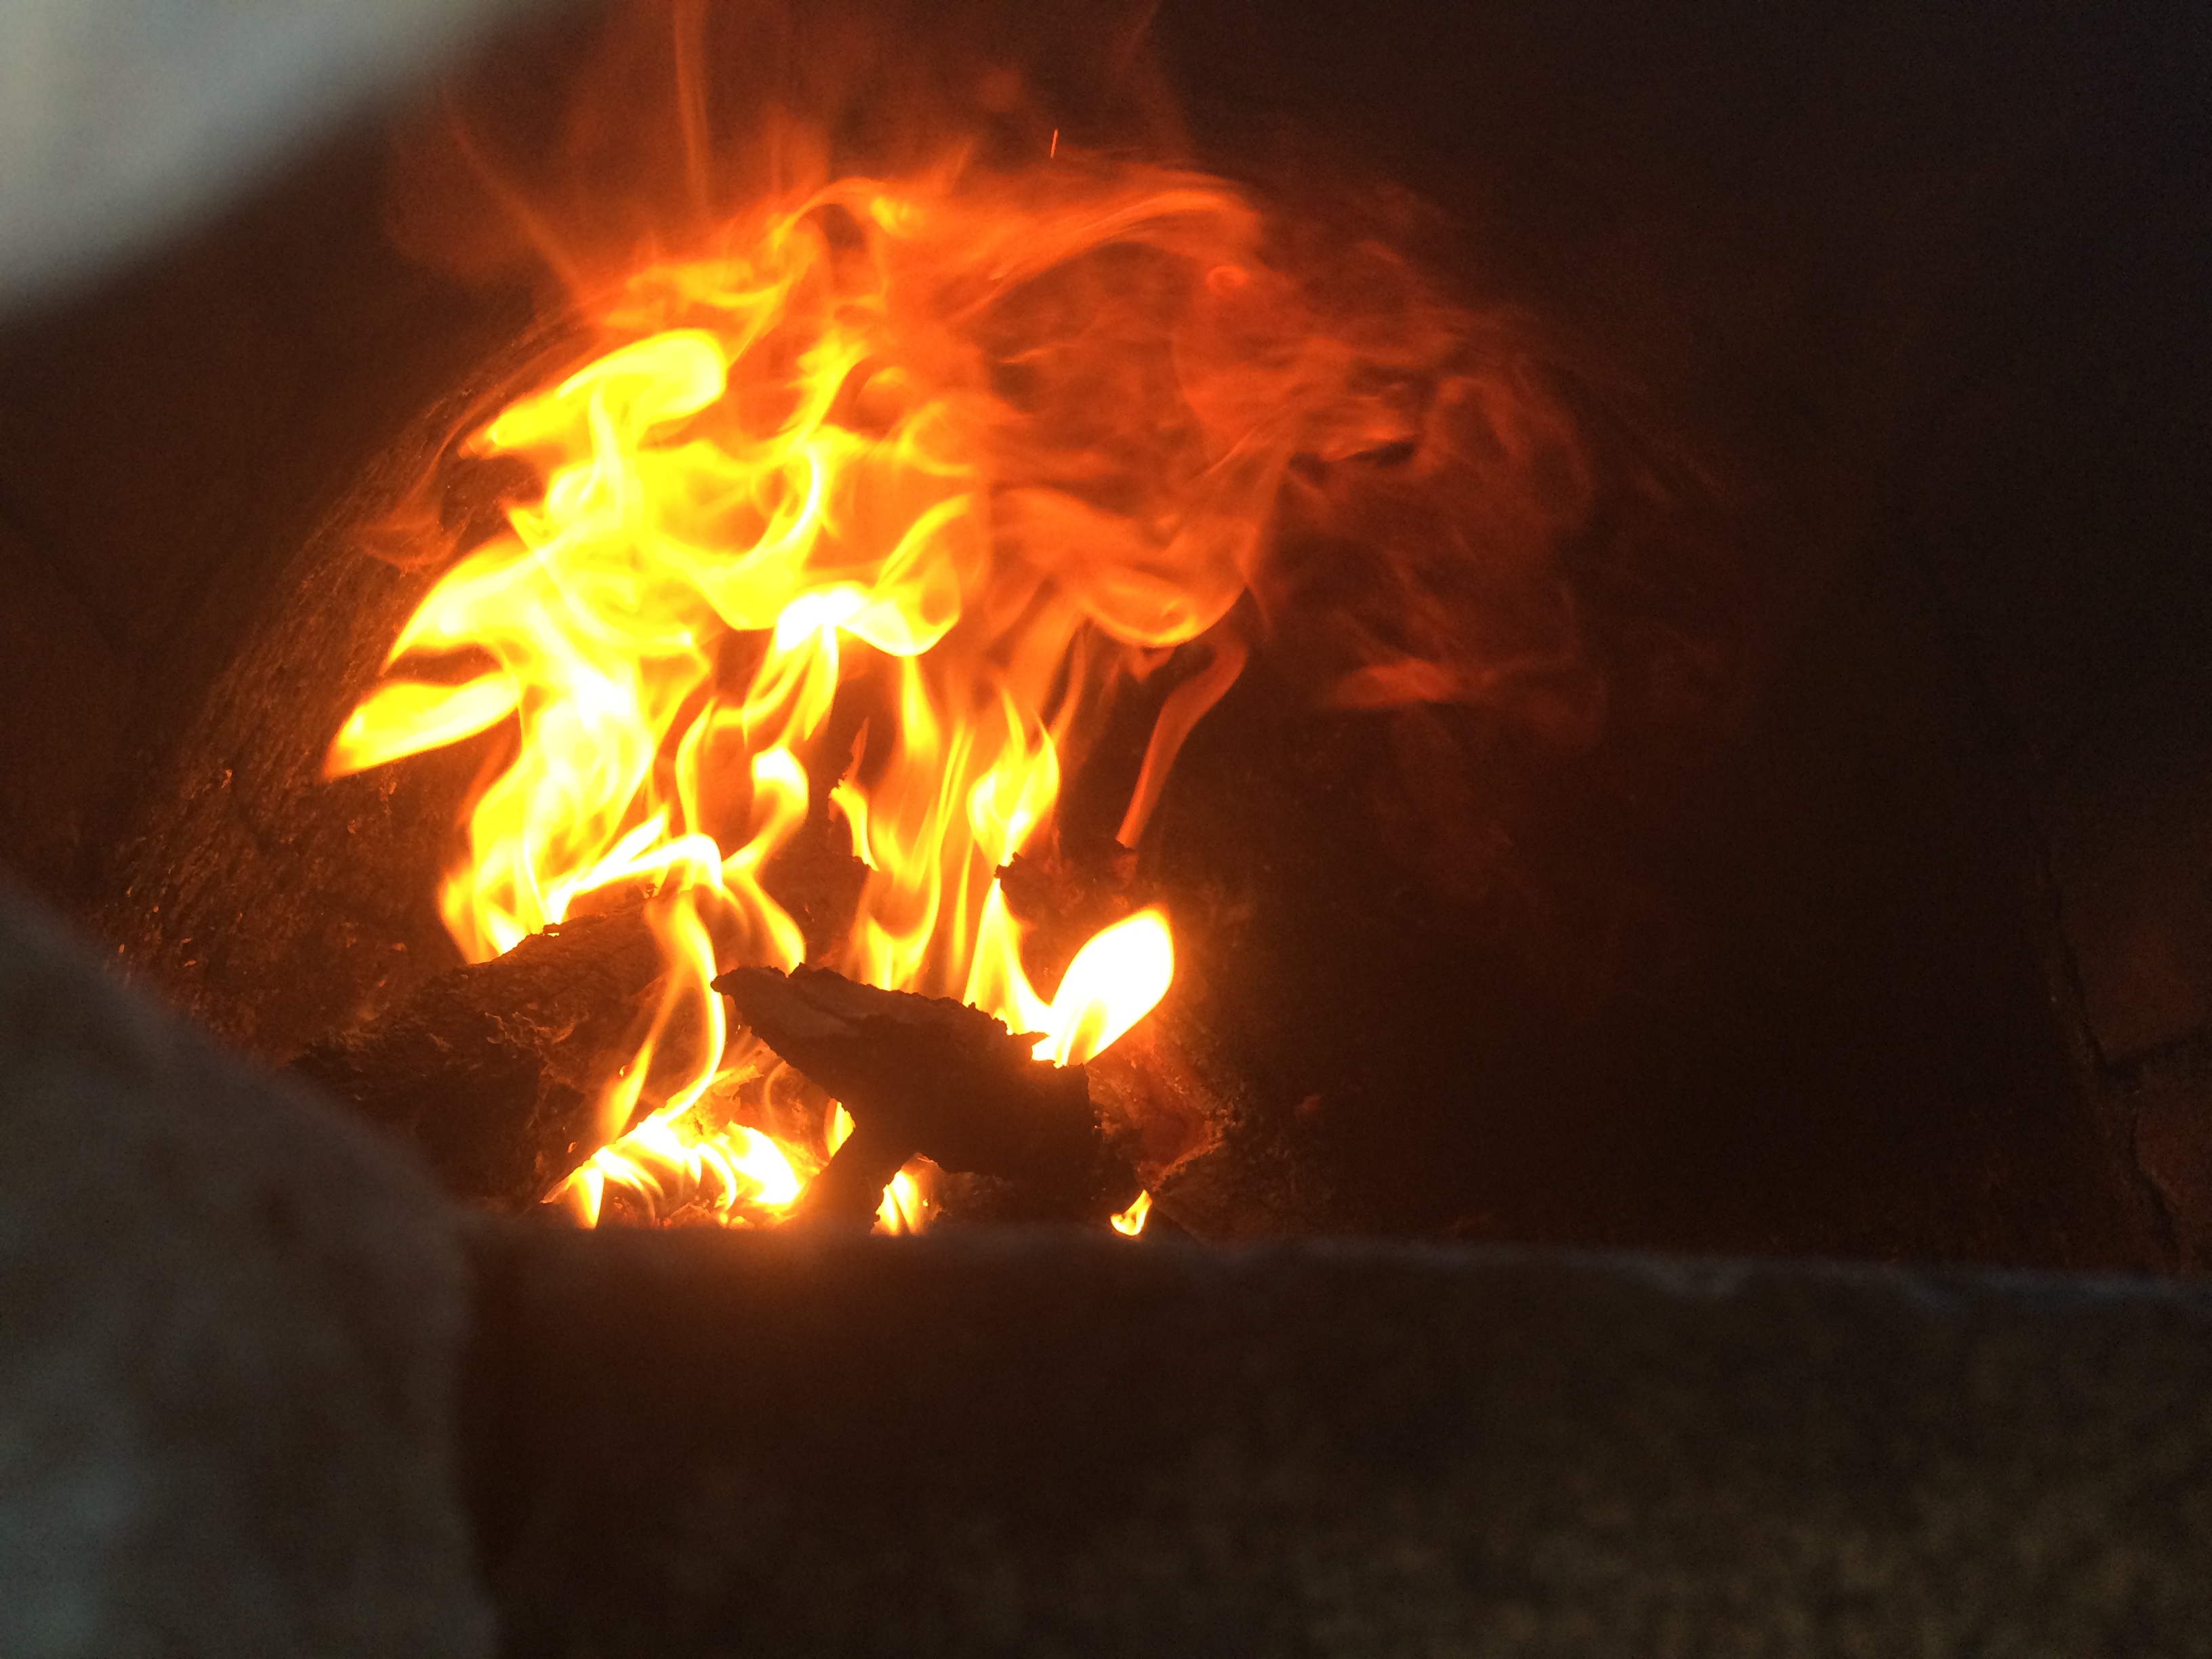
The next day, we started the first-ever fire inside – a drying fire, which we kept going for about two straight days, speeding along the drying of the water-soaked insulation – we needed it to be mostly dry before we applied the final exterior clay, and we were quickly running out of time at Habitable Spaces.
at first, we kept the drying fire small …… but as the insulation began to harden, we grew bolder and build a sweeping wave of flame, moving the fire around the interior throughout the days and enjoying the way it moved through the oven
In order to use the oven effectively before we left, we had to dry out not just the insulation layer over the dome, but the insulation down in the base – which was now wicking moisture up, into the dome, and out into the air as the top dried out more and more.
steam exuding from the insulation, driven out by the fire inside
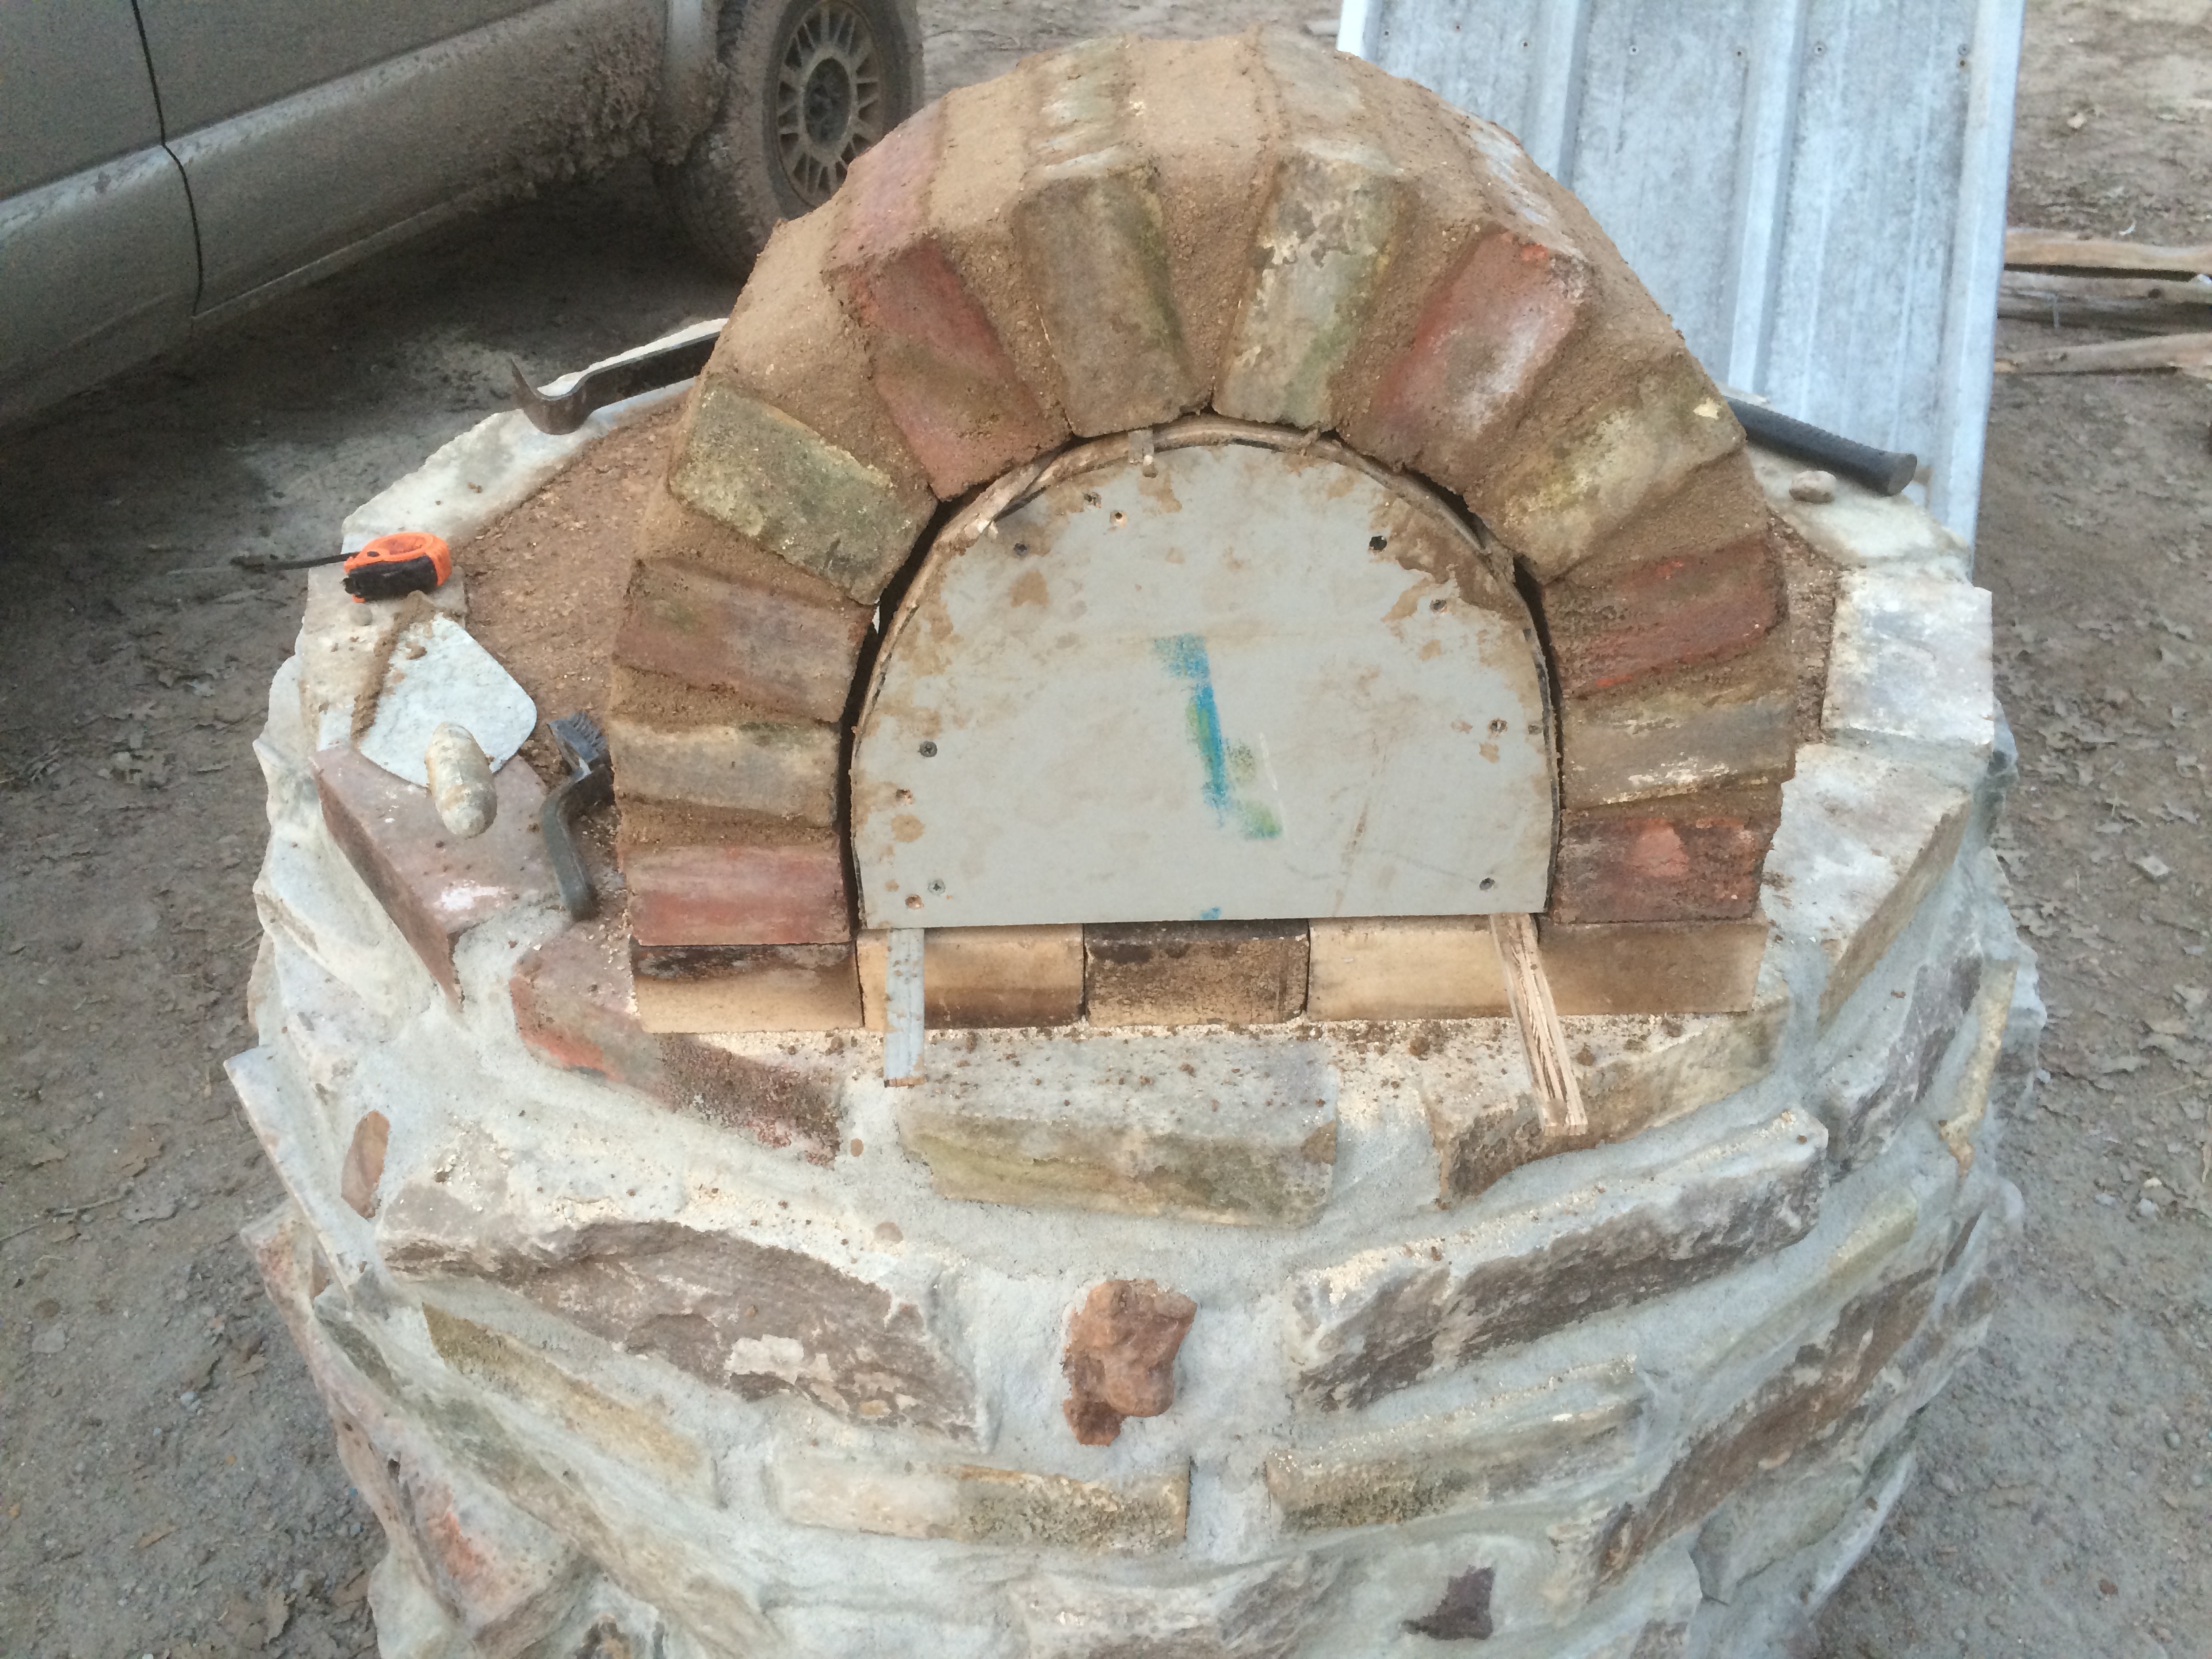
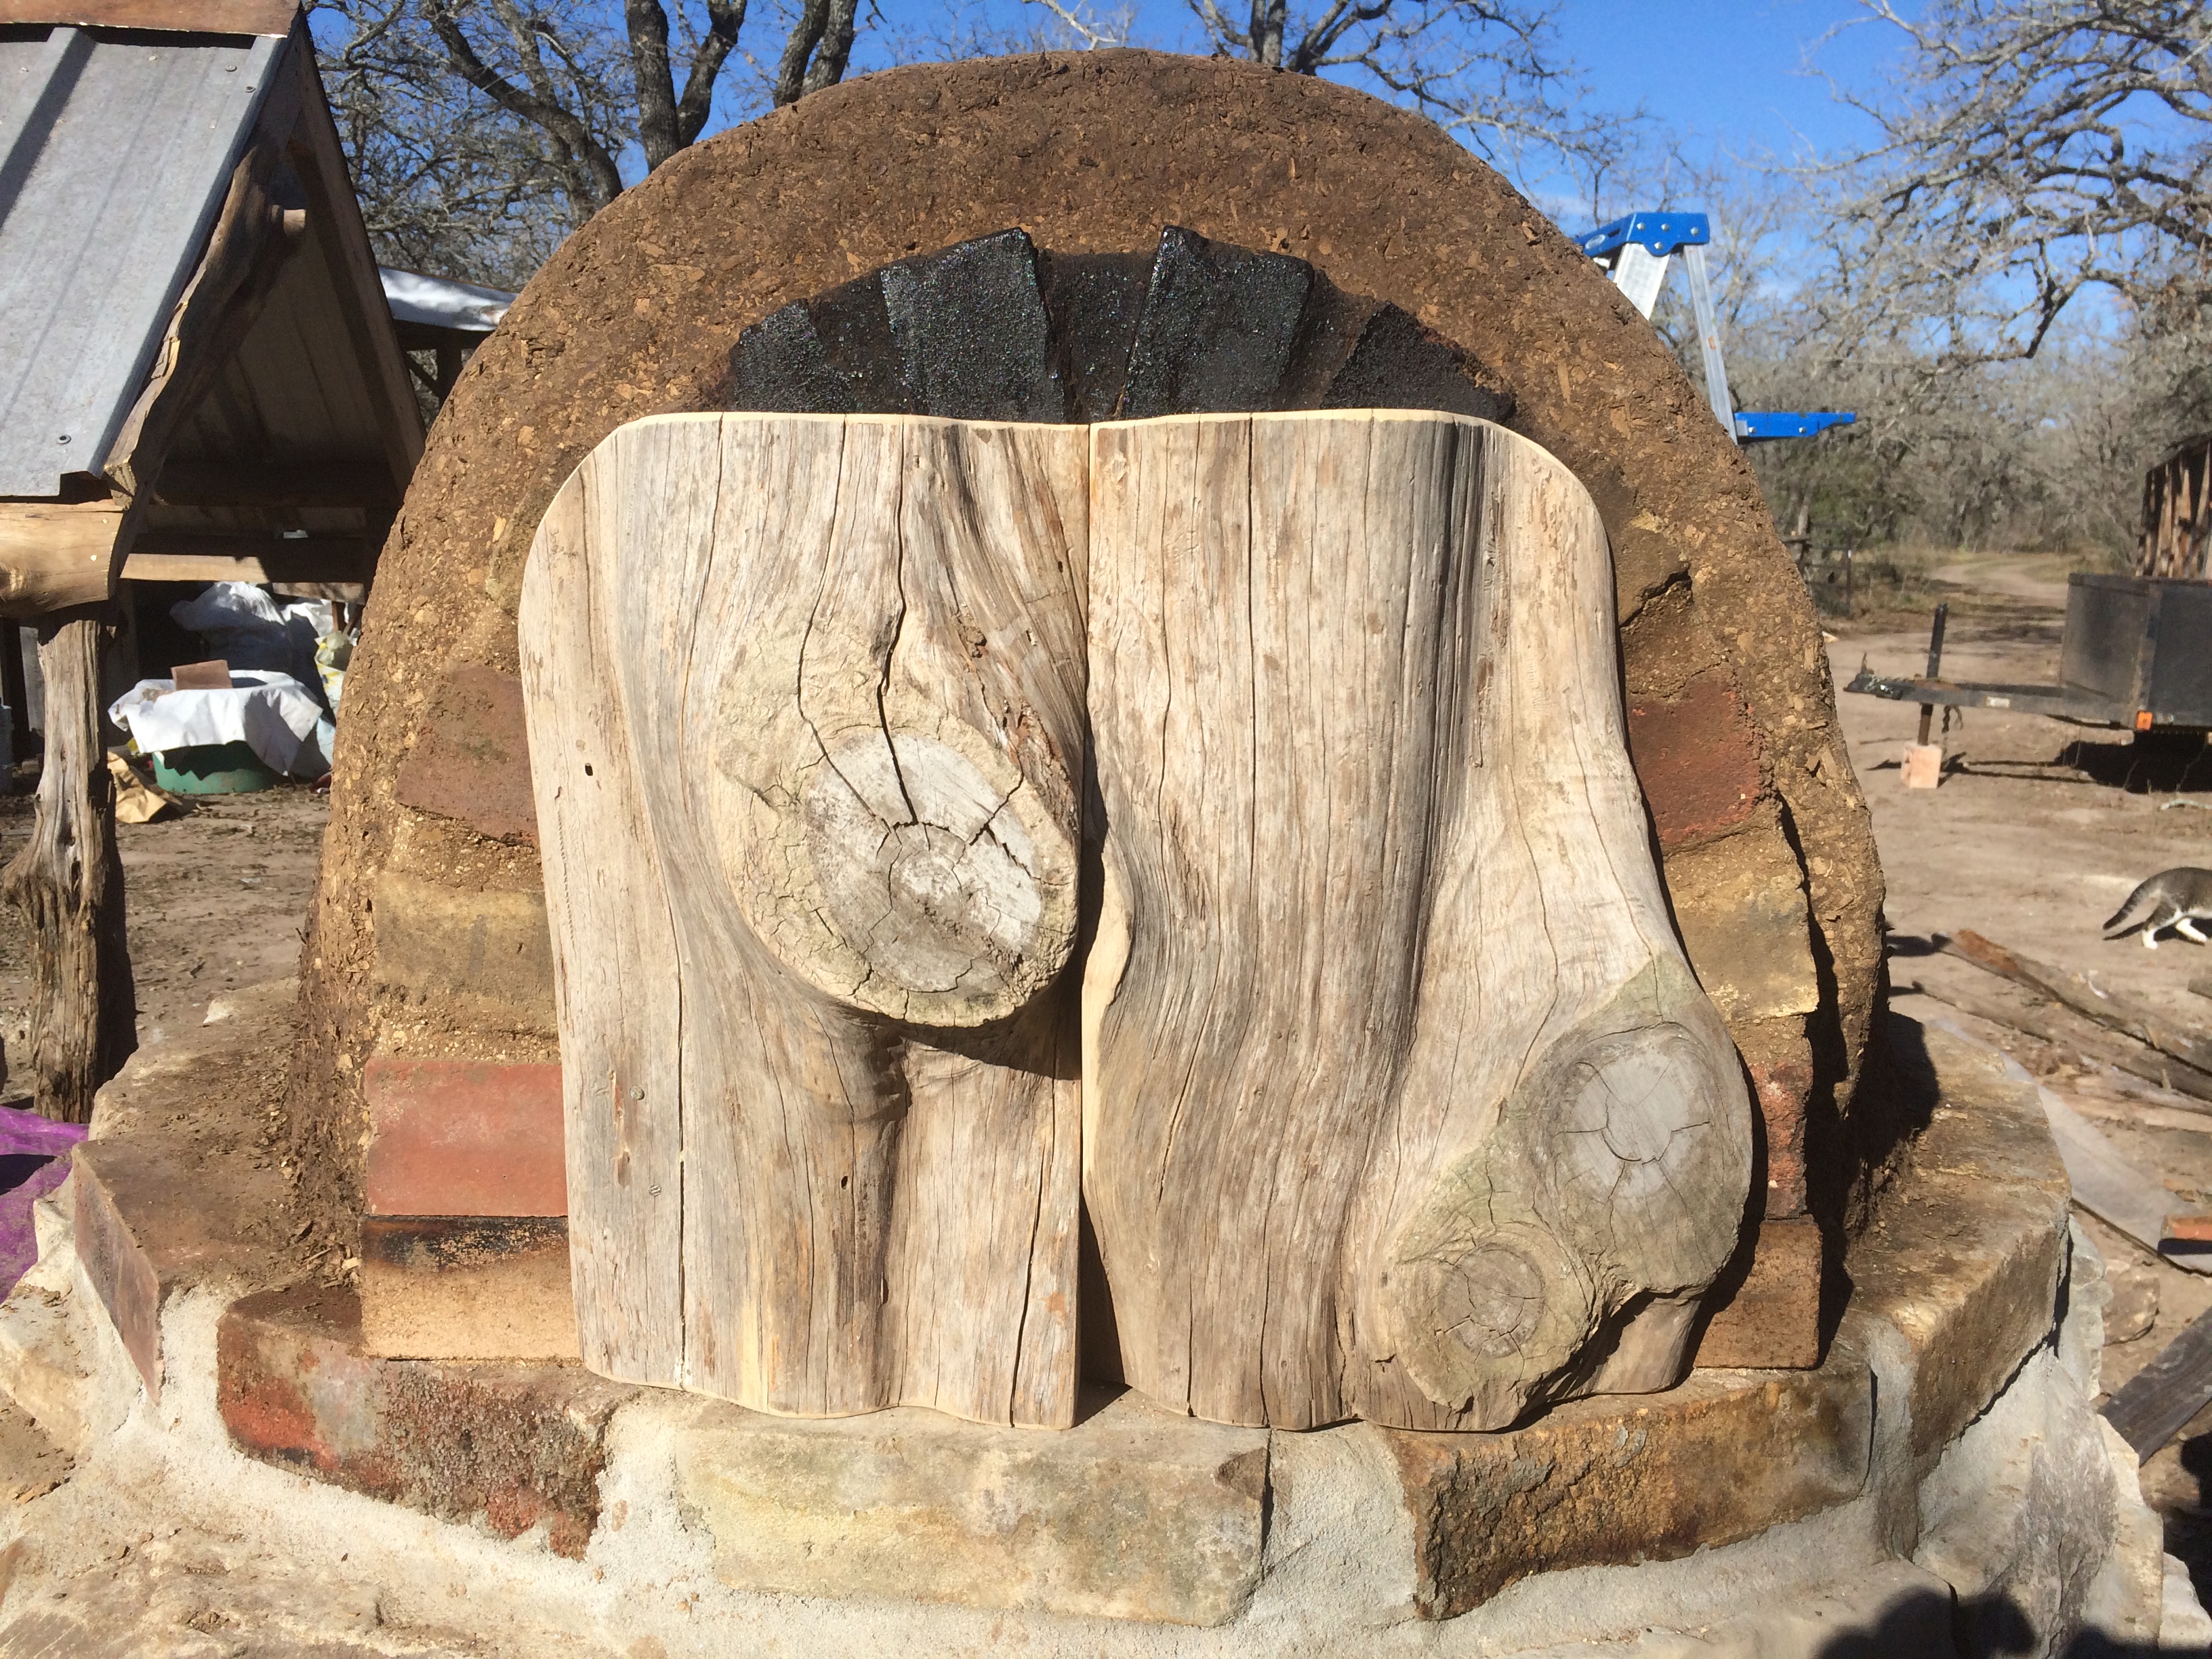
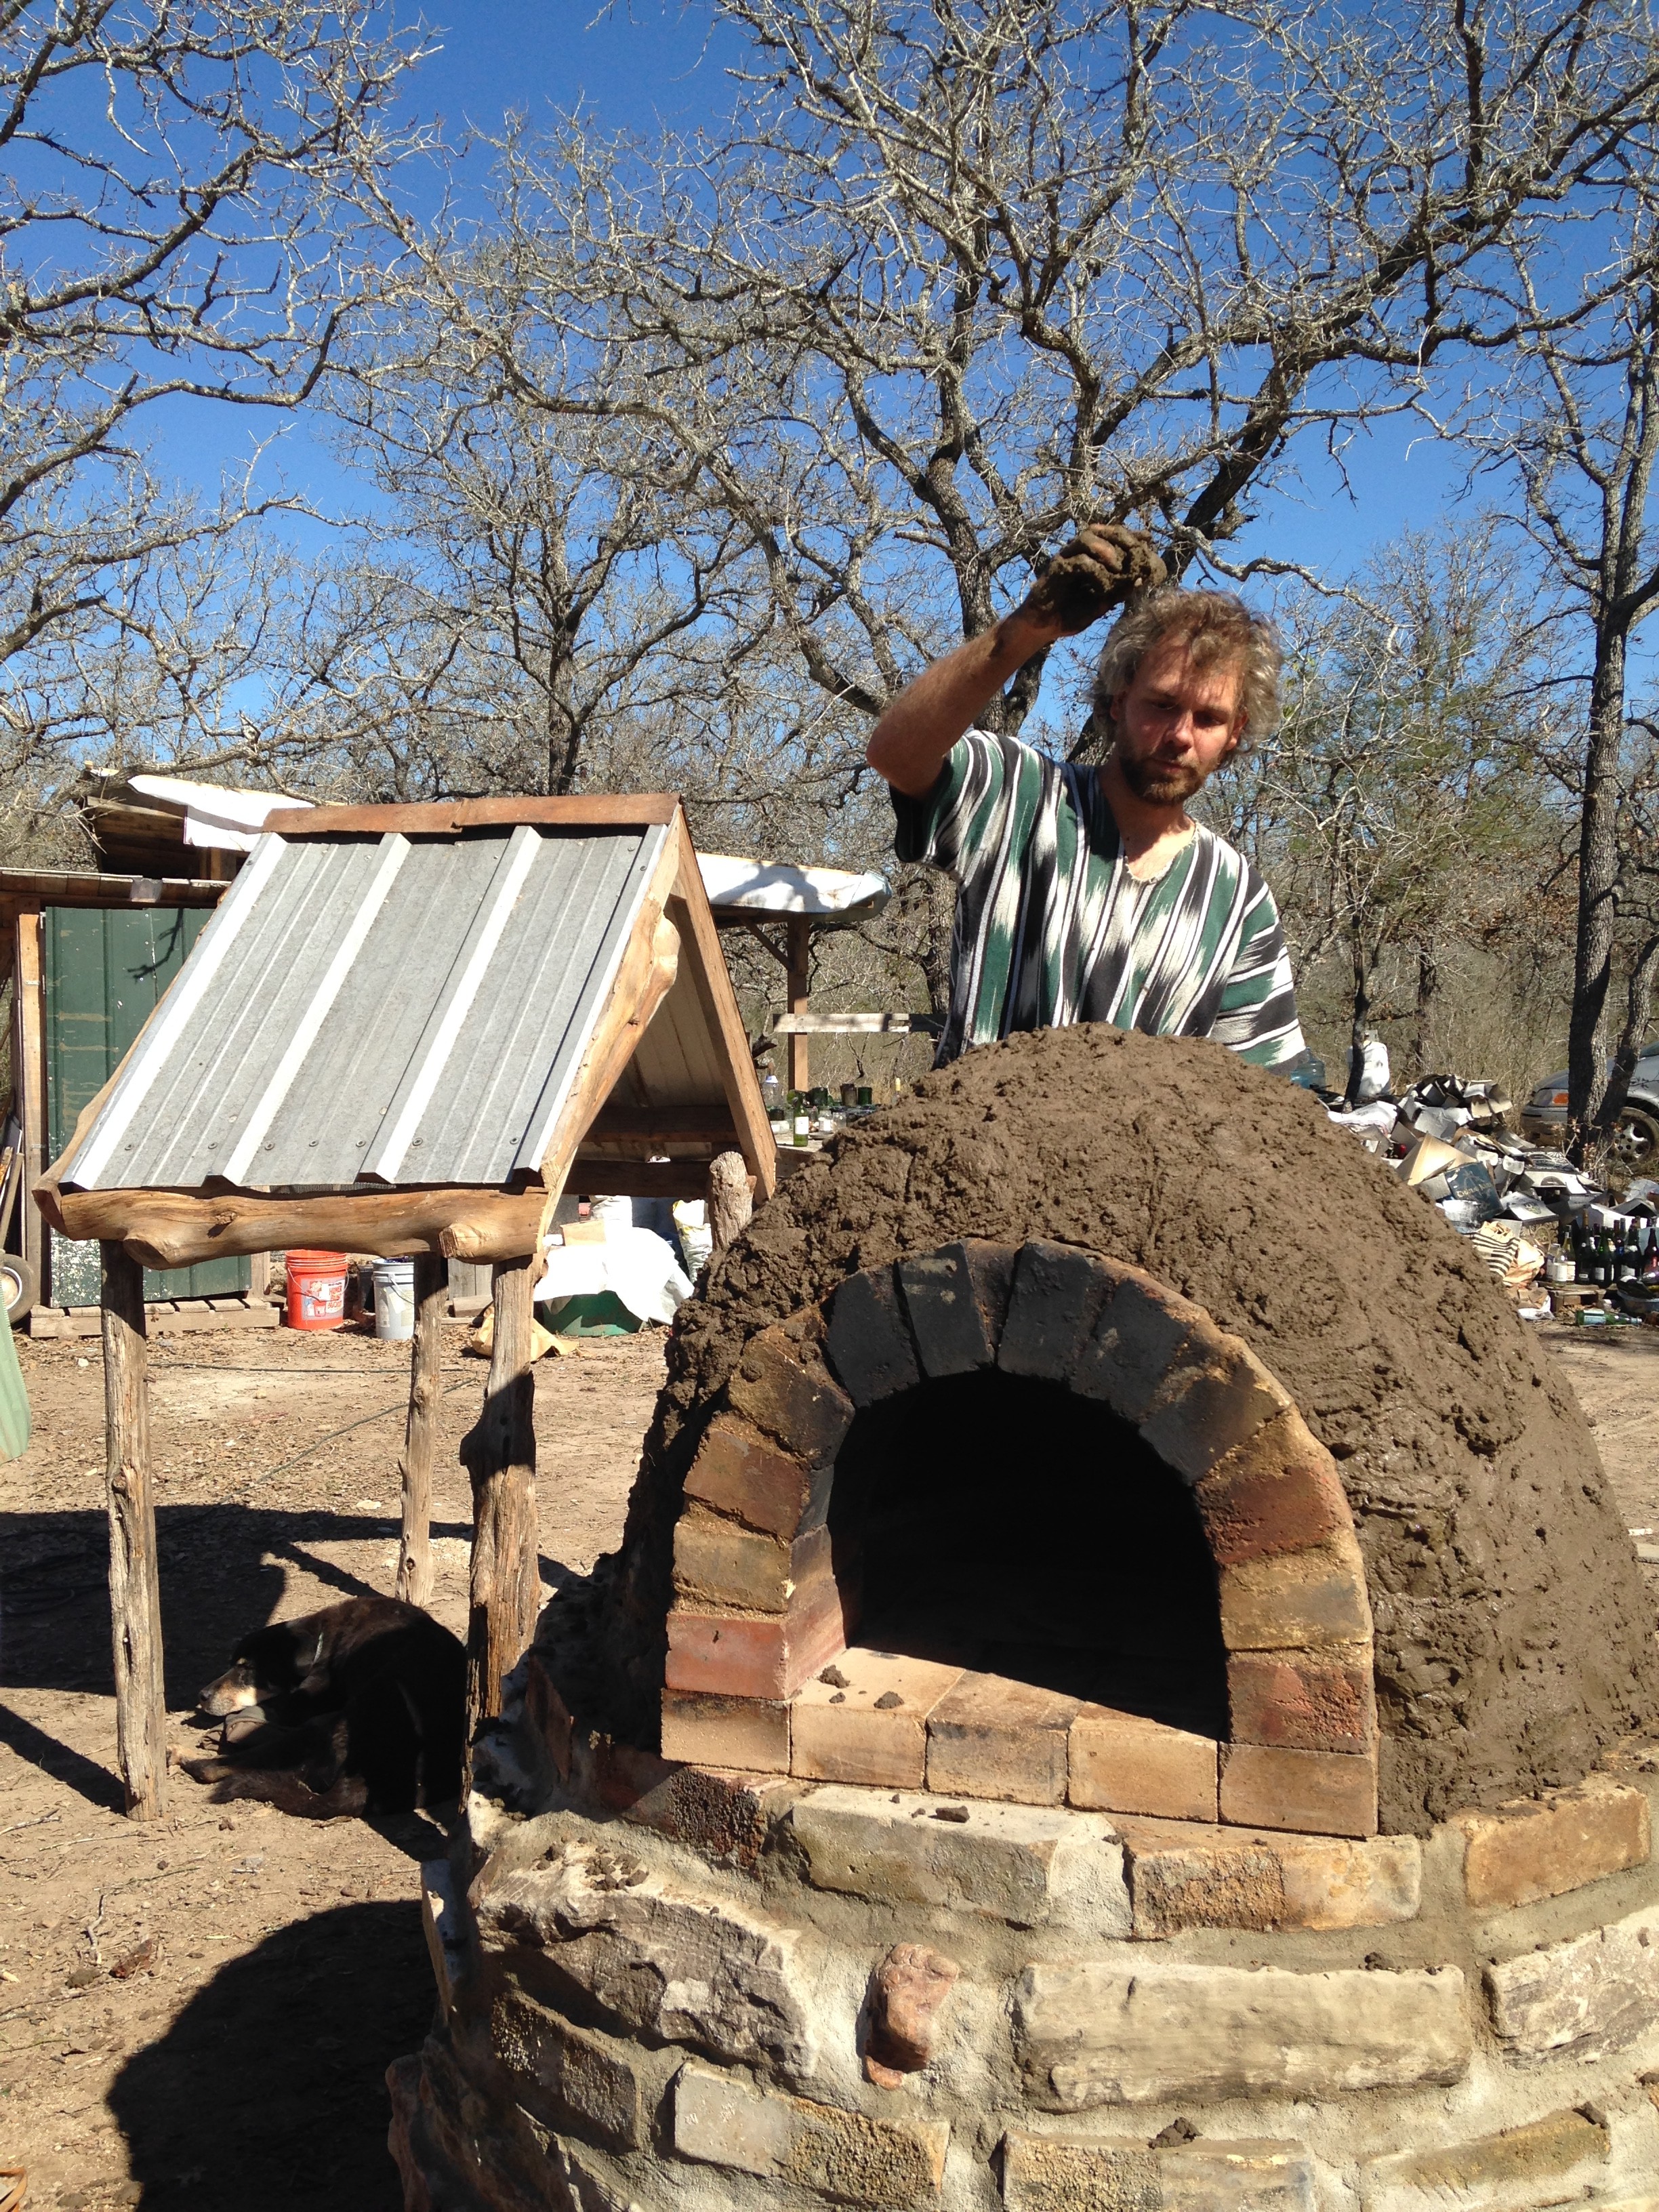
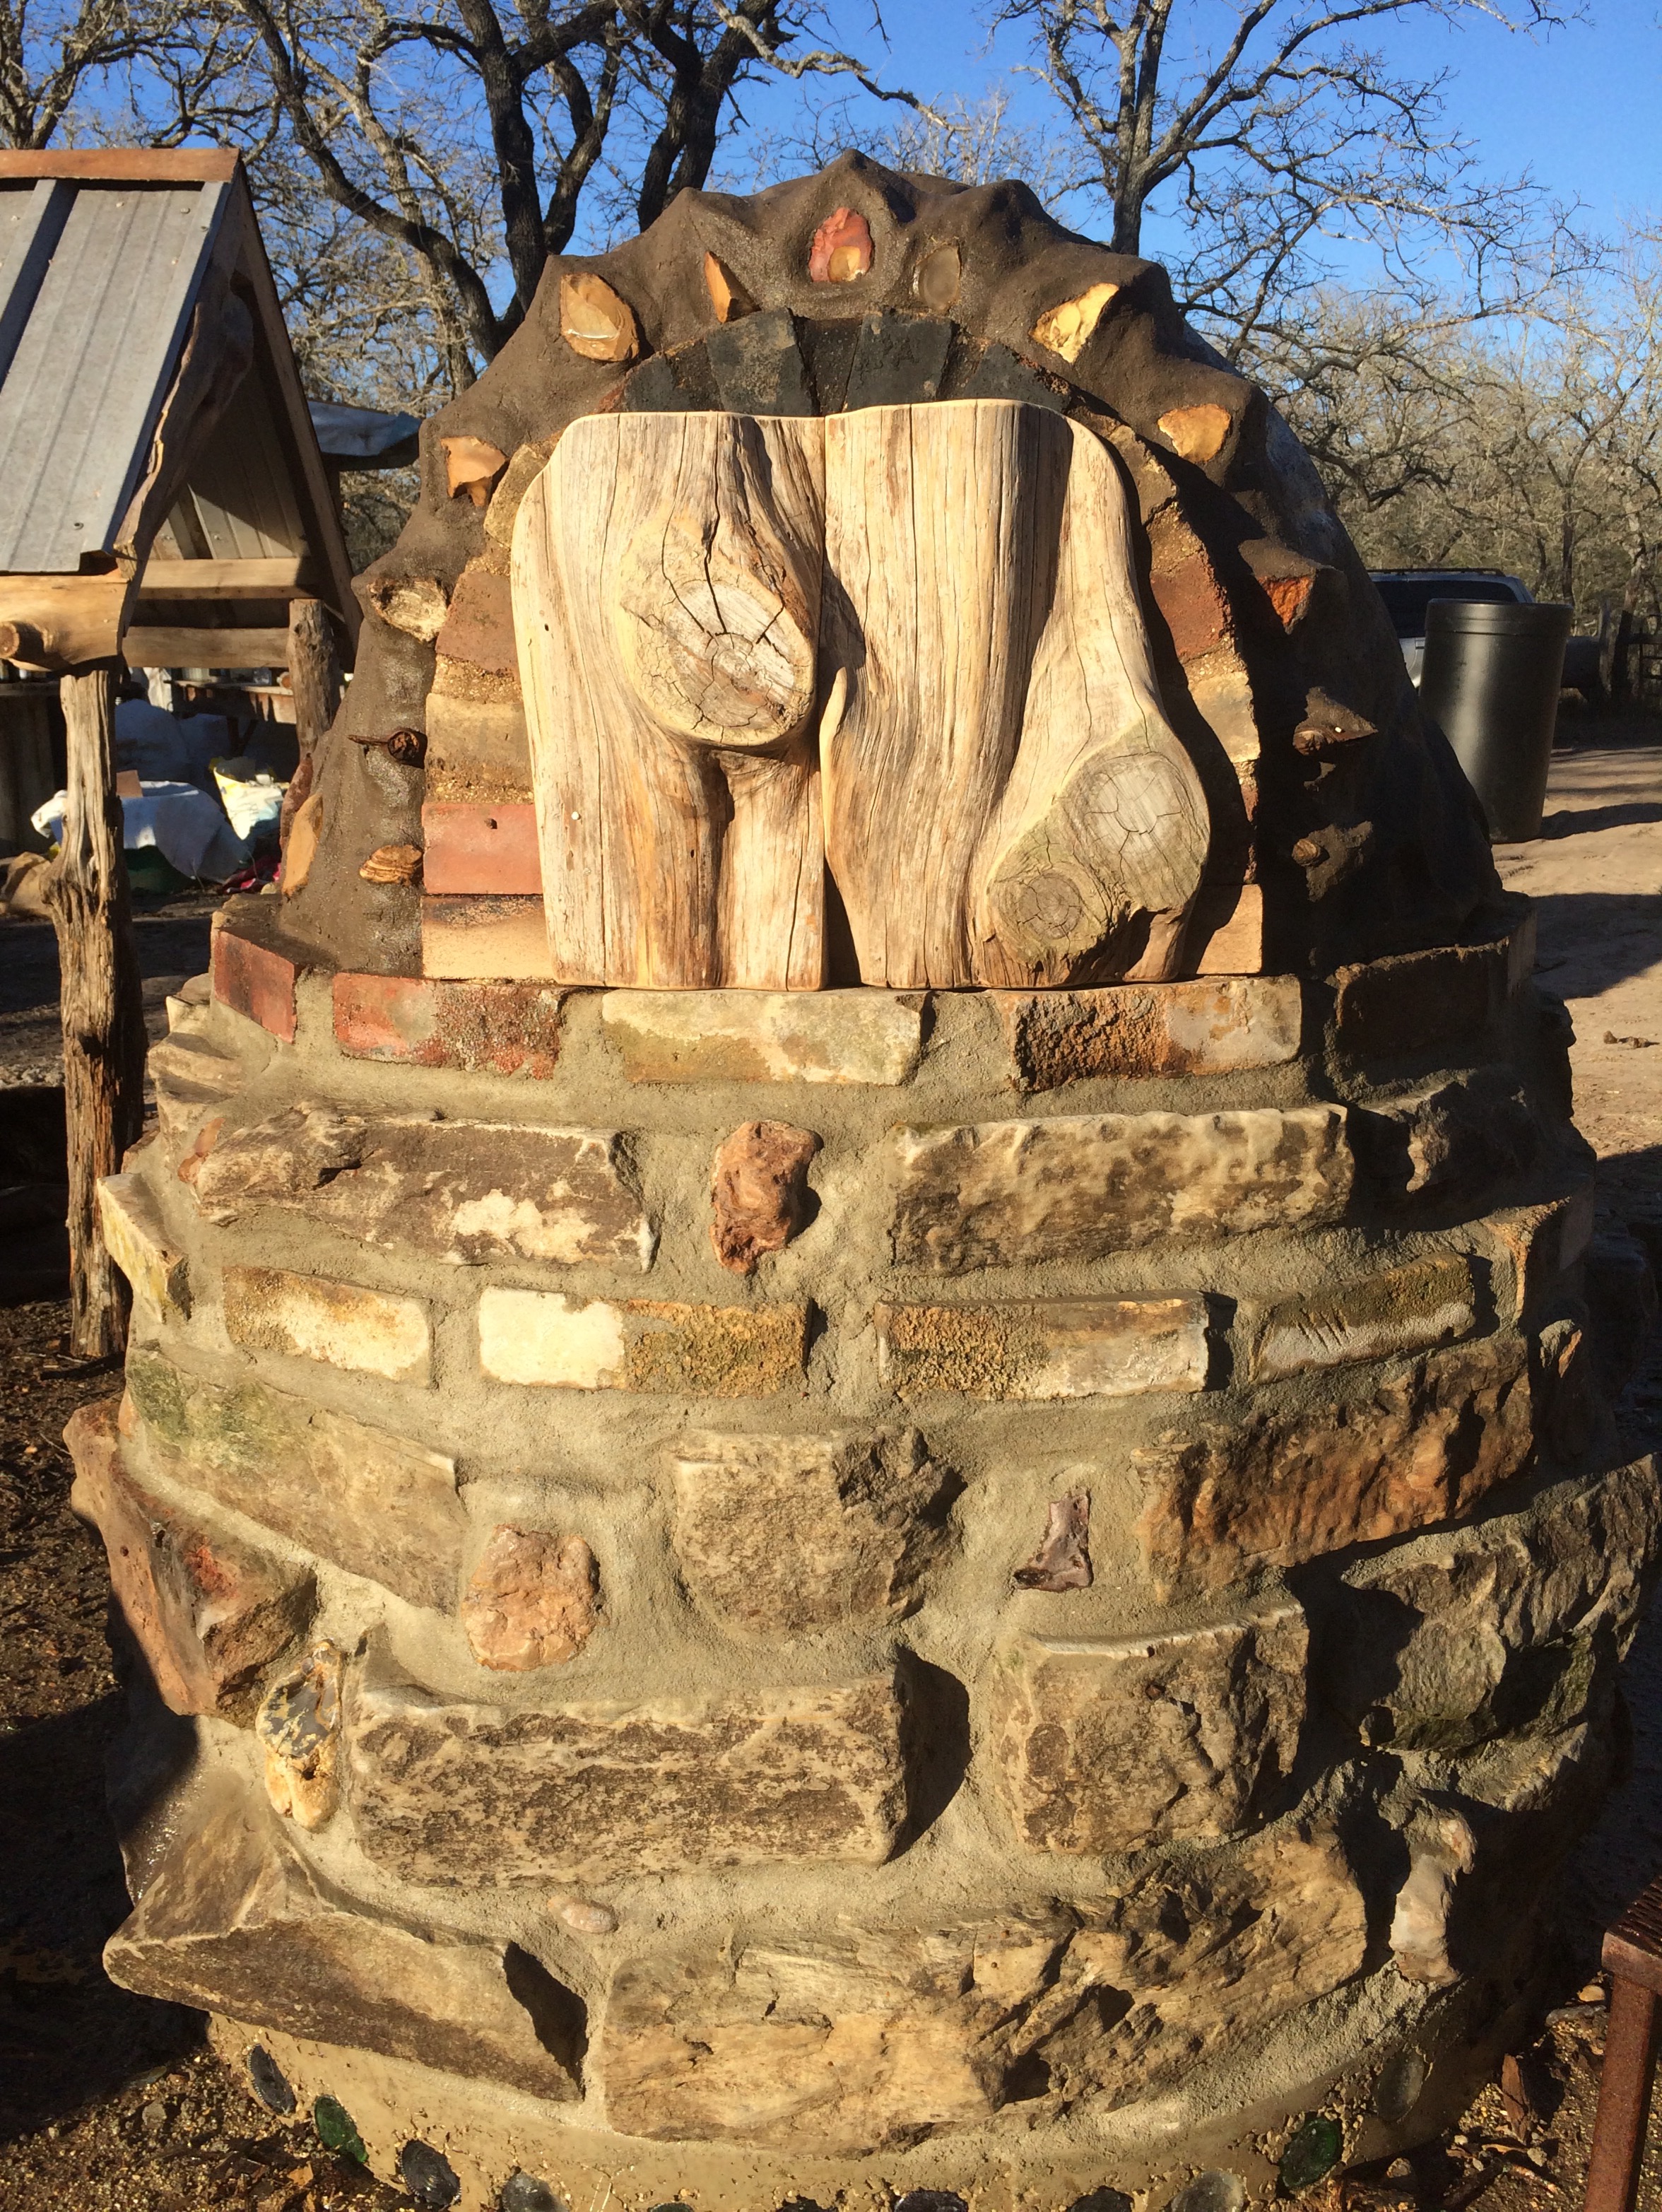
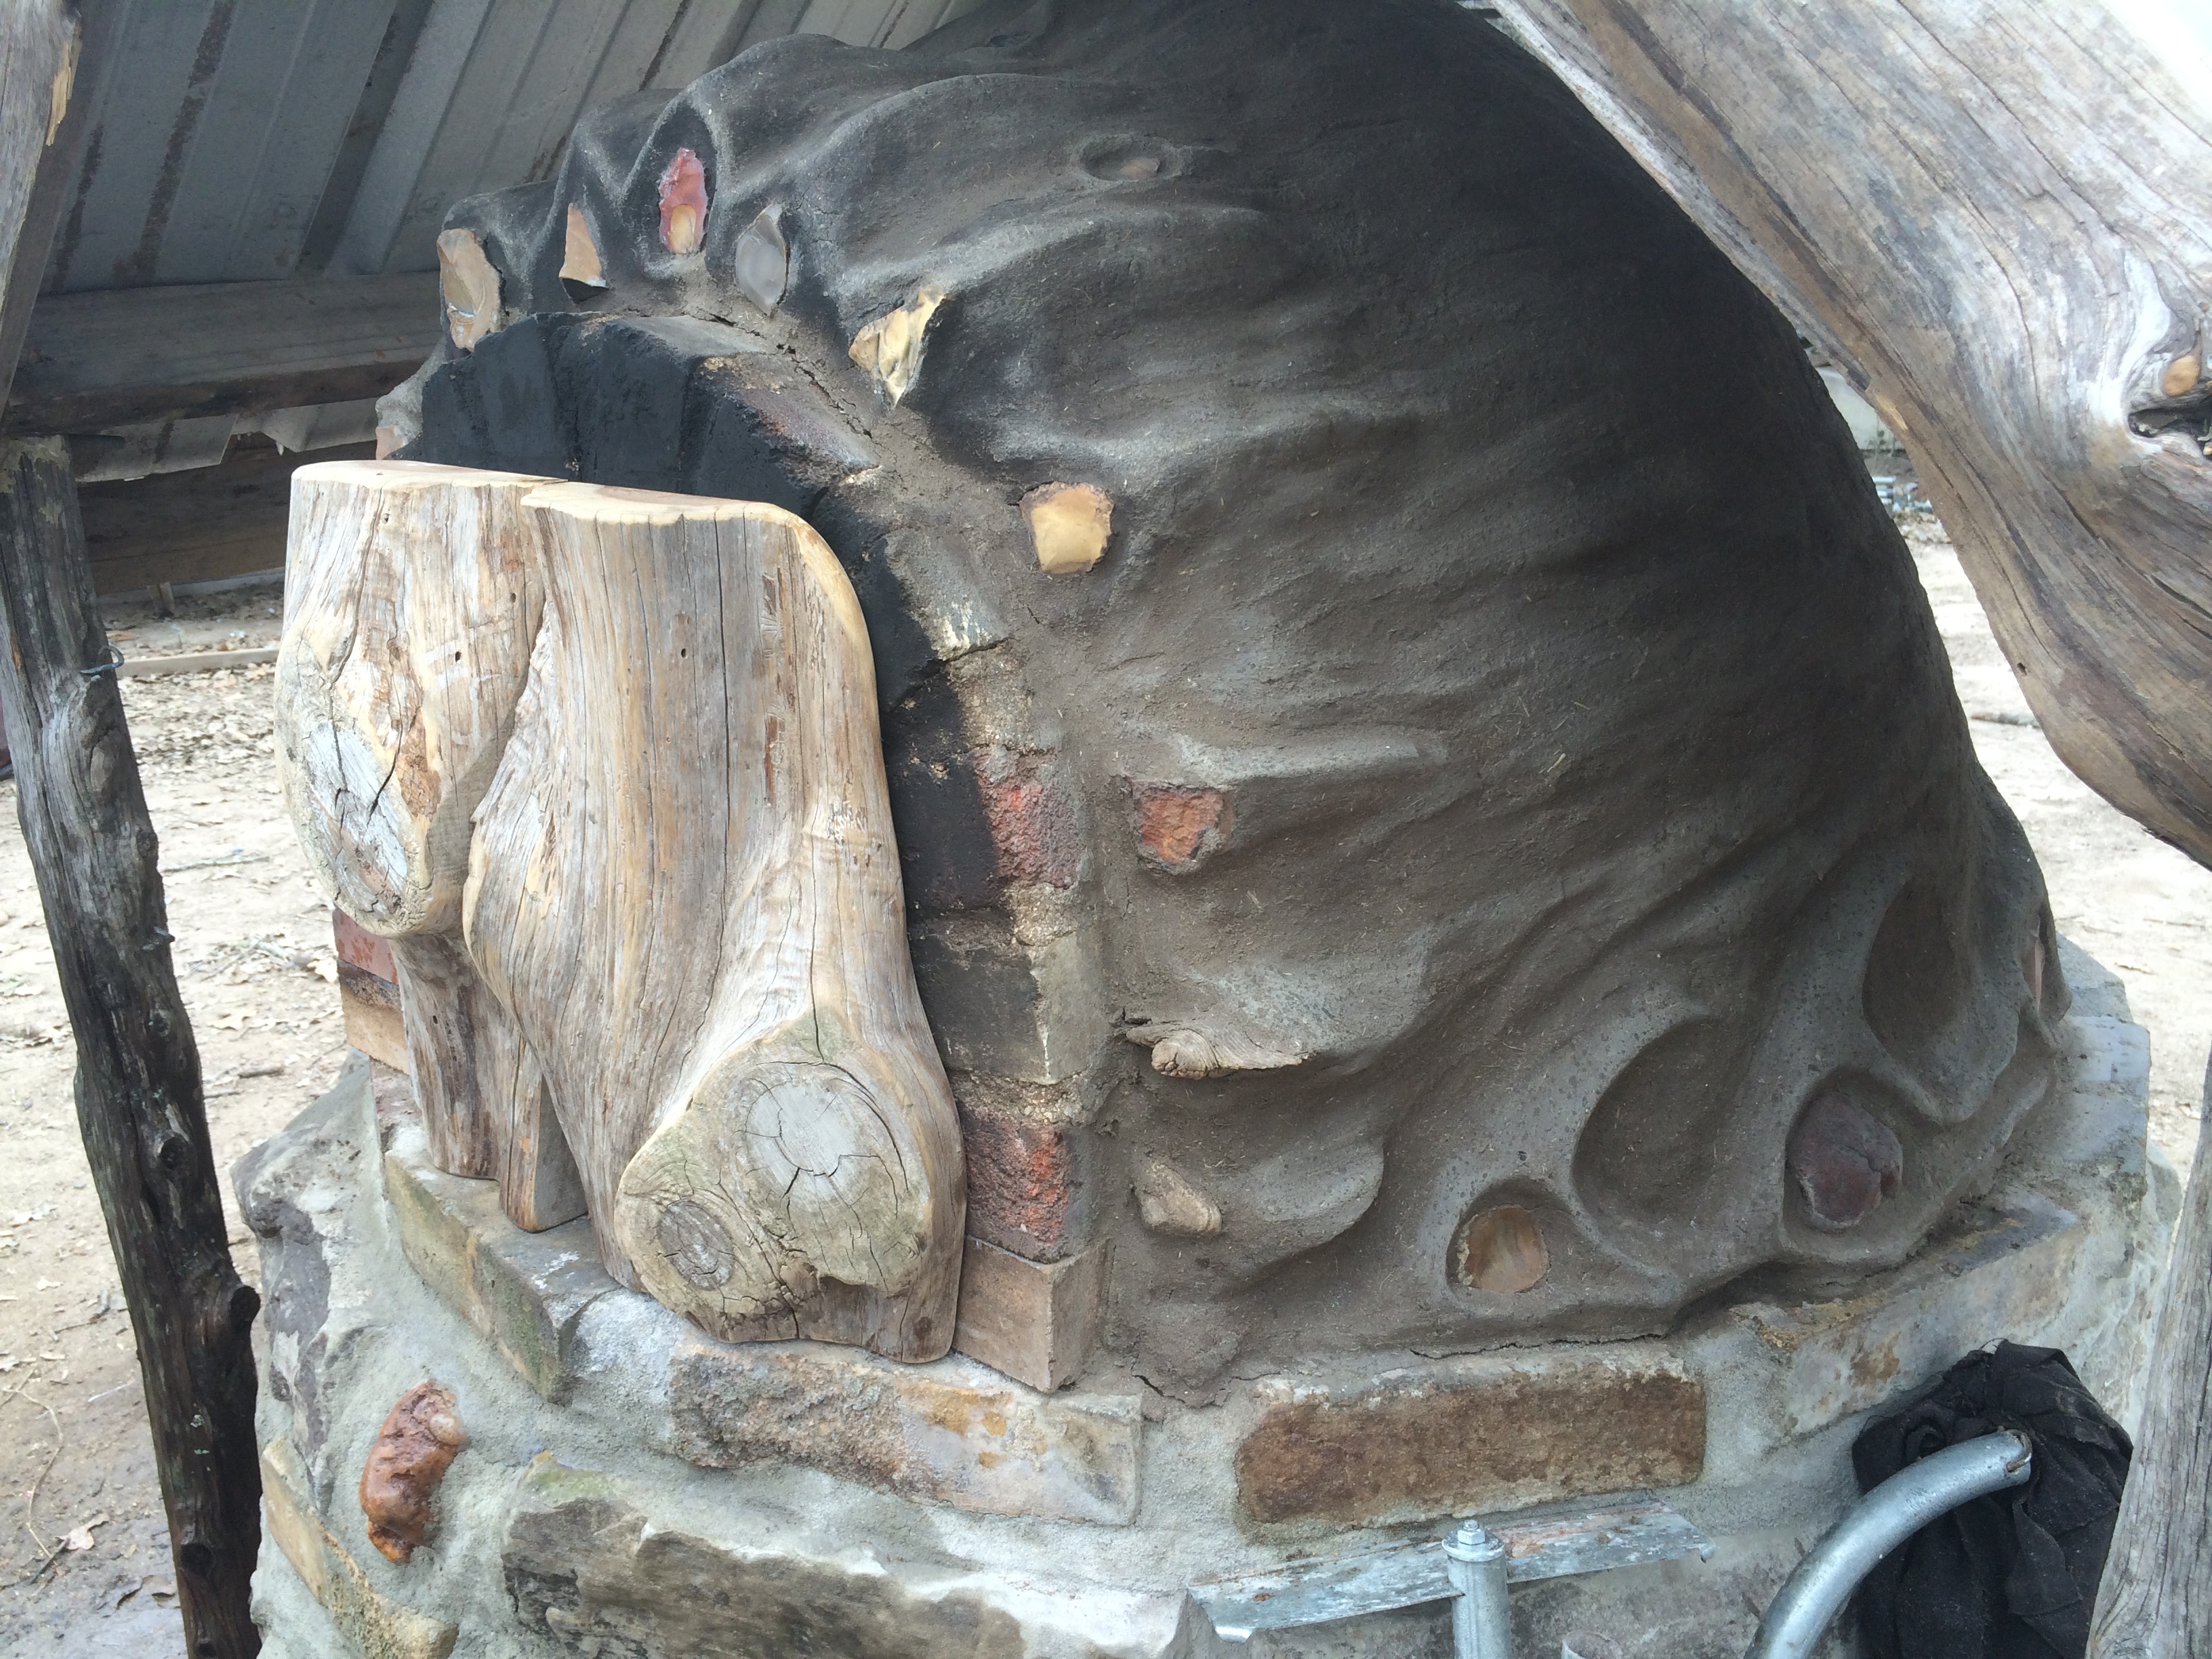
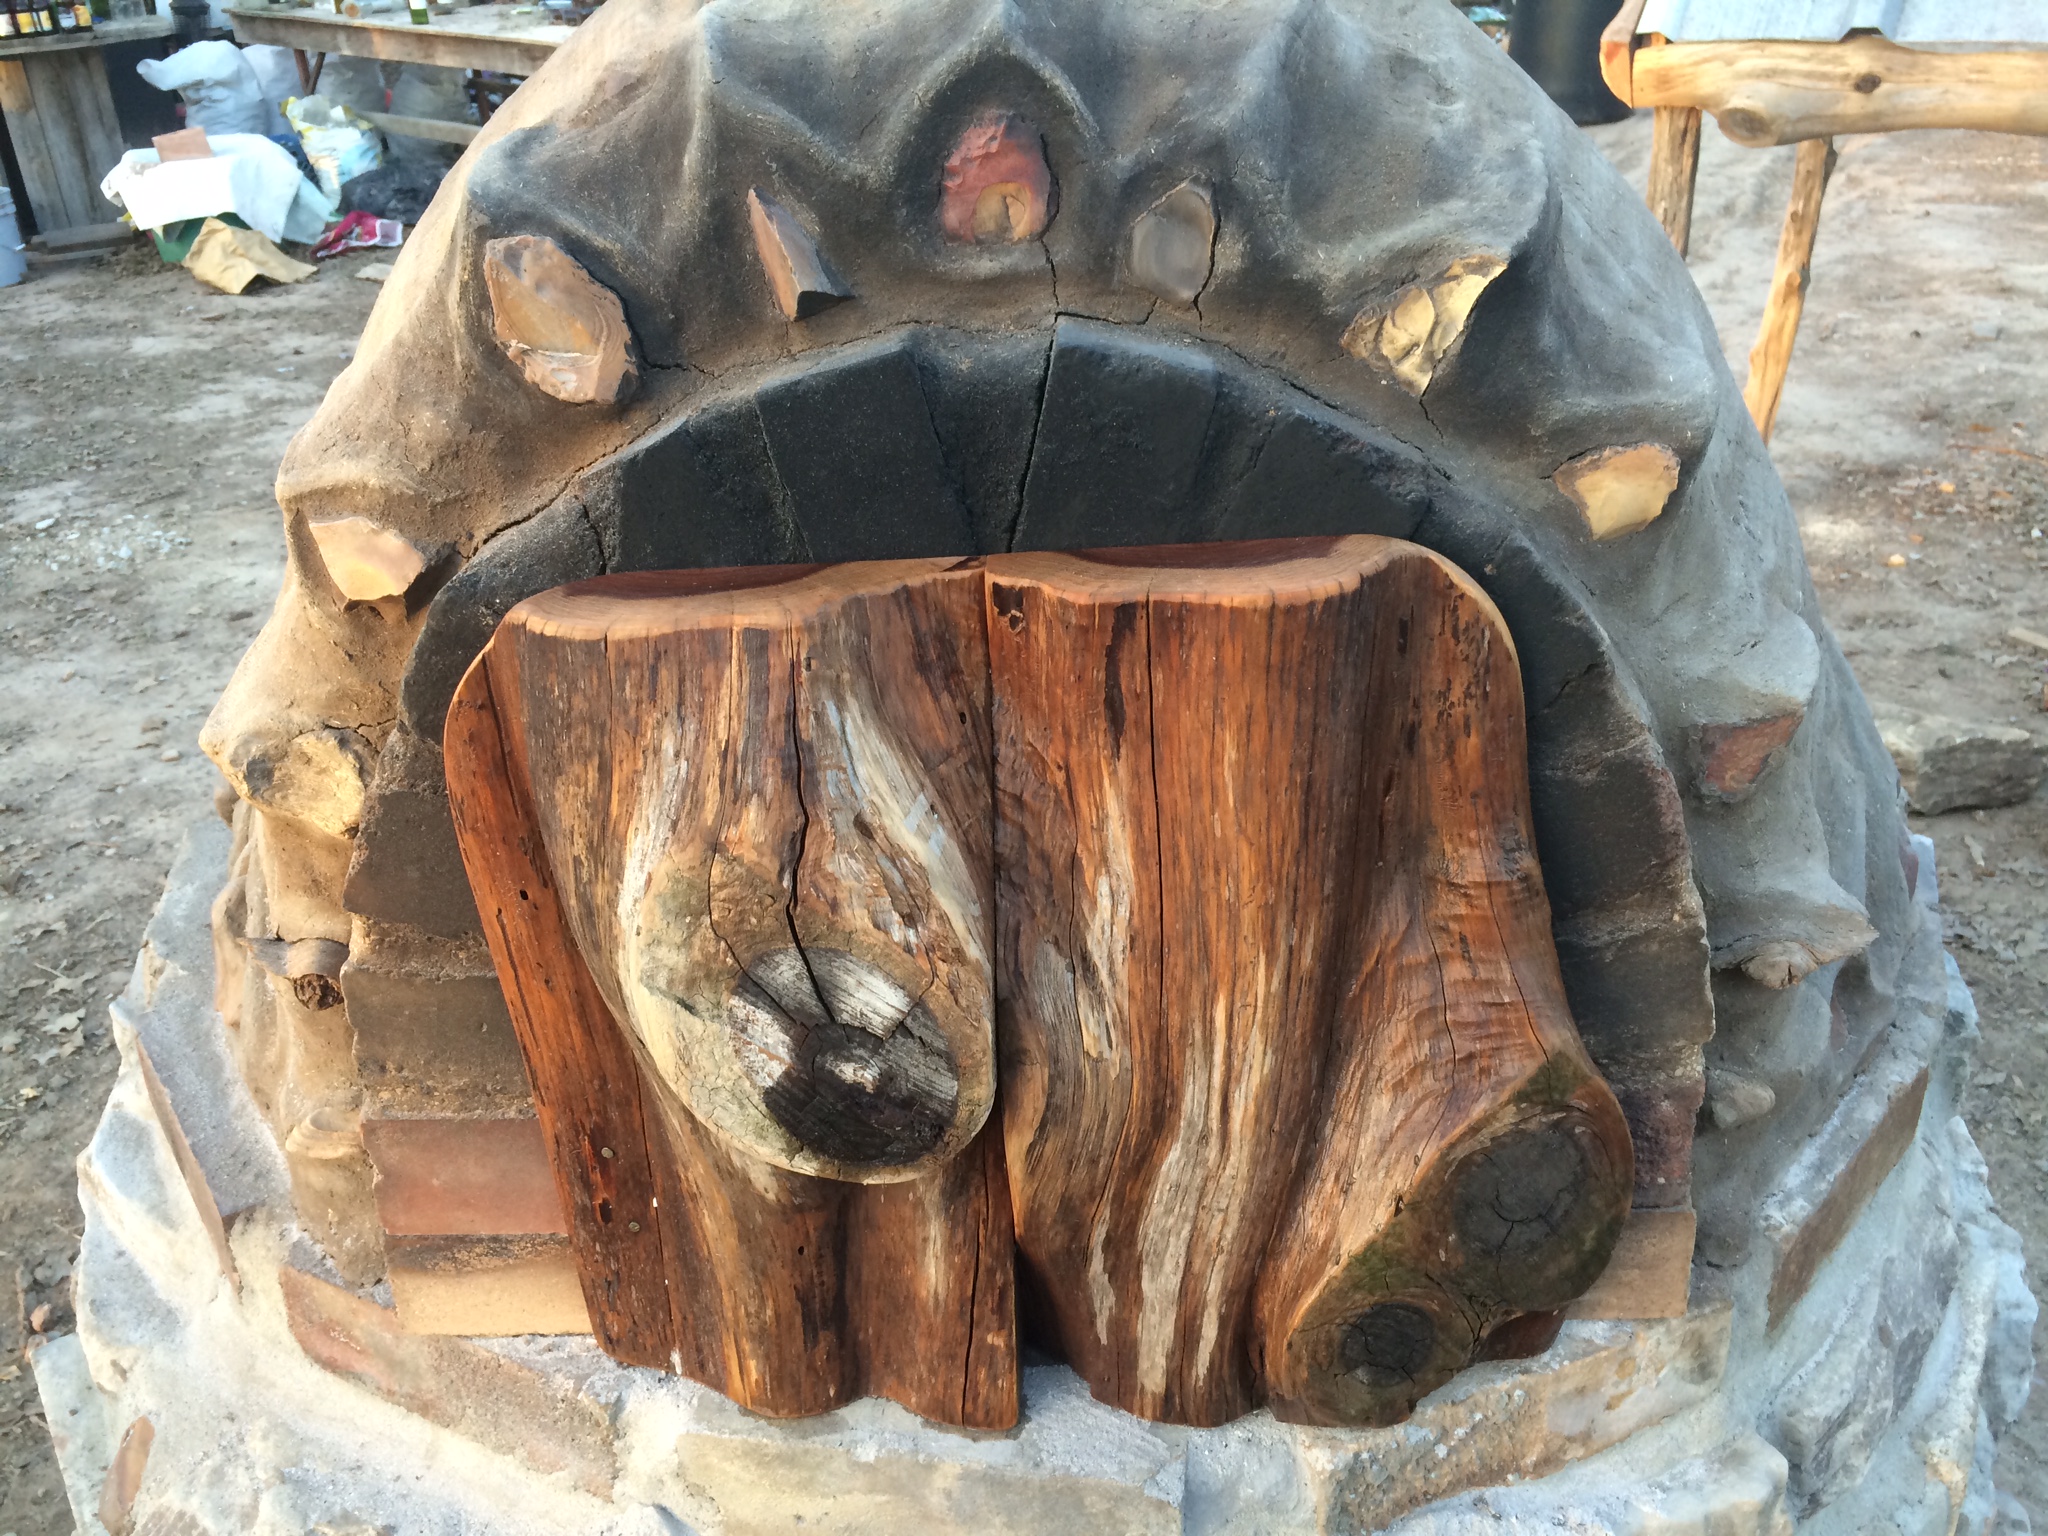
While we burned the drying fire for days, we built a baking door out of cedar scraps – this would seal in the heat of the oven after a fire had heated up the clay thoroughly, the embers had been removed, and the pizza or bread or pie was inside.
baking door – plugs the entrance, sealing in heat
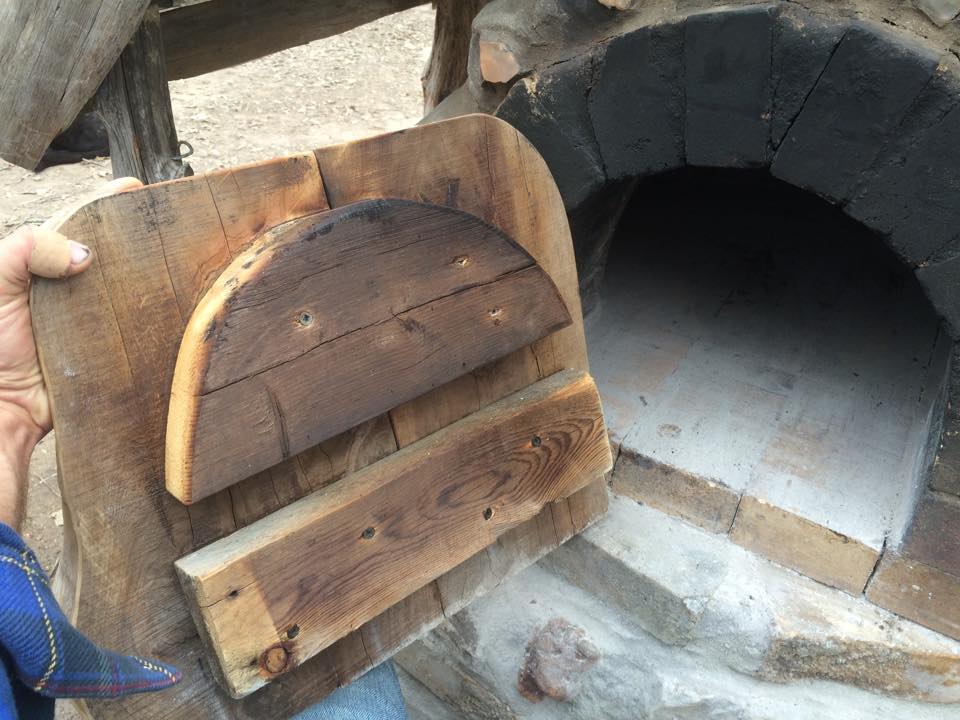
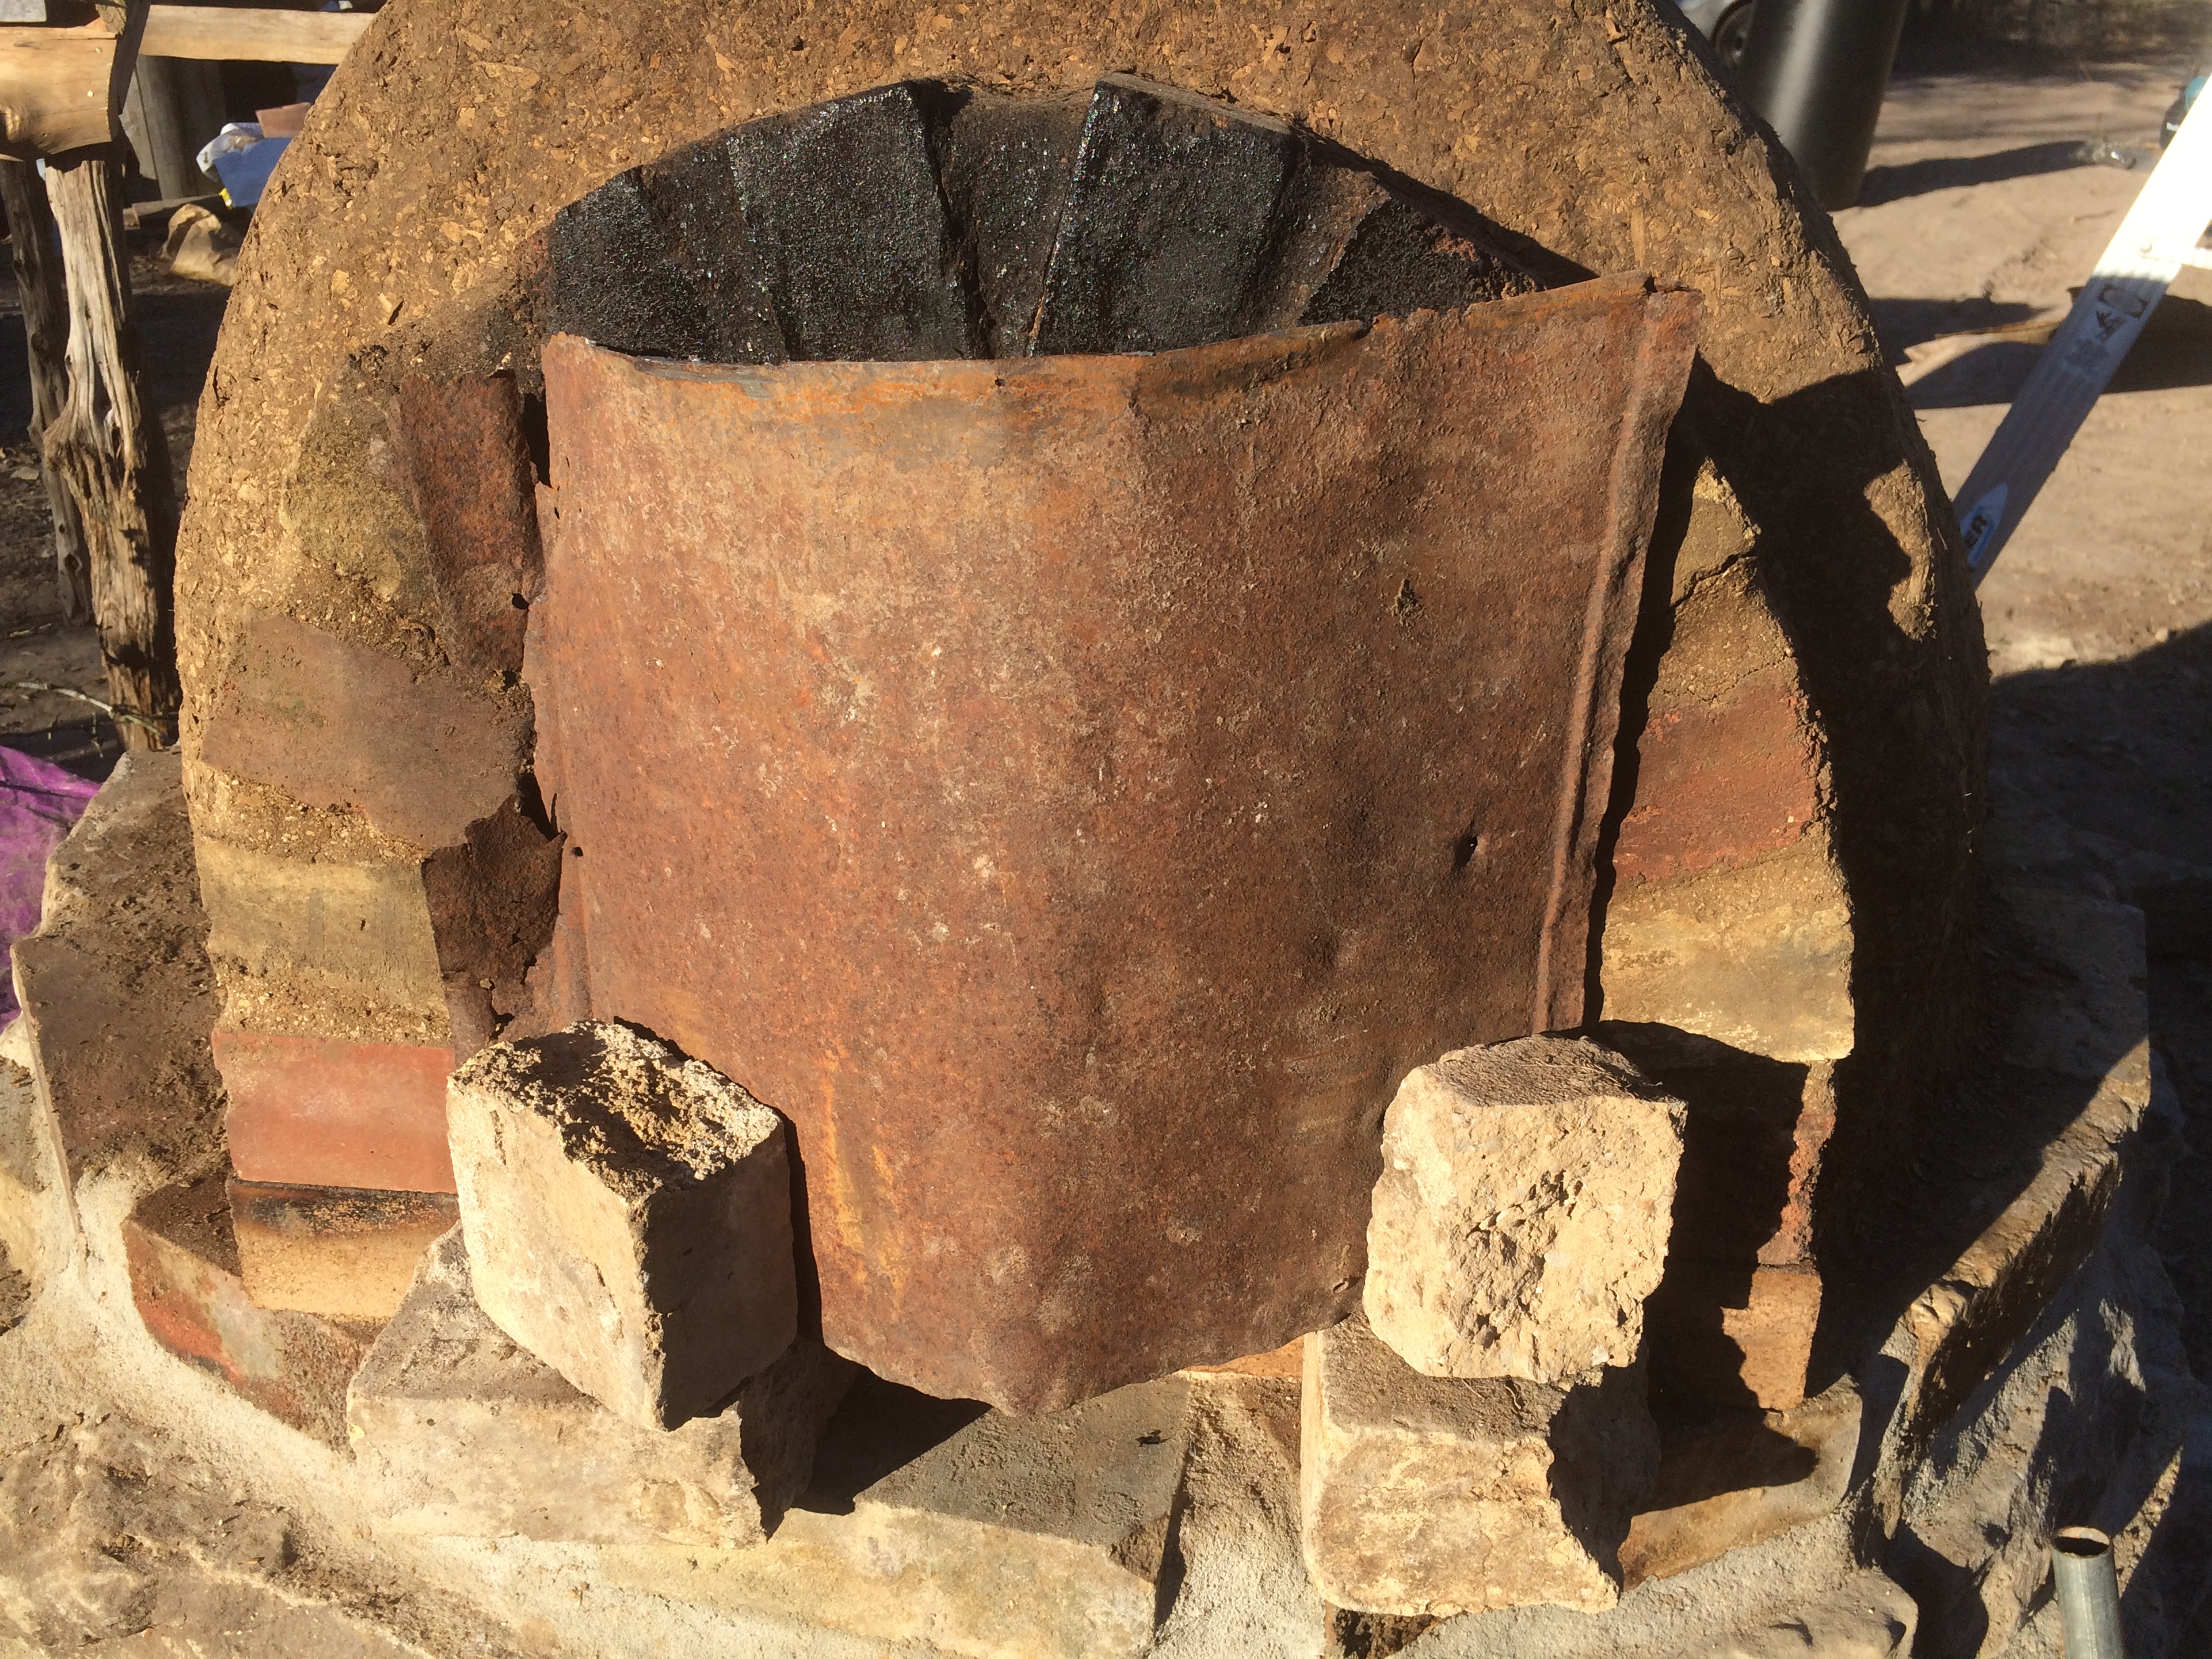
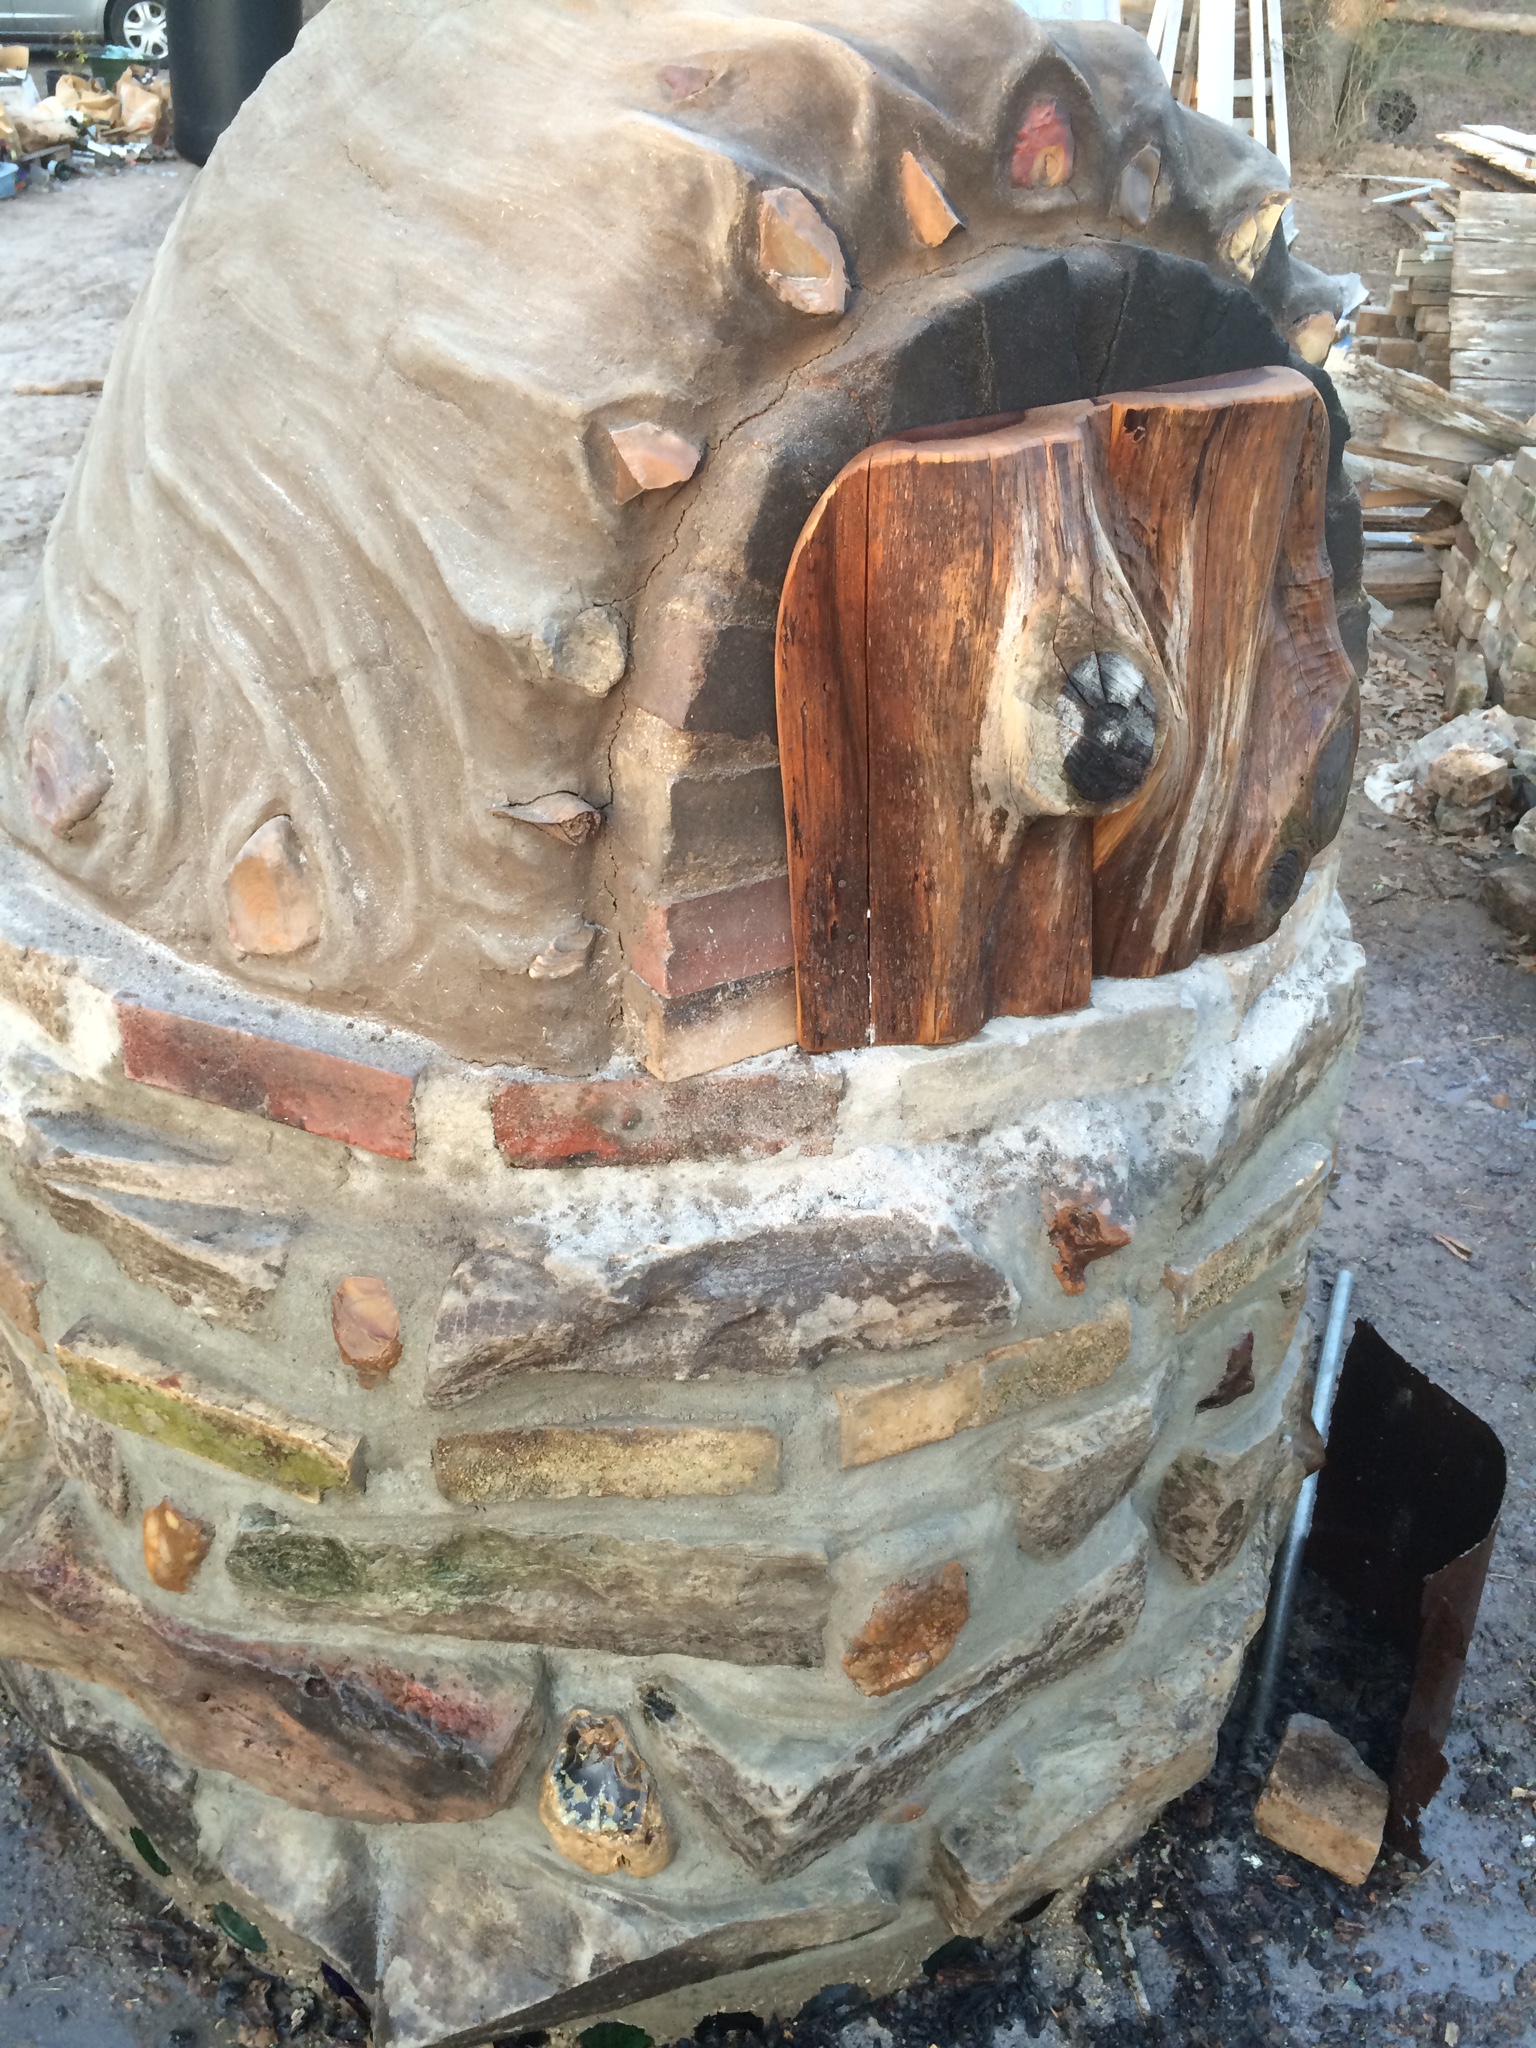
We also mocked up a simple “fire door” – not totally necessary, but nice to have on windy days when the fire is struggling to breathe due to turbulence. Cool fresh air comes in the bottom to feed the flames, and hot gases and smoke swirl out the top of the arch and above the door.
the metal fire door also reflects radiant heat back into the oven, for added efficiency
It was rainy on the final day of the drying fire, so we put the unfinished roof over the oven as it continued to dehydrate. We prepared for the final coat by mixing up a big batch of exterior mud the day before – this consisted of a new mix:
some fine playground sand,
a bunch of subsoil (above the clay layer and beneath the topsoil – we did a soil test with a jar of water that indicated it contained mostly very fine sand),
some clay (about 1 part to the 2 parts of fine sand), and
about 3 gallons of fresh cow manure (for the smooth strength of the fine fiber of 7-times digested grass)
adding in the secret ingredient – cow poop!
the exterior mud was much softer than the interior clay – squishy & without rough sharp sand in it – barefootable! (as long as a little cow poop doesn’t scare ya)
cleaning out the last of the sand. the insulation layer has baked almost dry, so we let the long drying fire go out, in preparation for application of the final exterior clay
final exterior mud
the “Bible” told us to “schmear” the final layer on like frosting, but we found it much more effective to throw it on by the handful – “splat! splat! splat!”
flingin’ poo
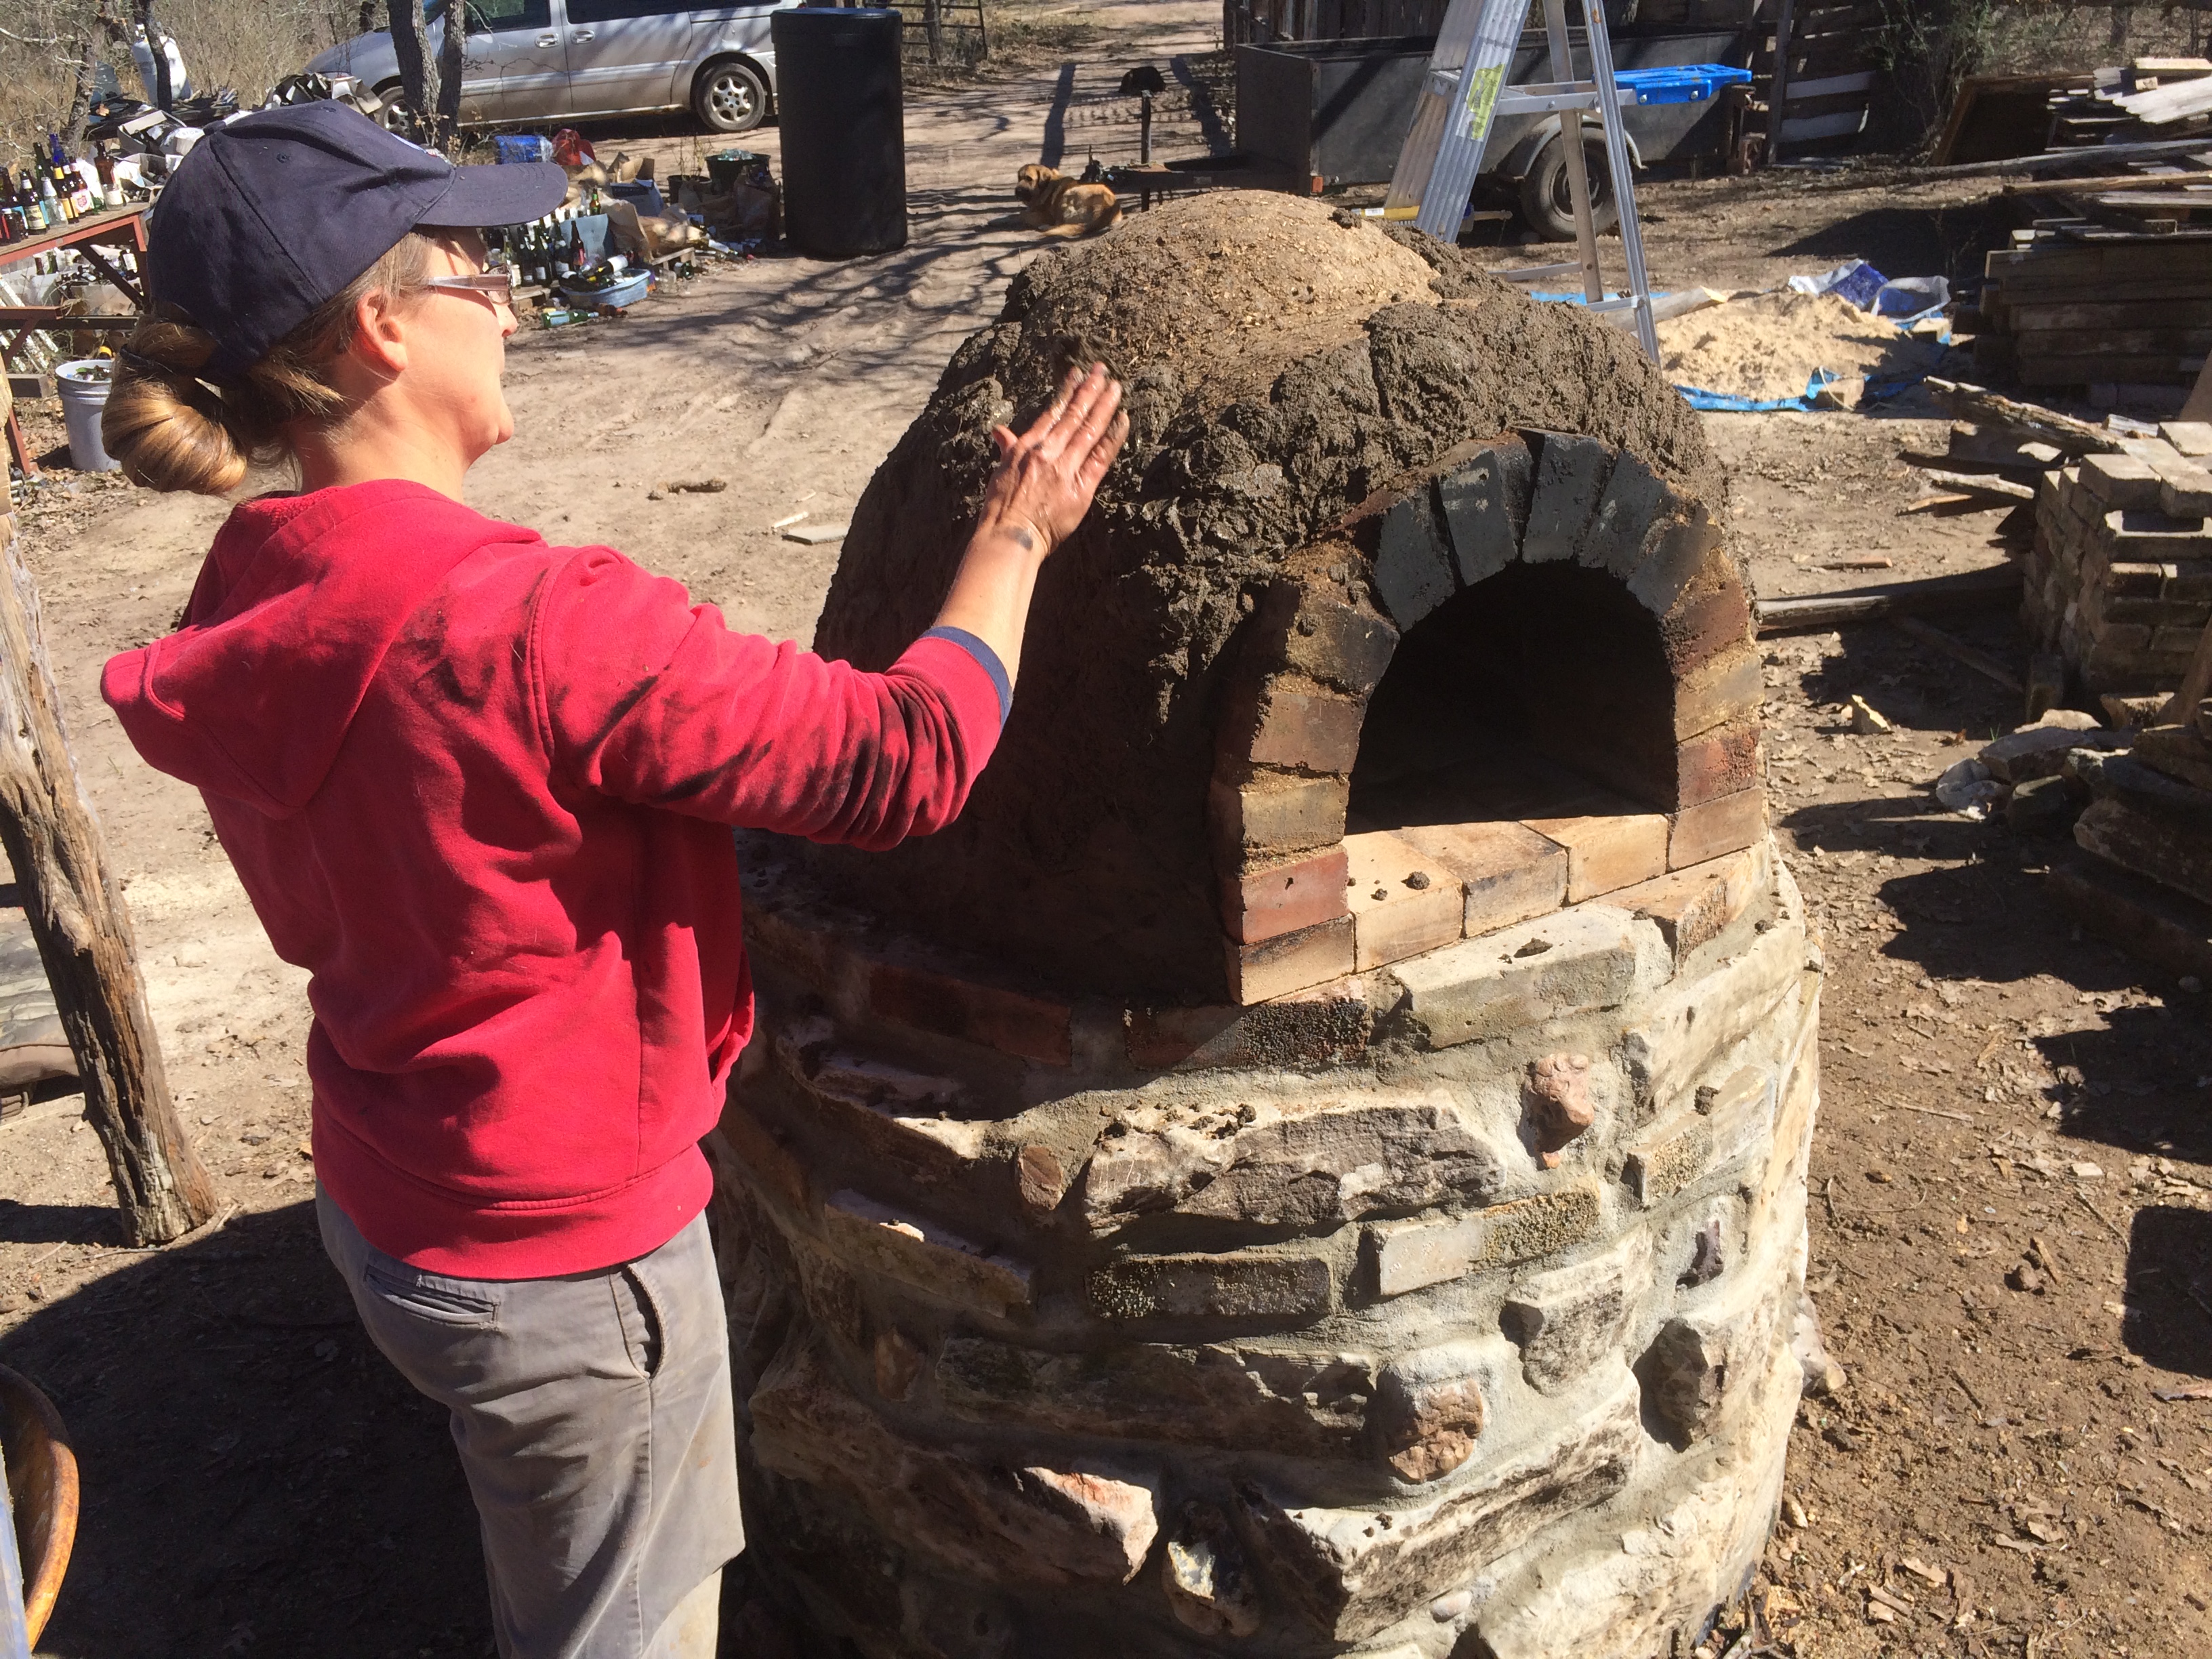
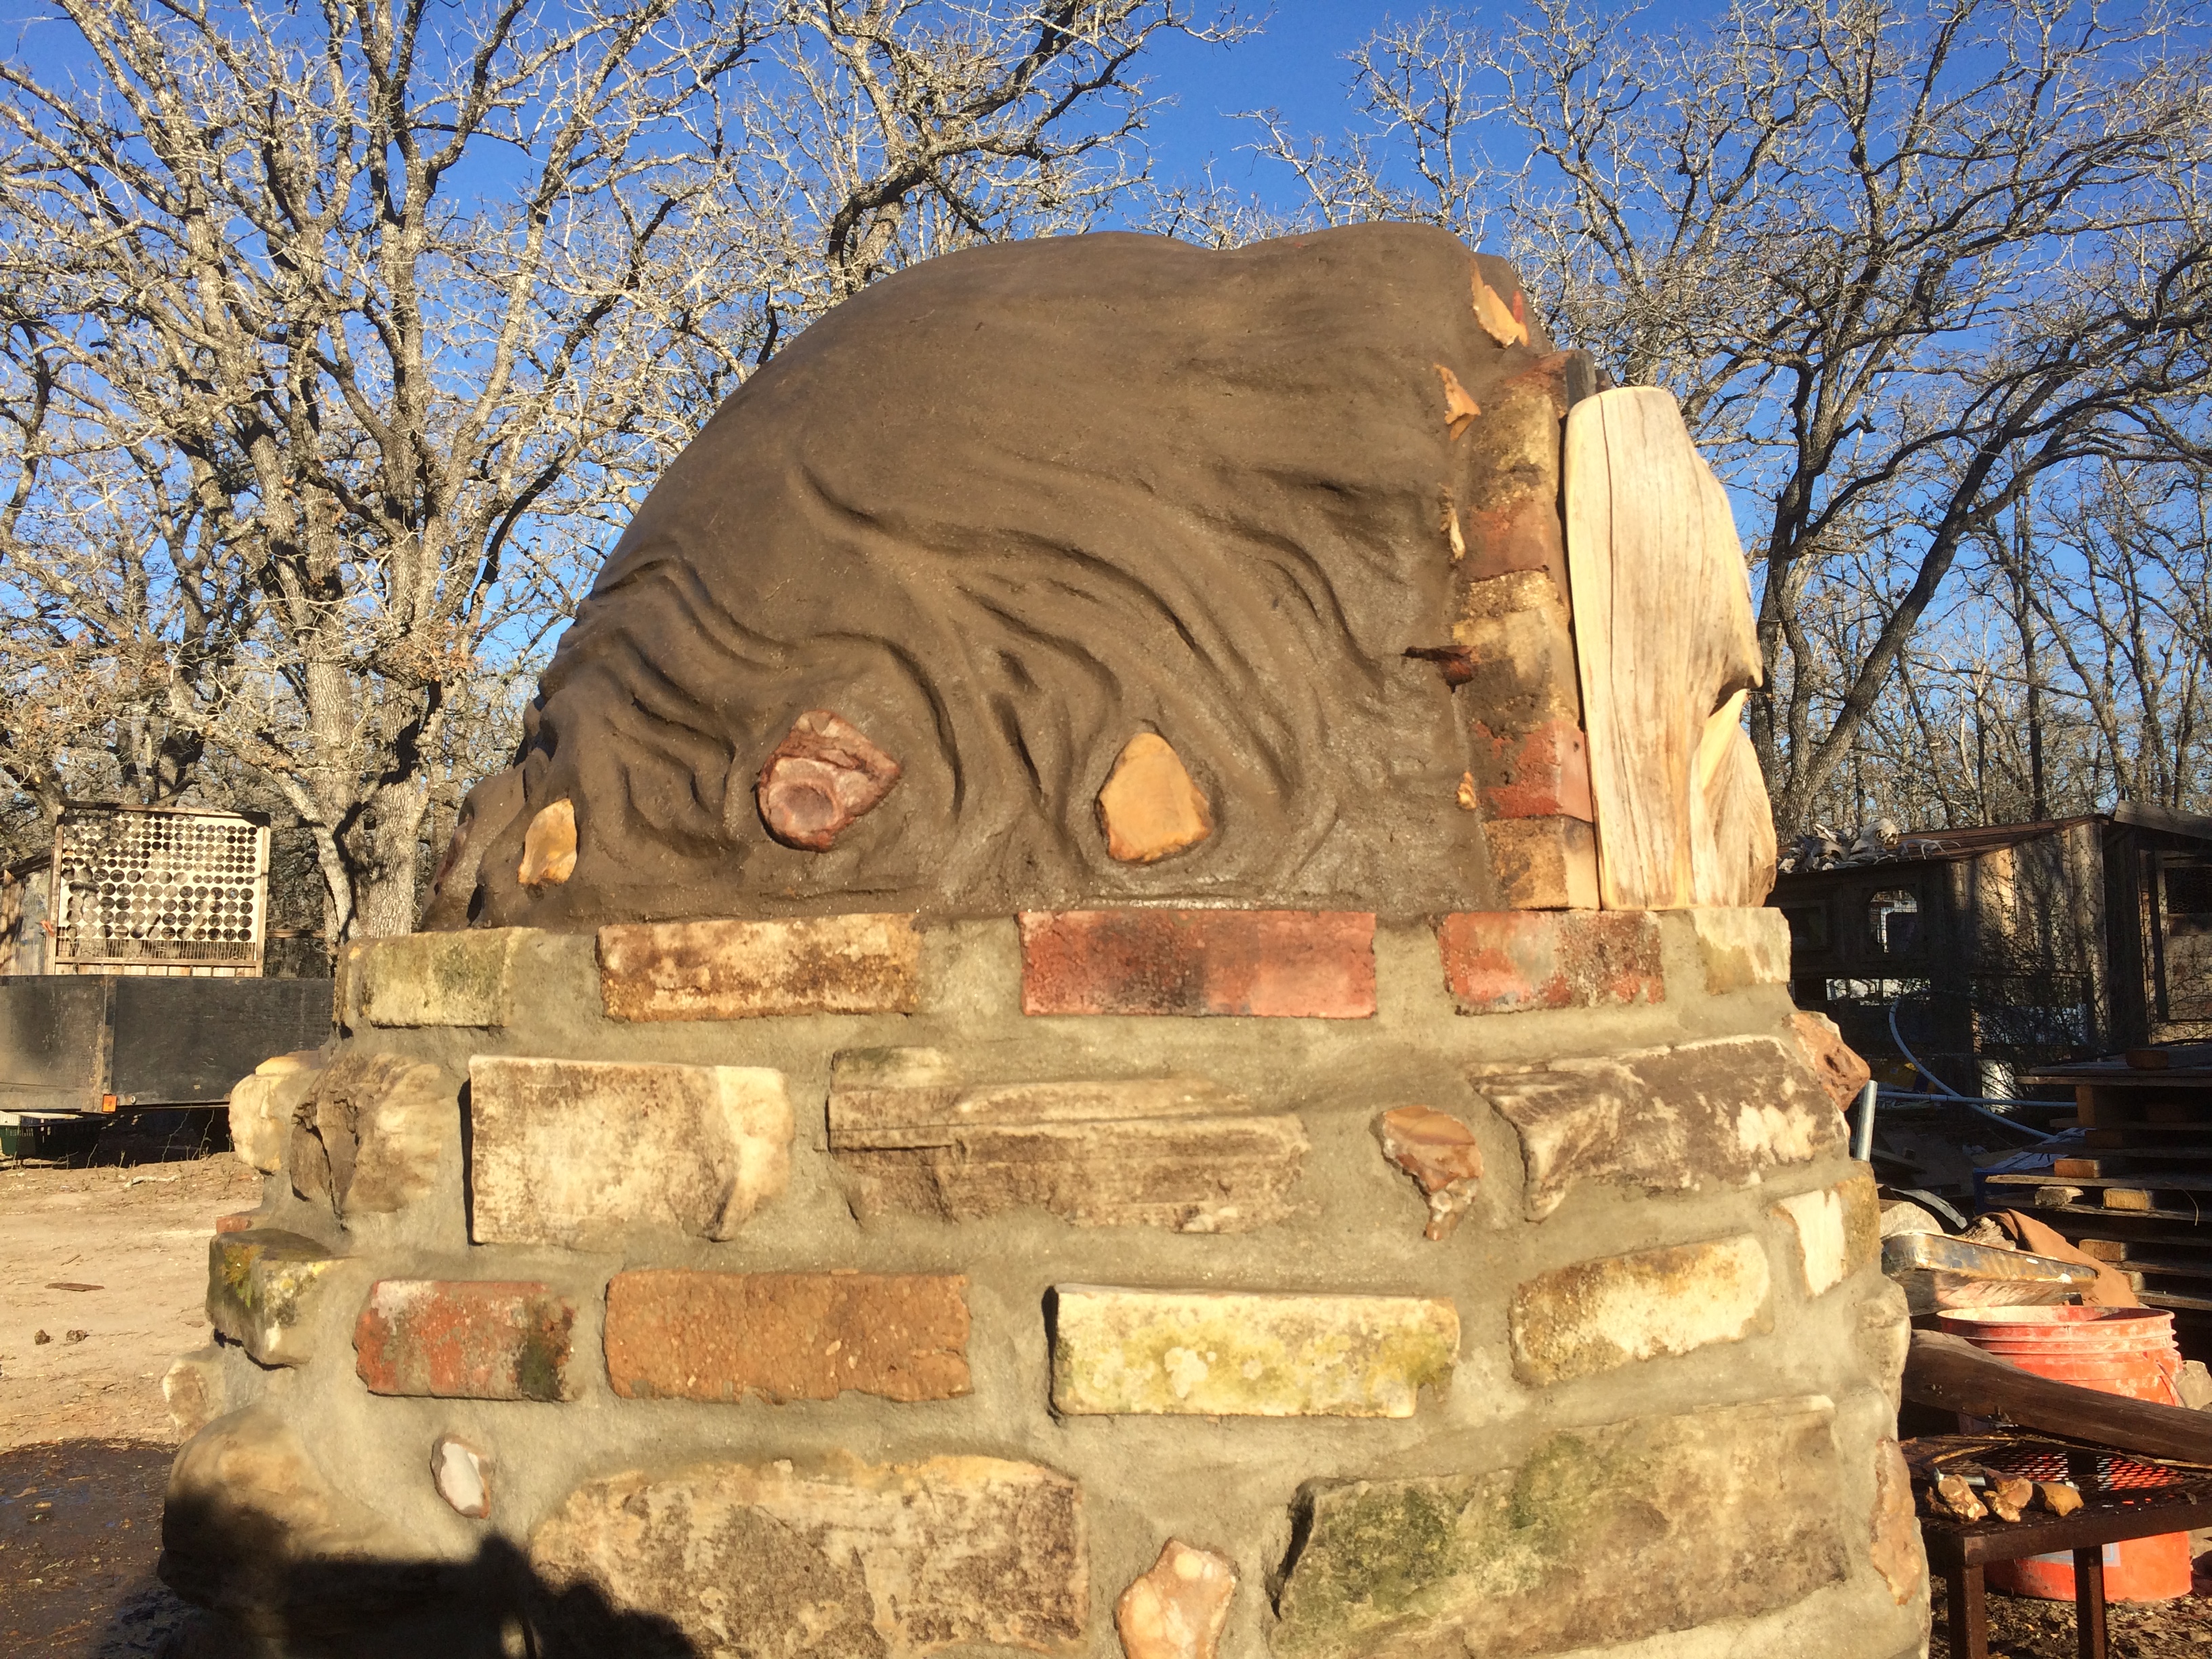
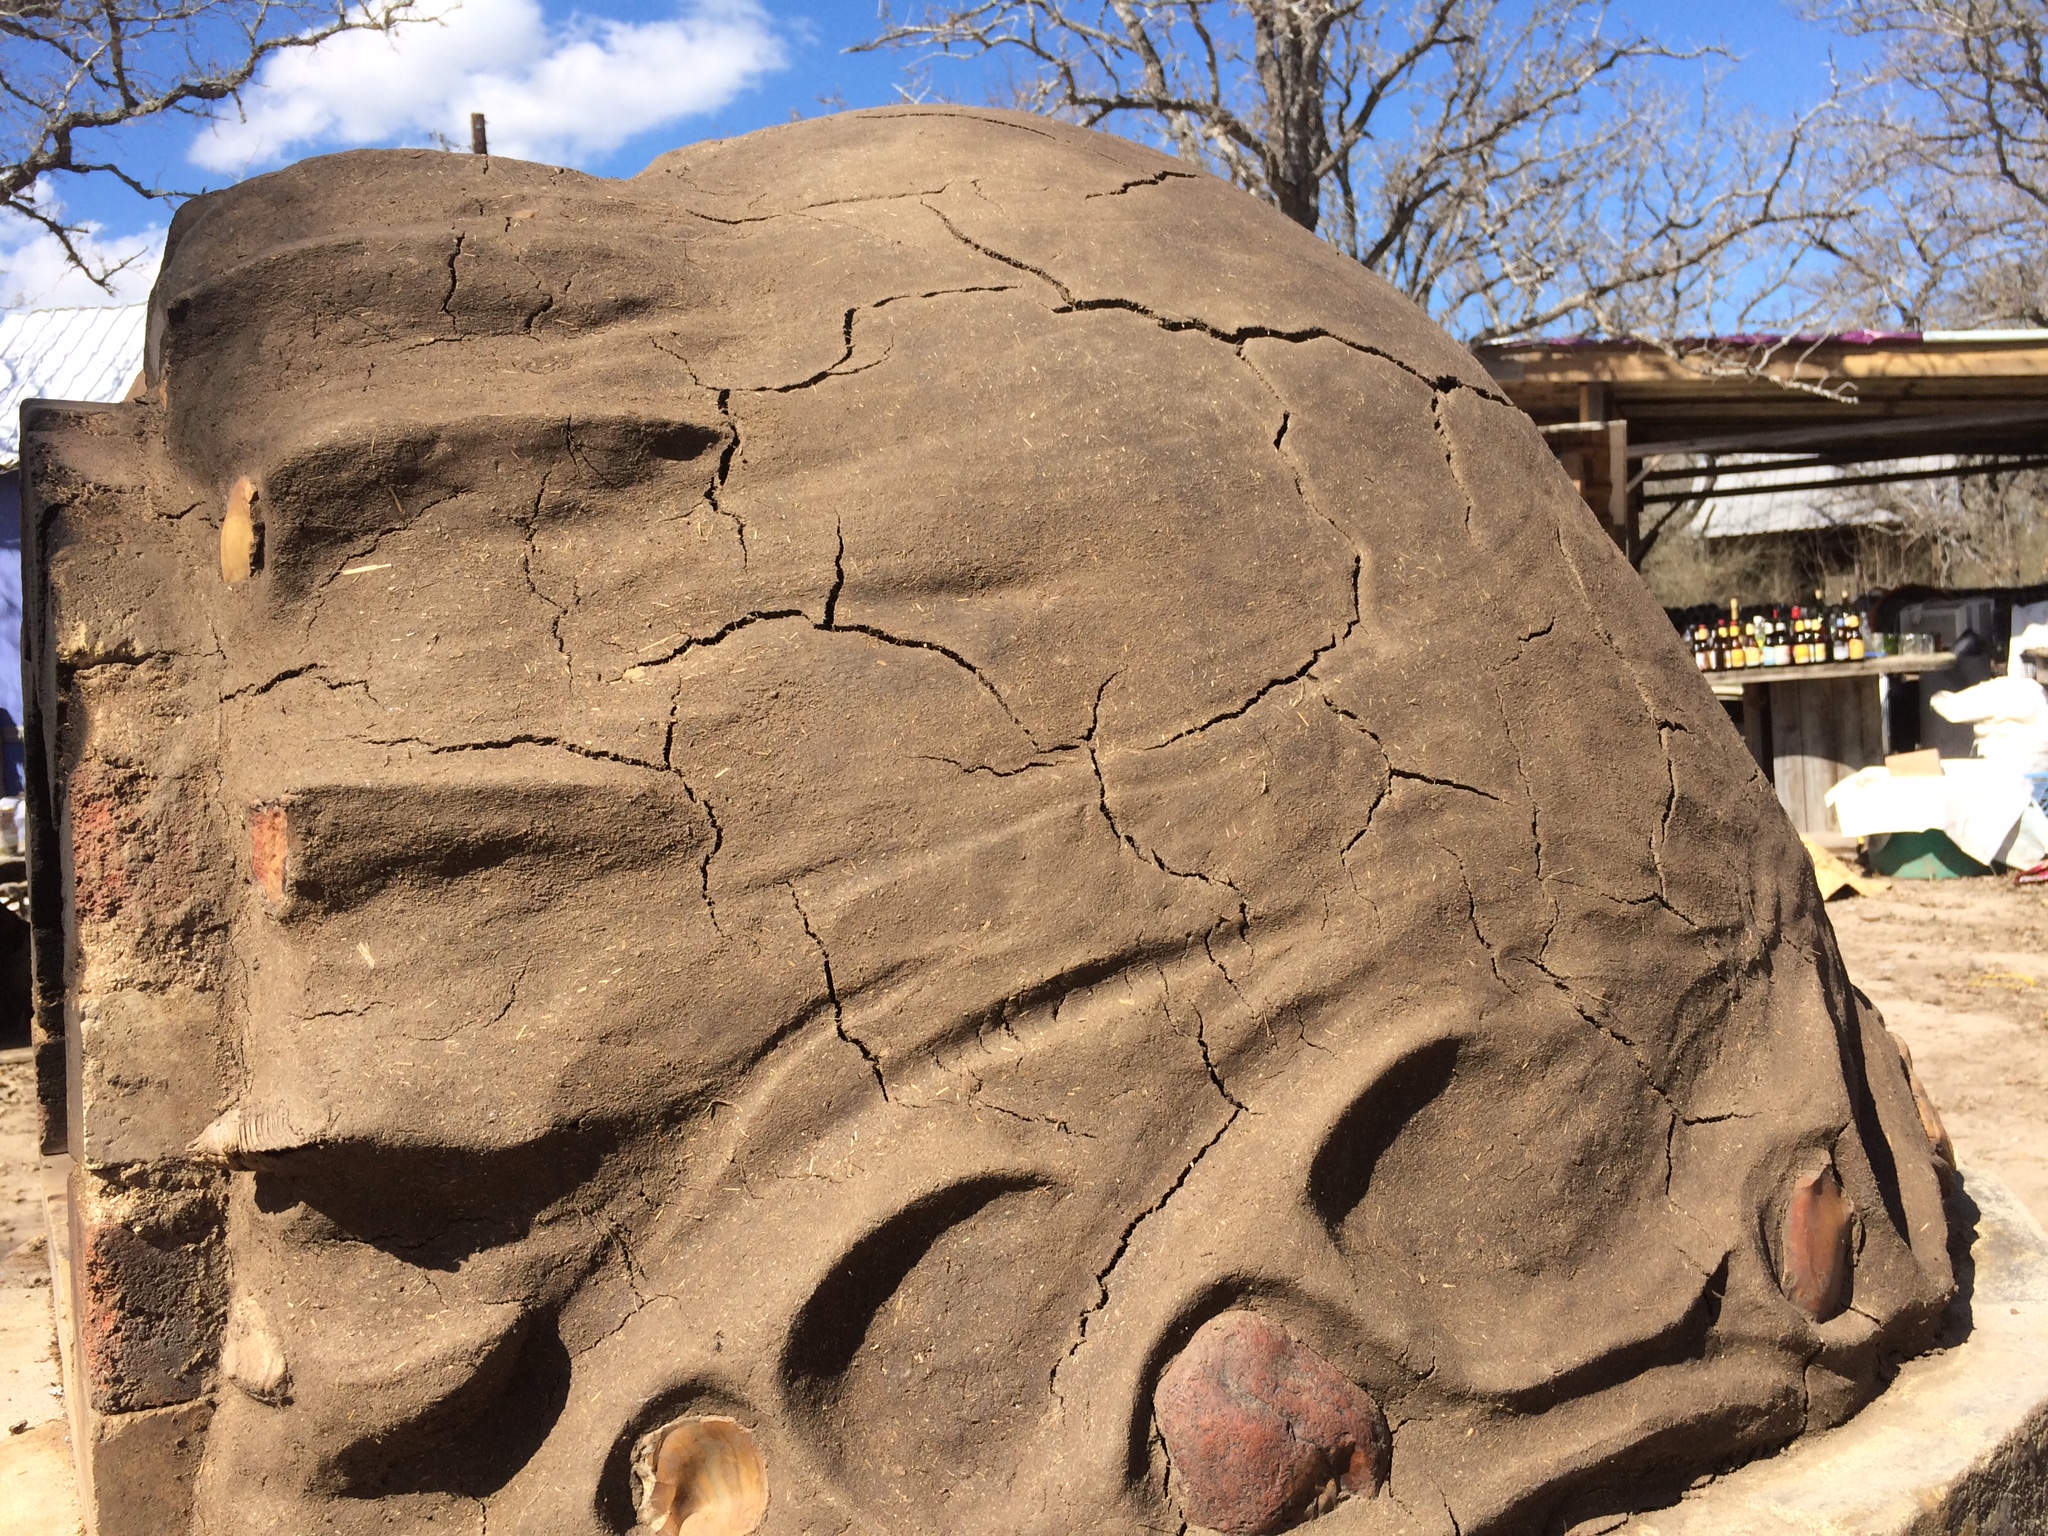
Once we had a 2-4″ layer of plaster mud all over, we got to work shaping and decorating – smoothing, adding flame and ember colored rocks around the base and arch, and sculpting flames and heat waves in the mud …
We had just two days left before we were leaving Habitable Spaces – and we were determined to be able to eat some food from the oven before we left!
So we started a new drying fire inside, knowing that the fast drying would likely lead to cracking, but willing to take our chances.
cracking of the exterior plaster
There was, indeed, considerable cracking due to the fast-drying action of the fire, but the scary-looking cracks turned out to be easy to fix – we waited until it was dried out and stable, then filled them in with a wet mix of the same plastering material.
The warm exterior (from the sunshine and drying fire) caused the repair slip to dry almost instantly, creating a rough surface – which led us to the discovery that some wirebrushing created a nice light color, which highlighted the flame patterns pleasantly.
We built some tools from the junkpile (a scraper, a cleaning swab, and a fire blowing tube) – and eagerly awaited the next day: our final full day at Habitable Spaces, and the day we would finally test the oven out on some food!
We tinkered and smoothed and prepared throughout the day and the following afternoon …
the interior reveals the clump-by-clump construction method of the oven mud layer
We kept the drying fire going – now it was going to provide the heat for the first baking!
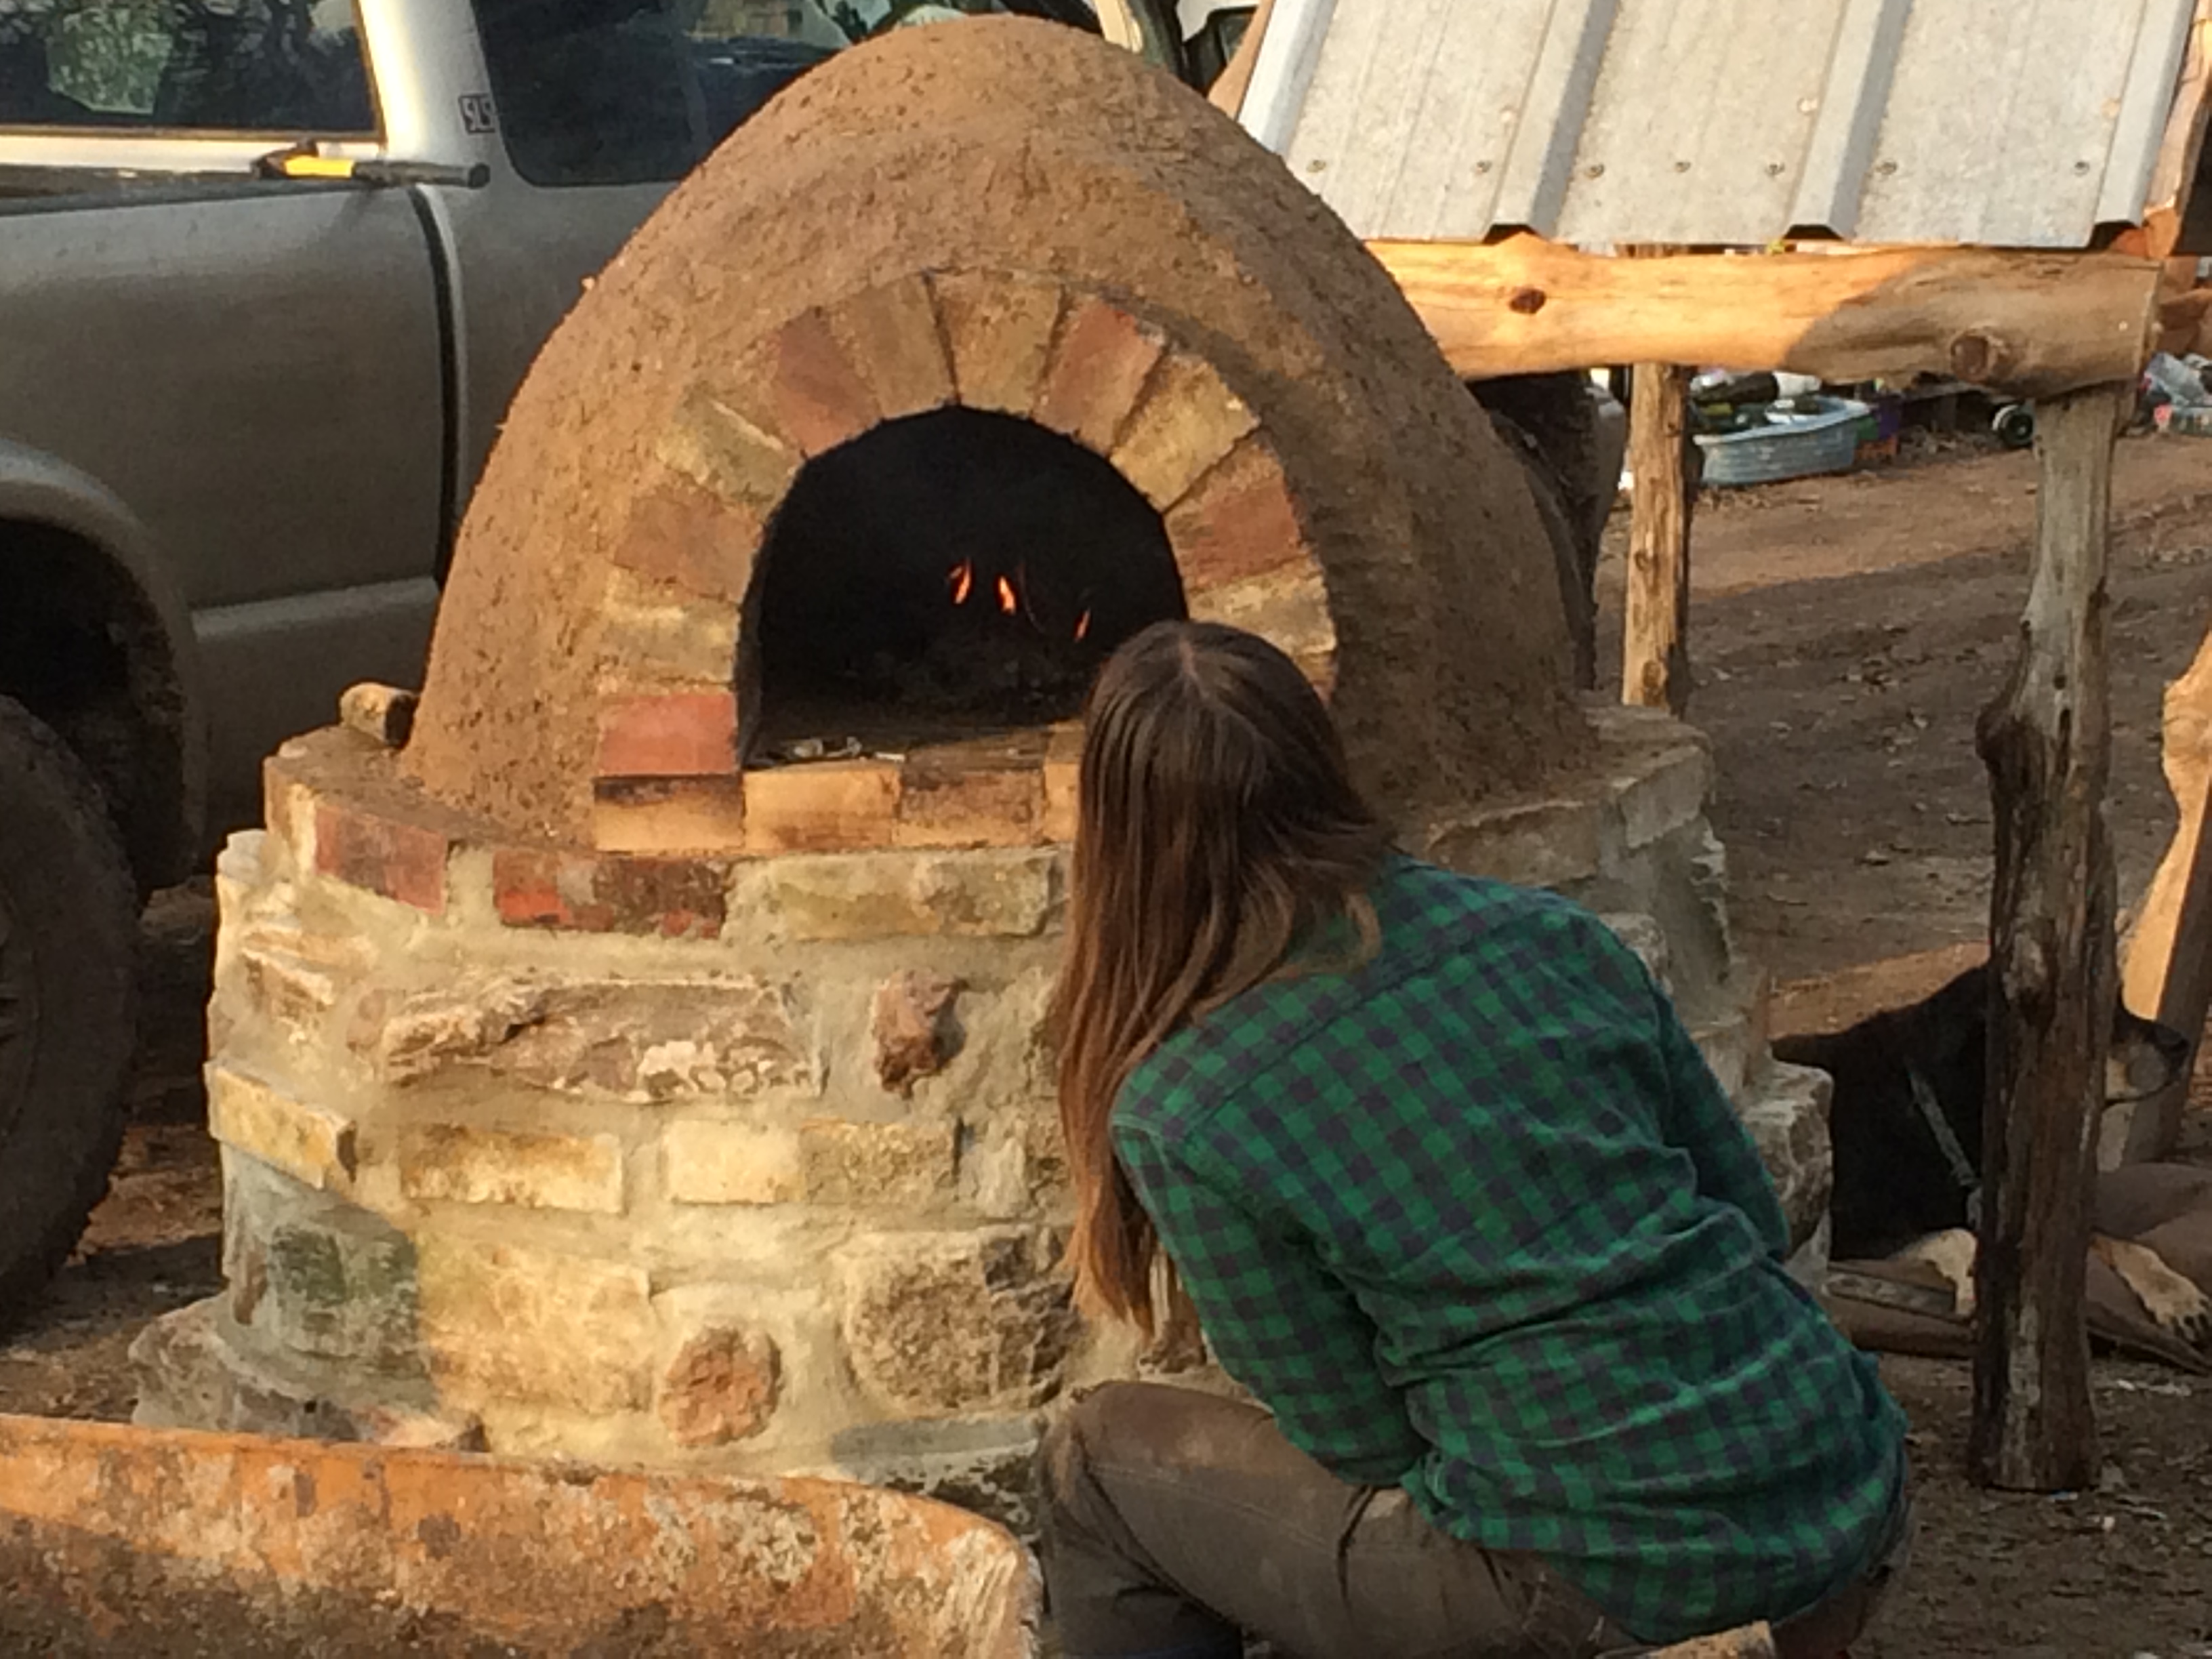
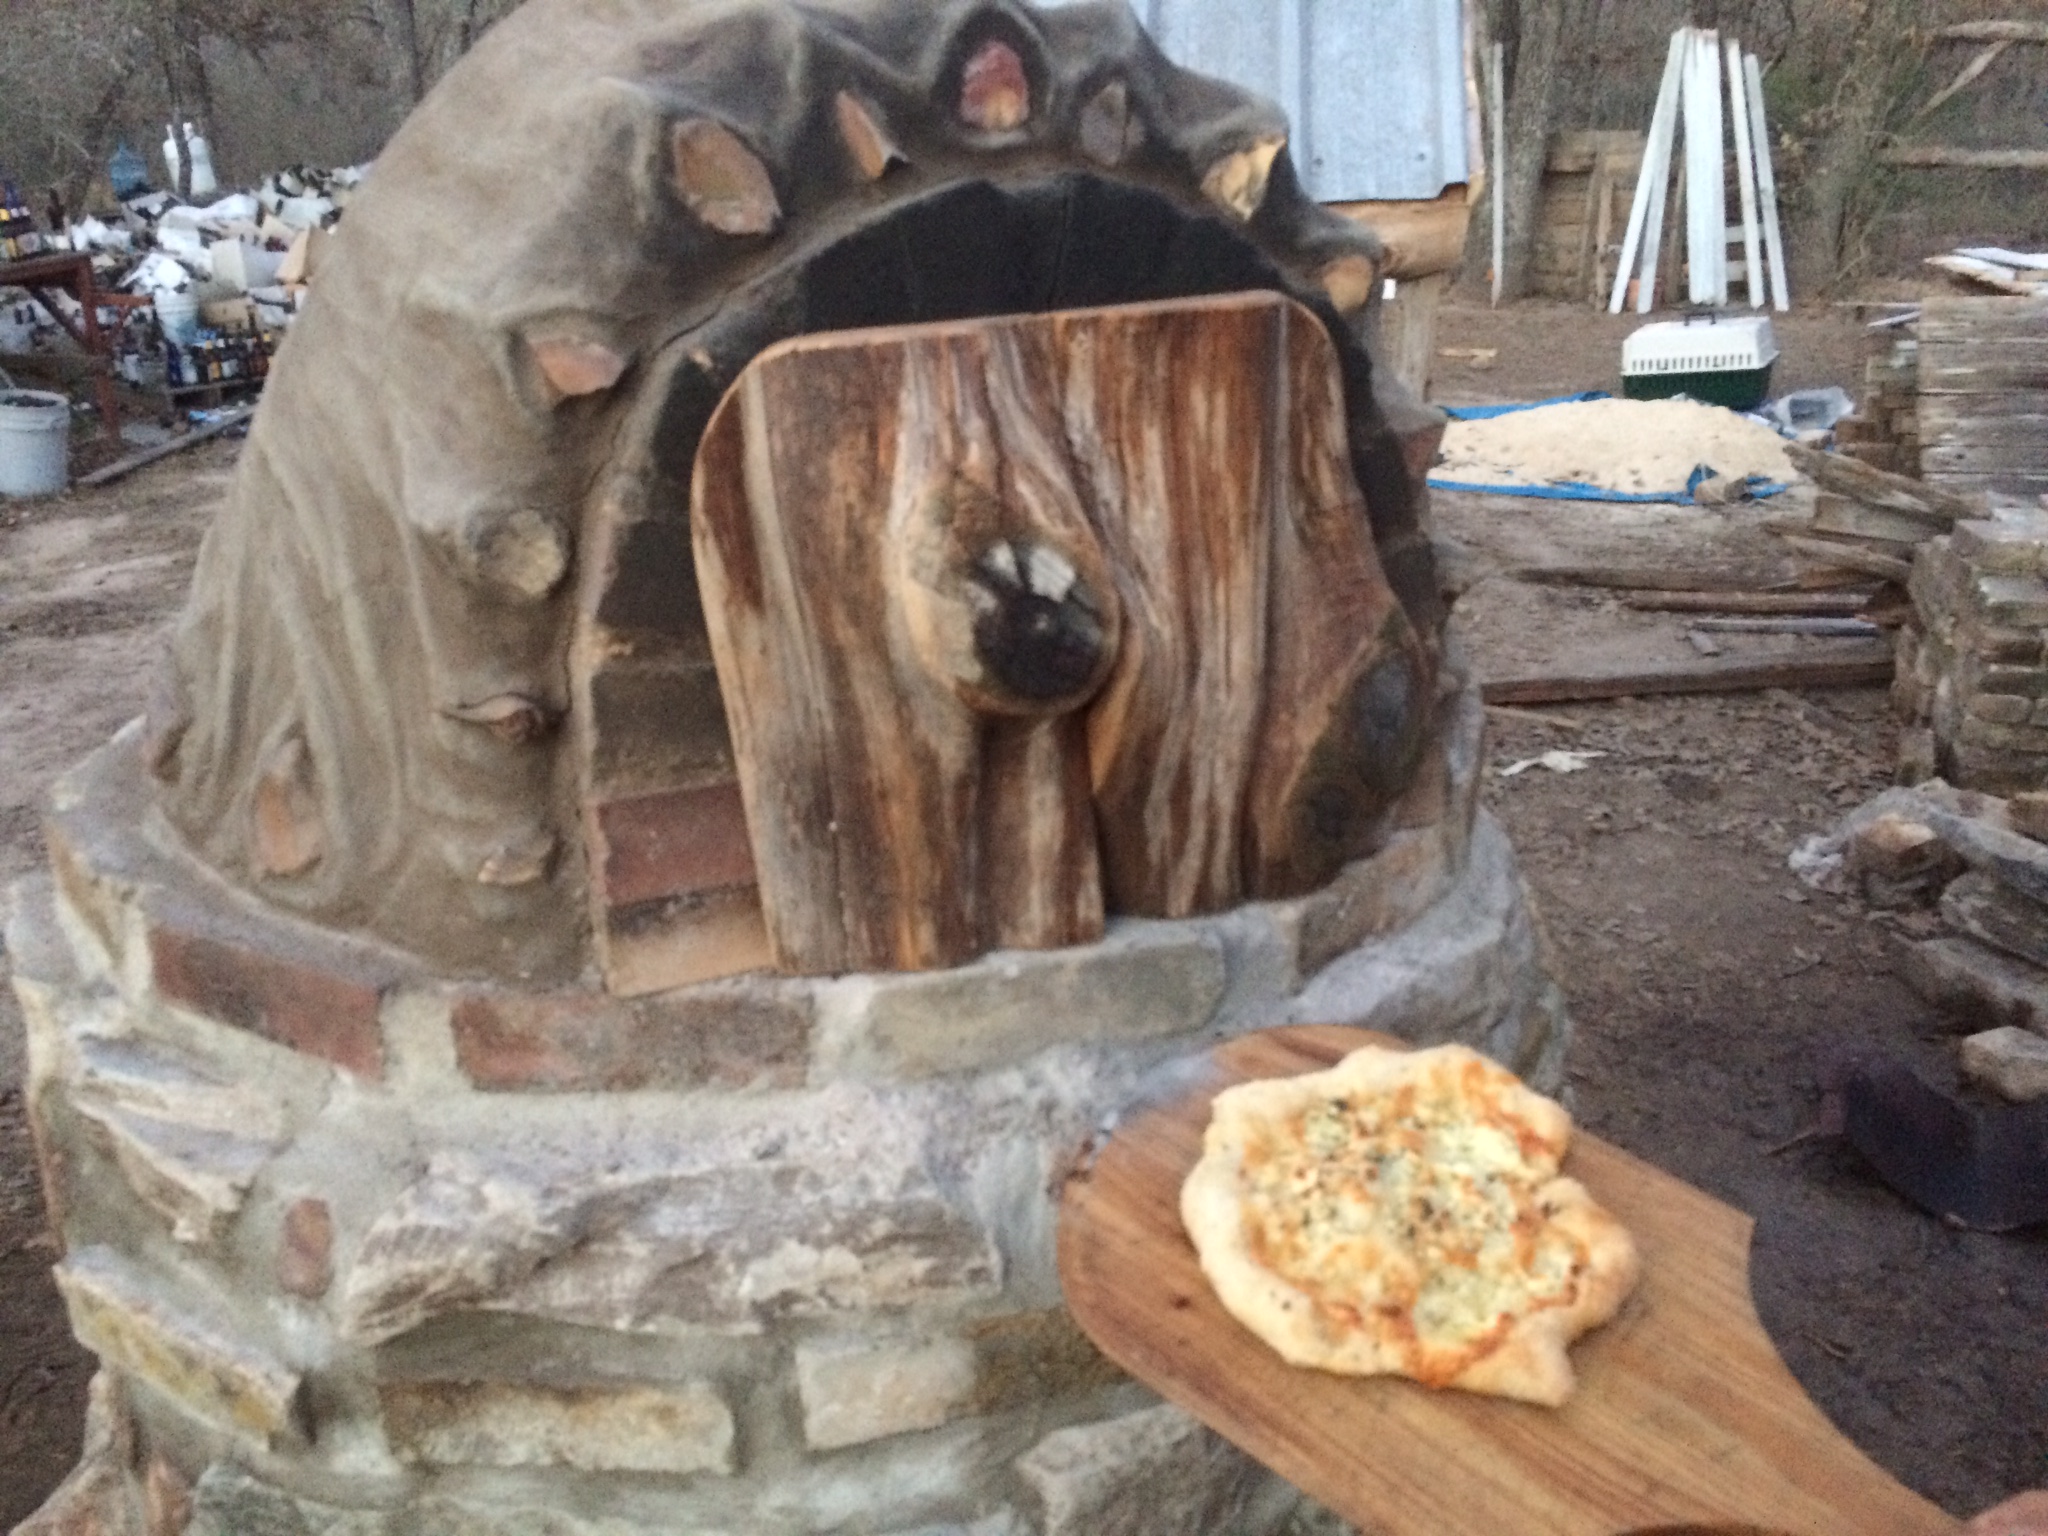
Kristin prepared two kinds of pizza dough – Neapolitan & New York style, and we soaked the inside of the cedar baking door by floating it in a large bucket, in order to minimize burning/charring.
Finally, we there in the first pizza, which sizzled satisfyingly as it hit the firebrick. Within minutes, delicious scents began wafting from the narrow gaps around the baking door …
baking the first pizza behind the soaked door
first ever pizza emerges!! (We got better at shaping the subsequent five pizzas, which had various combinations of bacon, caramelized onions, mushrooms, herbs, garlic, cheeses, pickled jalepenos …)
And five minutes later, we pulled the first pizza from the oven. (It will take less time in the future, once the oven is finished drying out – at first, it loses efficiency to the energy that water takes to steam out.)
We baked into the night, leaving each pizza in for one minute longer than the last, until we were all too full to eat another slice and we’d exhausted our supply of ingredients. Then we threw a shortbread crust in for awhile, took it out and added a filling of blackberries, apple, ginger, and sugar, and replaced it inside for another 40 minutes of baking.
When it was done (and devoured), we used the considerable remaining heat to overnight slow cook a cast iron pot of beans with jalepenos, pepper, and cumin for our breakfast tacos the following day – our last morning at Habitable Spaces, capping off our wonderful two-month stay!
Postscript:
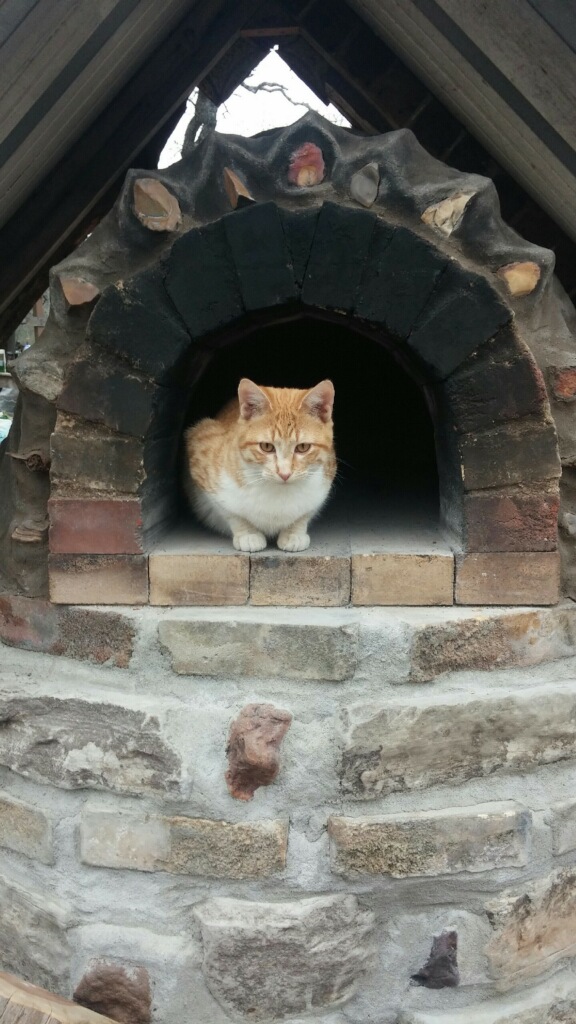
A couple of days after we left, Shane and Alison sent us the photos below – while they were soaking the door (in preparation for a bakefest of 8 pizzas & a loaf of bread), both a chicken and a cat had decided that the earth oven was a “habitable space,” indeed ….
It was a lot of work but incredibly rewarding and fun – we’re looking forward to visiting again to eat from it someday … and we can’t wait to build our own, back home on our farm!!
In our first post from Habitable Spaces, I mentioned how when we first arrived and the van got stuck on a tree stump, it seemed like a sign of how would be rooted and grounded here.
It turns out this was more accurate than we knew – our planned three and a half week stay has transformed into a two months, as plans fell apart with the next two farms that we’d lined up.
This could have been a minor disaster, but for two things – we like Habitable Spaces, and they like us.
We’ve been having a great time settling into to the space, getting to know the people, the animals, and the area … here’s some of what we were up to throughout January!
(they’re not really in order, I assume no one really cares ….)
This is Scout, breadloafin’.
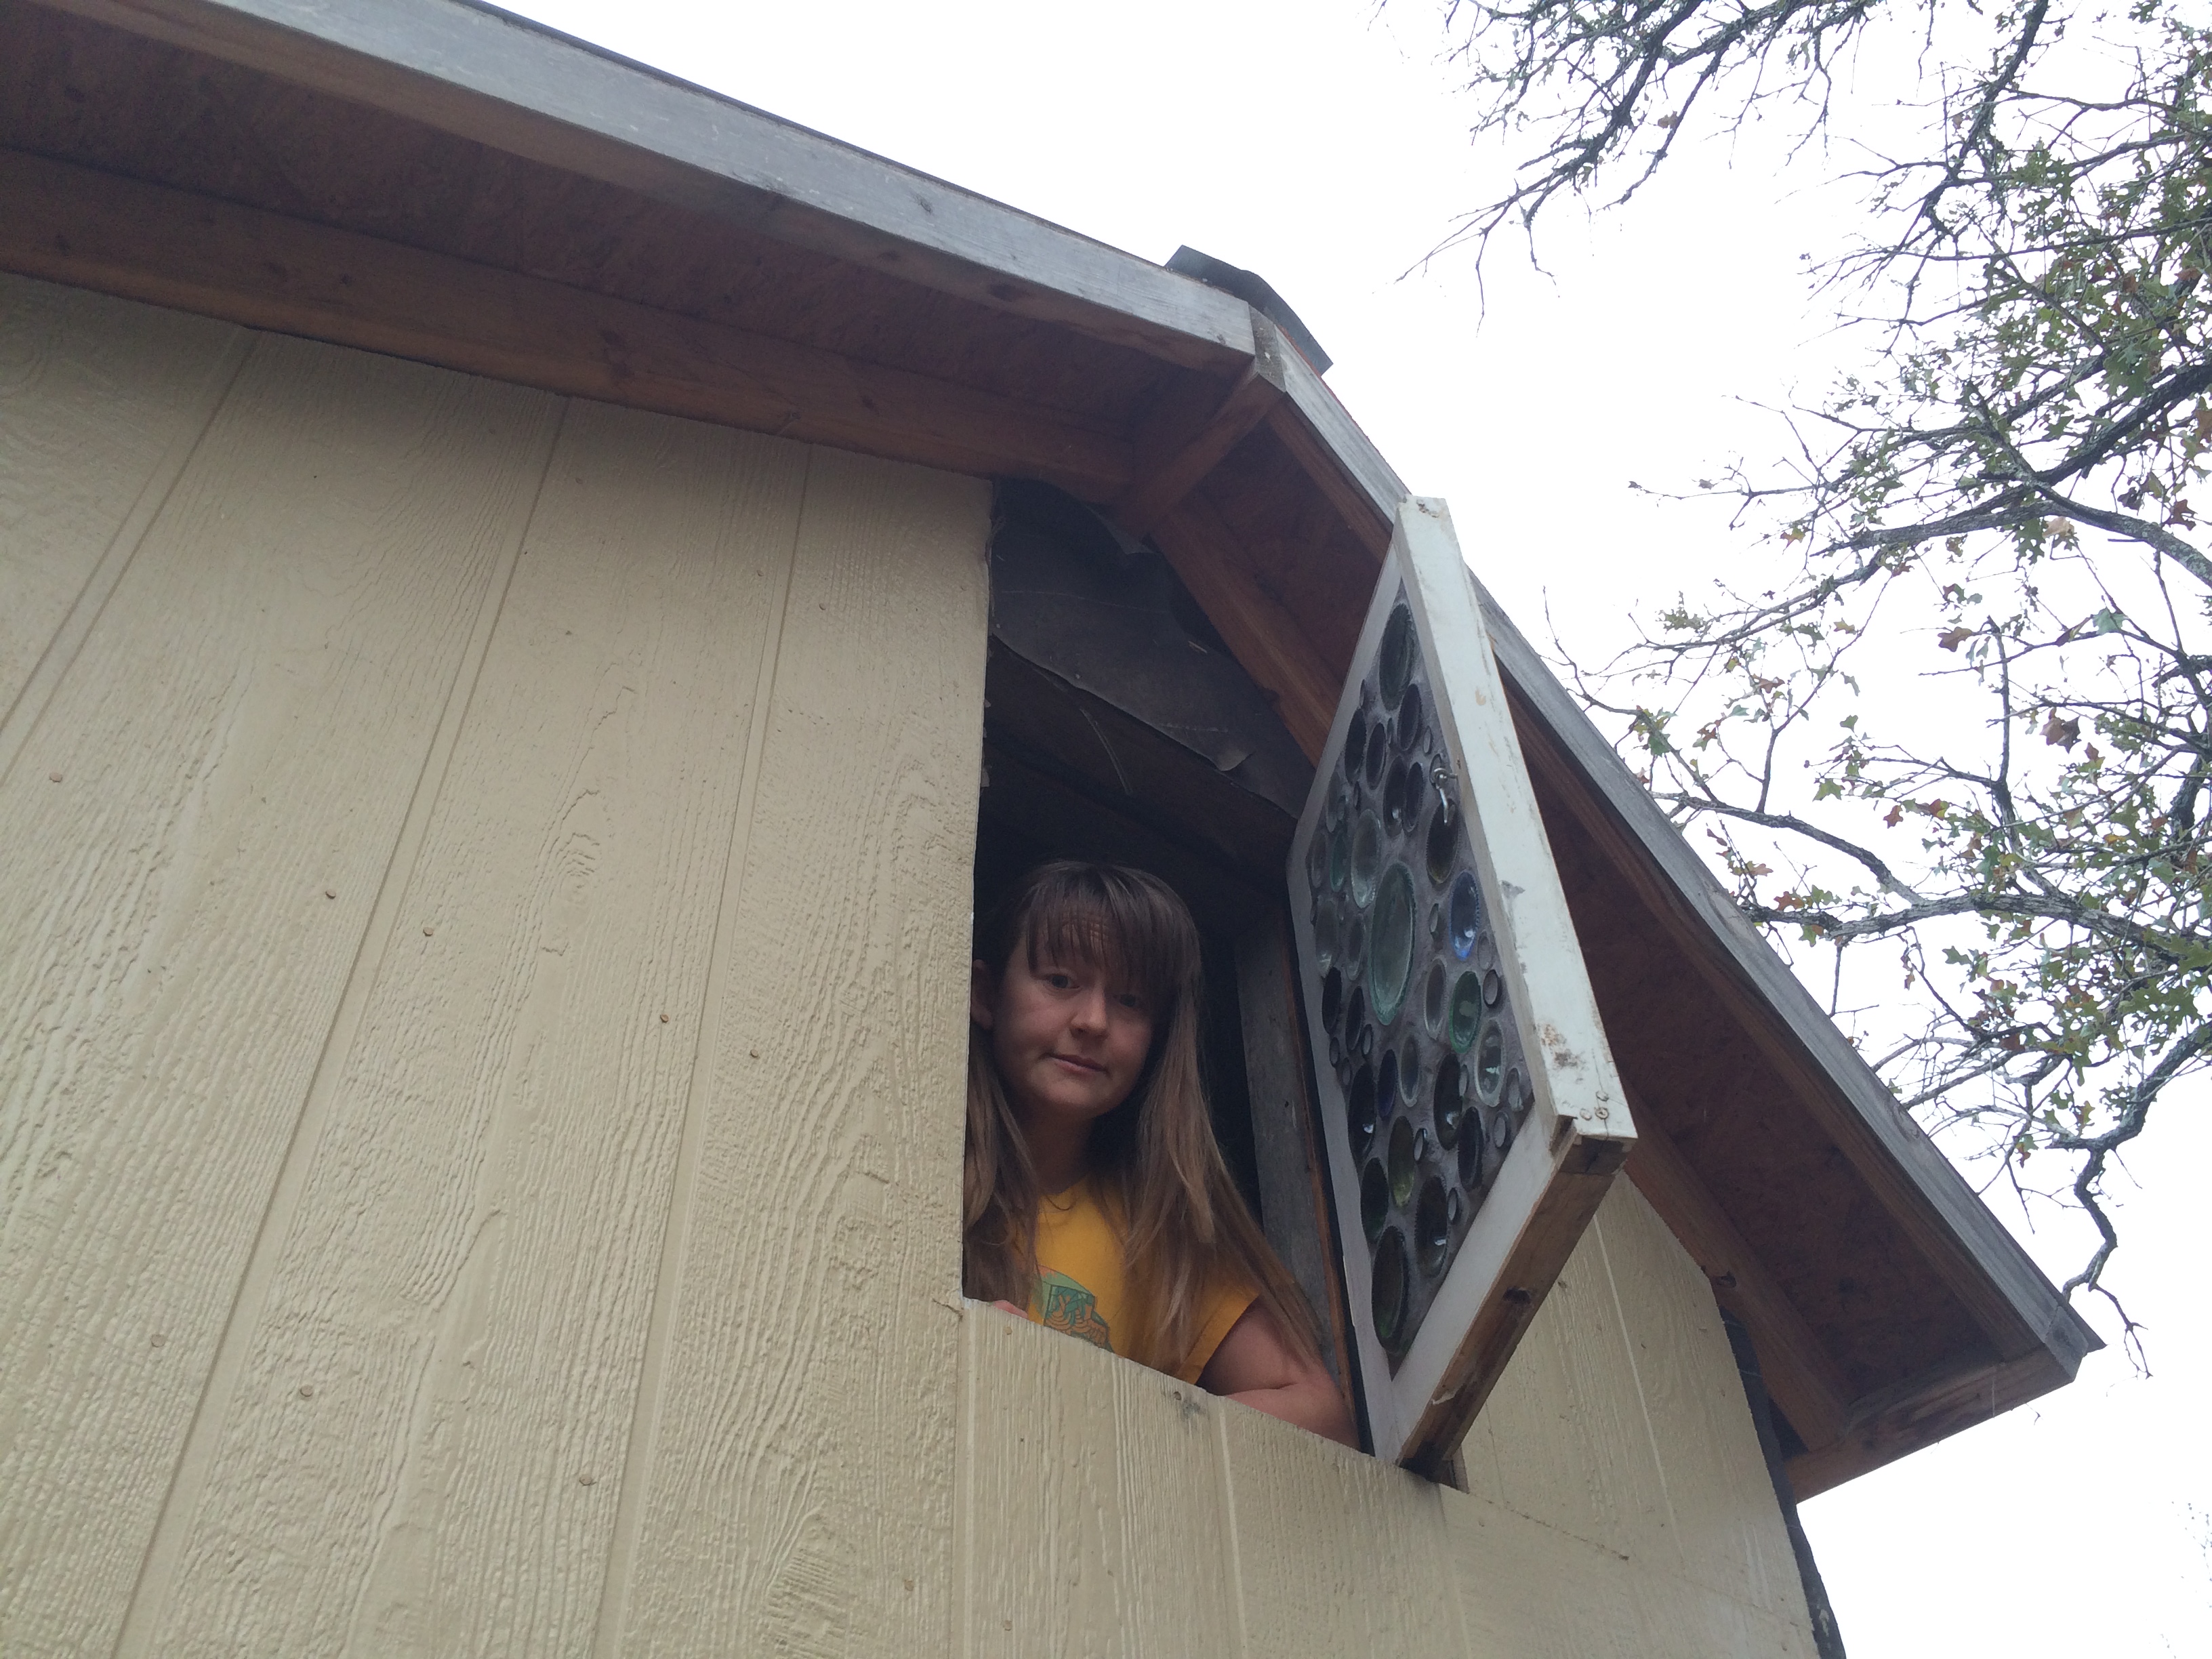
where’s Kristin?
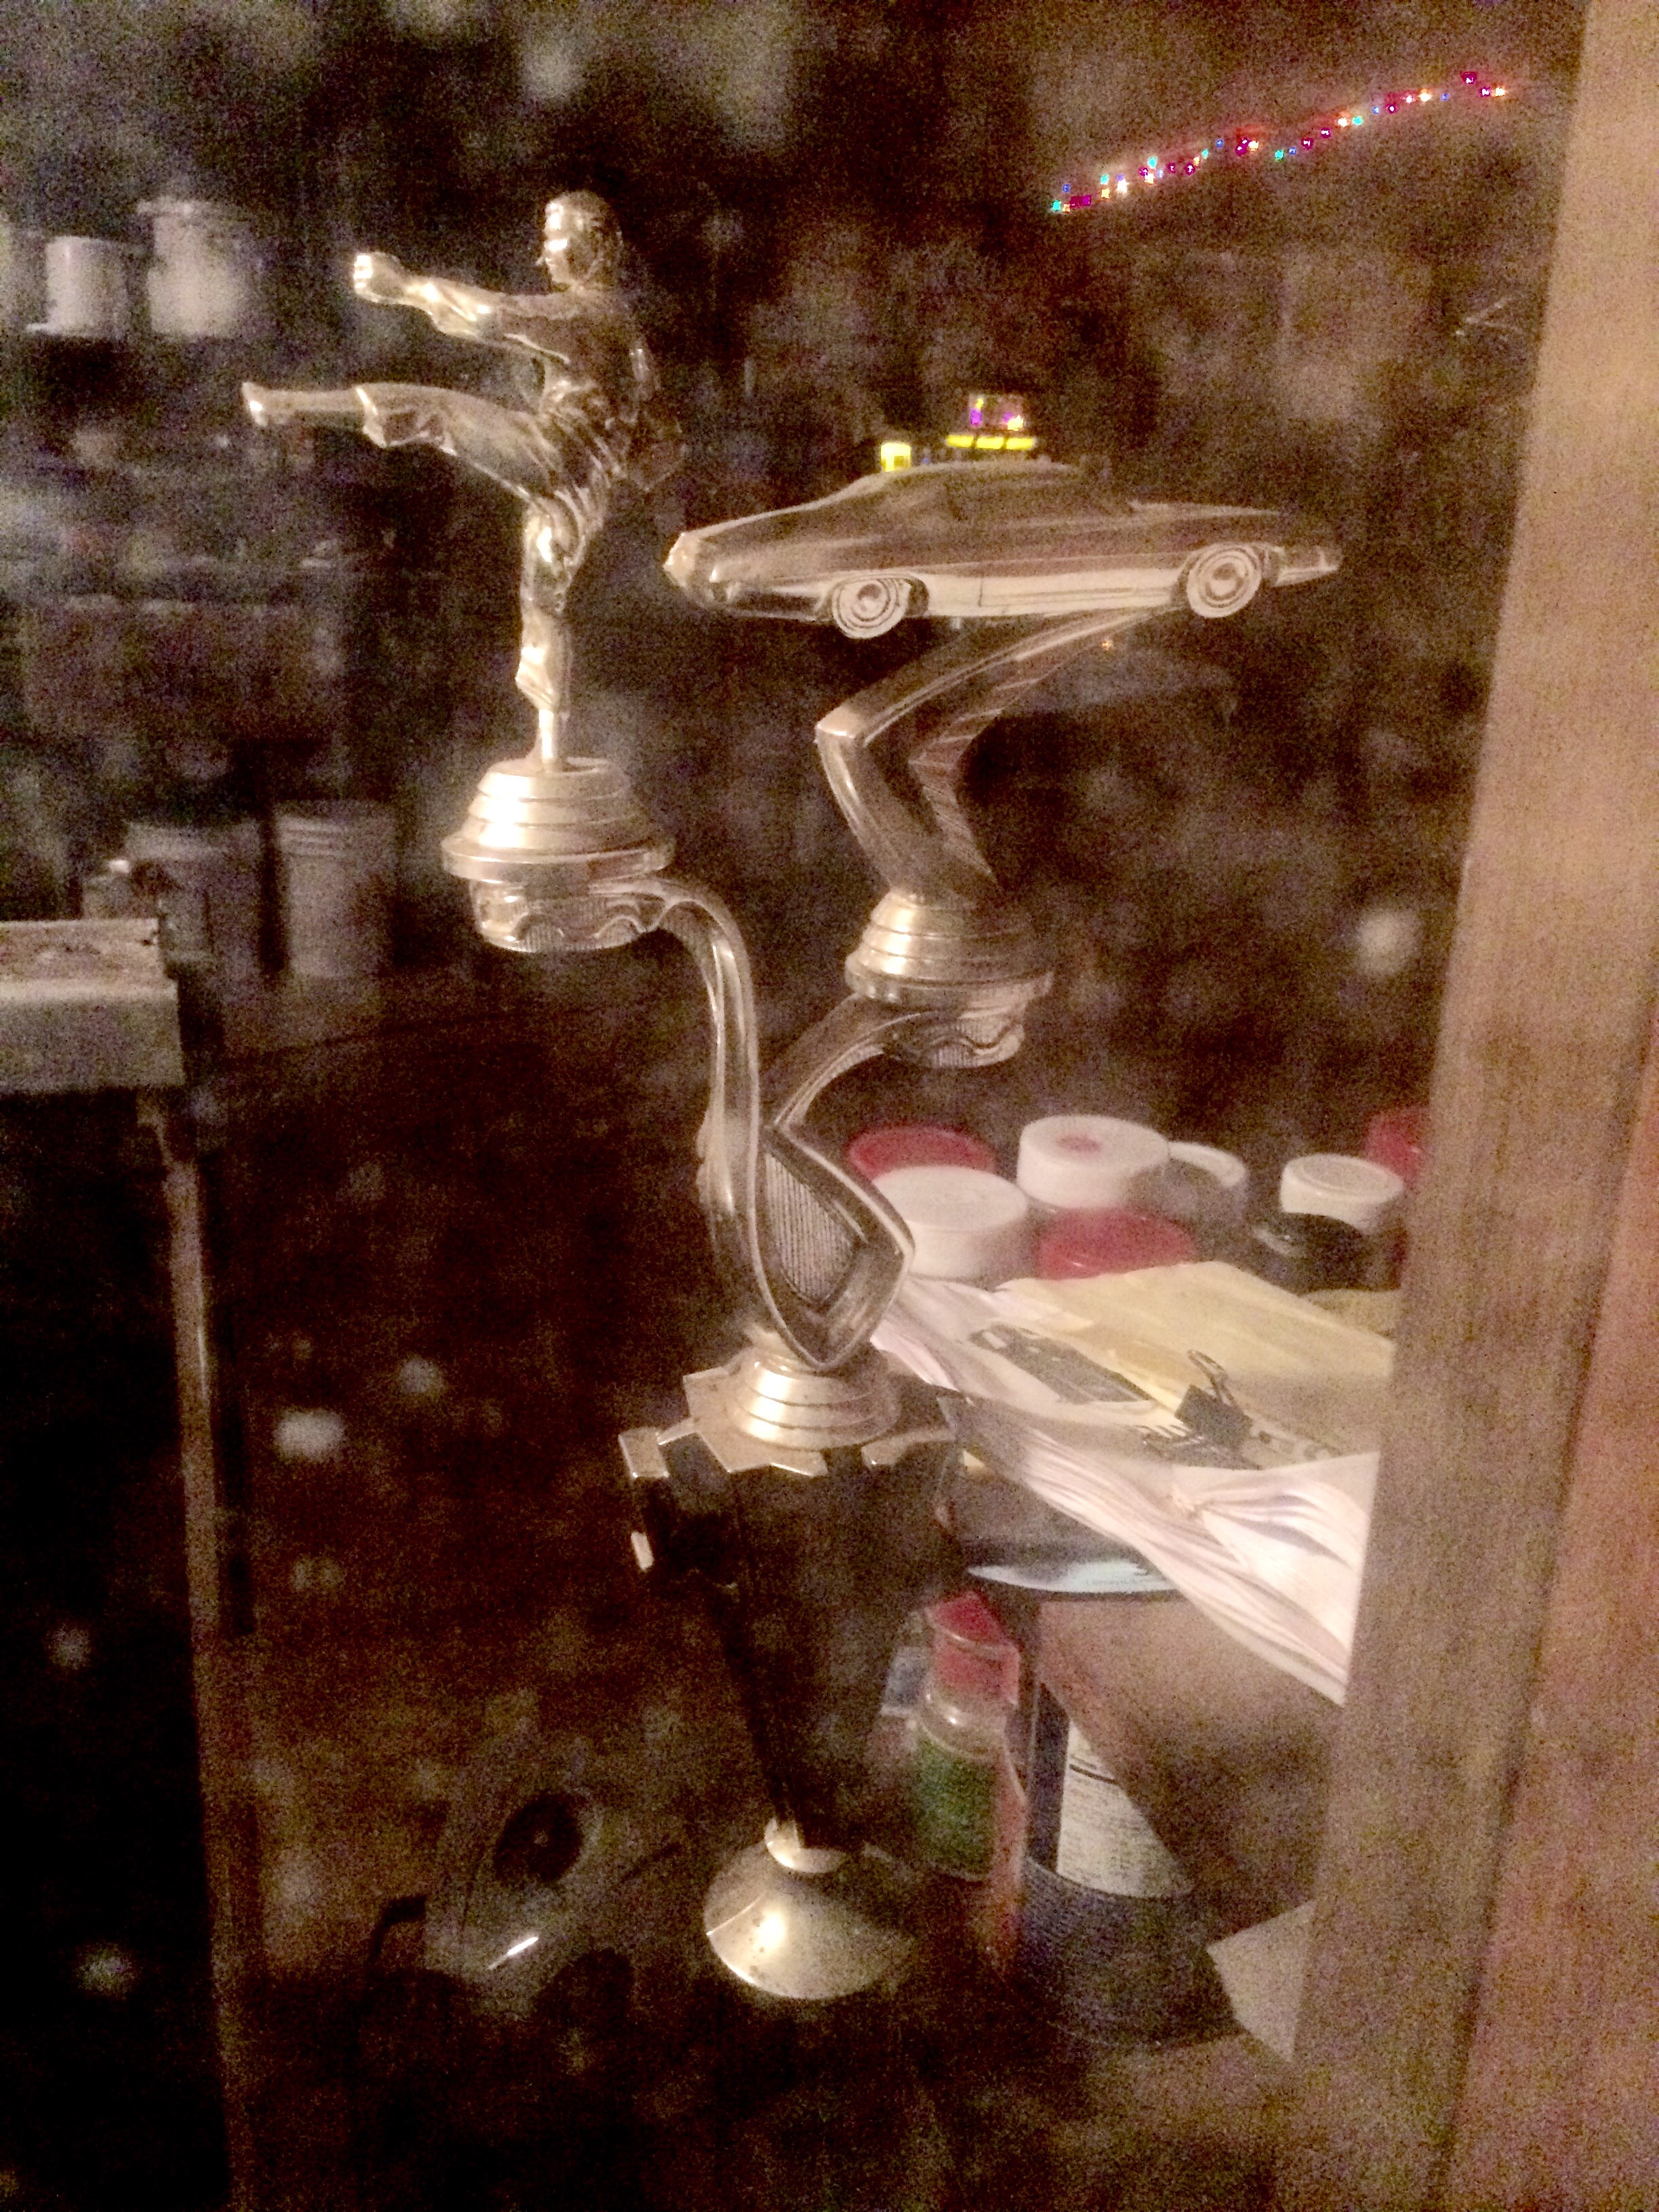
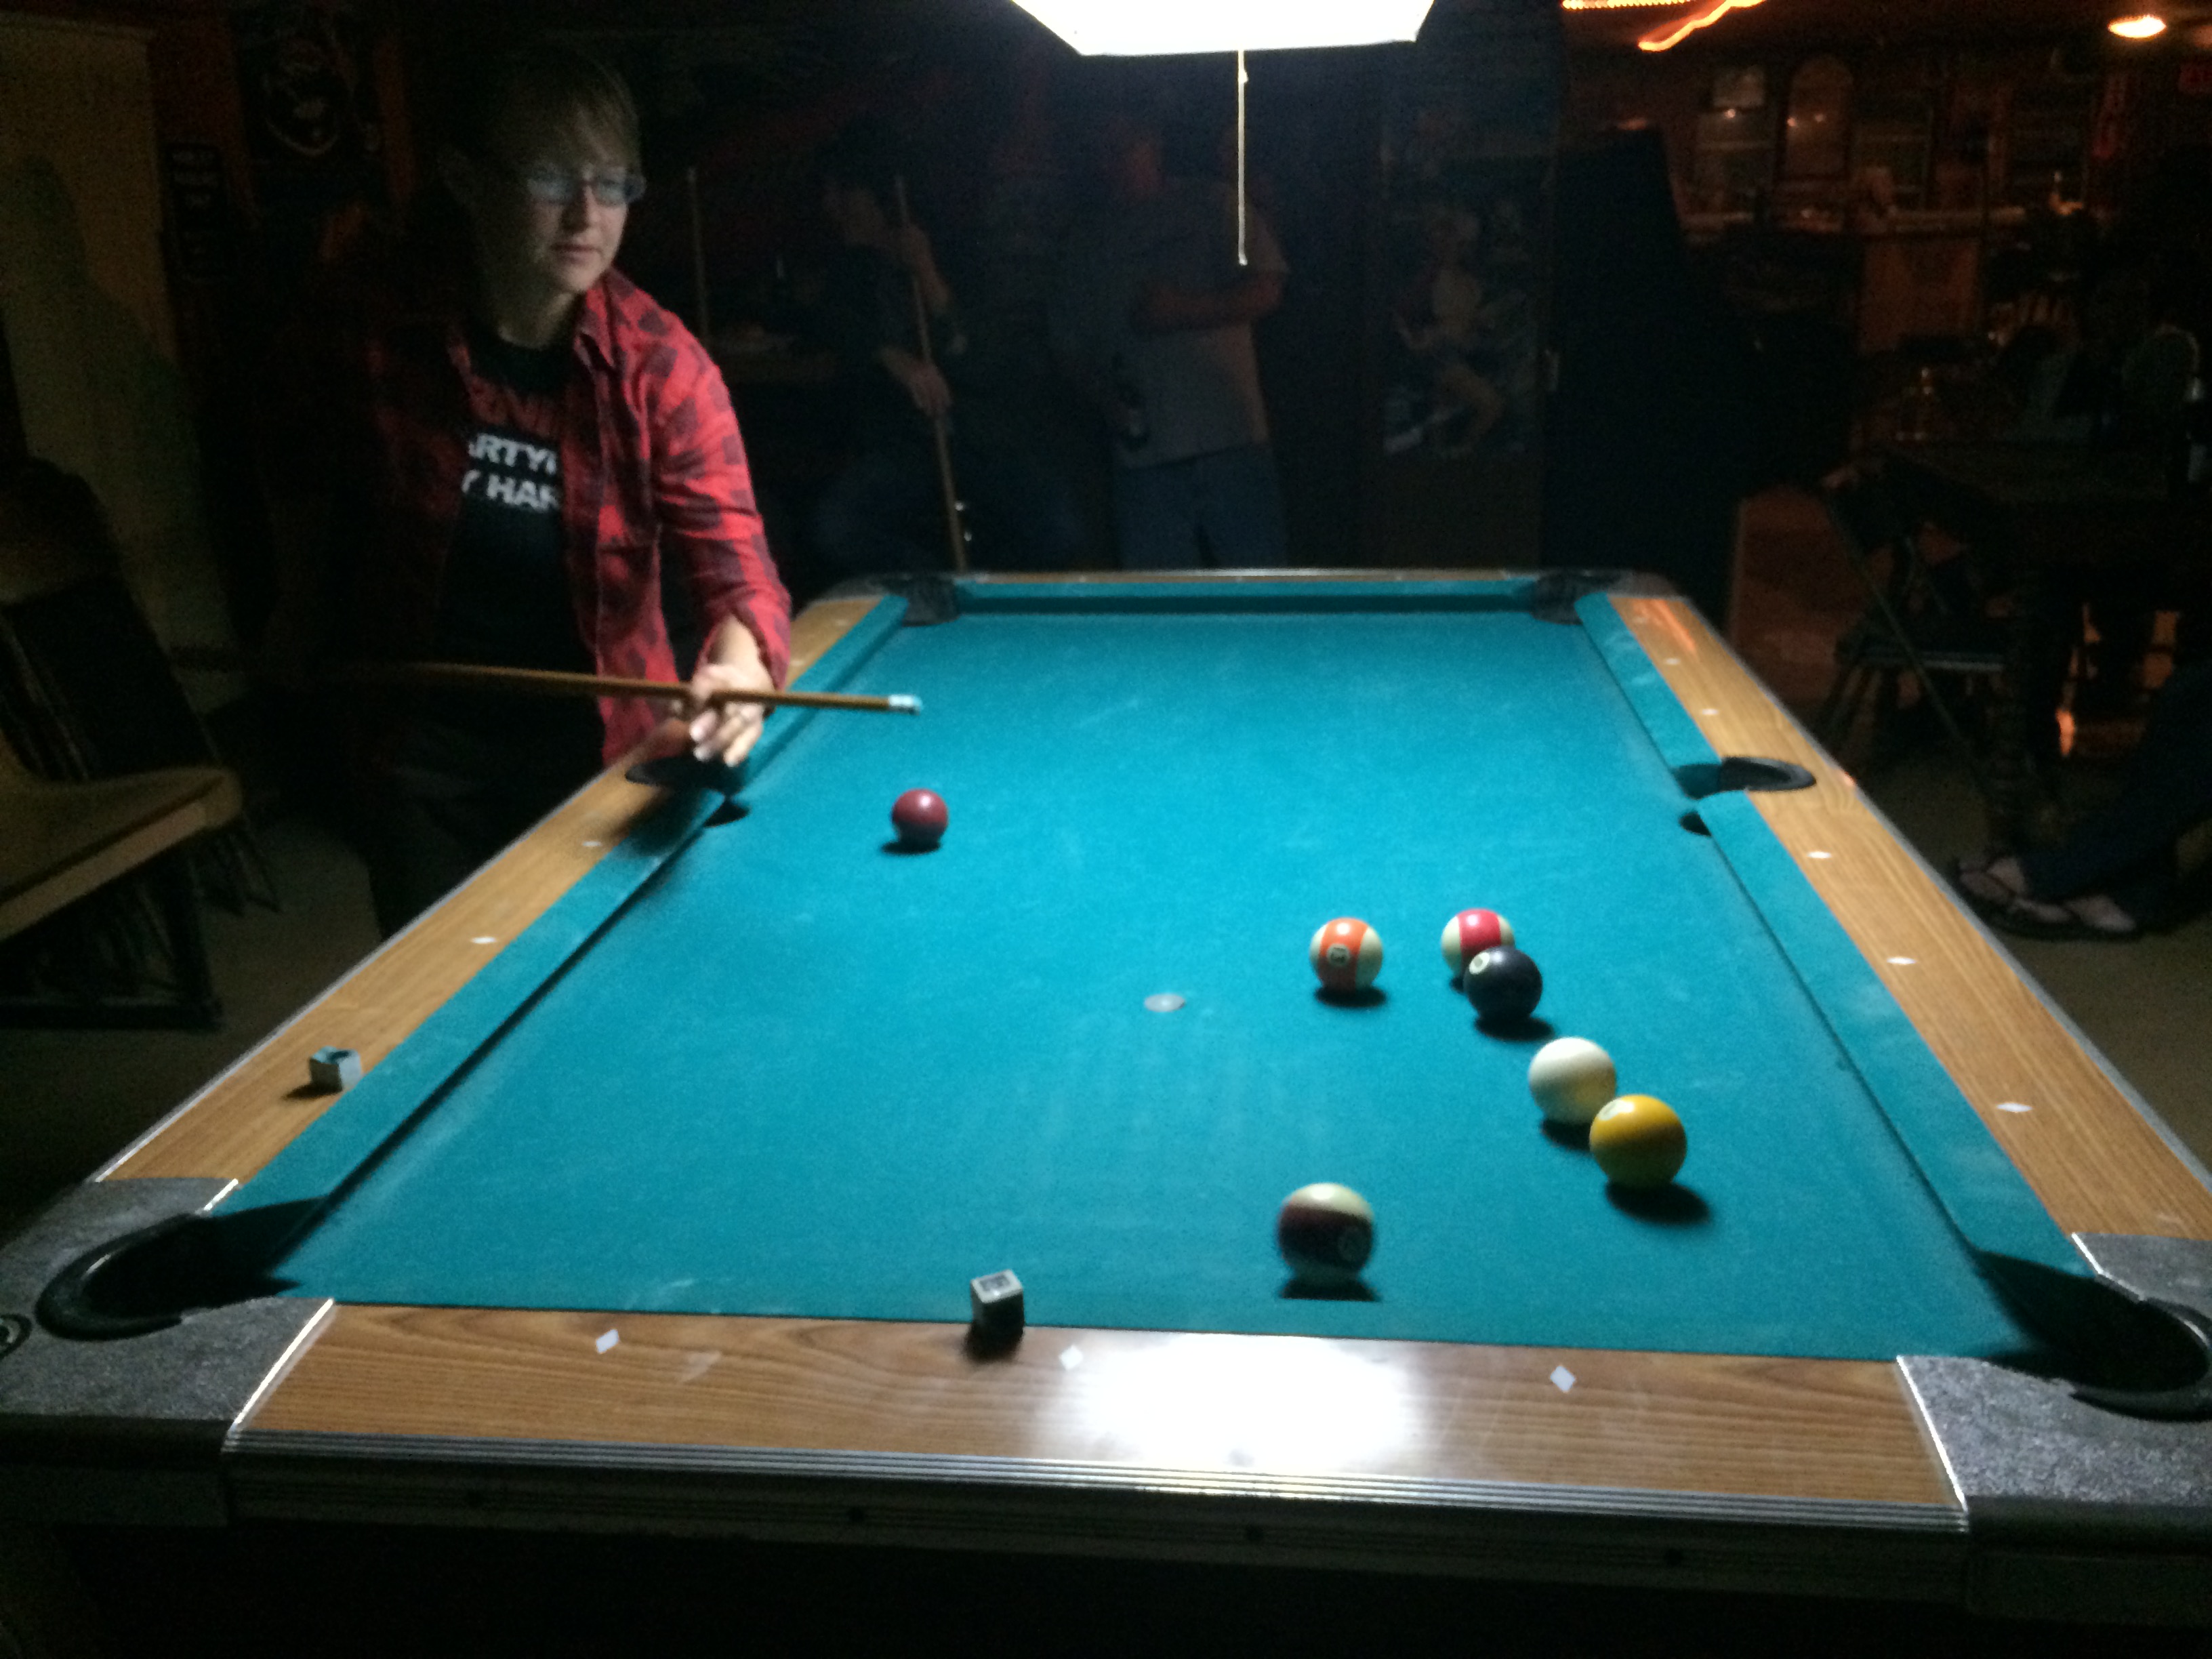
the mysterious trophy in the window at Dean’s bar in Kingsbury. Karate racing?
Cleo don’t give a duck
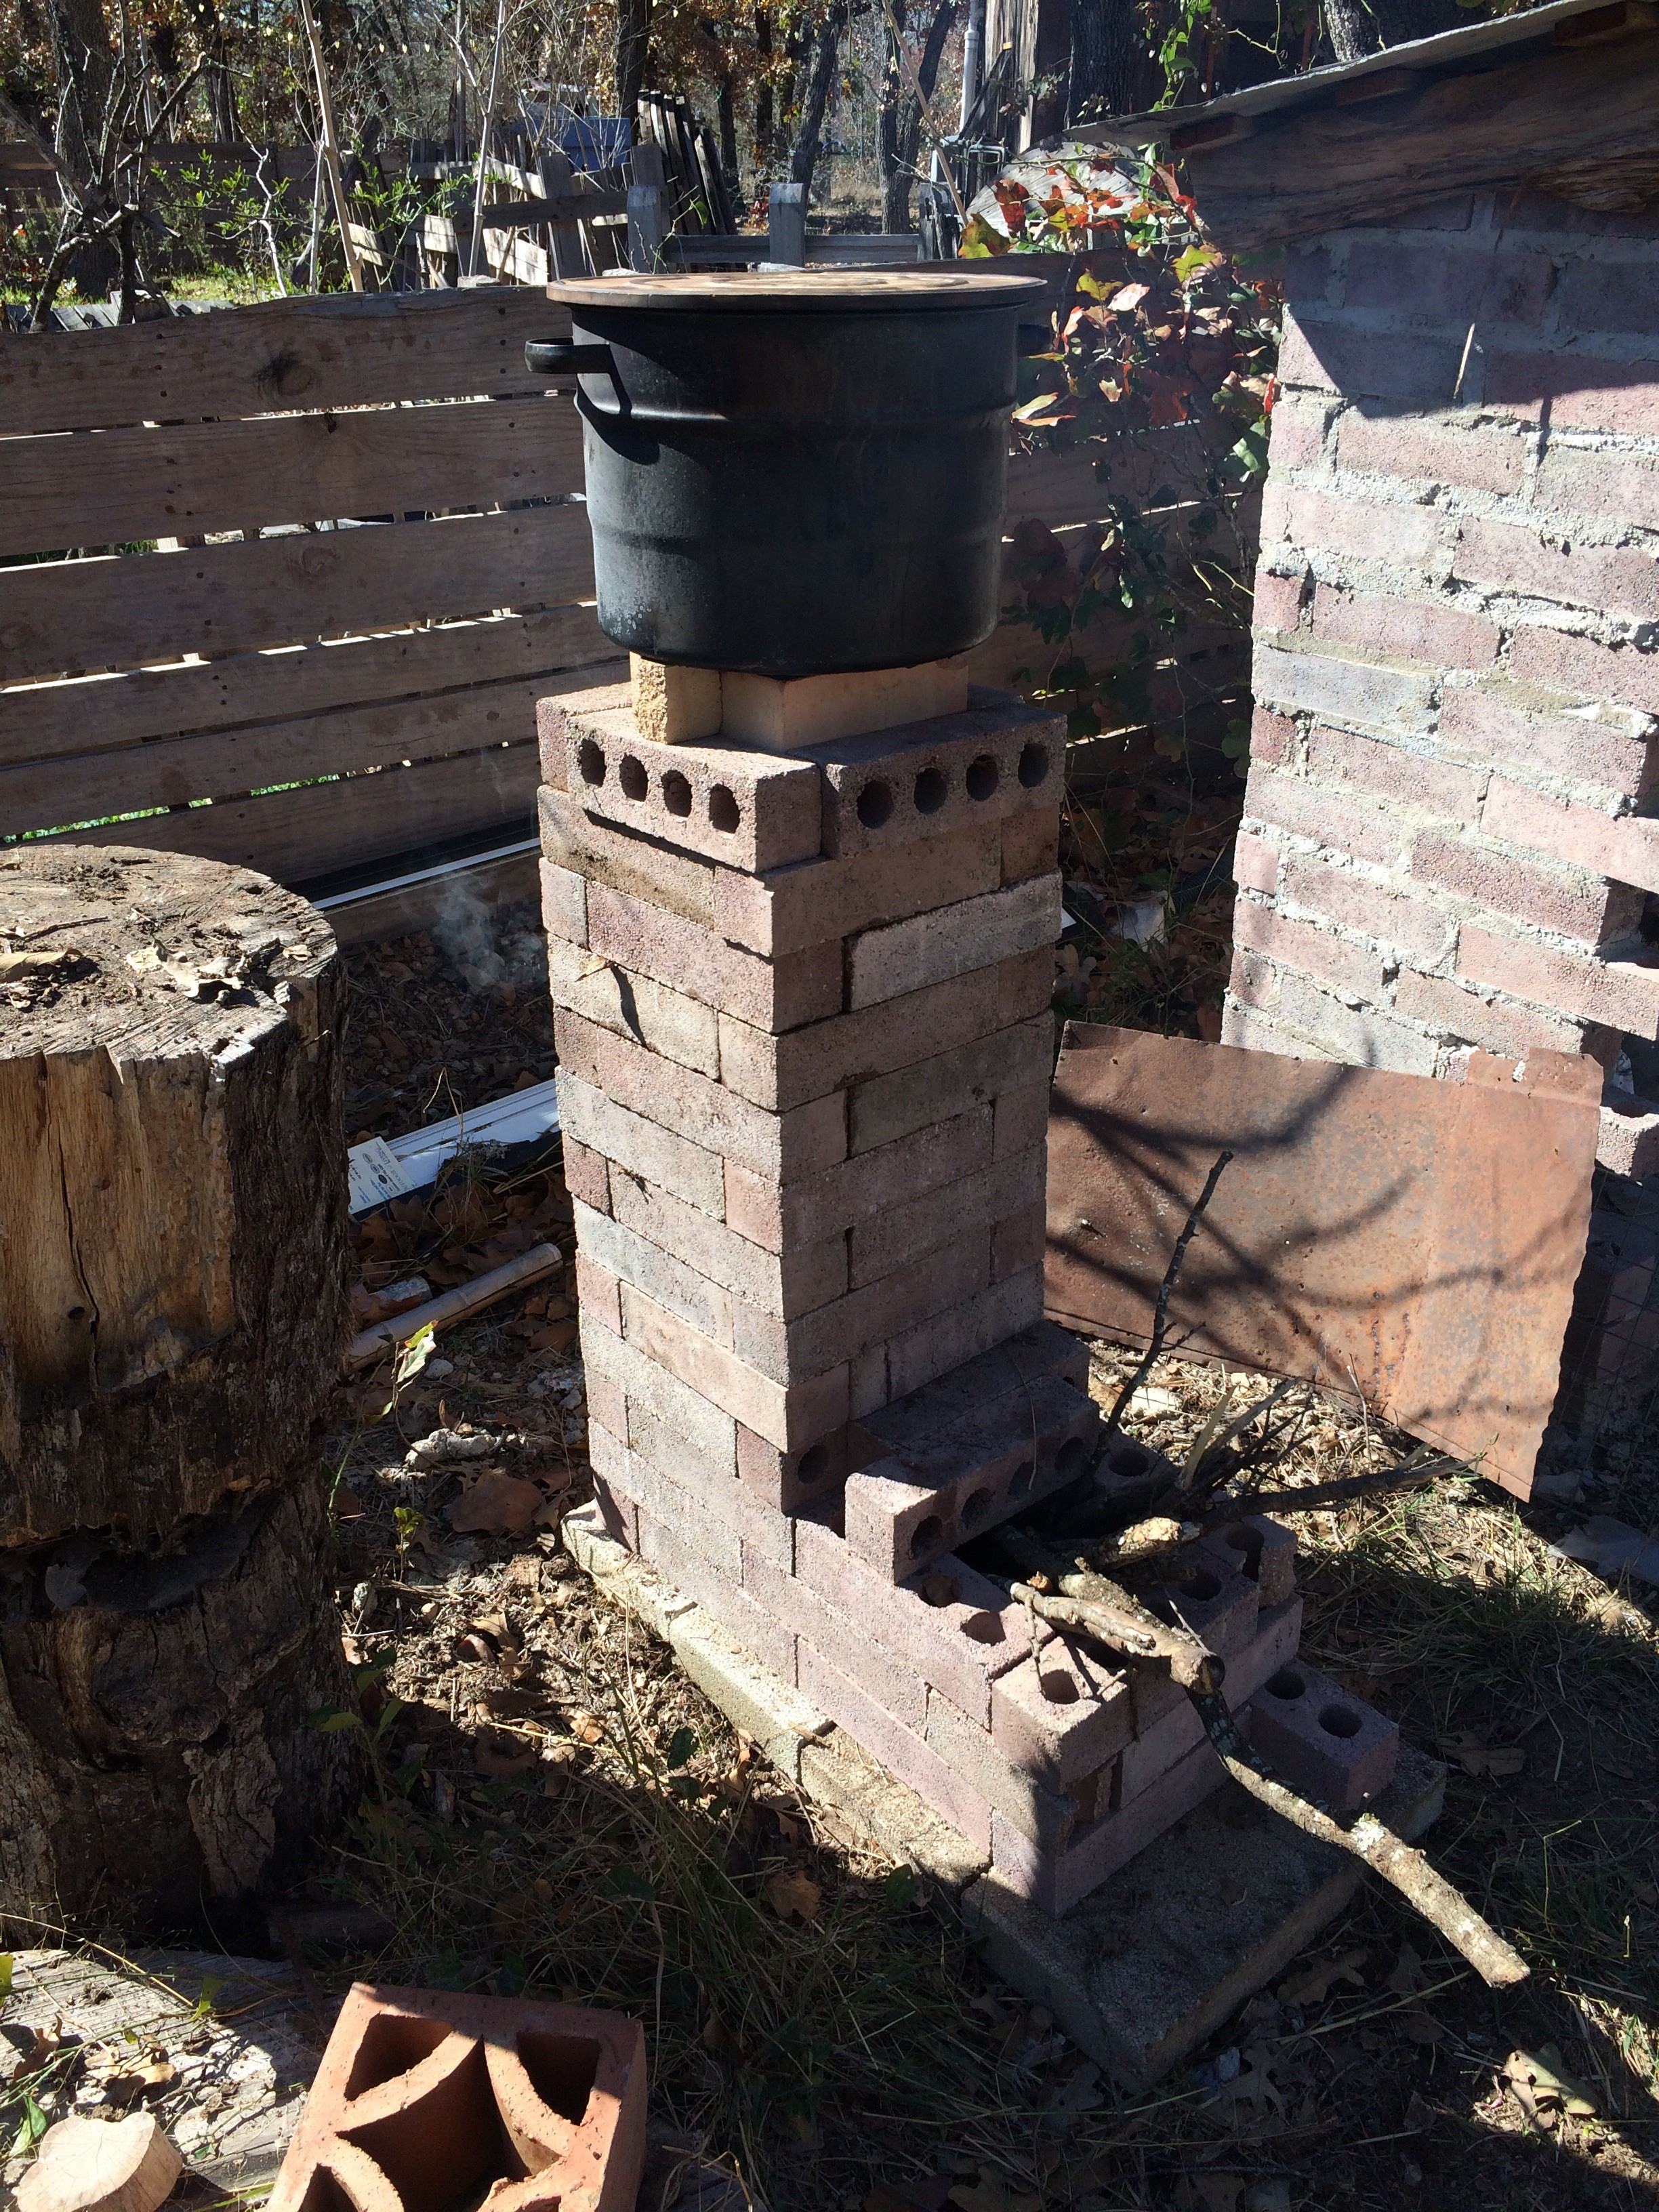
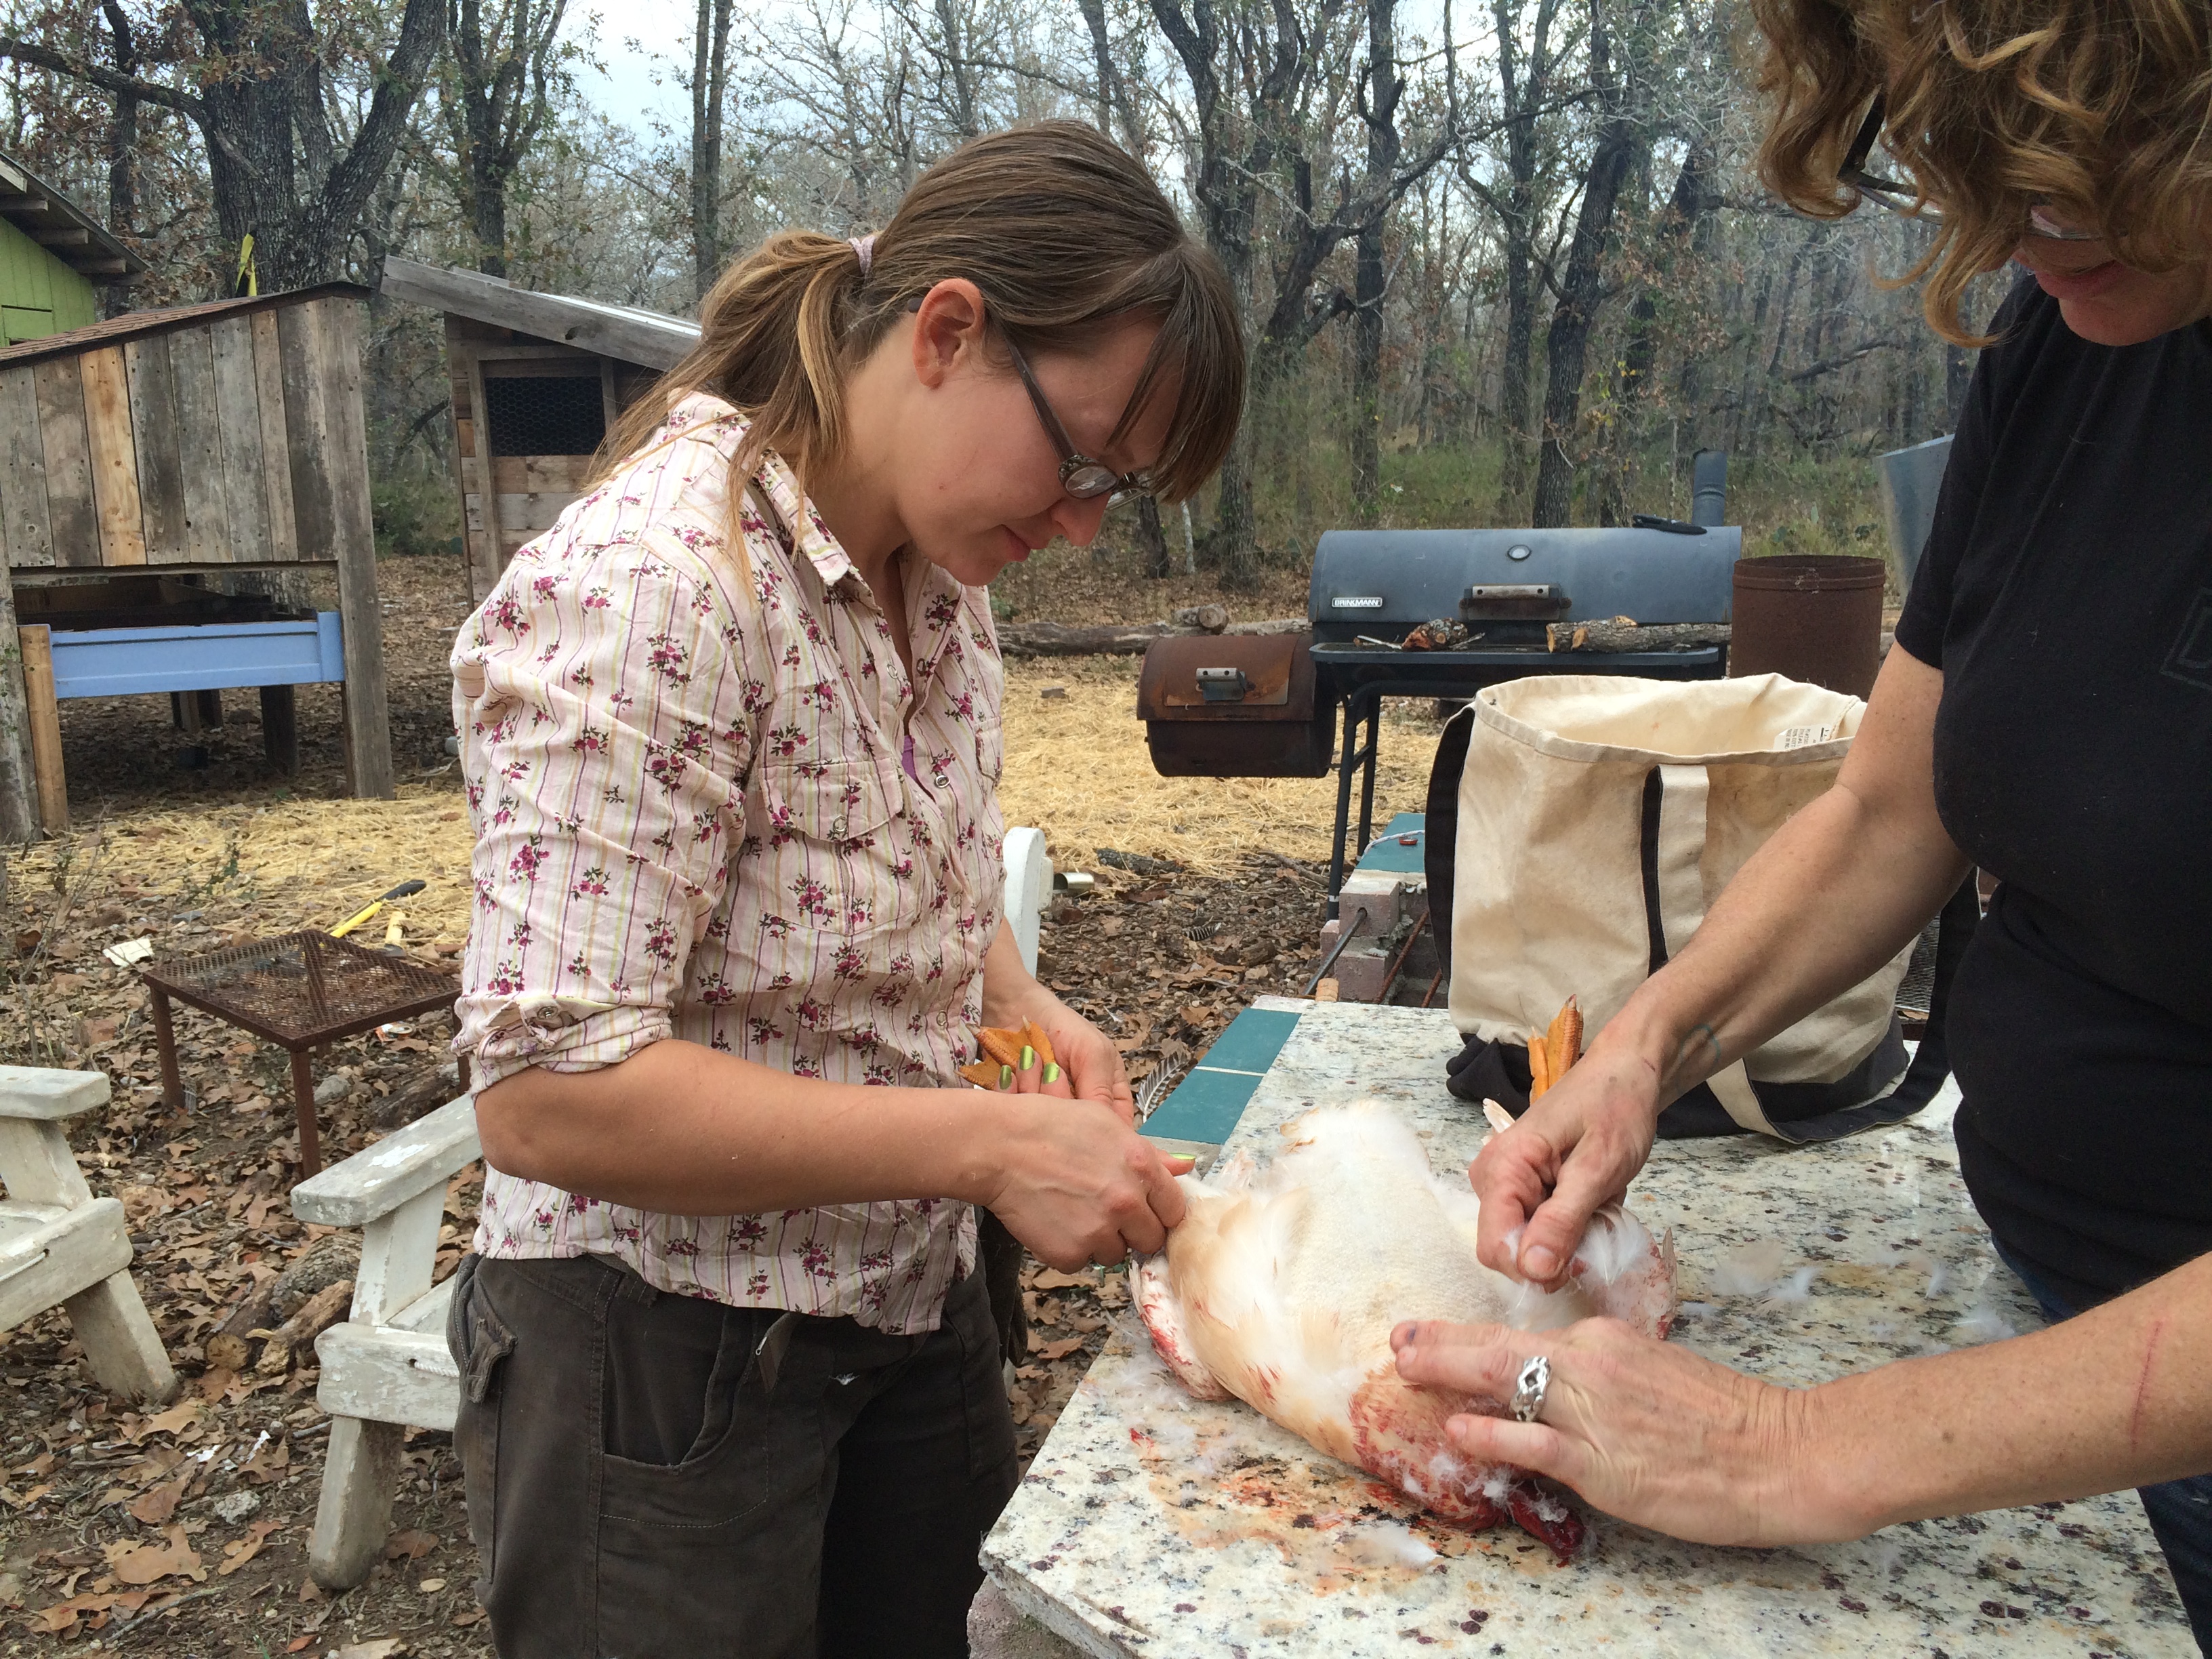
of course we had to build them a rocket stove (this one is for boiling pots of water to dunk chickens in for plucking)
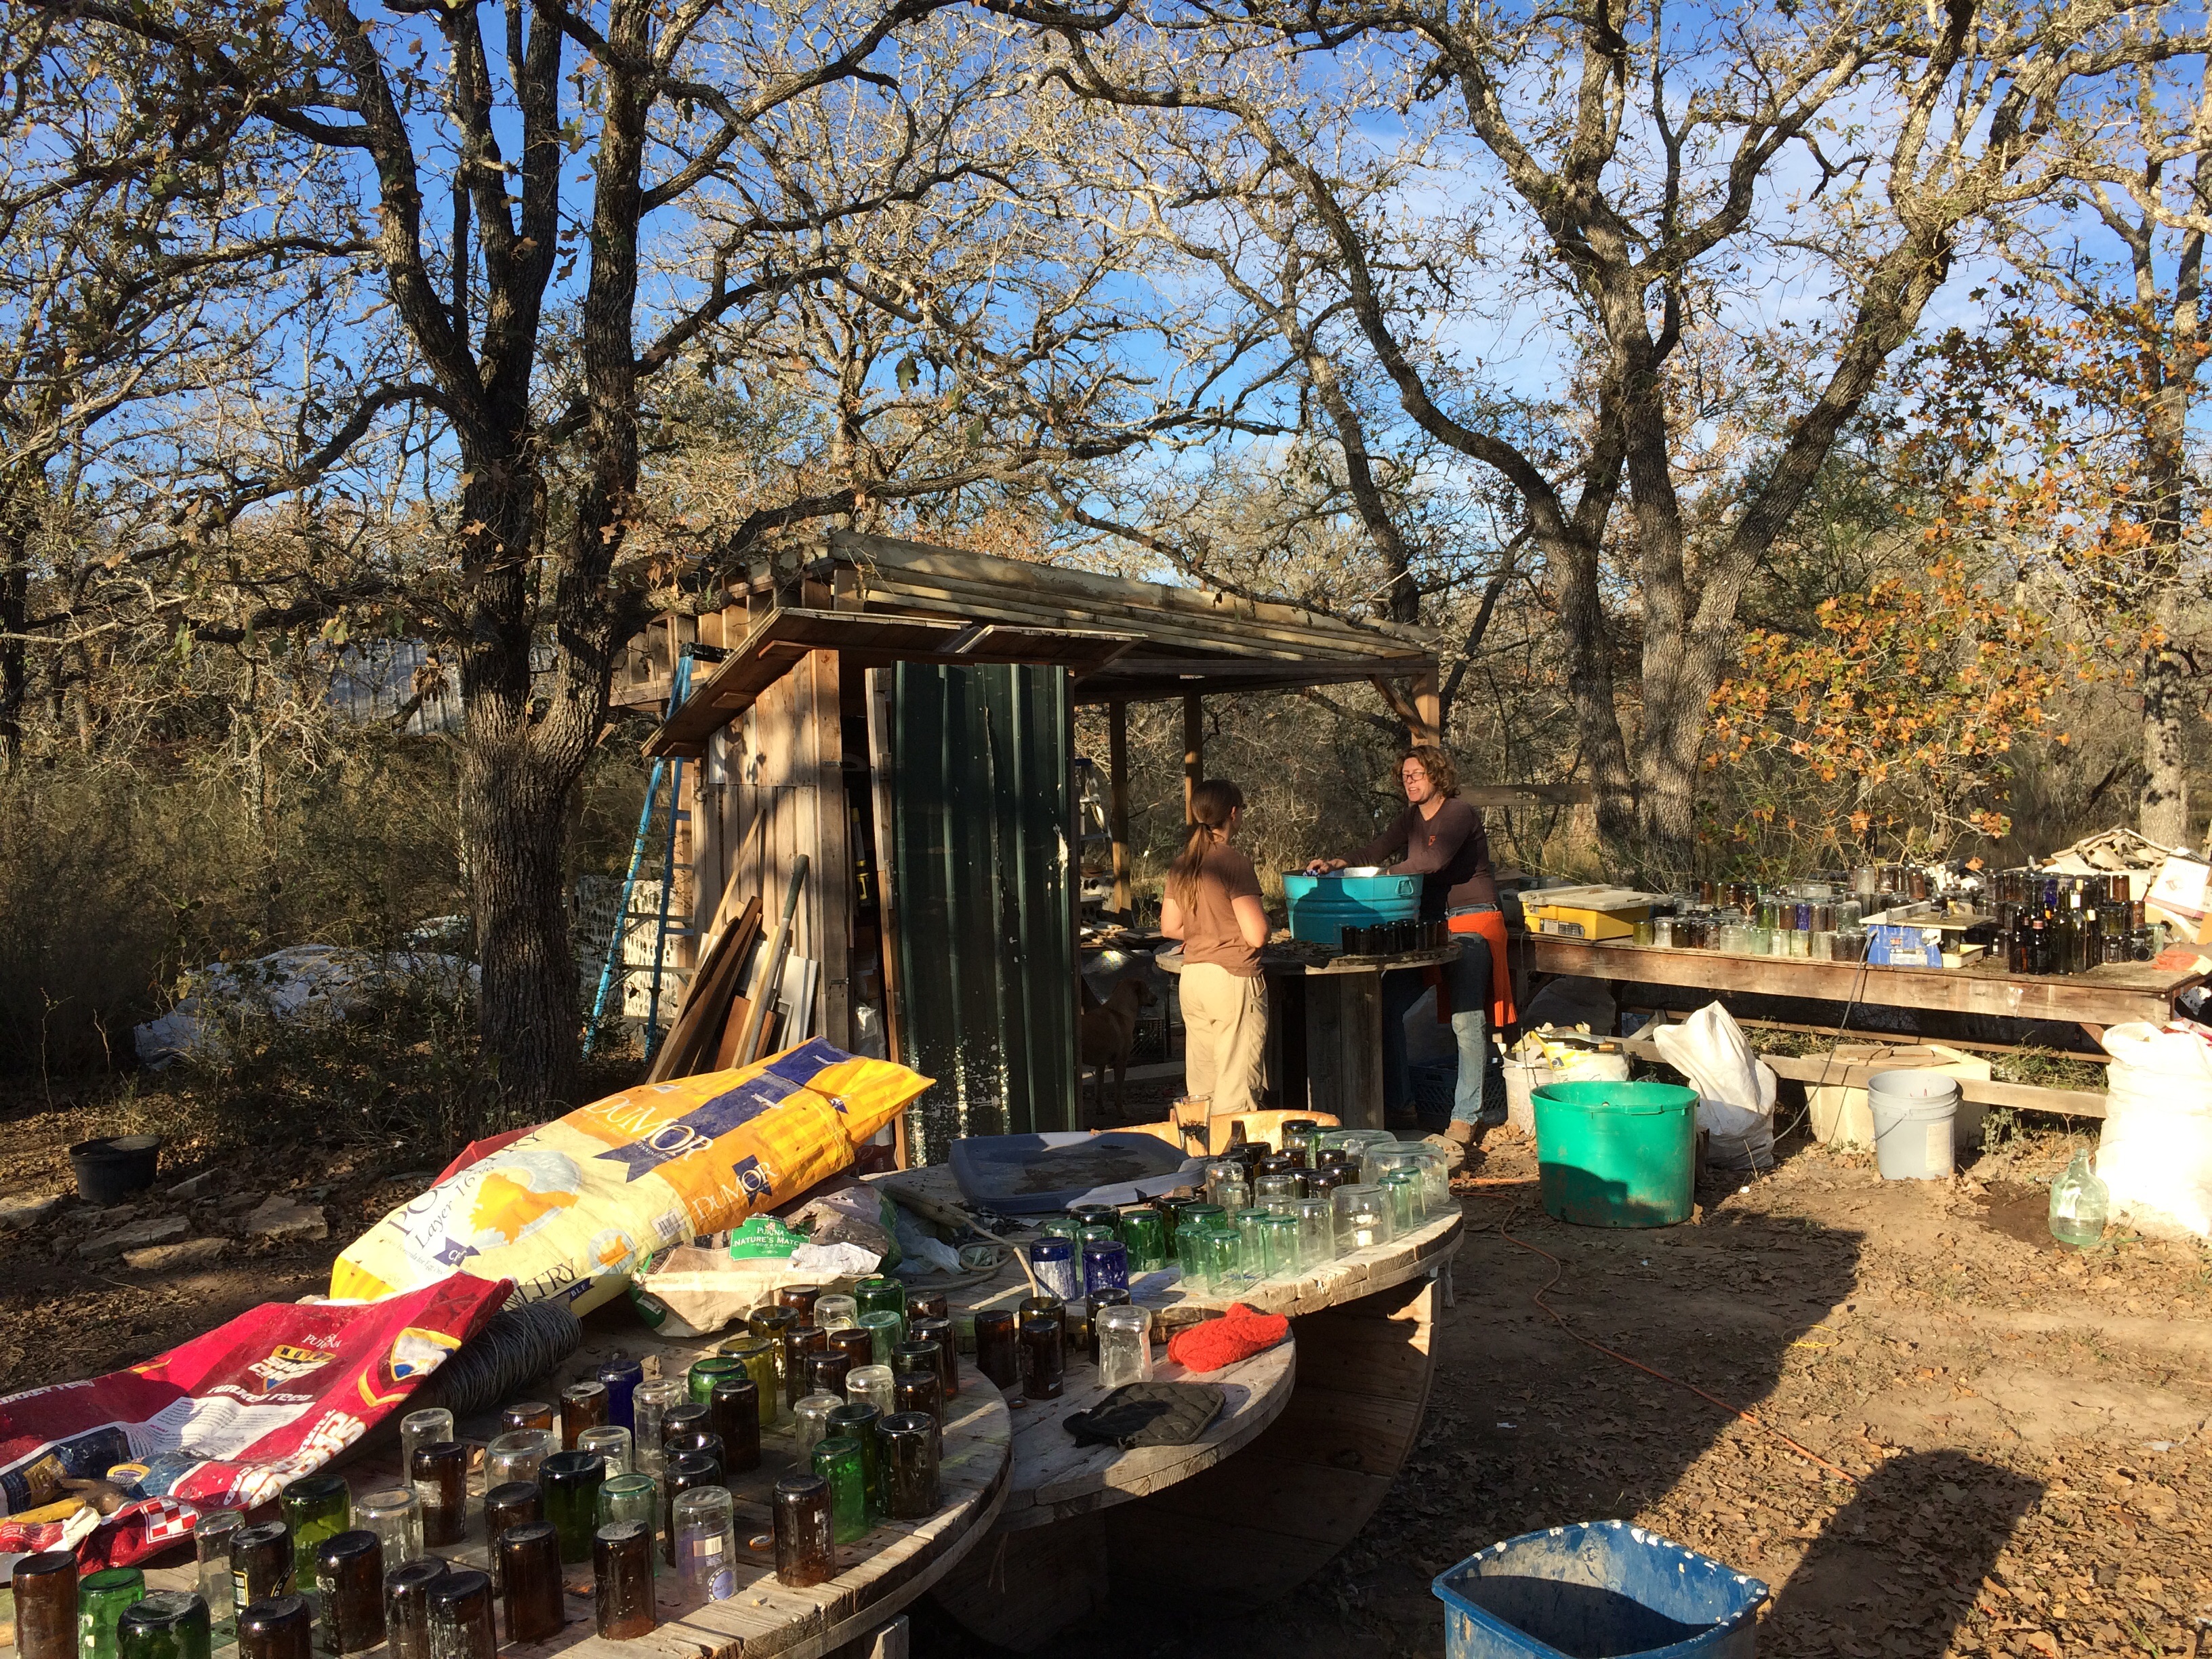
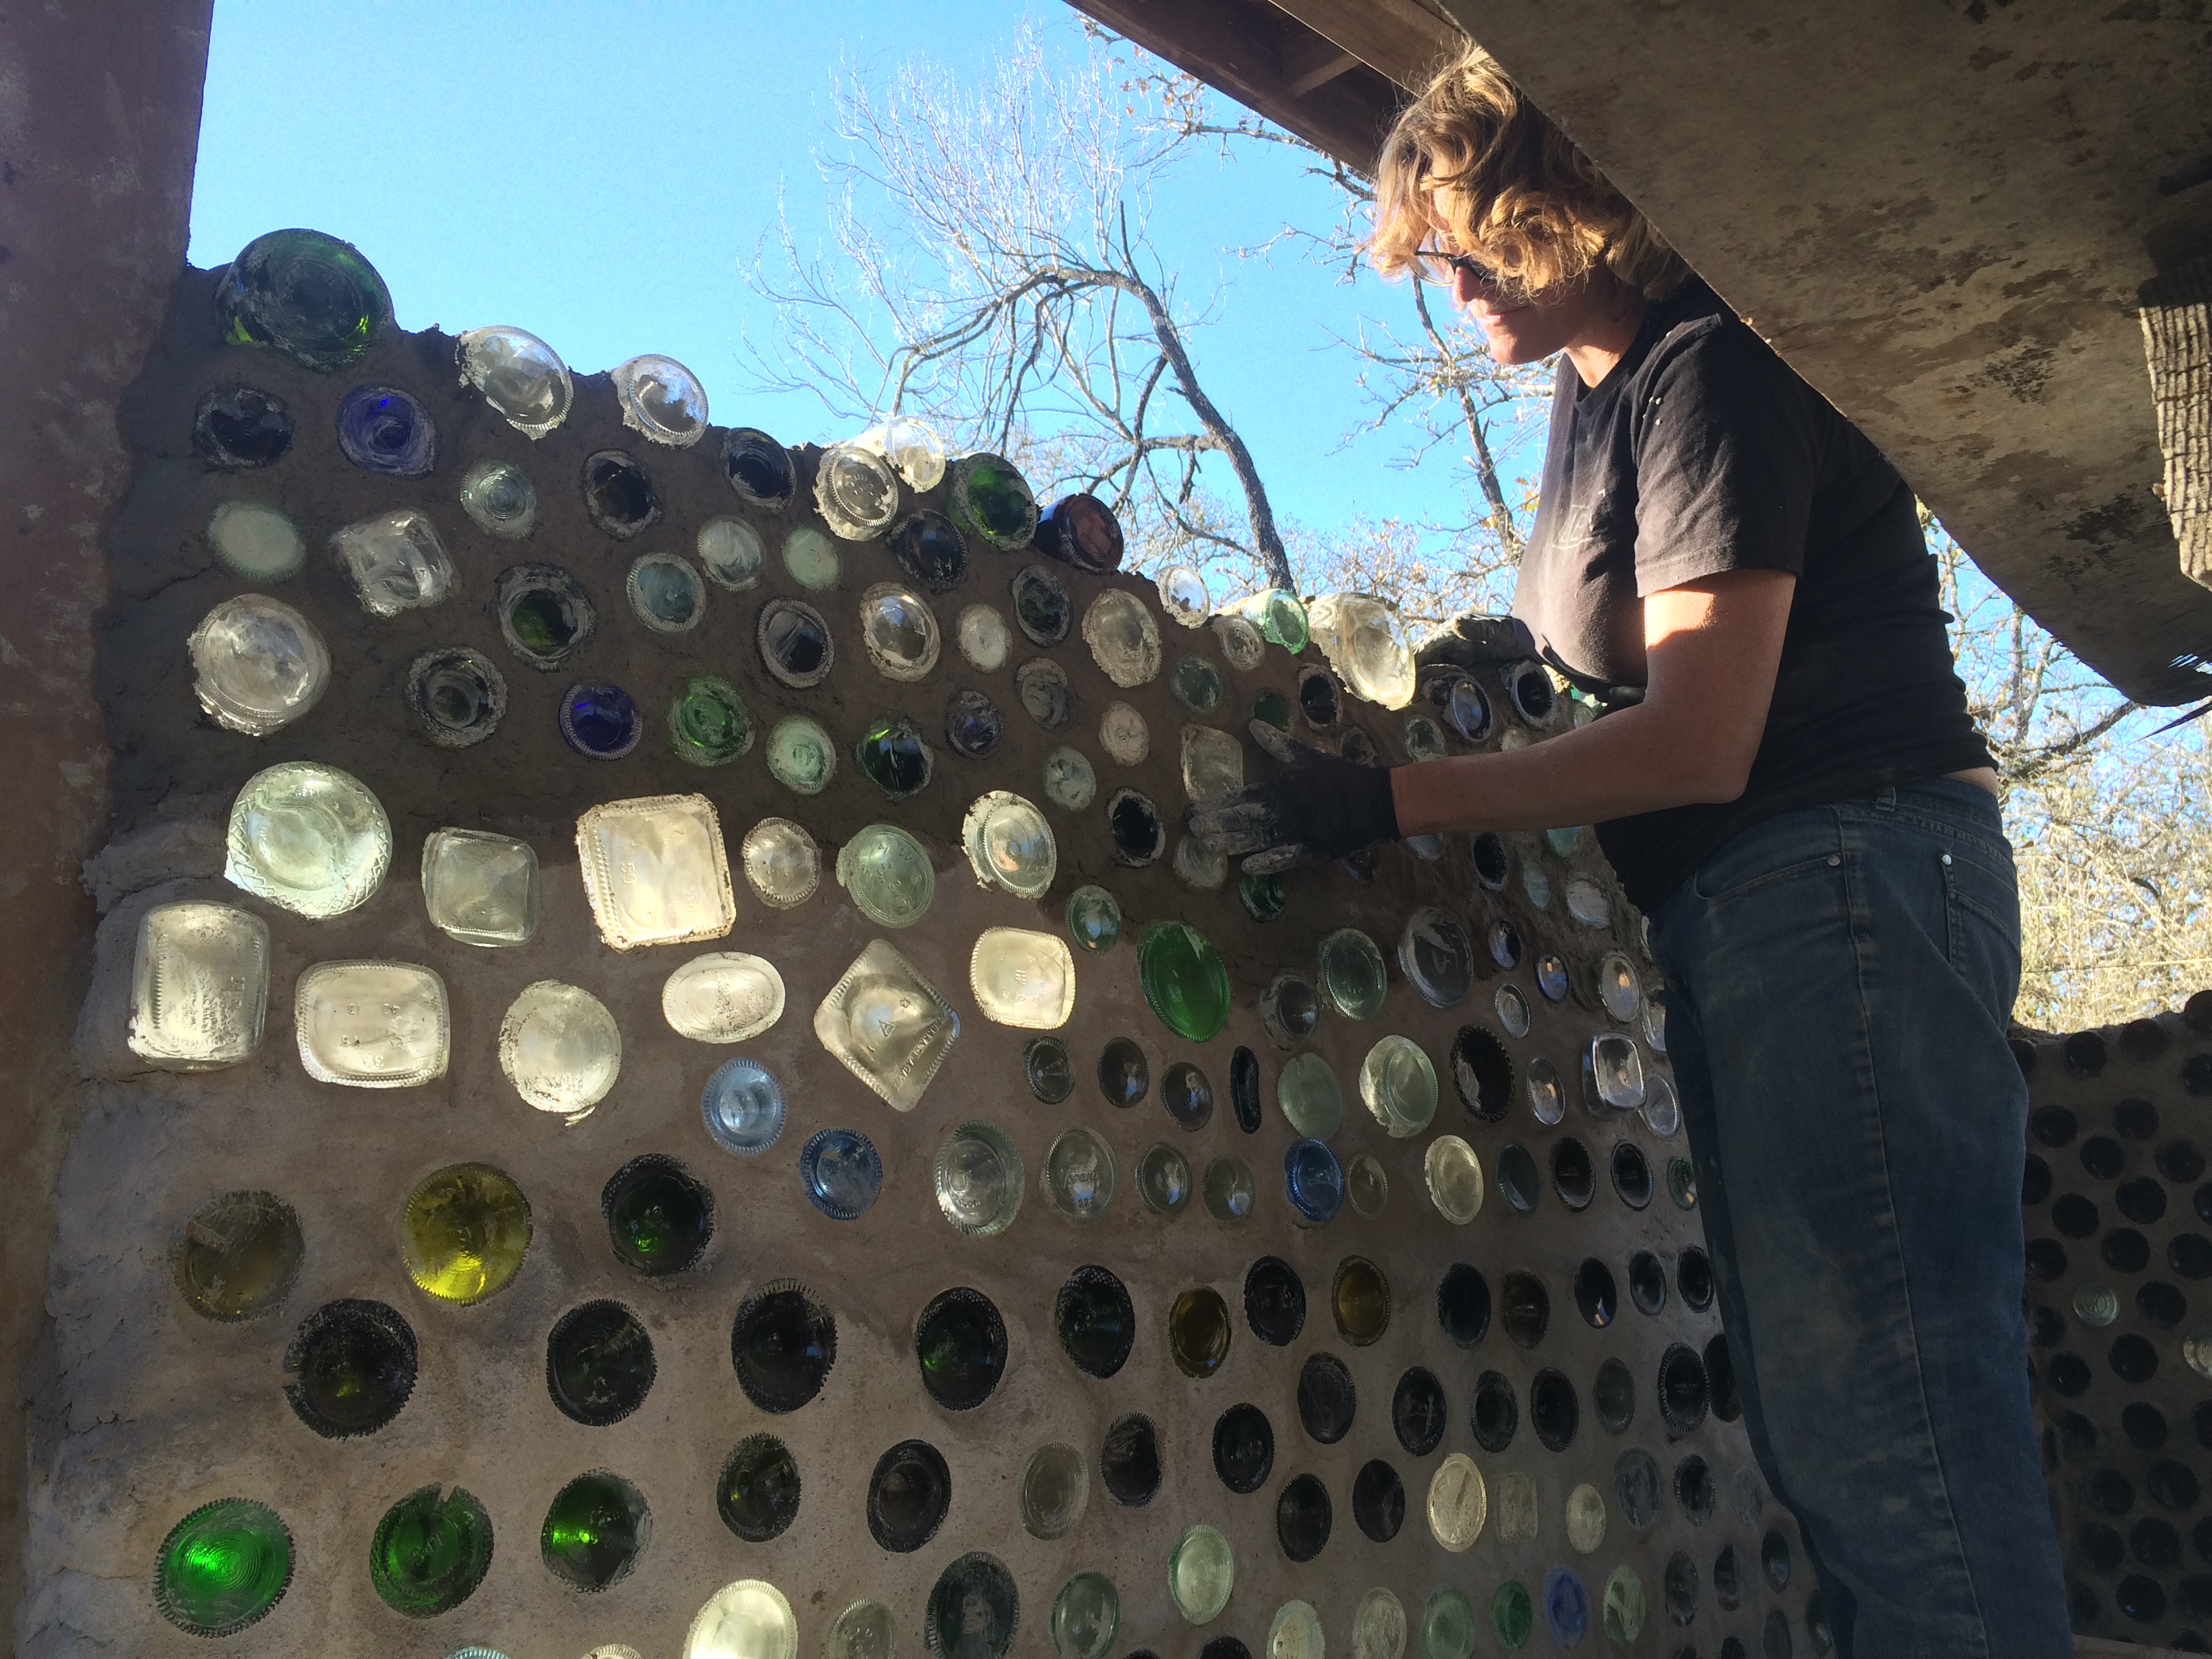
Kristin & Ali working on the bottlehouse walls
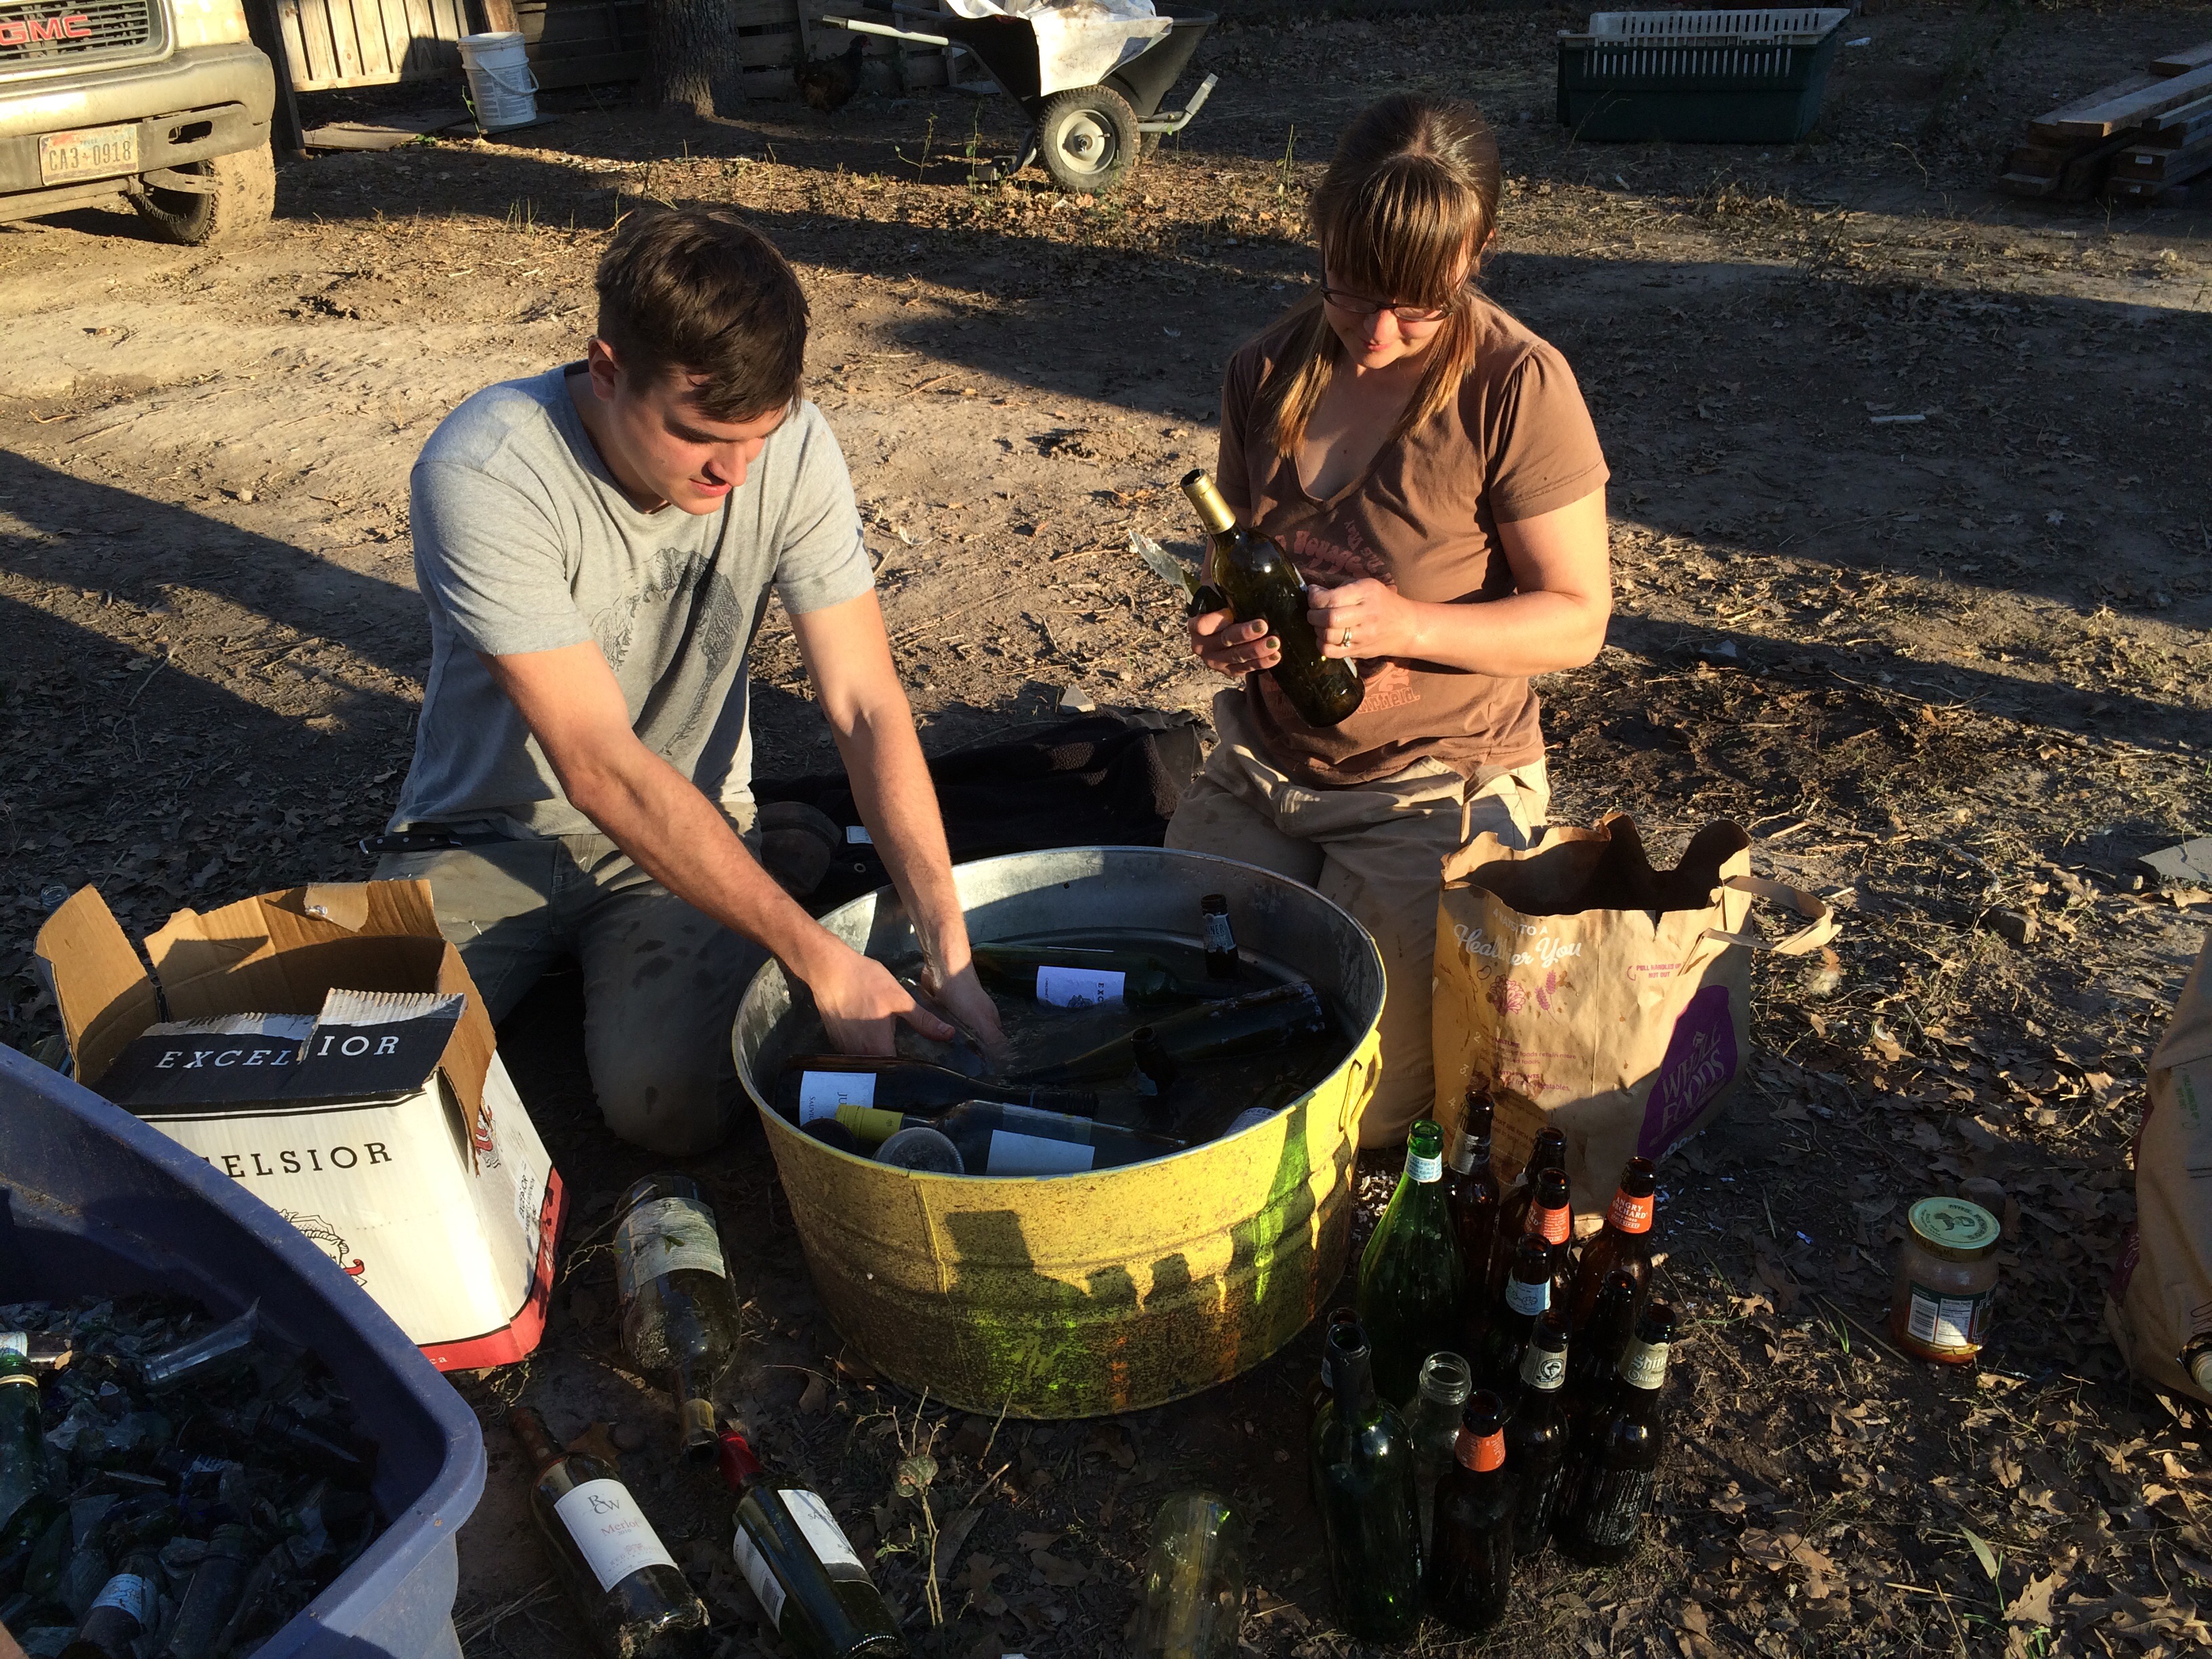
bottles must first have their labels removed, before being cut in half, taped to a matching size bottom, and mortared into the walls – here Seth & Kristin work the de-labelling step
Shane peers through the new hole in his home’s roof, in the midst of the wood stove installation (oops this pic is actually from the last days of December)
Shane putting the finishing touches on the new woodstove chimney (oops this pic is actually from the last days of December)
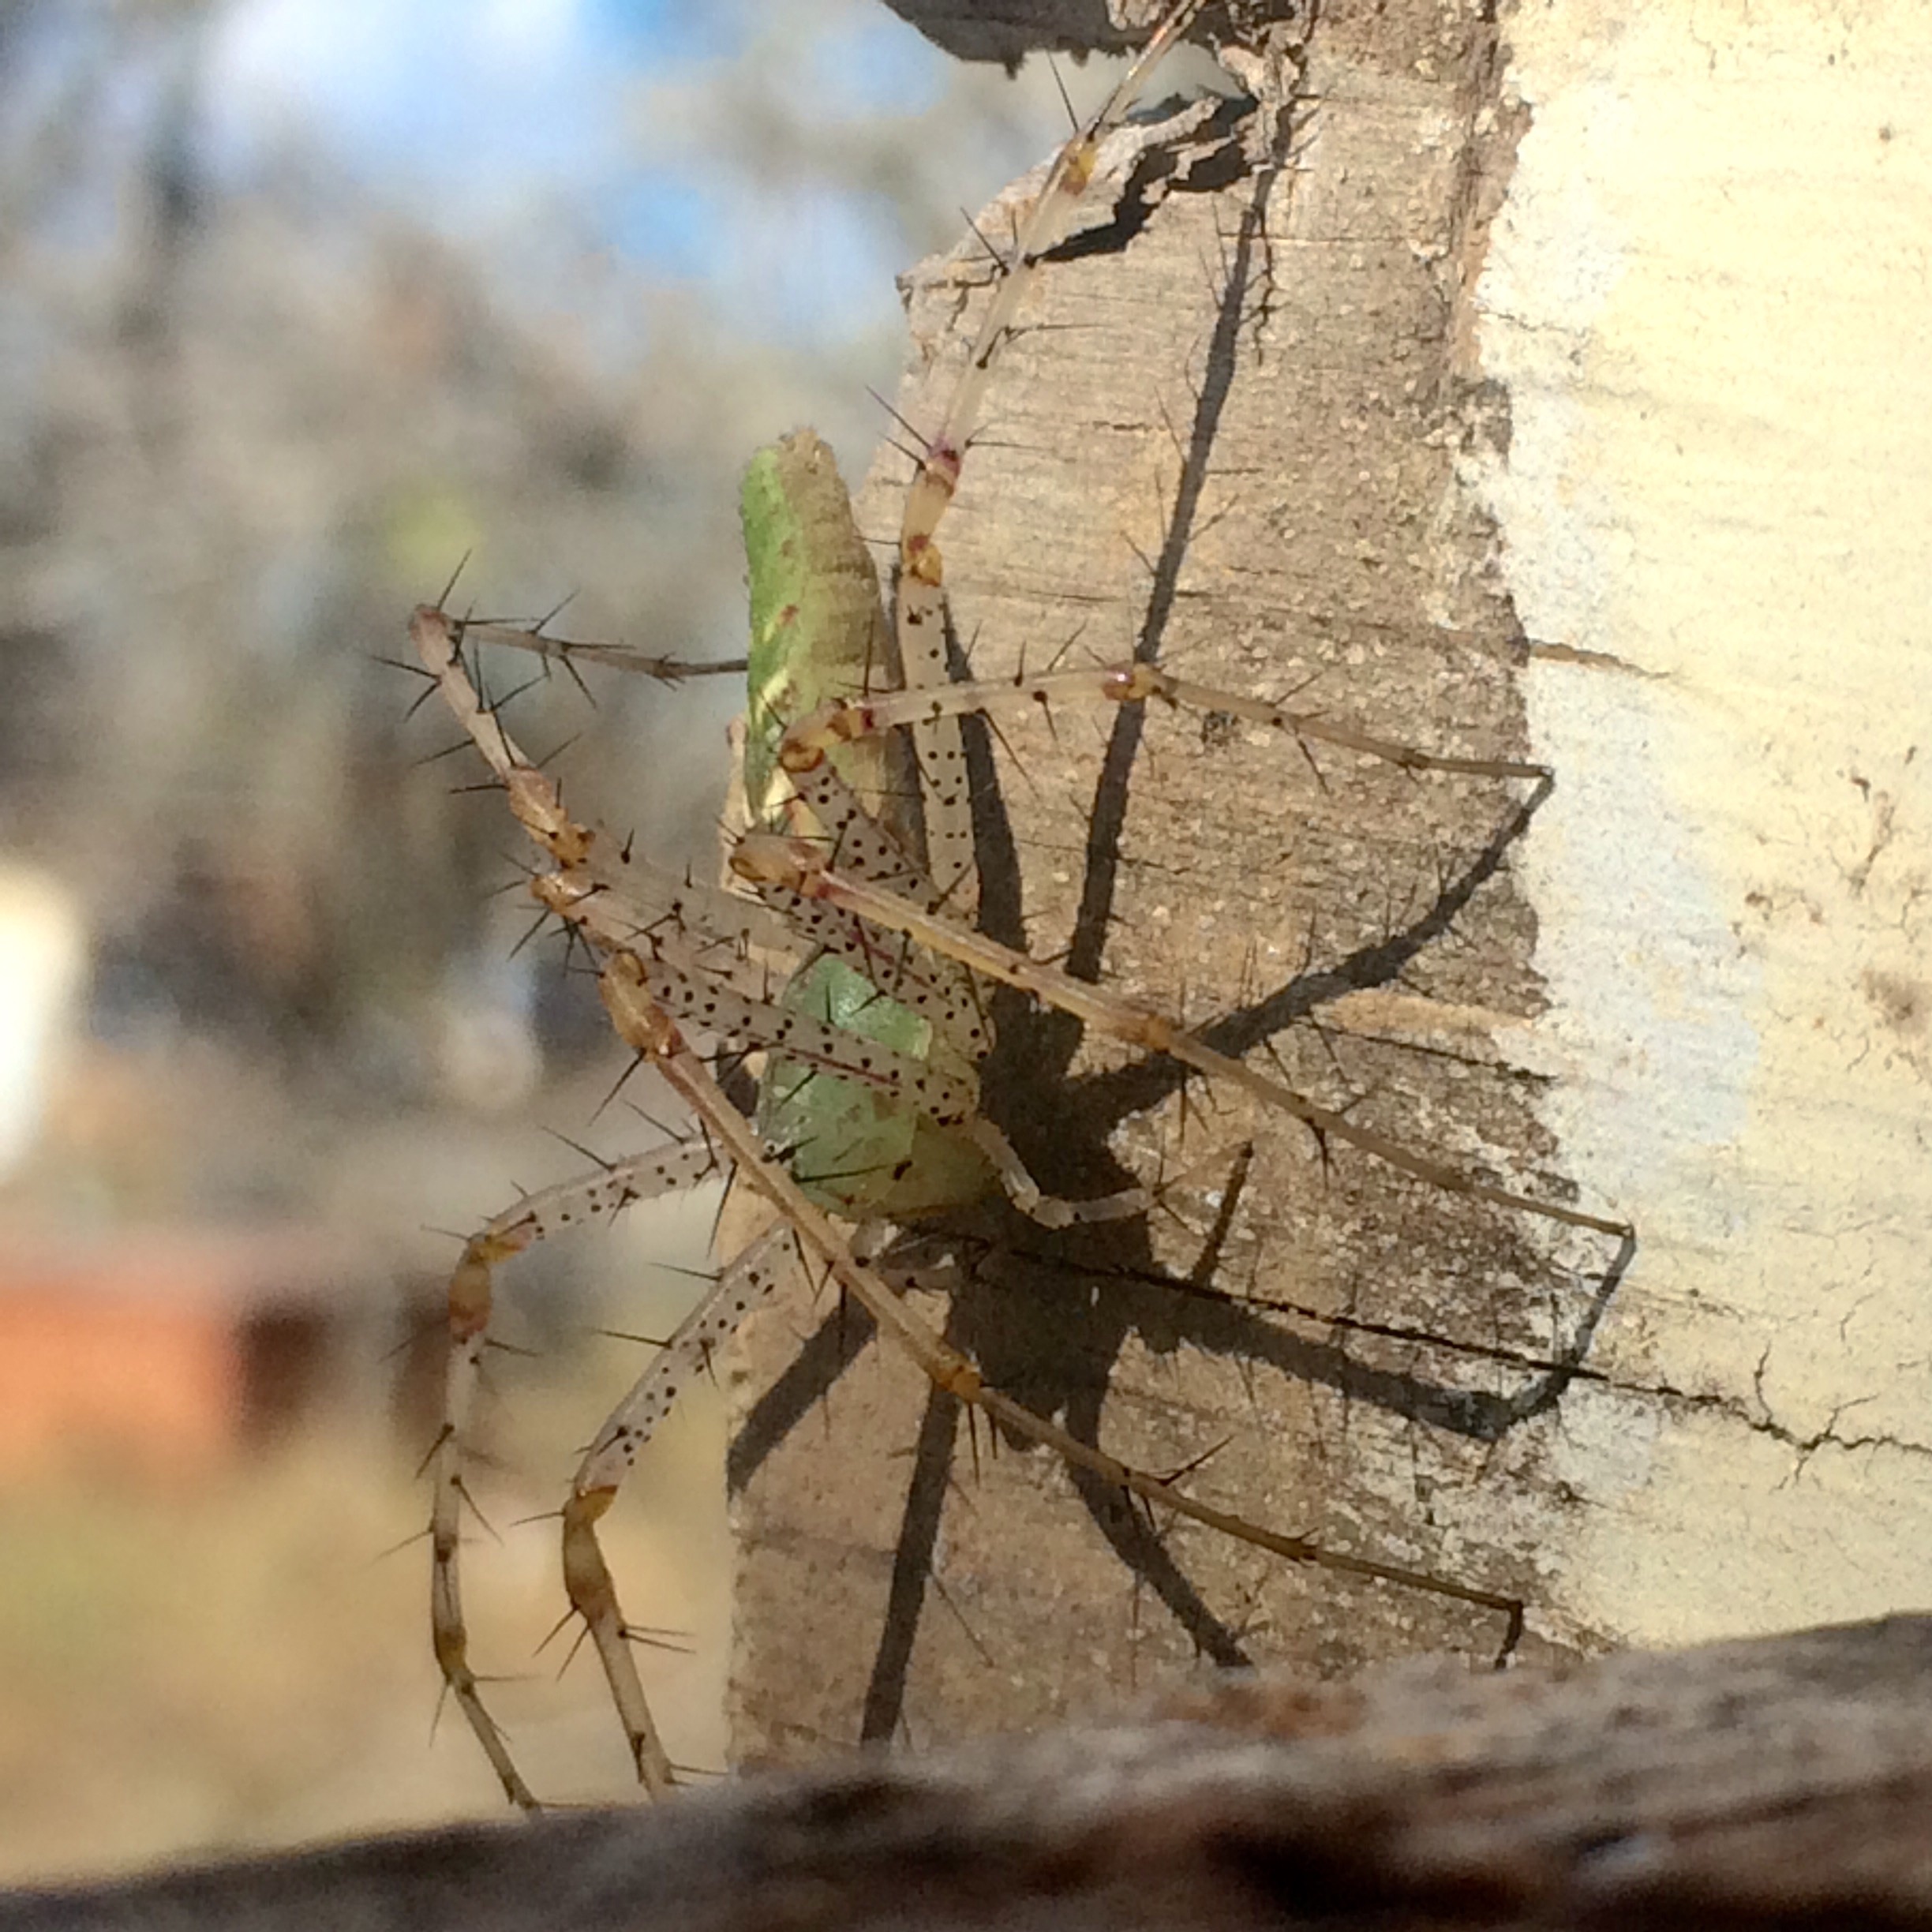
Lynx spider helping us roof the bottlehouse
Kristin working on the bottlehouse roof
Ali & Kristin scavenging free manure
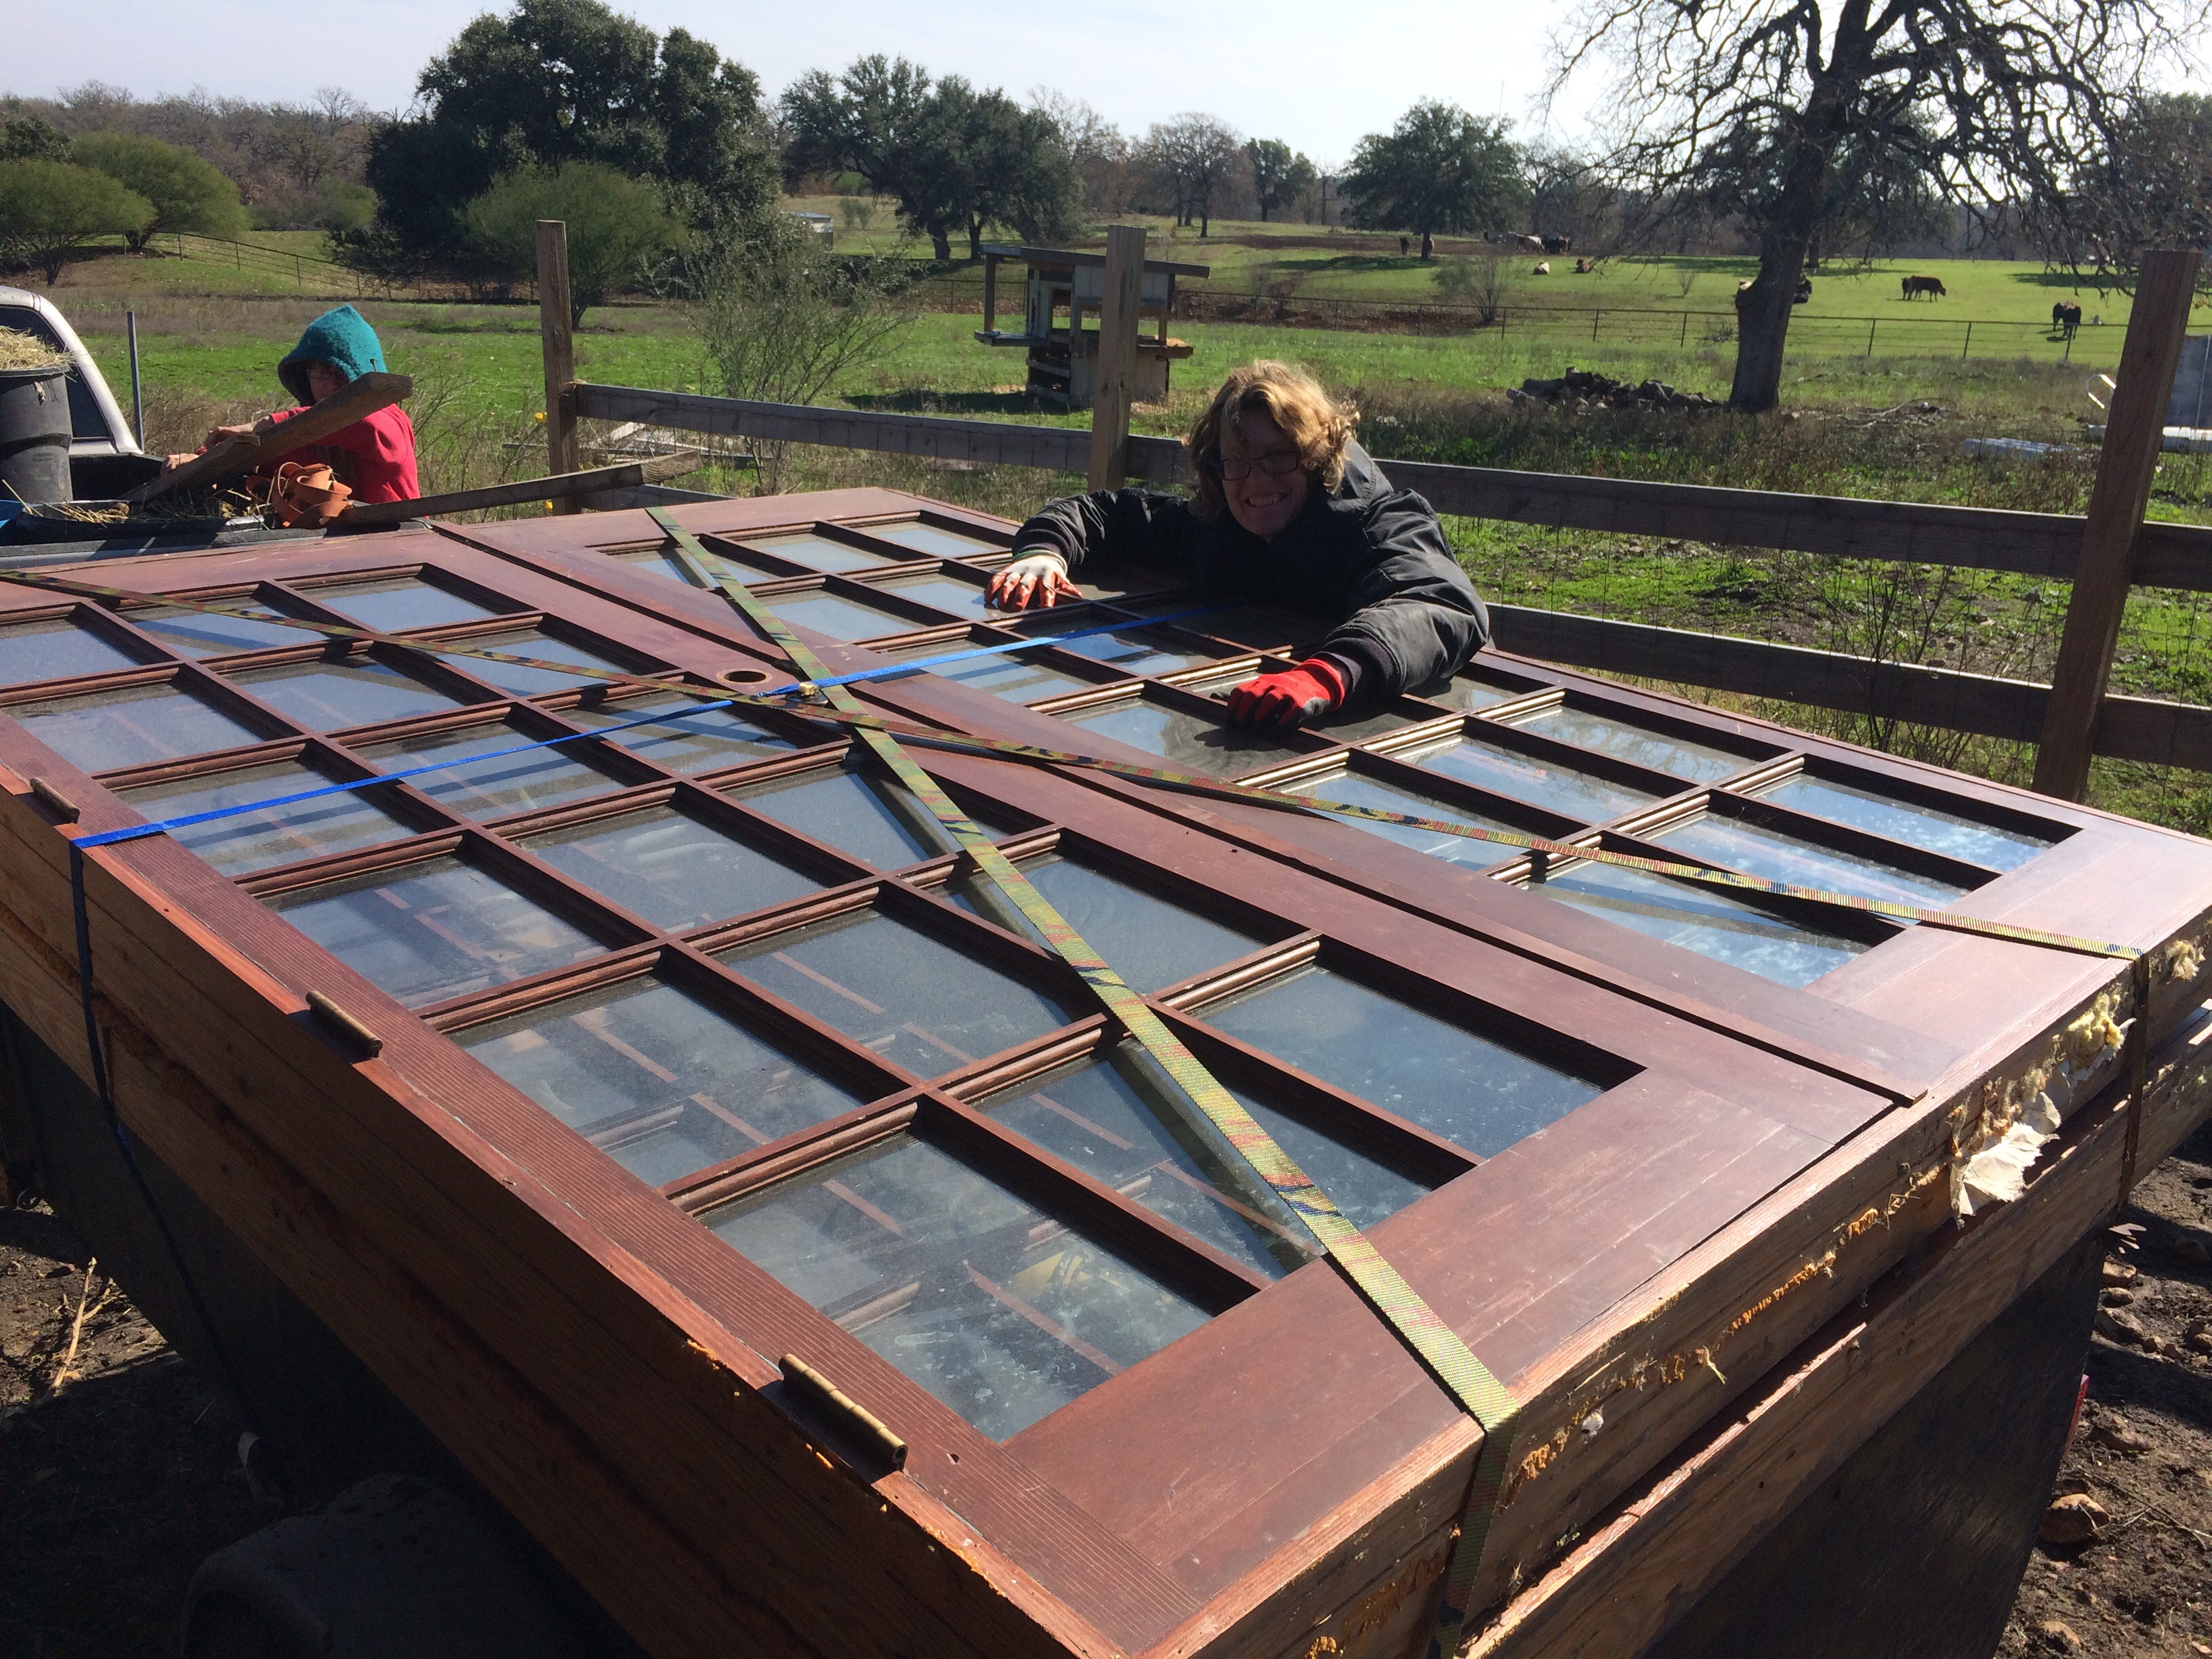
scavenging beautiful big glass doors for a future kitchen addition
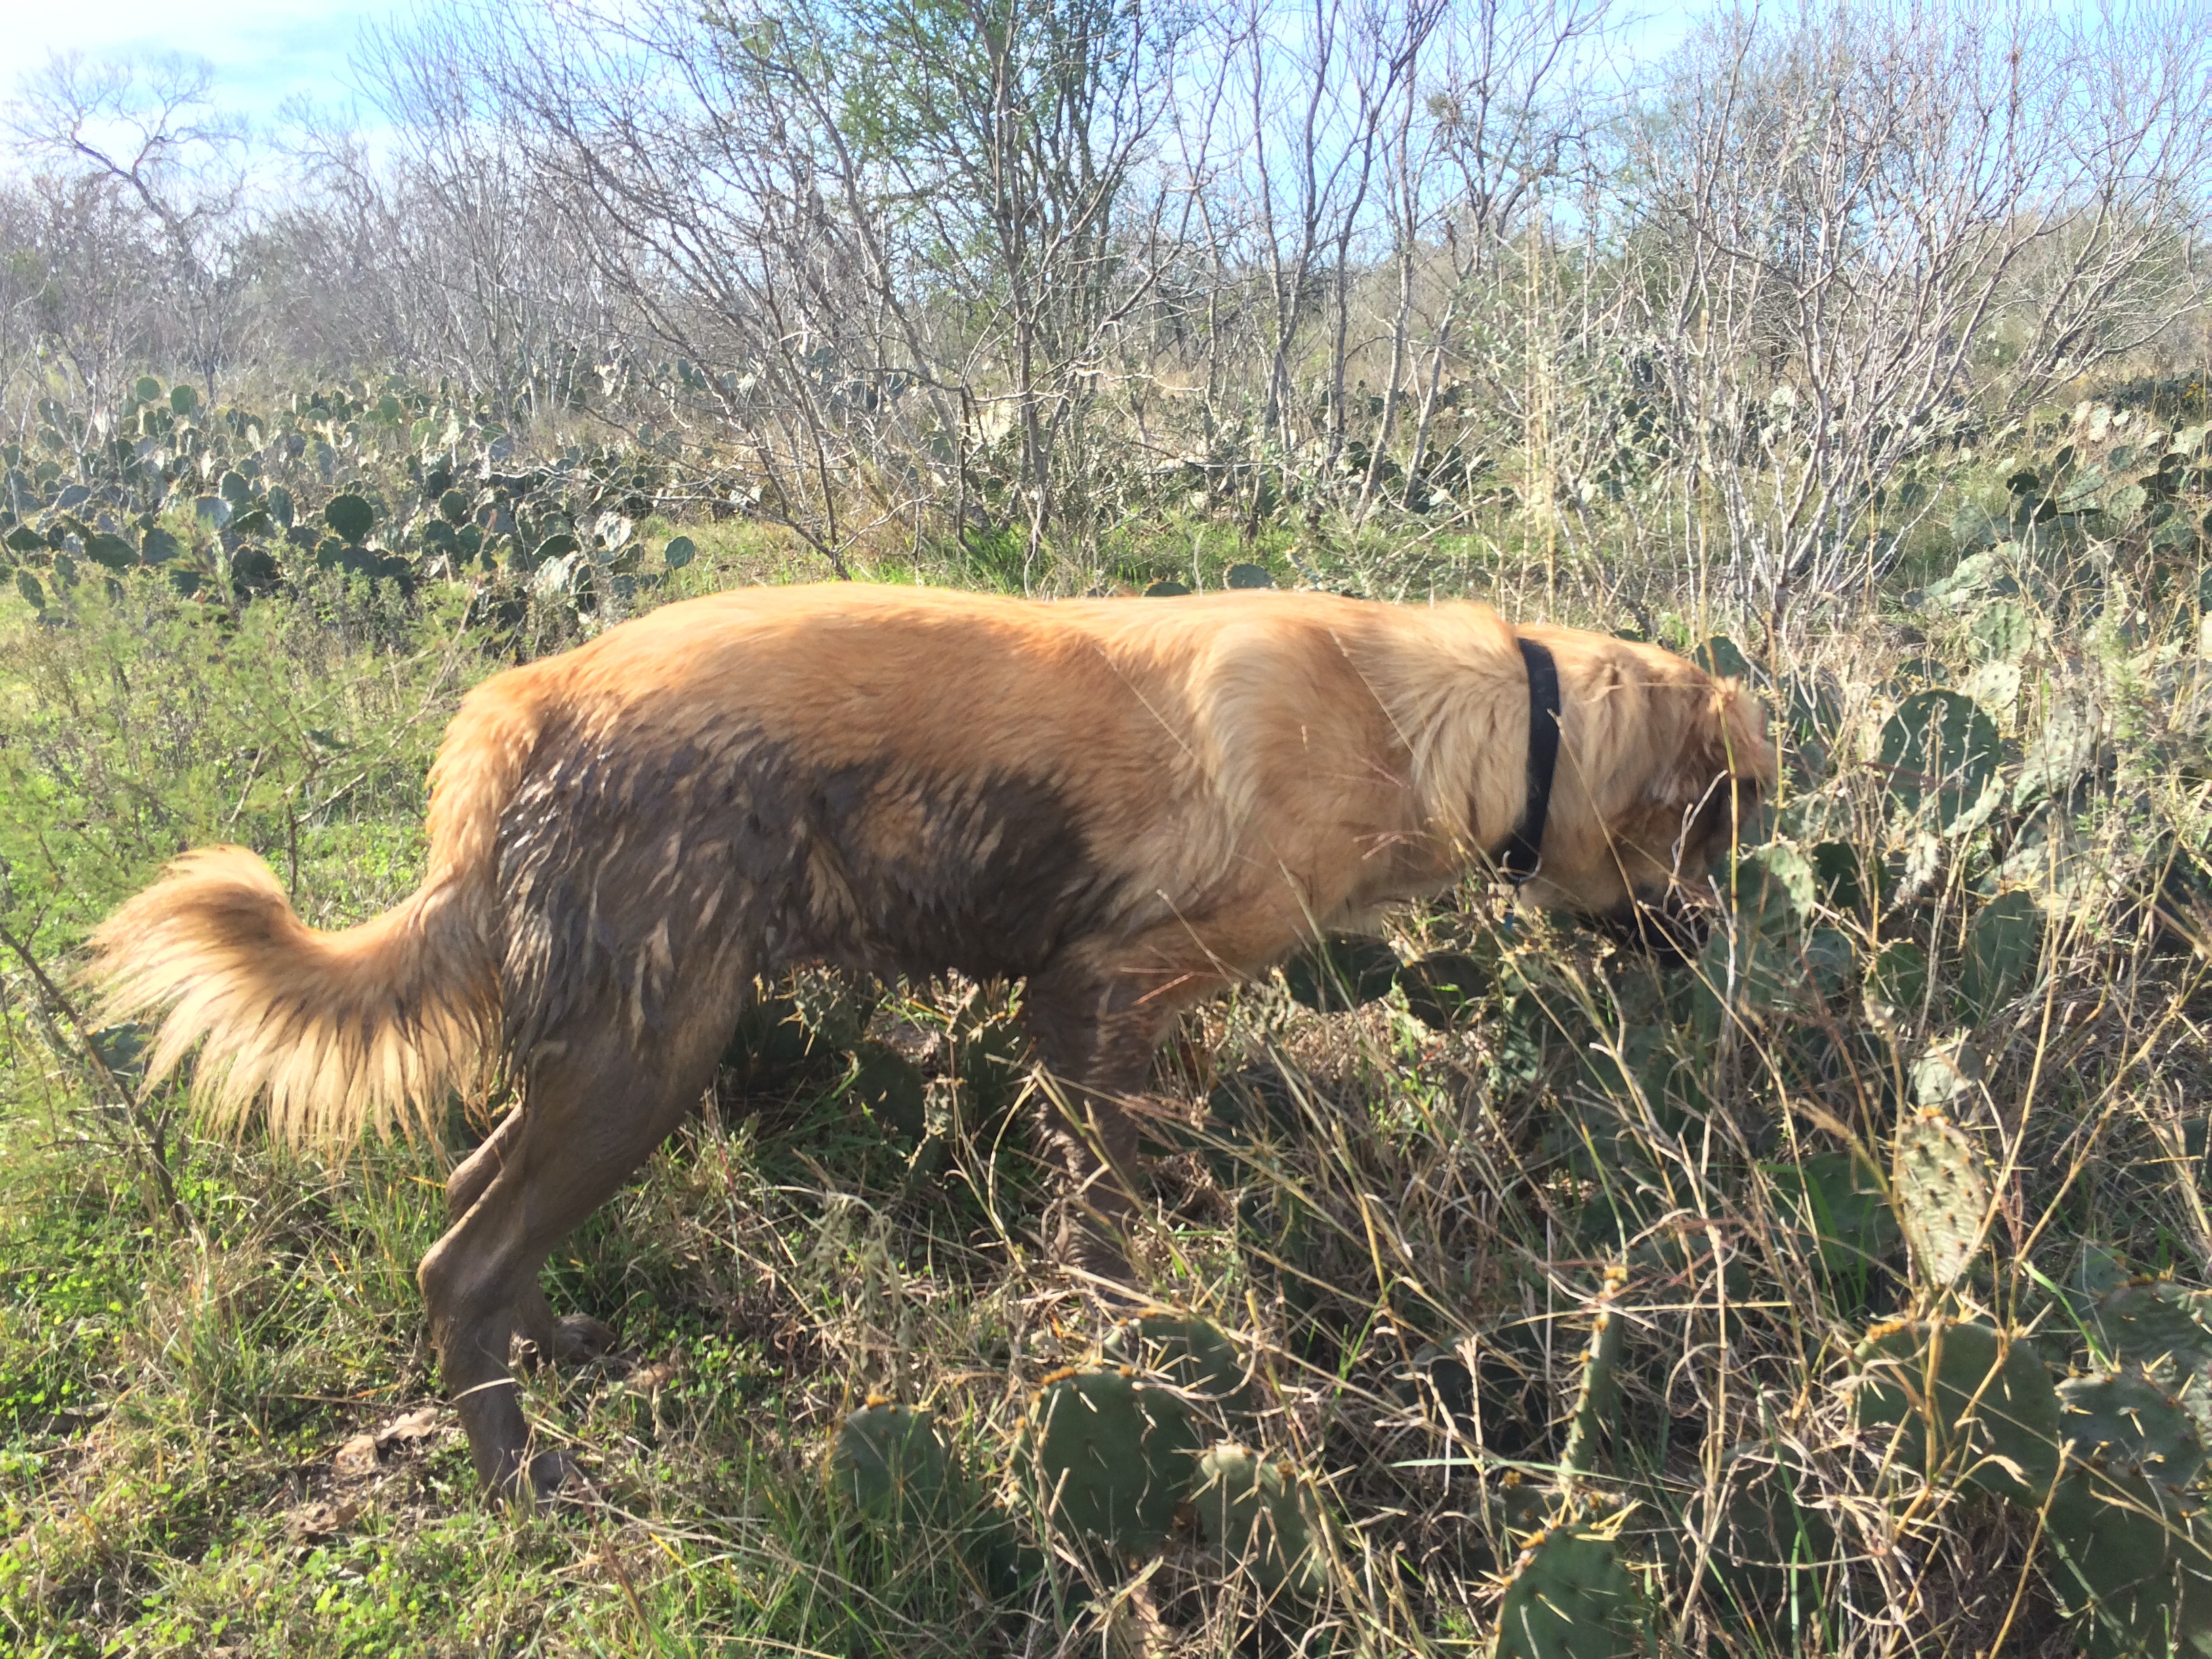
every time we go for a walk with the dogs, Mina finds a mud puddle to lie in
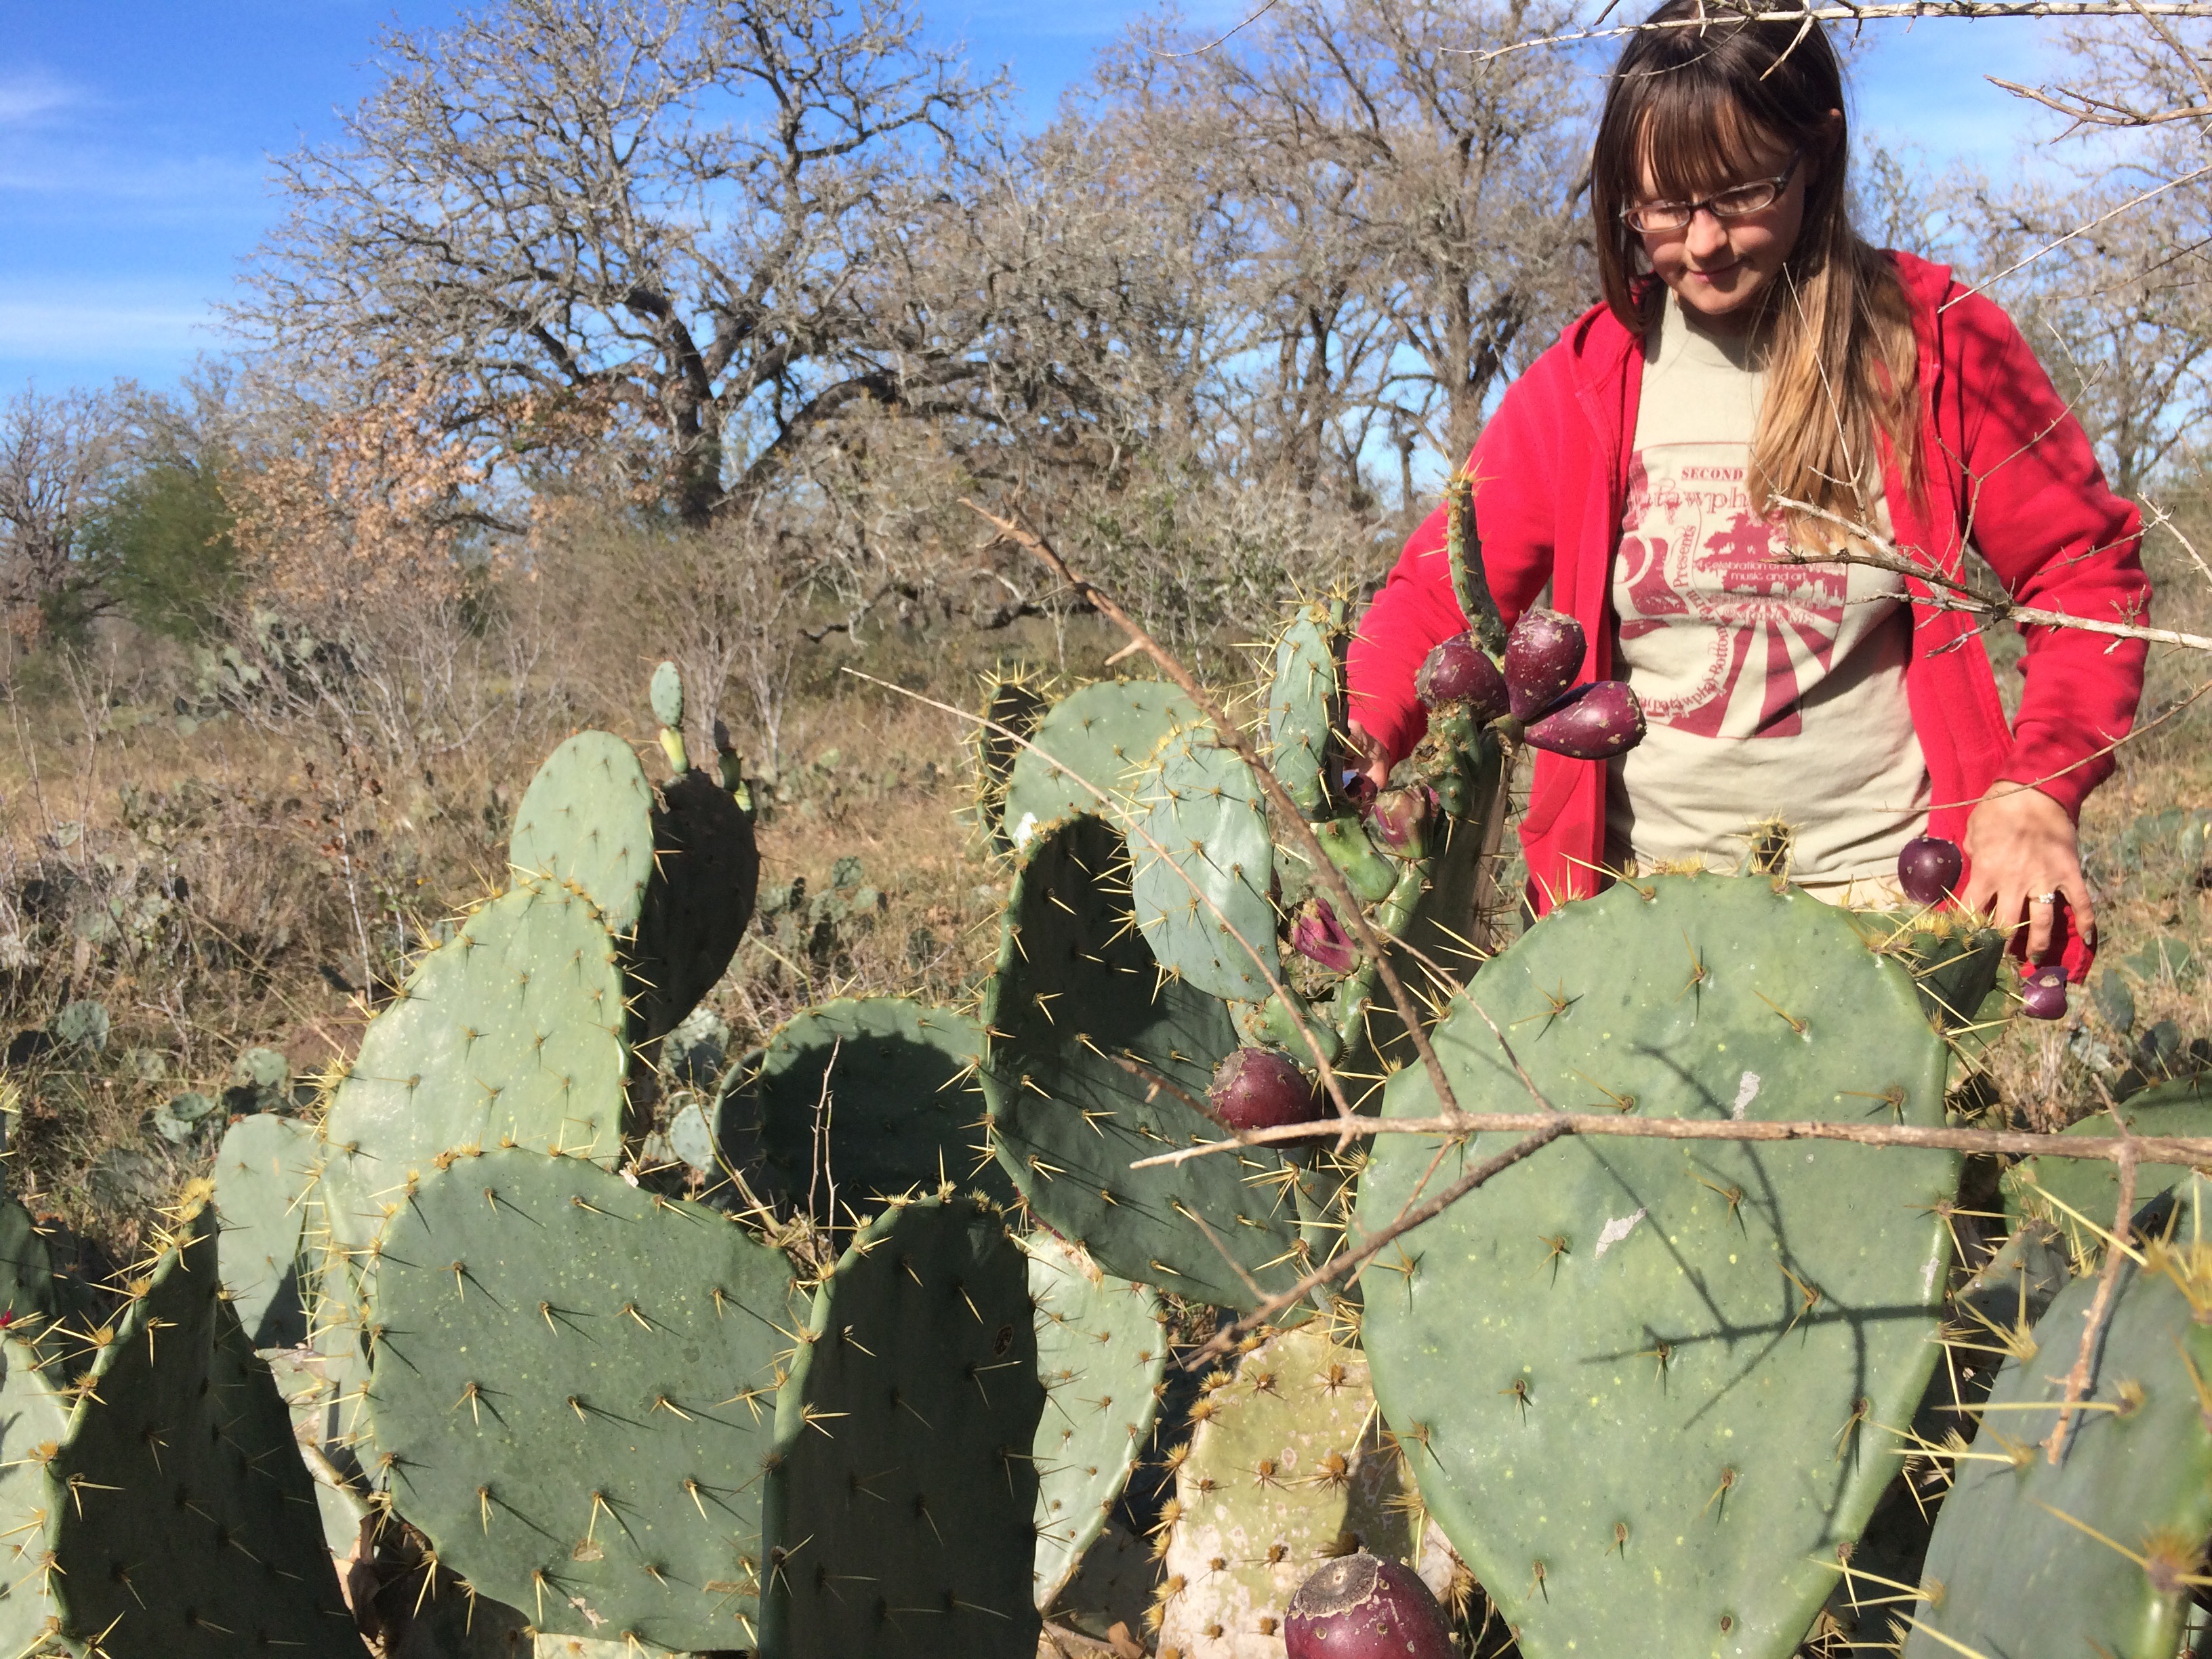
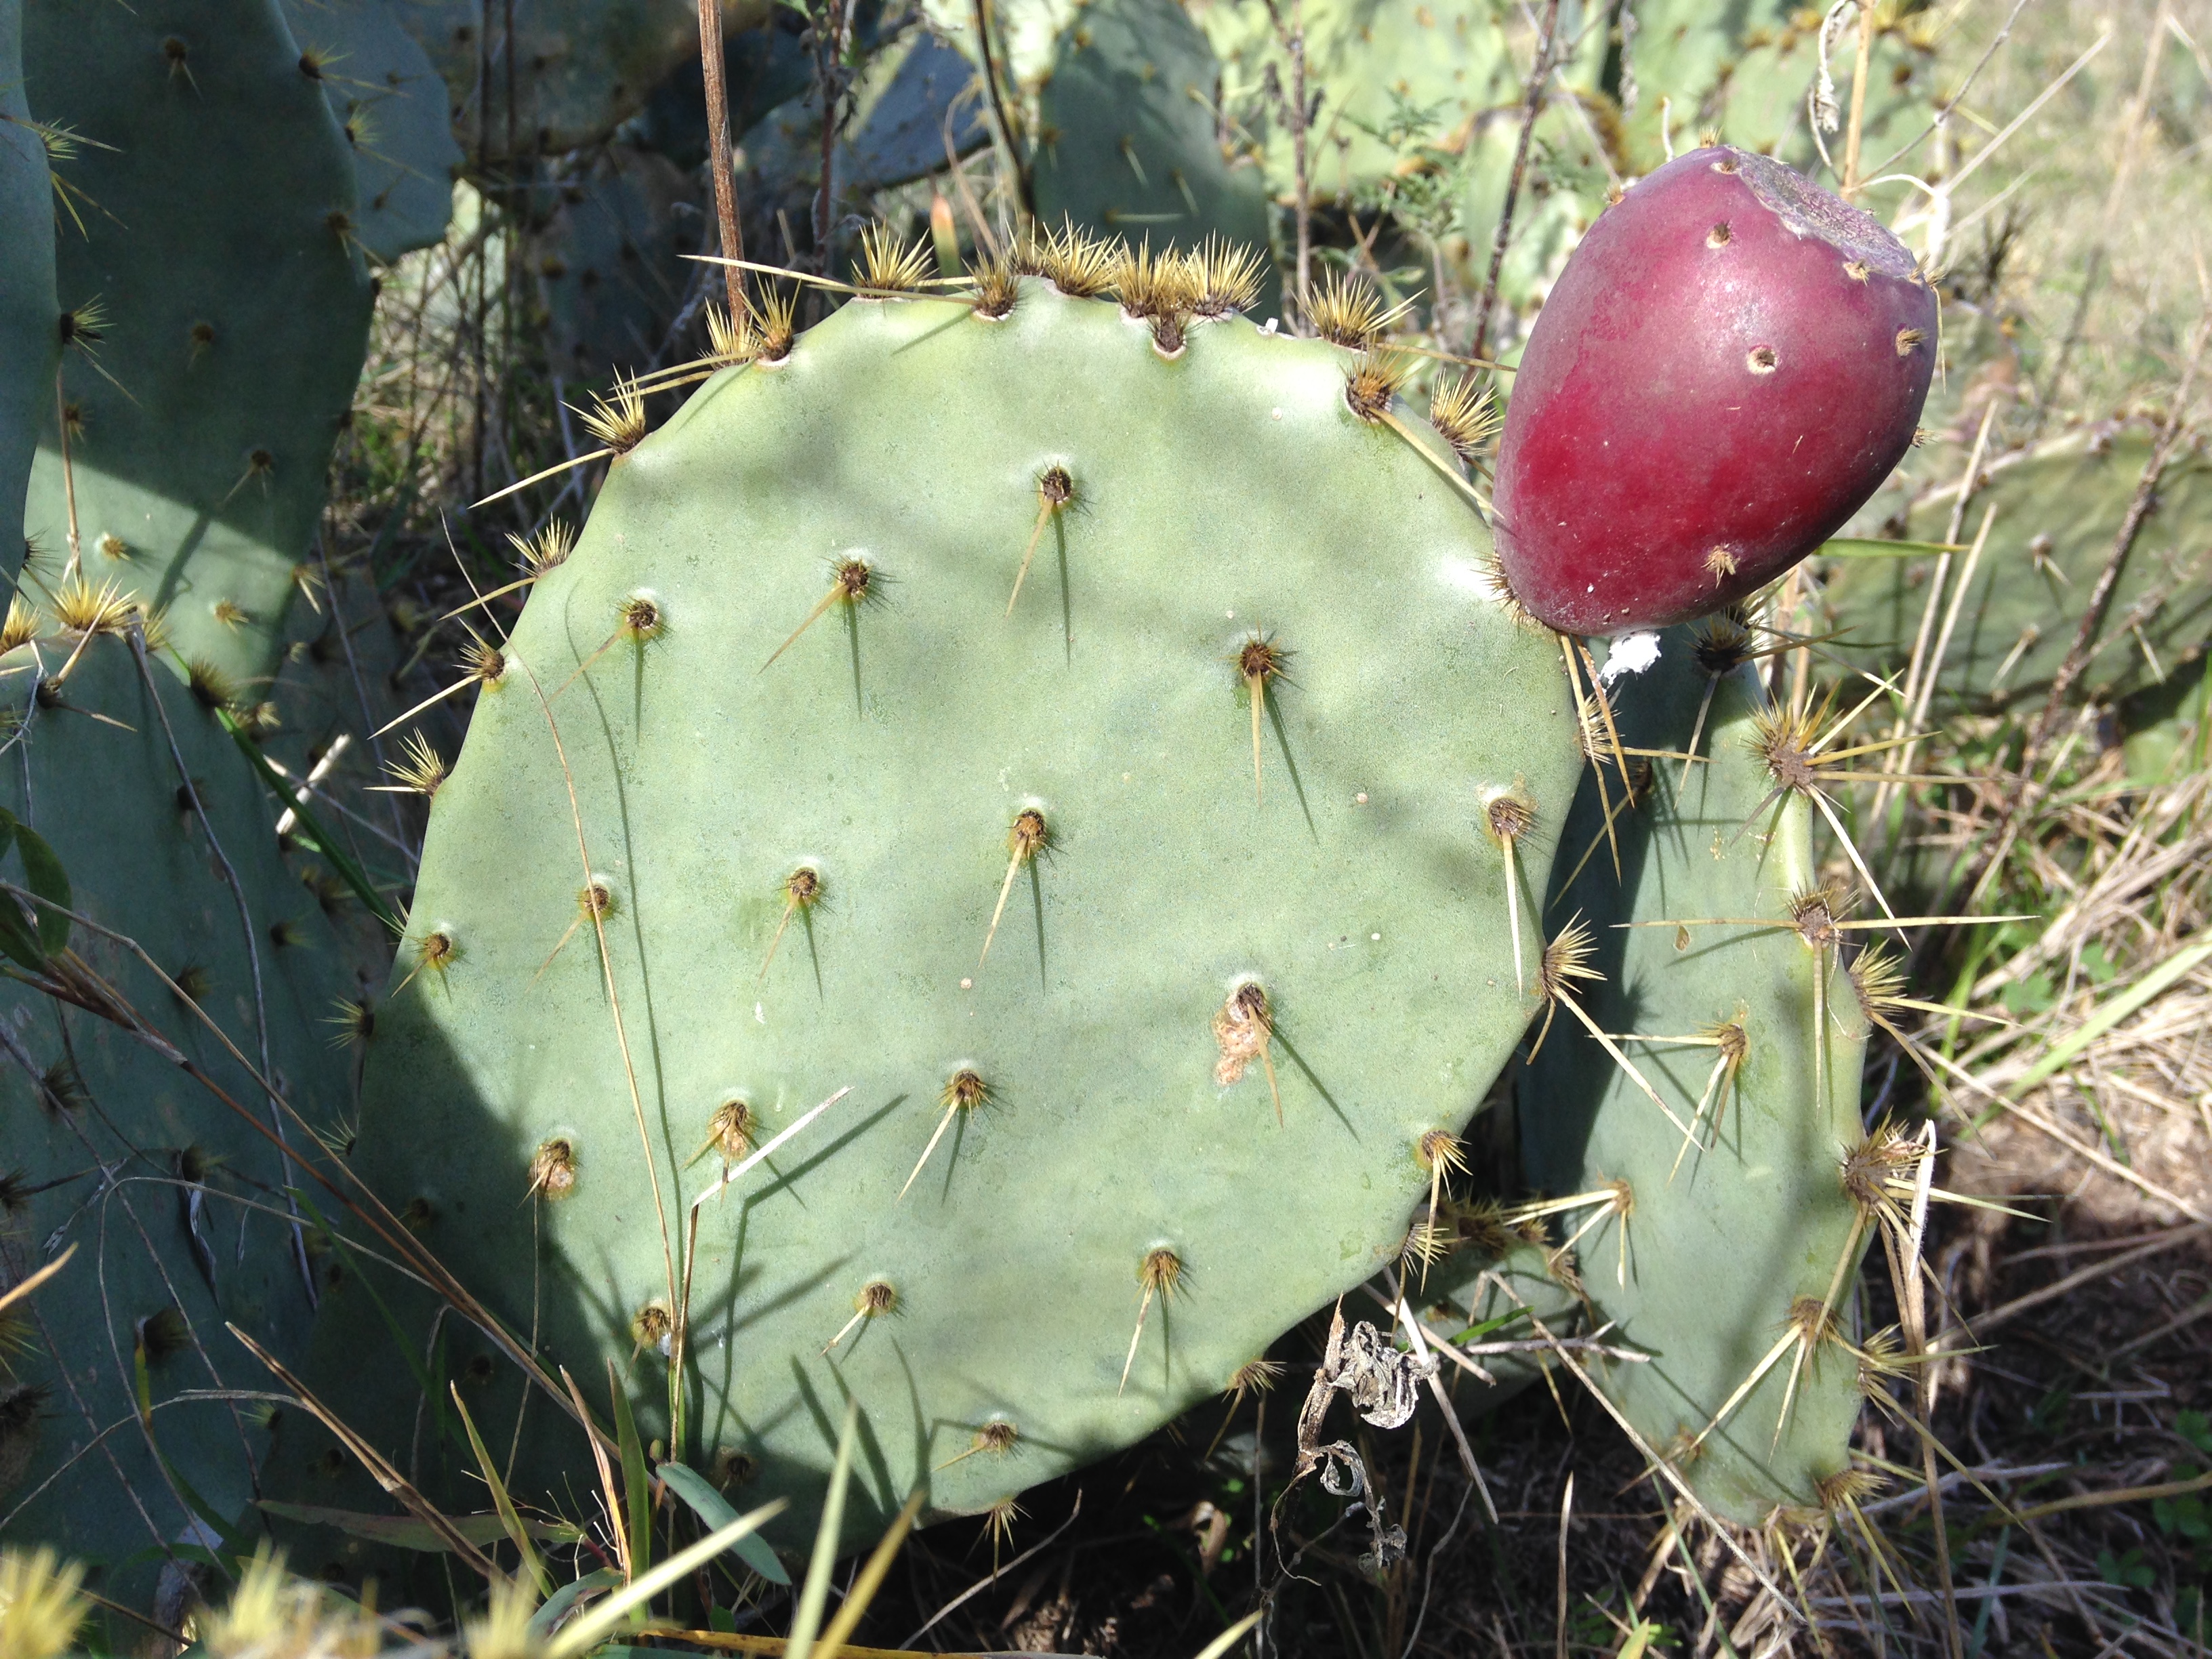
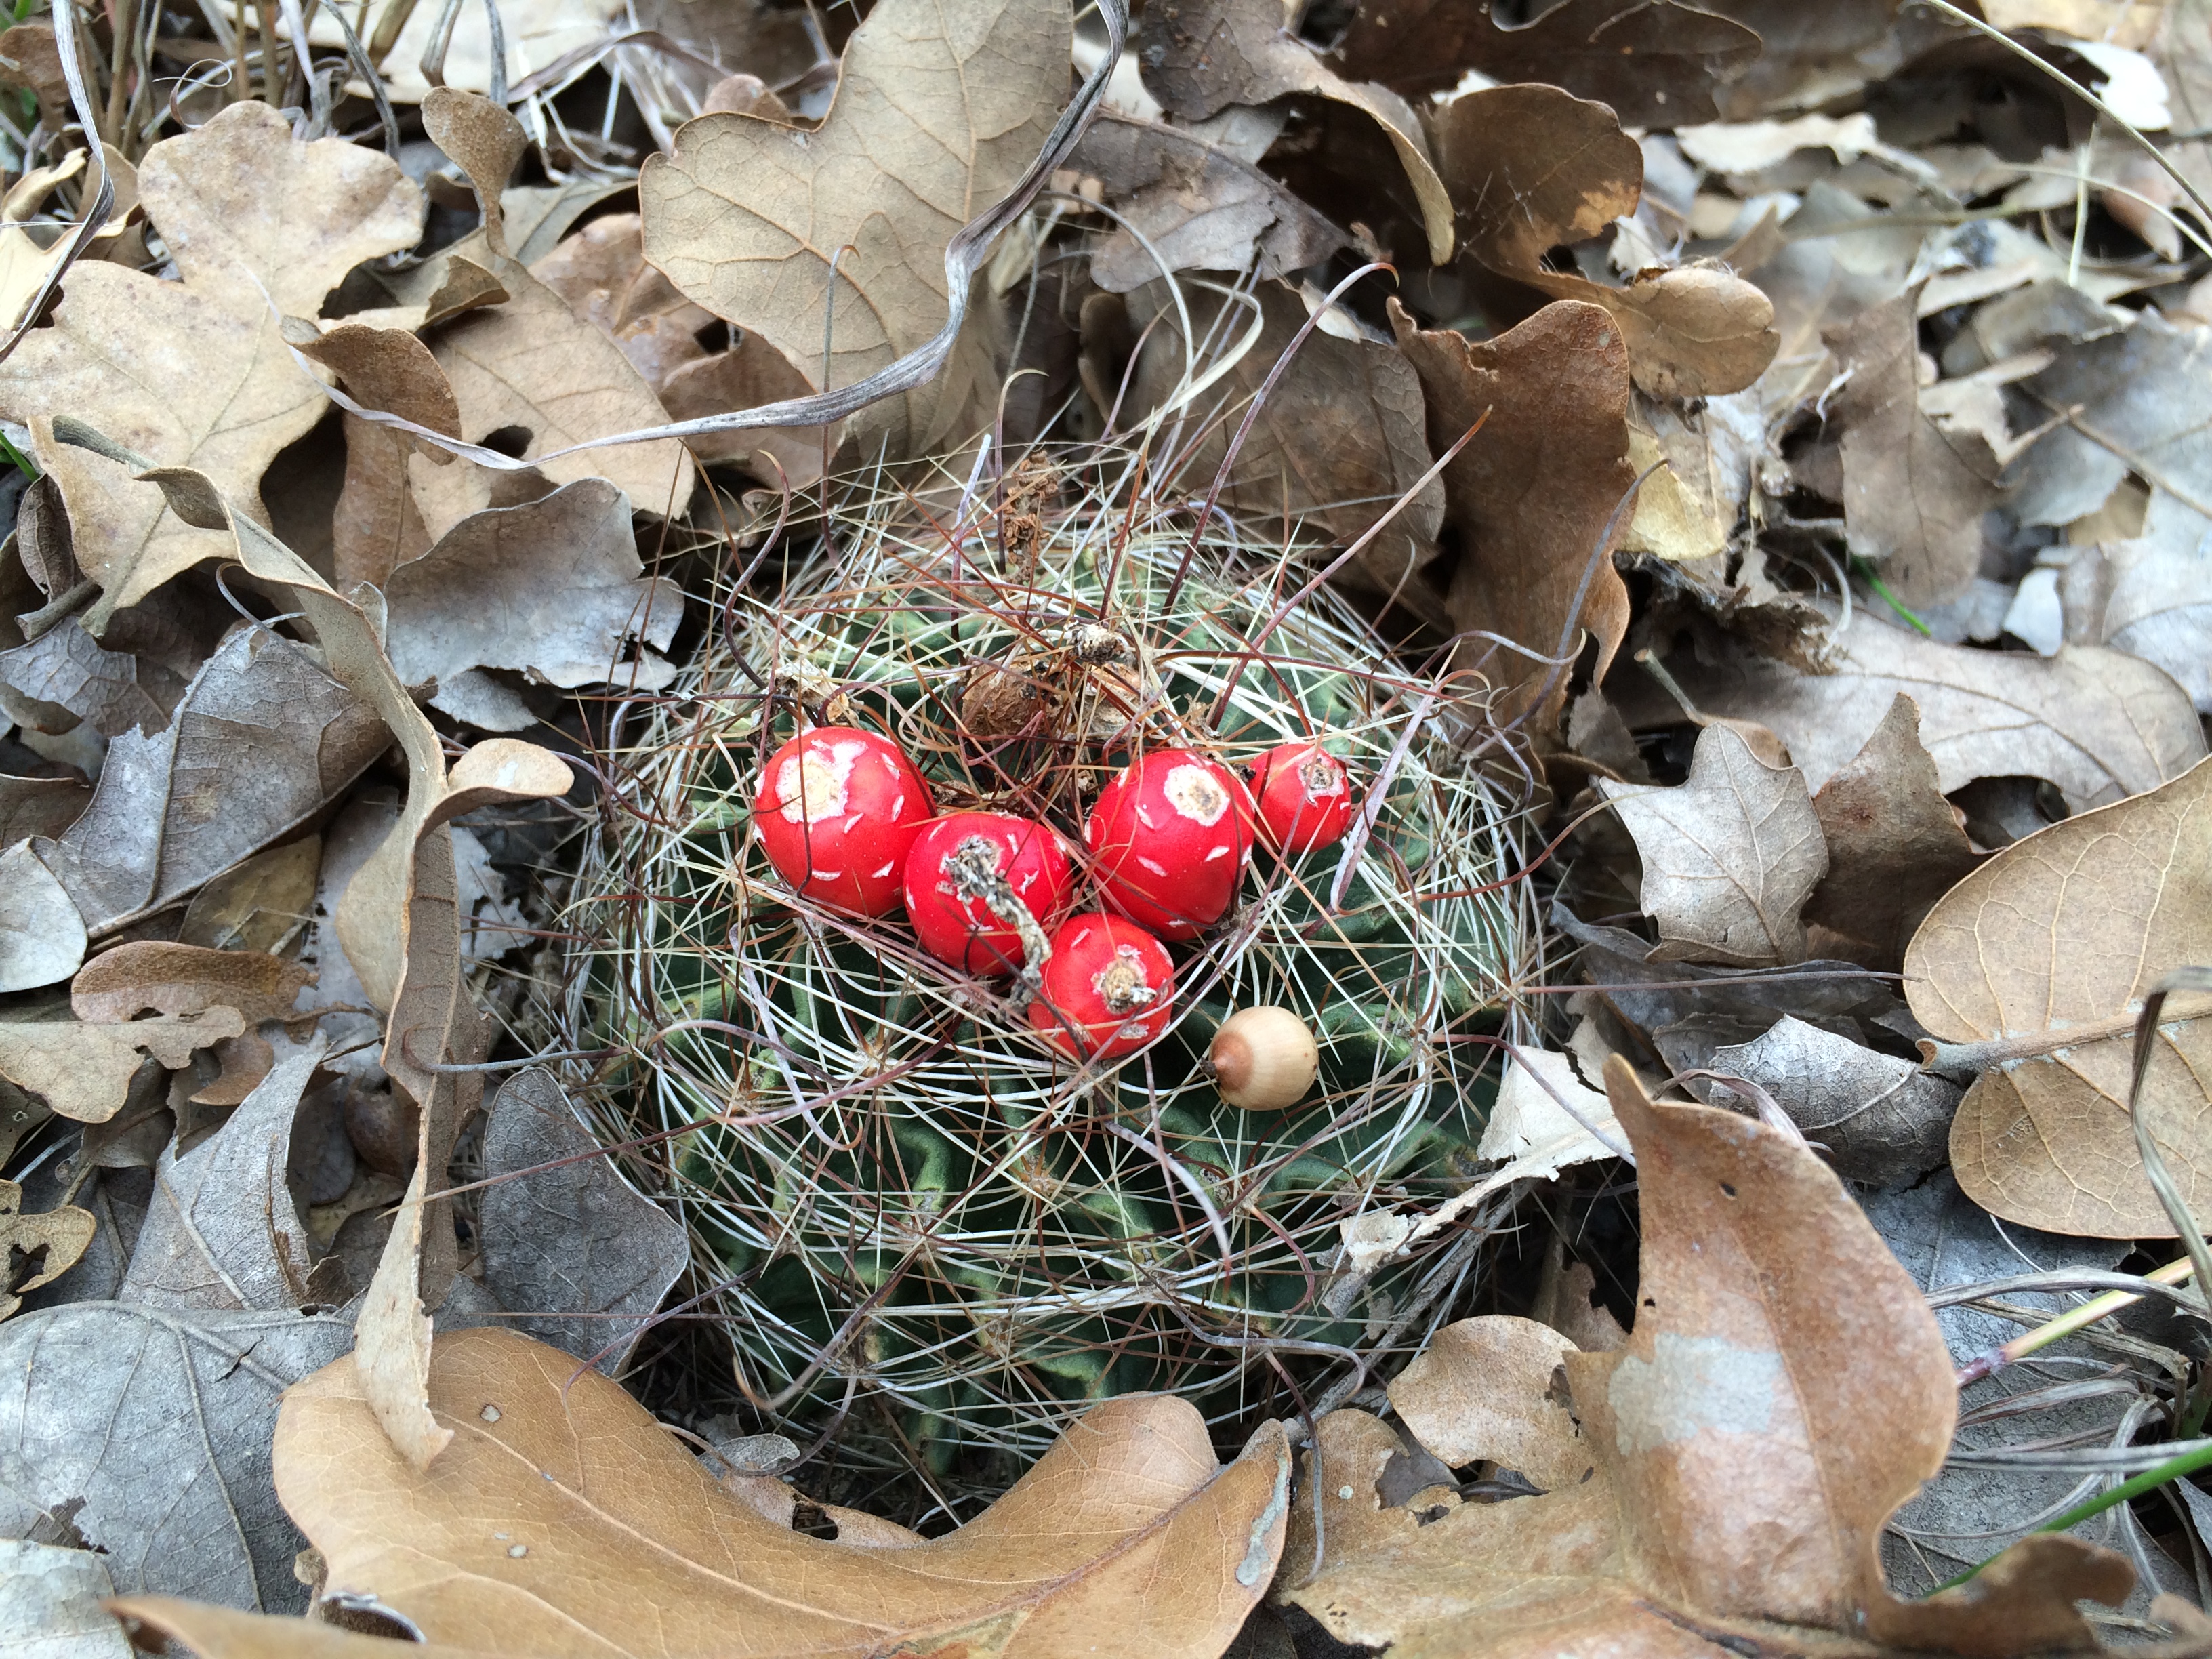
harvesting the fruit of prickly pear cacti for making preserves (for some reason these are called “tuna fruit” which is just weird)
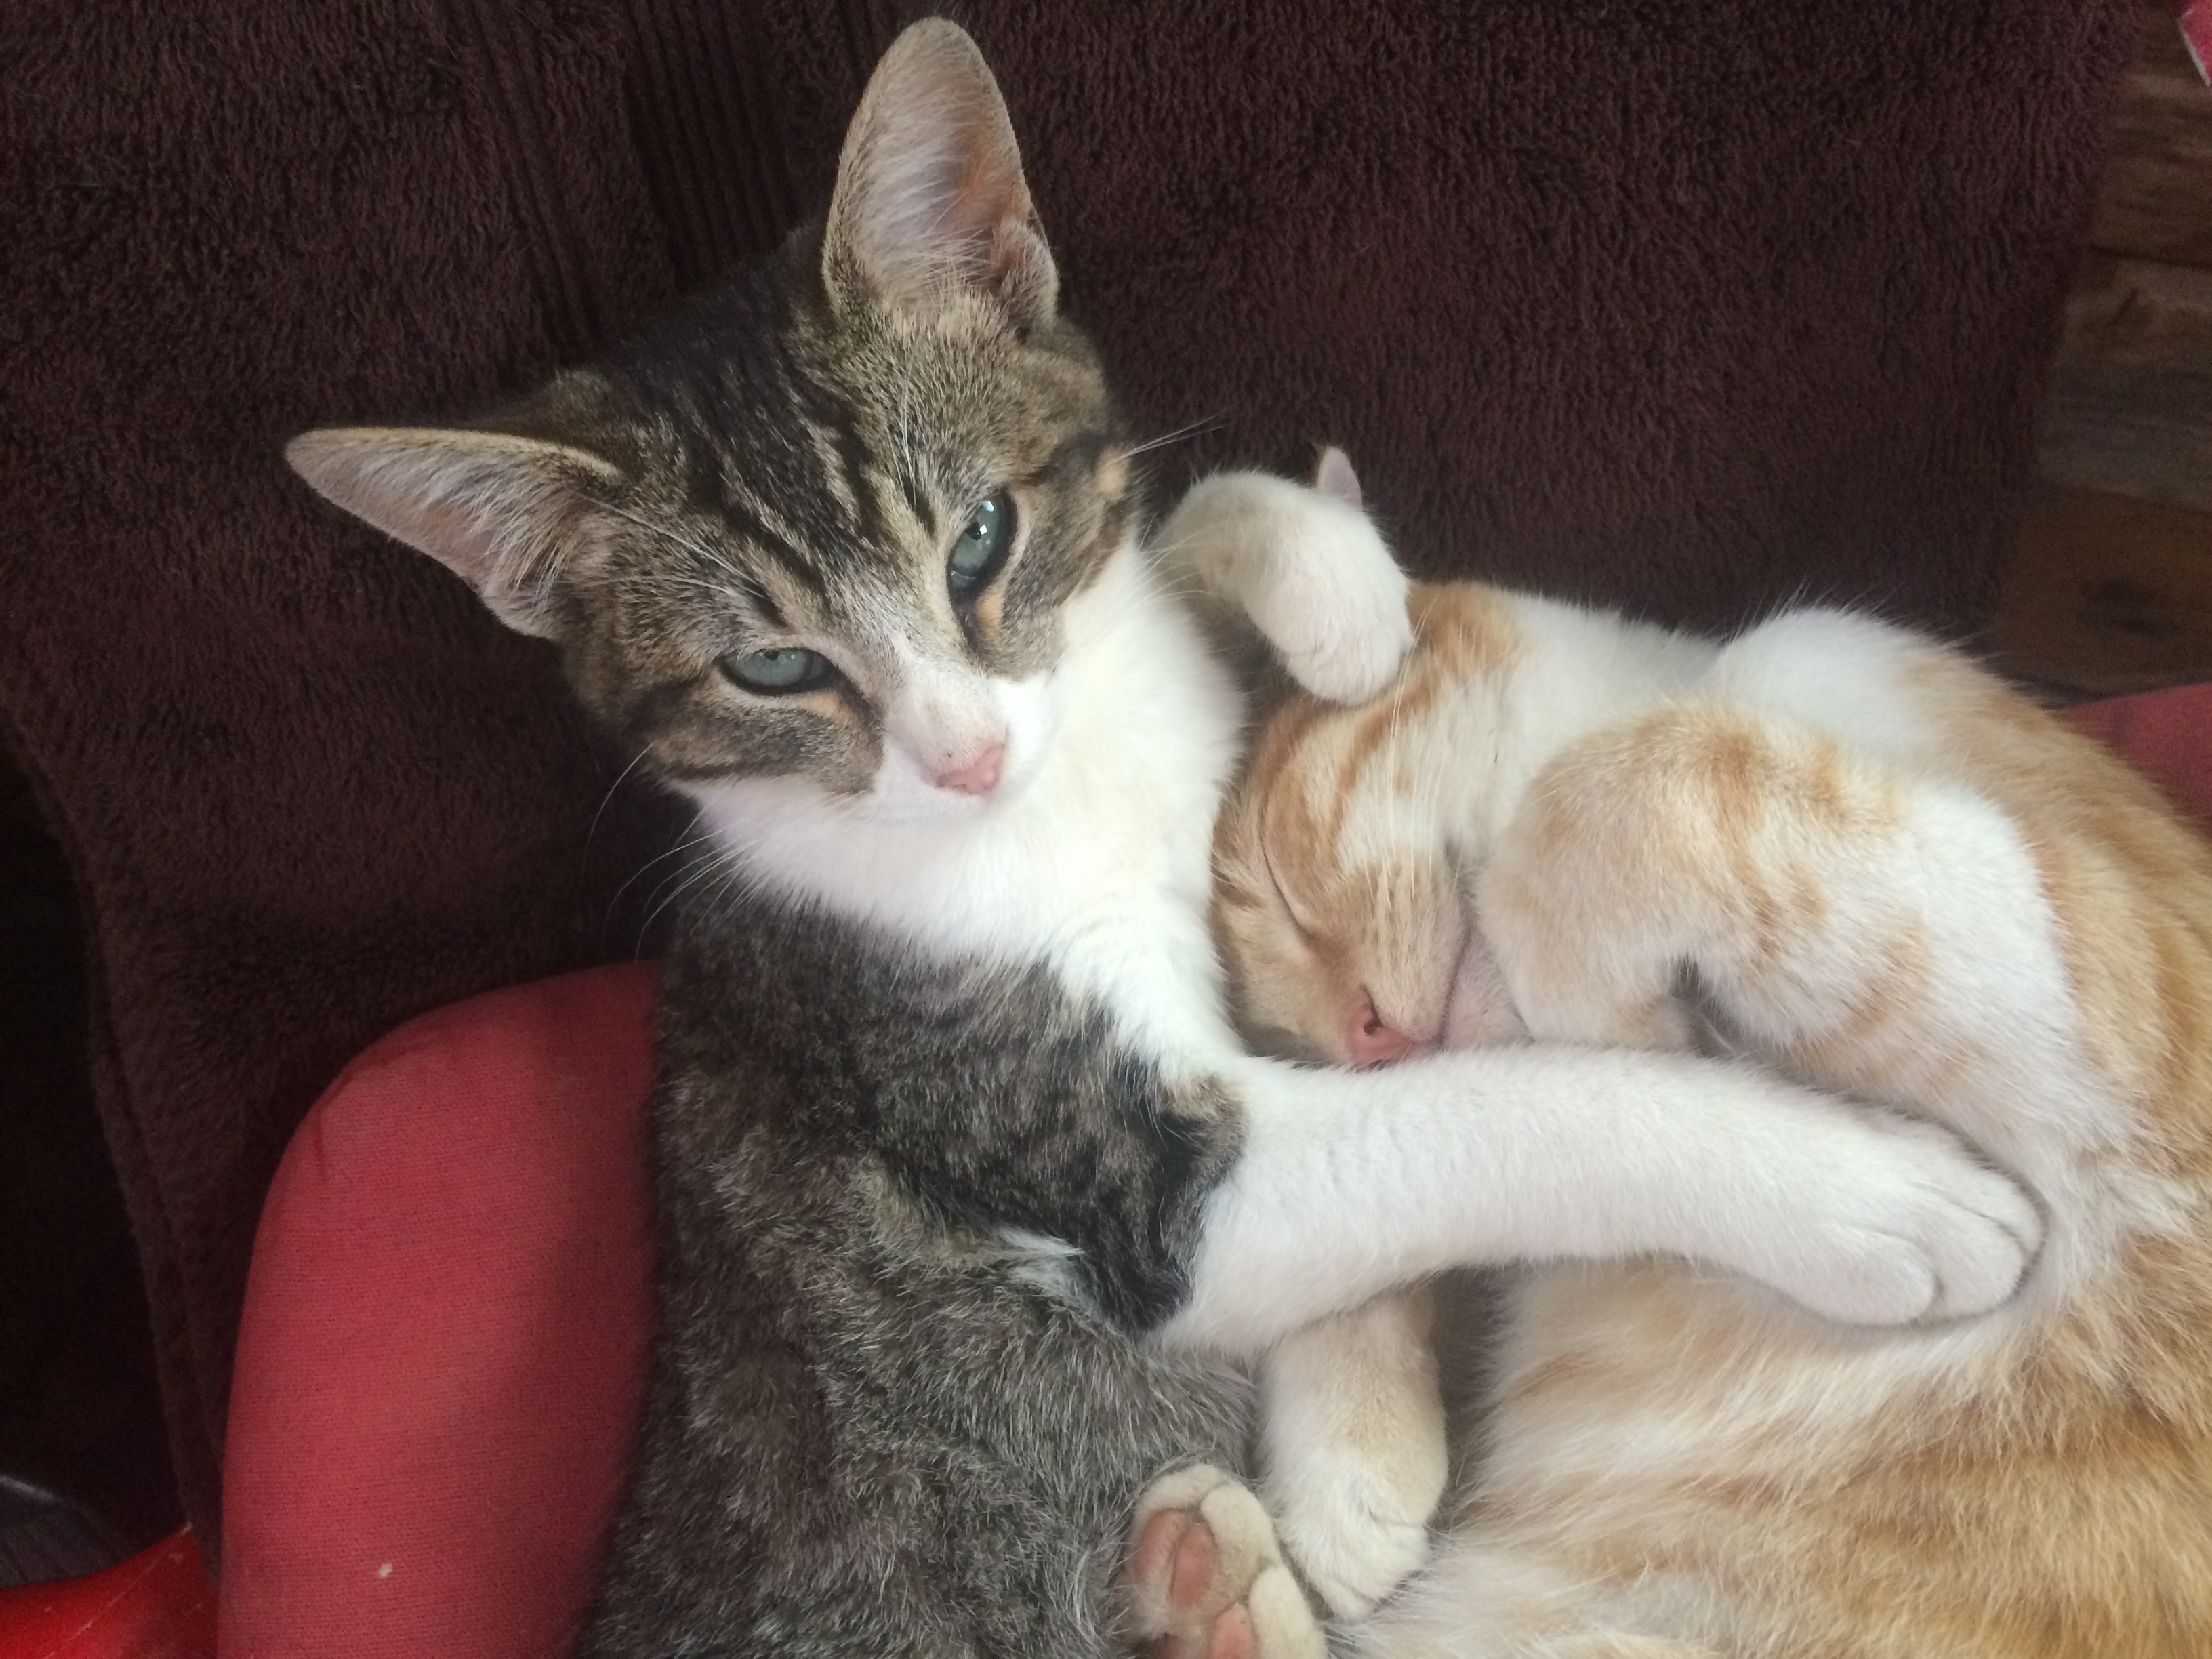
Scout and her brother Mister Pettibone
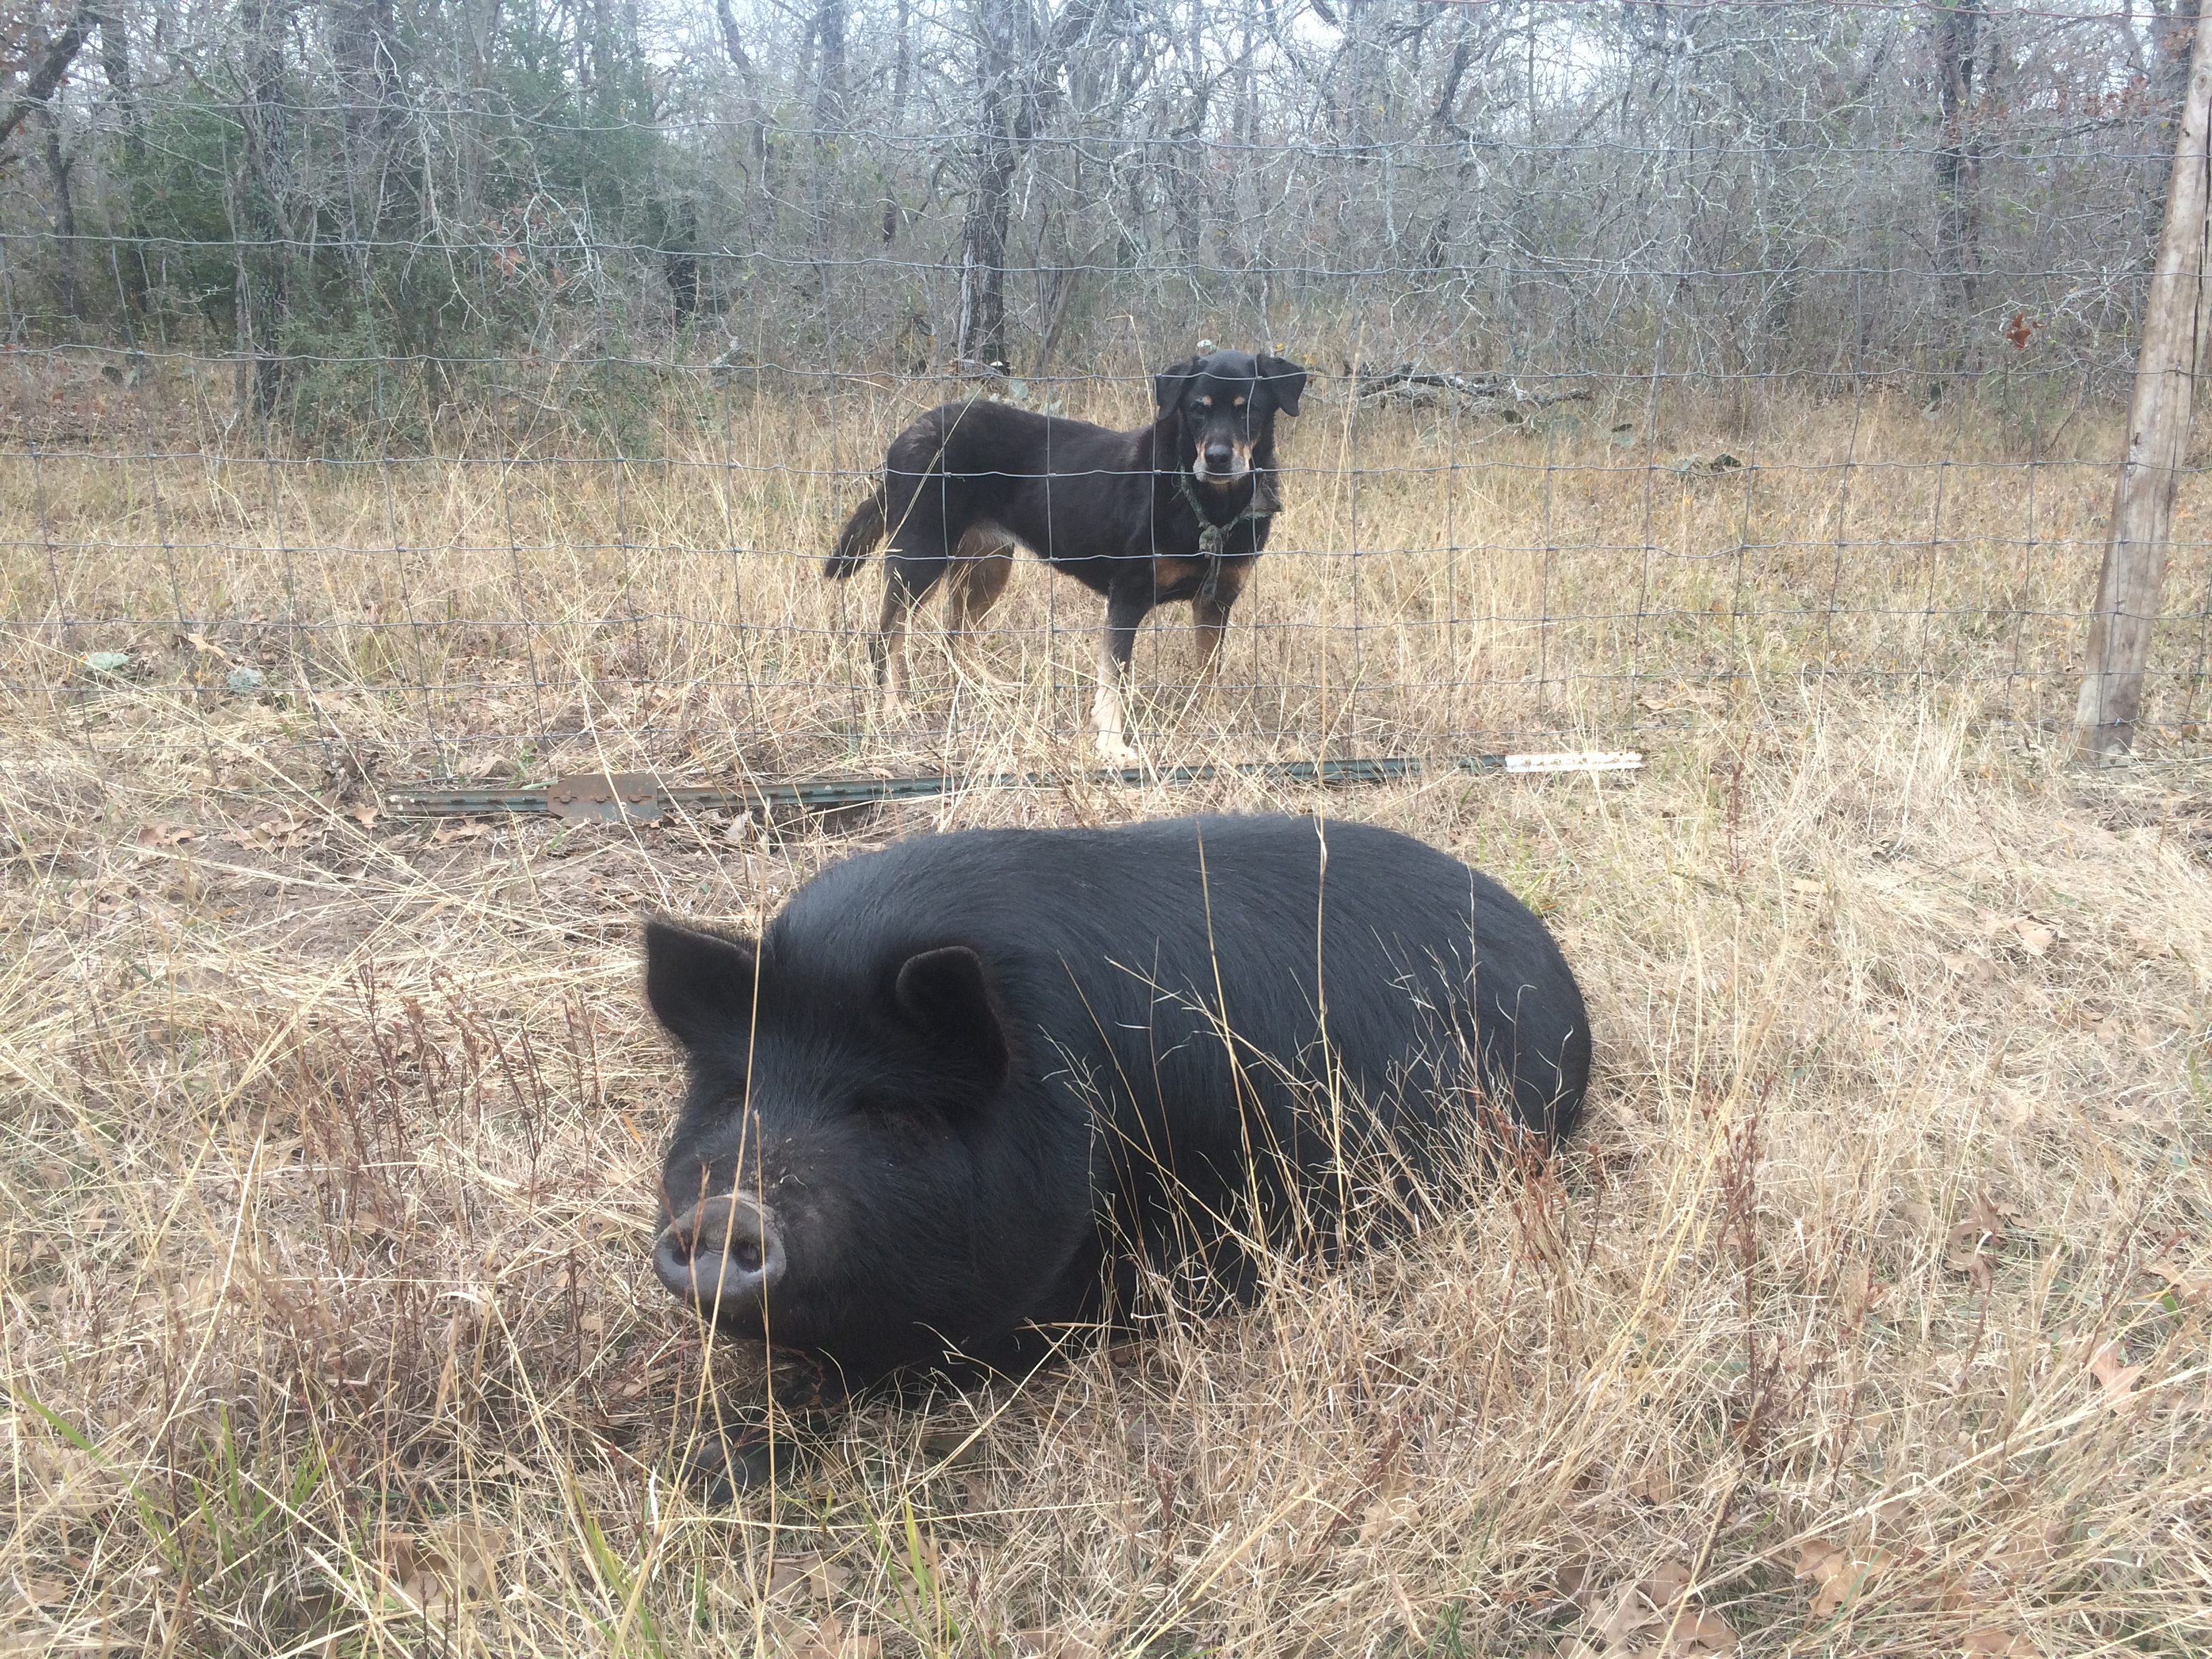
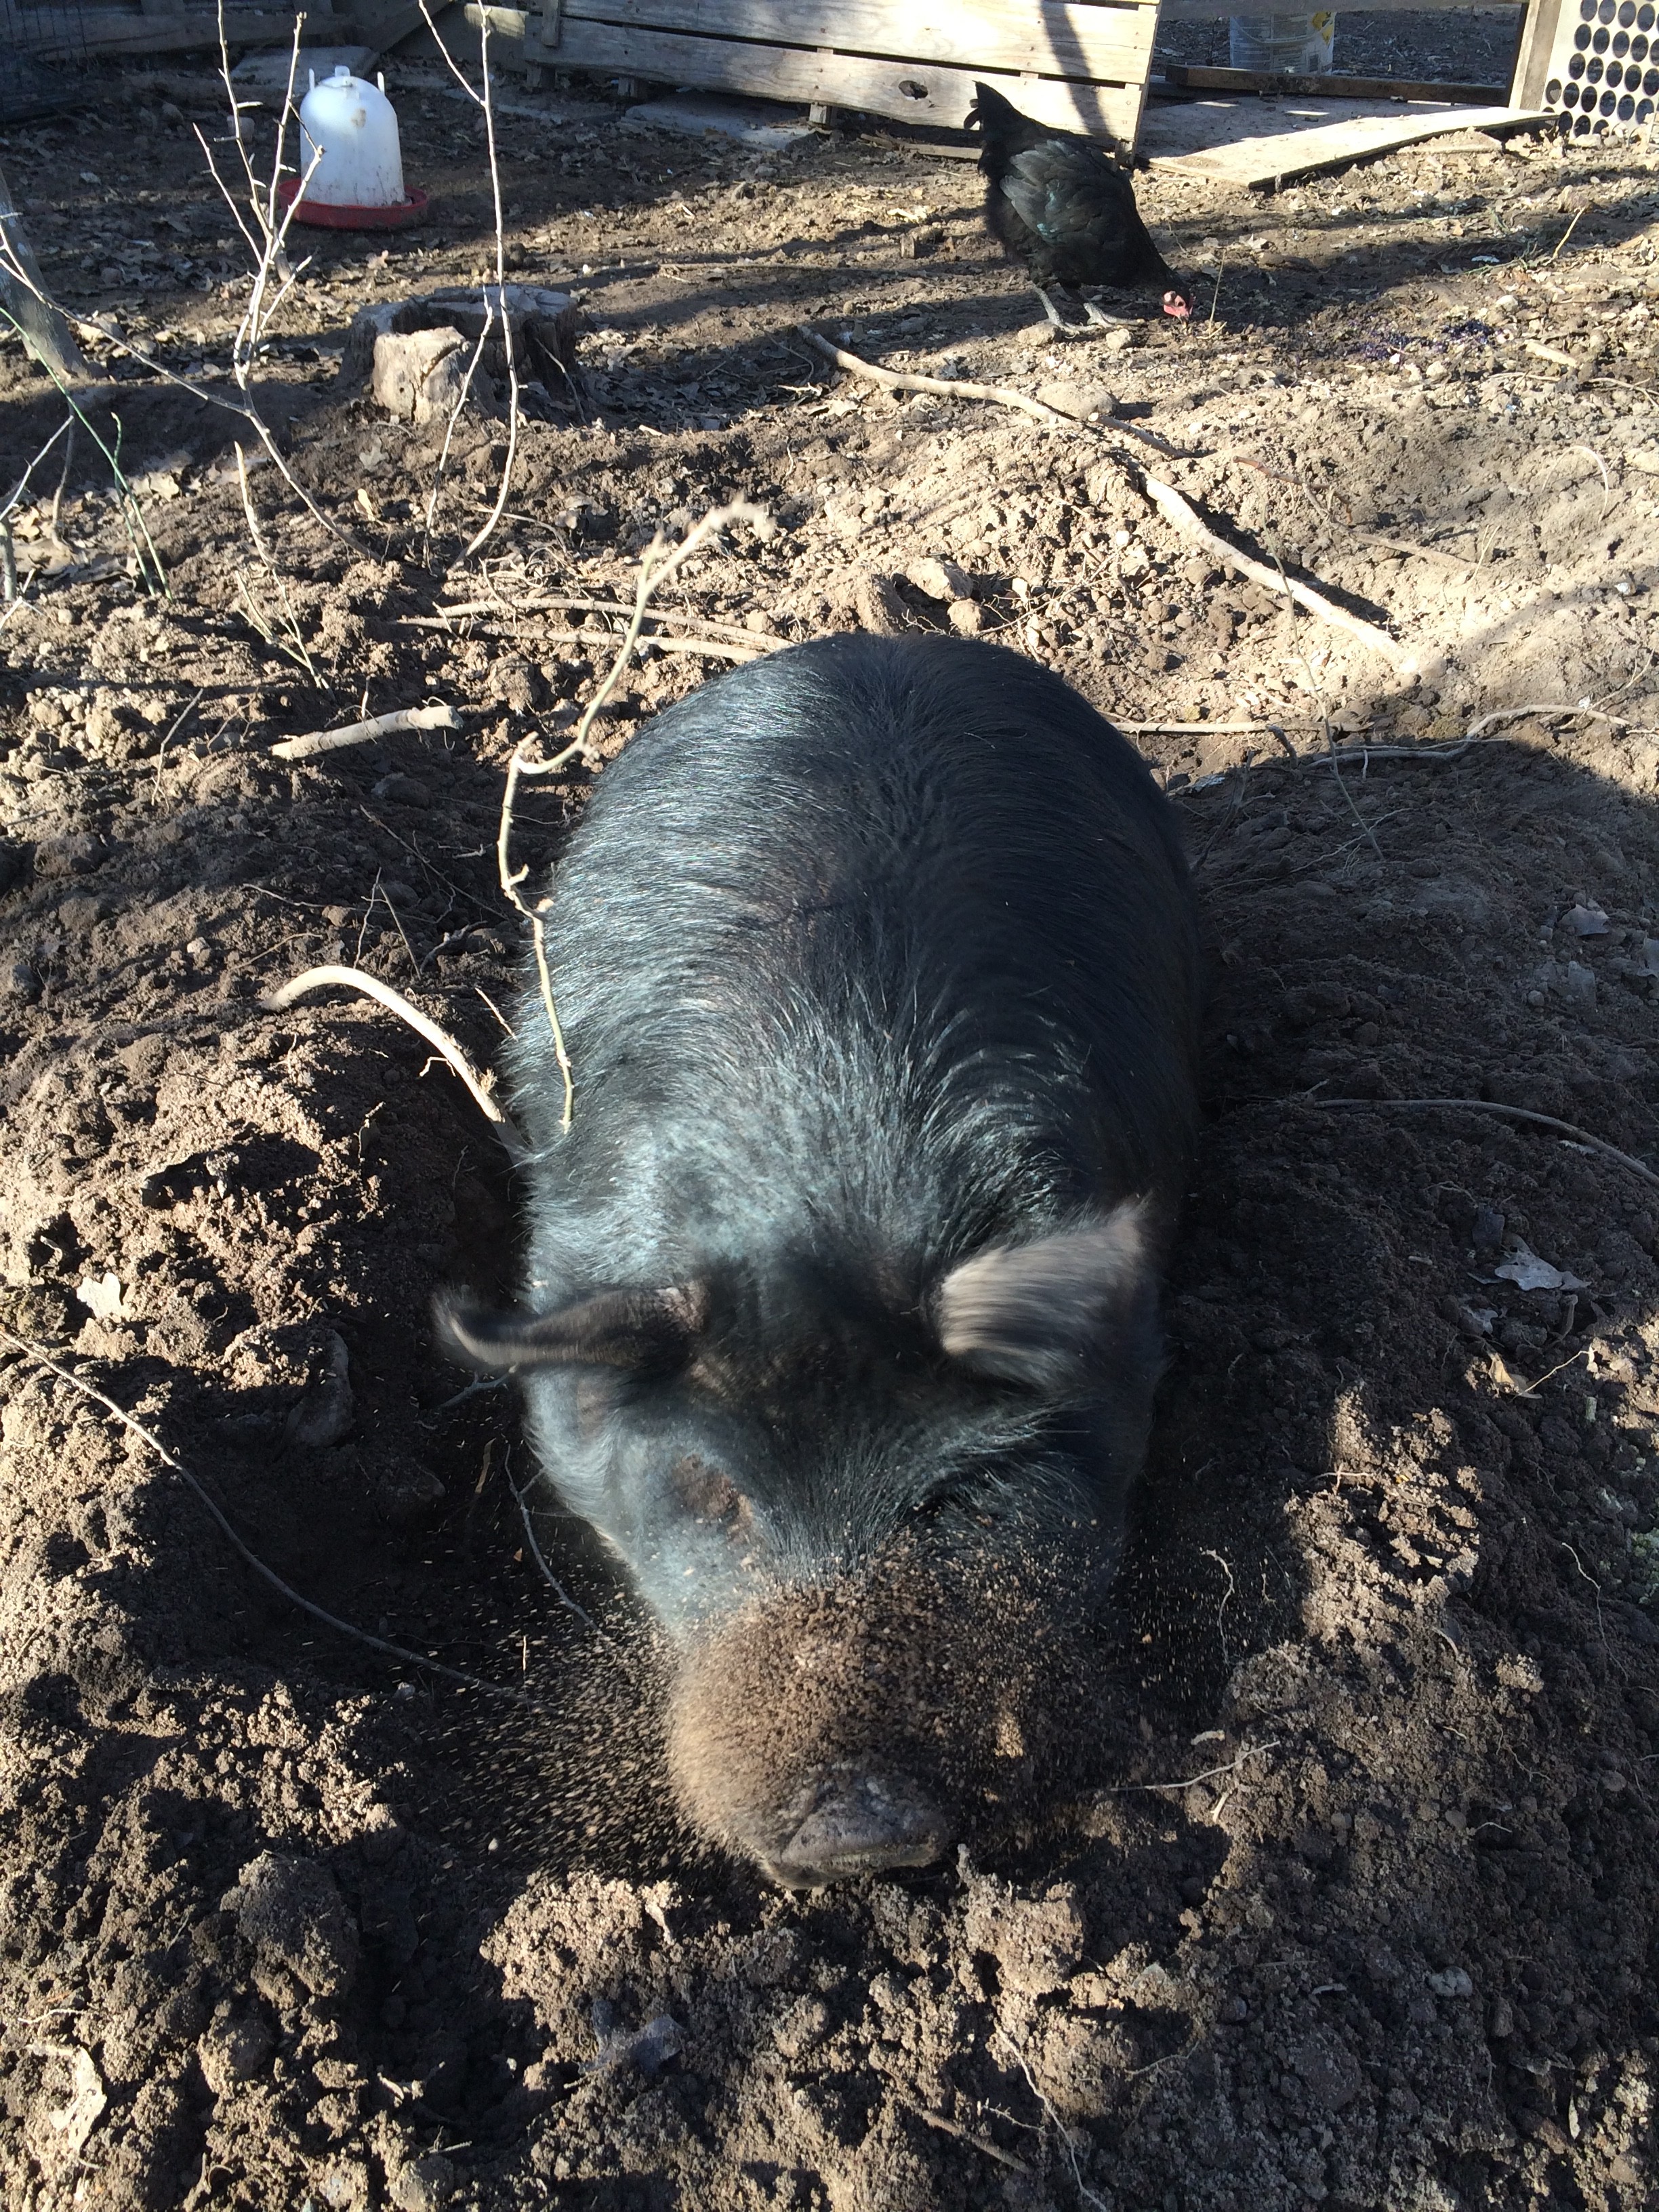
Cleo beholds Bertha in her newly-built enclosure
chicken in the herb garden
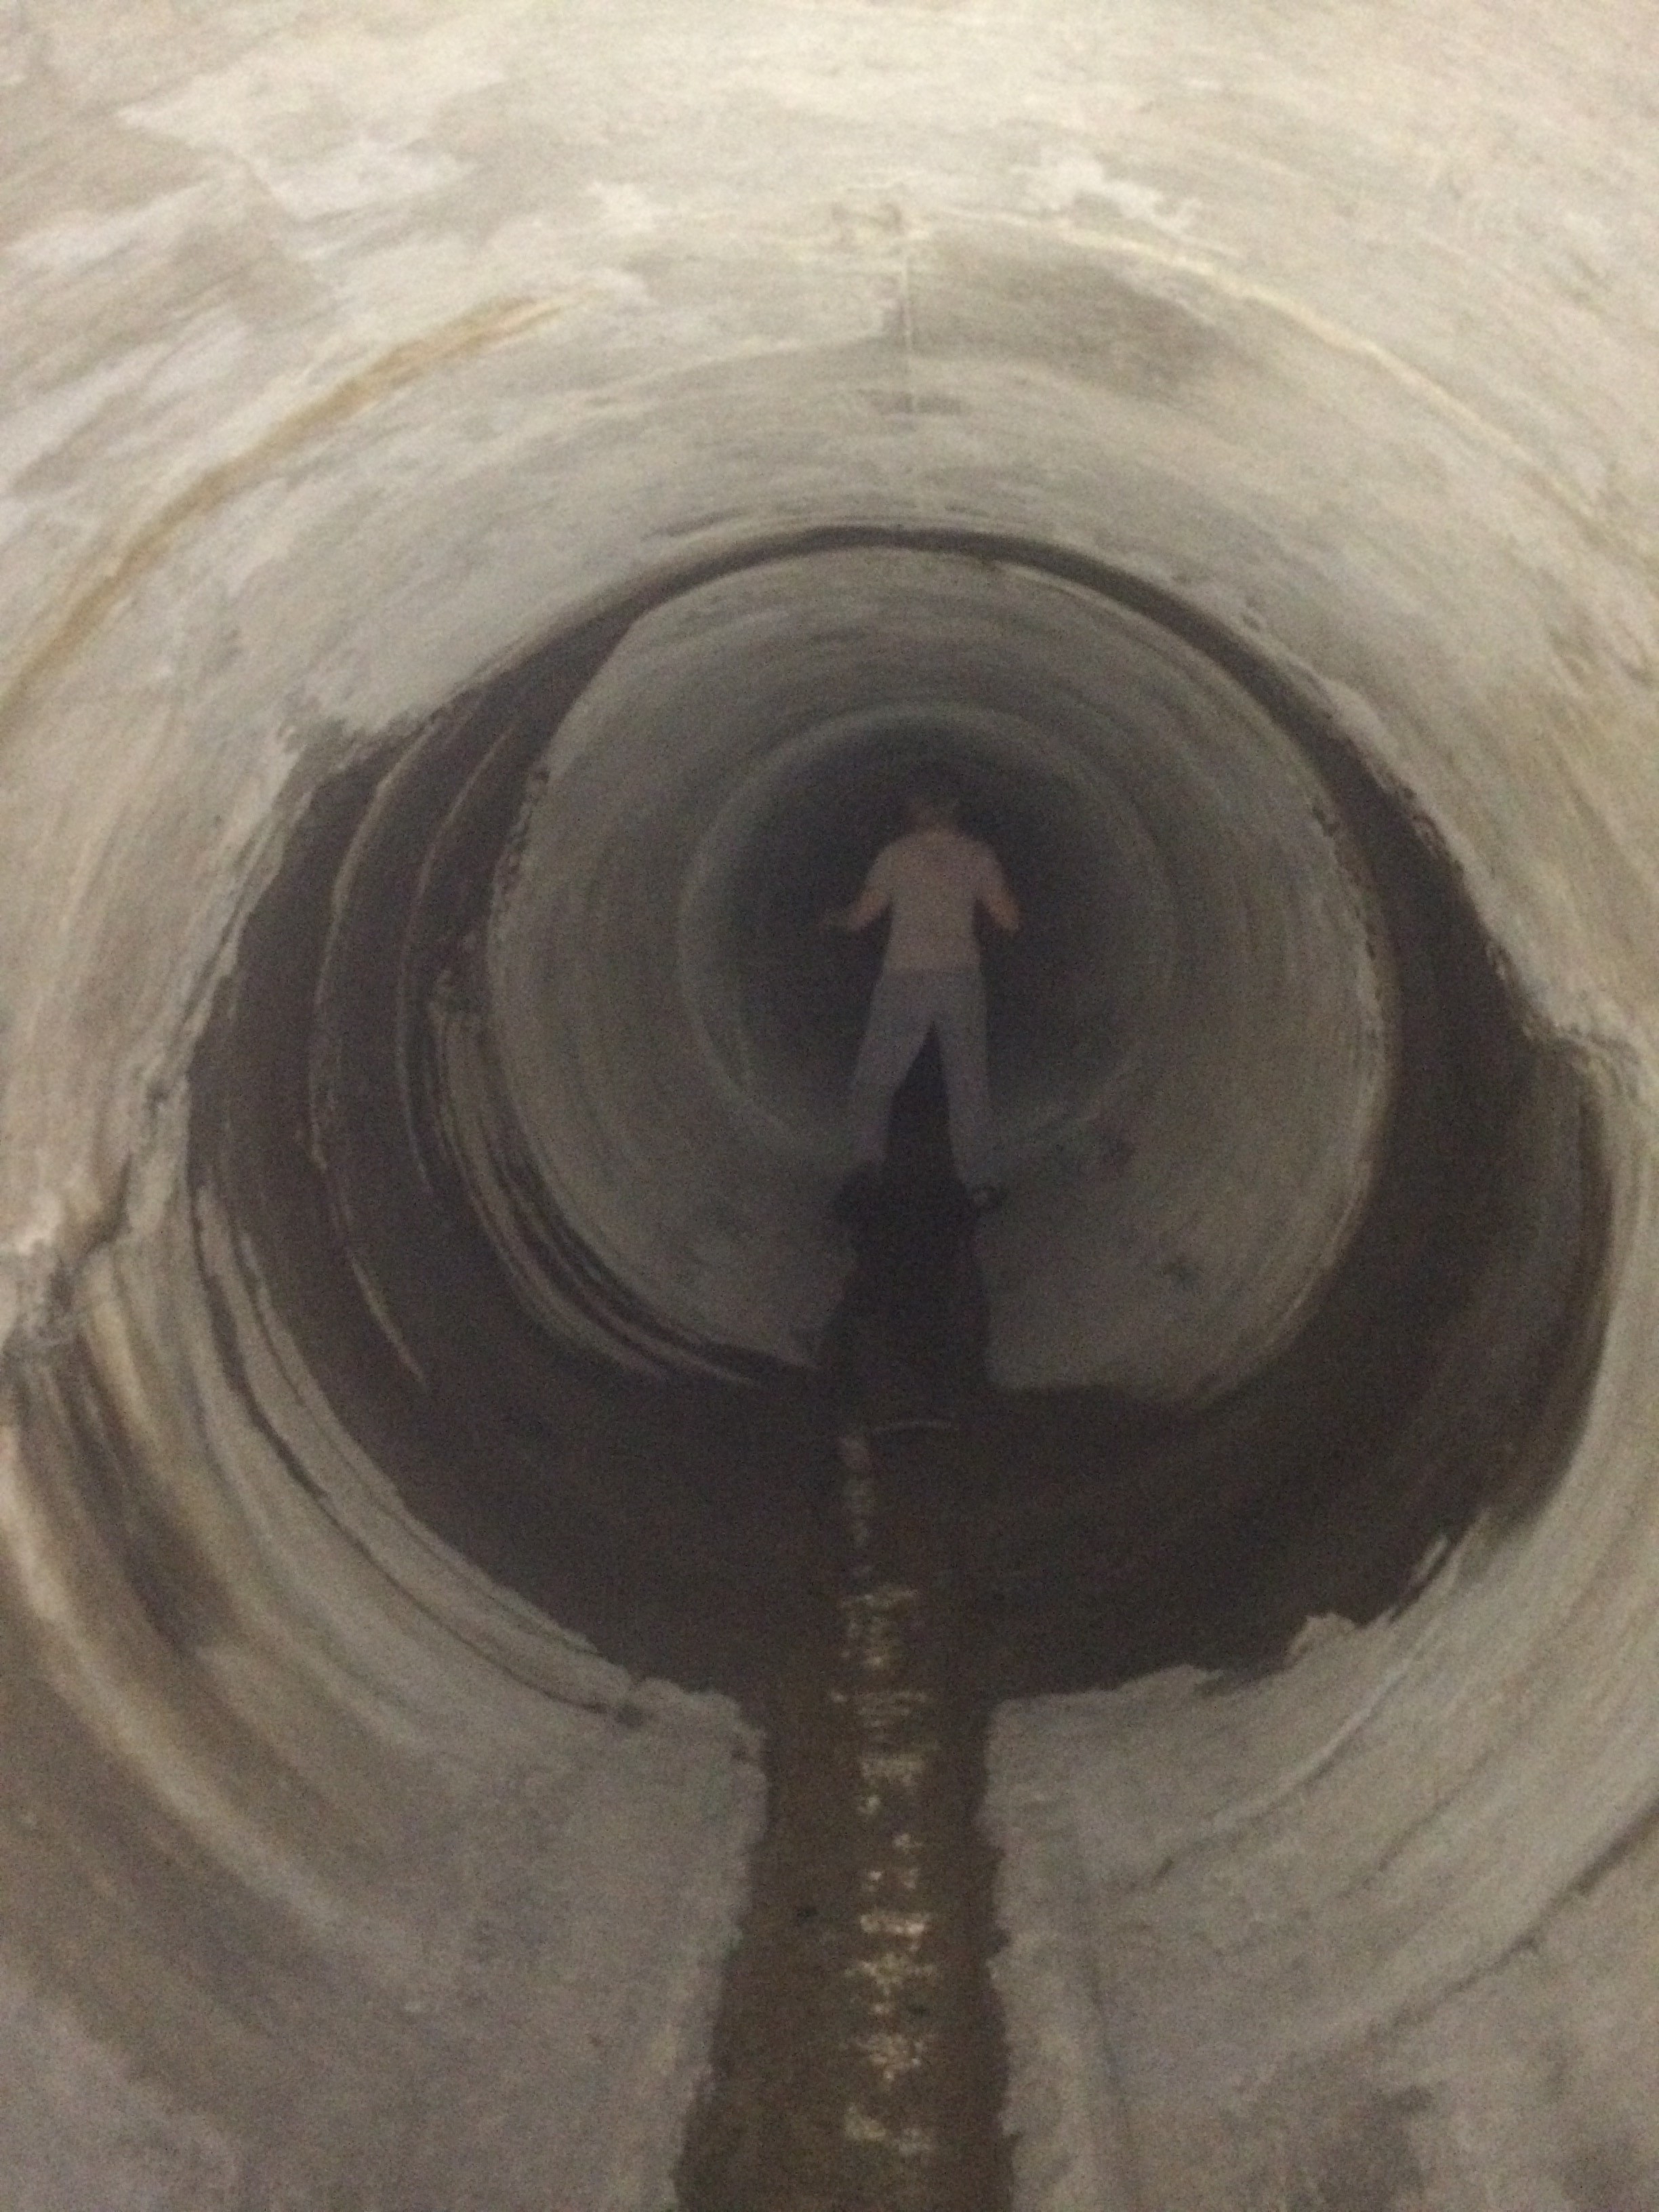
Kristin deep beneath the Texan surface
returning to the daylight
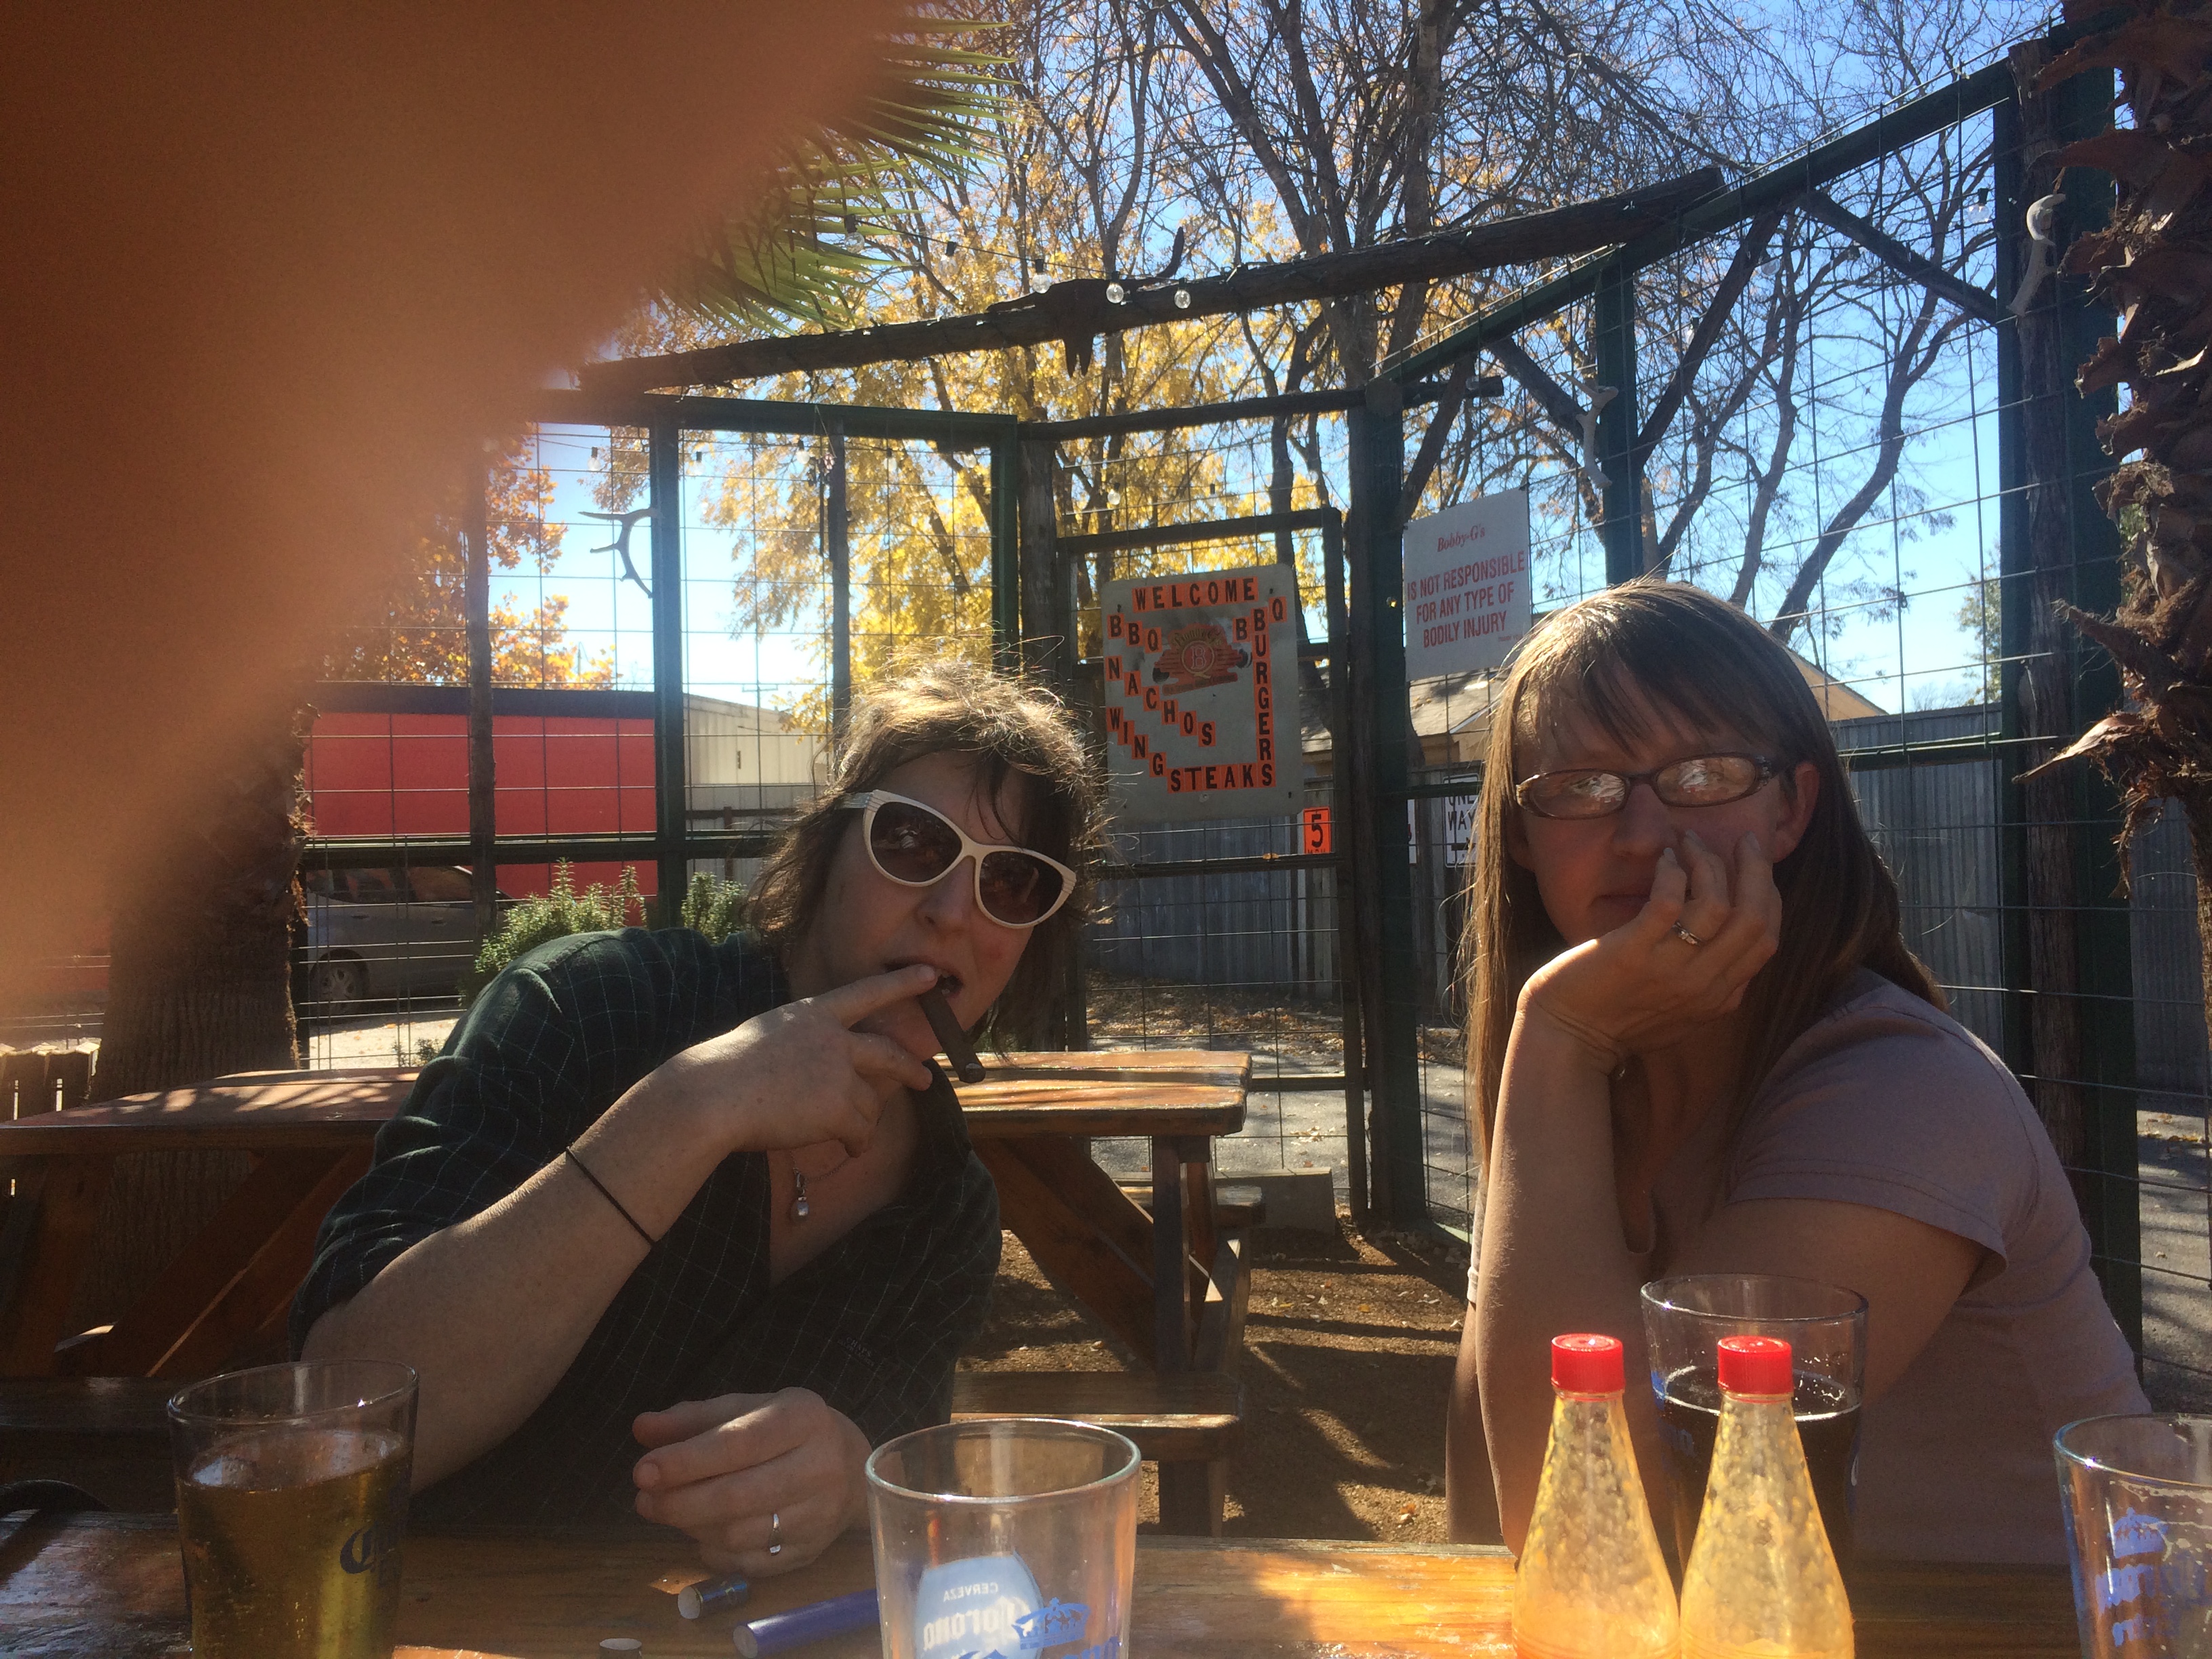
BBQ in San Antonio with Jess
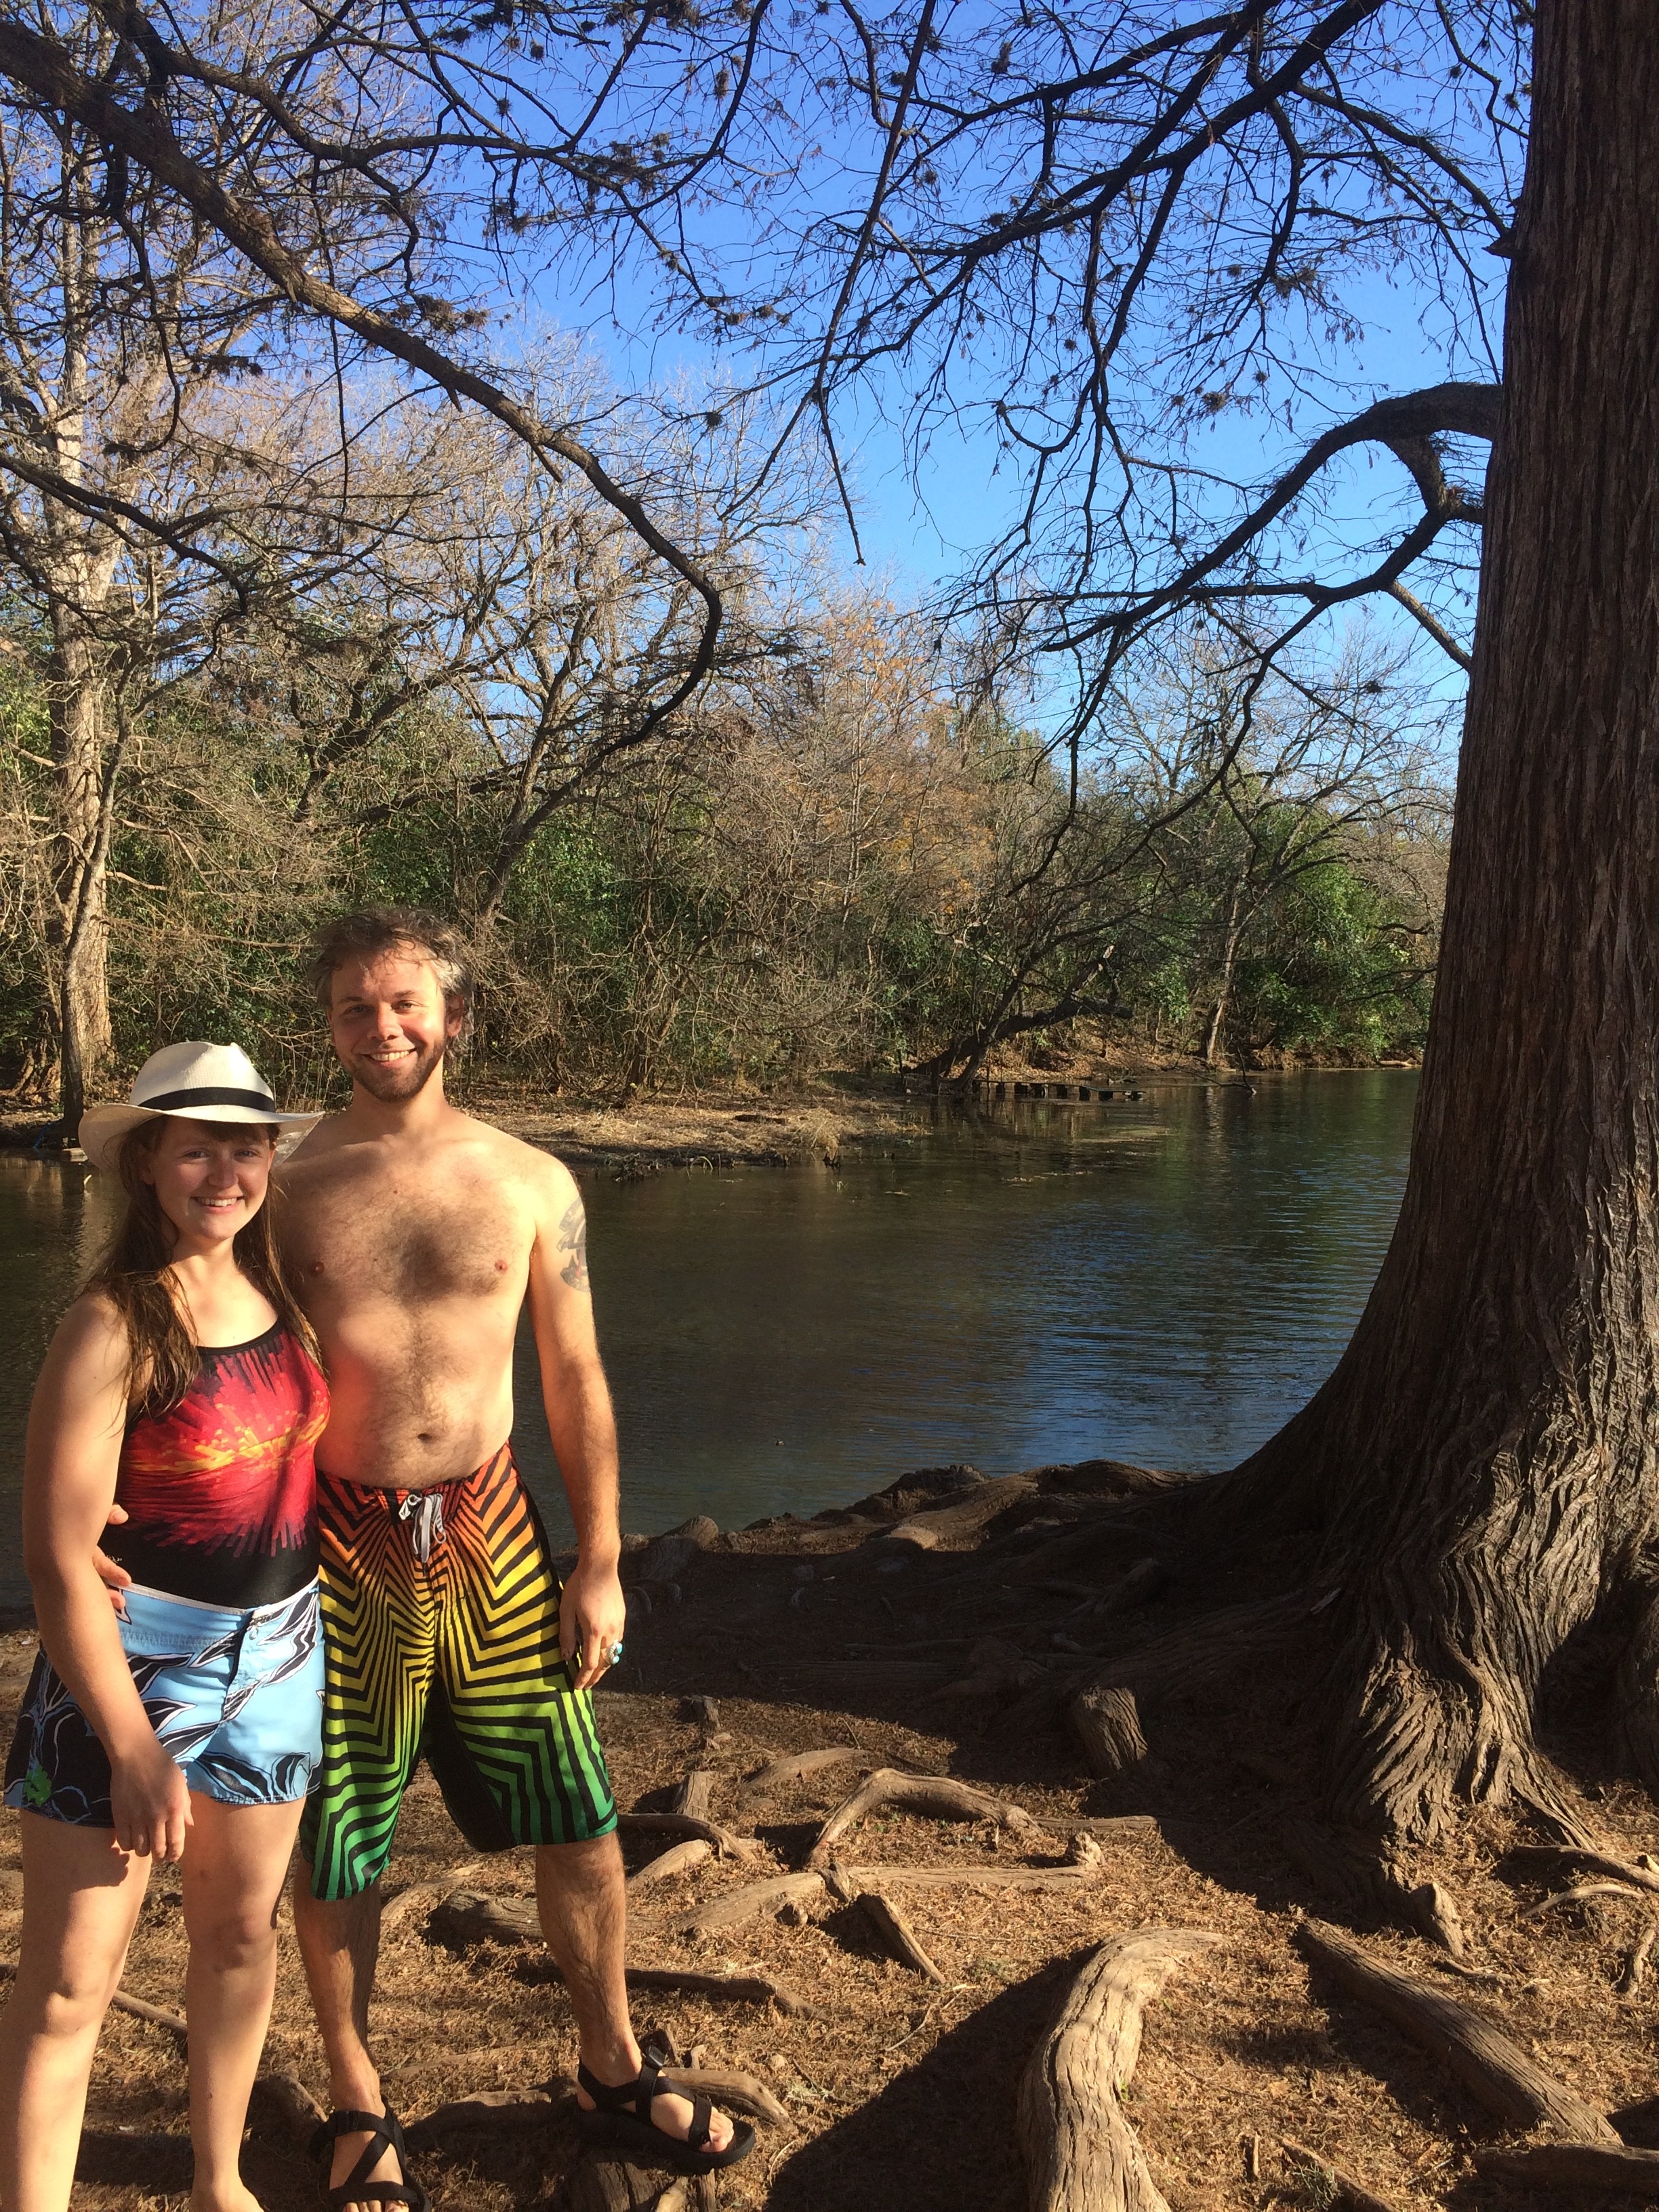
RIVER SWIMMING IN JANUARY FOR THE WIN! (the San Marcos river is 73 degrees all year long)things you see out the car window
herding Bertha across the farm to greener pastures we fenced in
Ali mortaring bottles into the wall
excavating the ruins of an old homestead from the cacti it was buried in
seed starting
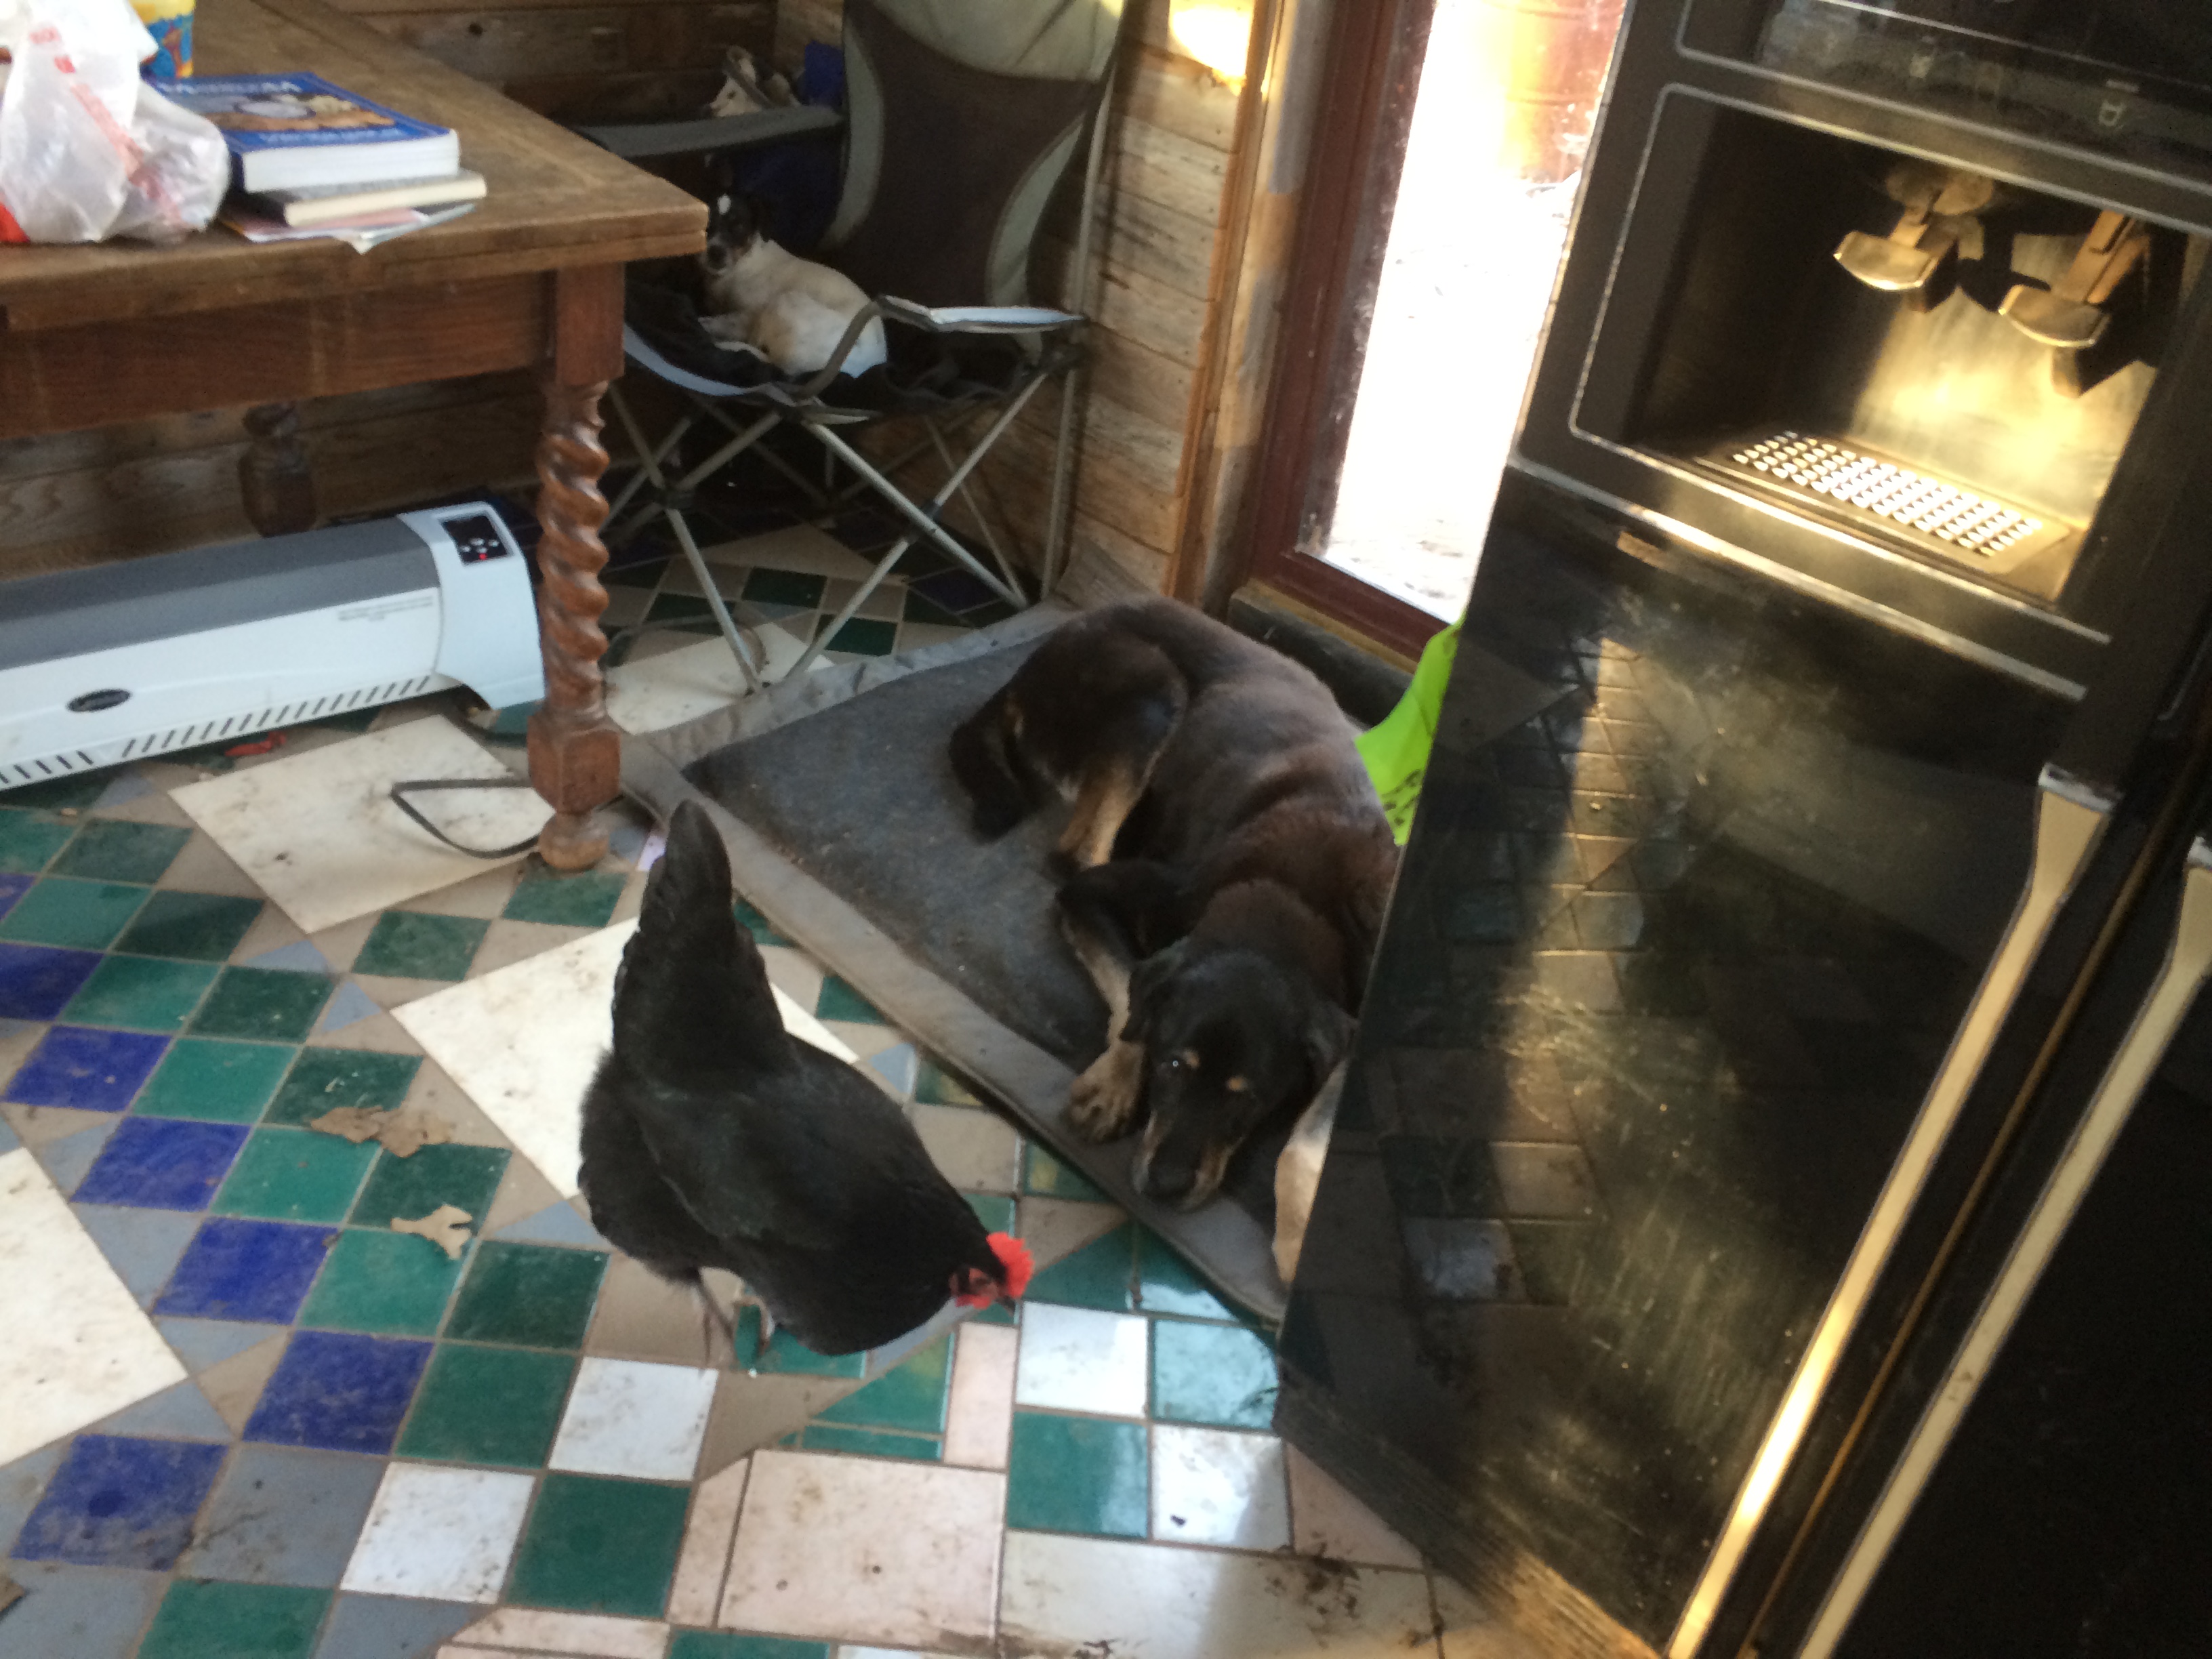
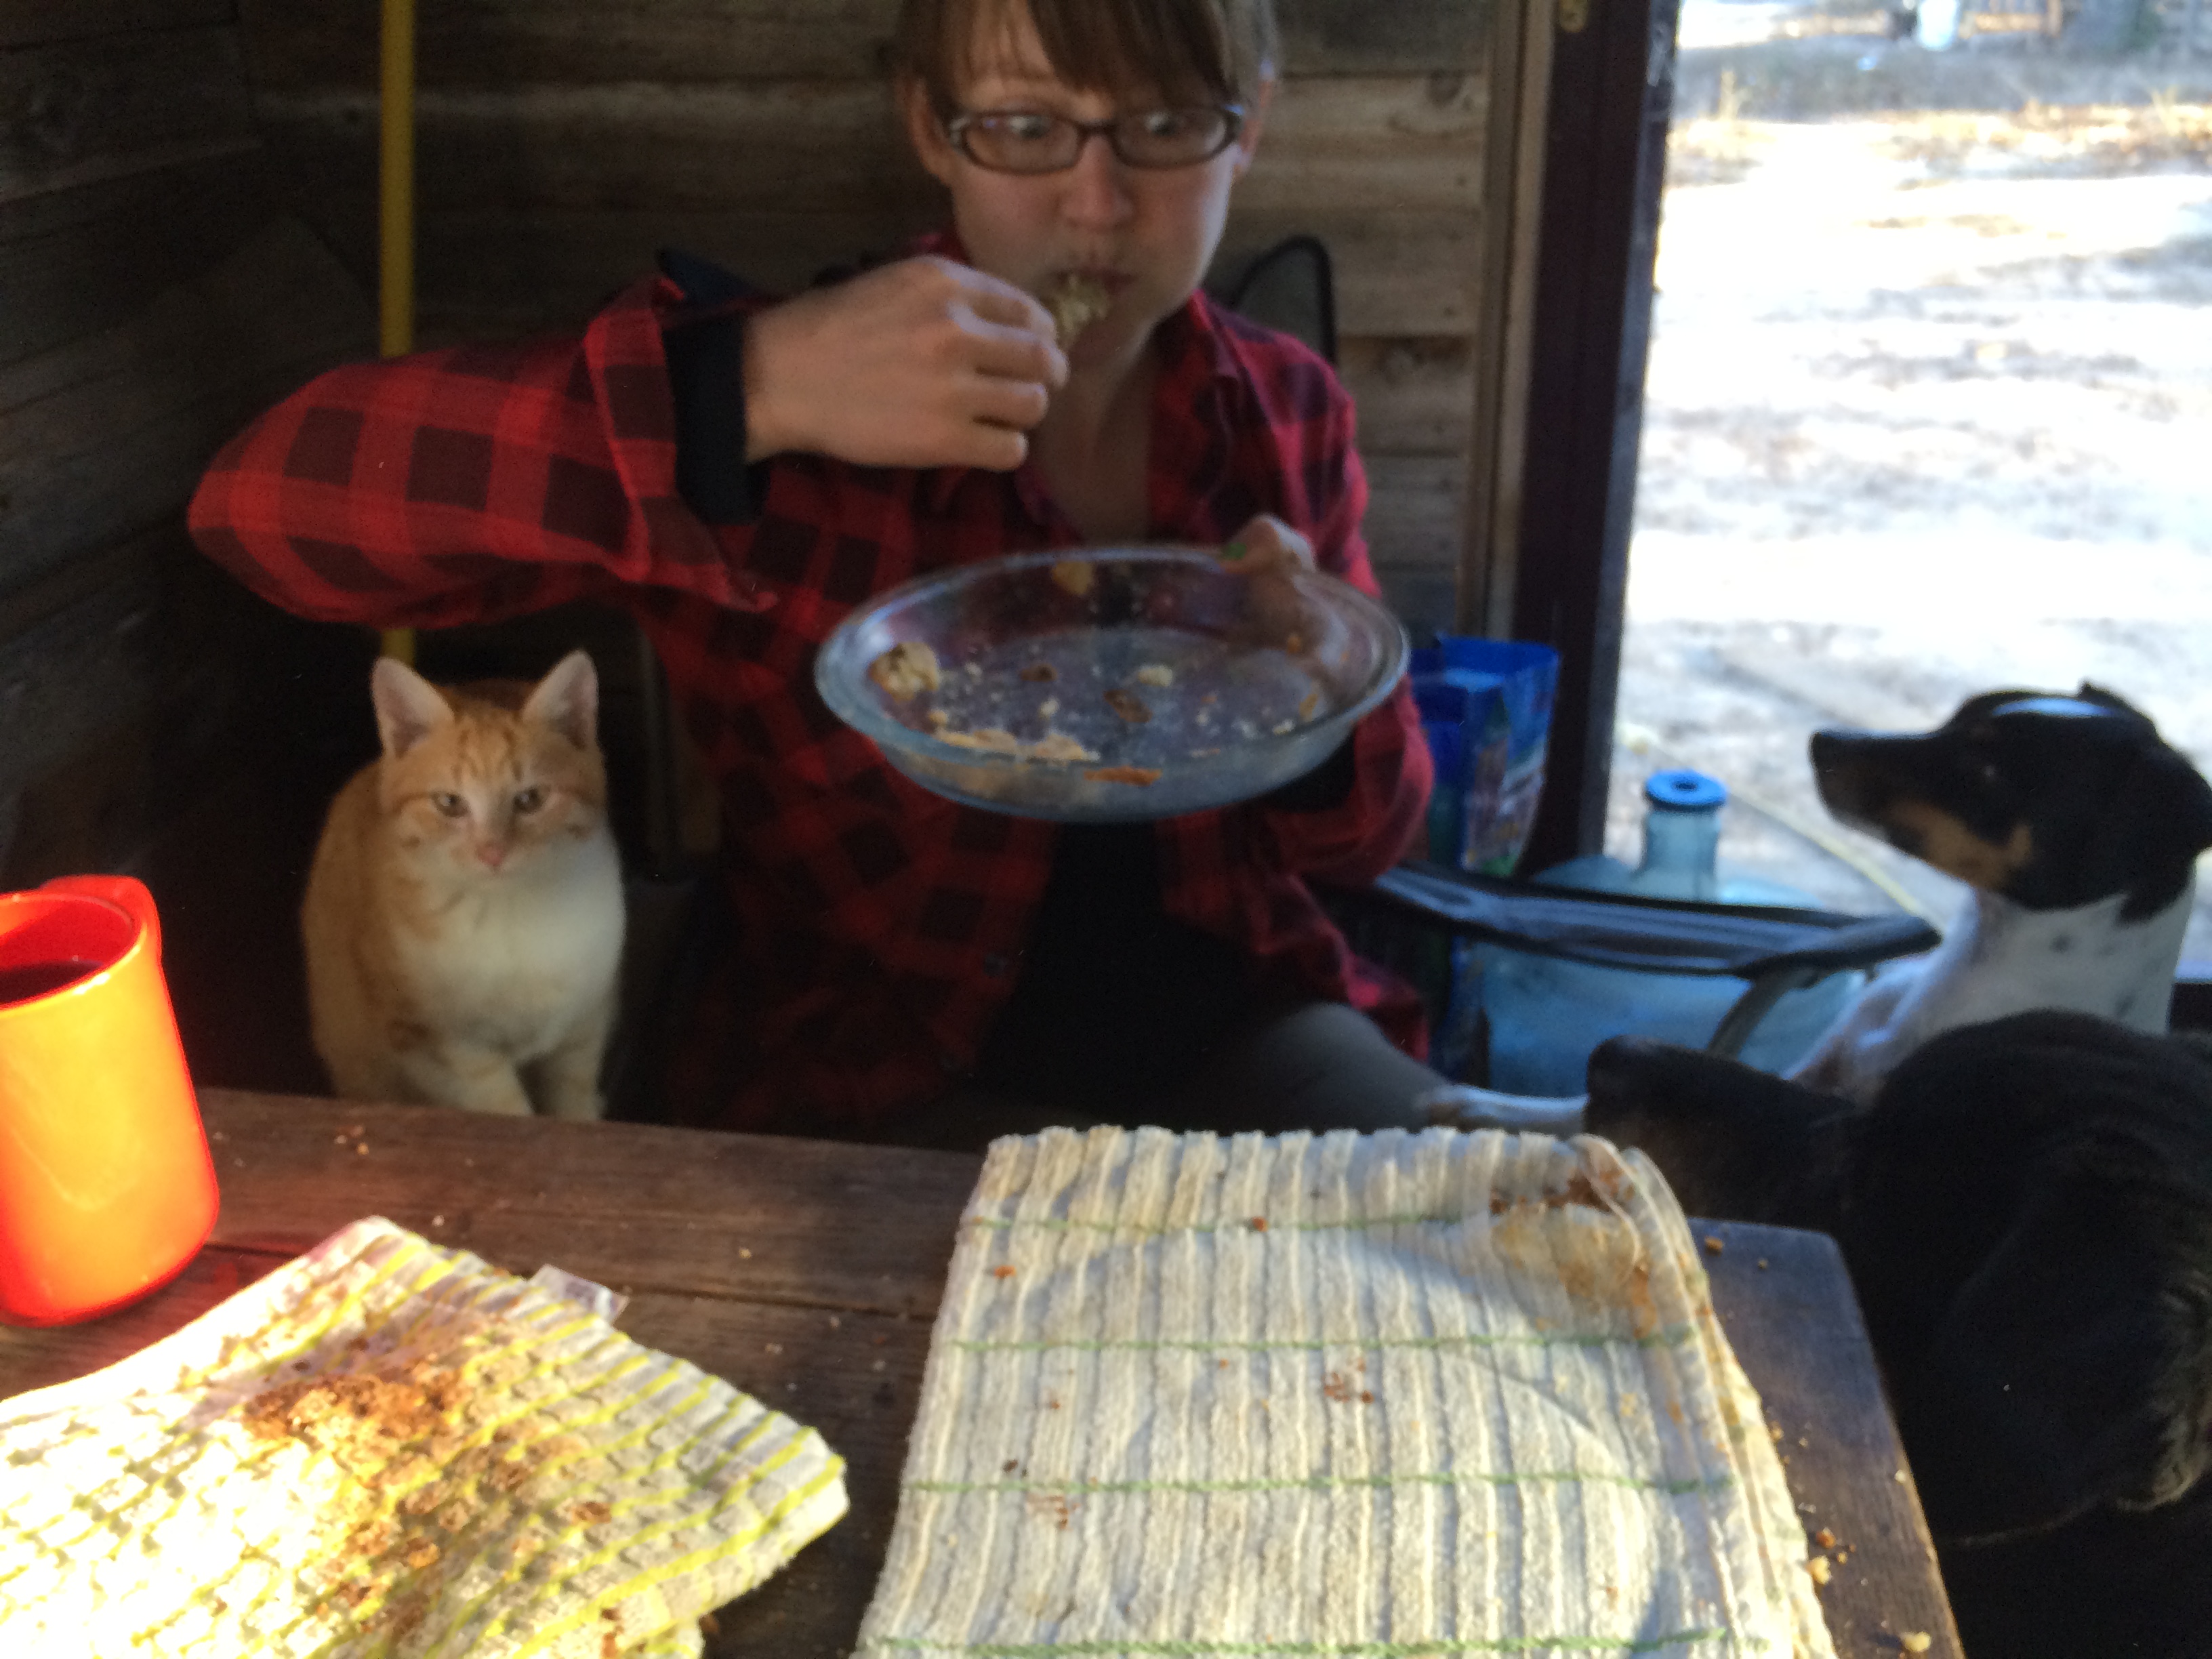
Sunny & Cleo in the kitchen
the newly-cleaned and organized tiny kitchen, ready for seed trays
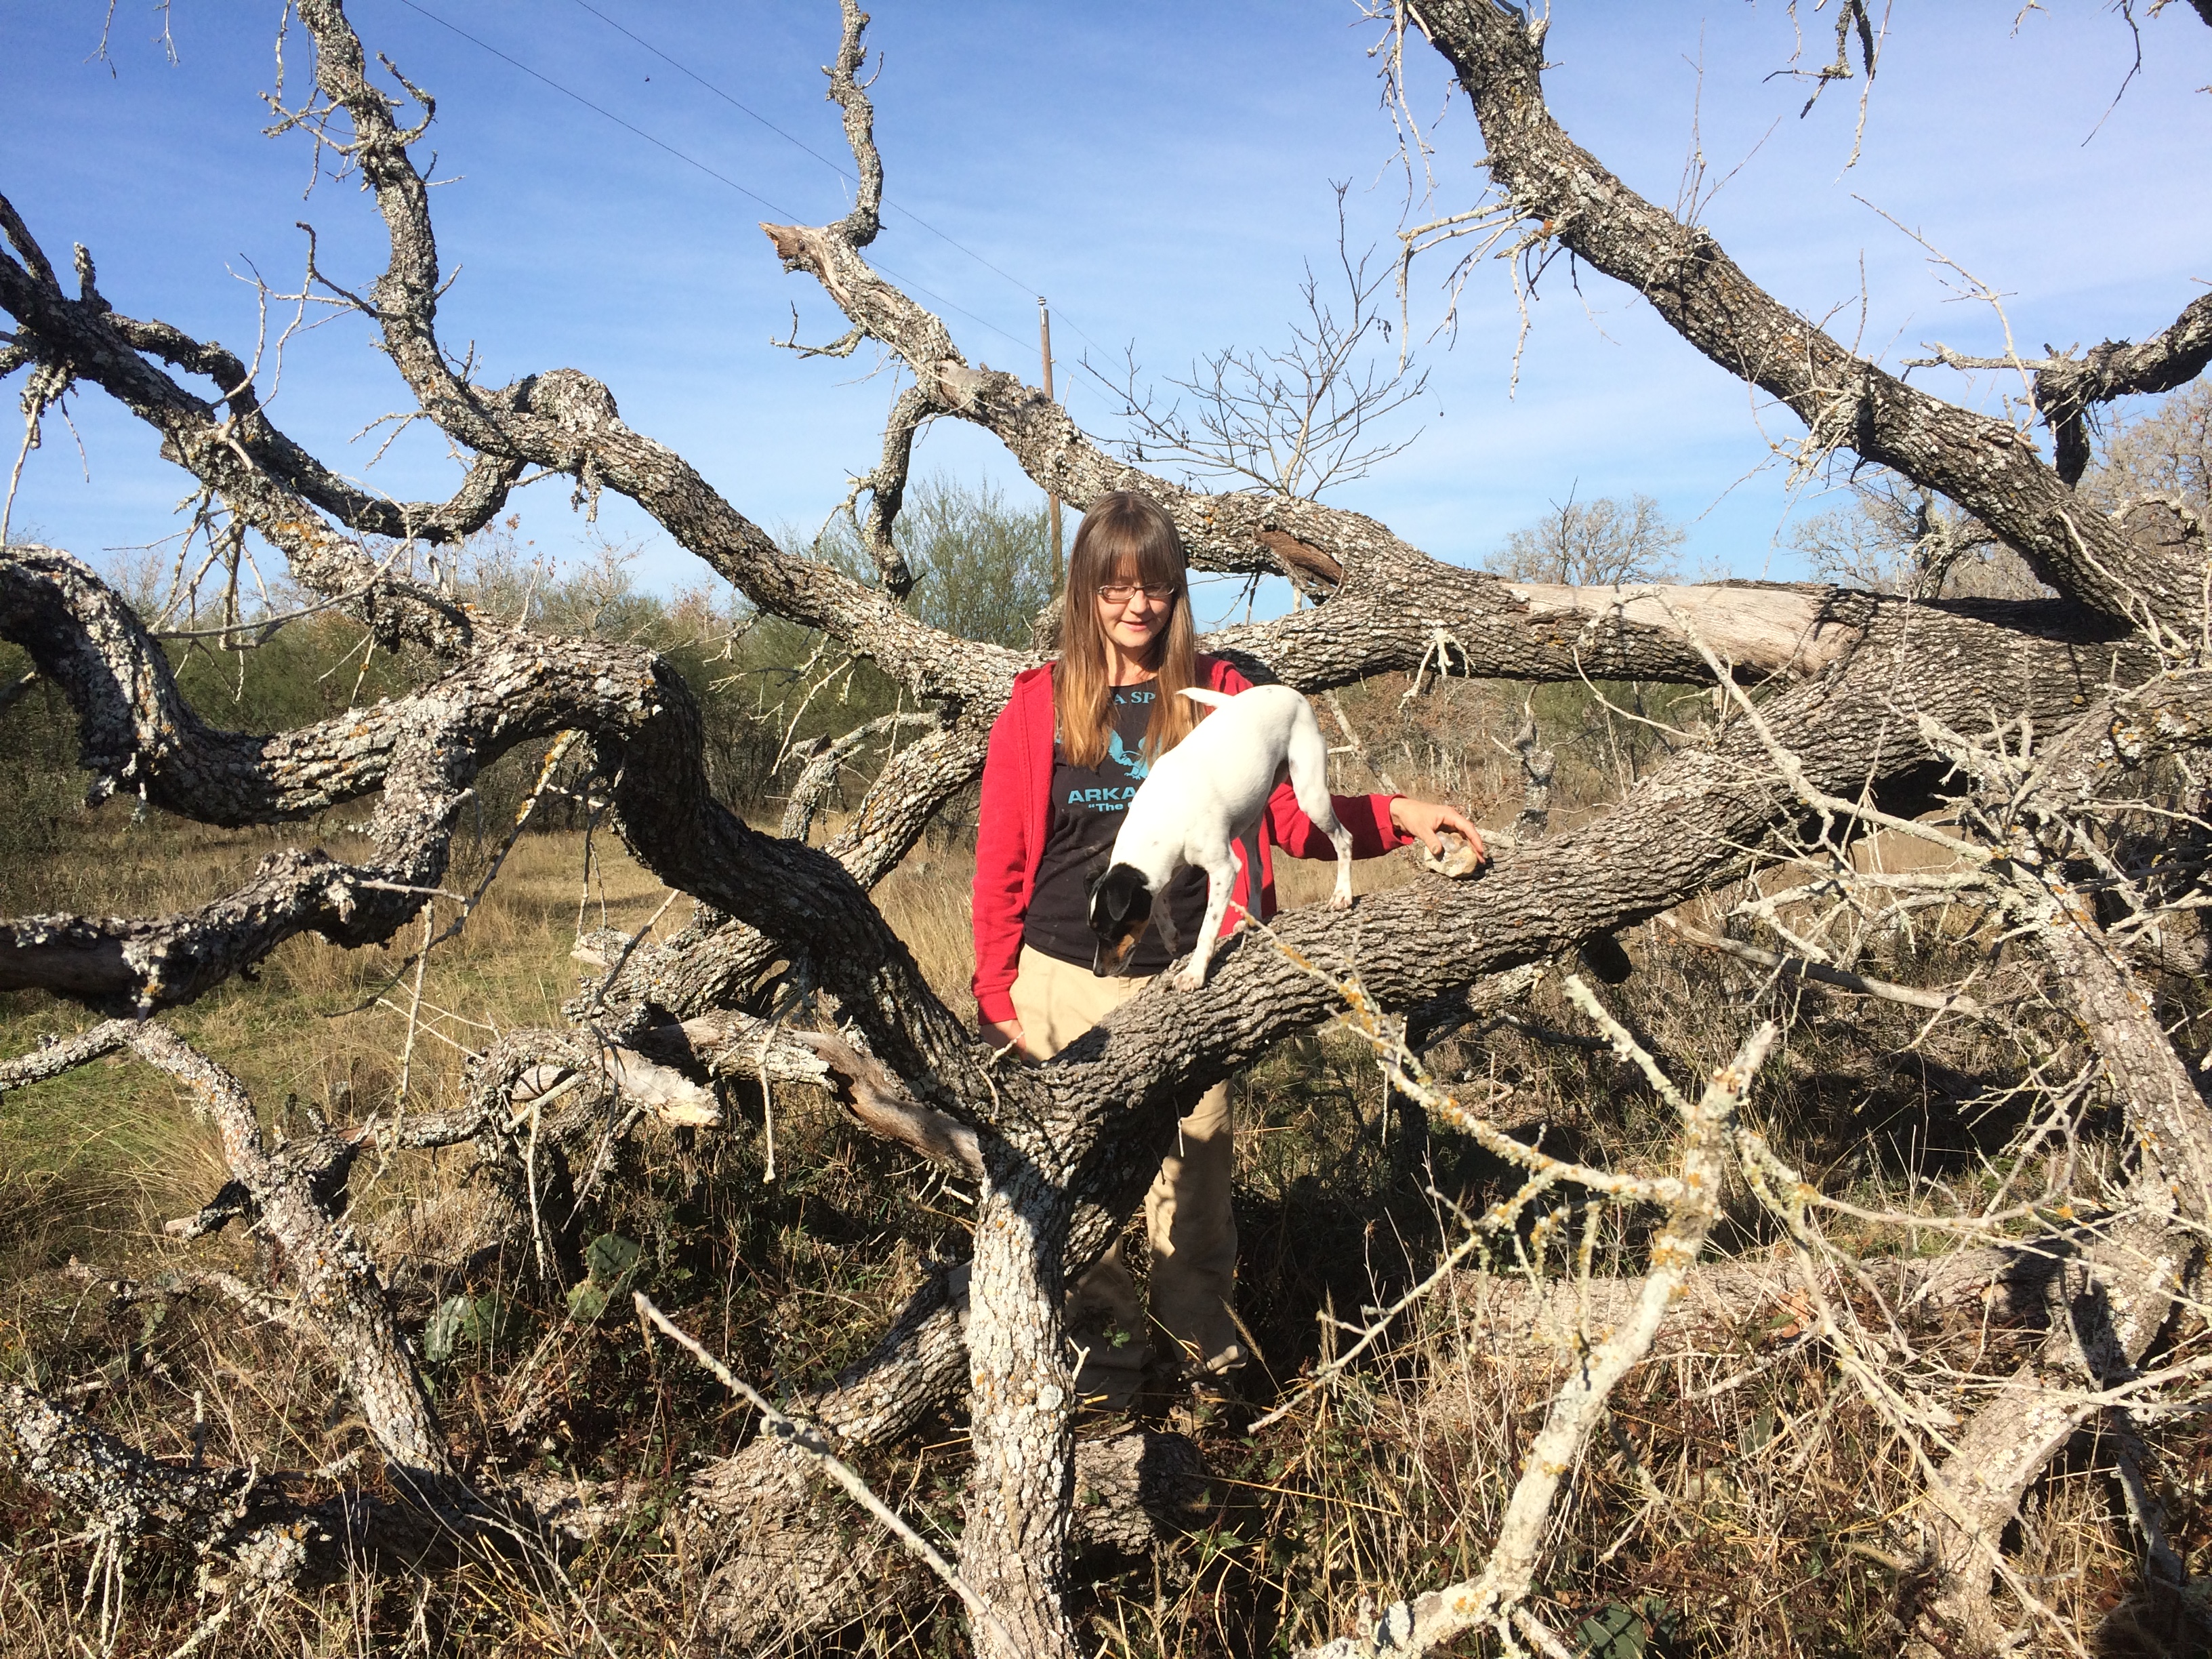
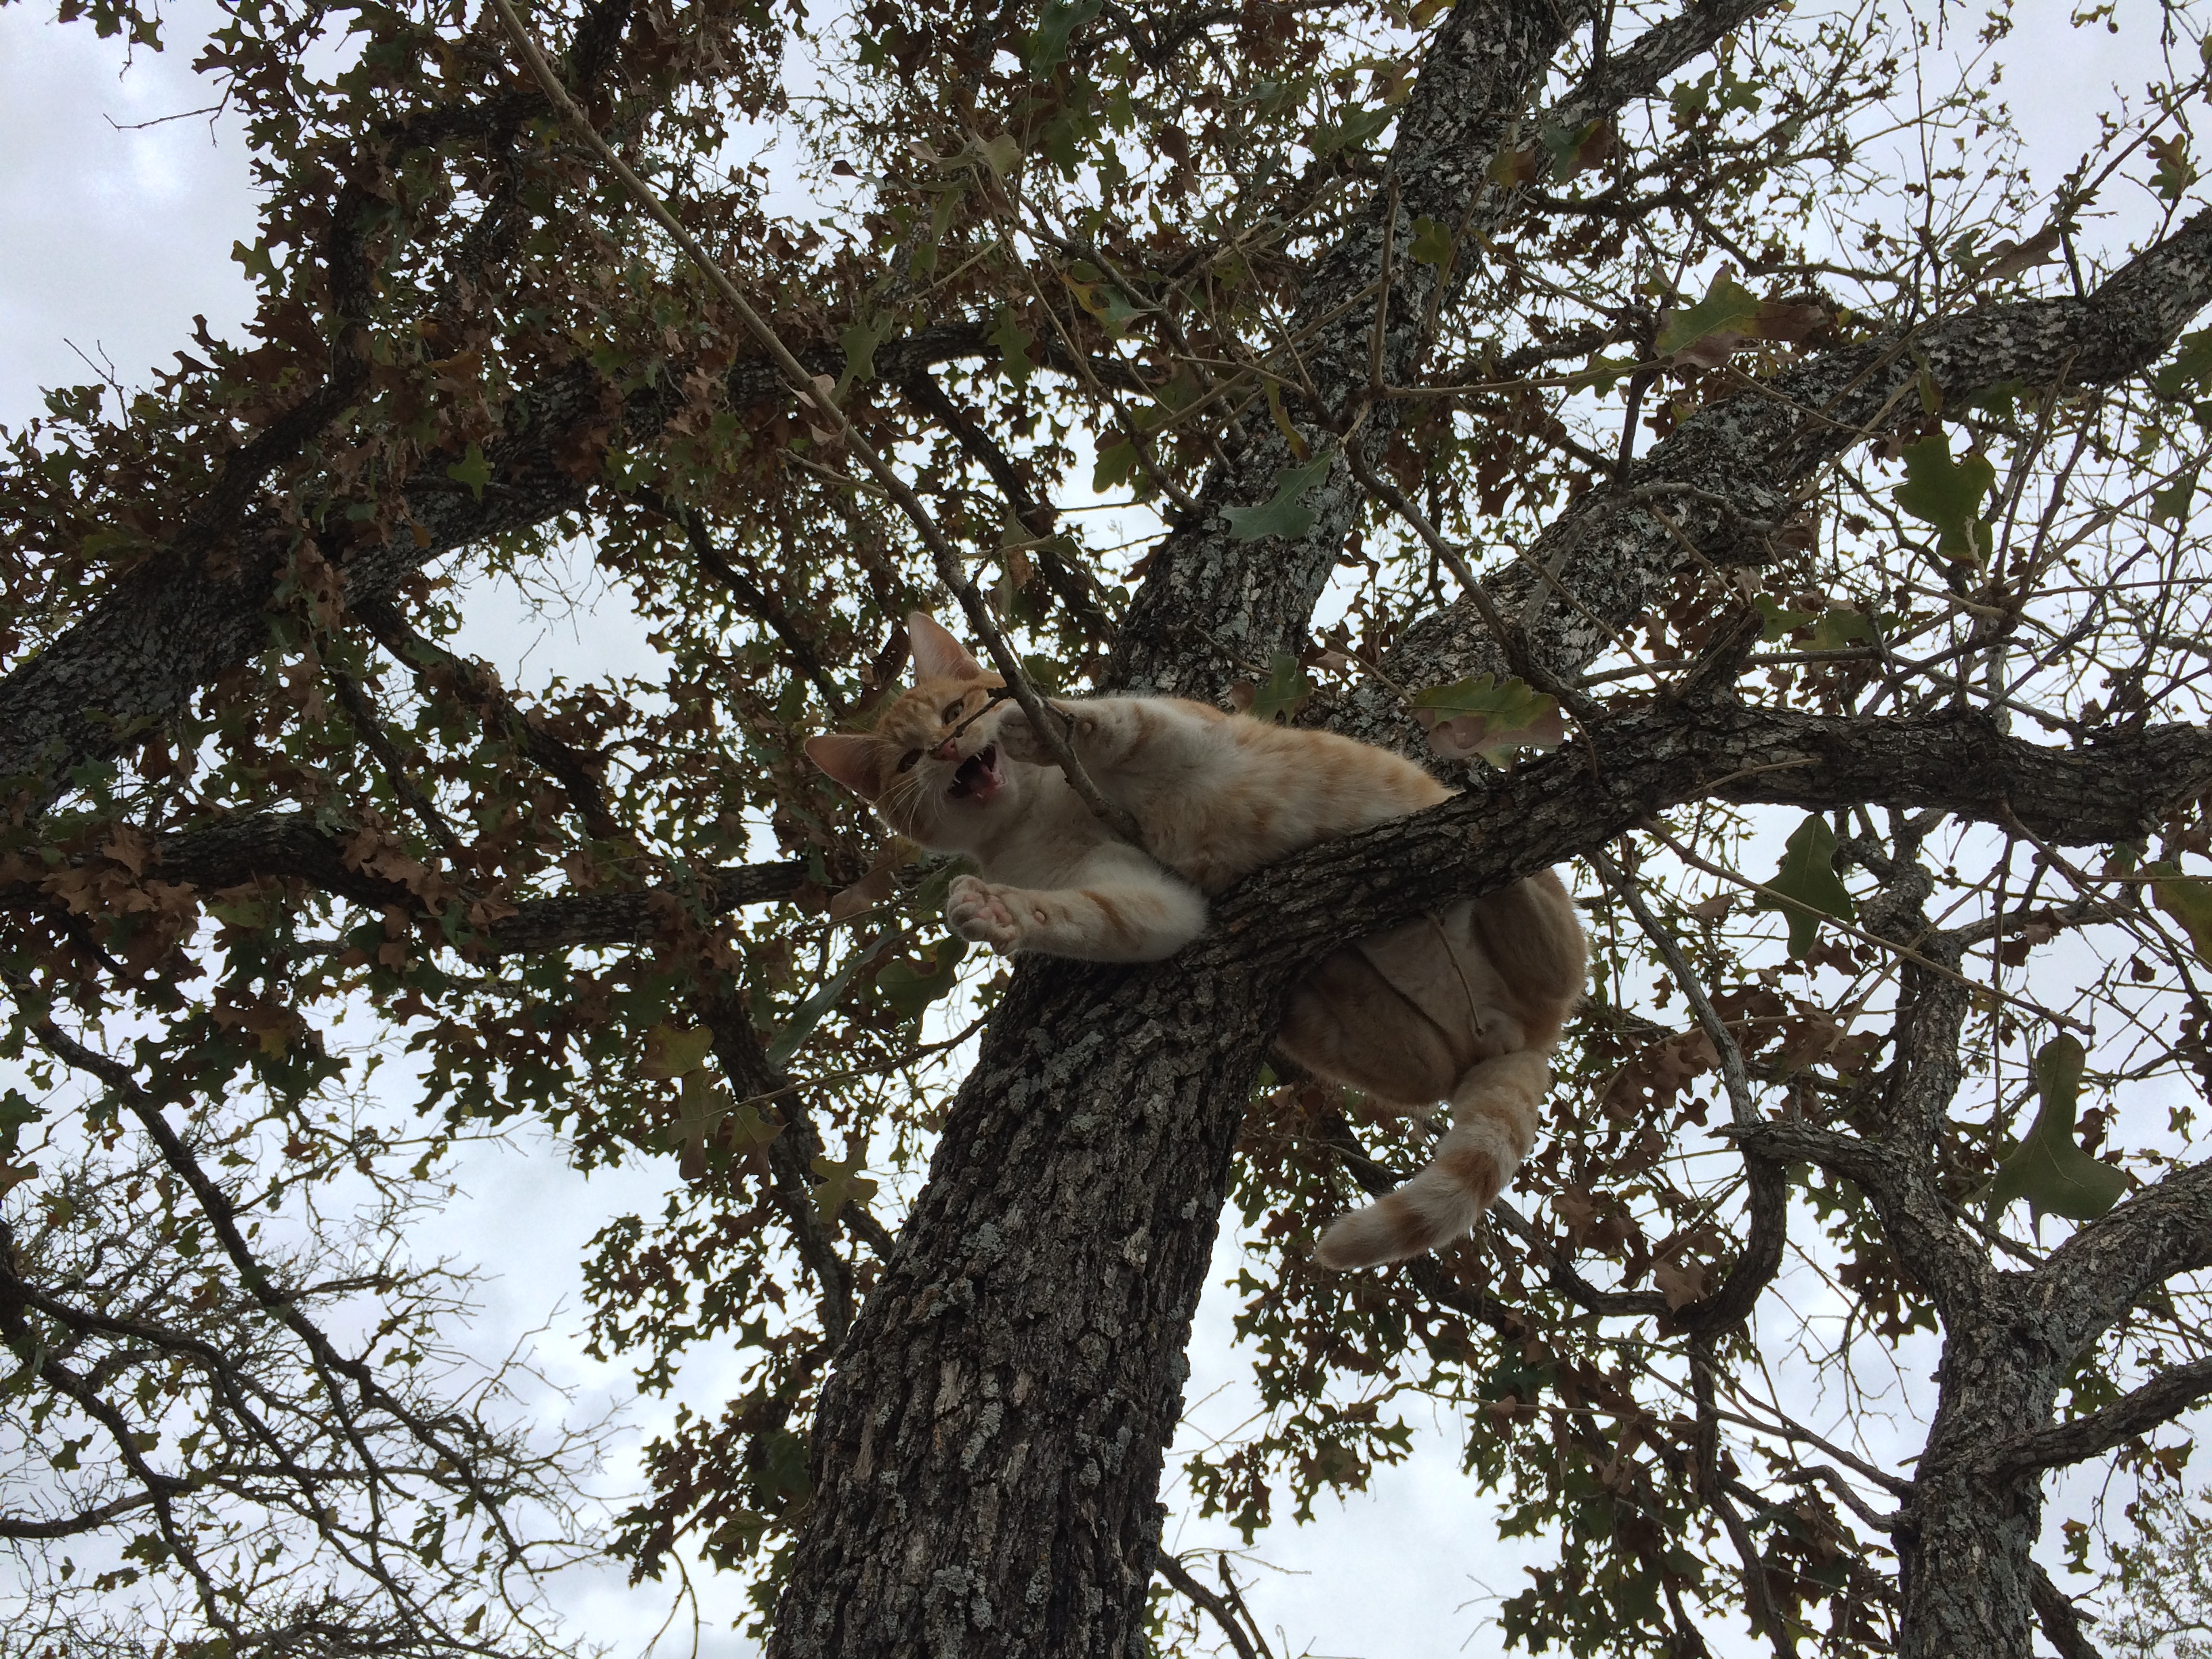
Widget tries out the arboreal life
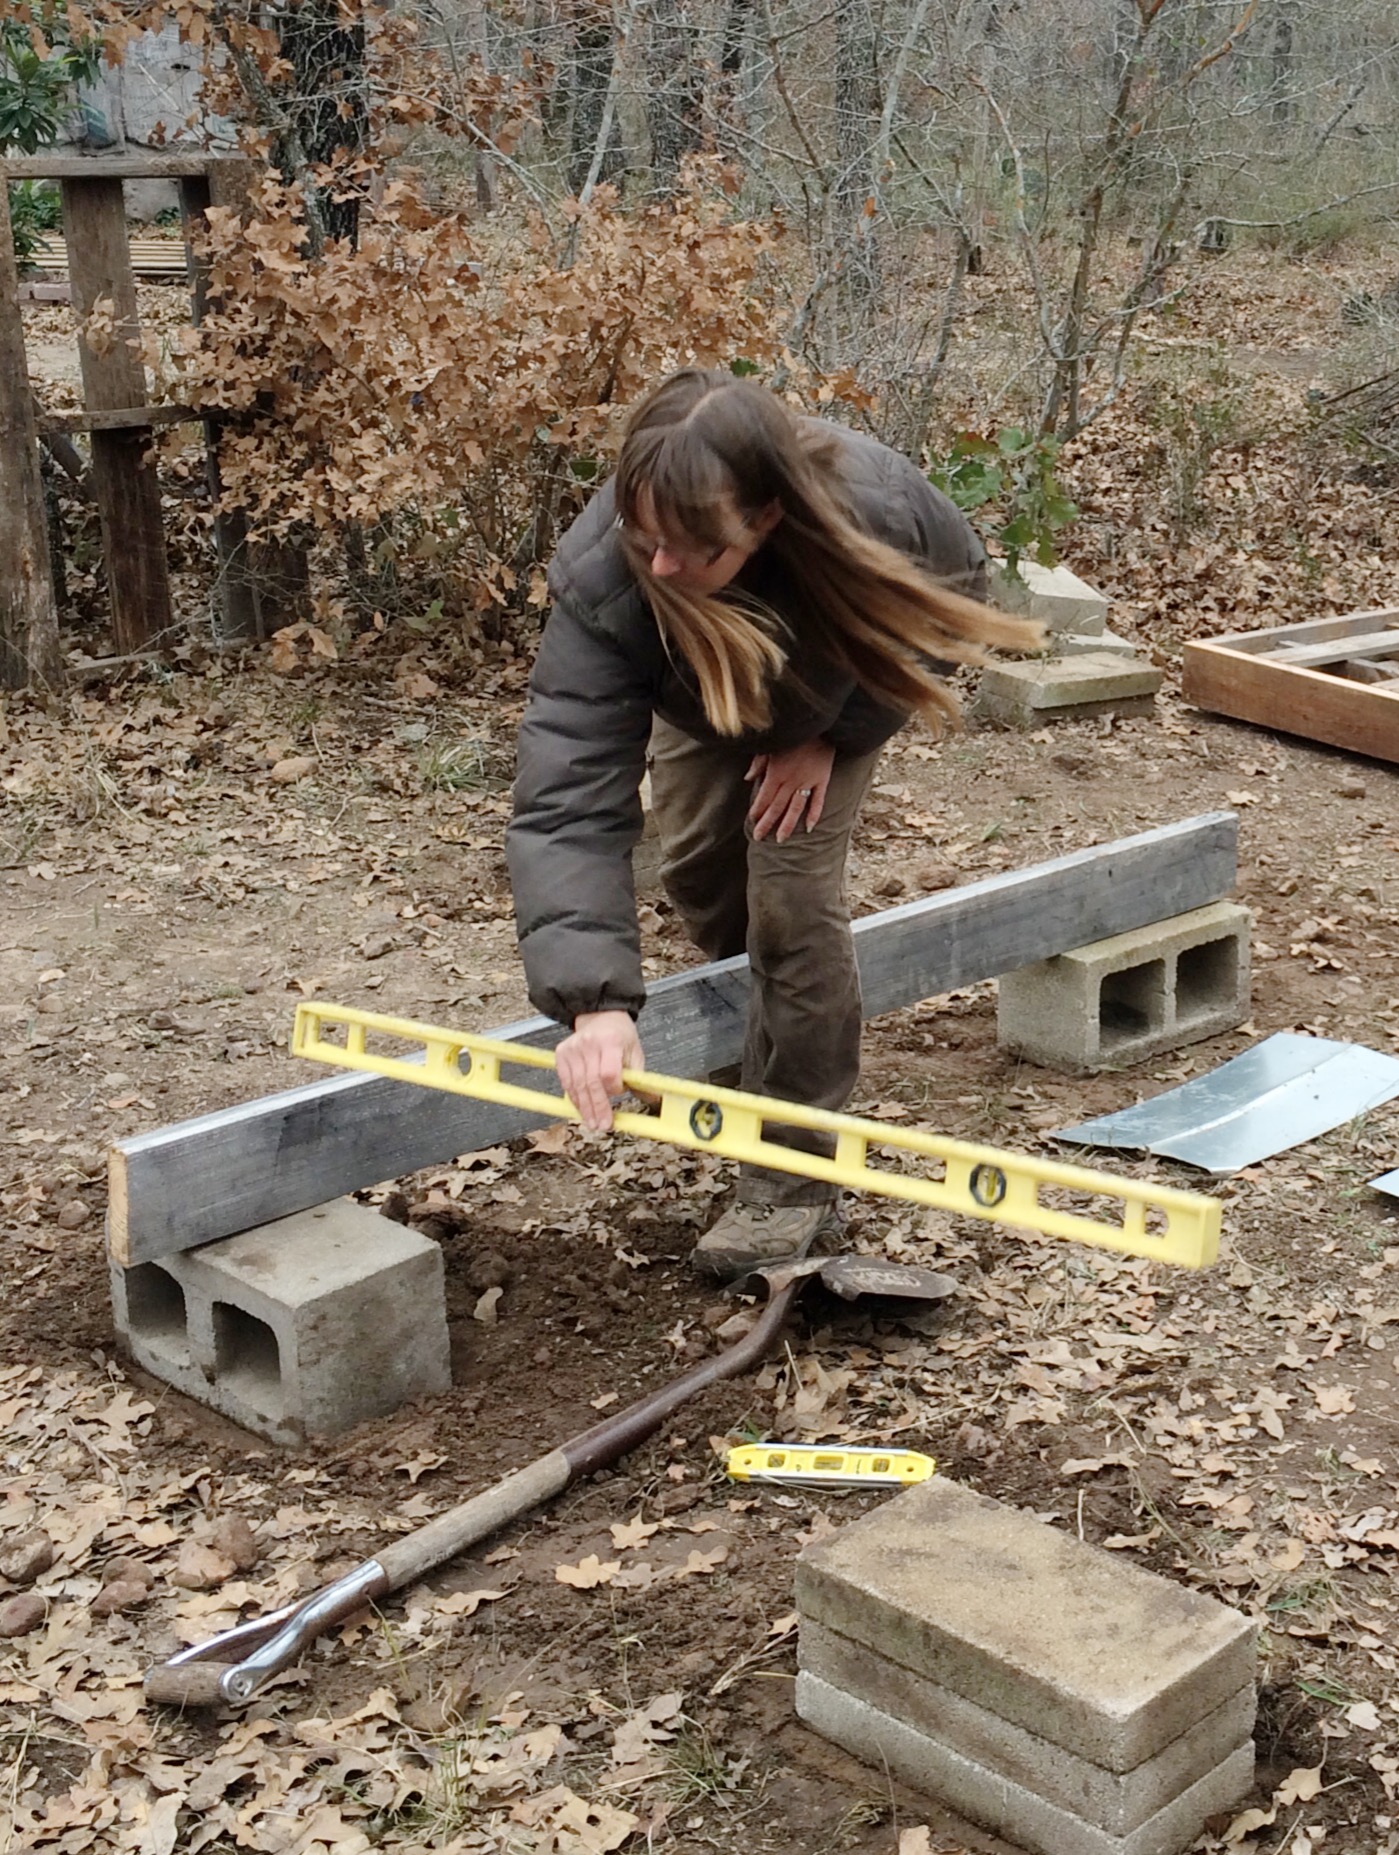
leveling the foundation for a new structure
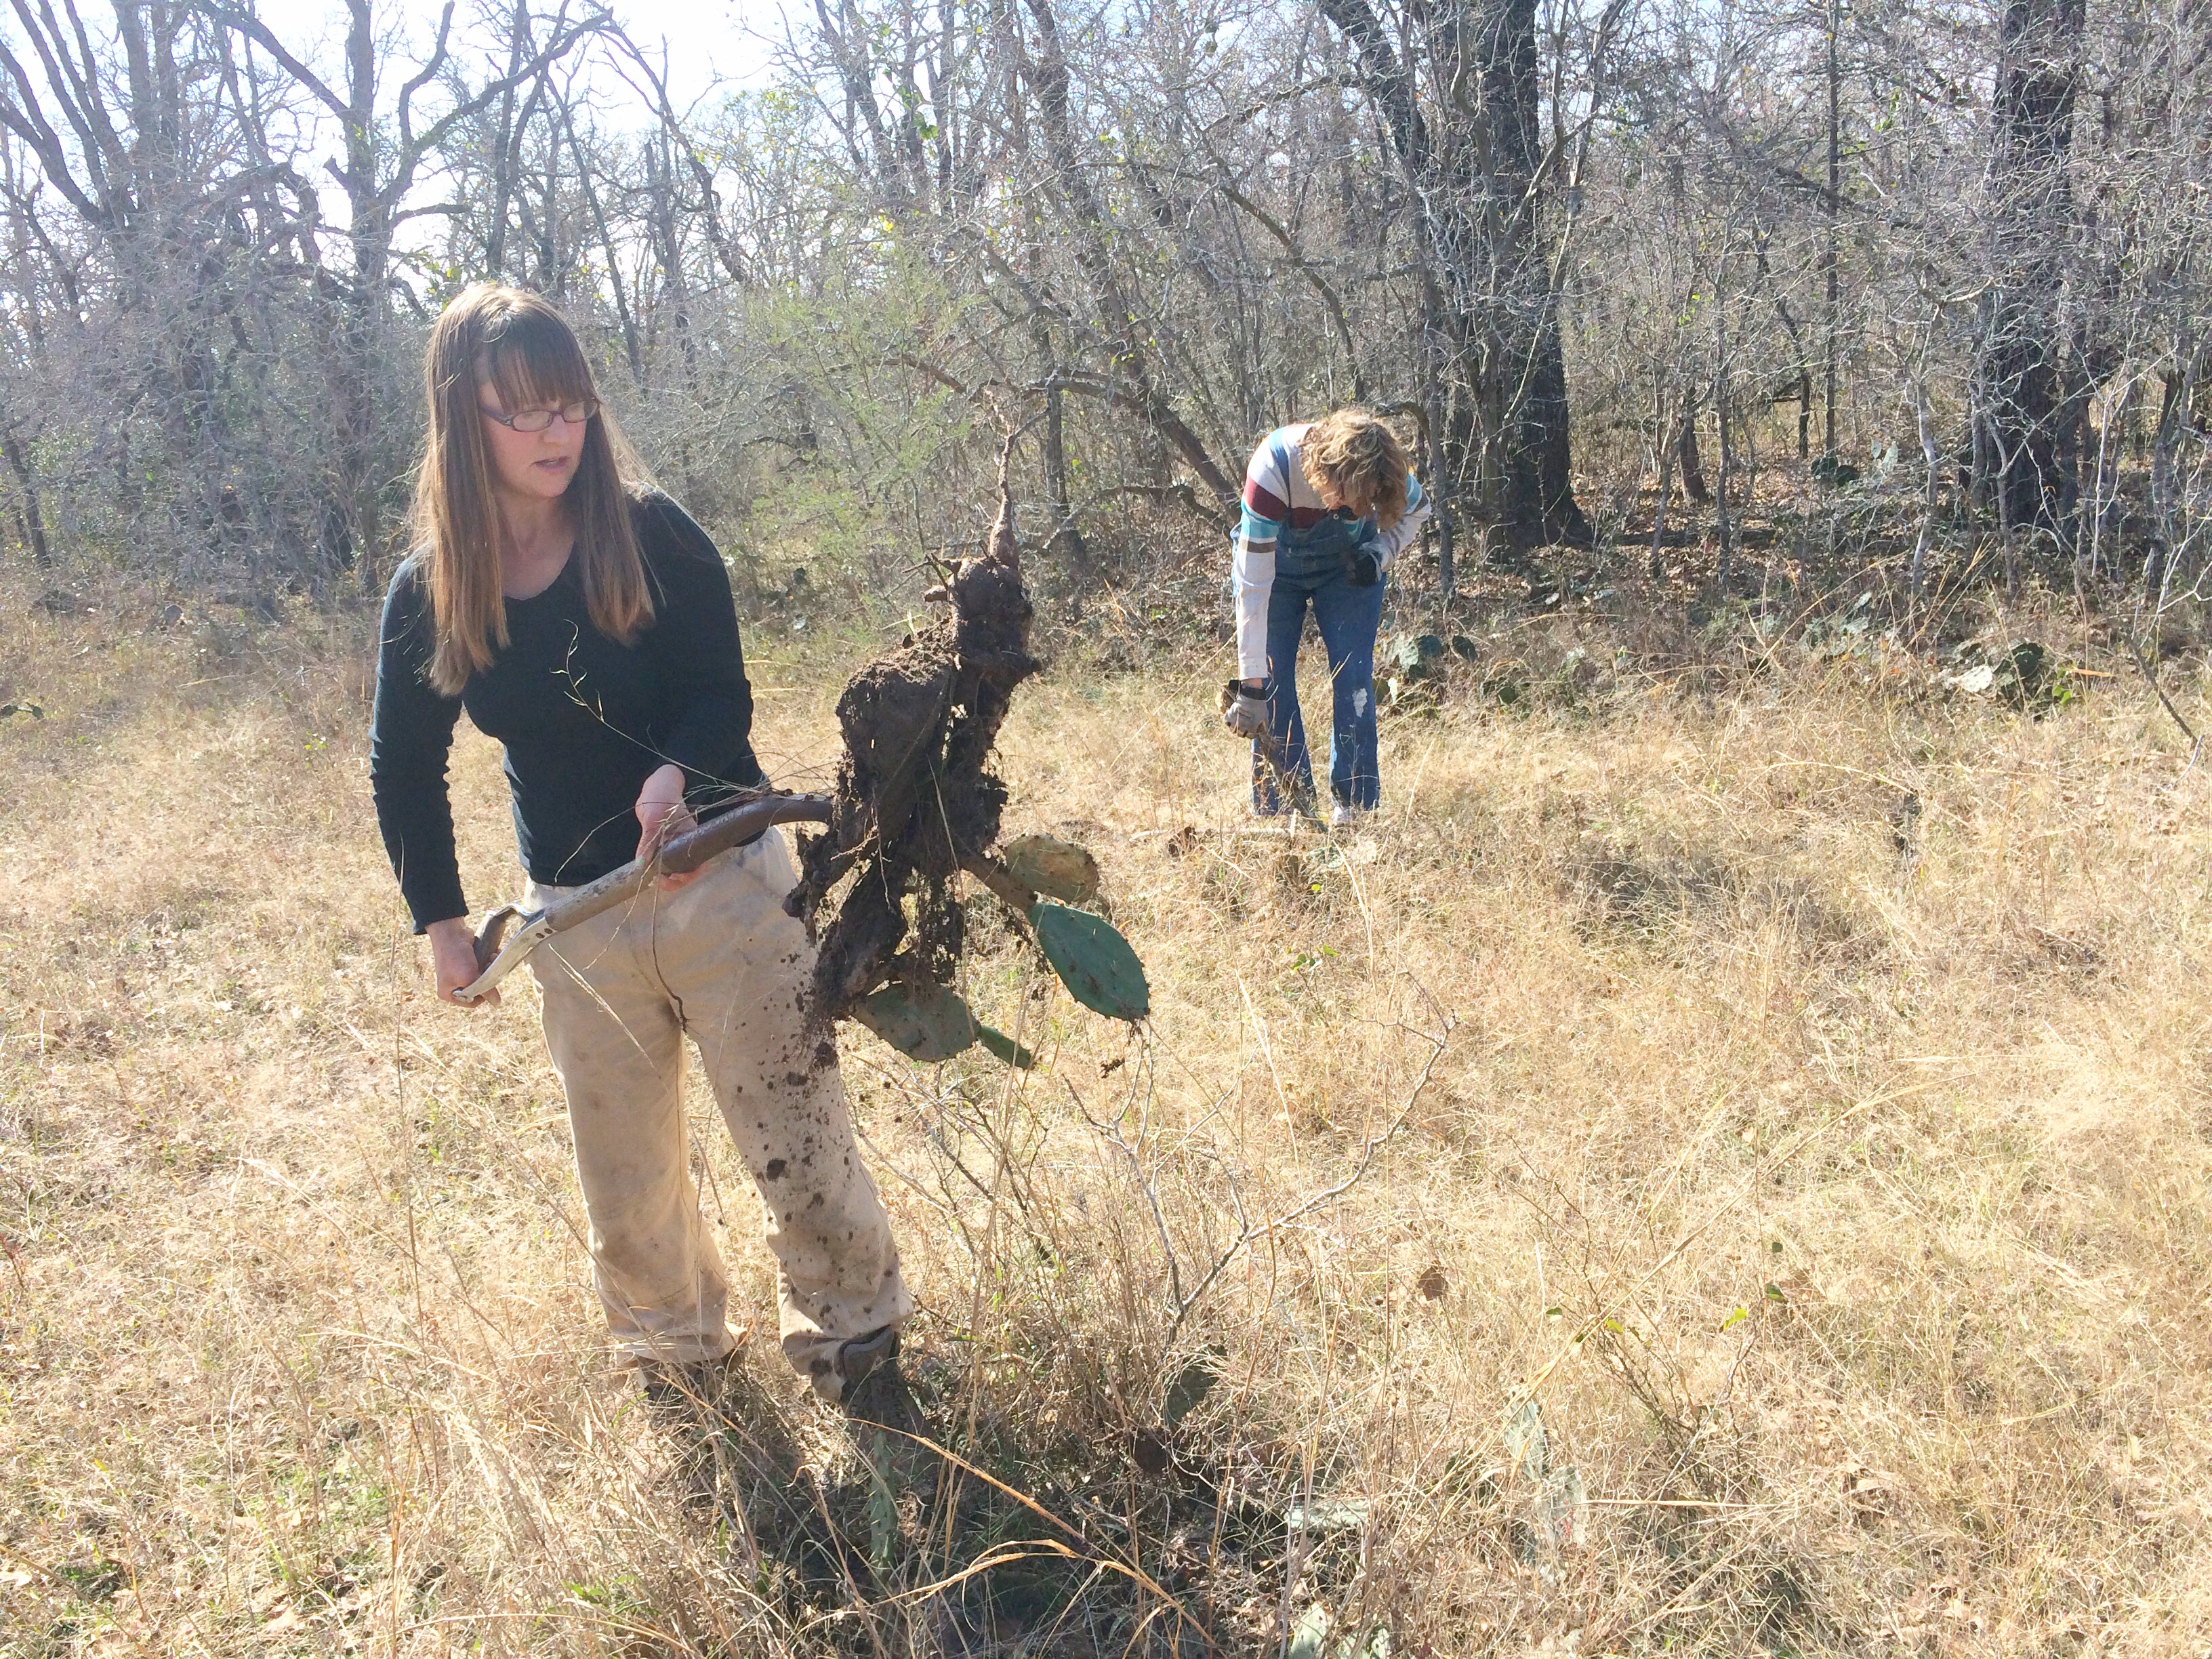
clearing cacti from the new field
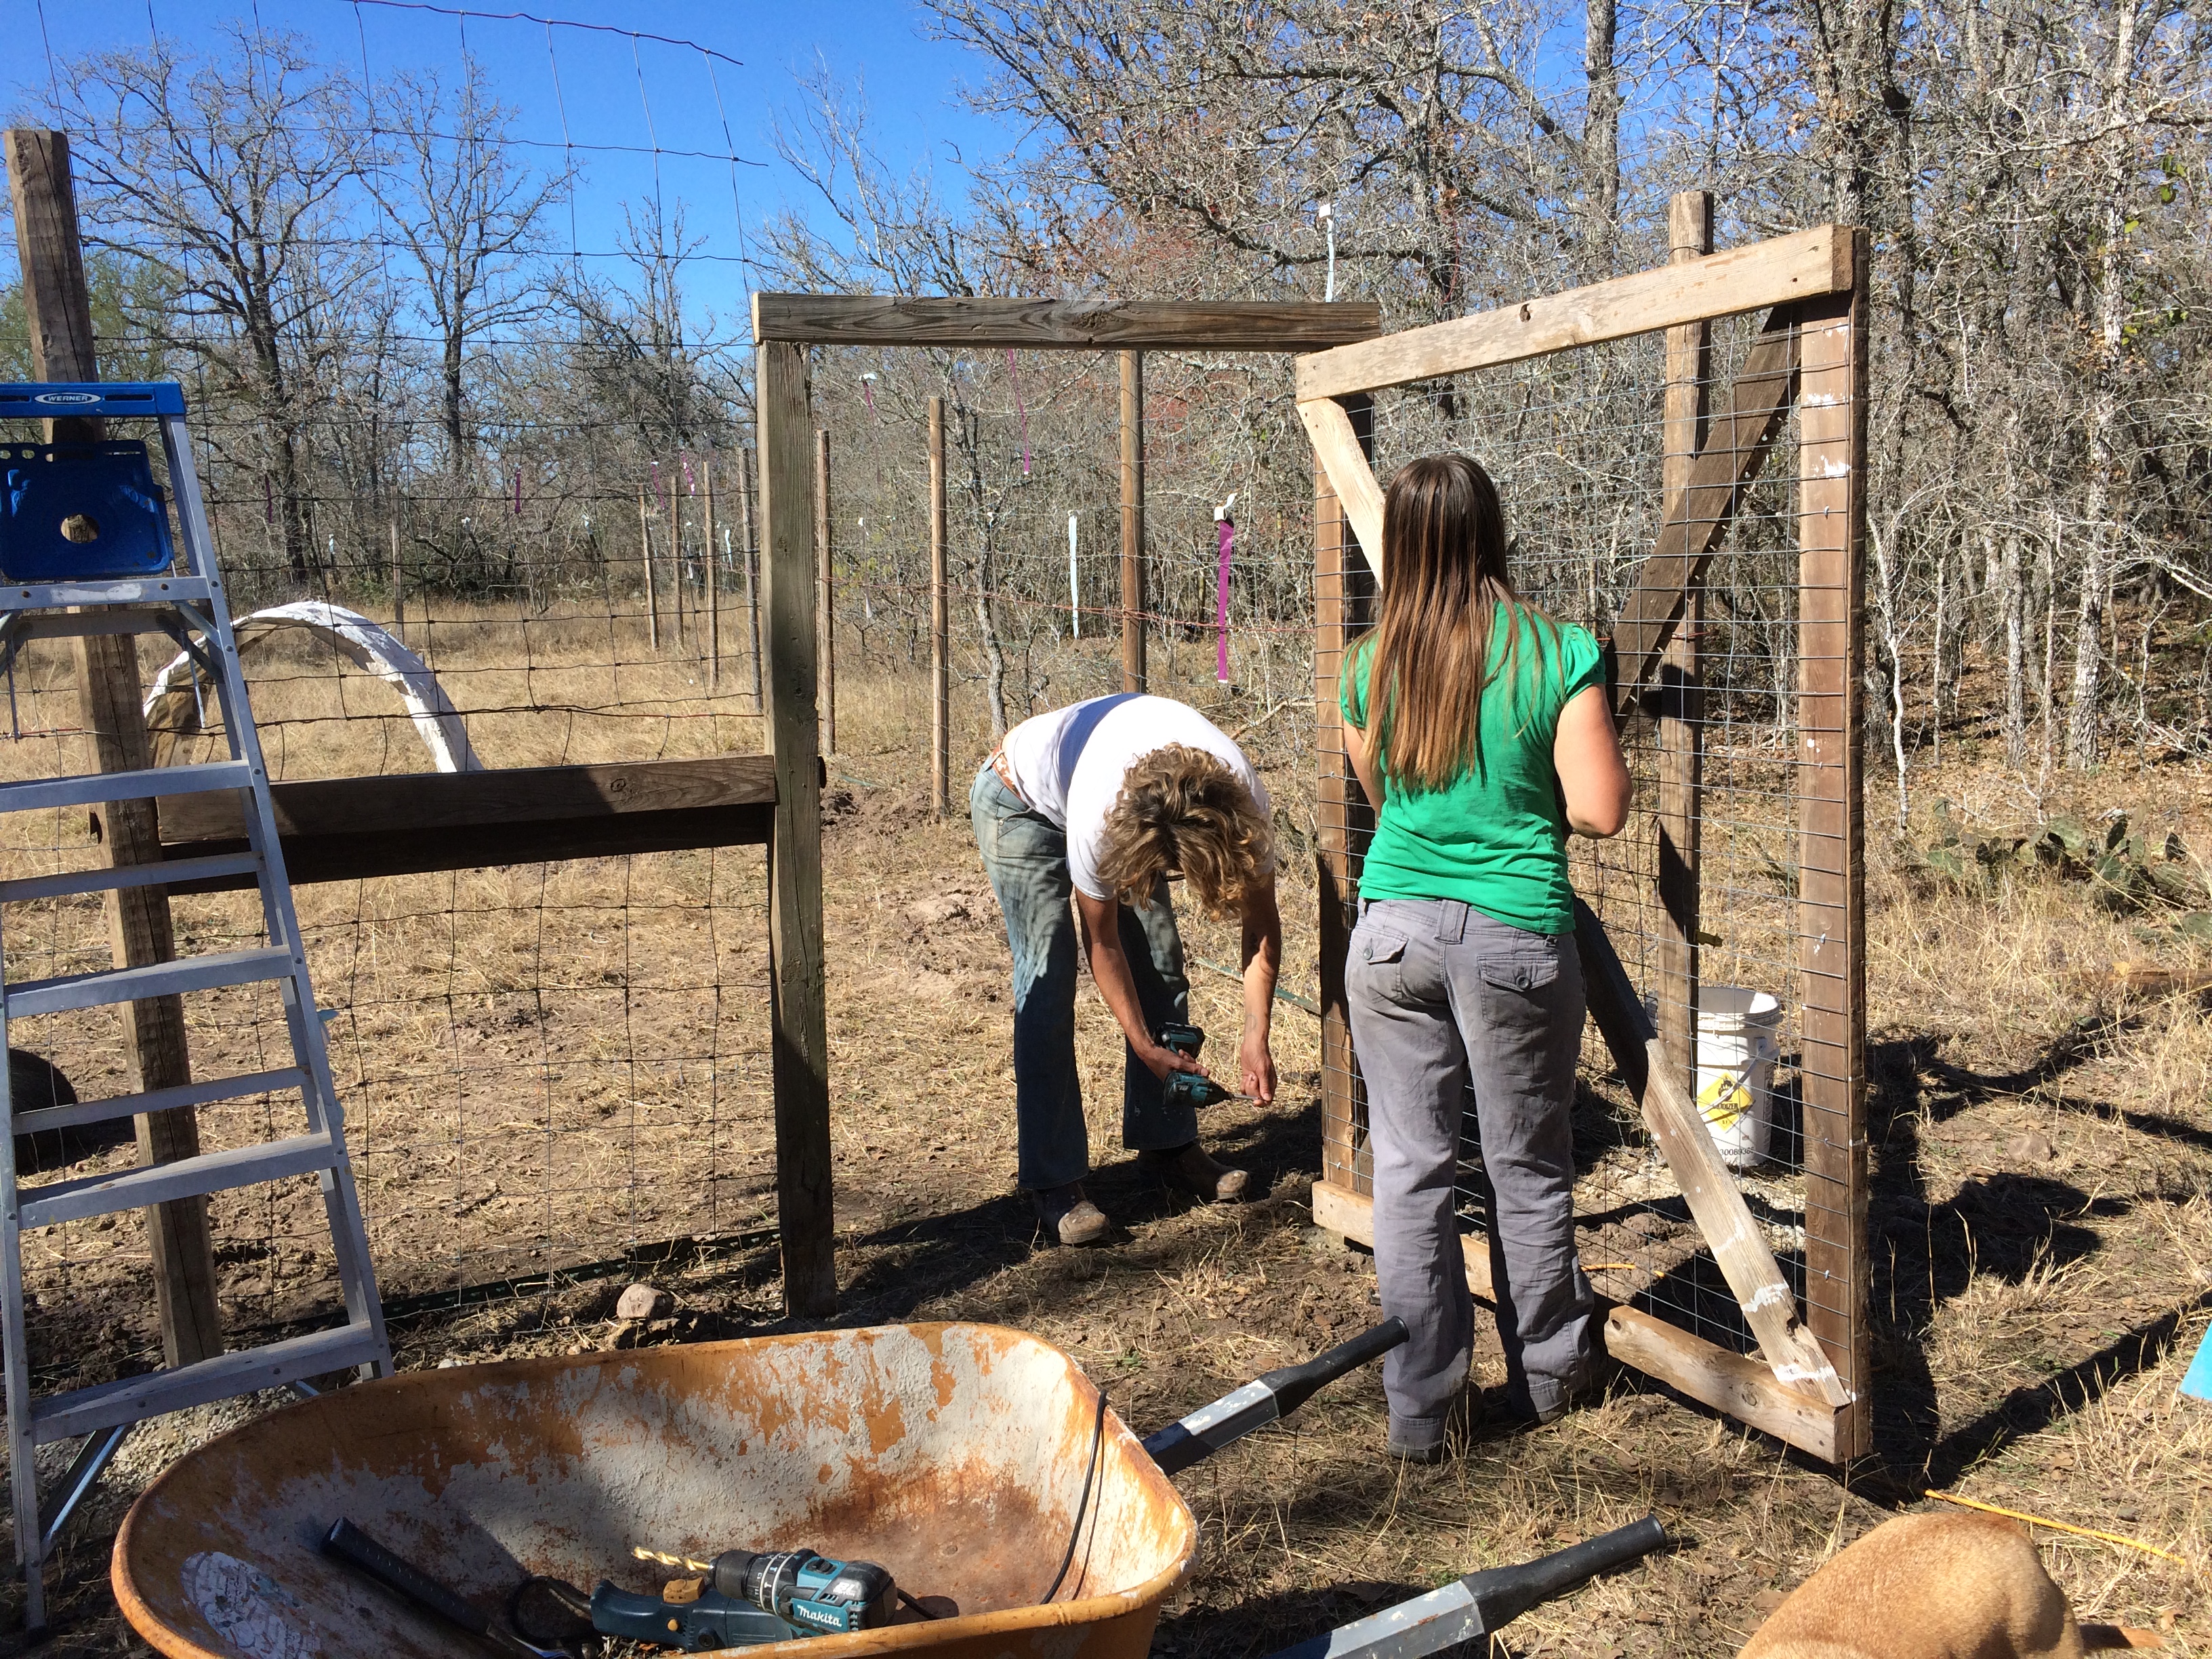
beginning the fencing of the new field (to keep out deer, dogs, wild pigs, etc – and temporarily contain Bertha)
new building rising
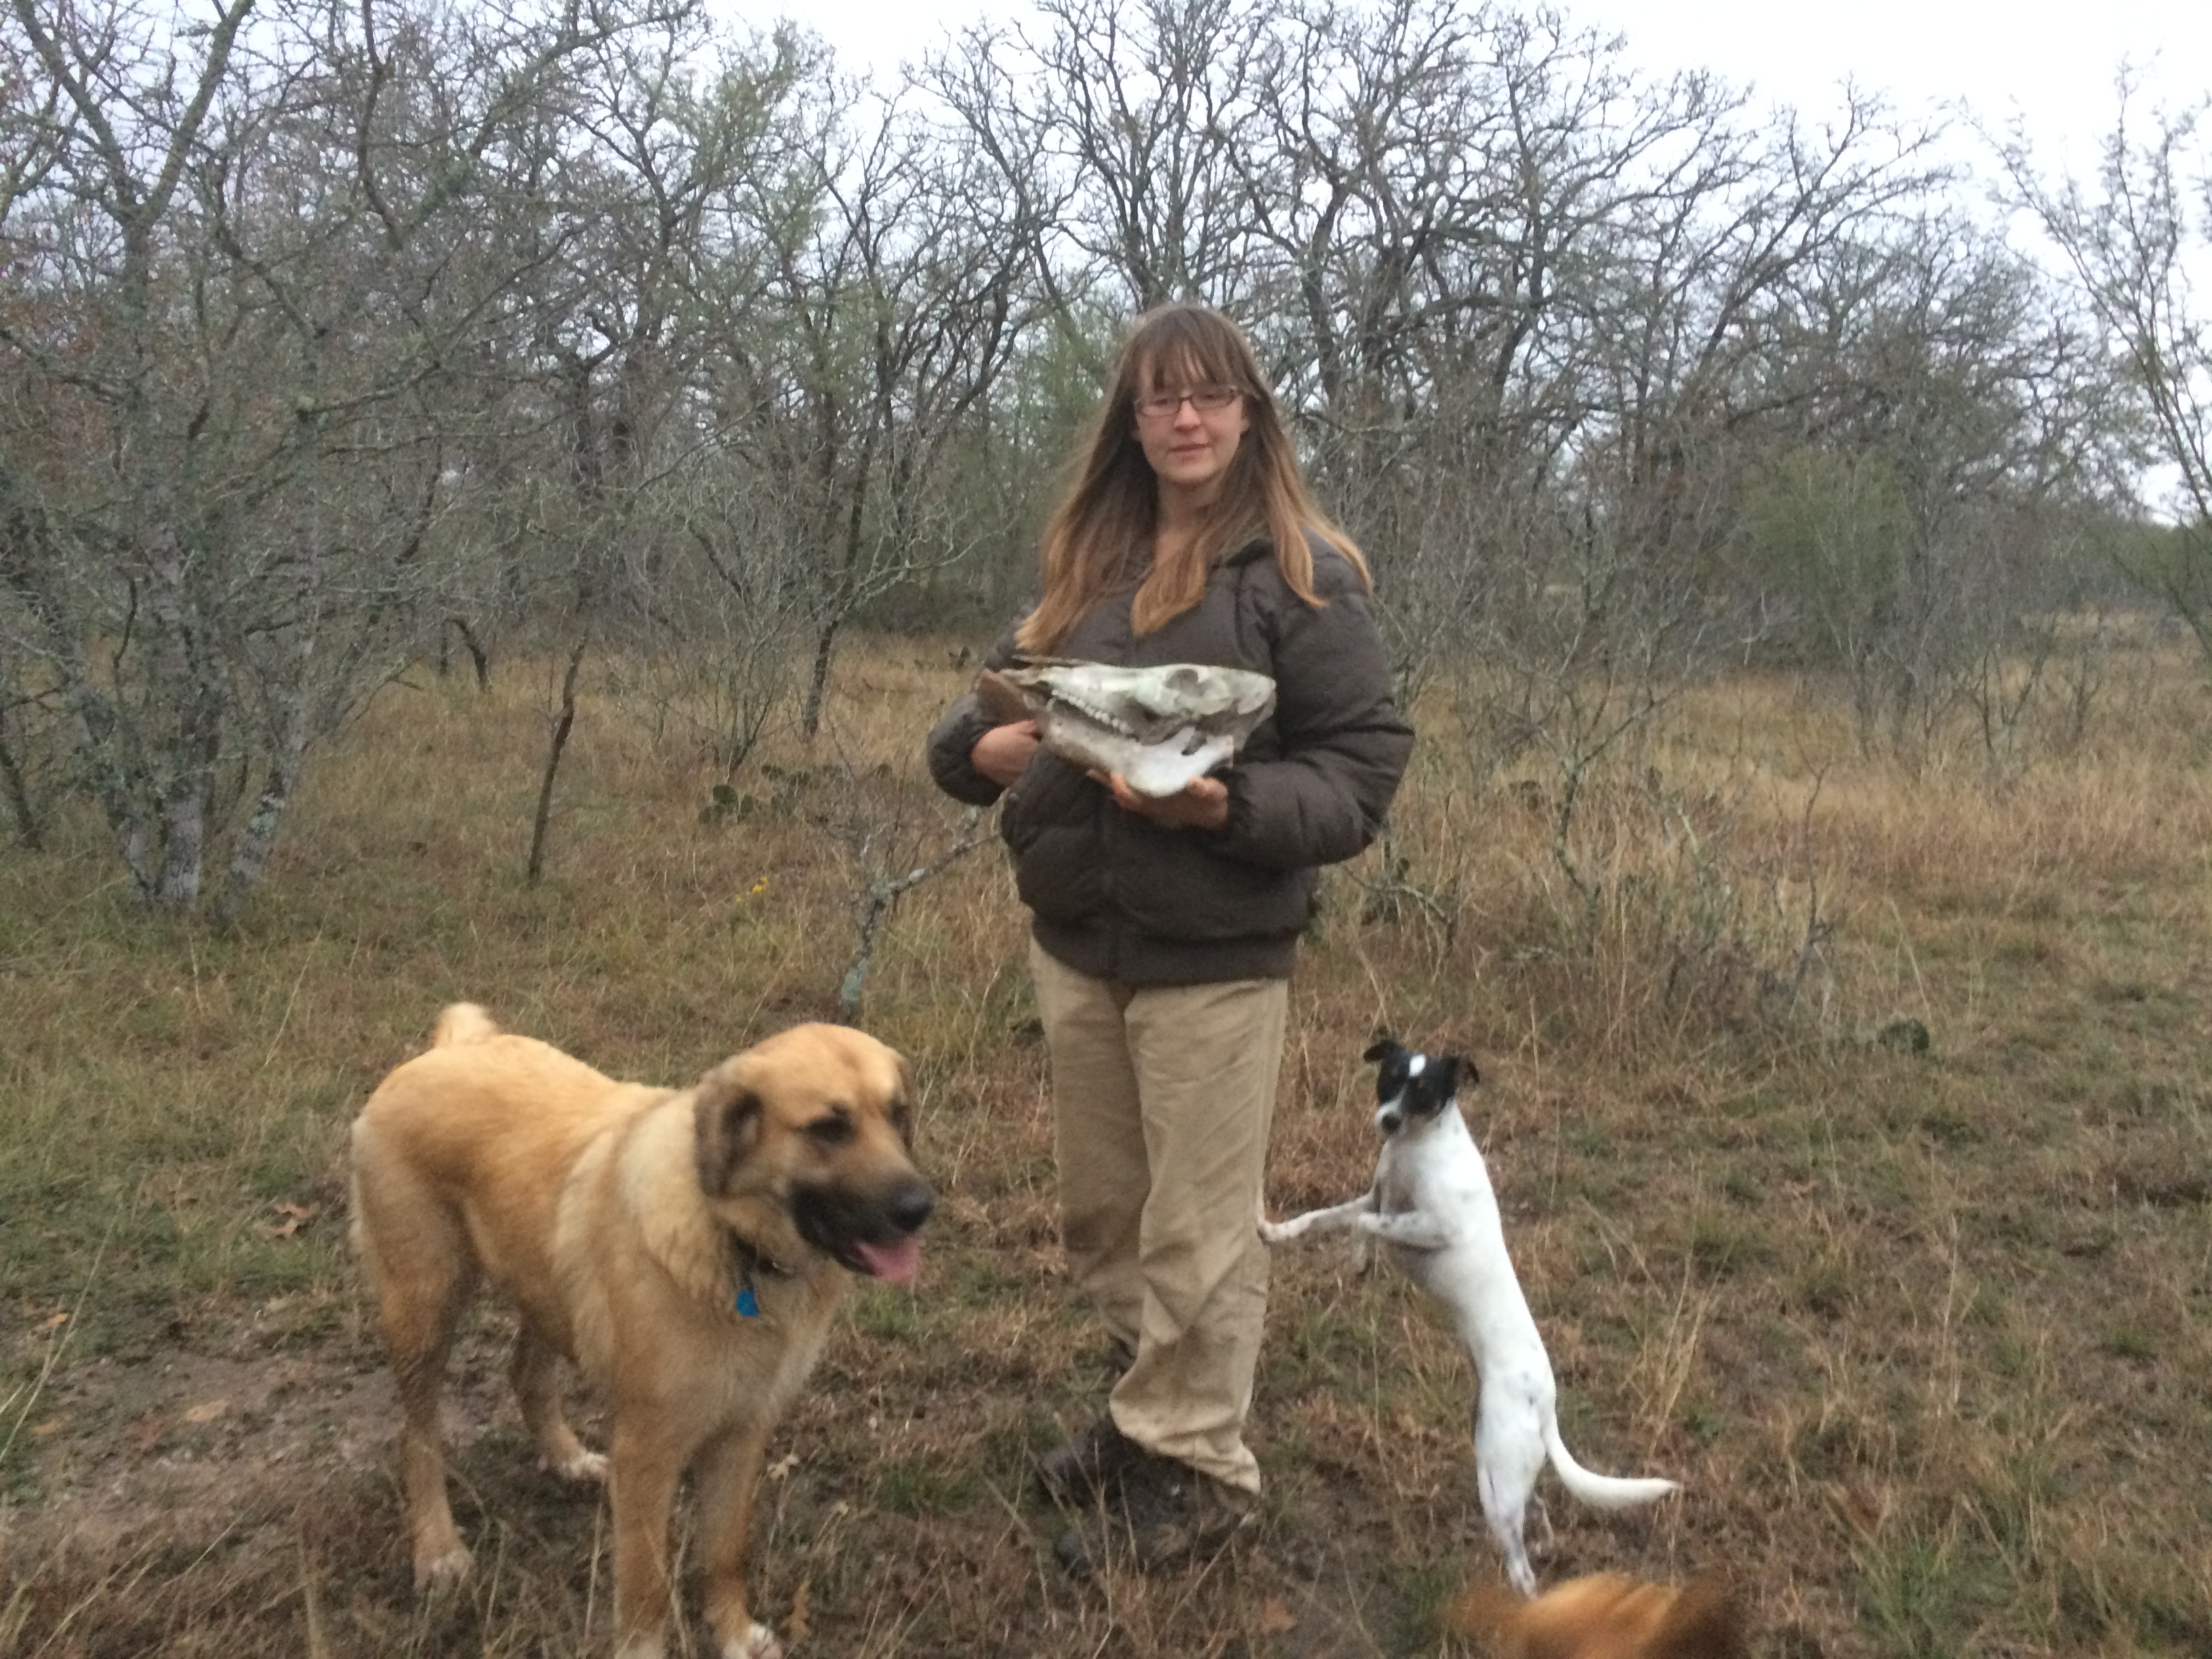
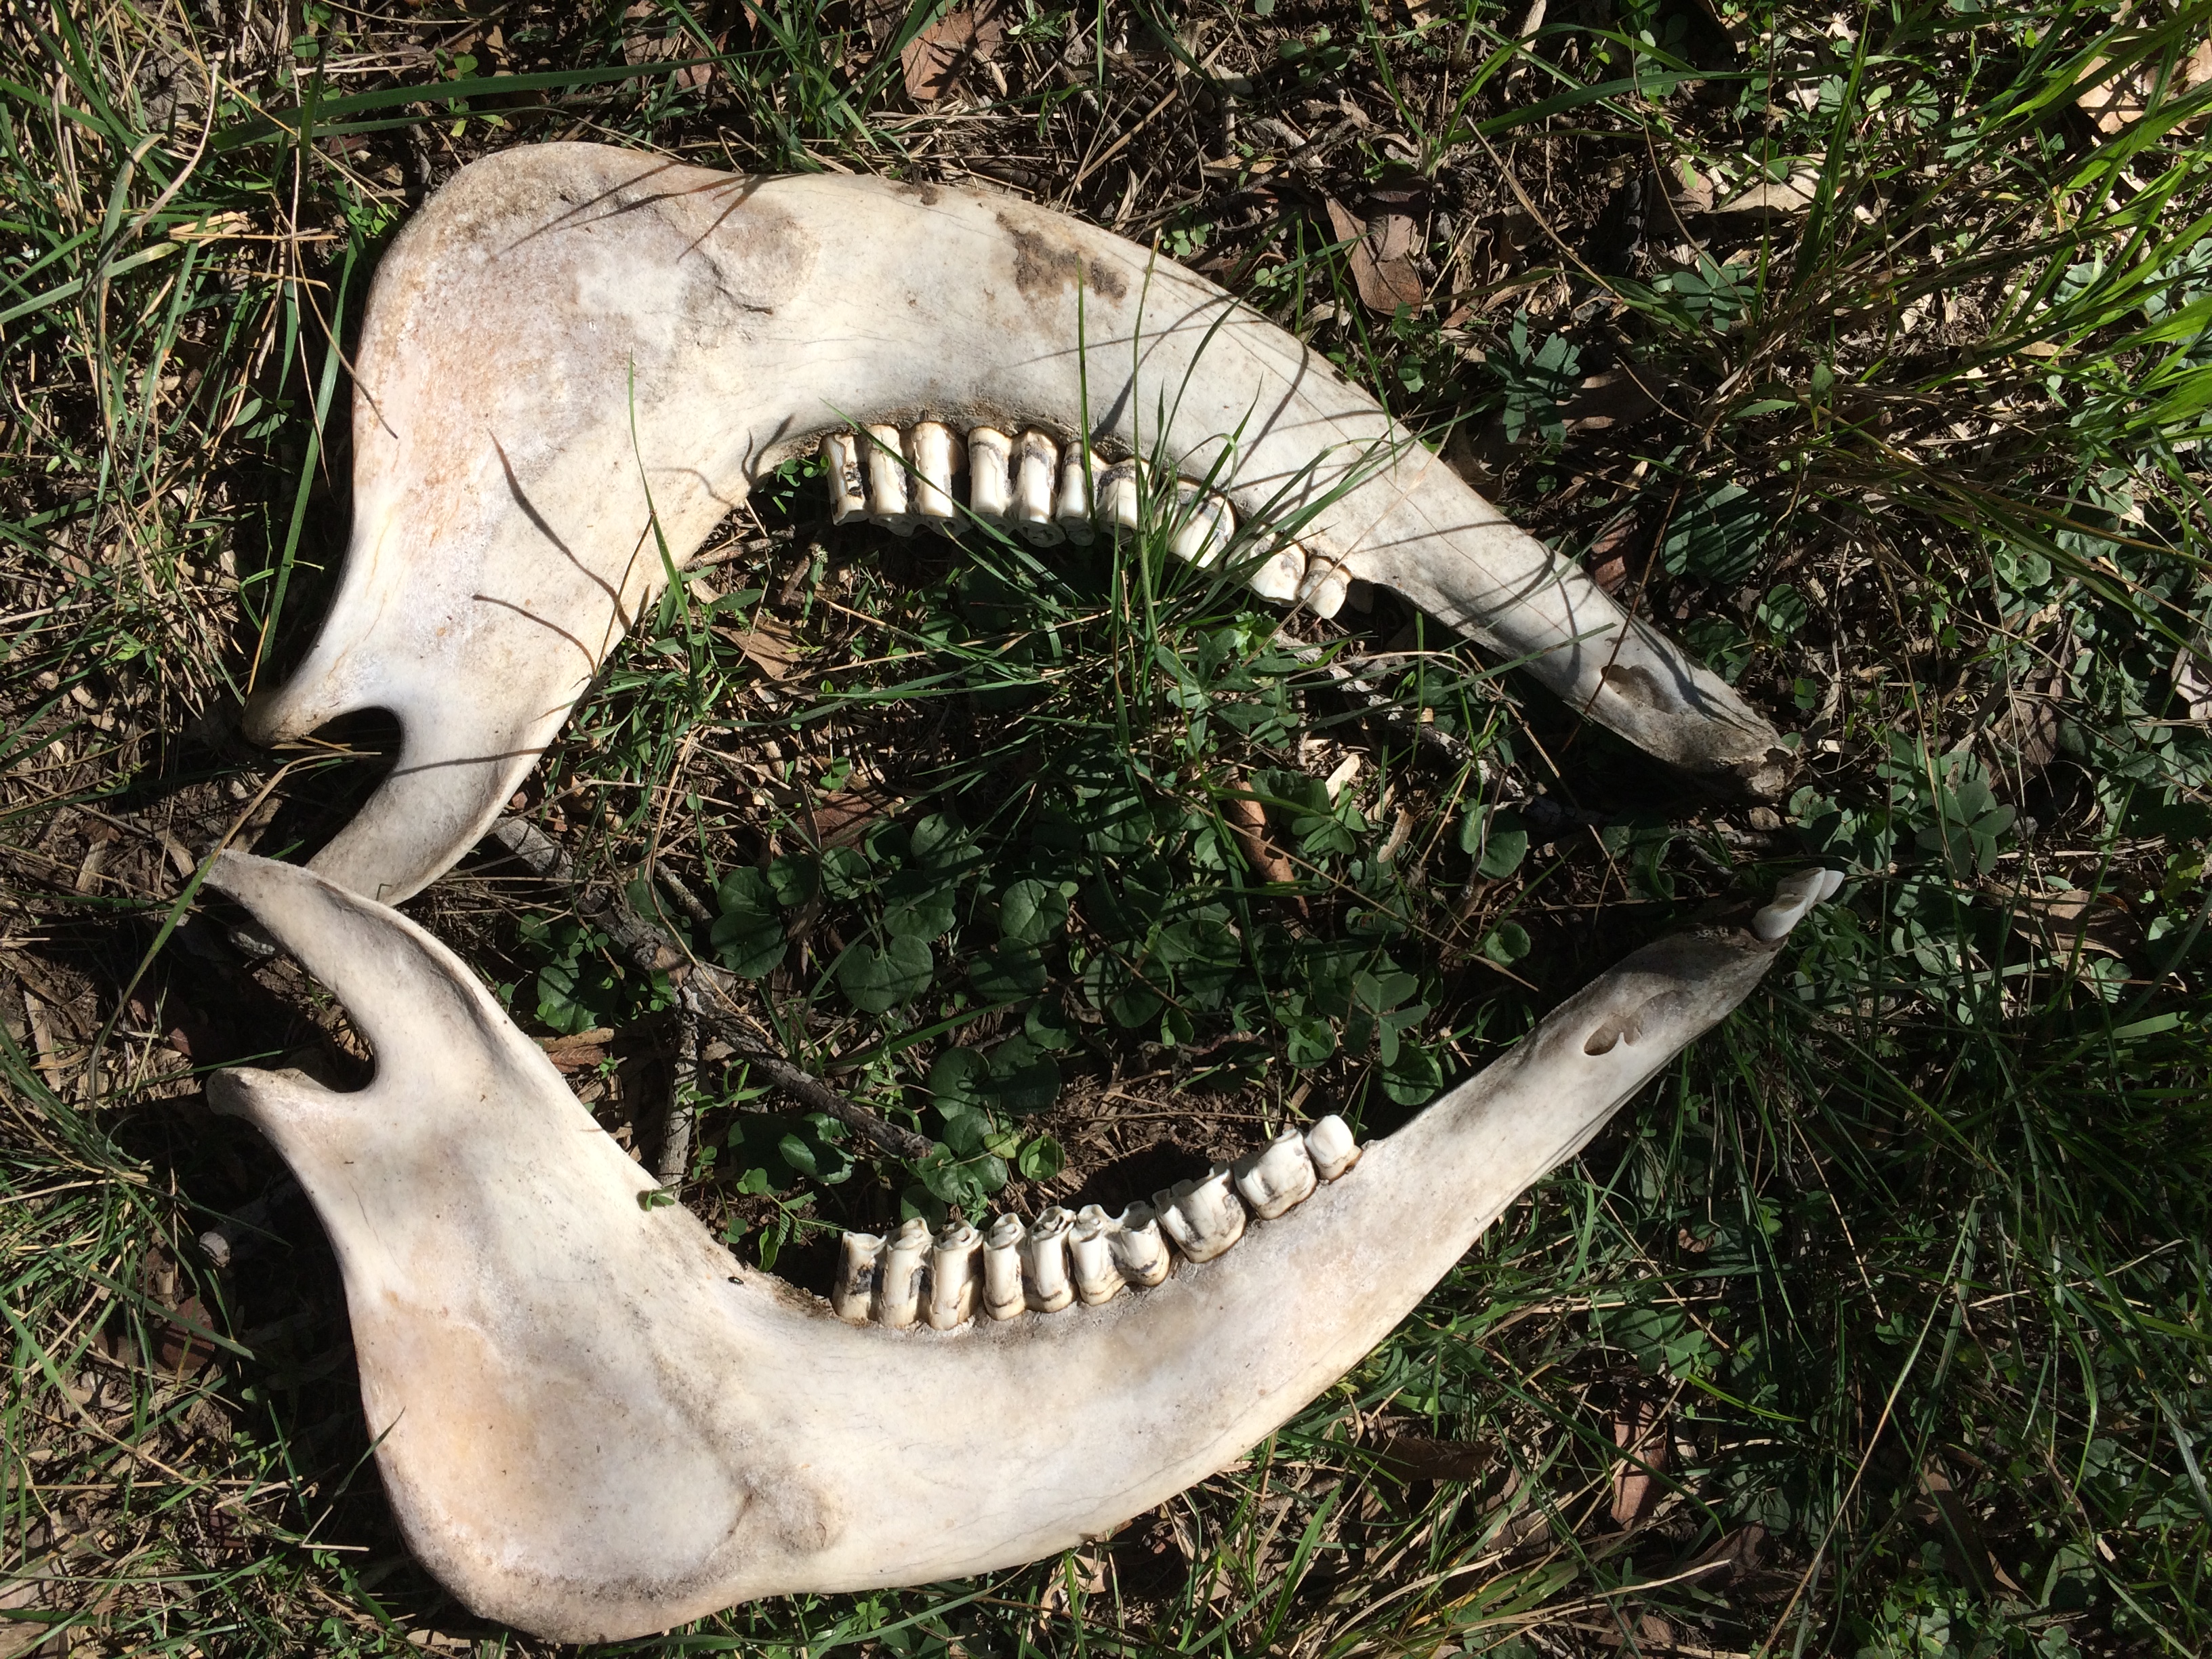
Kristin found a wild boar skull, which would later become the center piece of an art project
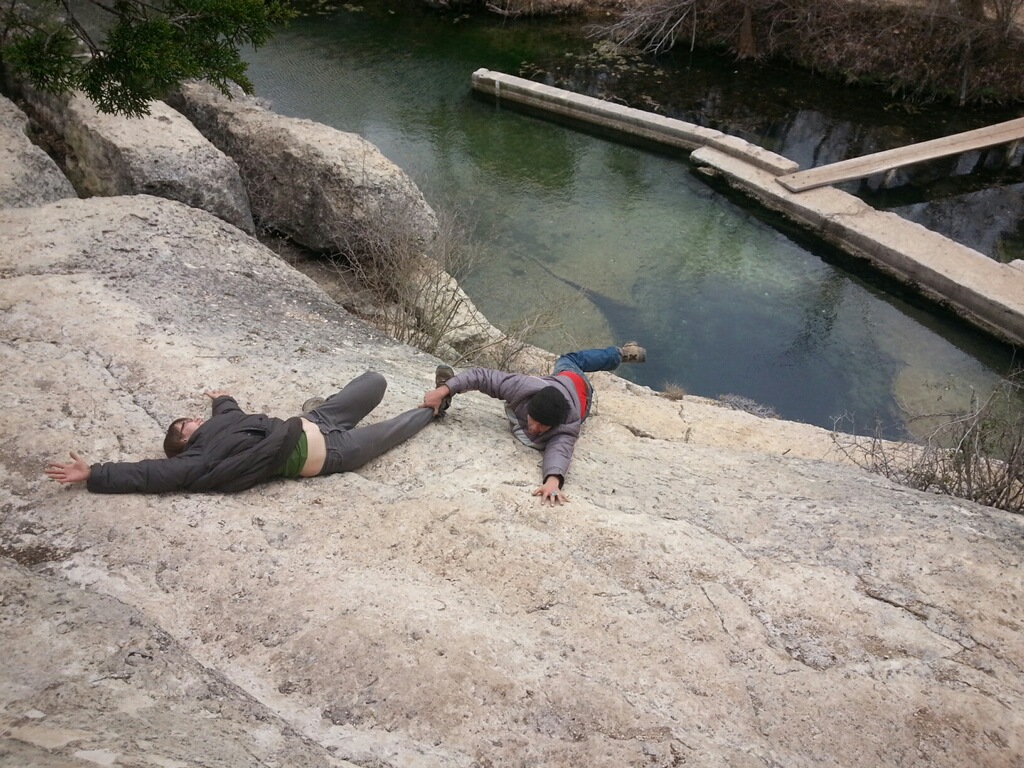
Jacob’s Well almost claimed our souls
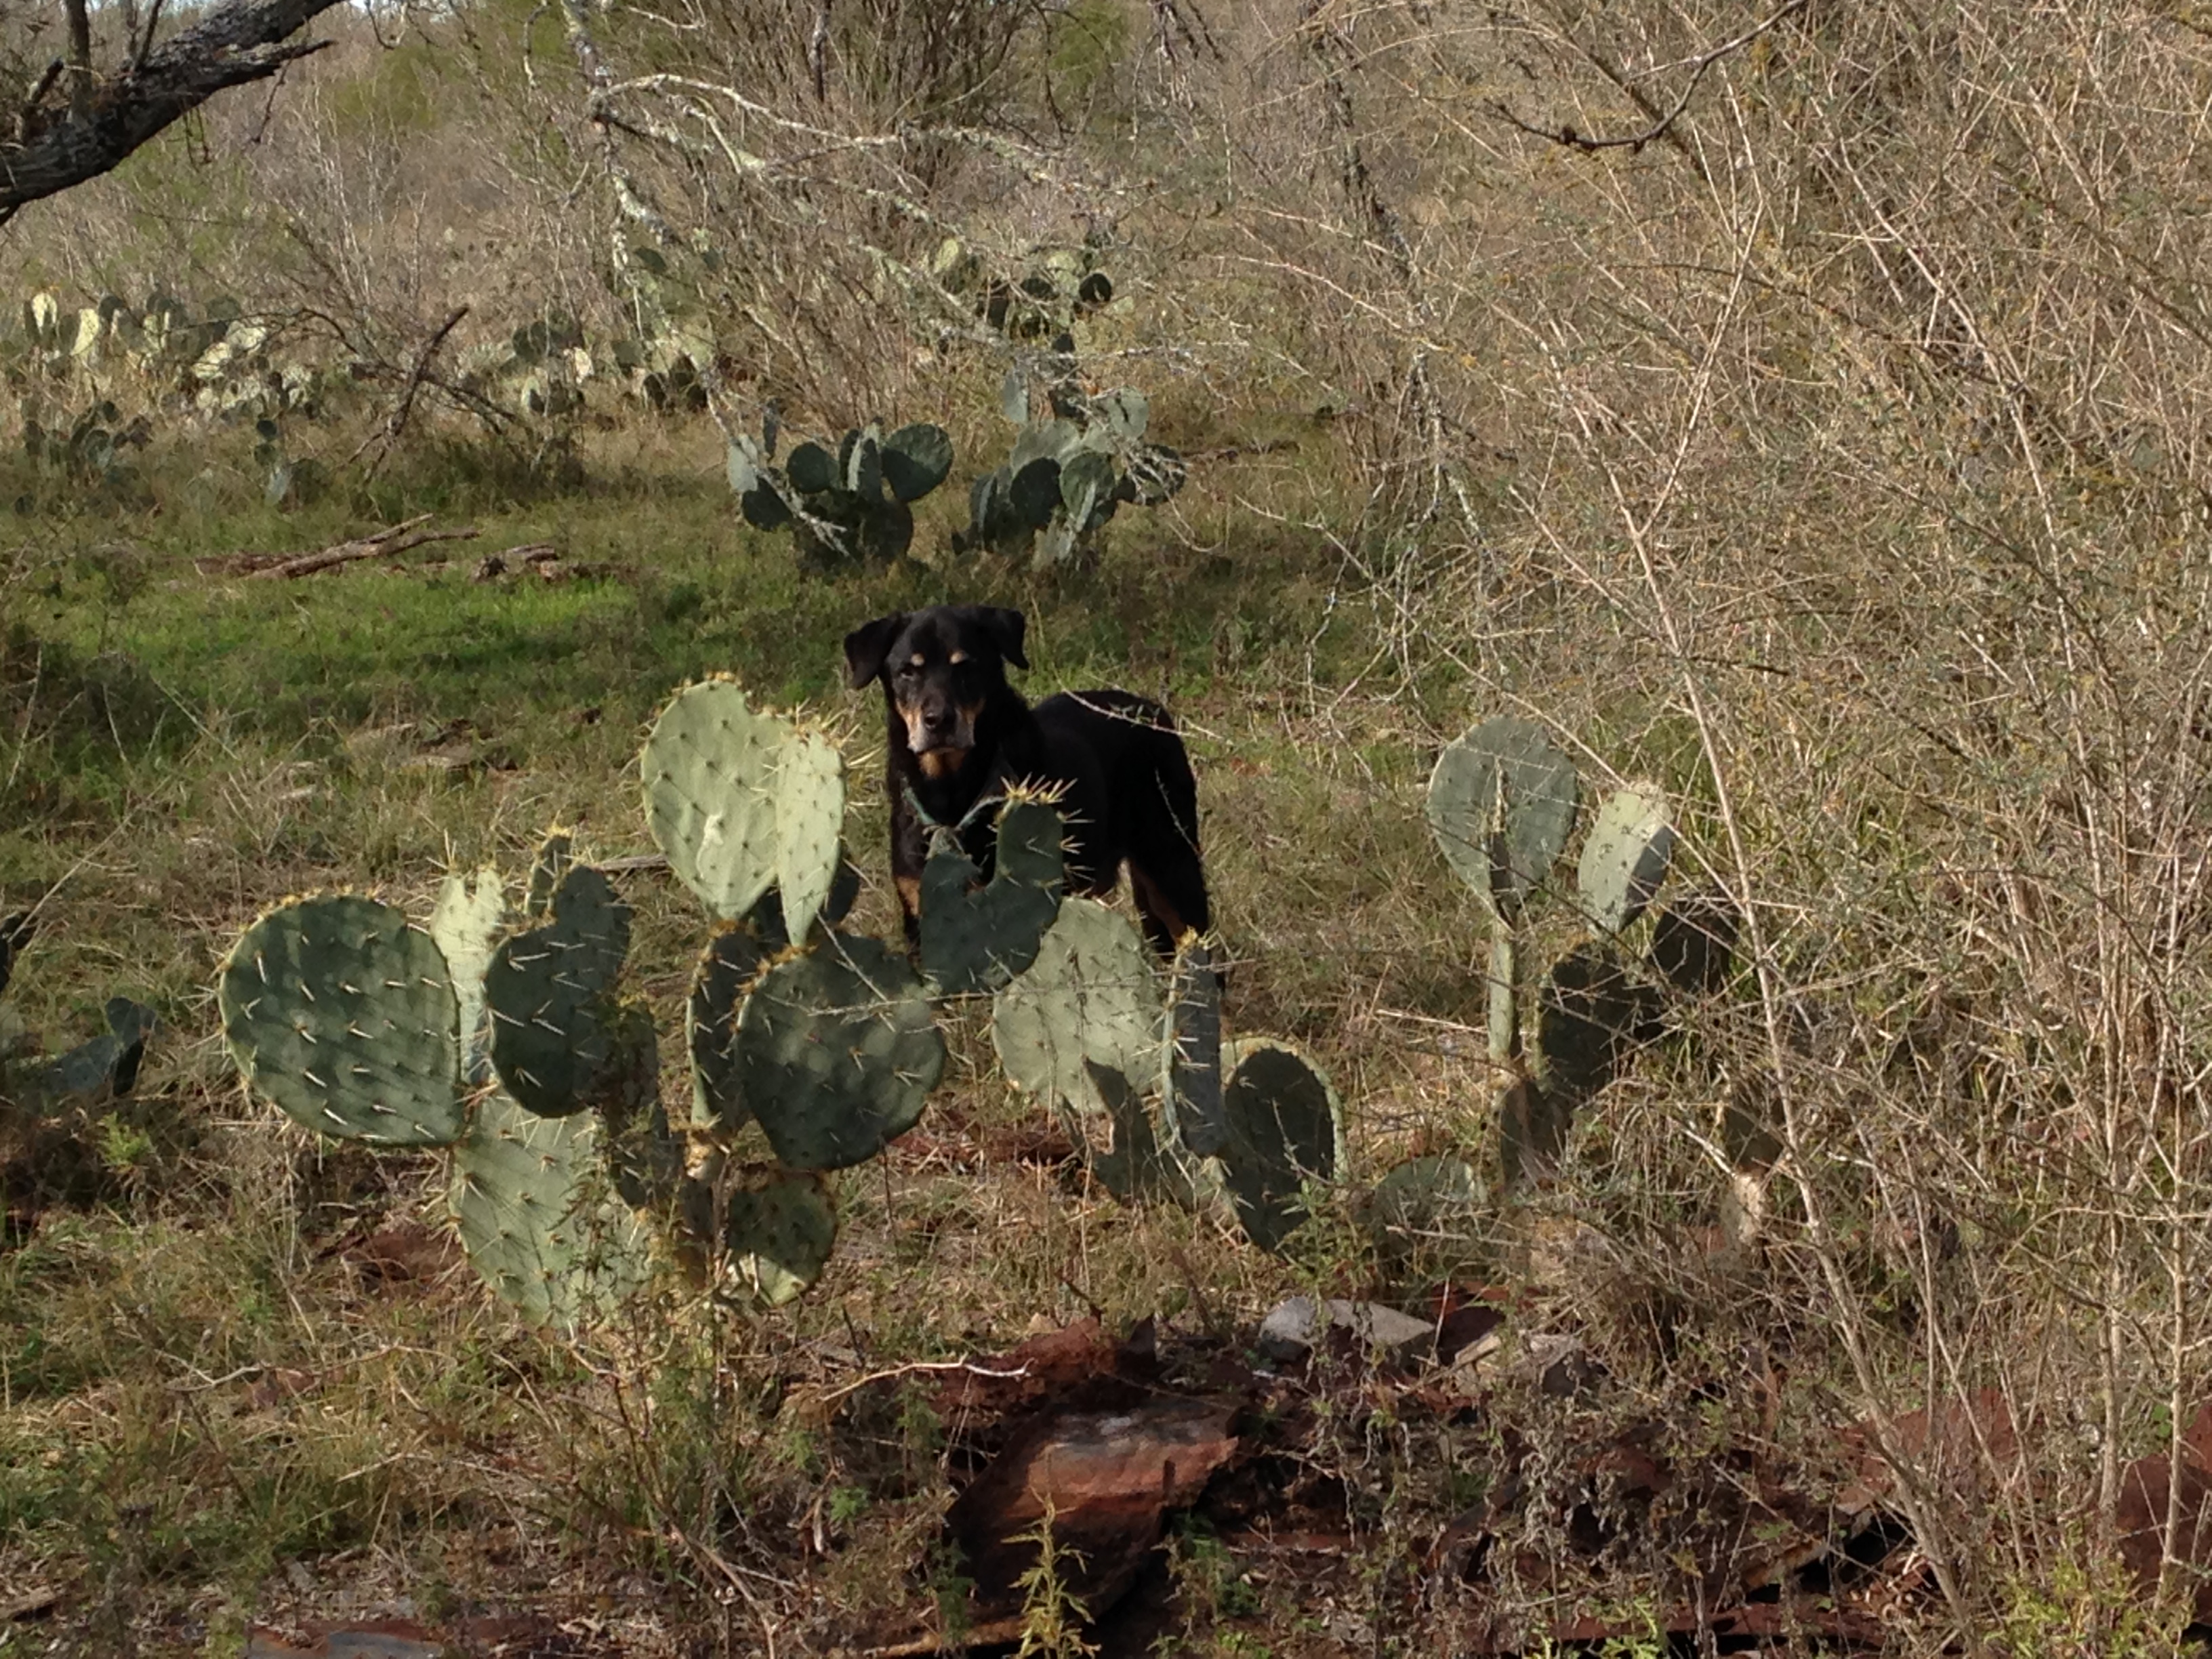
on our walks, Mina usually manages to find a deer leg to parade home for gnawing
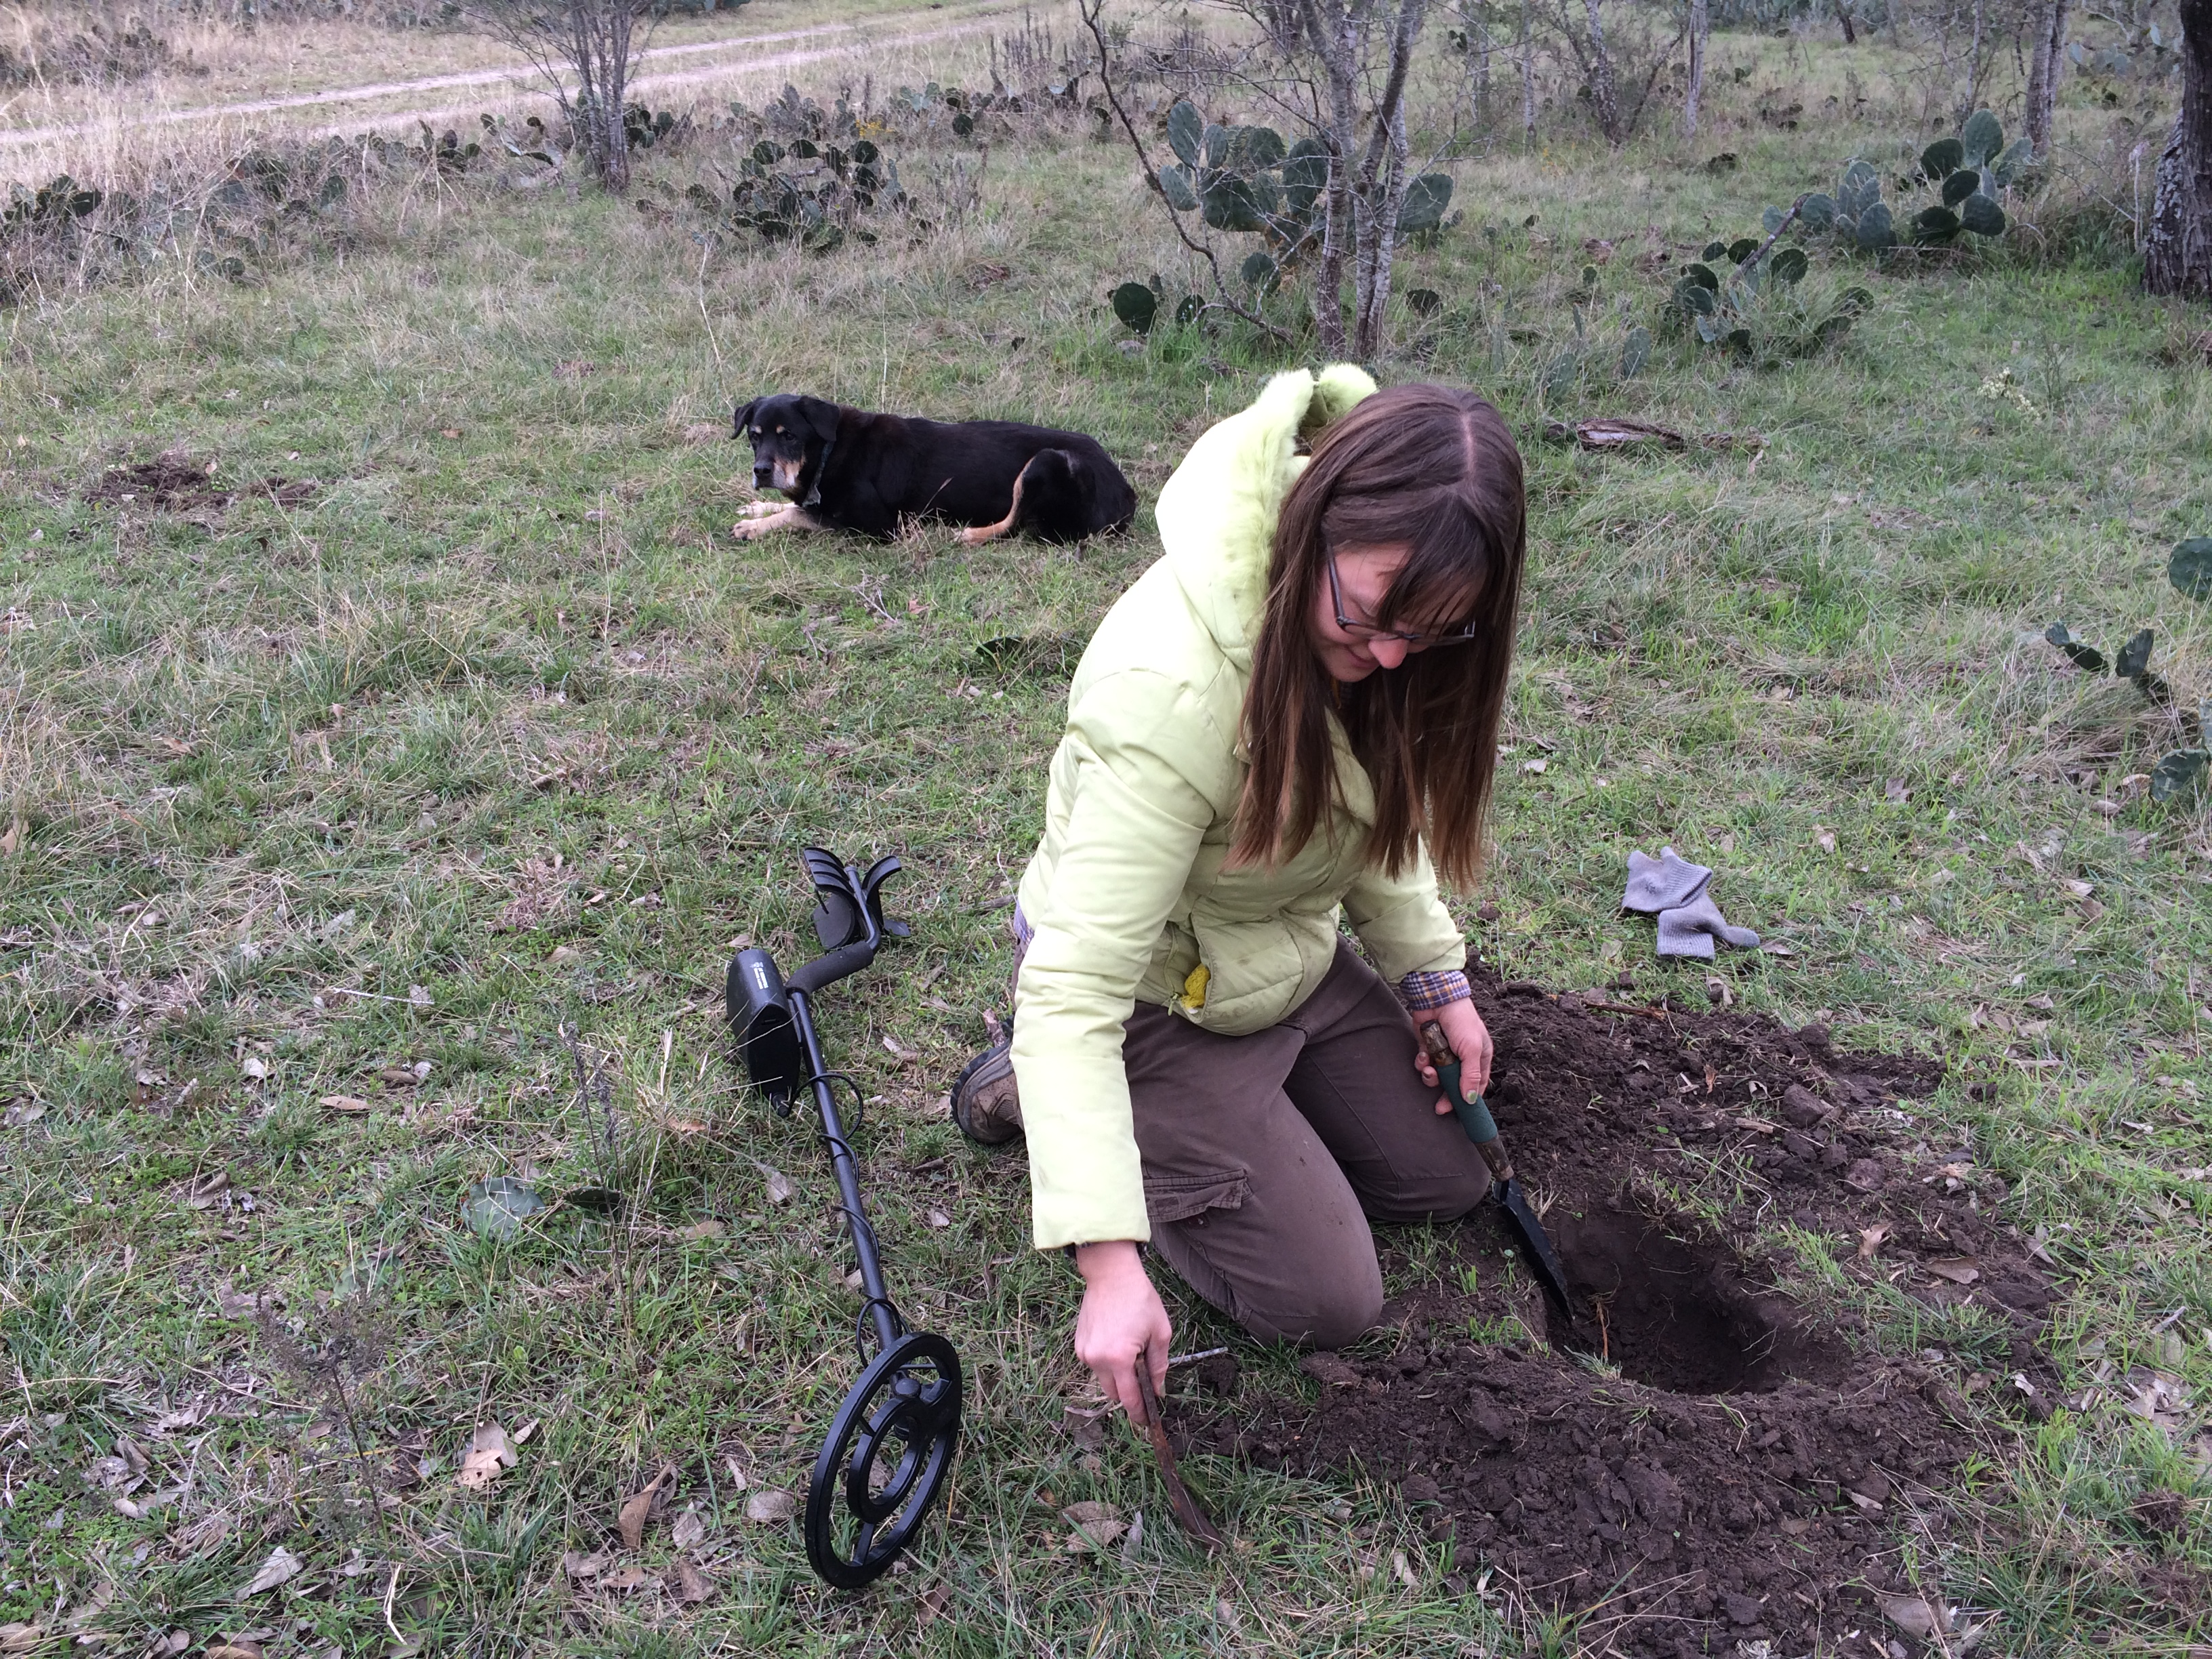
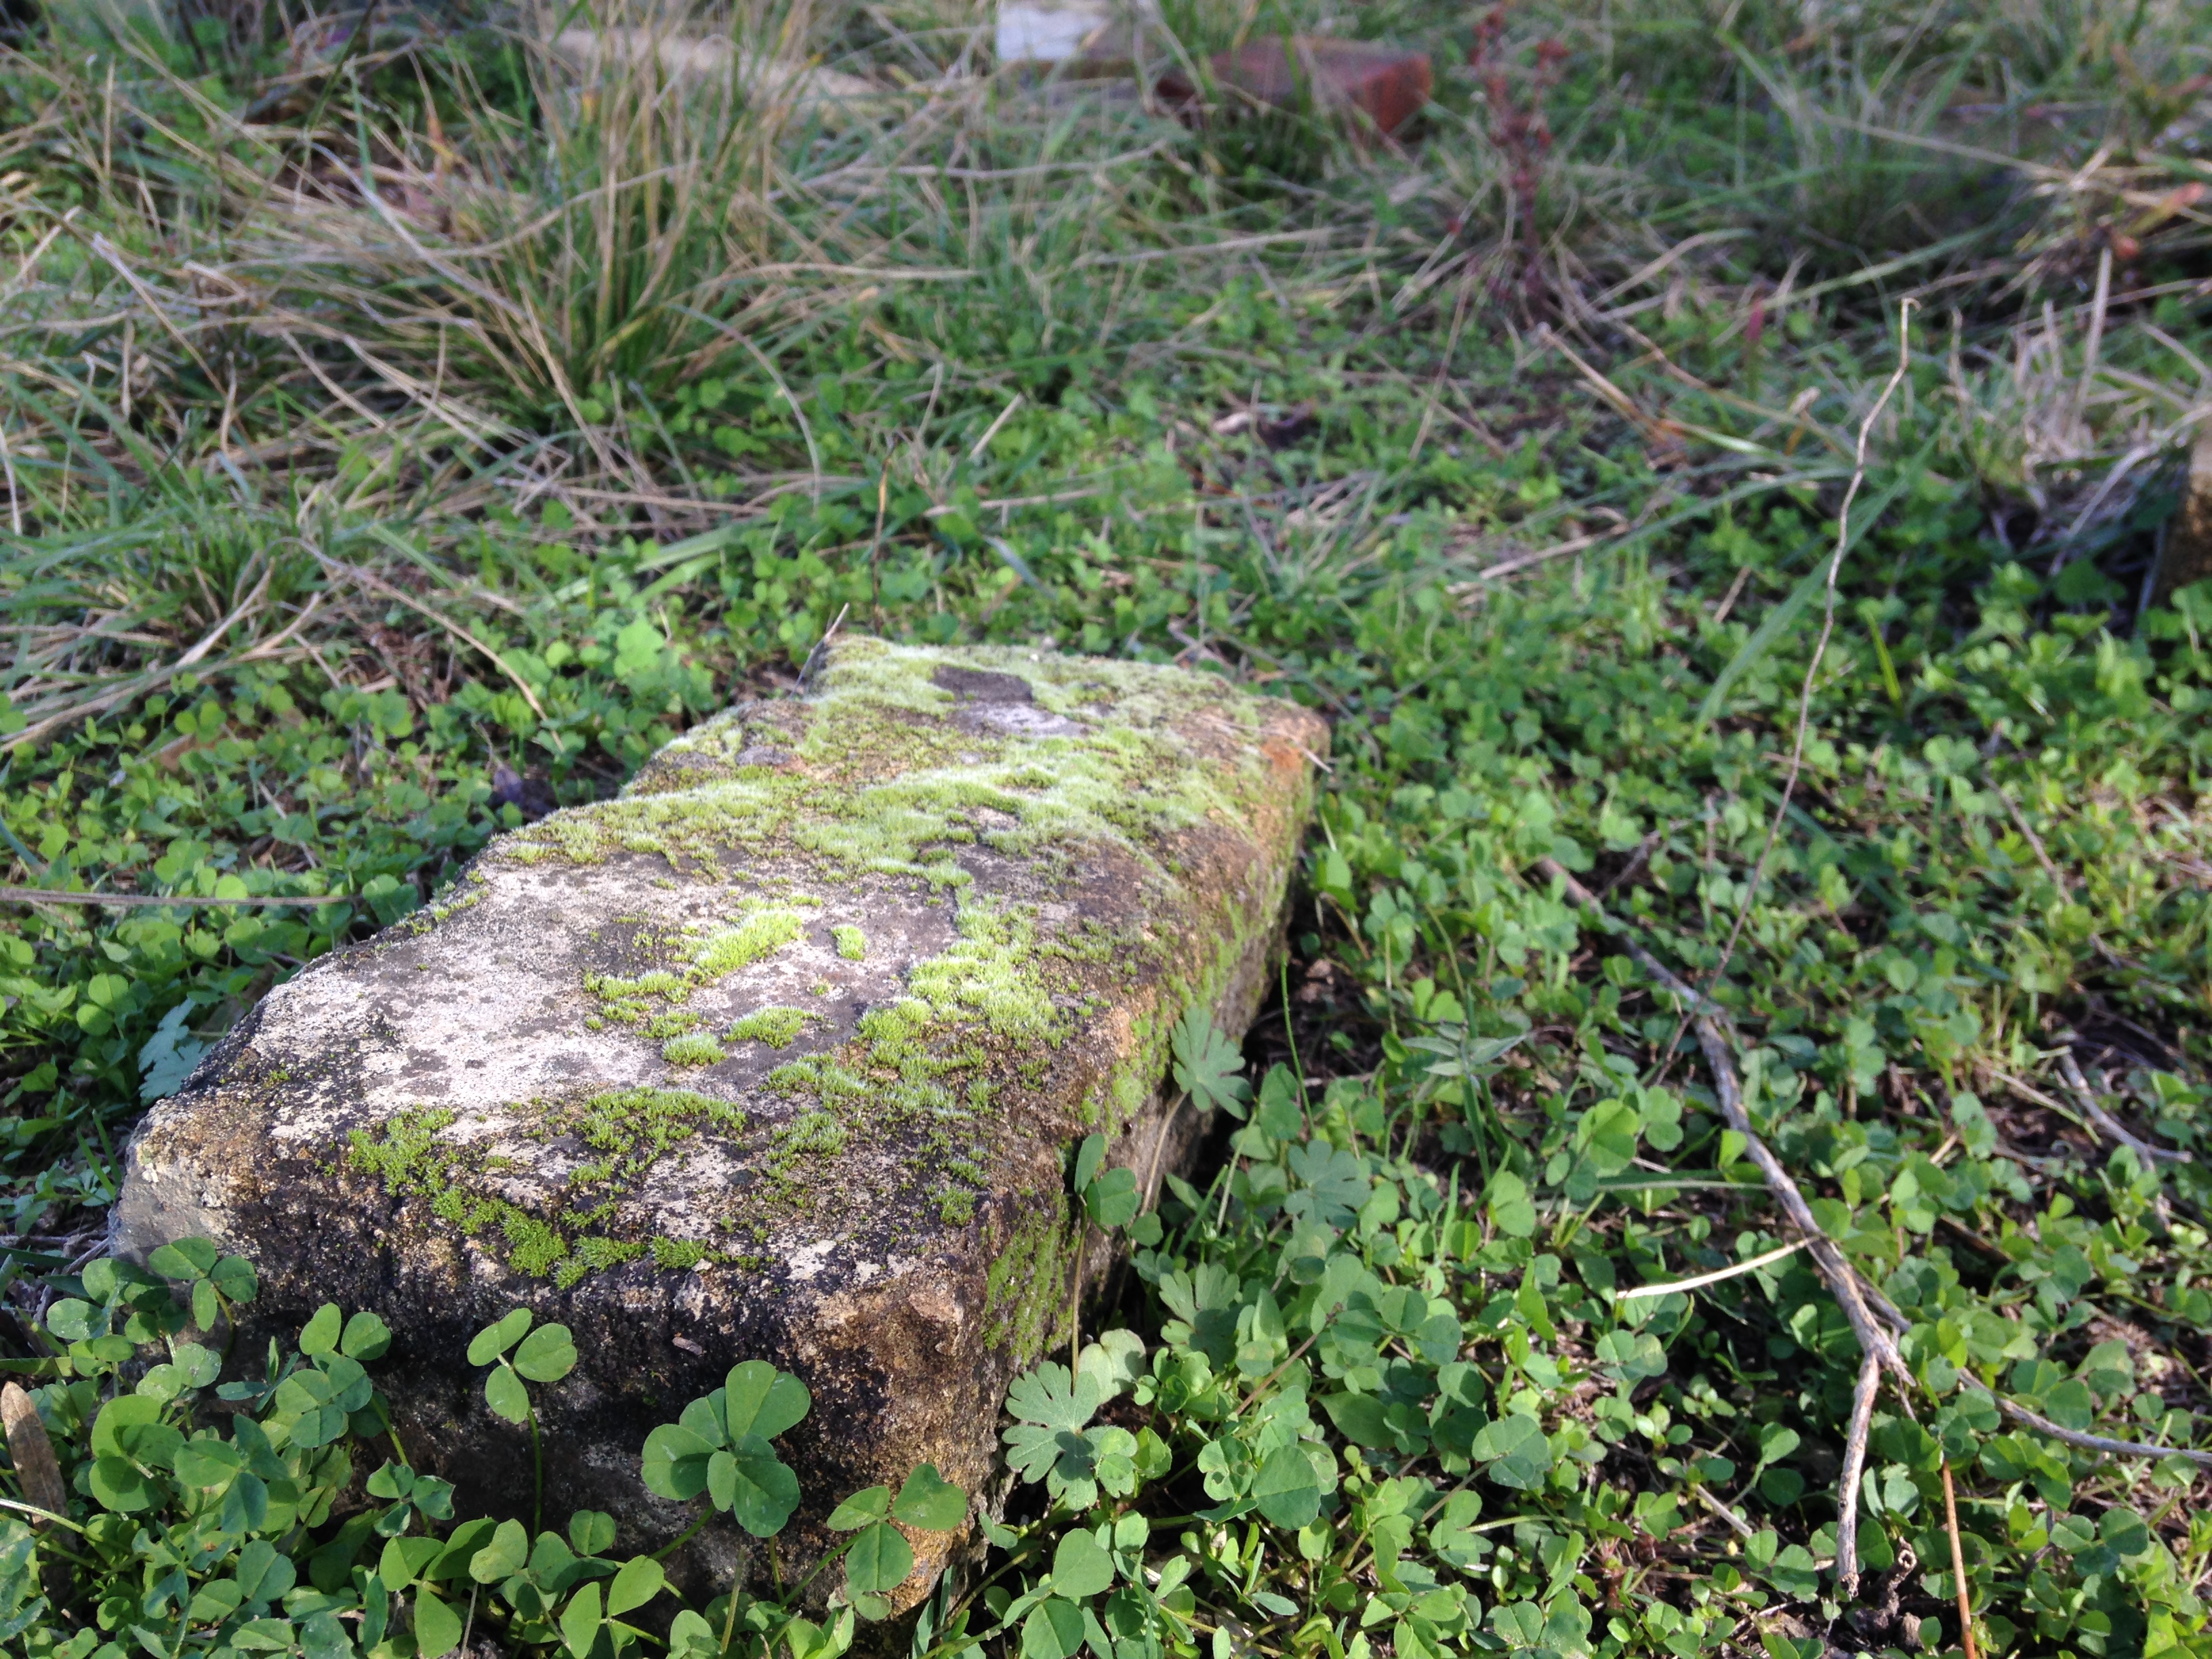
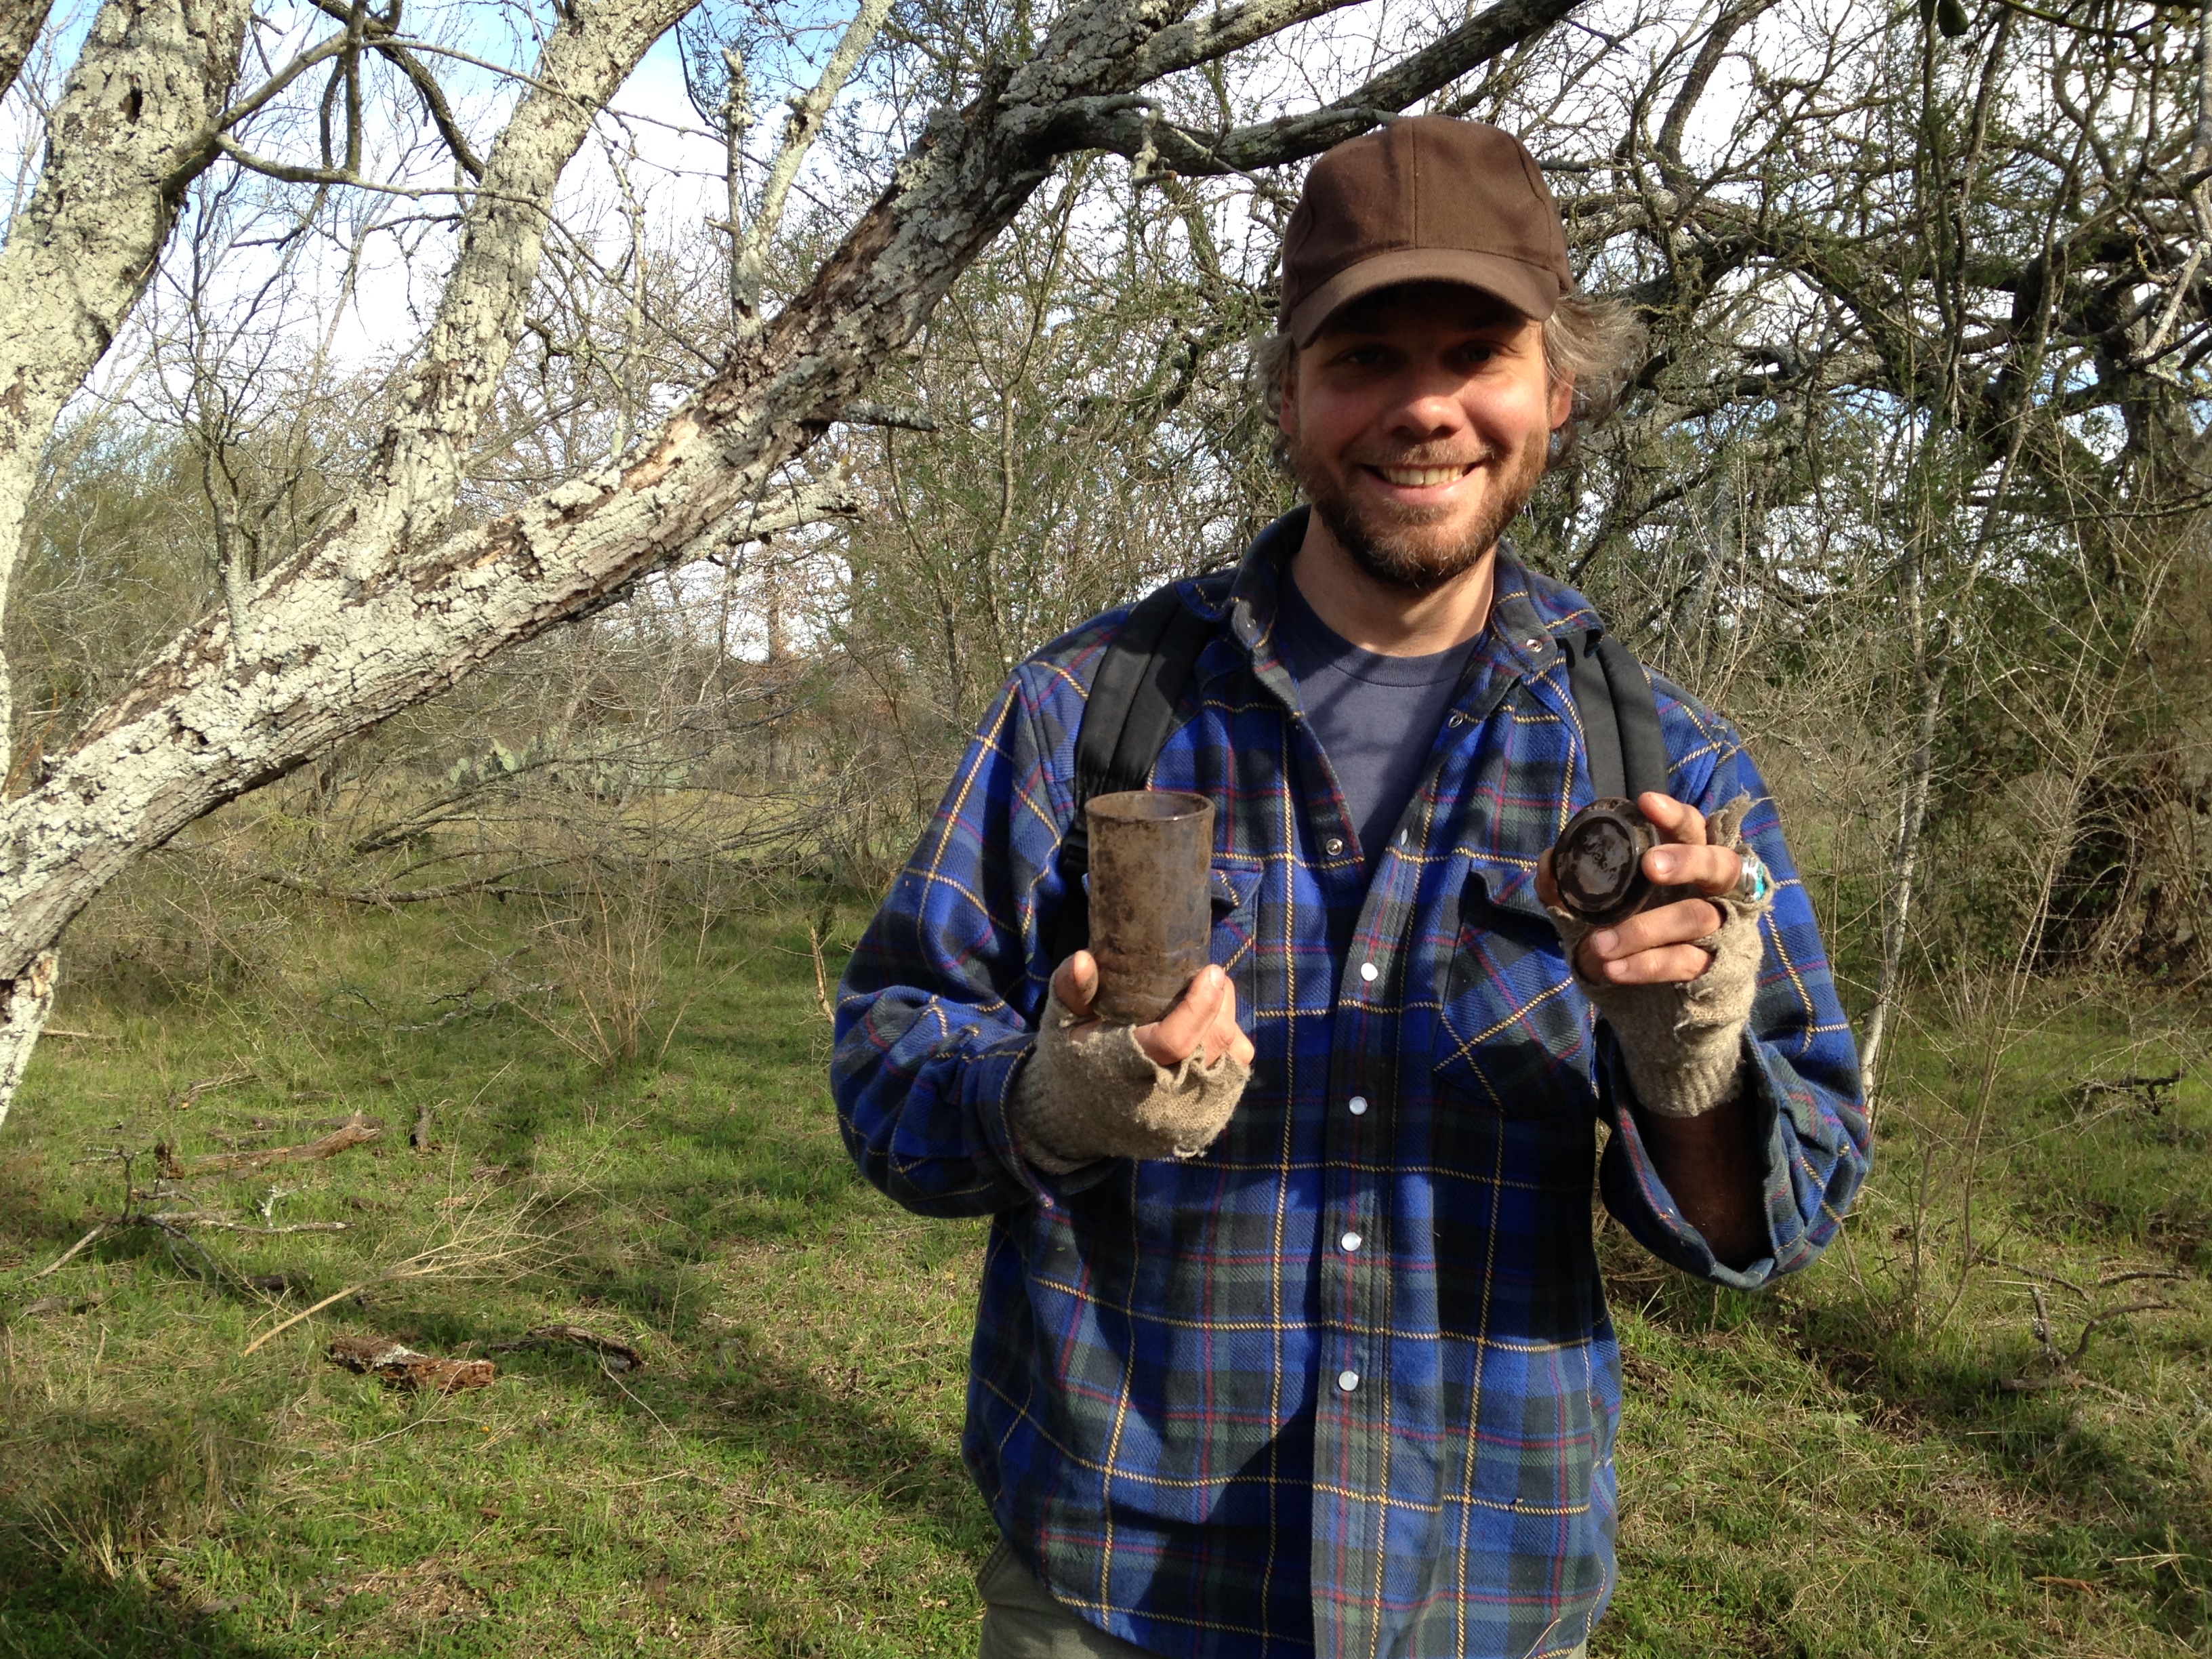
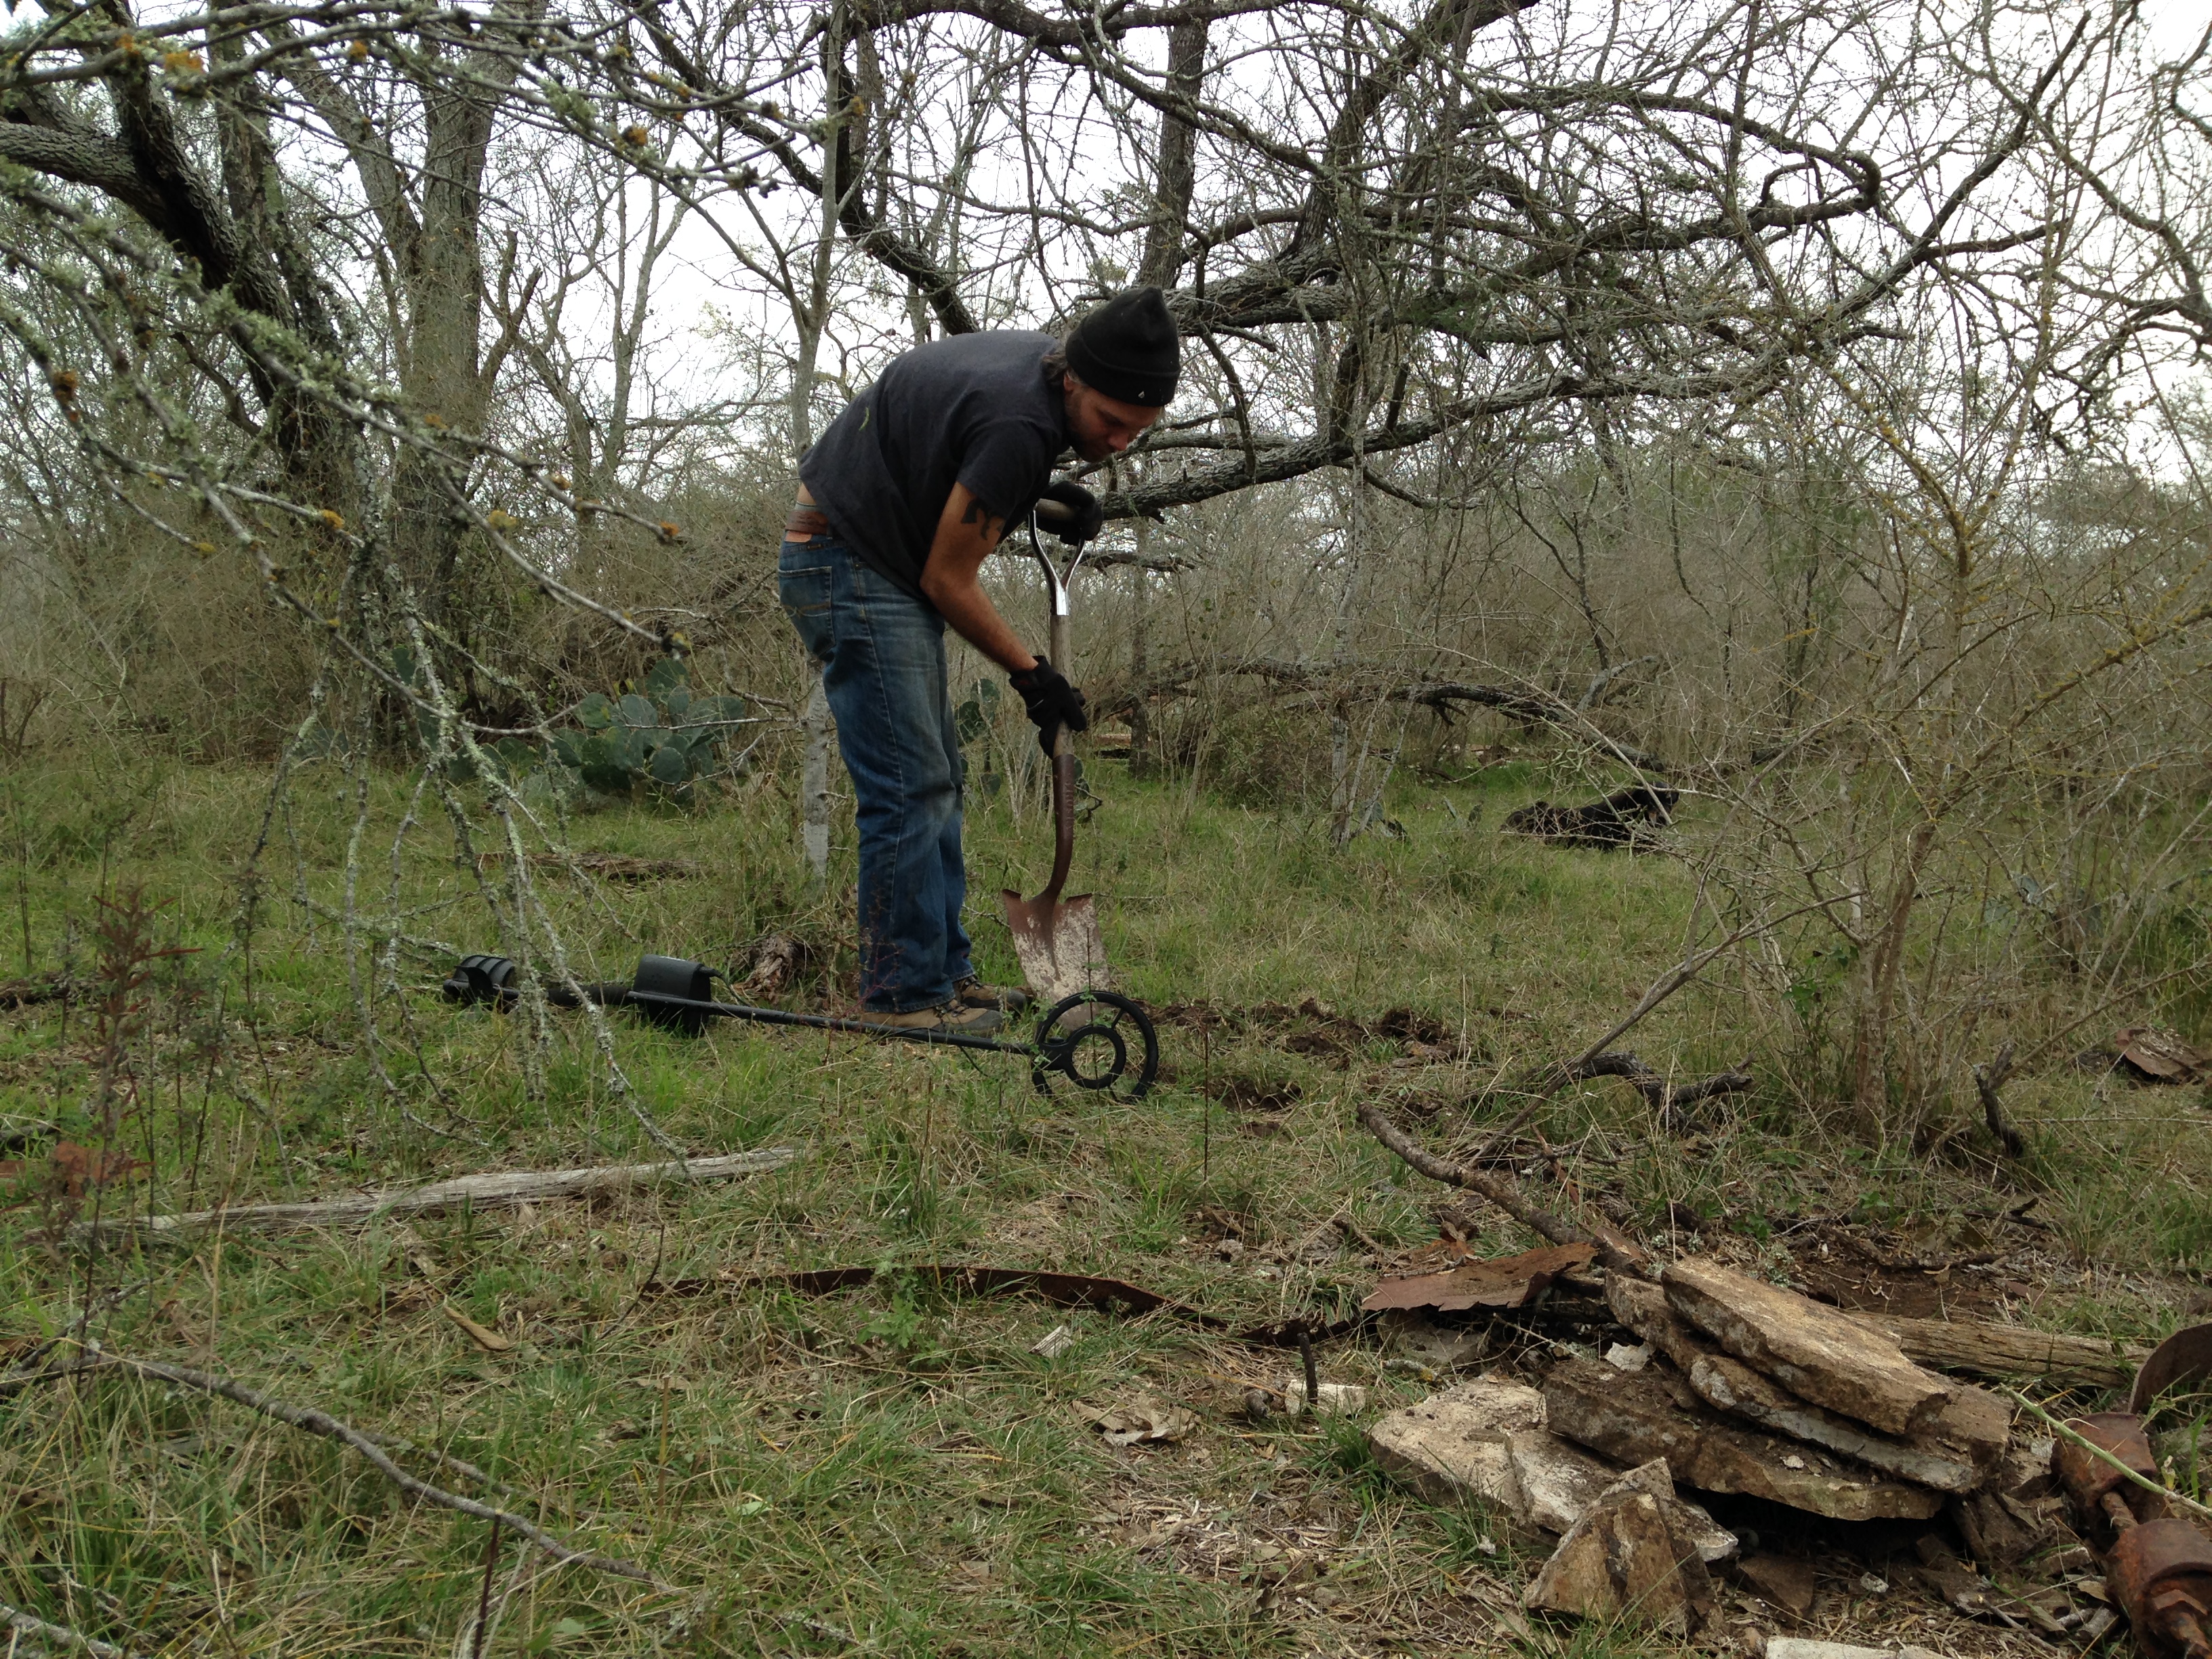
metal detecting for cool old garbage out among the prickly plants
decorating a cacti with found rusty debris
Kristin and I enjoy fetching firewood for the house’s woodstove – we like knocking over standing dead snags best …
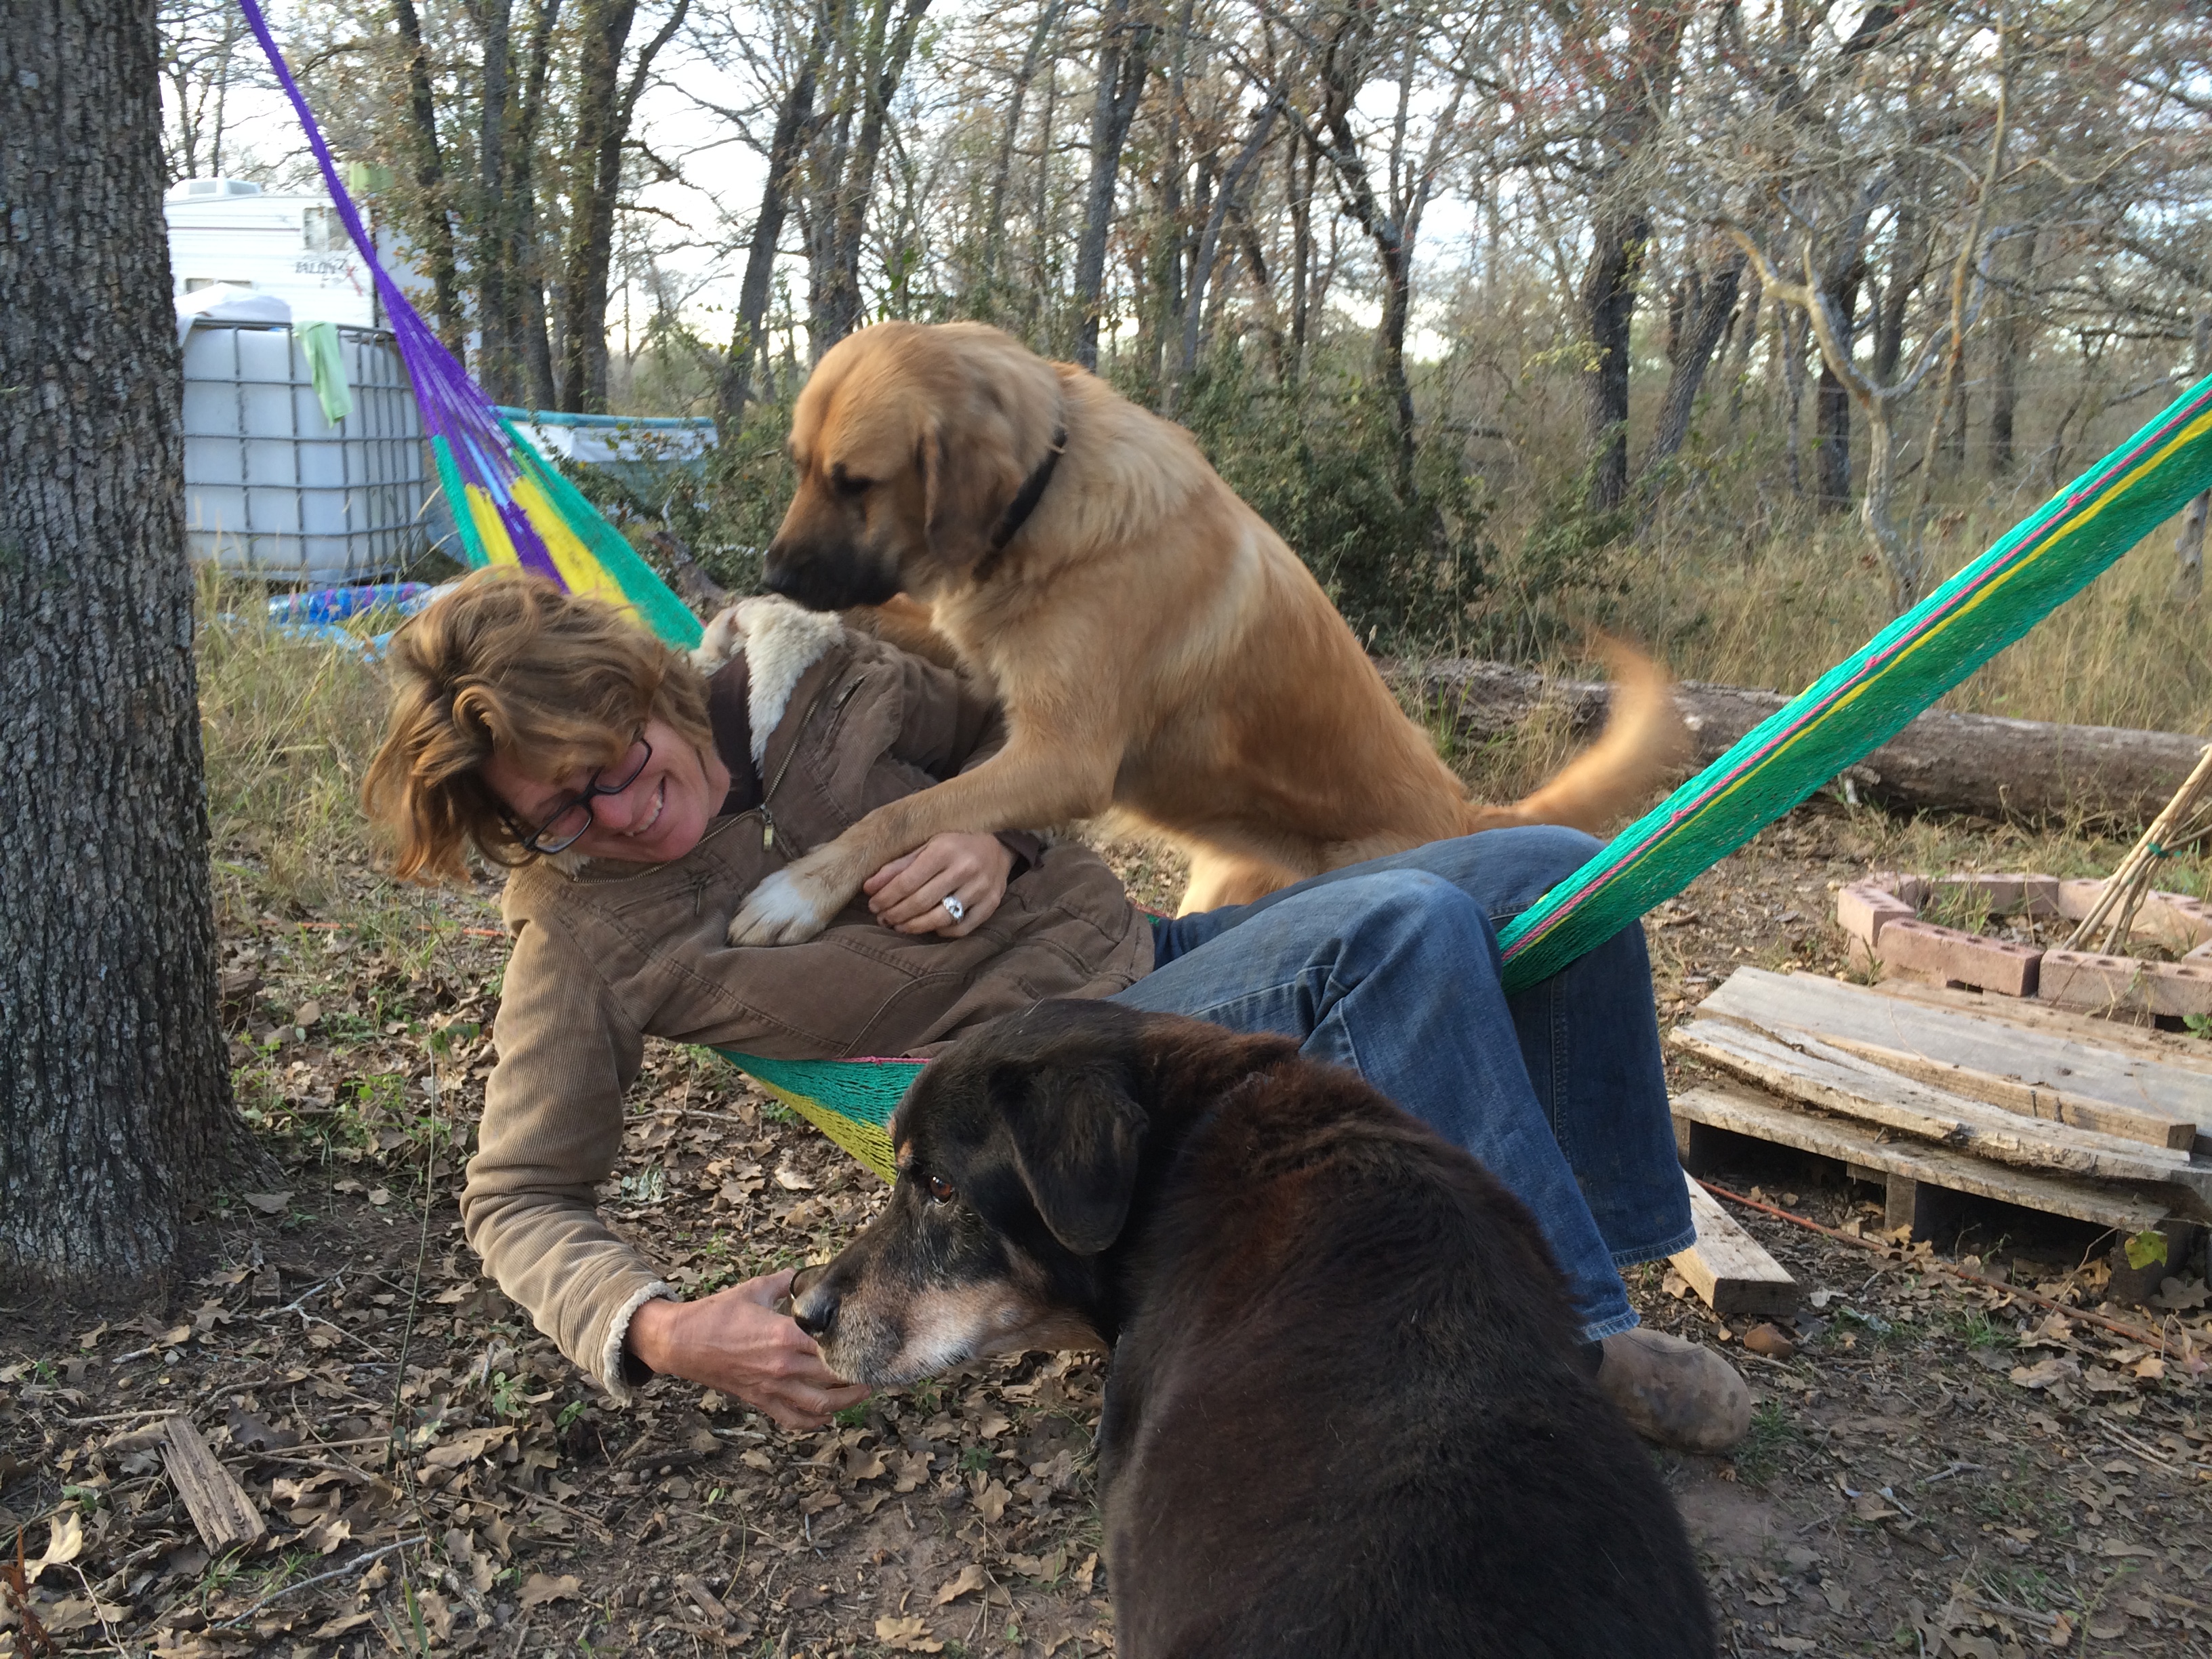
Mina mauling Ali, affectionately
basking in both sunshine and satisfaction, after completing the bottlehouse roof
Bertha flinging dirt
Widget greets the day from the cabin’s loft
feeding the neighbors in Jess’s friend Ray’s backyard
injured or ill vulture out in the wasteland
Lily enjoys the newly-accessible platform after we took down the old cable spool tower
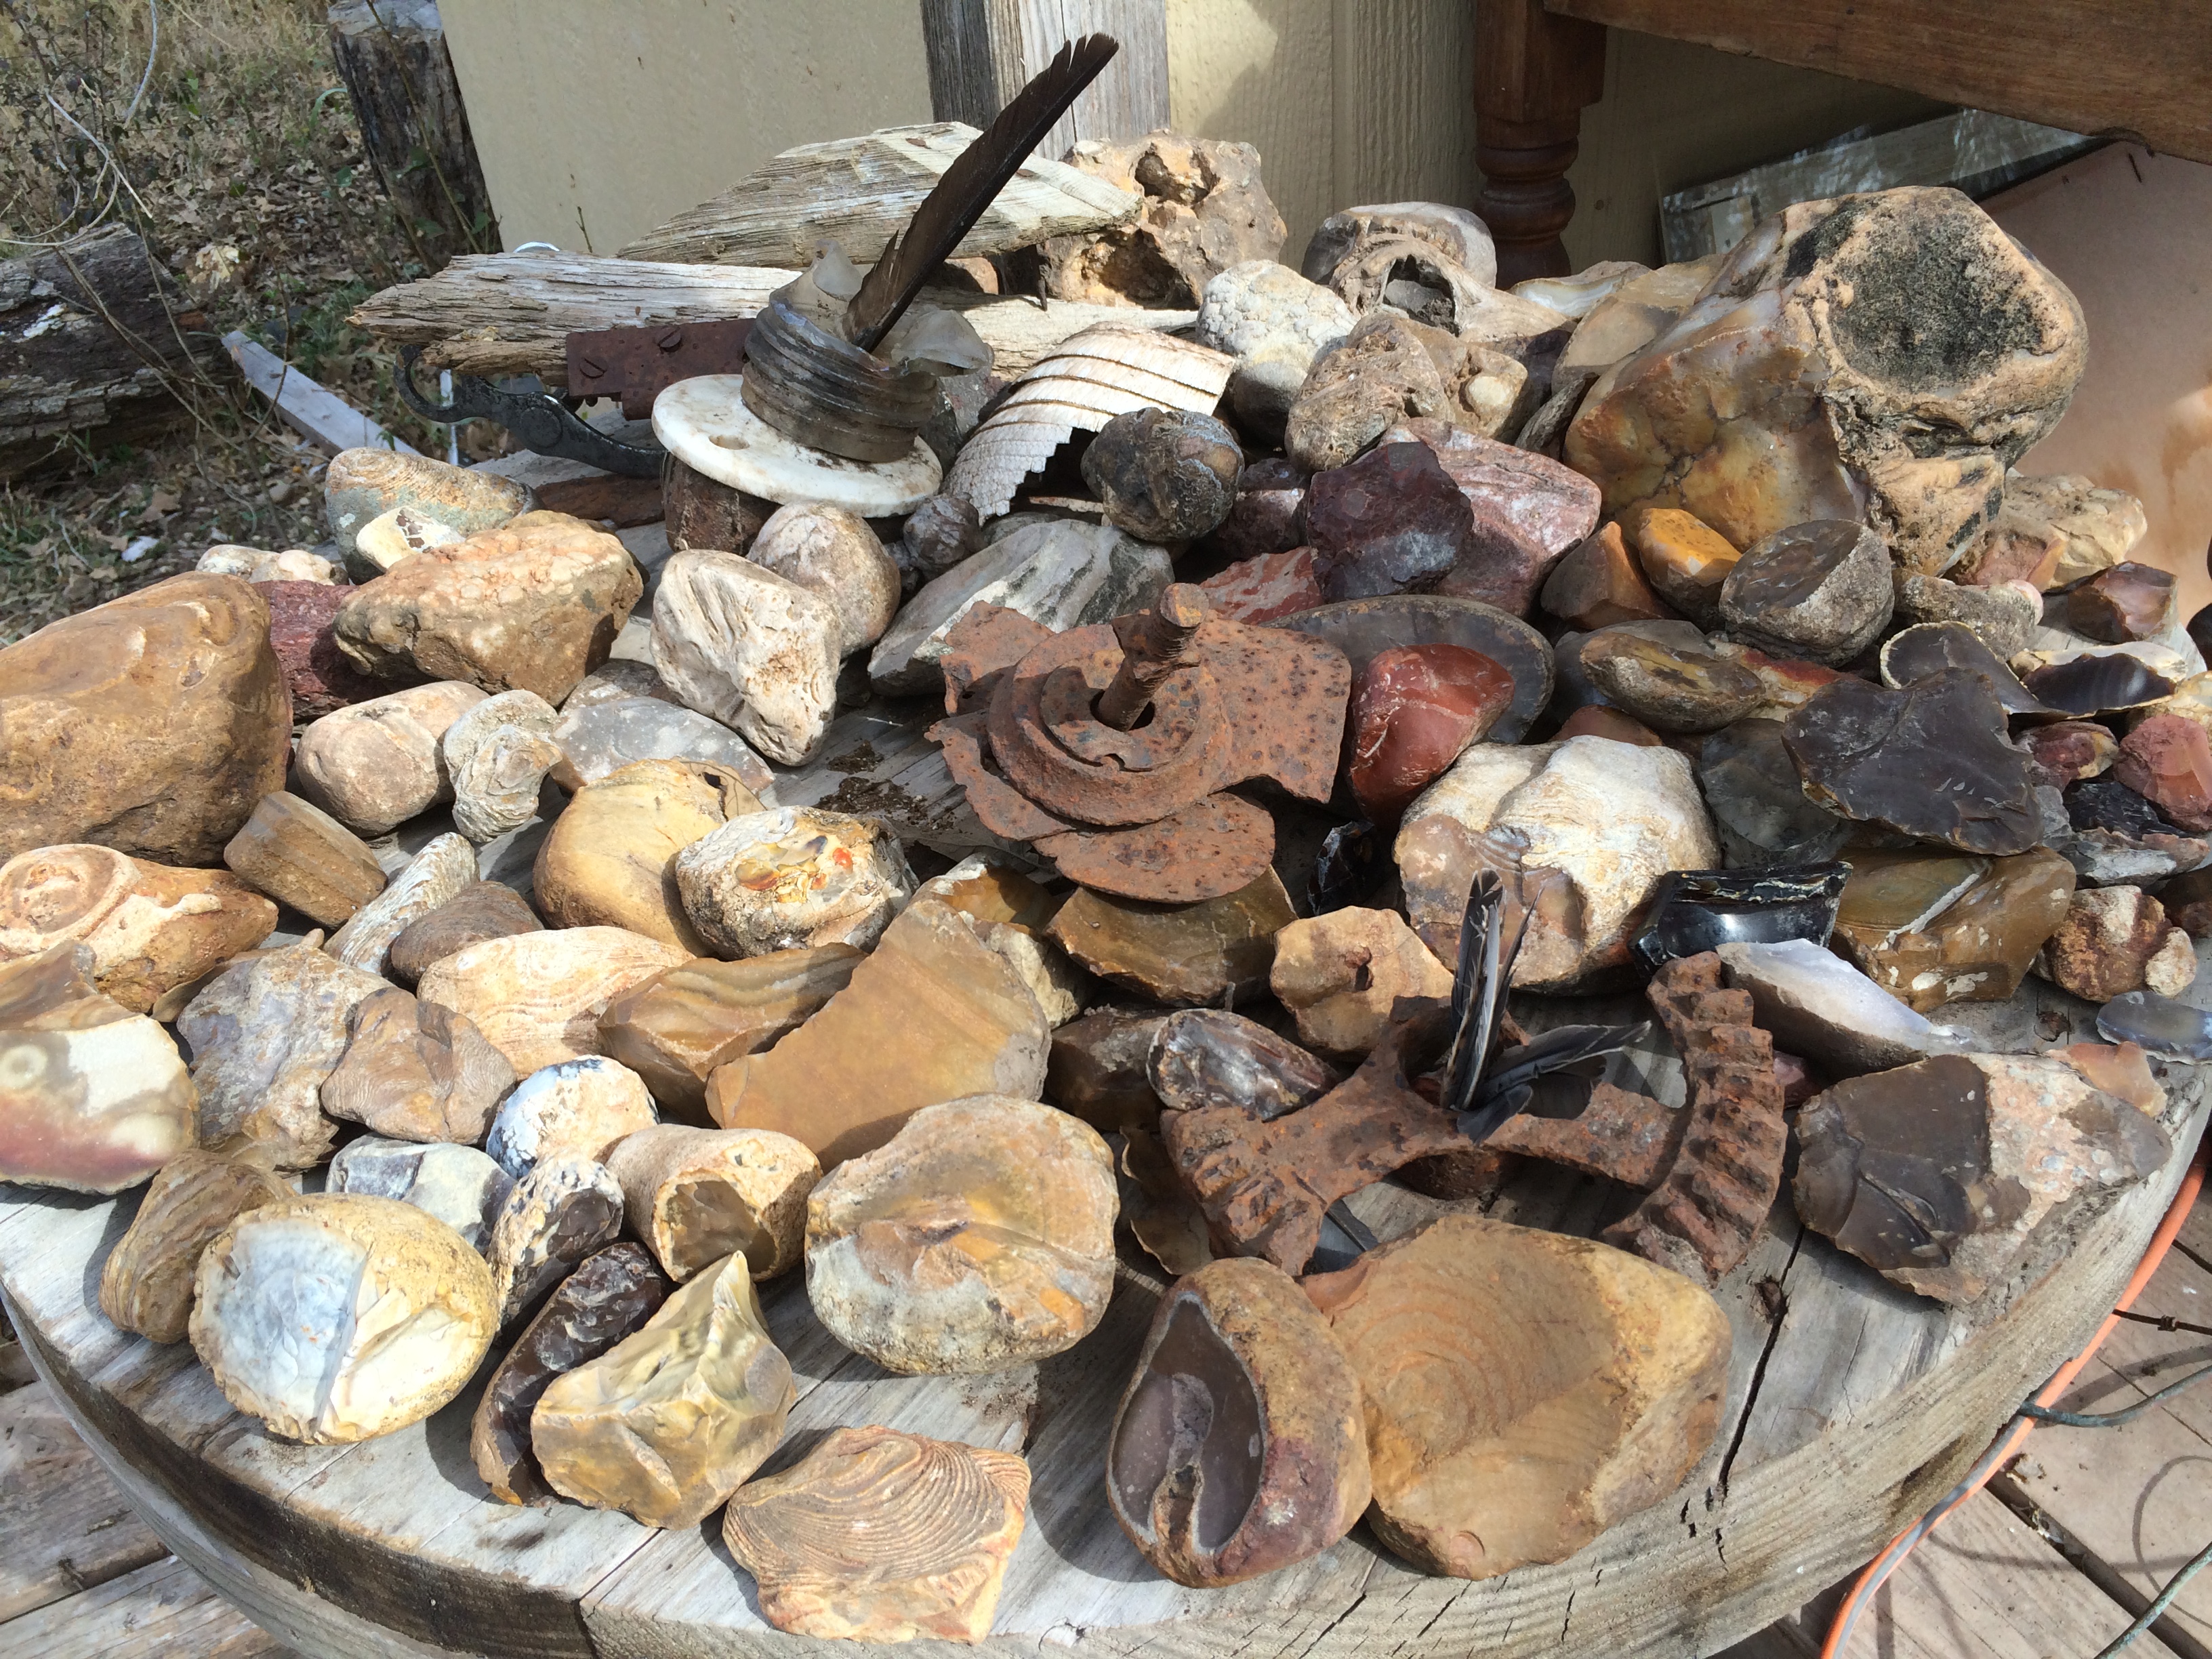
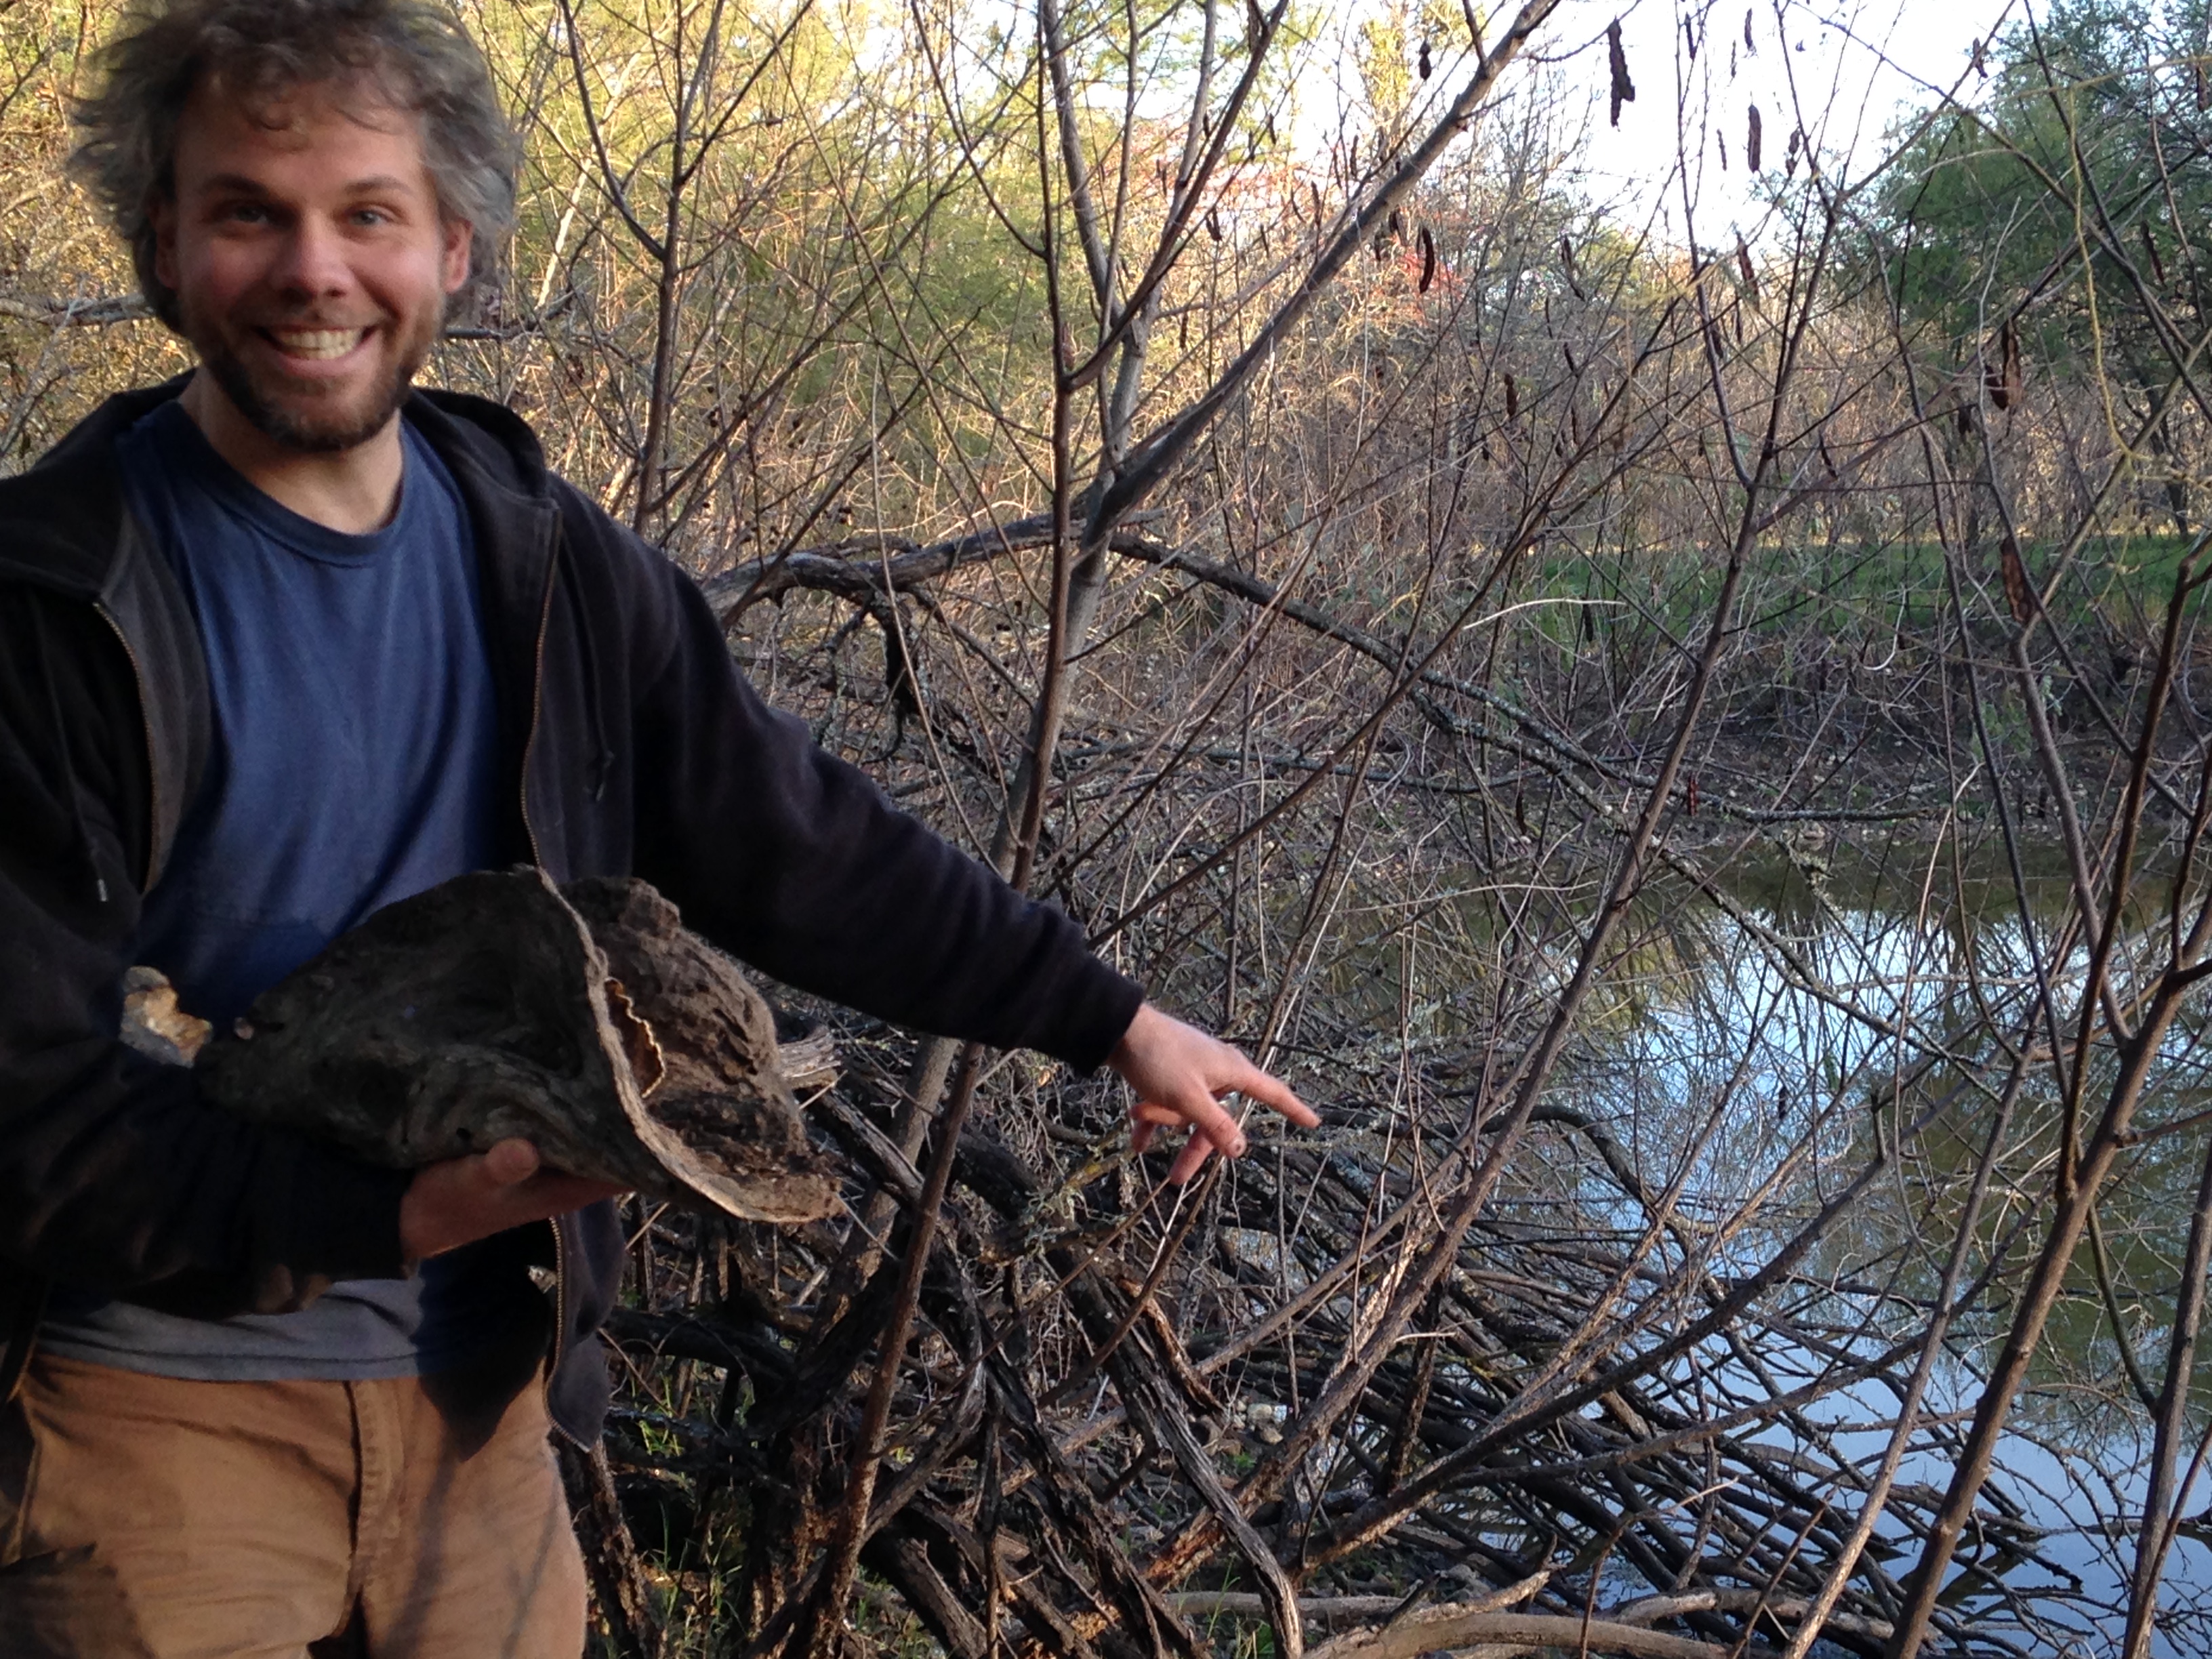
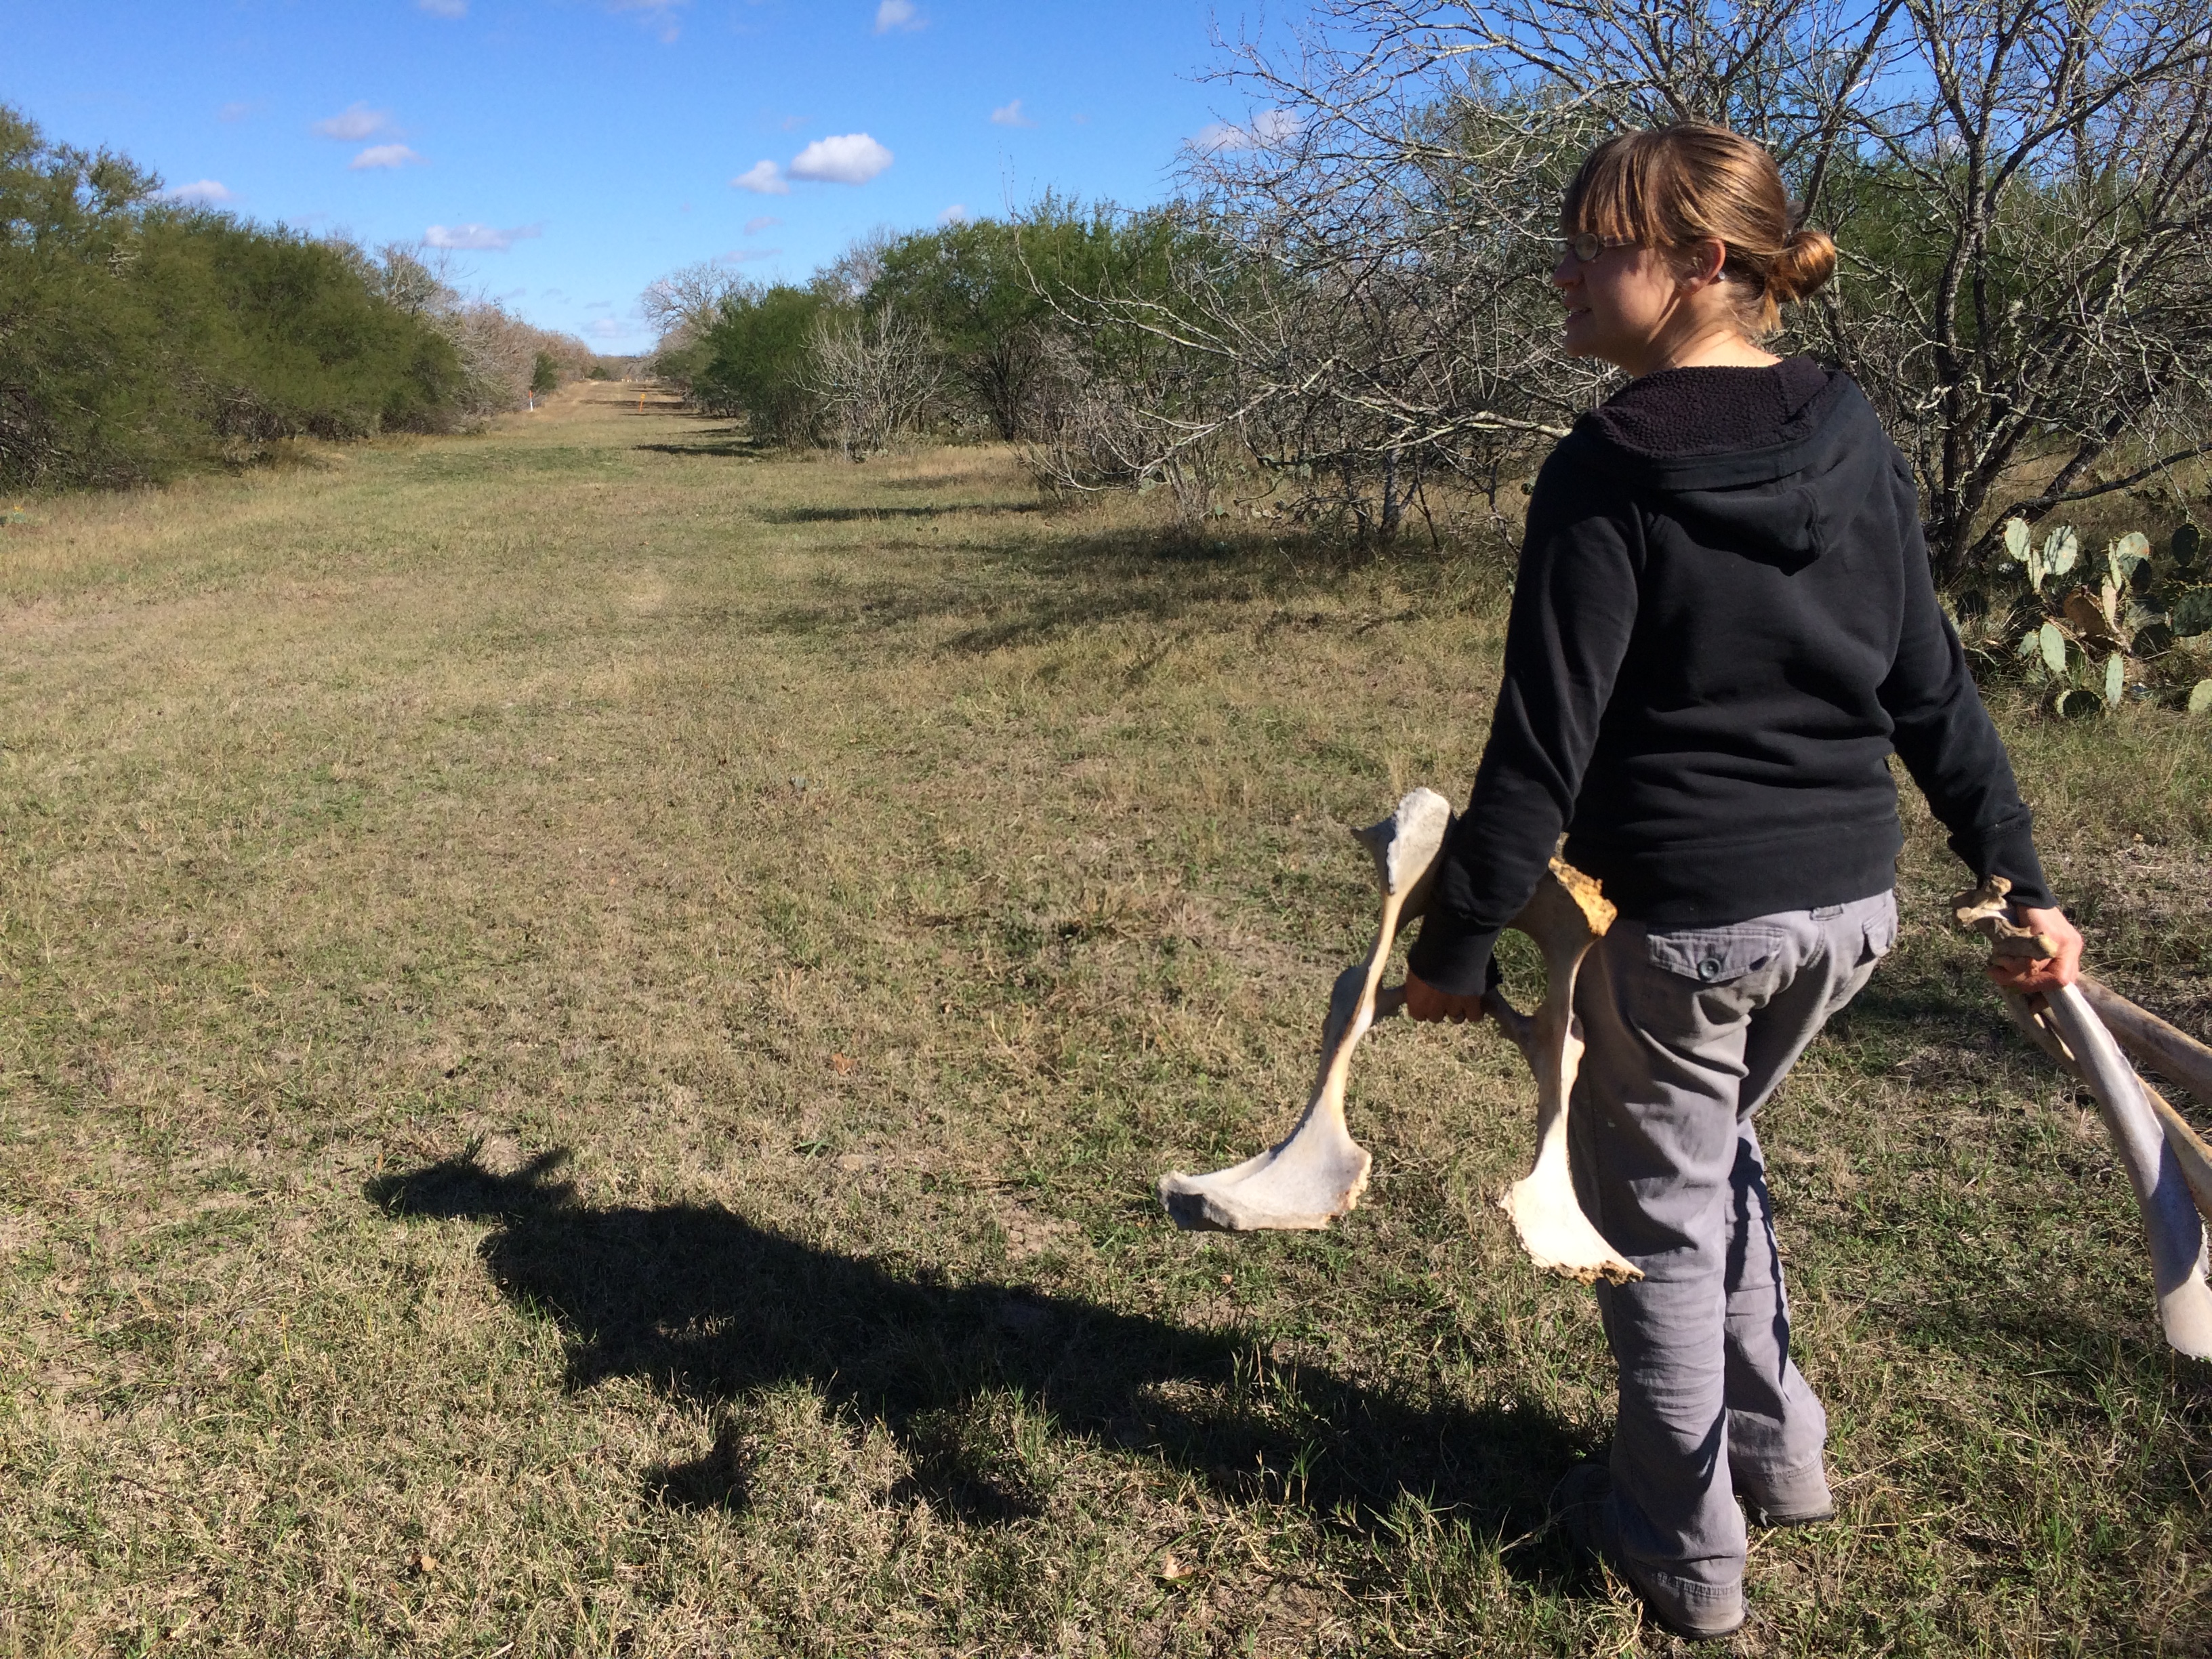
the petrified wood collection so far, gathered on our walk abouts on the property
preparing the new field for planting
adding a gate to the new field
returning from an attempt at making the entrance culvert a bit more accessible
the rocks n stuff collection is outgrowing the spool tabletoprocks and artifacts and bones outside the cabinpool at Dean’s in Kingsbury
remains of Shane’s grandmother’s old house
unearthed an intact Presto glass container with lid from the 40s
Mr. Pettibone squeezes into the dog food container he knocked over, as Scout observes
exploration
archeologistizin’ the old homestead
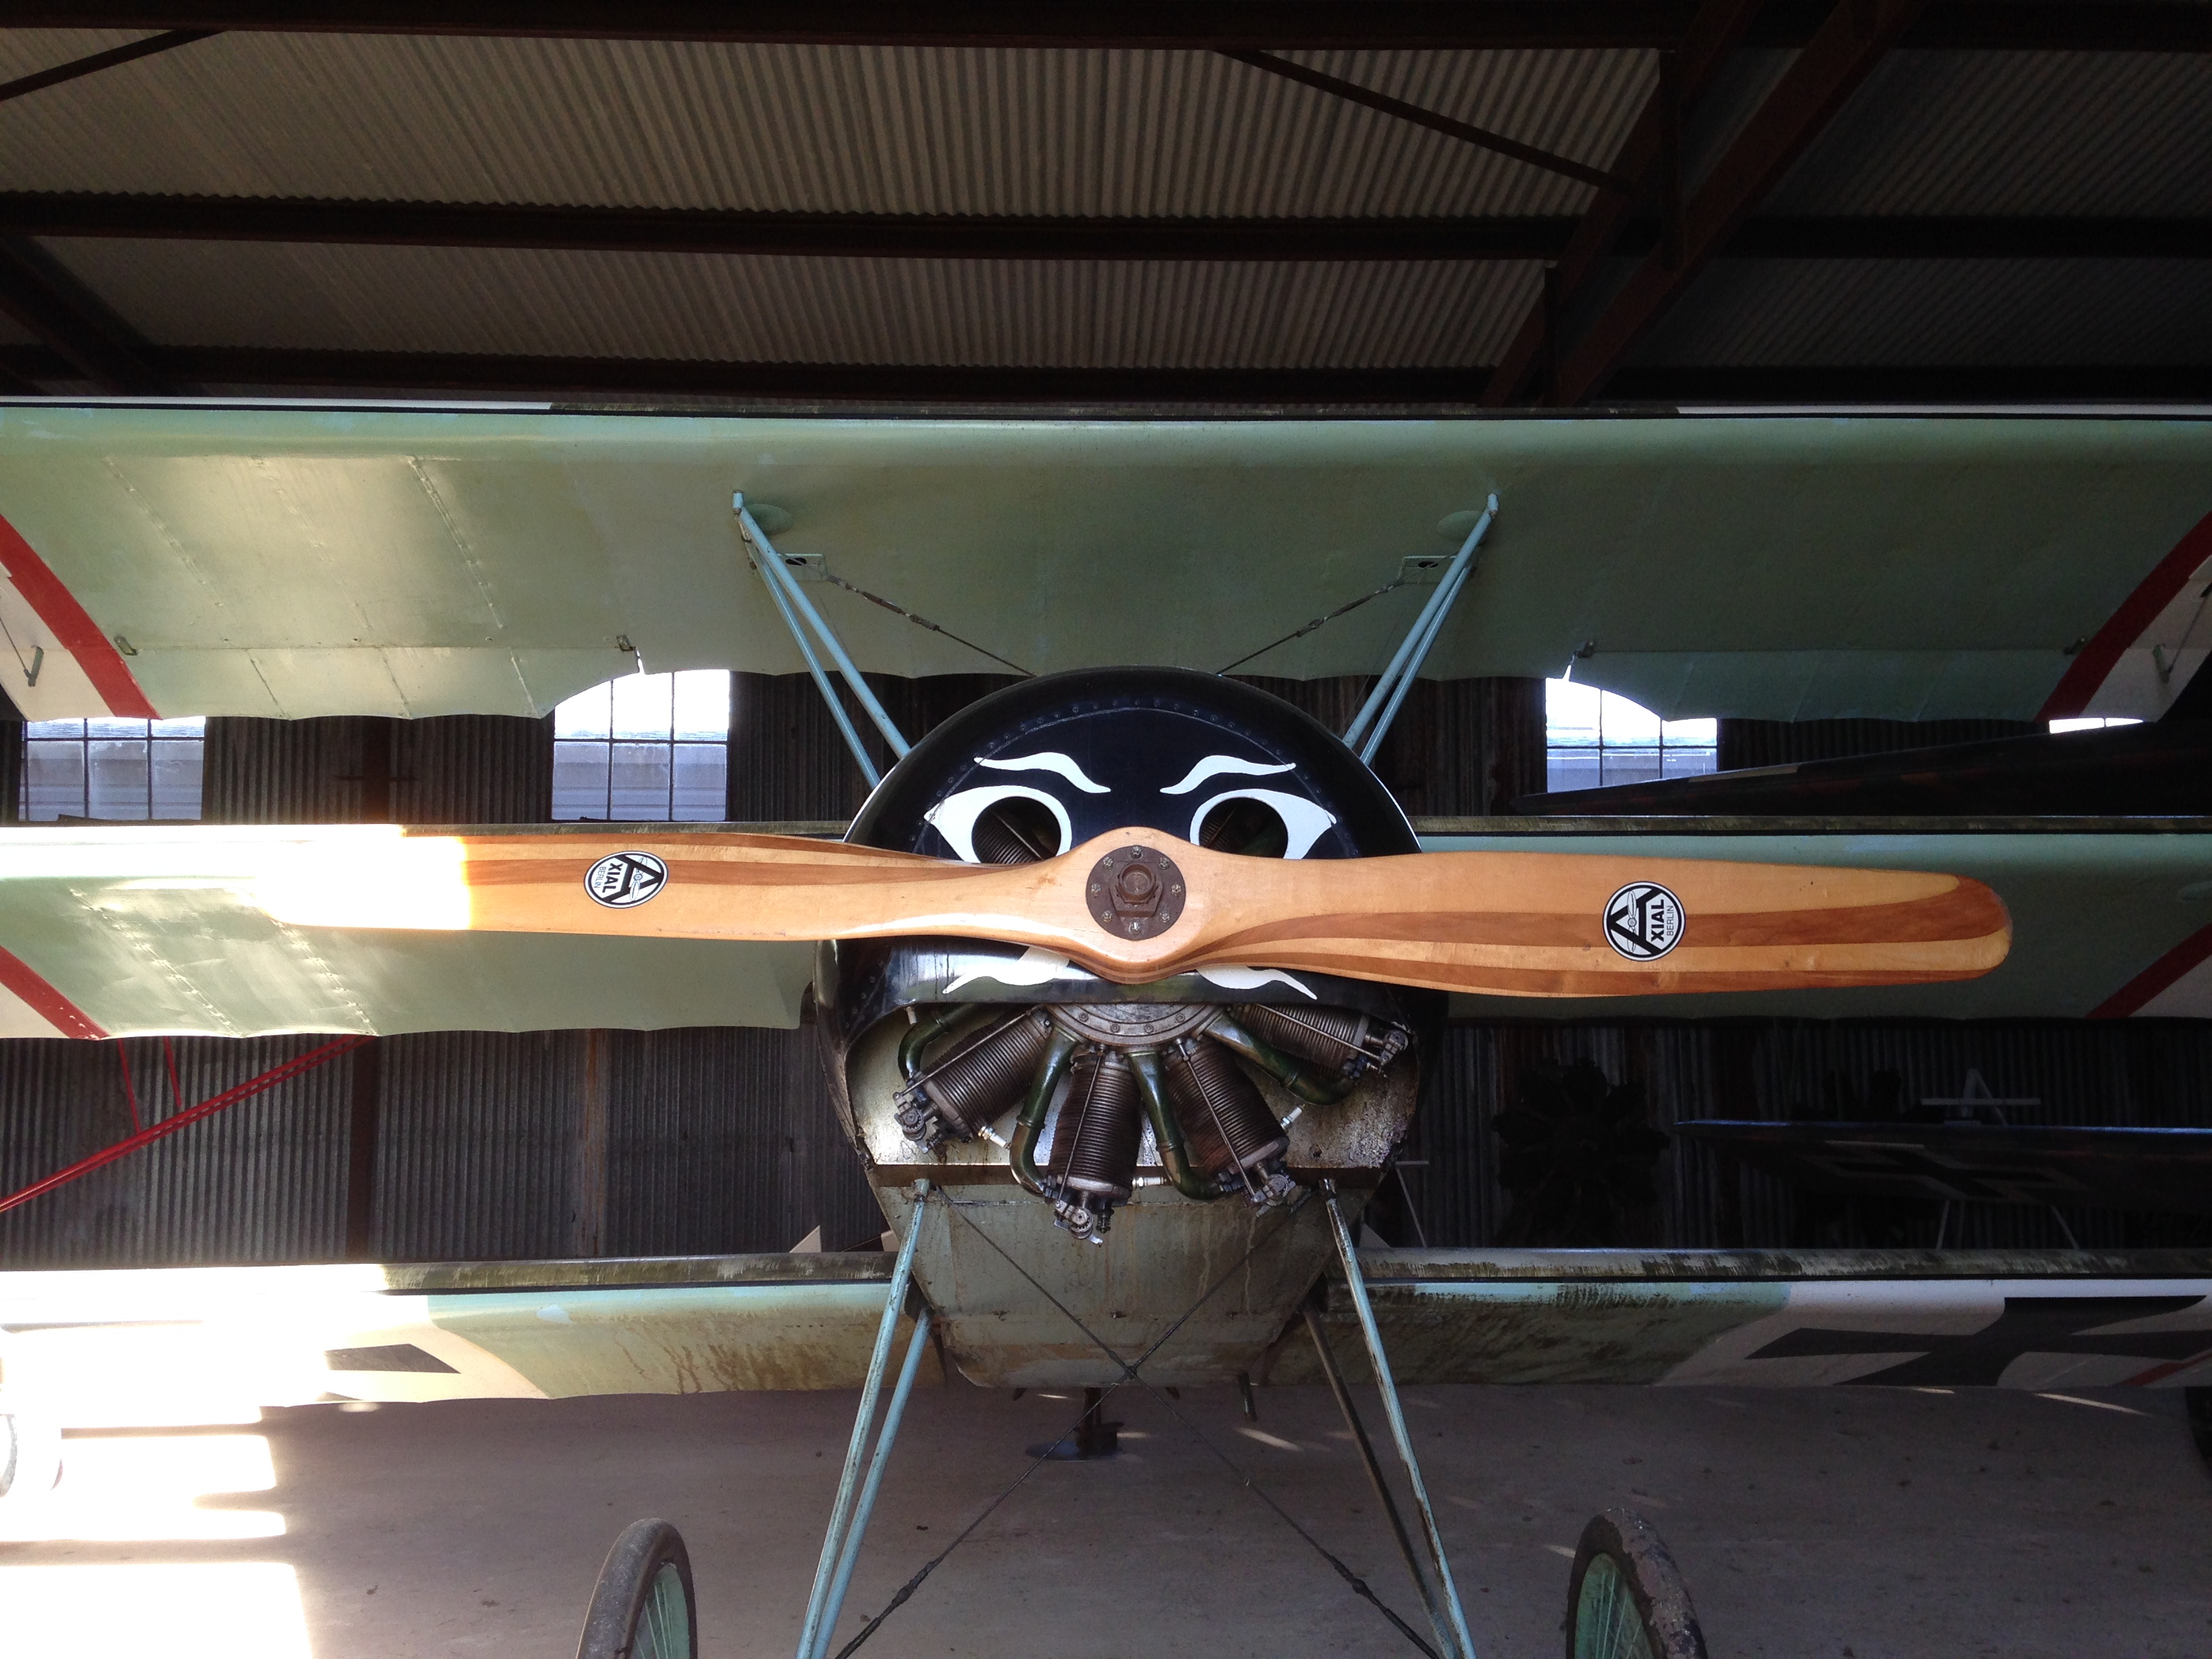
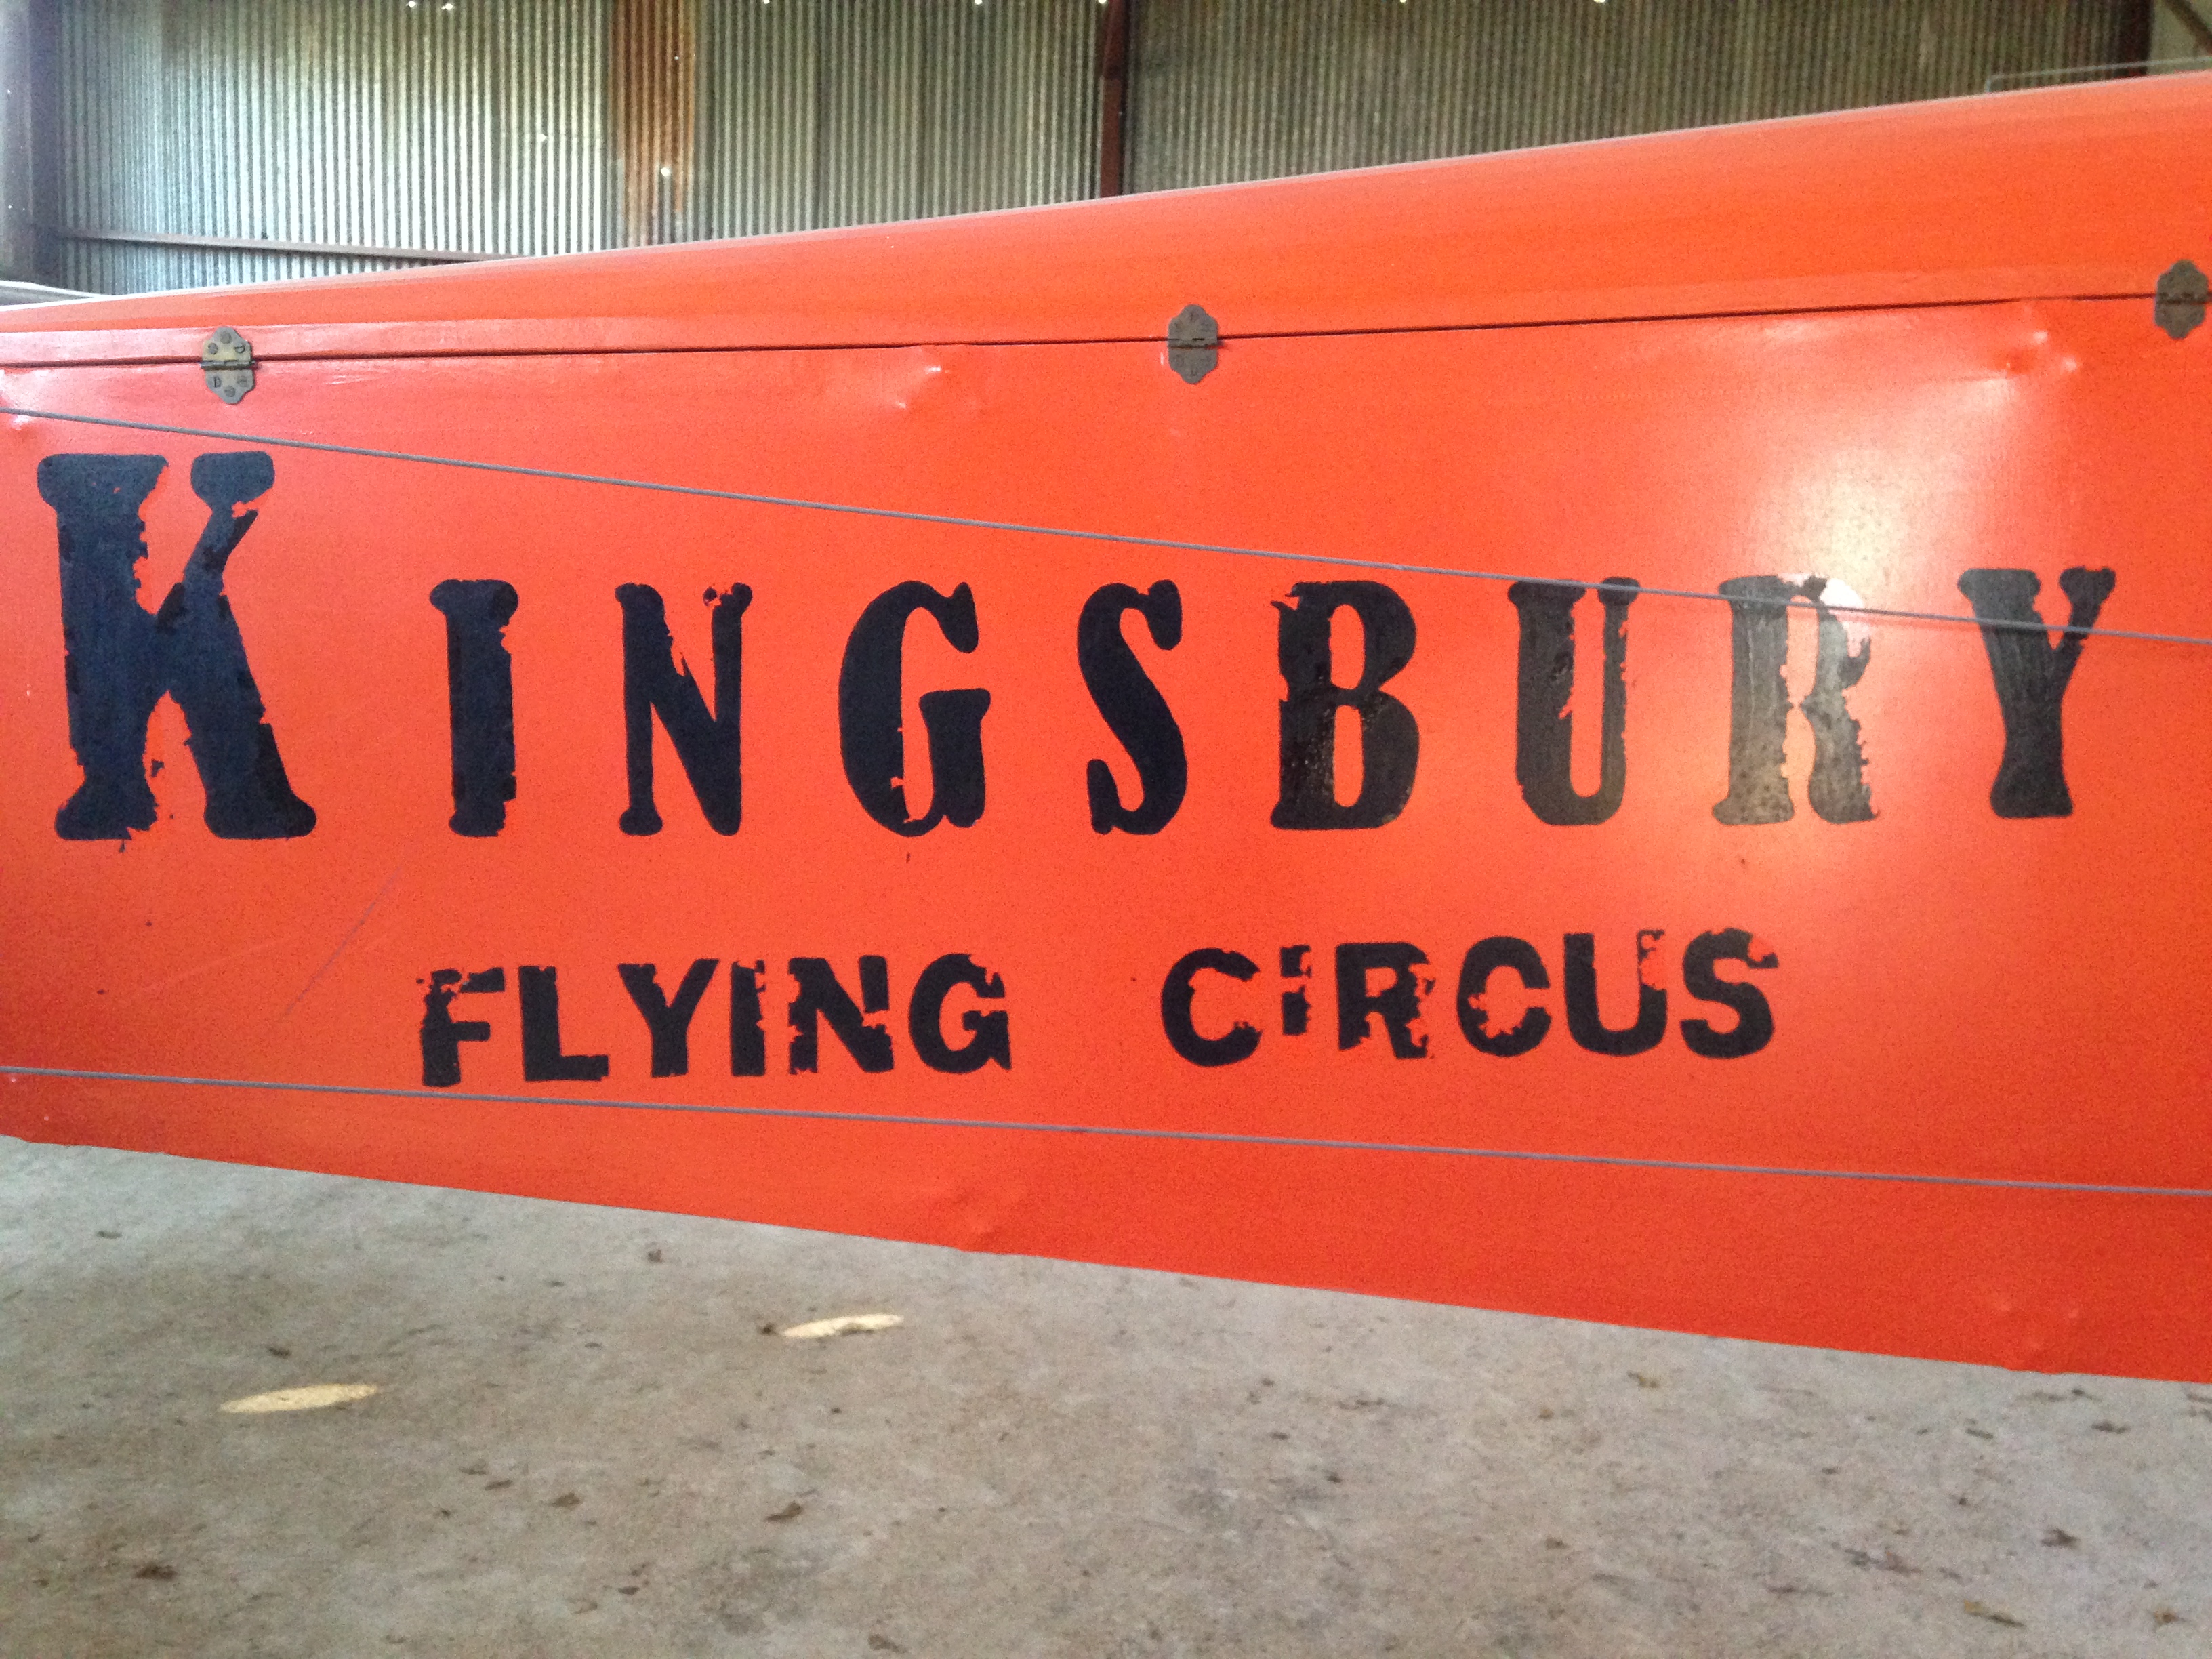
the Kingsbury Aerodrome museum is next door … they have many many cool toys
Ali chameleoning
whitewashing Craigslist Free section fence wood for purty interior paneling
colorful western San Antonio
Jess at the altar of an abandoned church
panorama from the bottlehouse roof
So that was January! We’re going to be here through February 19th before we start making our way west toward Arizona – and from there, home again in mid March to get the farm kicking! Its coming fast now … woo hoo!
One year ago we left our home in Minneapolis and dove into our new life.
During the year since then, we’ve traveled for four months working and learning on other farms throughout the southern states, and spent 8 months building up our little homestead farm in the sand barrens of Western Wisconsin.
It’s easily been the best – most rewarding, most interesting, most promising, and most exciting – year of our lives, at an age I feared I’d be settling into an increasingly domesticated rut. Living outside my comfort zone – learning skills and approaches that make me acutely aware of how little I know and how much there is to learn – has been humbling and awesome.
Today, we’re ushering in the new year at Habitable Spaces down in Kingsbury, Texas. It’s been cold and rainy since 2014, although the chill is only by Texas standards – it’s currently 40 here, but only 12 back home on the Que Sehra Farm … I’ll take it .
bottles awaiting de-labeling, halving, taping, and mortaring into the bottlehouse walls
testing the new rocket stove (for heating up chicken/duck dunking water)
Kristin had some good photos on her phone that didn’t make it into the “Inhabiting the Habitat” post last week, so here some of them are …
scavenging fencing
the standard rocks here are mostly gorgeous flintMina loves her body inside the warm kitchen and her face out the kitty door
Happy New Year everyone! Life is short and we’re writing our life stories every day – let’s all make this next chapter the best one yet.
From Yokna Bottoms Farm, it was an 11 hour drive to our next host farm – Habitable Spaces, a “sustainable farm & artists residency,” growing in spaces carved from the scrubby oaks, mesquite, and cacti of Texas, out beyond the outskirts of both San Antonio and Austin.
We arrived in the darkness of the new moon, in the first hours of the longest night of the year – winter solstice, time for openings and new things – and immediately ran aground and became happily stuck (Huey Lewis style) upon a rooted tree stump. How metaphorical! I liked it.
Although I wouldn’t completely feel good about it until I was sure the transmission hadn’t been damaged or something …
(this uploaded upside down but I’m just going to leave it as is.)
We cut the stump down the next day and drove to a more convenient dock.
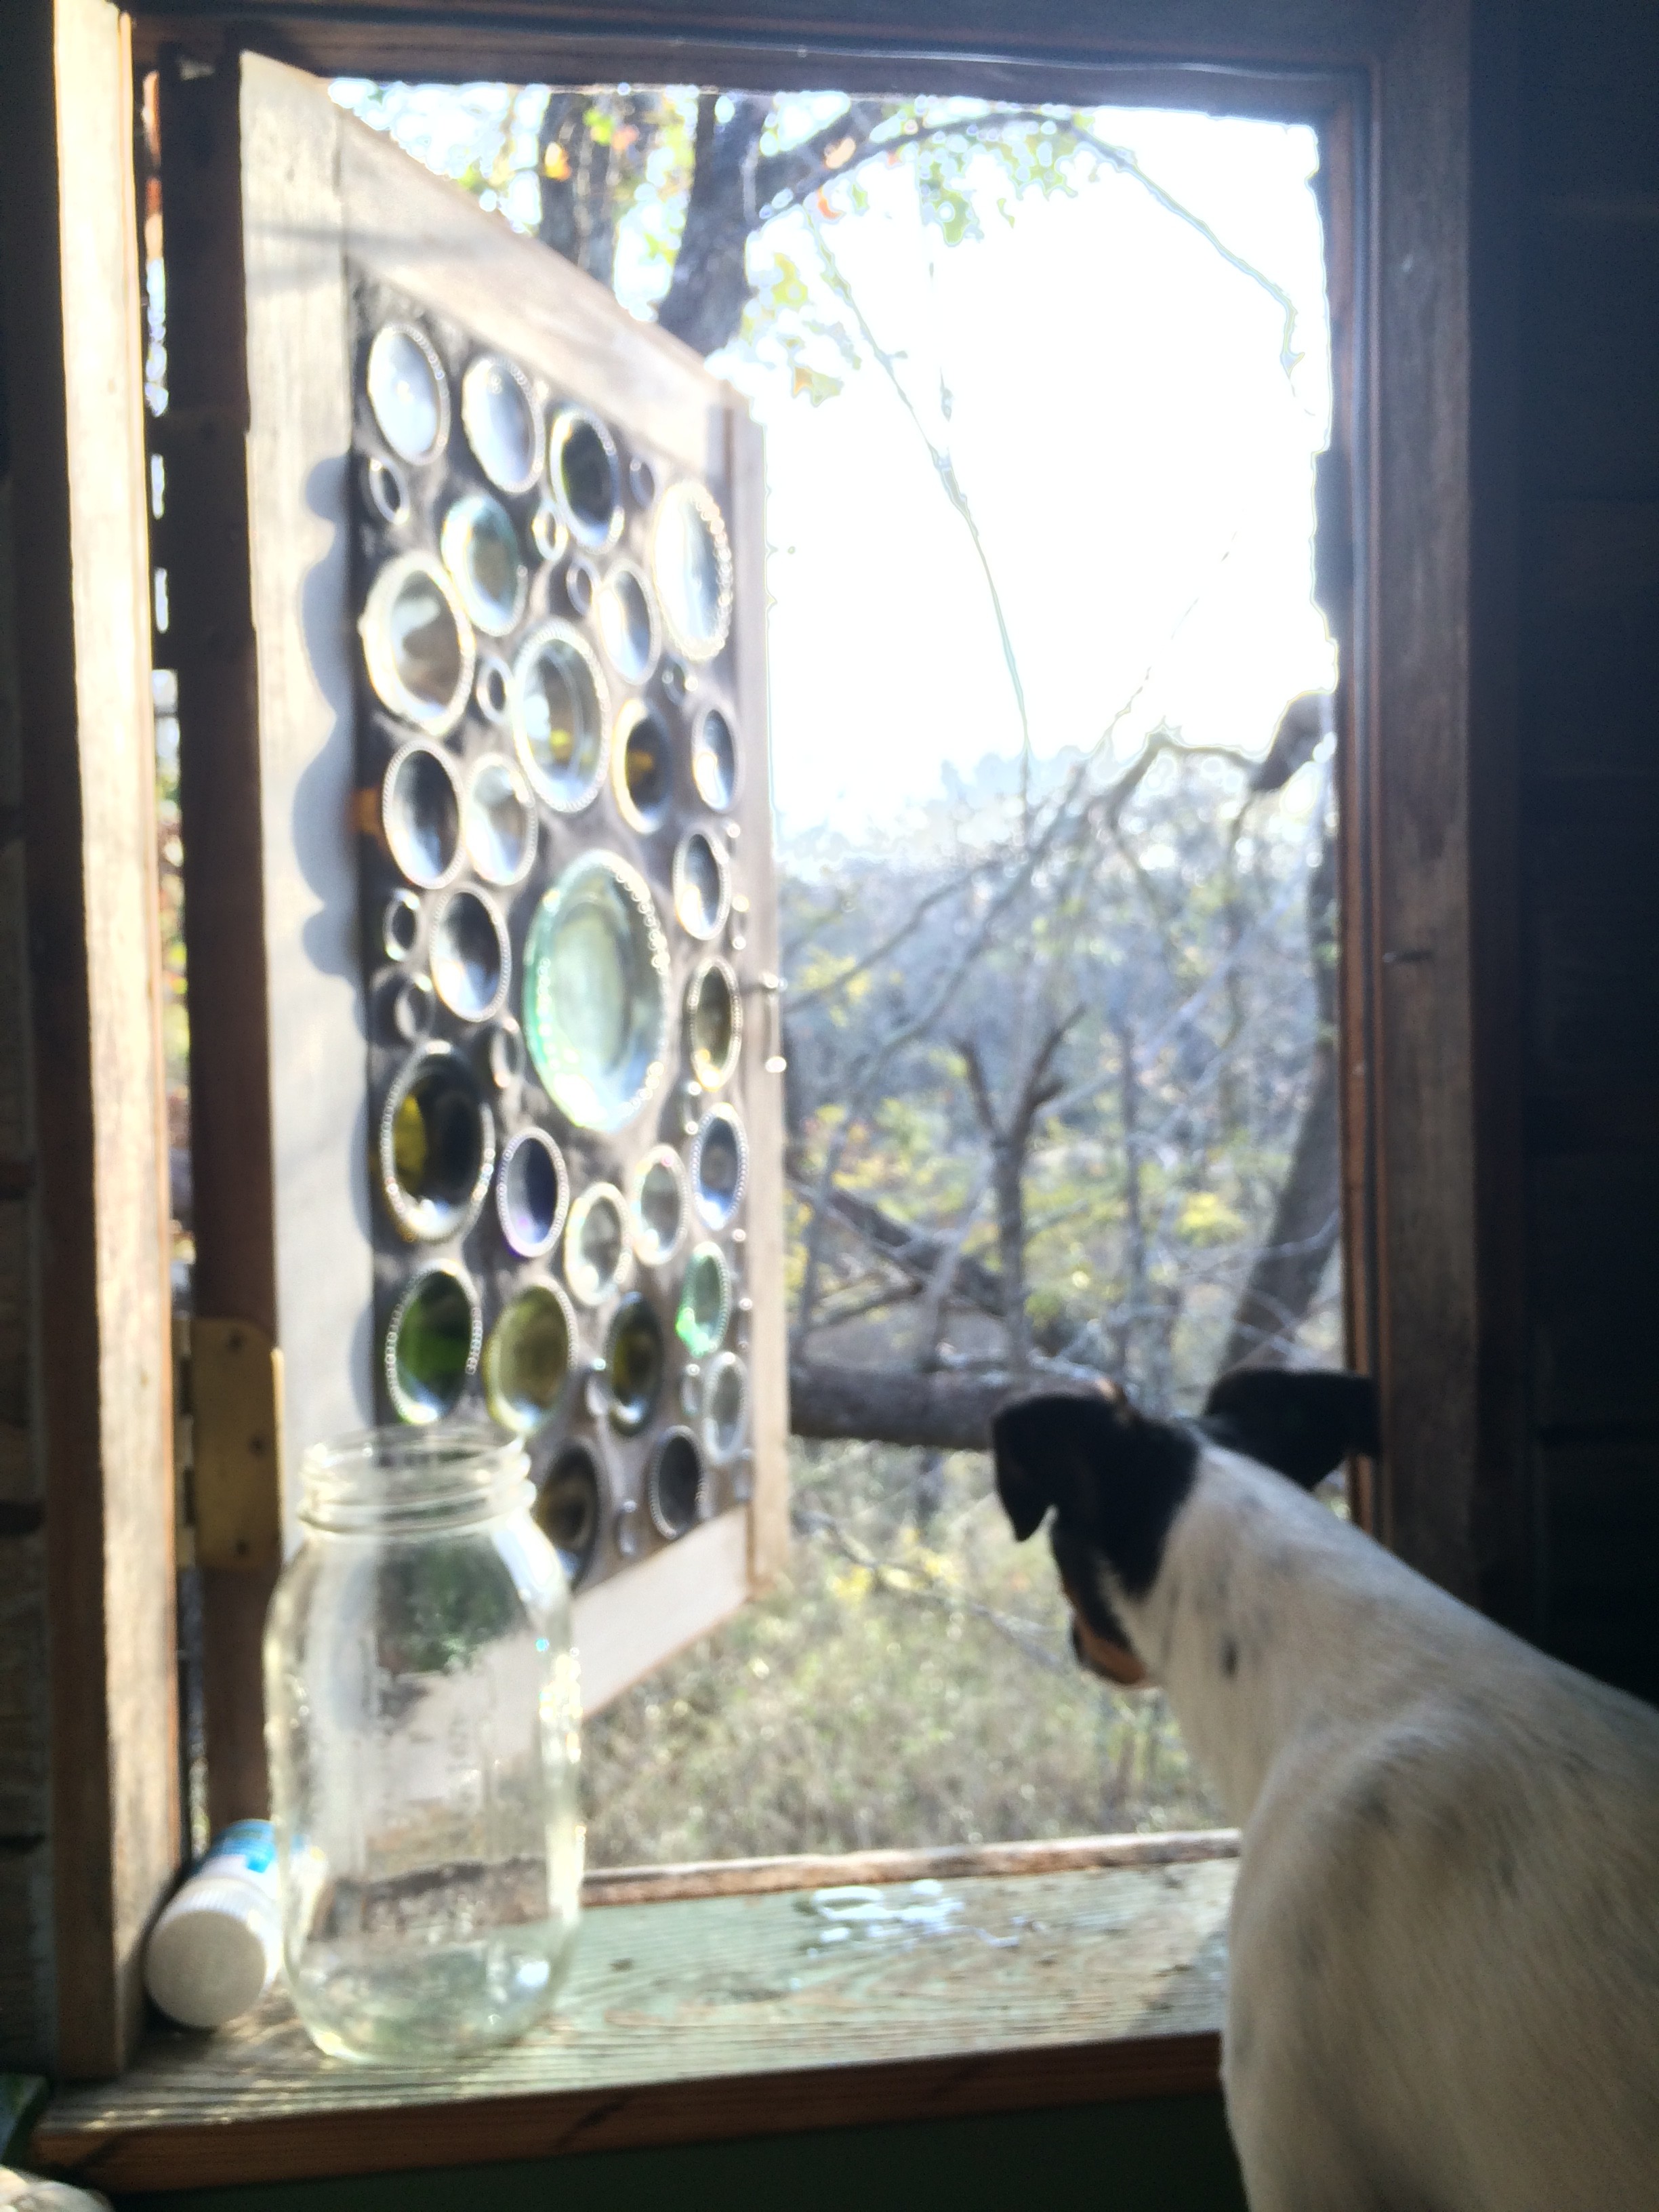
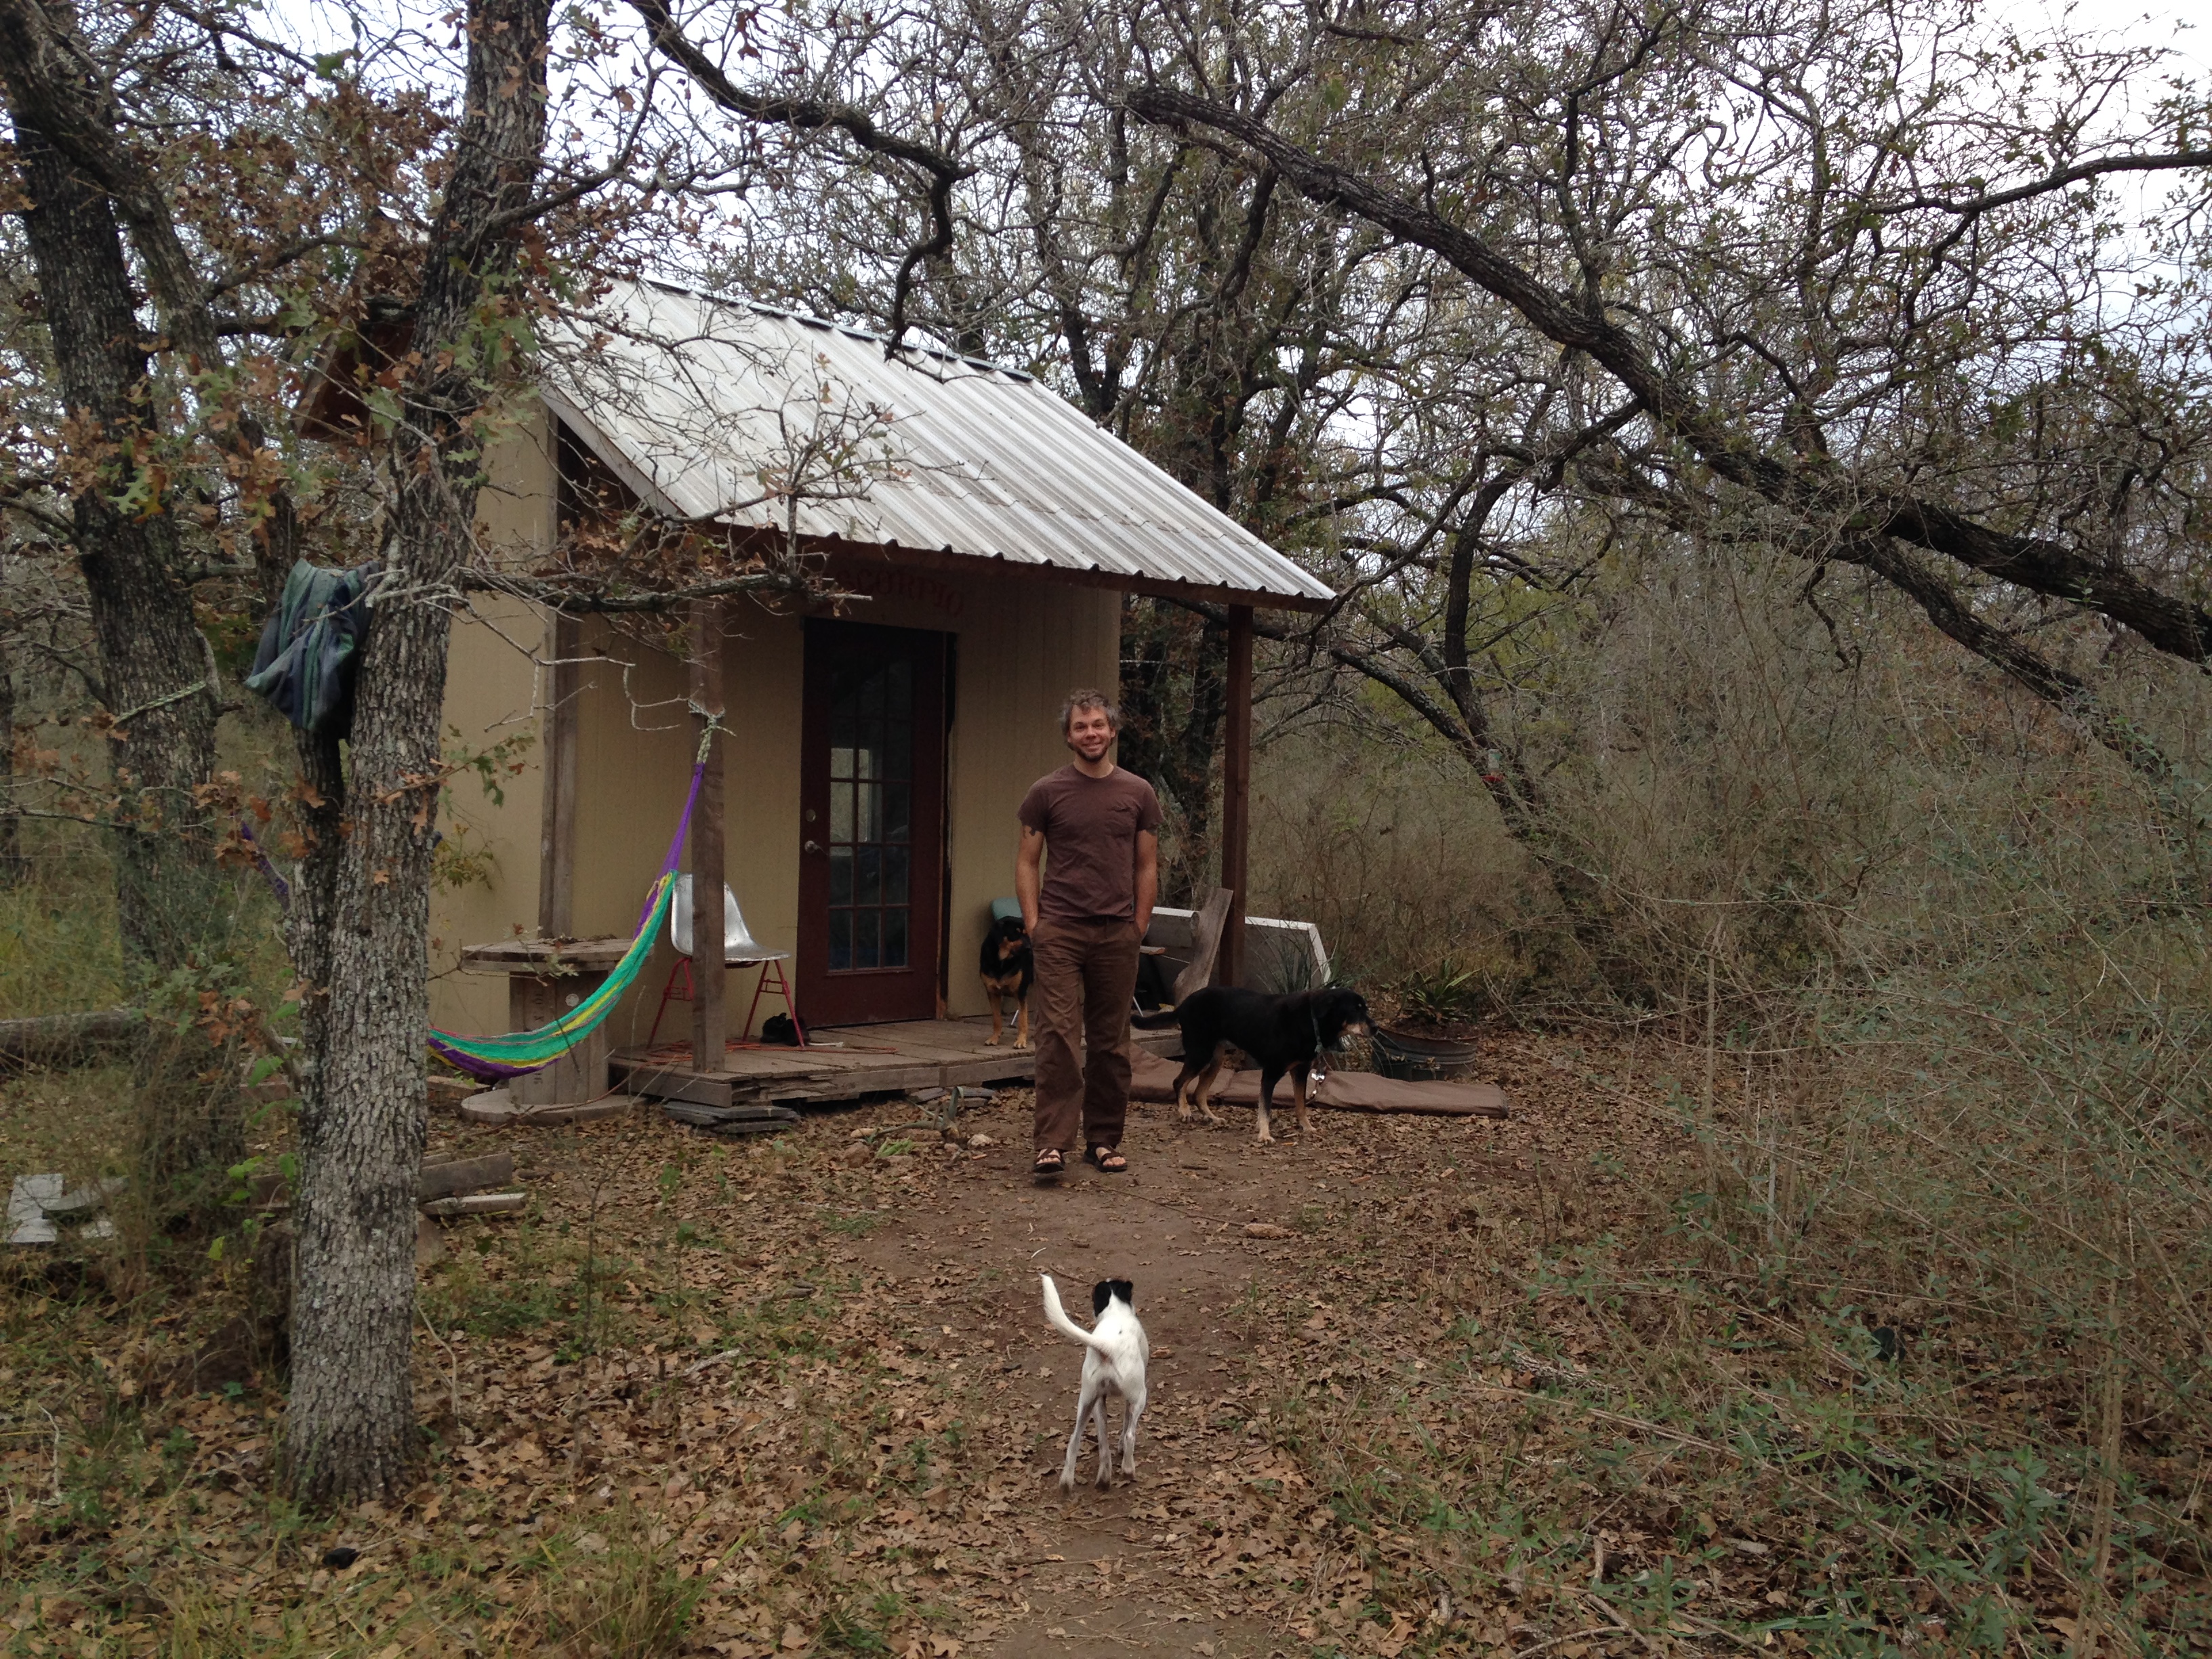
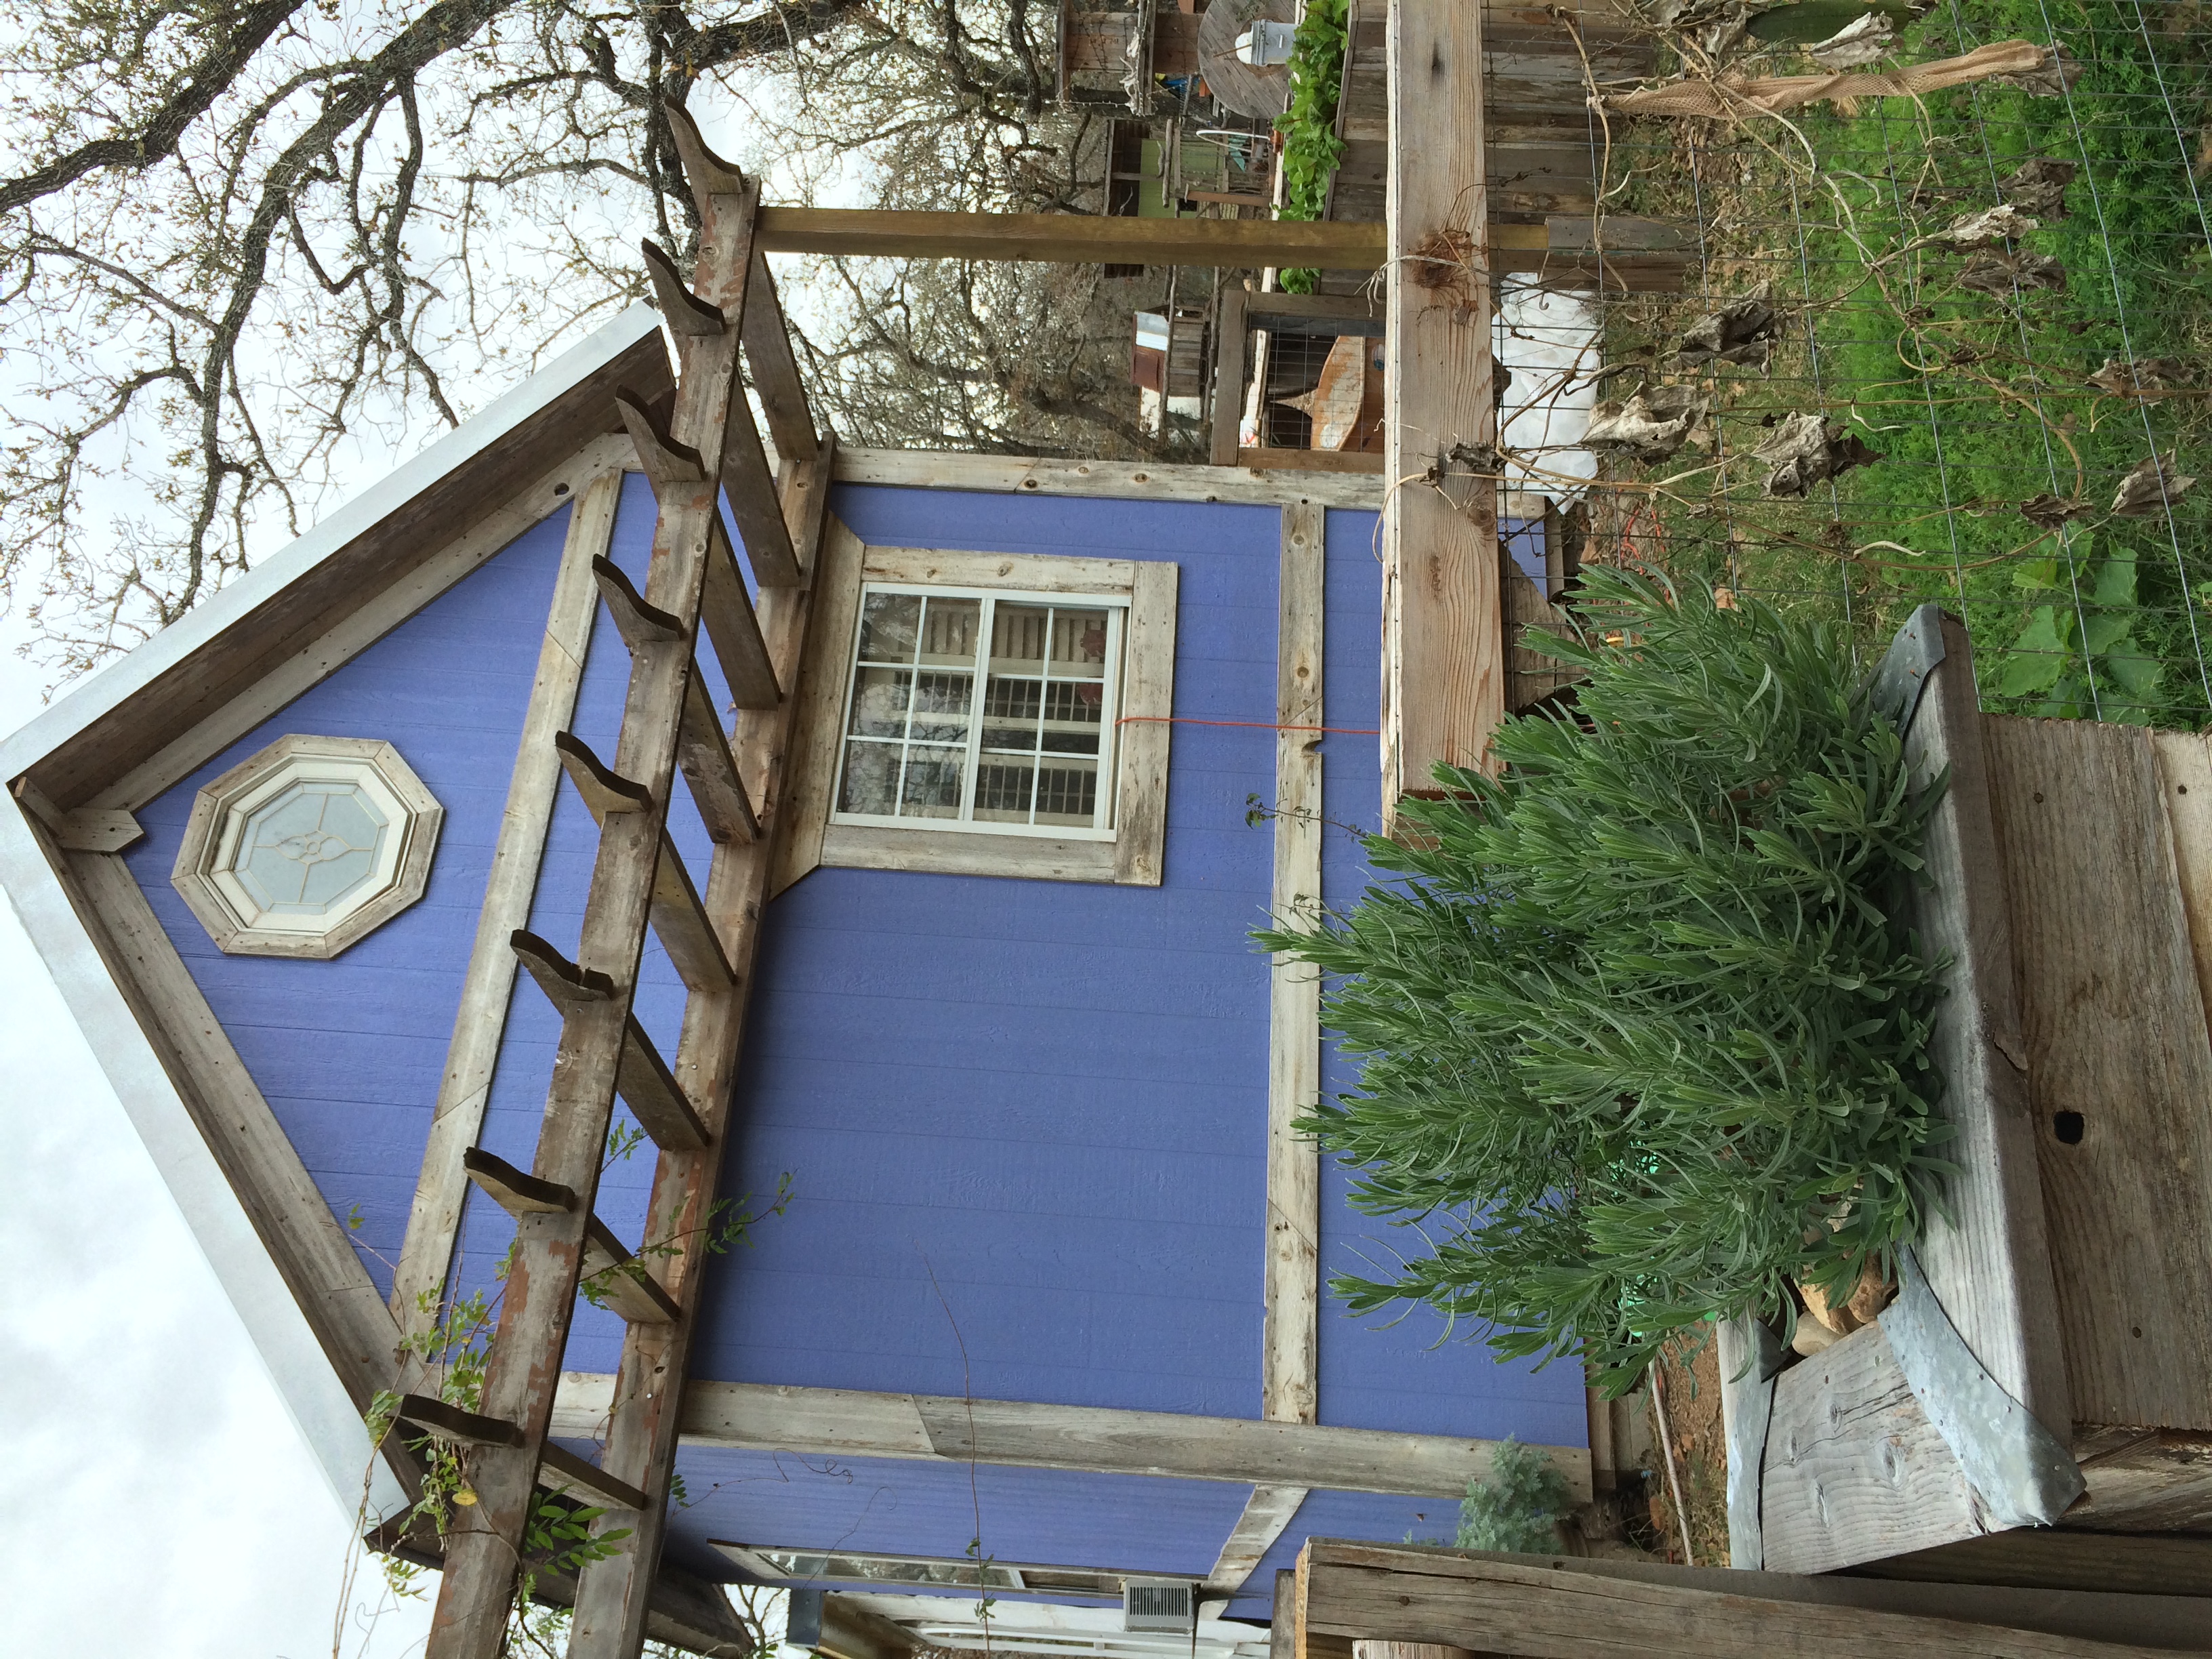
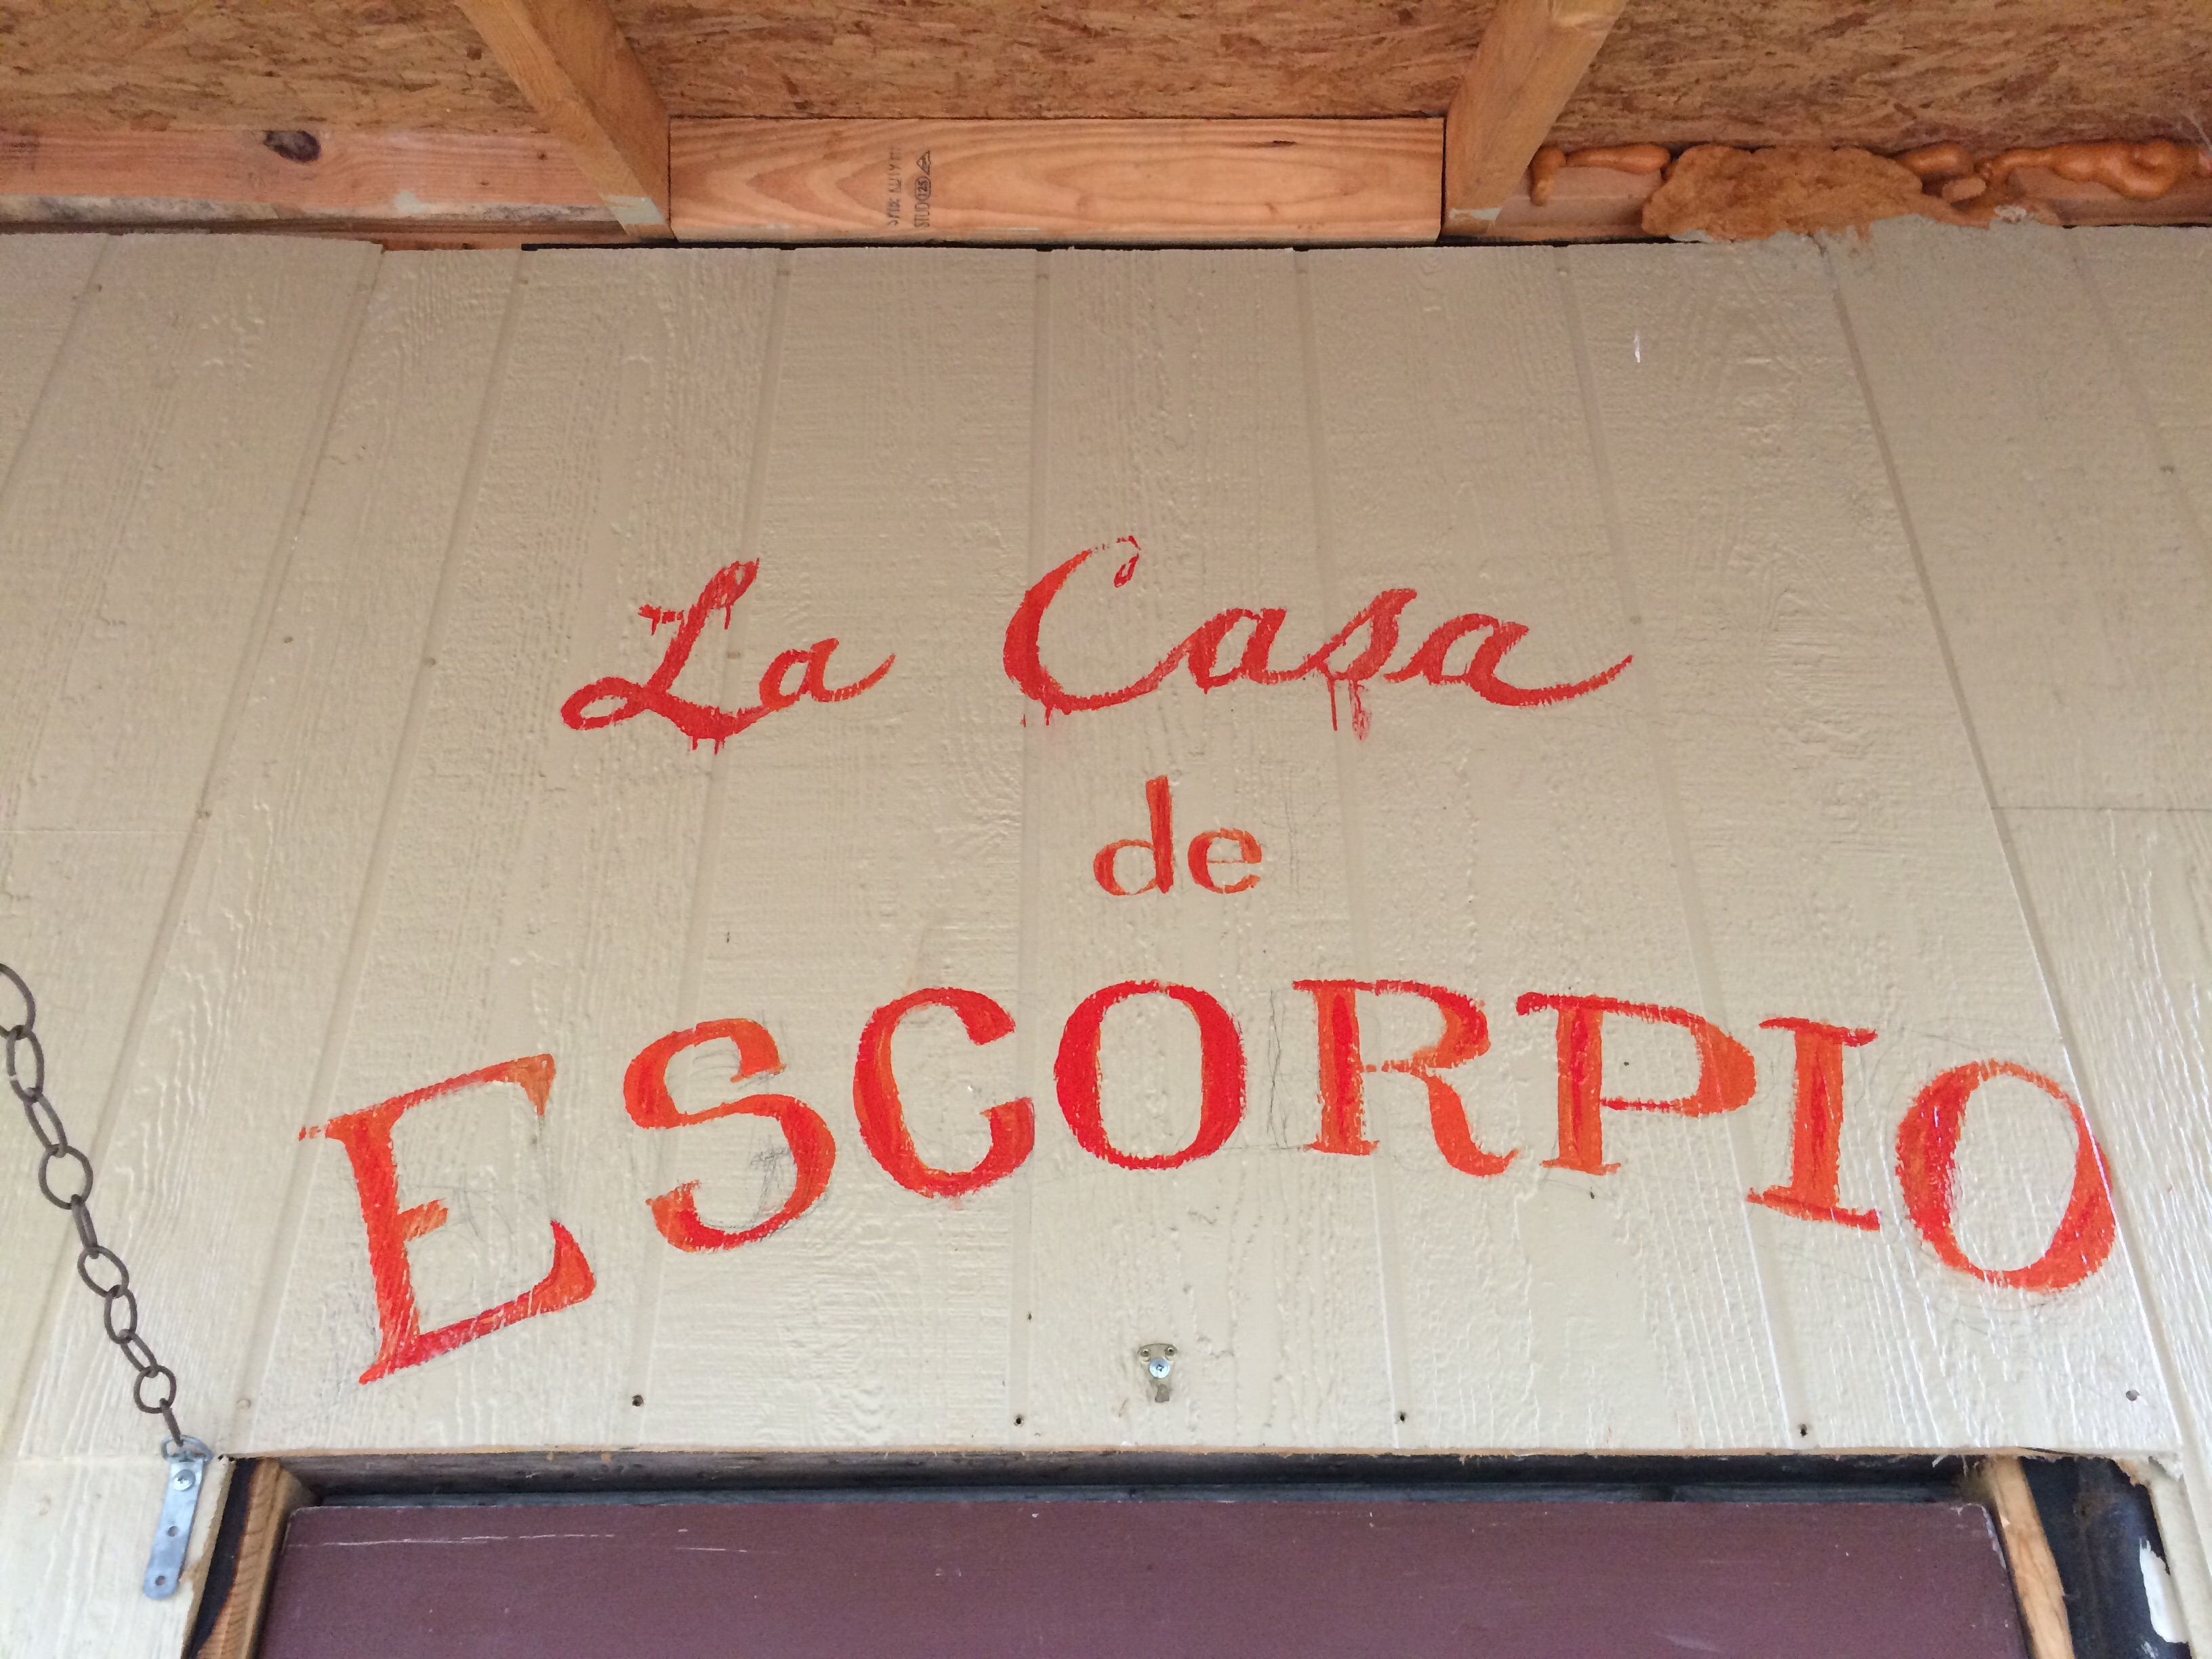
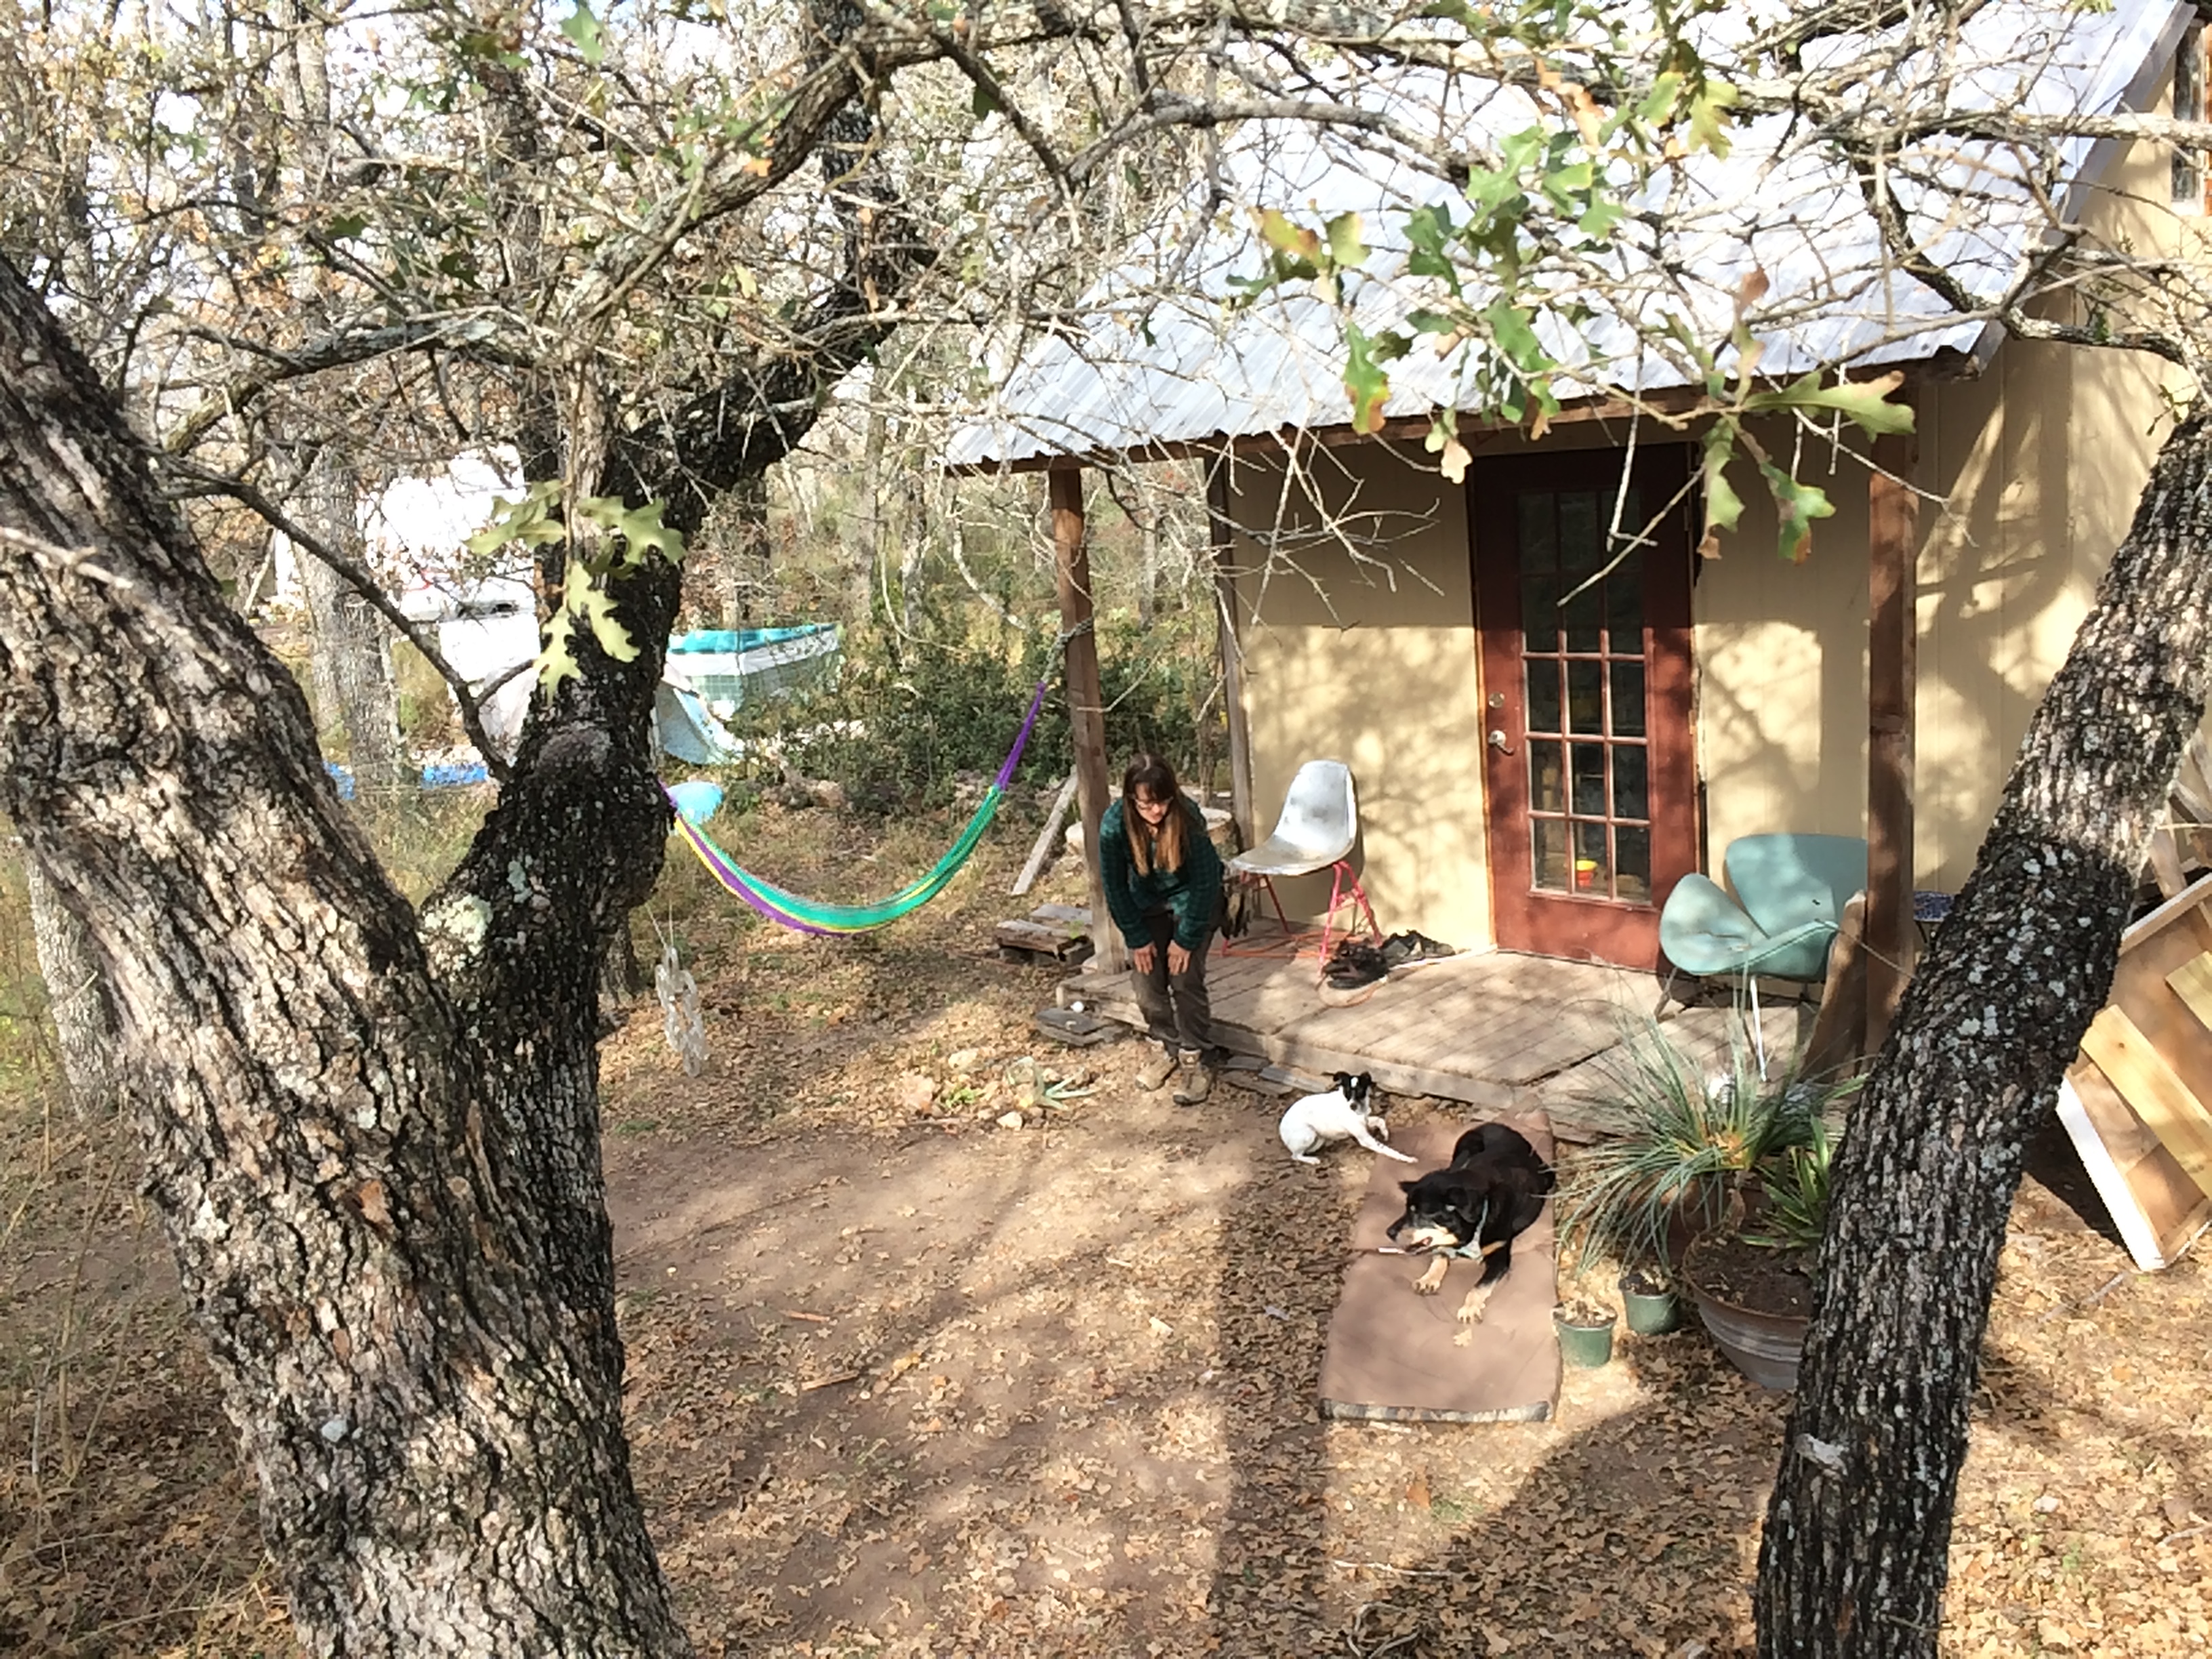
Our dogs got along great with their three girls (Mina, the giant; Lola, the sweet; and Lily, the wild). Our cabin – “El Casa De Escorpio” – was awesome, and surprisingly similar to the Rust Shack back home in layout. It, too, was a pallet shack with a loft – but slightly bigger and significantly more finished than ours, with insulation, wallpaper, a heater, and meticulously and artfully applied interior wall paneling. And a bottle window!
“The House of Scorpio” – until they’d finished the walls, the place became home to dozens of scorpions .
They had a good junkpile/supply, the native rock poking up everywhere was a sexy glassy flint, and animals and evidence of active construction projects were everywhere.
rainwater collection system – totally going to borrow that sediment trap design back home
– needless to say, we immediately felt at home, and were excited to wake up to the reborn sunshine of the first lengthening day of the year.
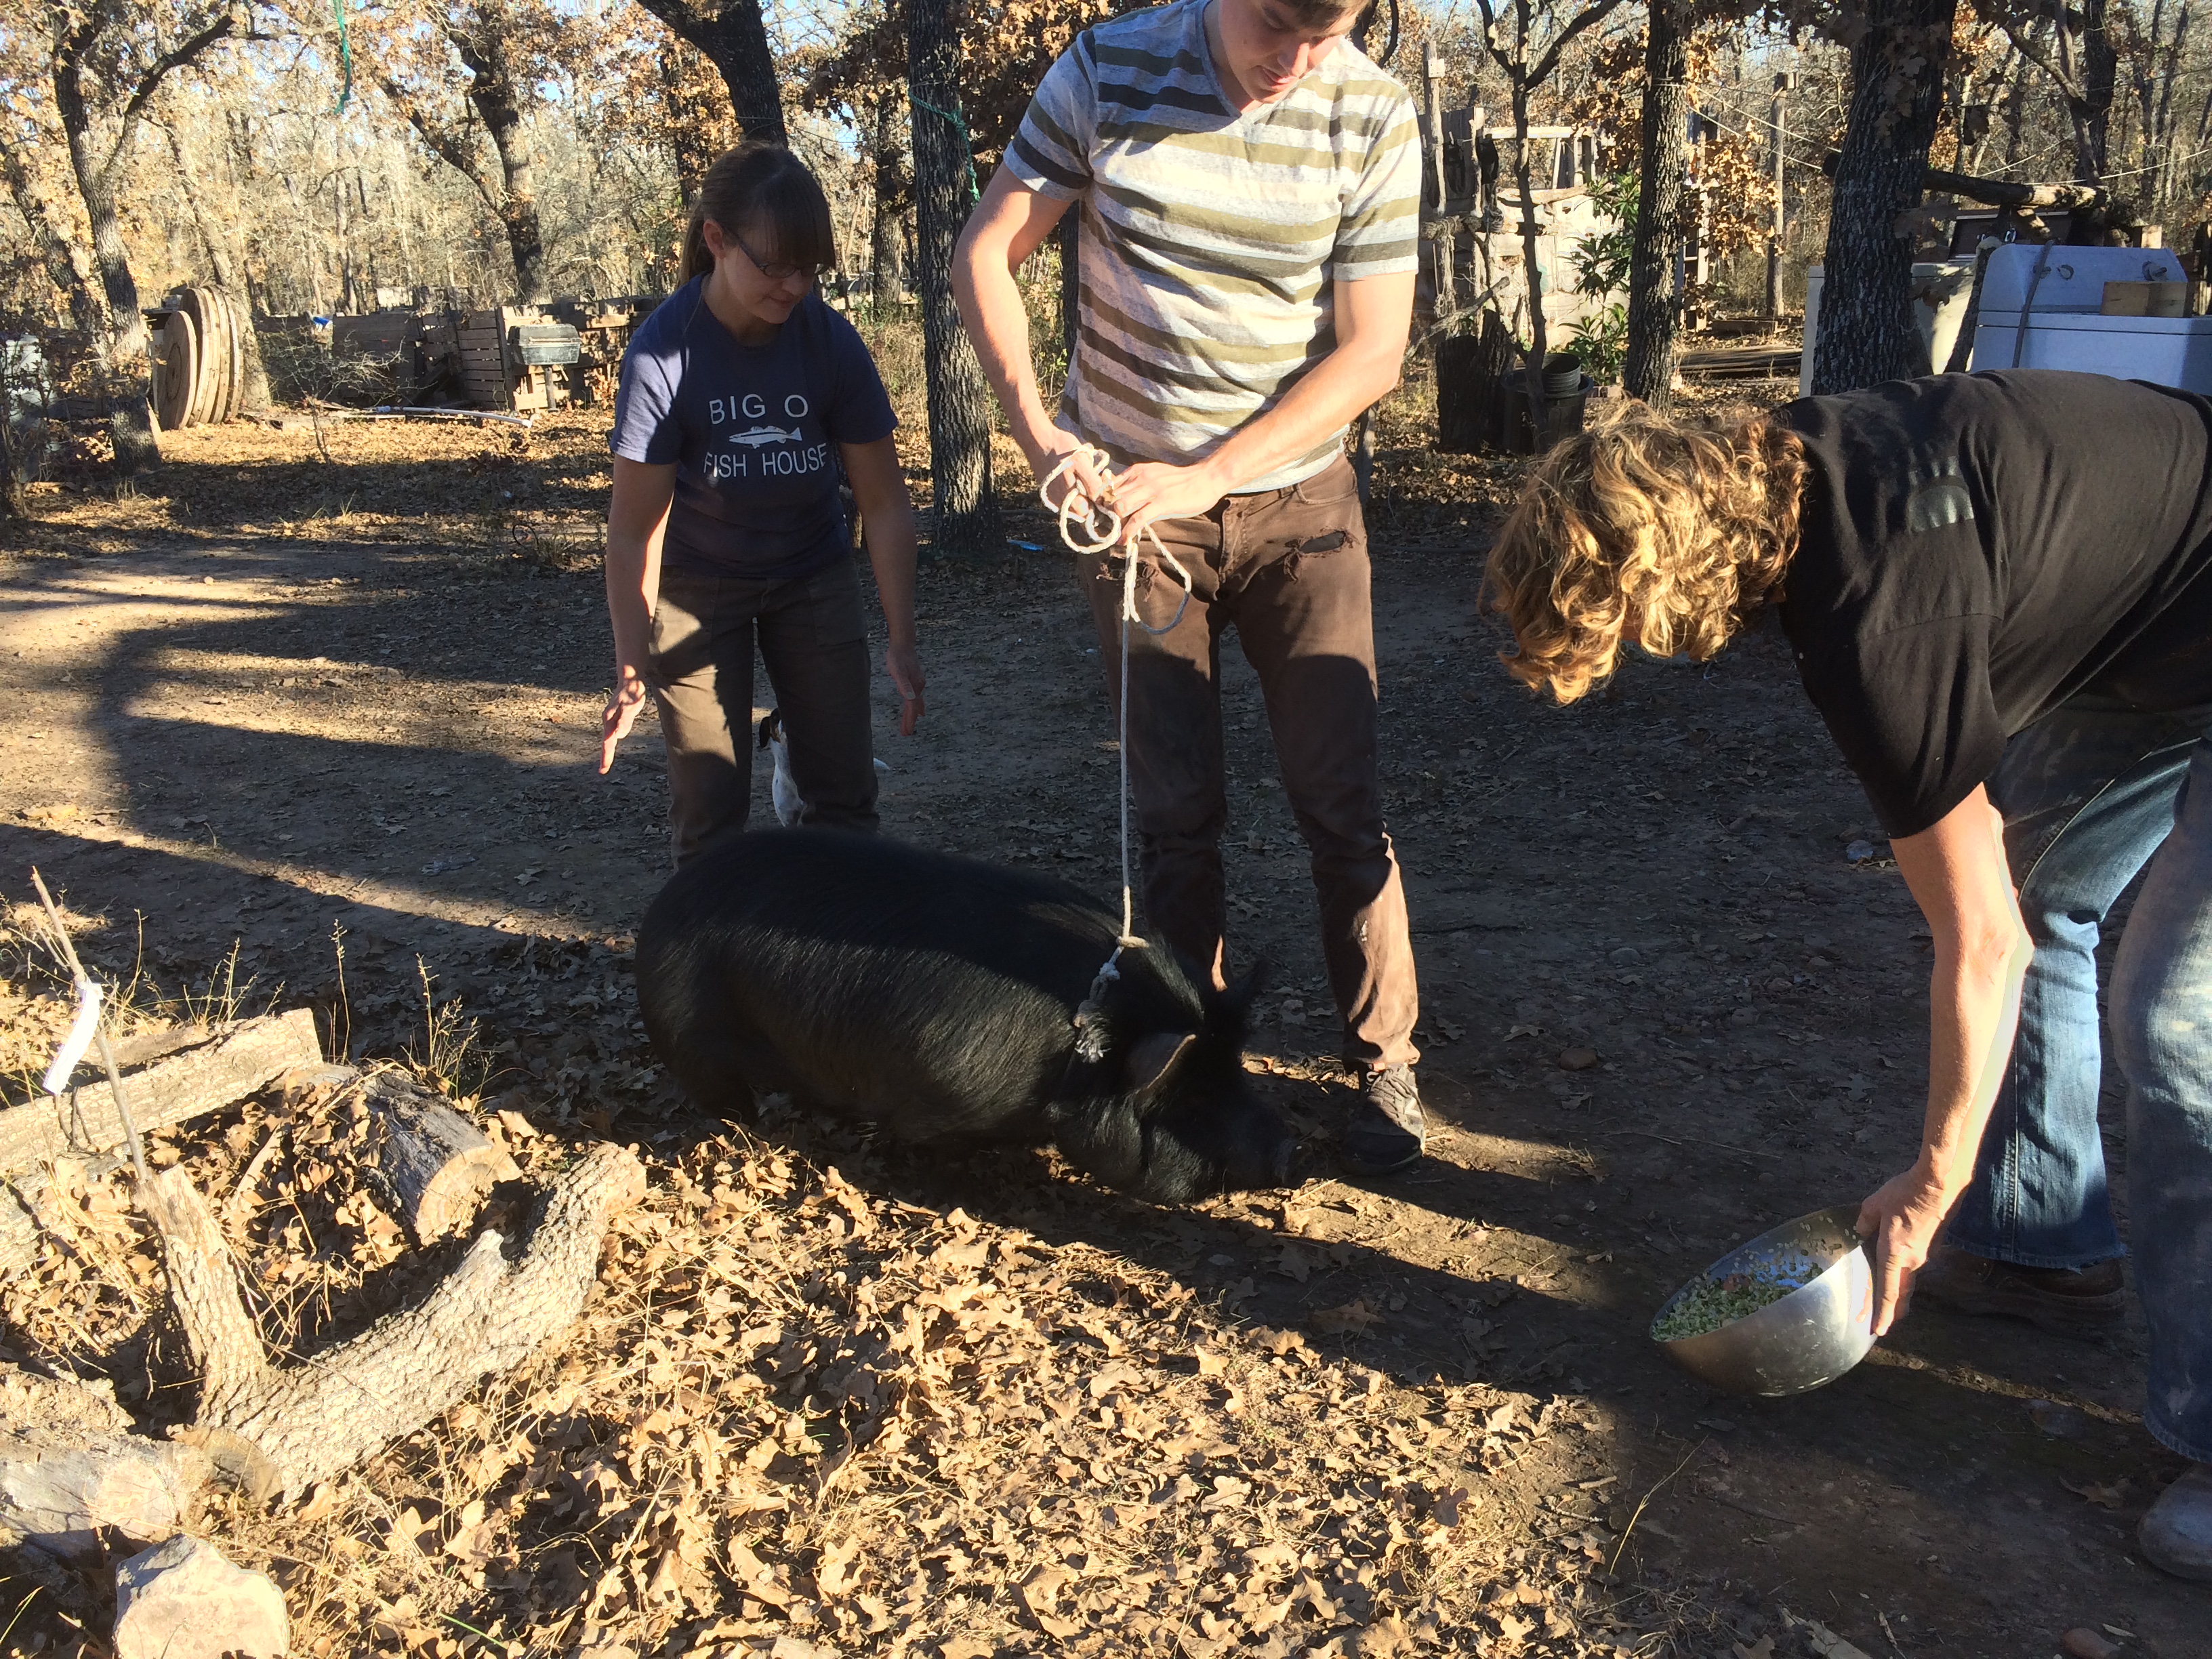
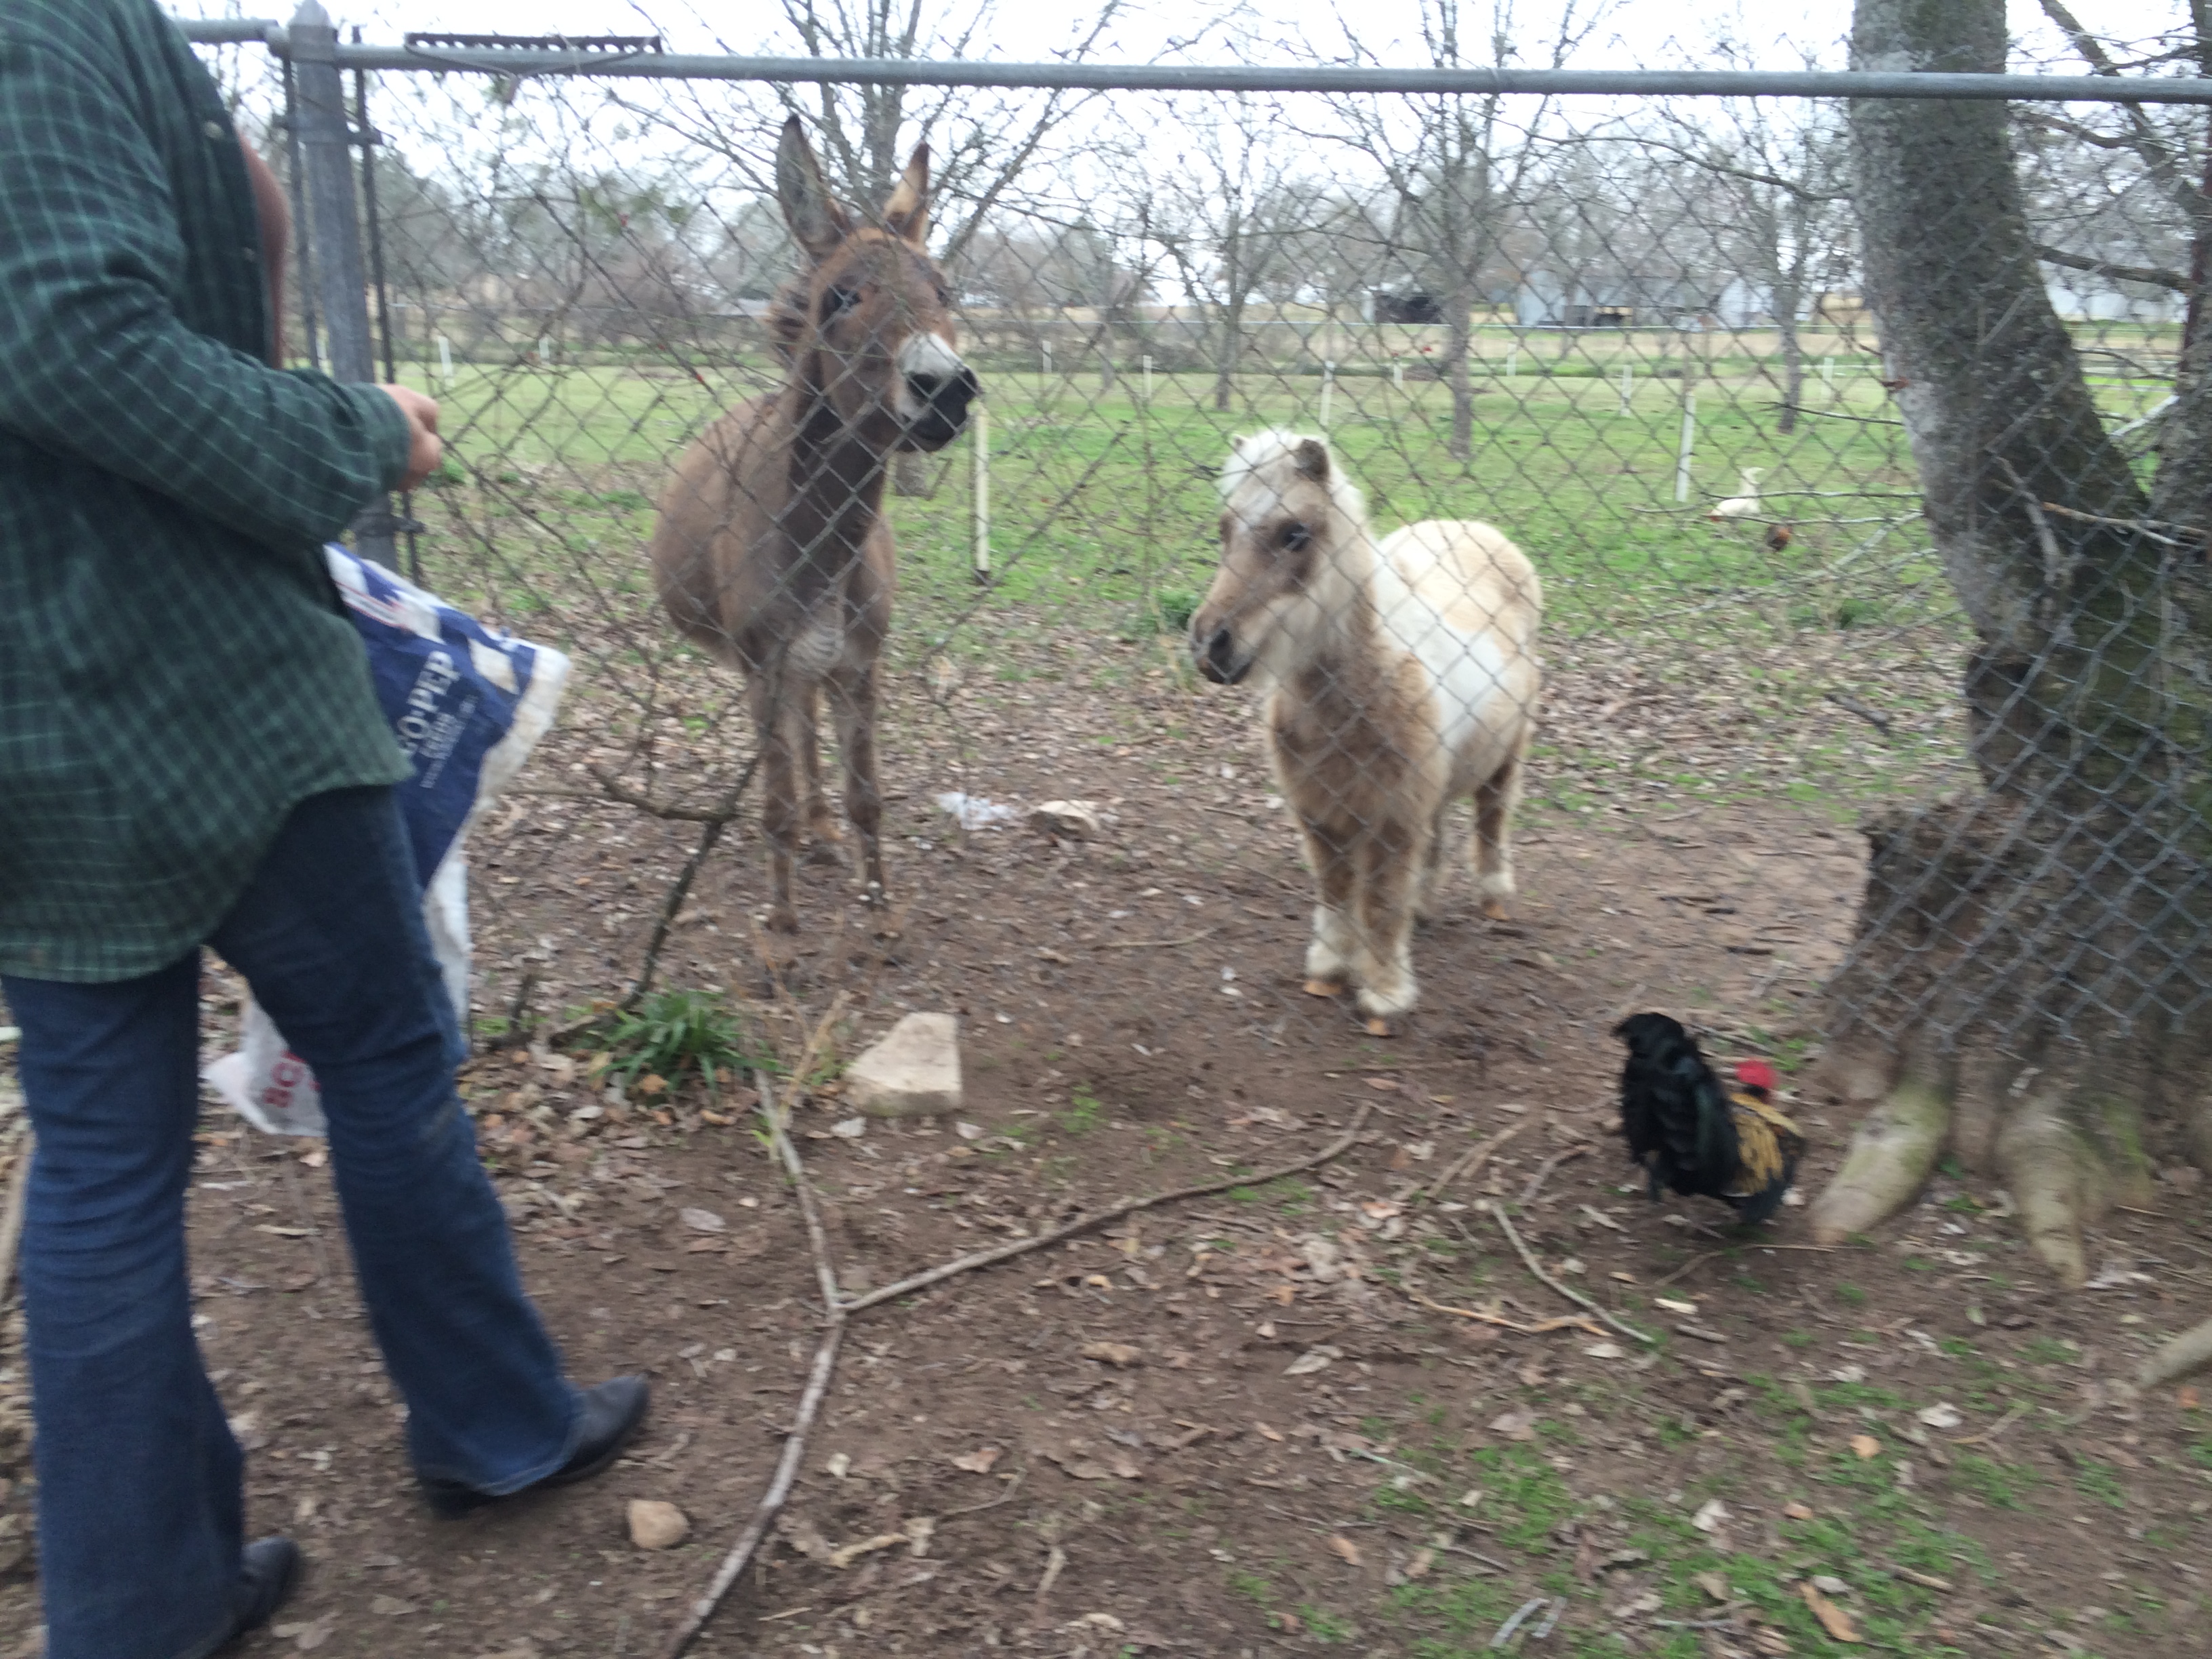
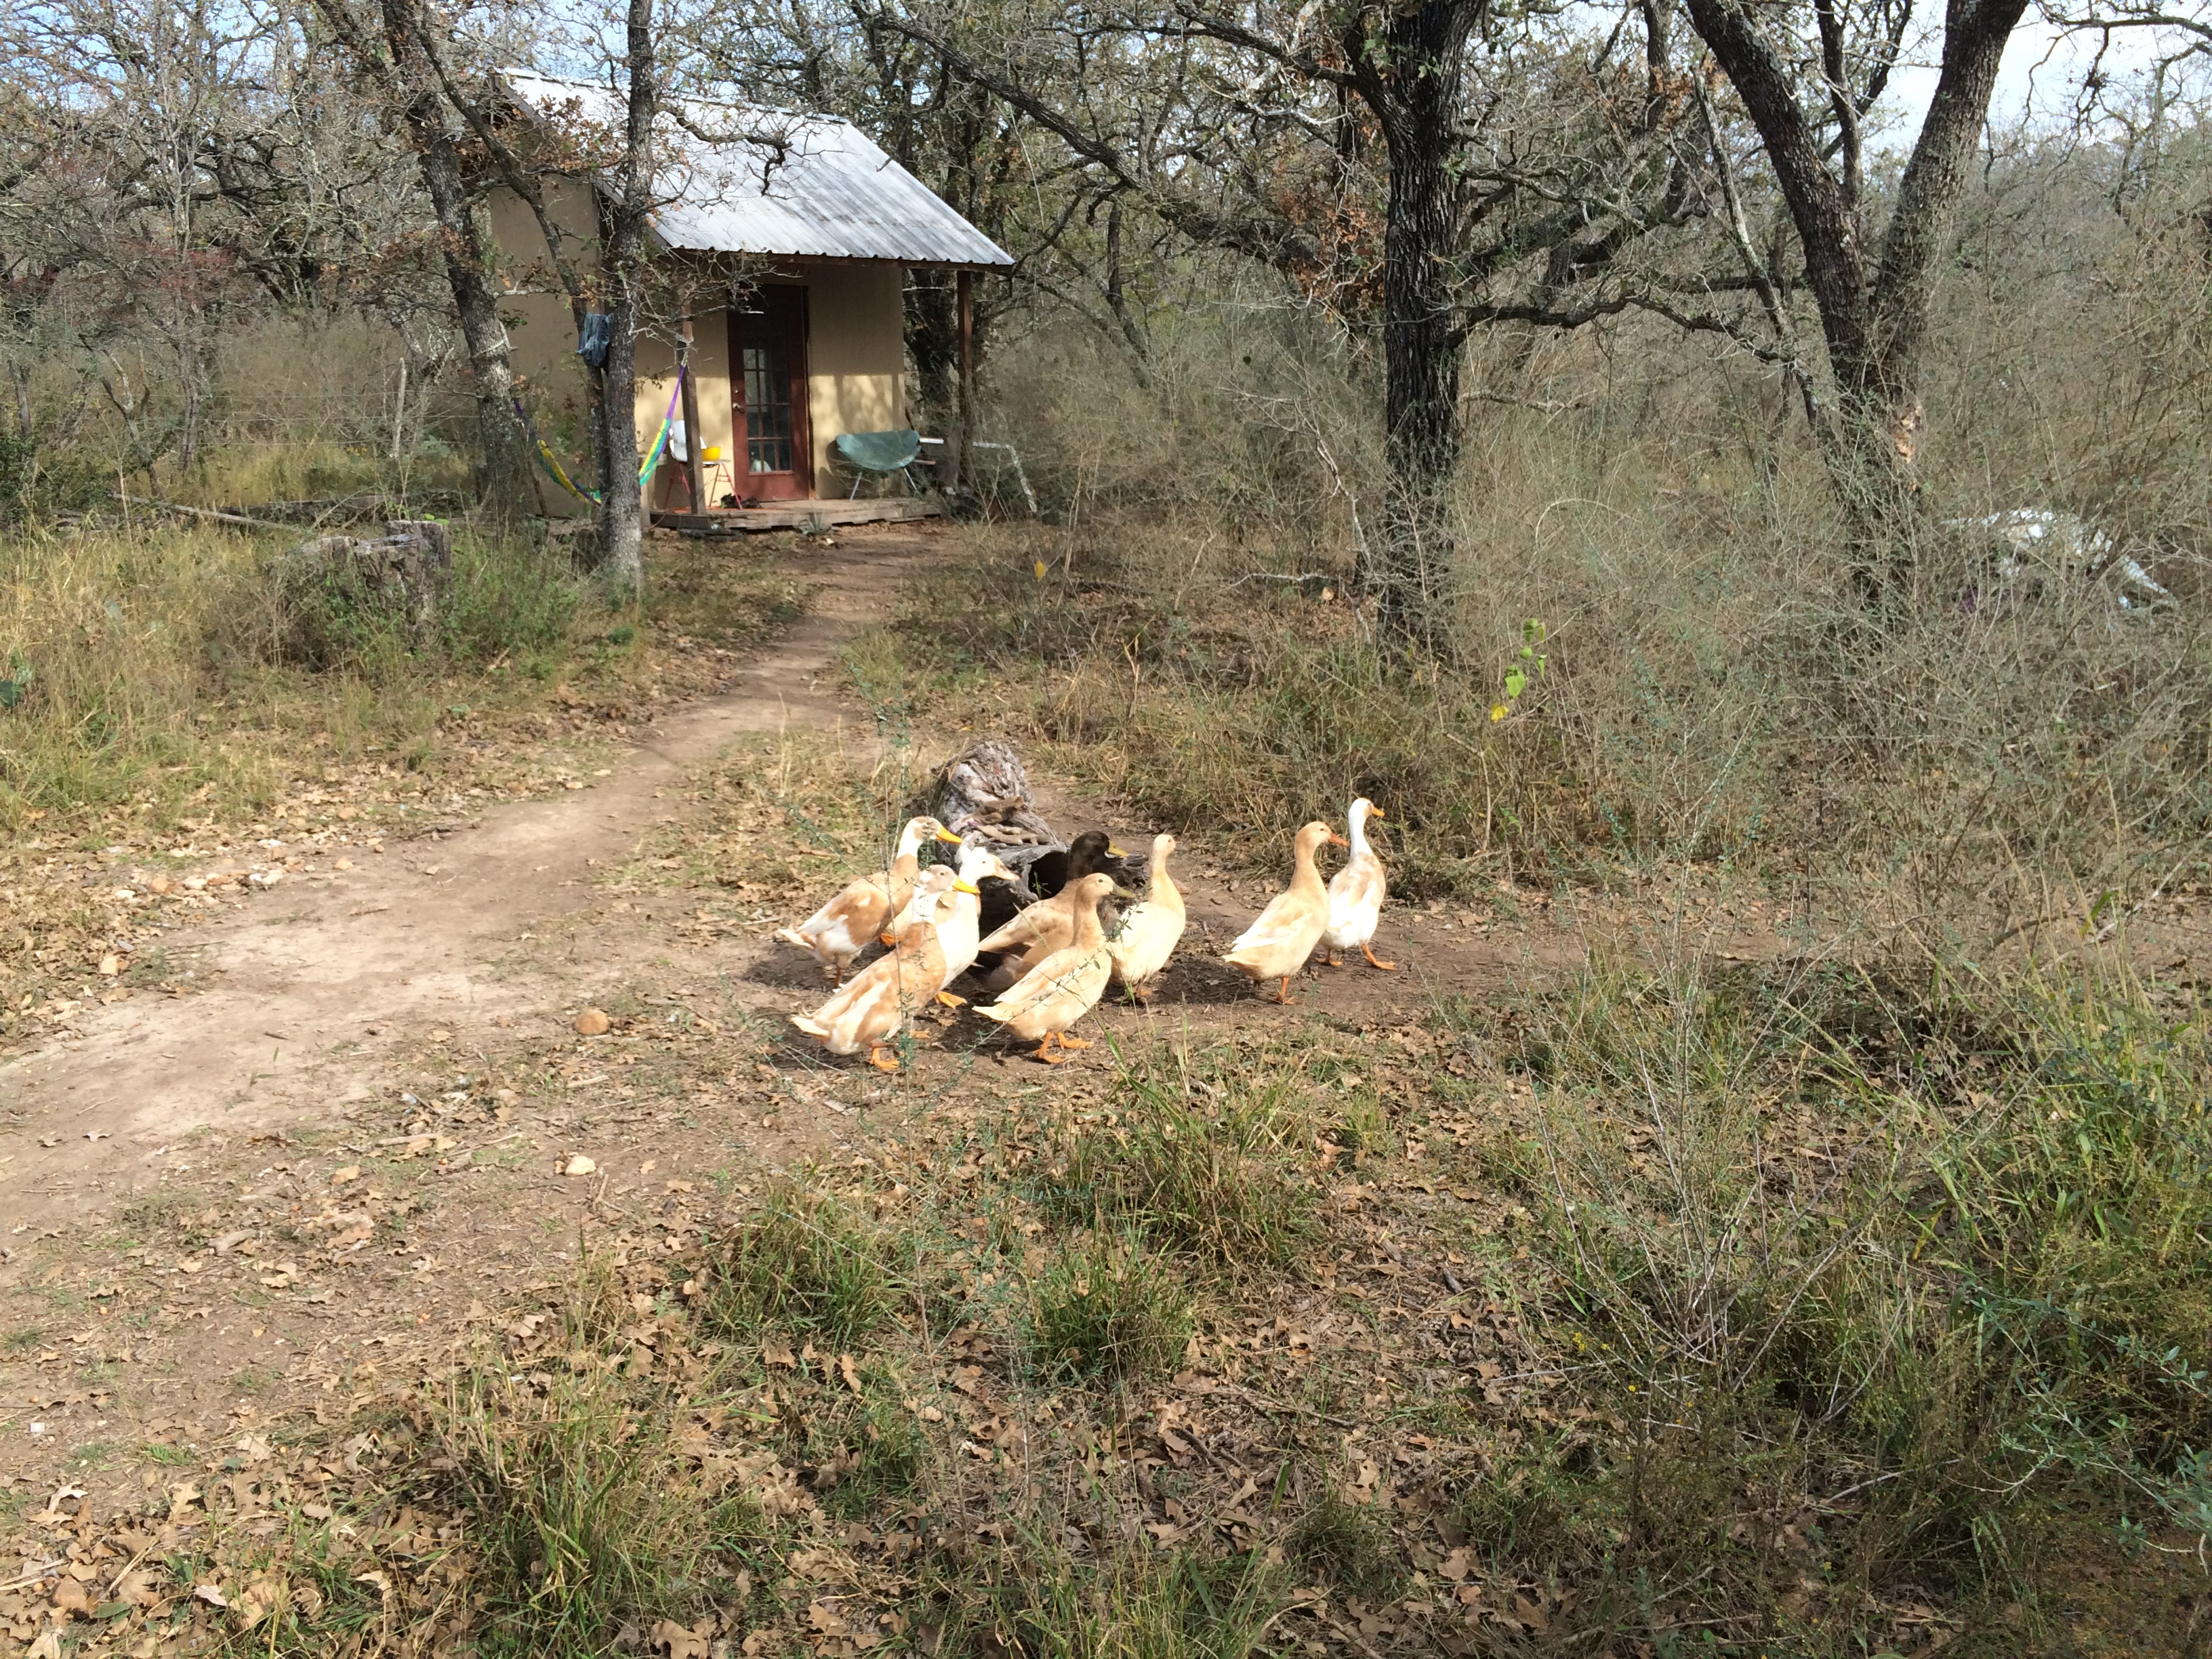
While helping out with projects, we met the ducks and chickens, the cats and kittens, the friends and family, the pig and the place.
clockwise from foreground: Widget, Cleo, Mina, Lola, and Lily)
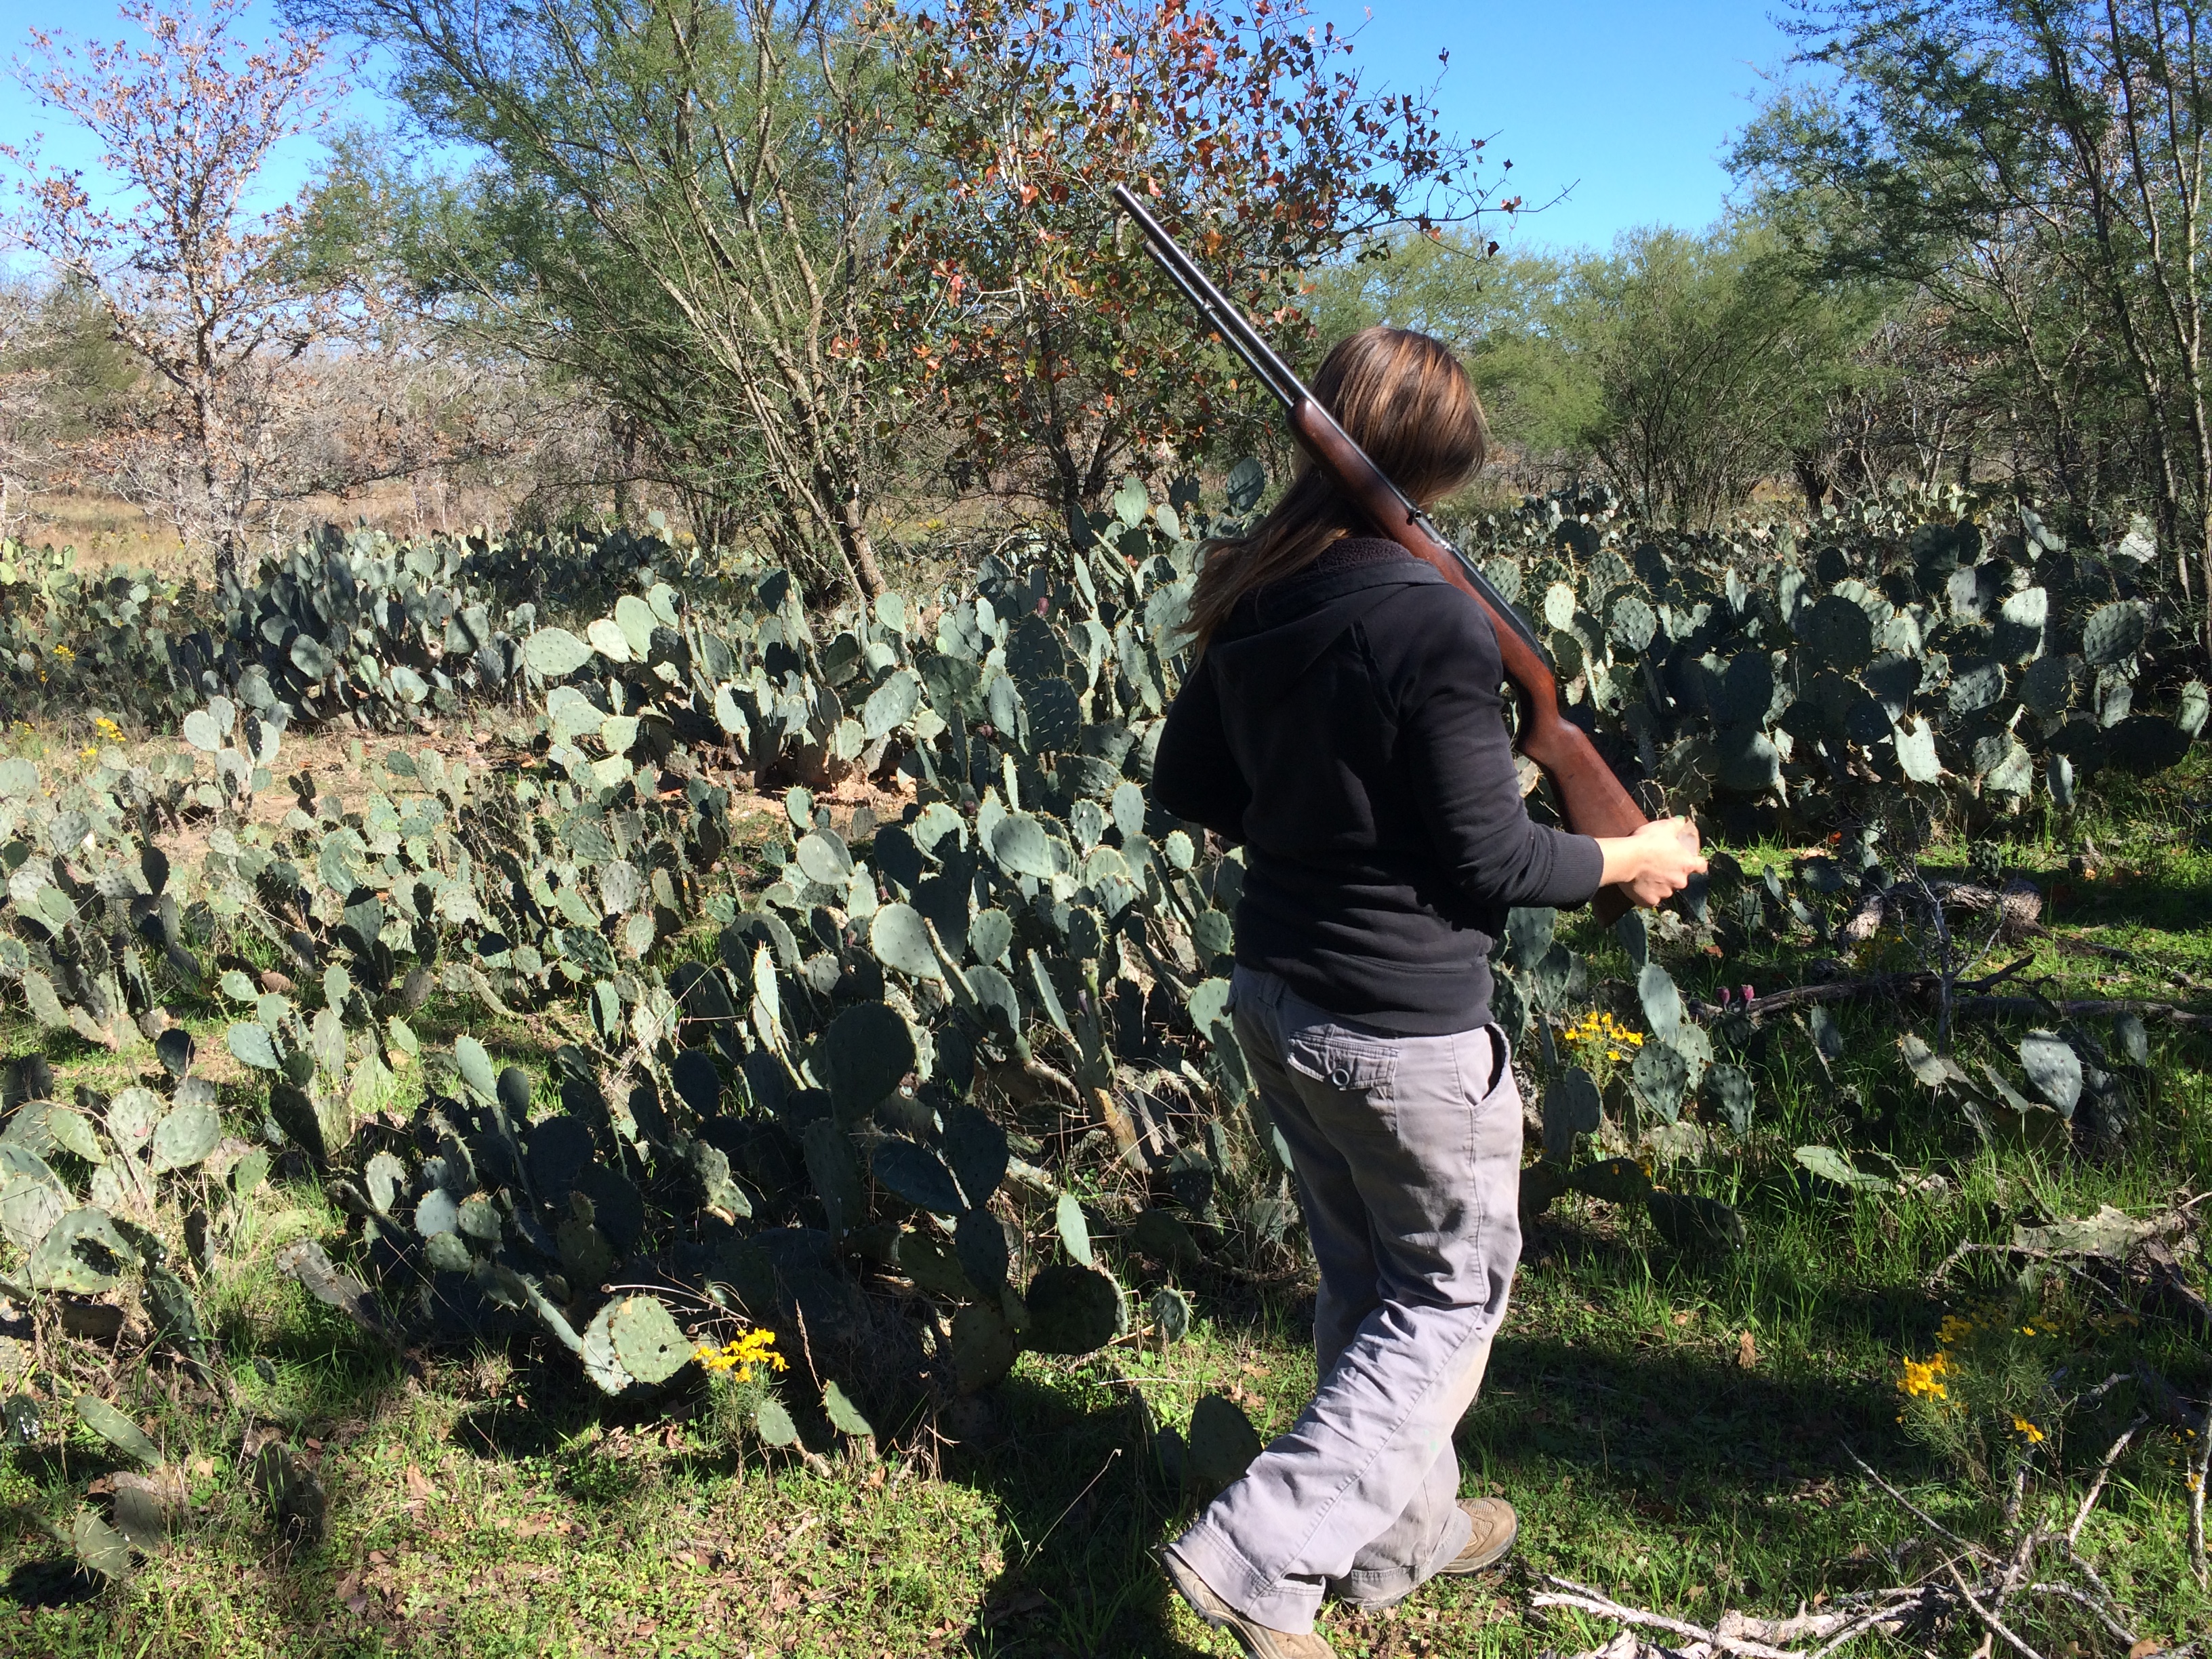
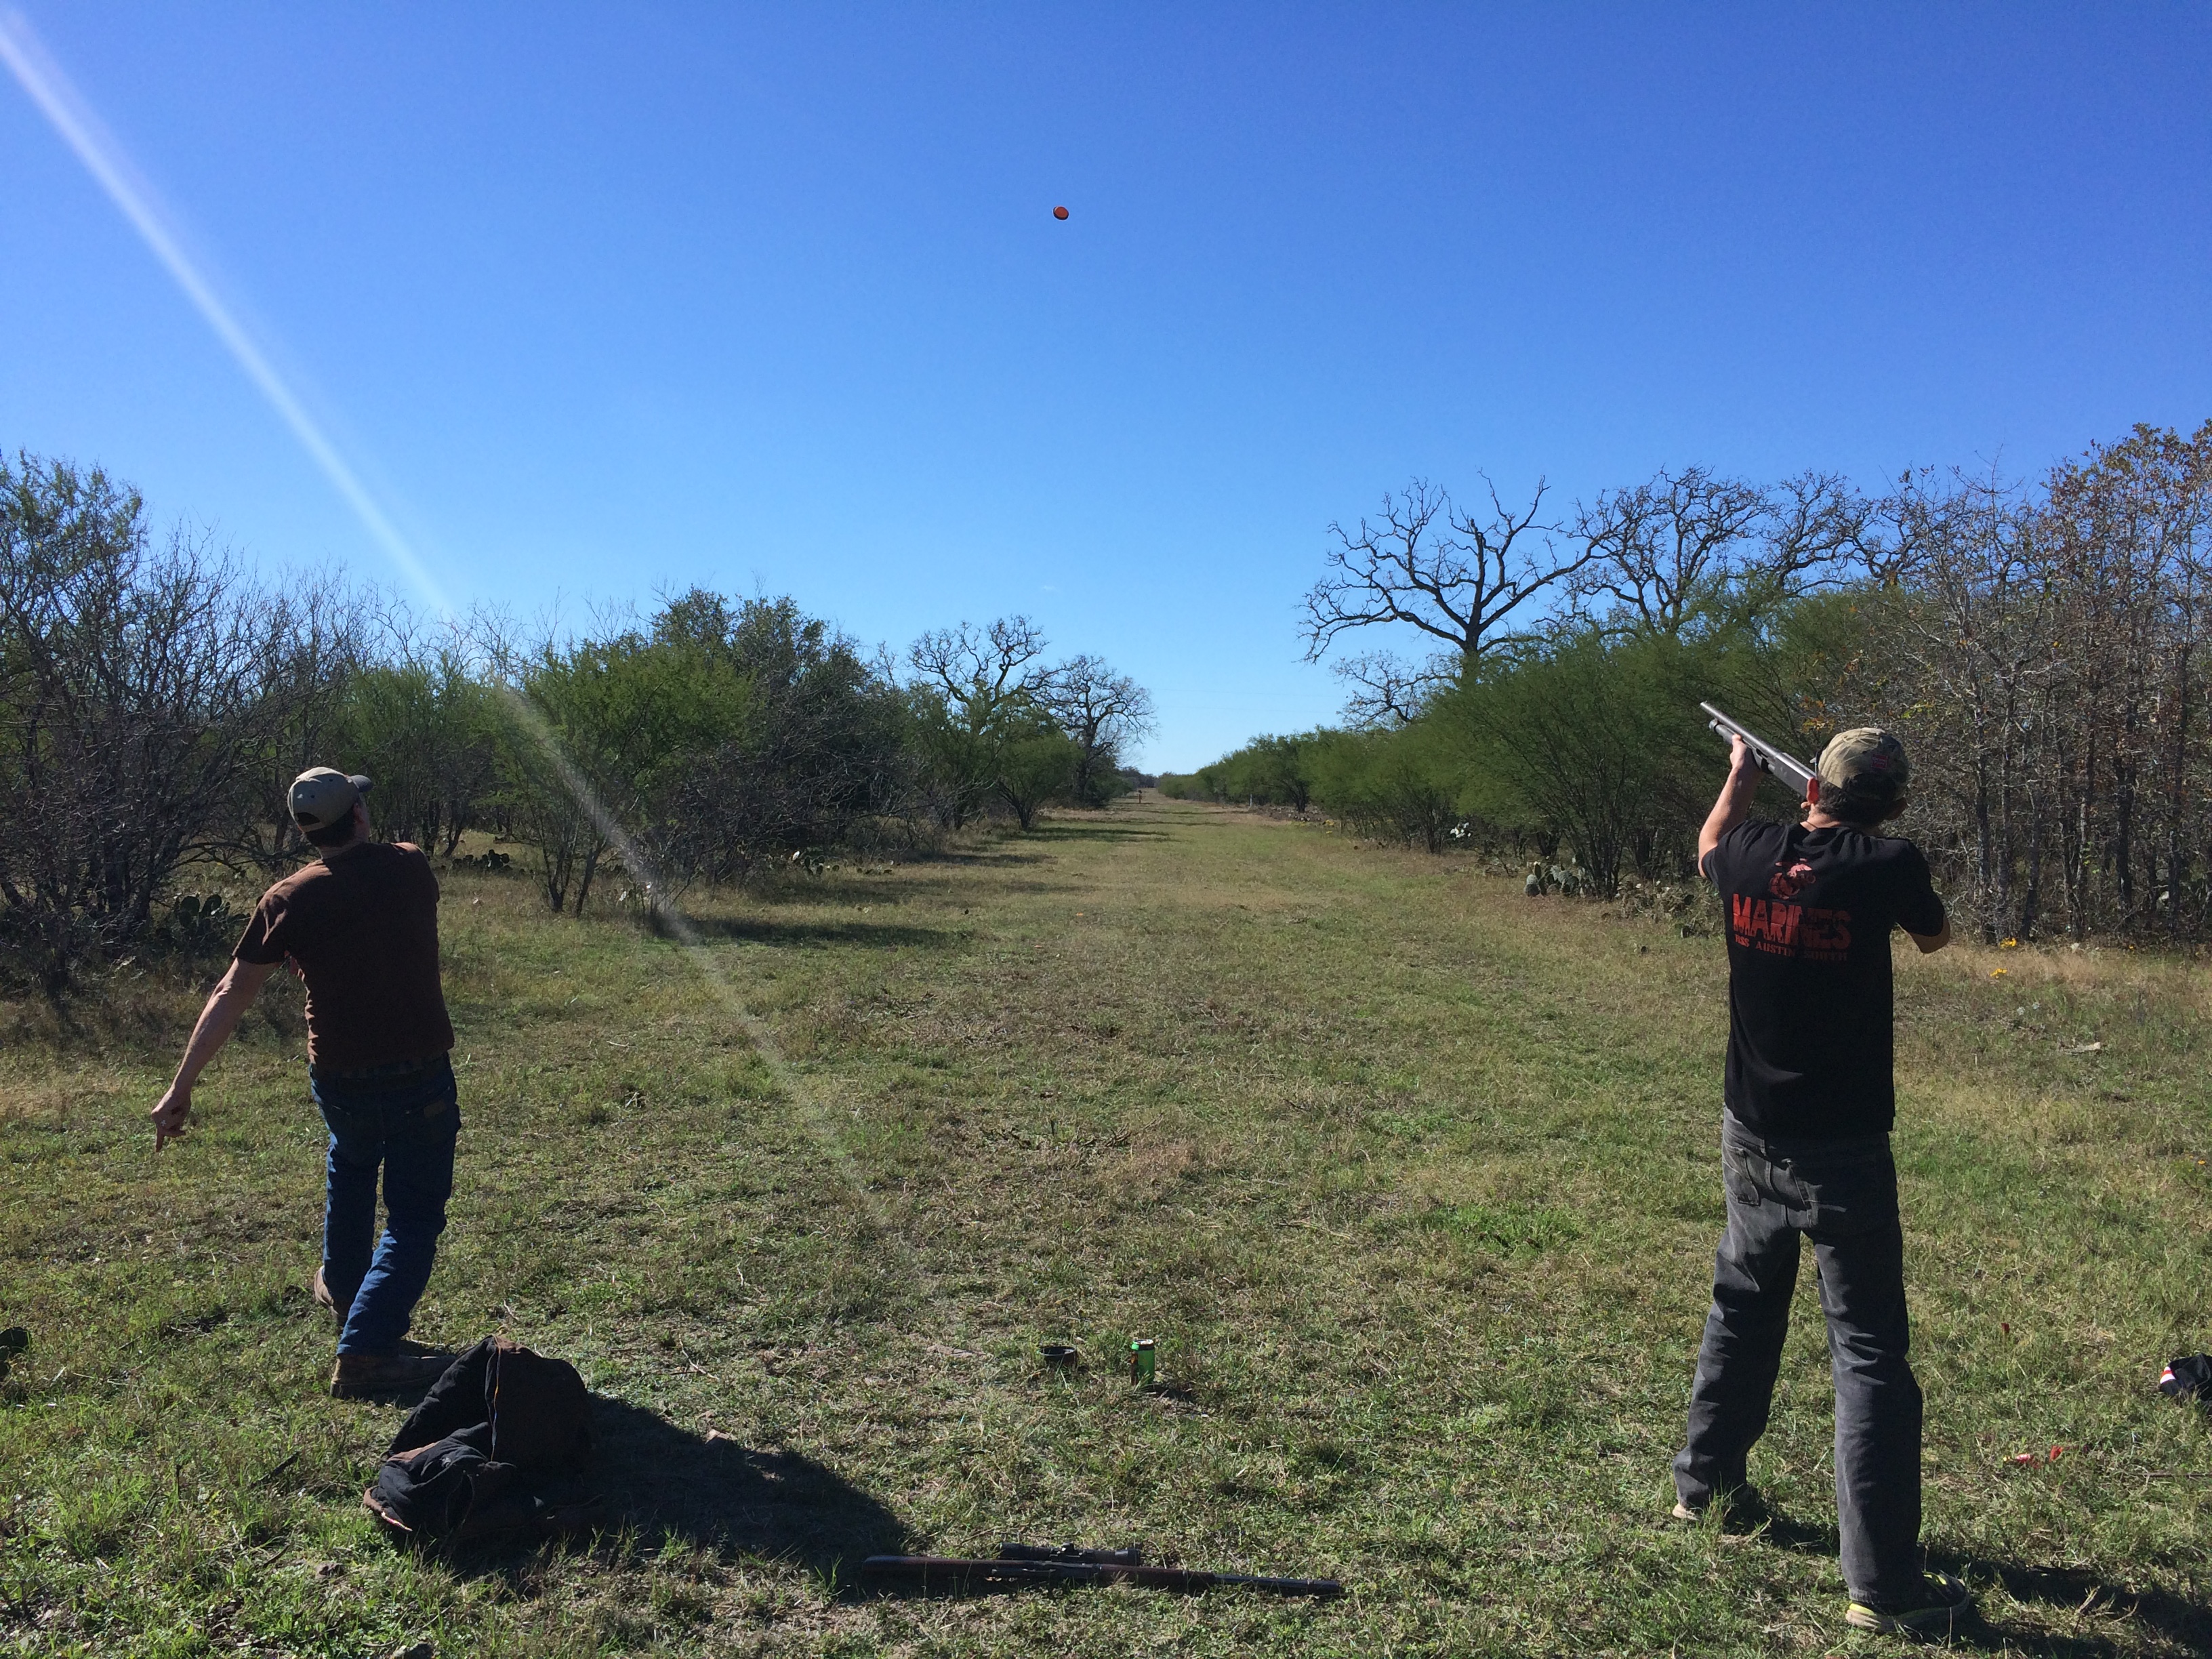
Shane throwin & Sasch shootin
We also did a lot of scavenging; a friend’s family had moved away from their farm, and left behind a rich and satisfying array of plunder for Habitable Spaces to pick through.
We ate great food and closed down the the only bar in town and got to know good people, human and otherwise.
It was a damn fine week.
Kris the bartender trying to animate the singing deer
And today Habitable Spaces got the letter announcing that they are now legally a Non Profit organization, with all the benefits entailed!